|
From Theresa:
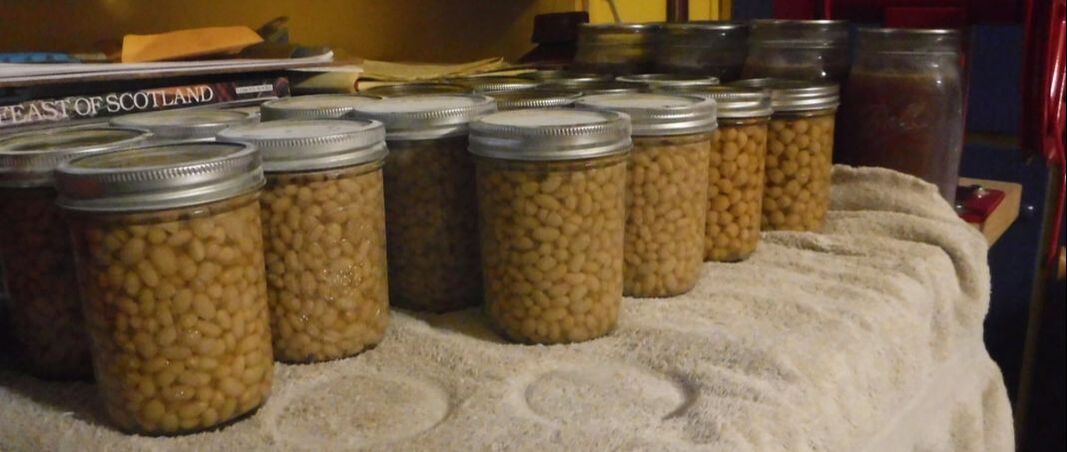
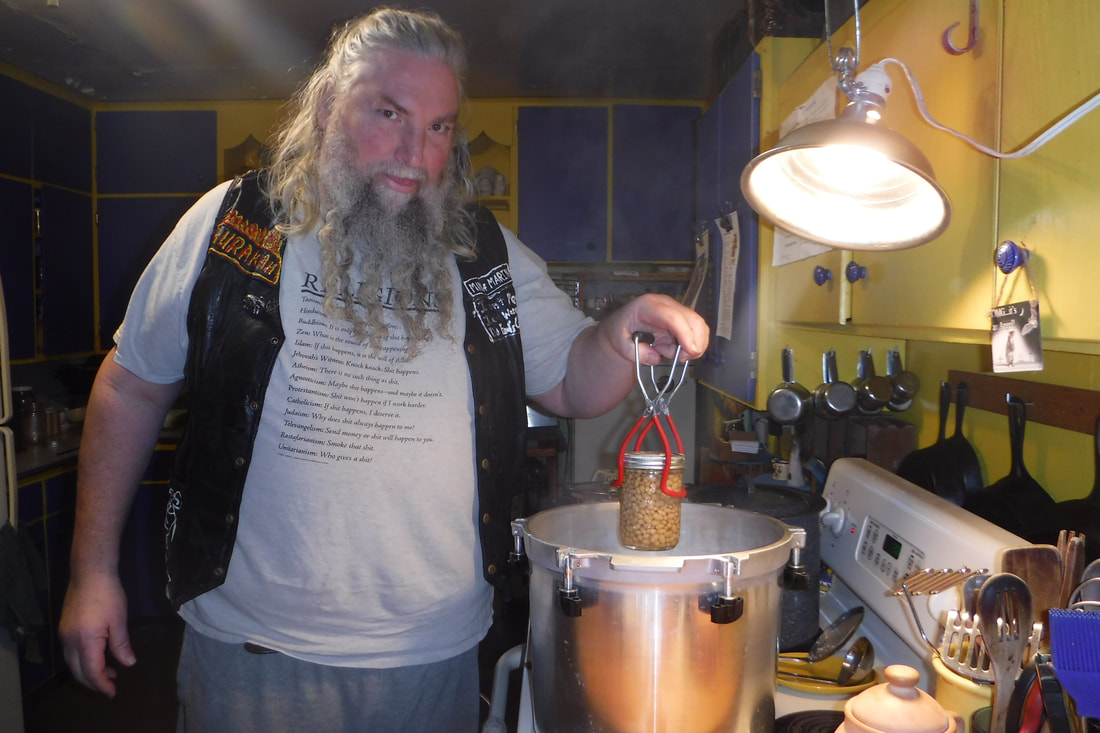
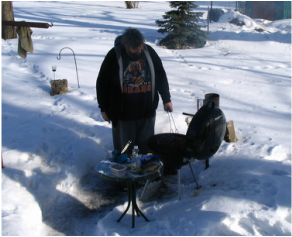
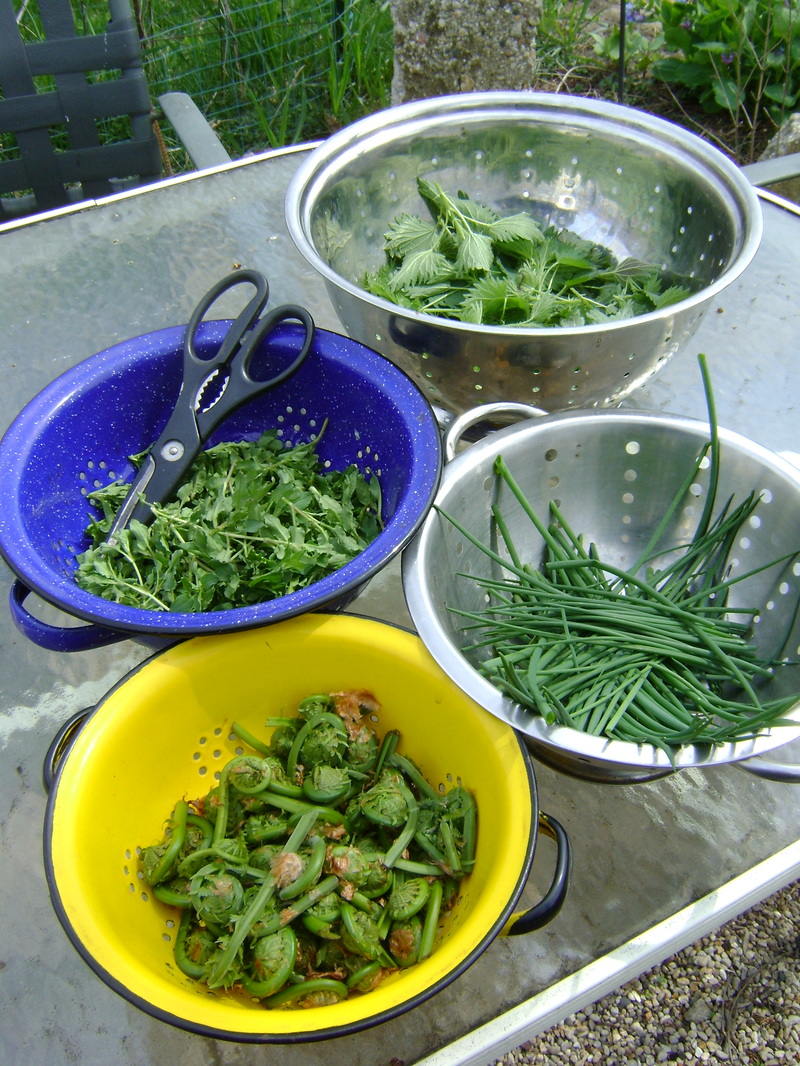
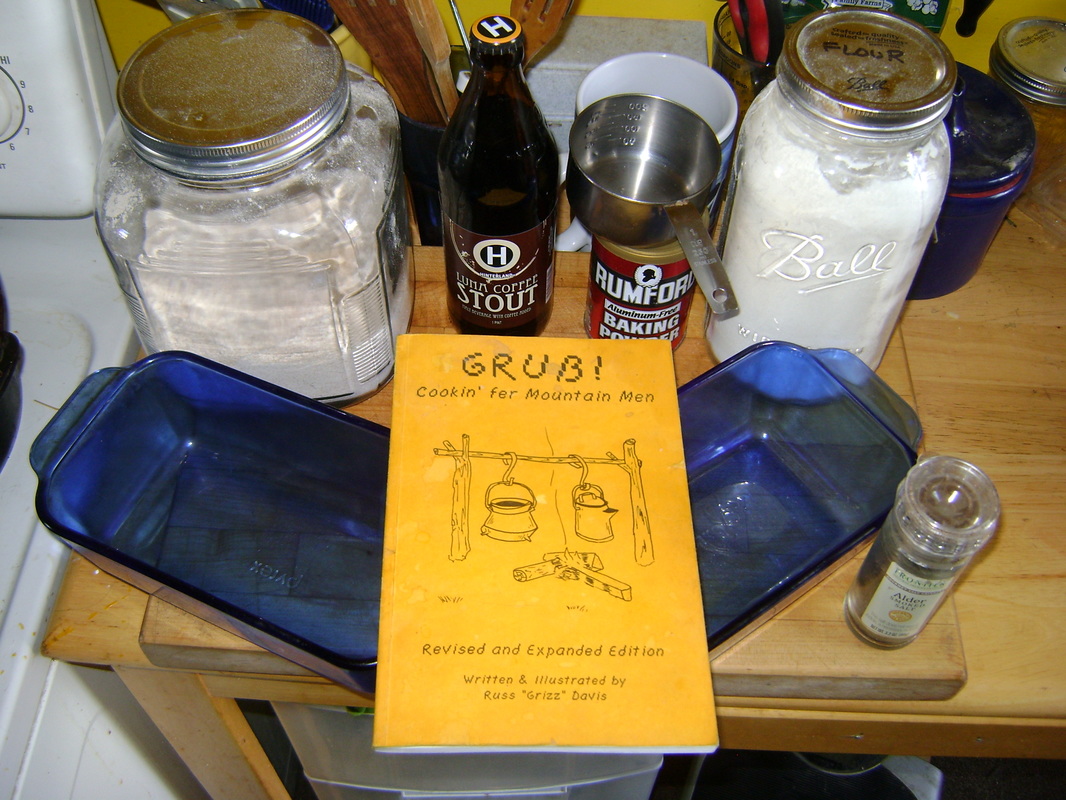
We recently got out the “new” pressure canner that had been sitting unused in our closet for several years, because I hadn’t had the time or energy to learn how to use it. Not that I was feeling guilty or anything about spending all that money on something that was gathering dust, but I am relieved to have finally put it to good use. We have recently learned to make bone broth, which has opened up a whole new world of flavors for us. We were freezing the broth, though, which meant we had to take it out two days in advance to let it thaw enough to use it in recipes. If we pressure canned the broth instead, it would safely stay on the panty shelf and be ready at a moment’s notice whenever the urge to try a new recipe hit us. So we canned some turkey bone broth with the carcasses we had left over from Thanksgiving. I had also bought the pressure canner so that we could can beans, so we decided that if we had the canner going, we might as well add beans to the weekend project. We buy our beans in 25 lb. bags at a discount from our local Co-op. In the past, this amount has lasted us for years, but now that we are canning them, I bet we will start to use them more. Just like the frozen bone broth, dried beans need a lot of prep time. They need to be soaked in water overnight, and sometimes cooked separately for hours before you can add them to your dish. Now, with canned beans, we just pull them off the shelf and they’re read to heat and eat. |
Our Turkey Bone Broth:
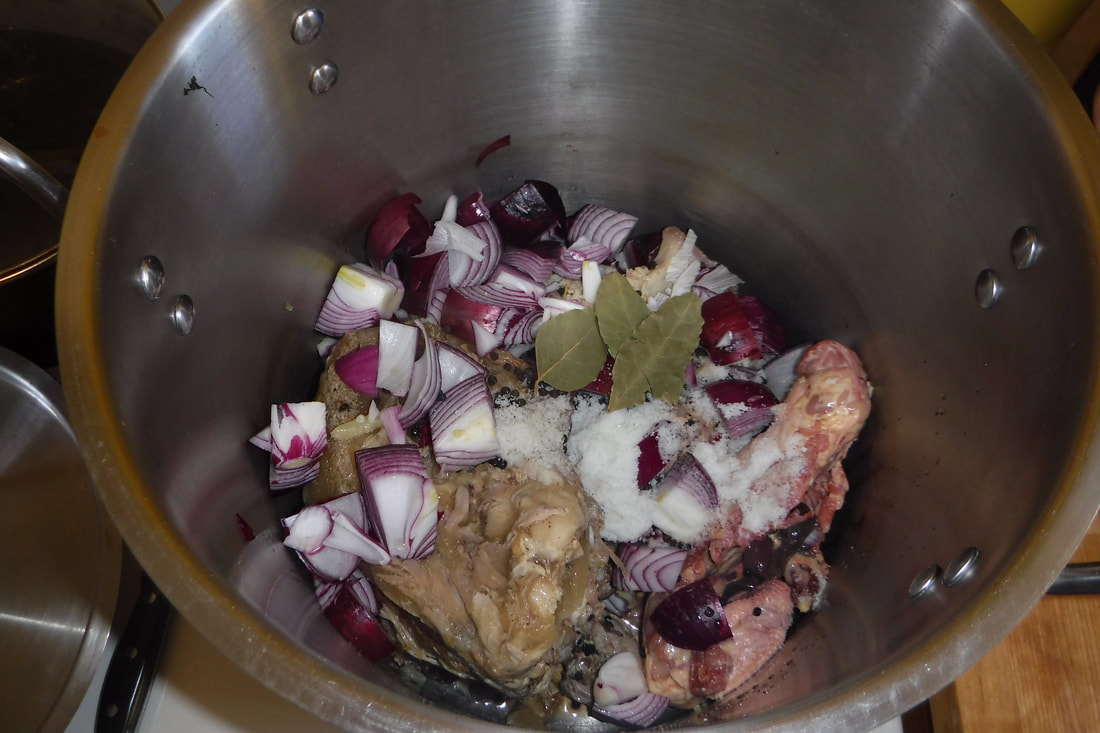
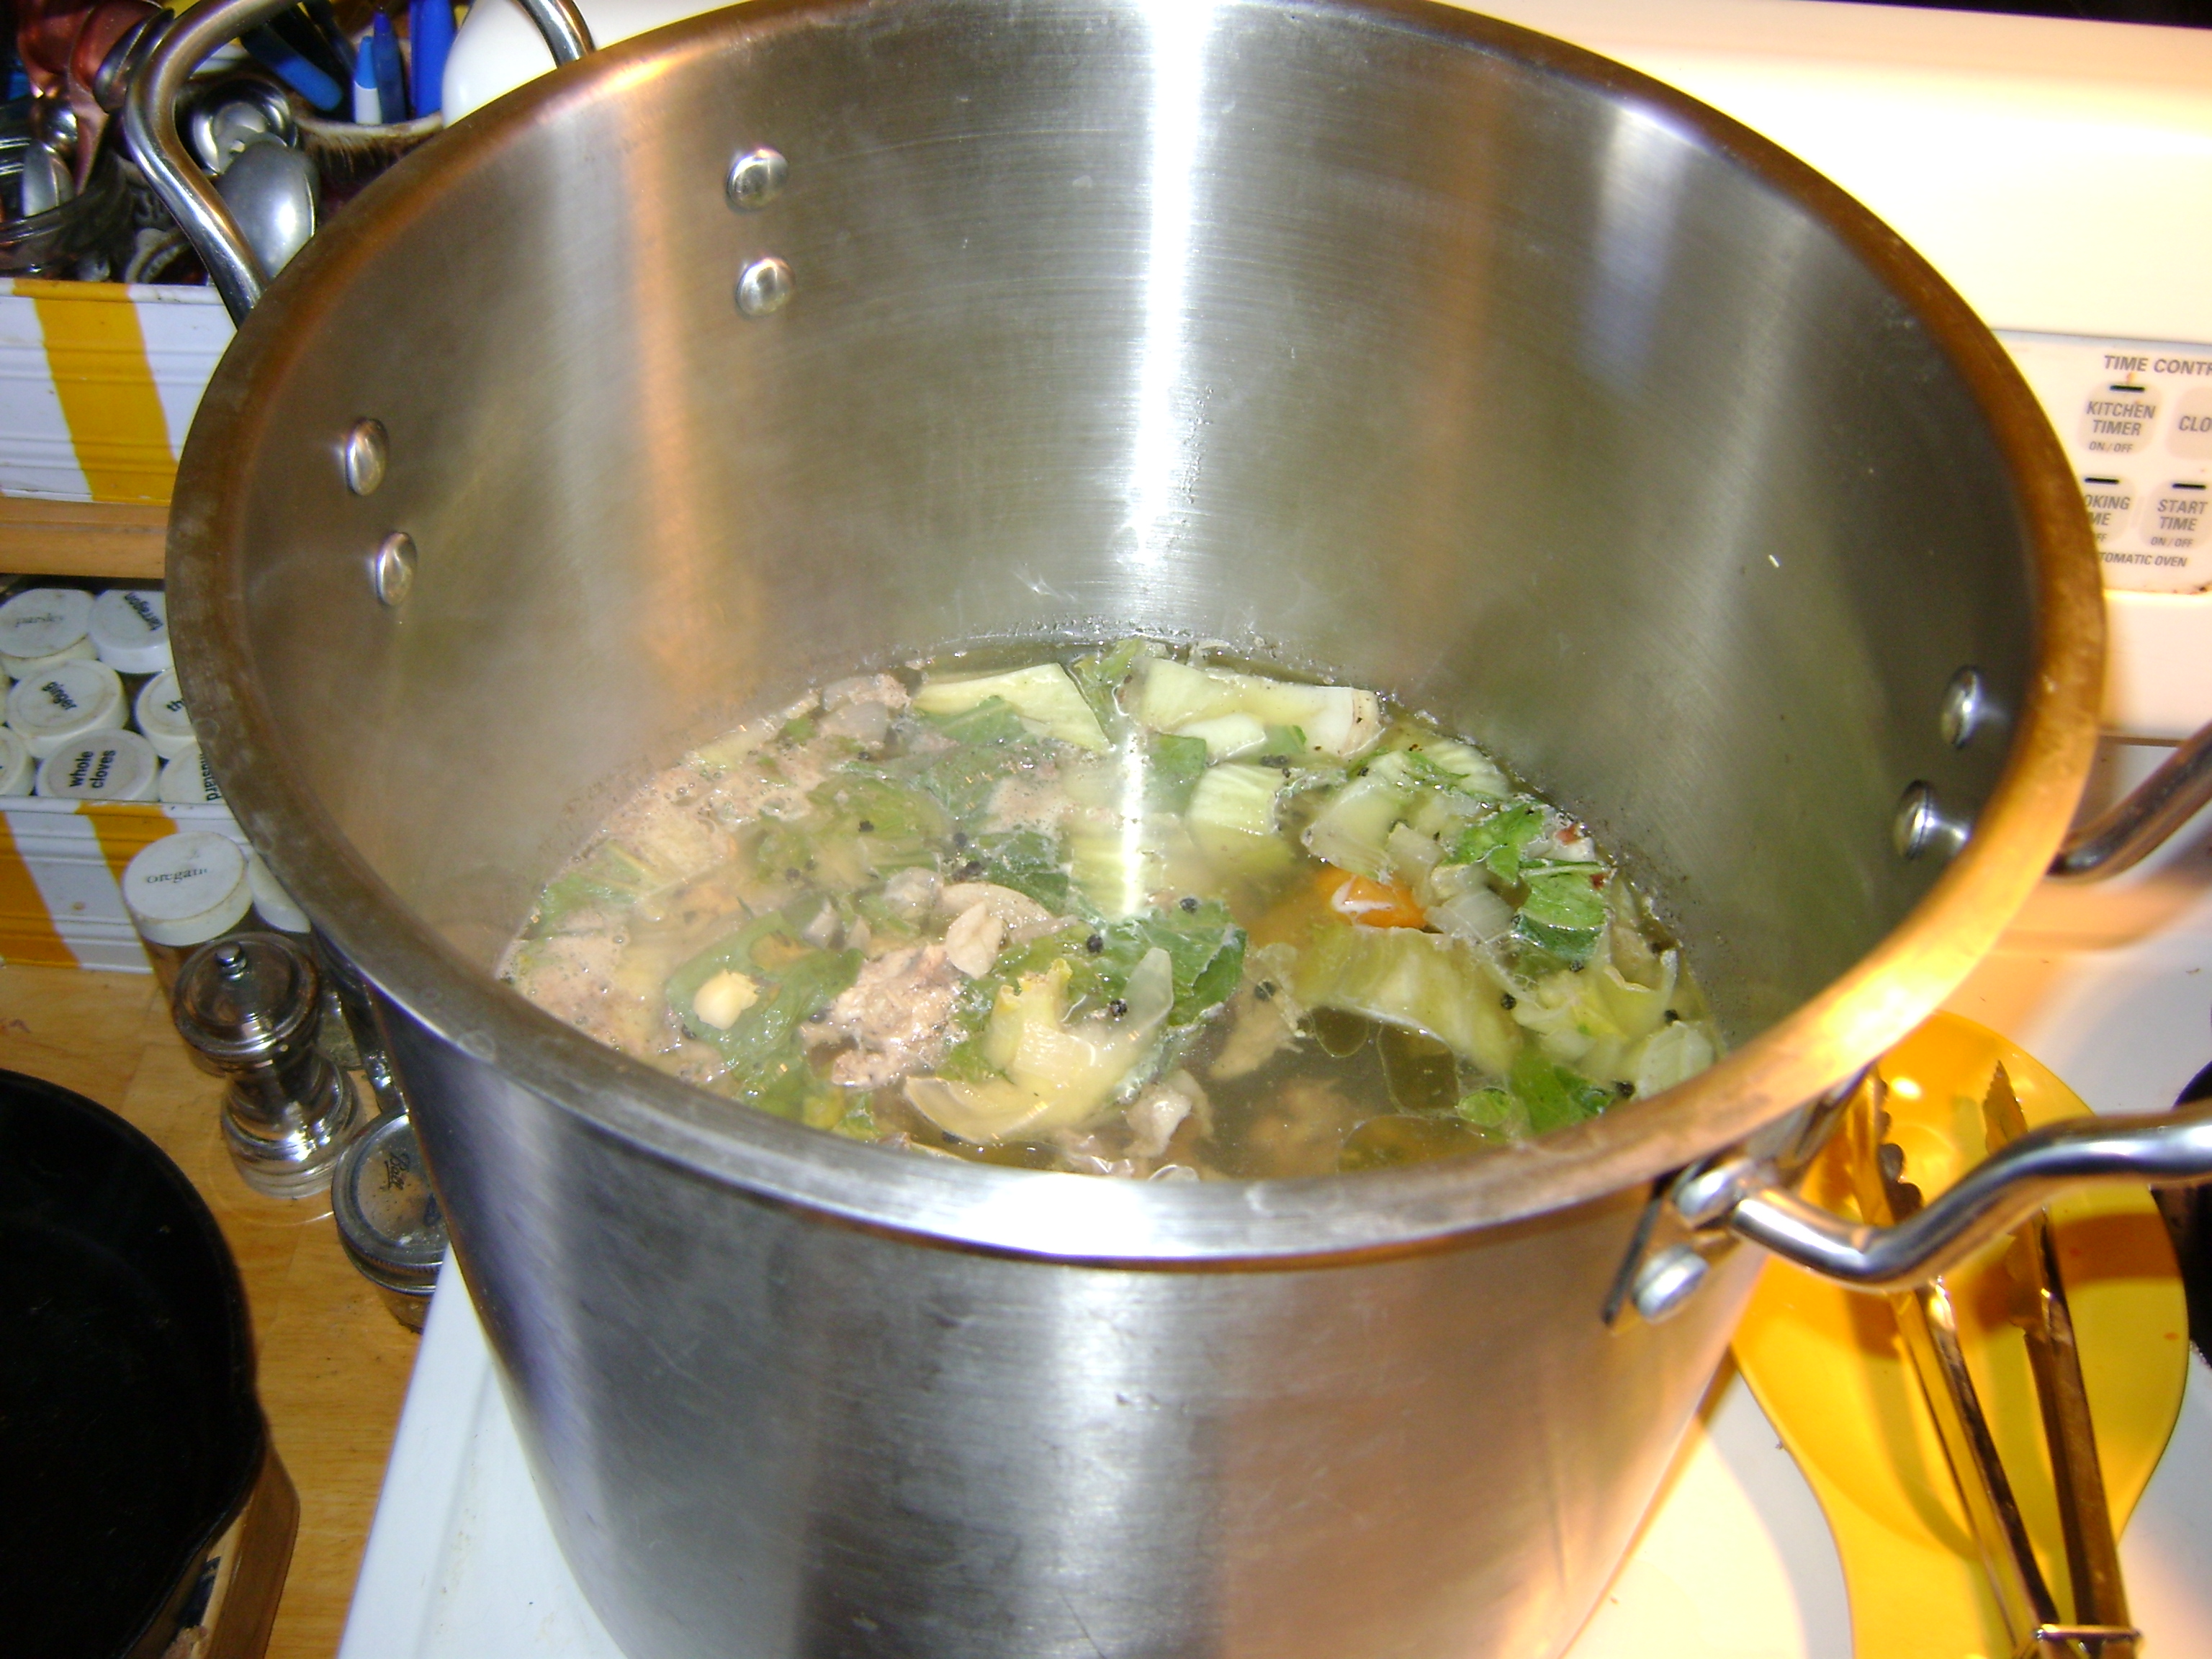
Add turkey carcasses, onions, garlic, bay leaves, vinegar, and salt and pepper, to a large pot and cover with water:
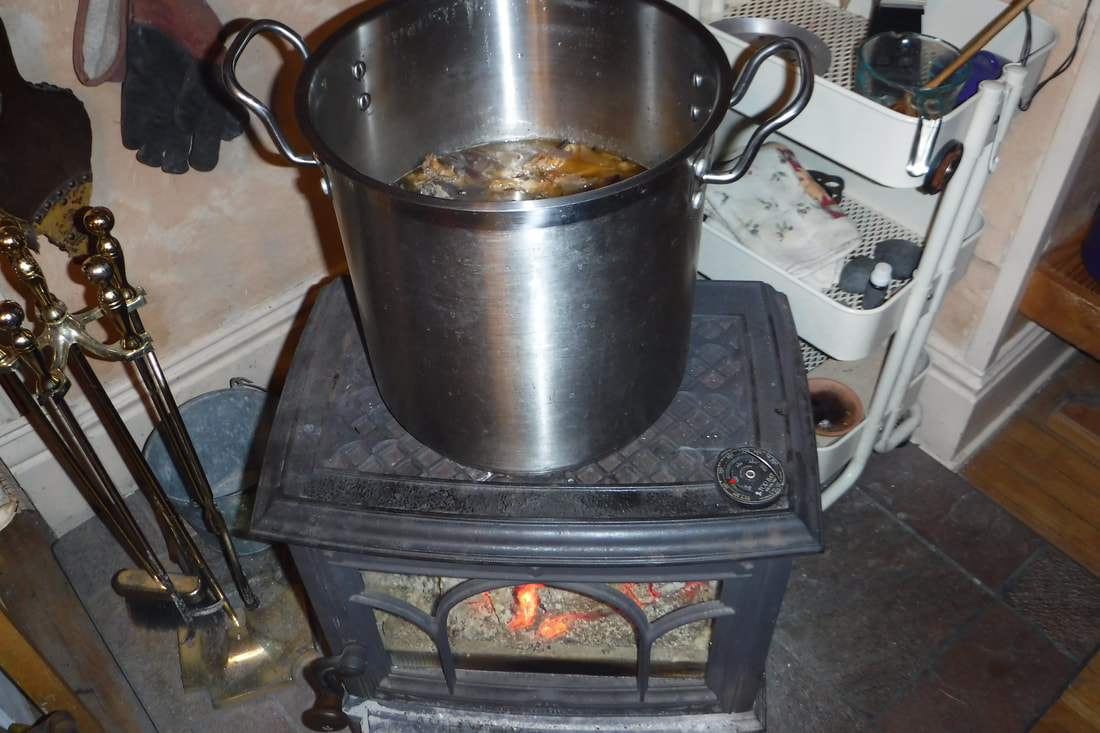
Simmer for two days:
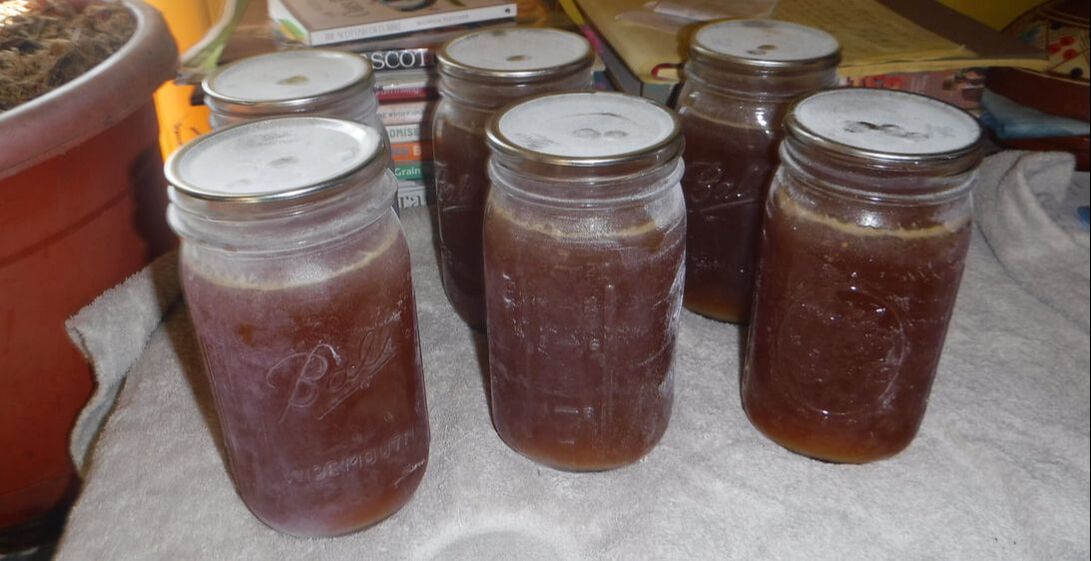
Strain and pressure can:
|
Was it Worth the Time it Took?
We spent three days canning, and although it was lots of time watching pots boil and probably only four hours of actual work, I was worn out at the end and wondered if it was worth our time, since we could have just bought the food already canned from the store. So I did some math:
Organic navy beans in the store cost $2.59 per 15 oz. can, which is $.17 per oz. We canned 192 ounces (12 pints x 16 oz each), so in the store it would have cost us
=$32.64
Organic chickpeas in the store cost $2.89 per 15 oz can = $.19/oz x 176 (11 pints x 16 oz each)
=$33.44
Organic bone broth in the store costs $6.59/quart. We canned 8 quarts, so that’s
=$52.72
So to buy everything we canned from the store would have cost us
=$118.80.
I figure we used approximately $12 worth of dry beans and there’s a very small cost for canning supplies, so we still come out over $100 ahead. That made me feel like it was worth it, since I would rather spend my time making the things we need, then spend my time working to make money to buy the things we need. Plus, the bone broth we make is better than anything you can buy in the store.
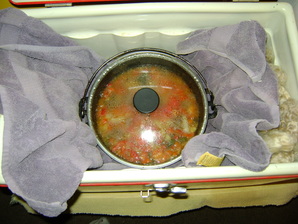
Our Expensive Pressure Canner
|
Water bath canners are inexpensive. They are basically a very large pot with a lid and a rack to hold jars. You can often buy them from garage sales. But they can only be used to can high-acid foods, which means mostly tomatoes and other fruits. A pressure canner cans everything else: meats, beans, soups, vegetables. But they are much more complicated machines with lots of safety features, so they are quite a bit more expensive. After researching my options, I decided I really wanted an All-American cast aluminum pressure canner, which of course was one of the most expensive I found. We bought the 21.5 quart, which is big enough to let us do two layers of pint jars at time.
|
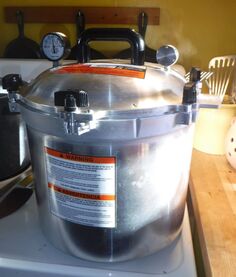
Our All-American 21.5 quart Pressure Canner
|
|
I wanted this higher-priced pressure canner because it seemed the most self-reliant:
|
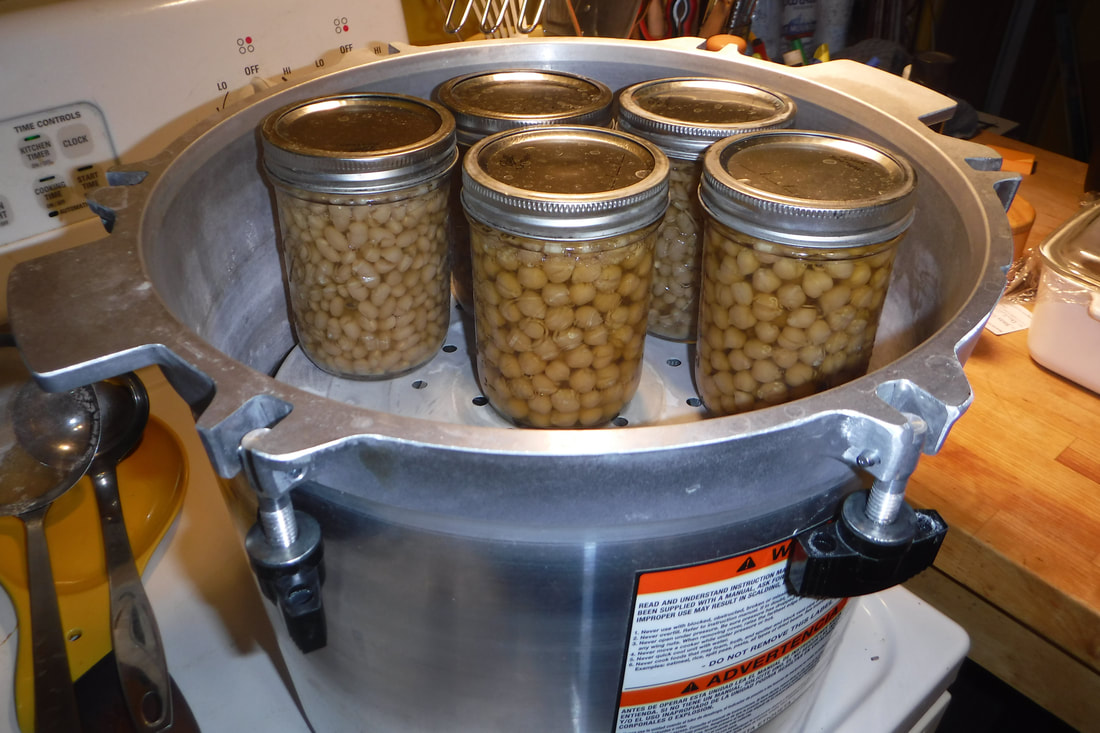
Our canner is big enough to hold two layers of pint jars. This batch has navy beans and chickpeas.
|
Three Weeks Later:
We're almost out of navy beans & broth
|
It’s about three weeks later, and as I thought, we only have 2 quarts of broth (out of 8) left, and only 3 pints of navy beans (out of 12) remaining. Having ingredients at our finger tips has made experimenting with recipes much easier, so our supplies are running out fast. We’ve been trying to challenge ourselves to cook from the pantry more, rather than buy food from the grocery store, because we need to save money, so learning to use the pressure canner has been very serendipitous timing (Bear here- good scrabble word, hon...).
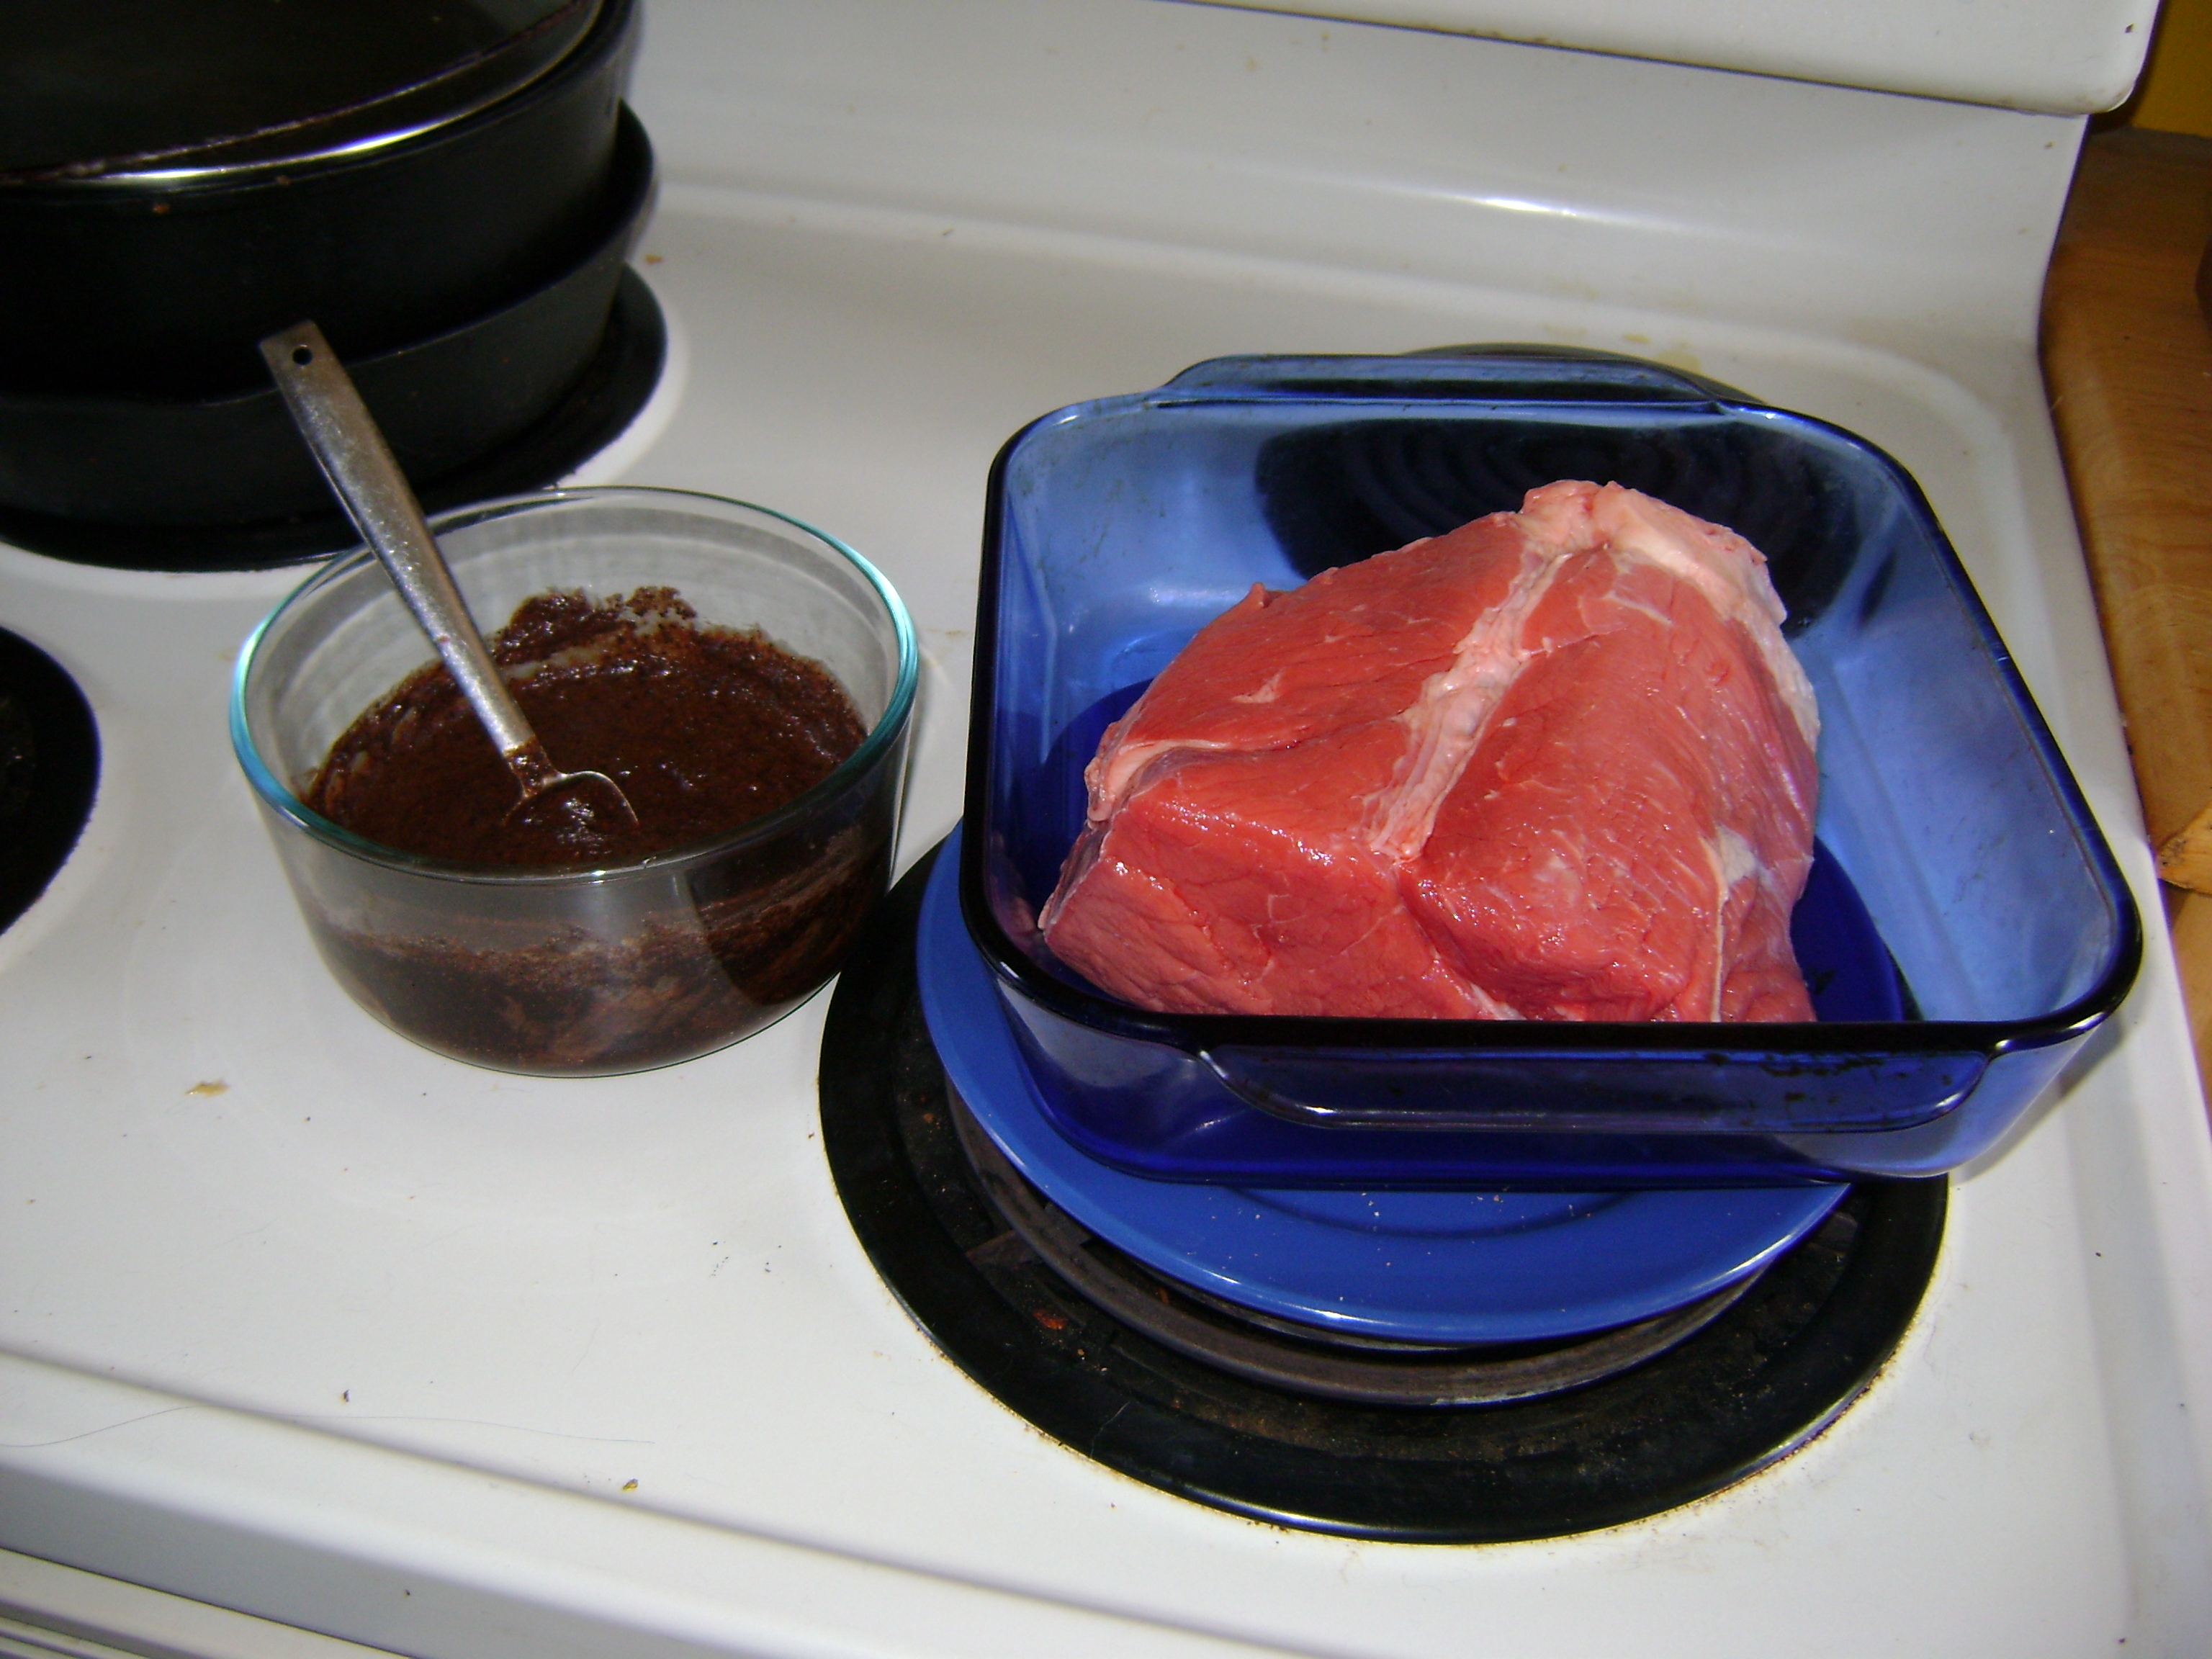
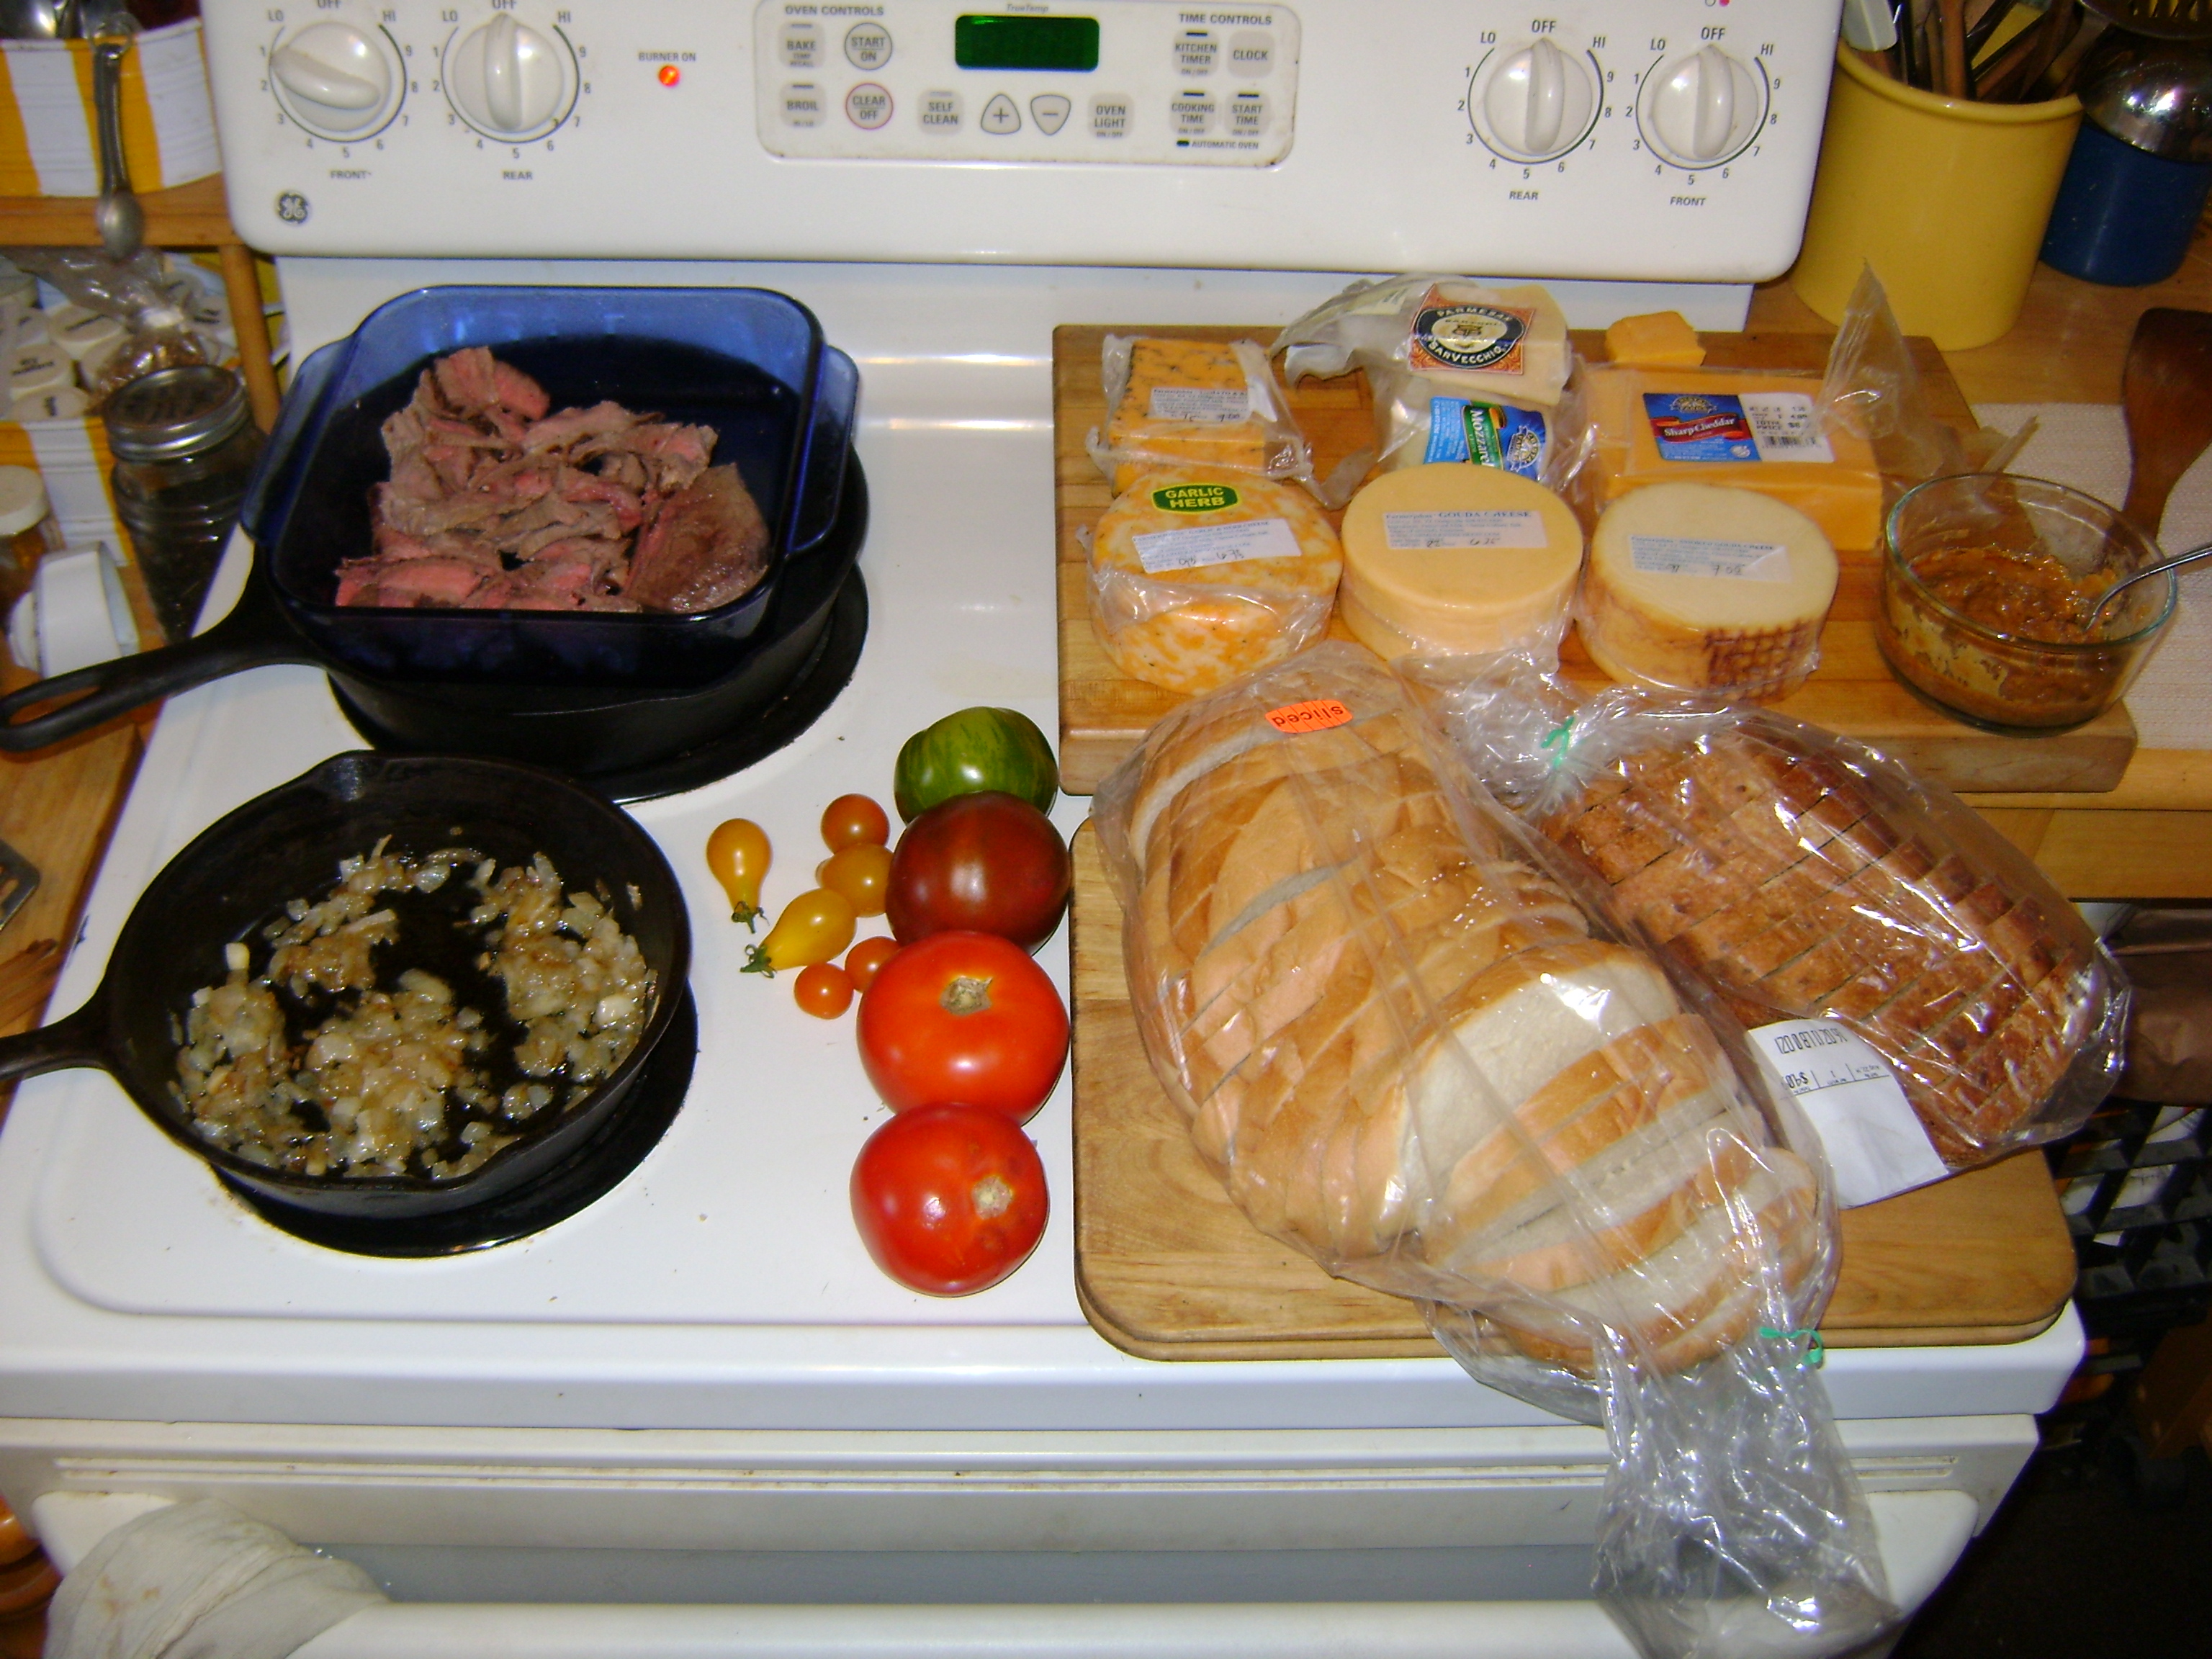
This weekend we are canning beef bone broth. I like its flavor better than poultry broth, and the farmers we buy our bulk organic beef from recently decided to clean out their freezers and gifted us with almost 90 lbs. of bones! We will be making bone broth on weekends for the foreseeable future, since we don't have enough freezer space to store the bones long term. Actually, if we use 14 lbs. of bones per batch, that would be 5 more batches, so it would be good to figure out a way to get two batches going at a time. However, I don’t think we have space in our refrigerator to safely unthaw that many bones at a time. |
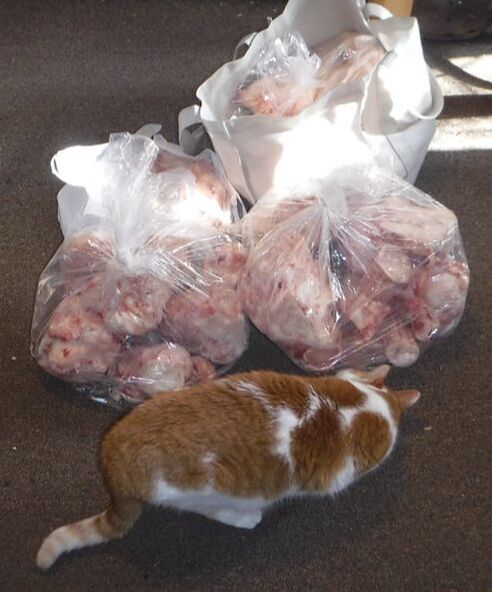
Here's about half of the almost 90 lbs. of beef bones our friends gave us.
|
Why Make Bone Broth?
We have been making "plain" stock for years with leftover chicken bones and vegetables, but I confess that I didn’t notice any flavor difference between adding our stock vs. plain water to our soups. When bone broth became popular, I looked at some recipes and realized there were some things I had been doing wrong when making stock all these years:
Bone broth is definitely more flavorful in recipes that plain water. There are a lot of claims about how healthy it is, but I don't worry a lot about whether those are true, because we would make bone broth just because it tastes so good. Even if you just drink it straight without adding anything to it, it is so tasty it seems like a really nourishing meal in itself. It seems like something your grandmother would give you to make sure you stay healthy.
- I needed to simmer the broth much longer. I usually only simmered it for several hours, or however long was convenient that day. I should have been simmering it for at least two days, or ideally, three or four for beef broth.
- I needed to add vinegar, which has the ability to leach minerals from the bones. You don’t add enough to change the flavor, but enough to extract the minerals that make the broth good for you.
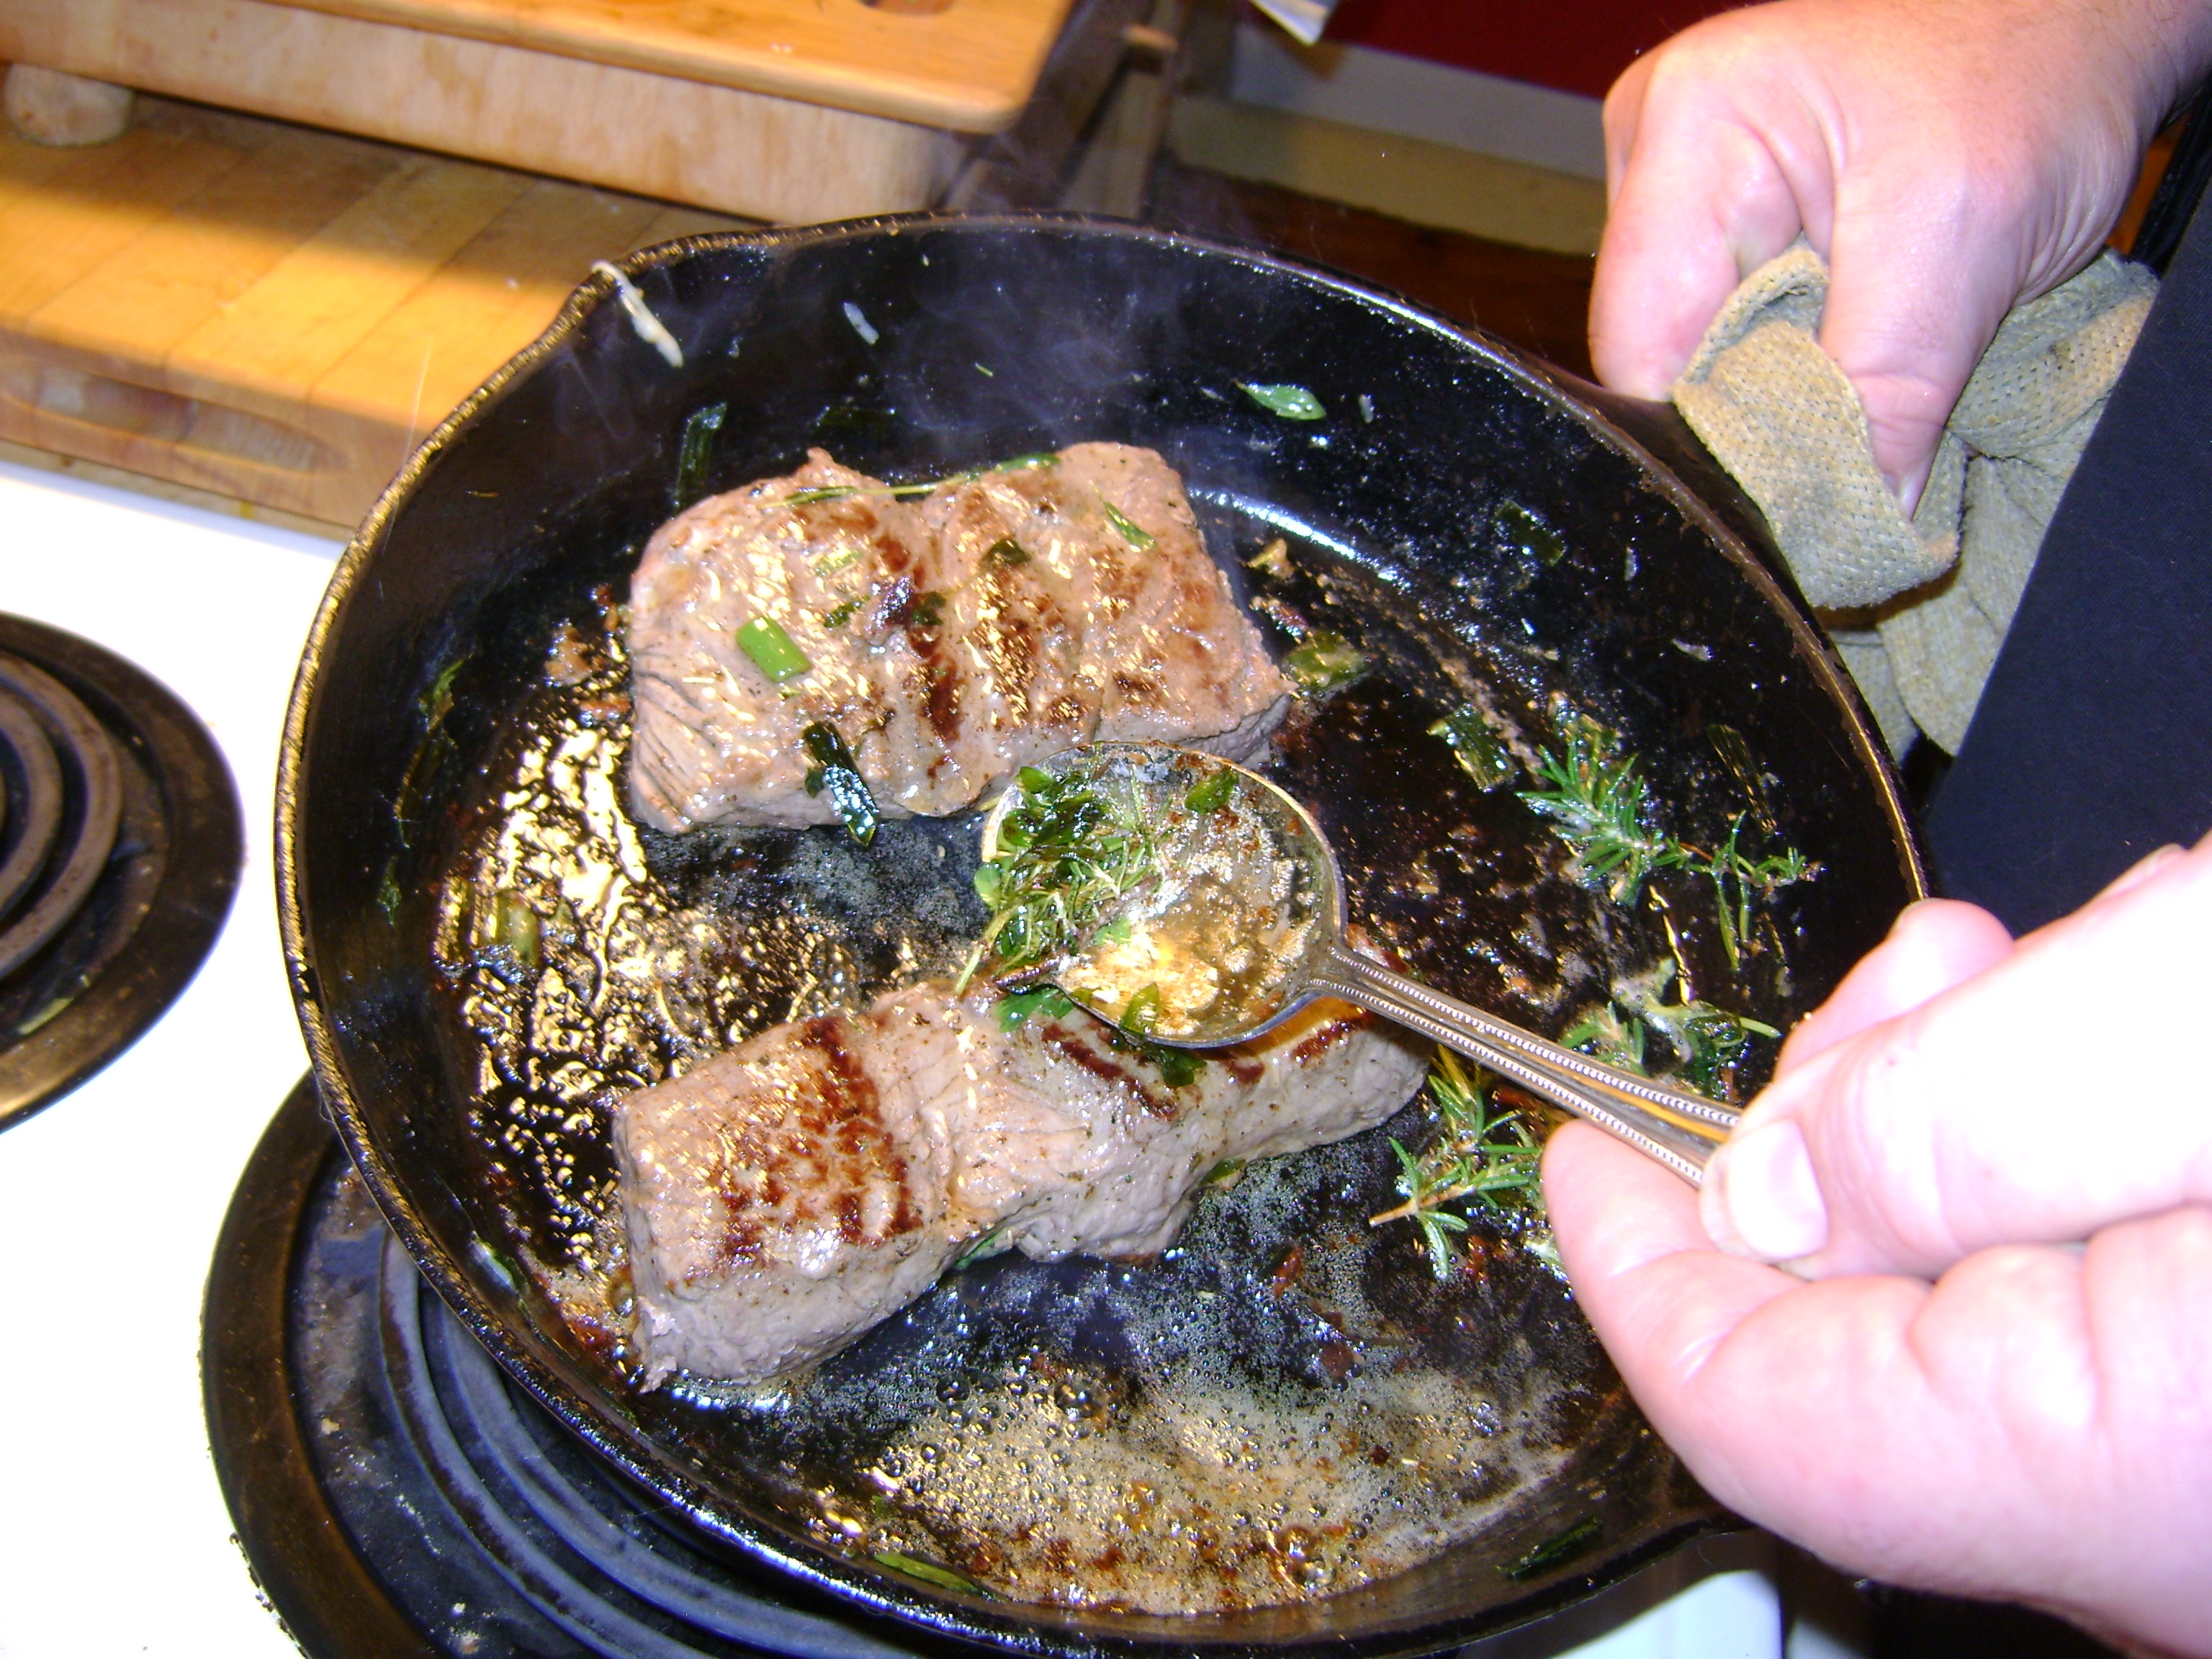
- I had never made beef broth. We had just made stock from leftover poultry bones, but I think beef broth has much more flavor. We just don’t have hardly any leftover beef bones, so we needed to buy them specifically to make the broth.
Bone broth is definitely more flavorful in recipes that plain water. There are a lot of claims about how healthy it is, but I don't worry a lot about whether those are true, because we would make bone broth just because it tastes so good. Even if you just drink it straight without adding anything to it, it is so tasty it seems like a really nourishing meal in itself. It seems like something your grandmother would give you to make sure you stay healthy.
|
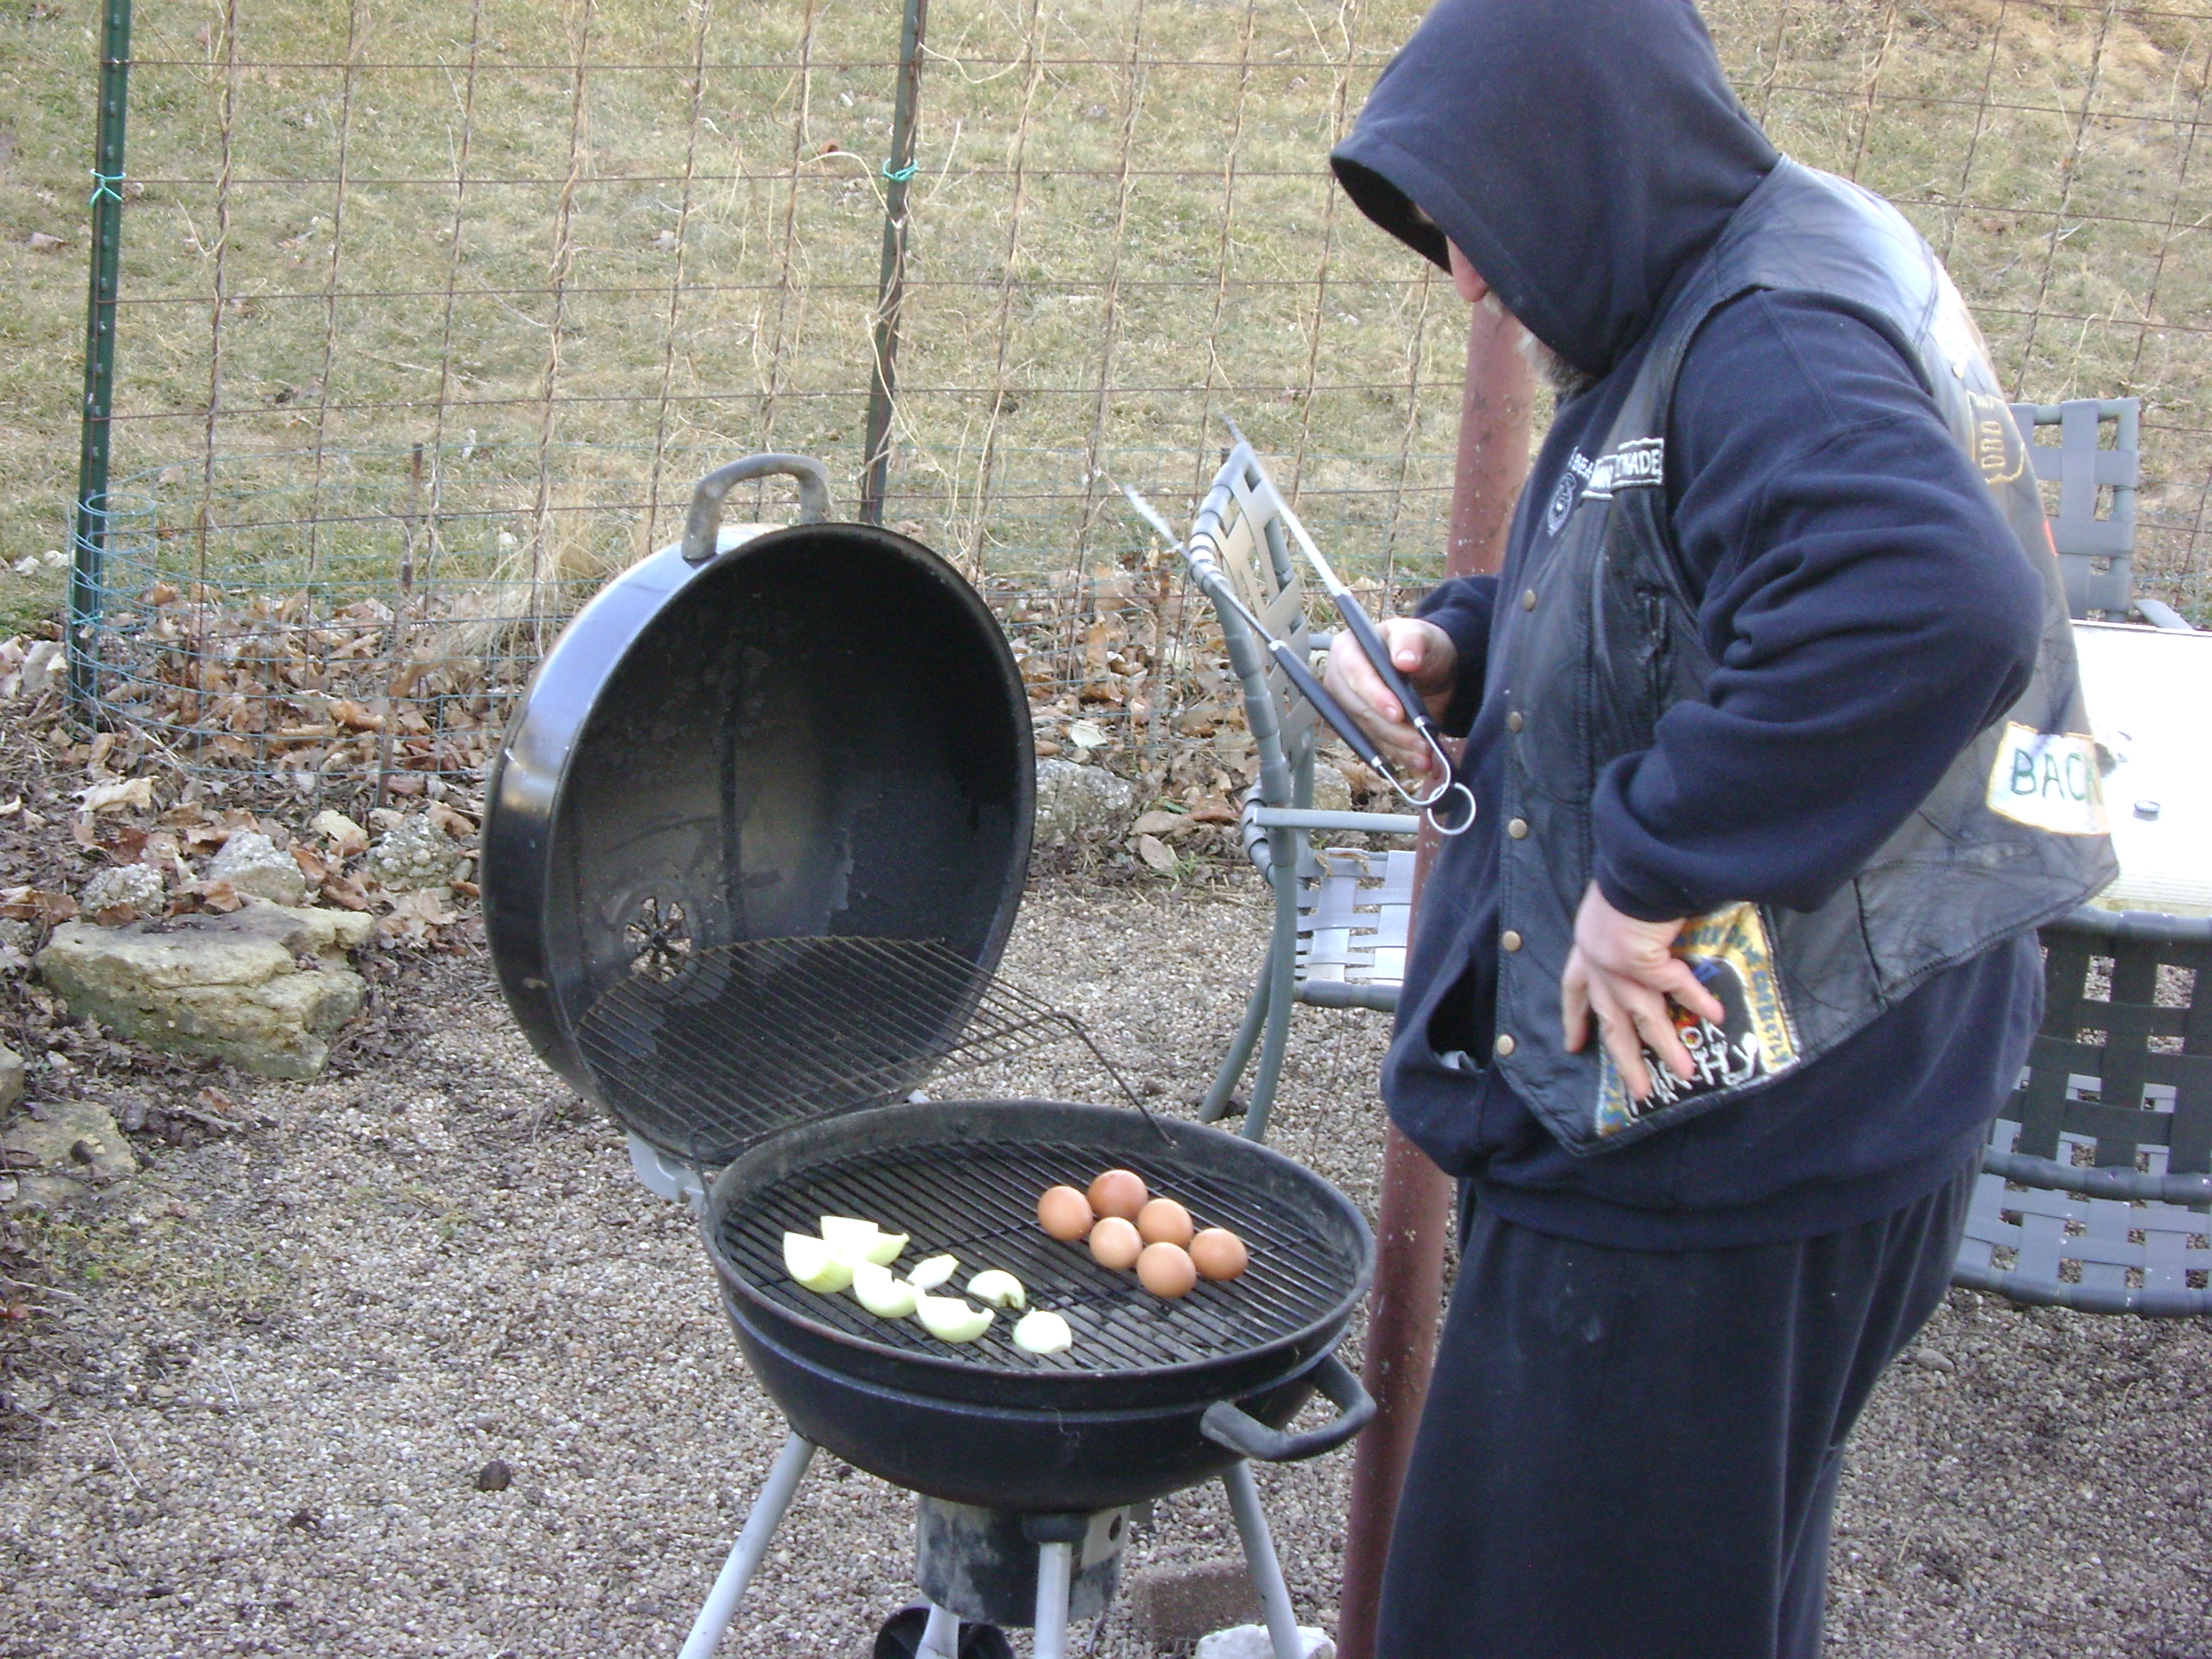
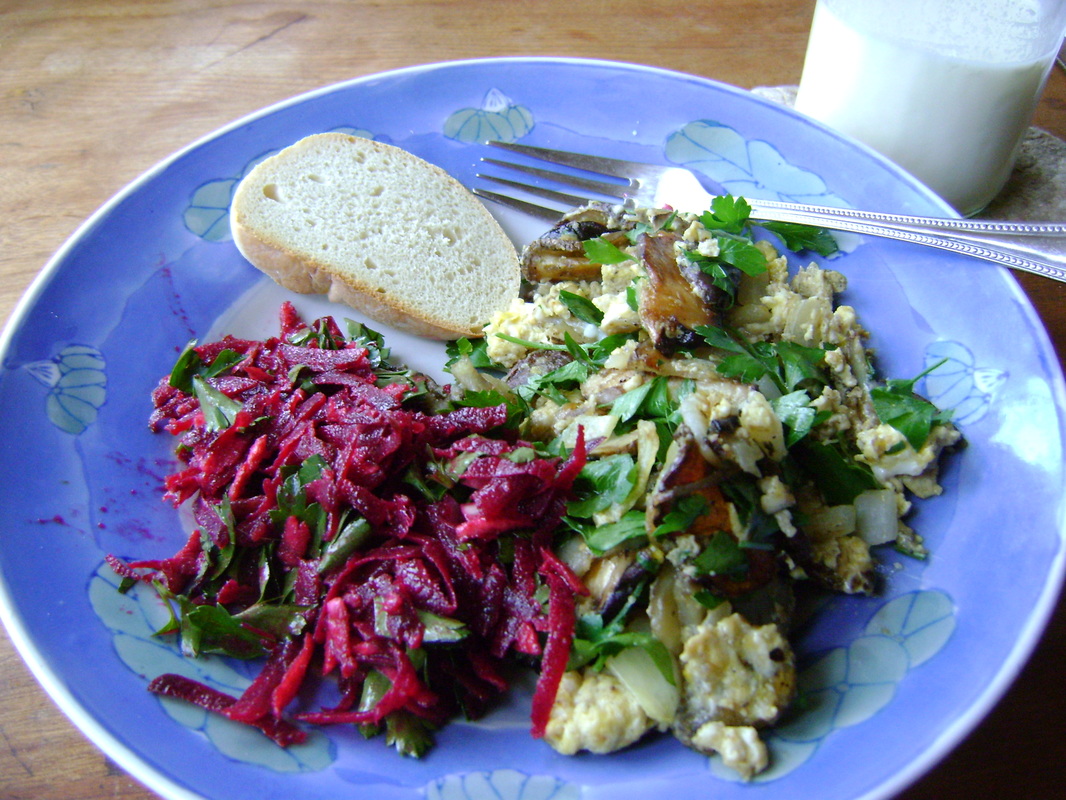
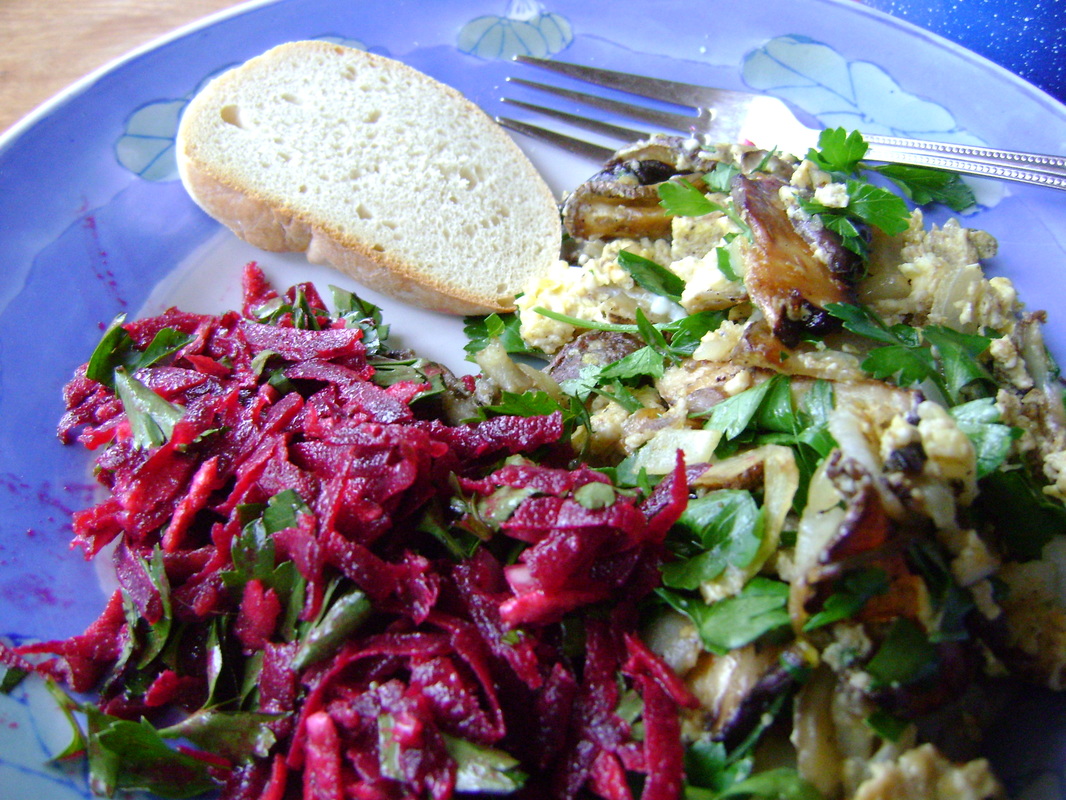
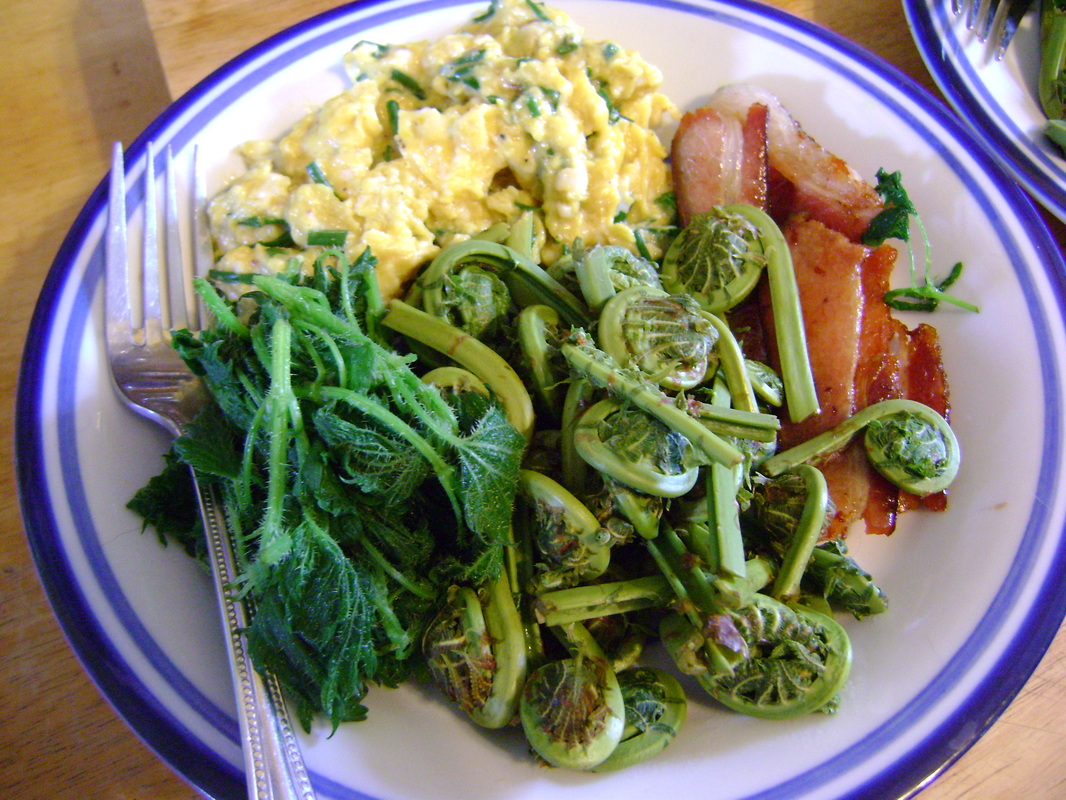
If you want to do more than drink it straight, though, it can be used in endless ways. If you are making a recipe that calls for any water, you can substitute bone broth instead, and it will add flavor. So don’t just think about adding it to your soups. For example, it is great when used to boil oatmeal. Add some bacon and parmesan cheese and you’ll have an amazing savory breakfast. We got this idea from Healing Bone Broth Recipes by Sharon Brown. It's a book about the Paleo diet, which we're not really into, but it's full of ideas for how to use your broth.
|
 |
|
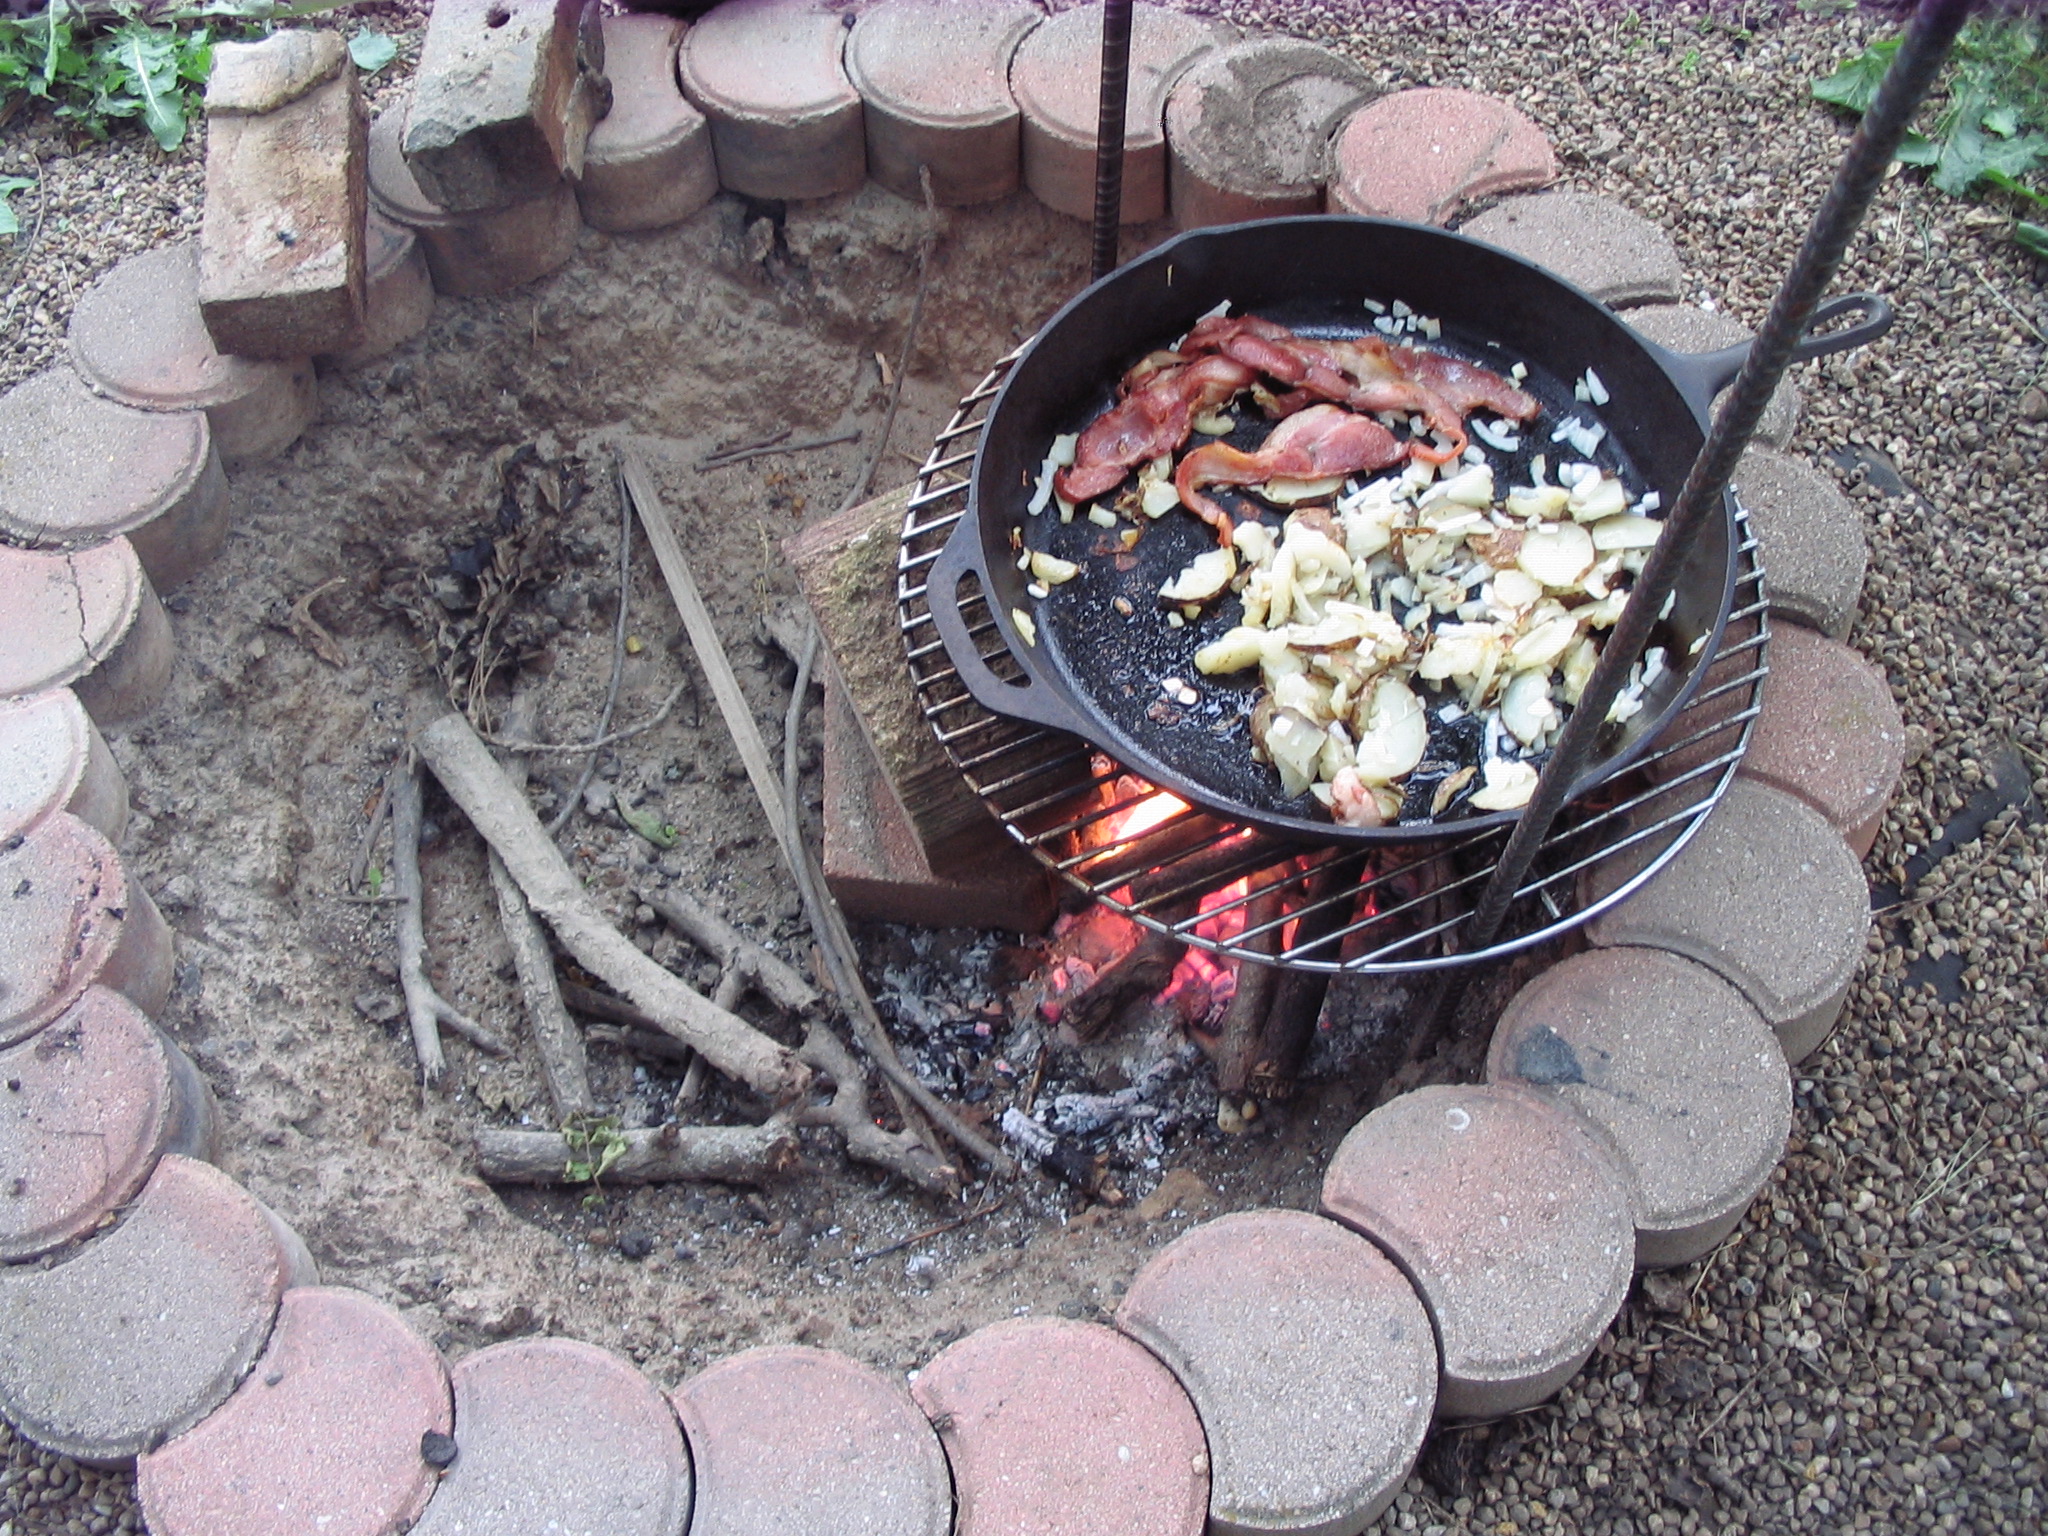
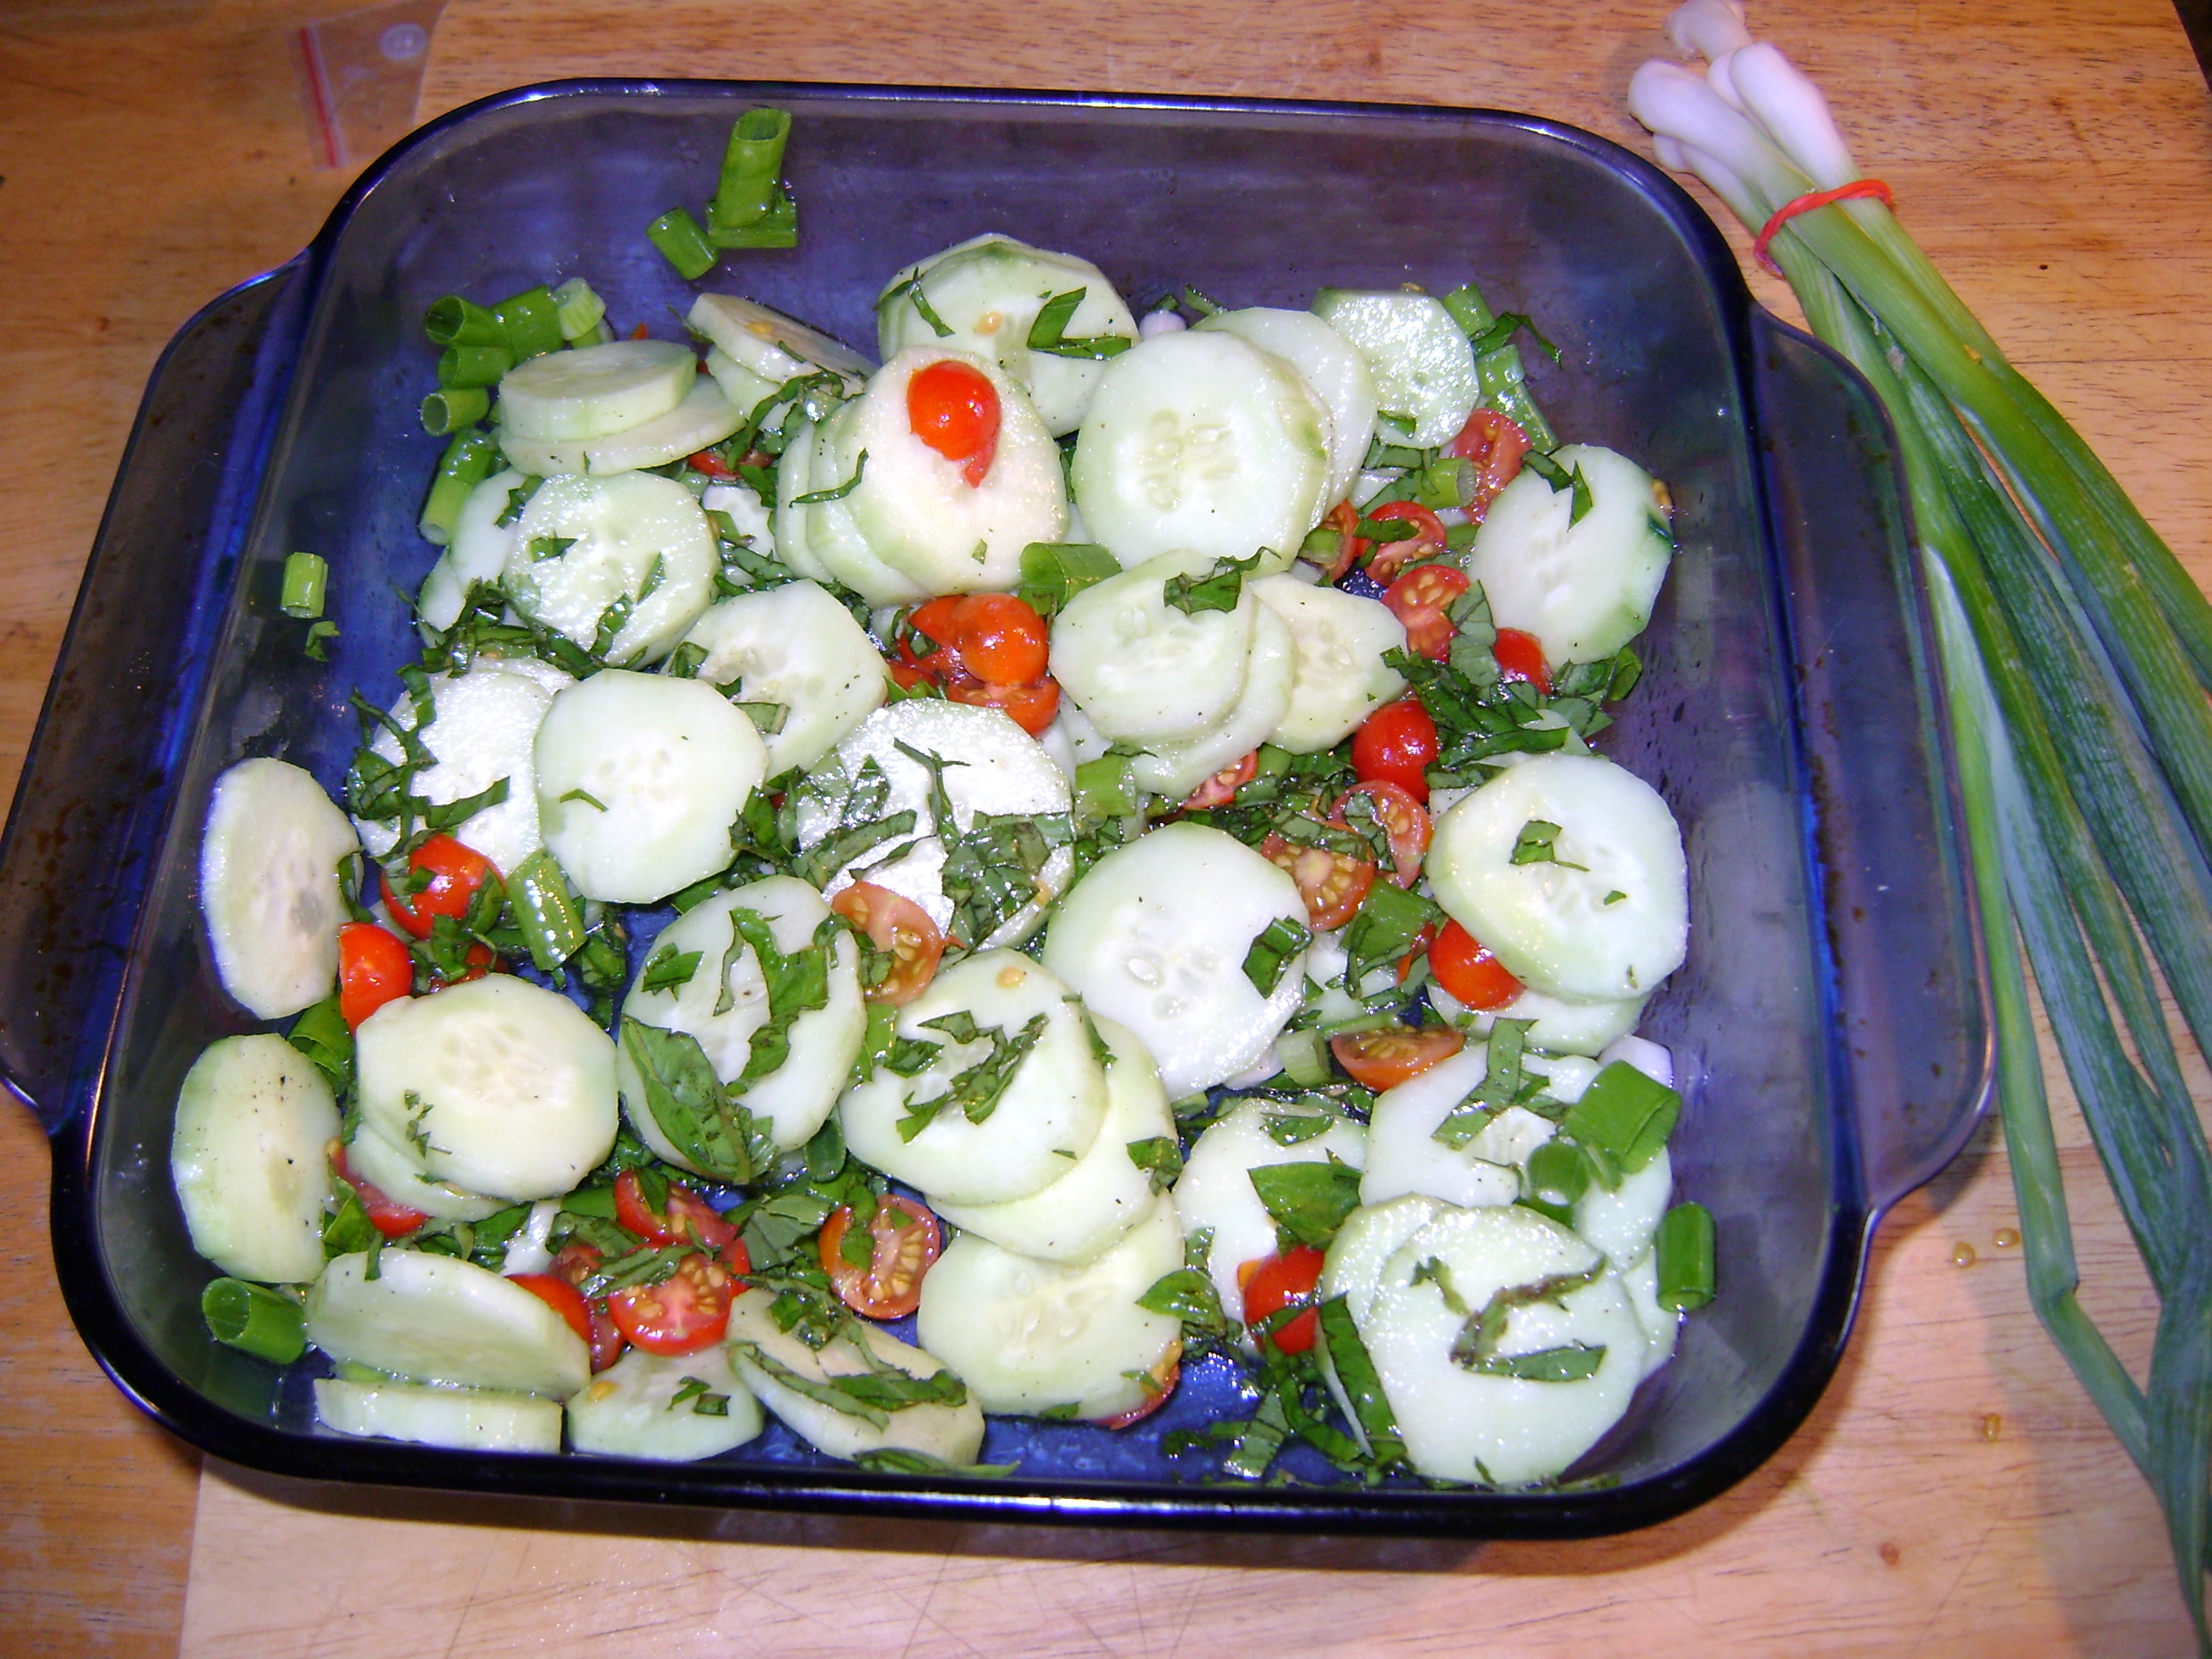
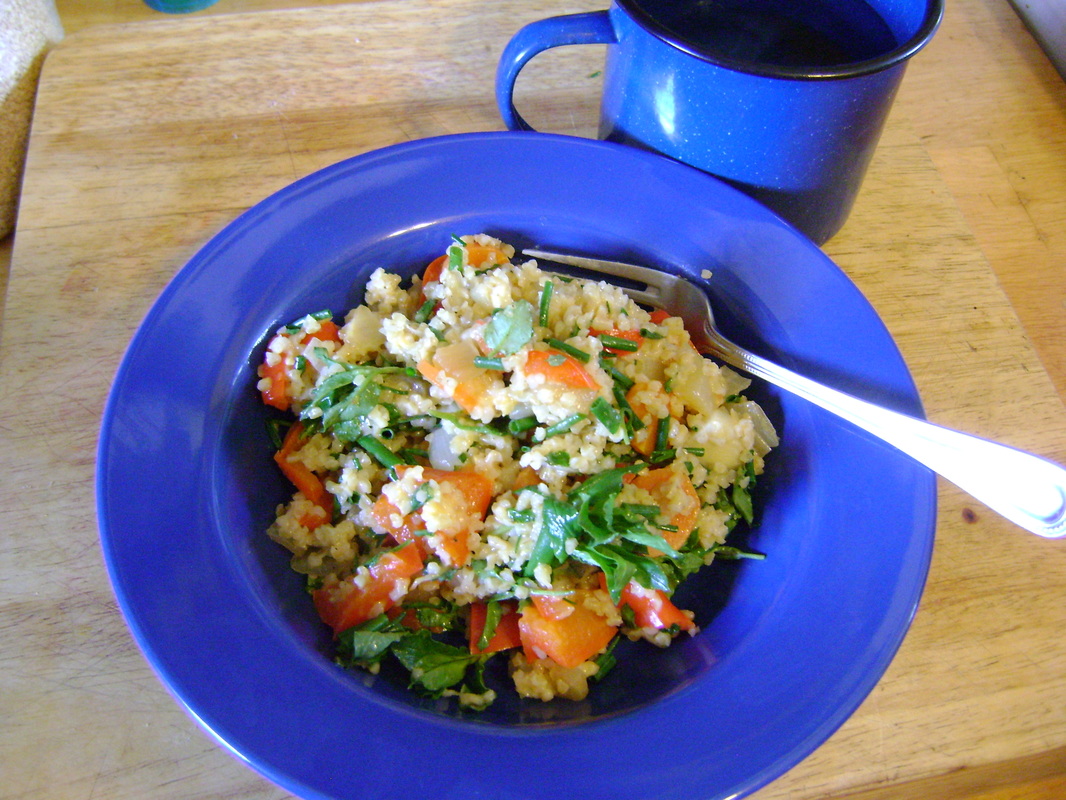
As part of our pantry challenge, we have cooked groats (whole oat kernels) in bone broth to create a pilaf, then added veggies and a little meat. It has been amazing. We are basing our oat experiments on recipes from The Scottish Oats Bible, by Nichola Fletcher, which Bear brought back from Scotland. We are sure that as we go on to experiment with barley, rice, and other grains, that cooking them in bone broth will also add incredible flavor.
|
 |
Pork and Kale and Knockit Corn (aka groats) recipe from The Scottish Oats Bible:
Groats (aka whole kernal oats) boiling in beef bone broth.
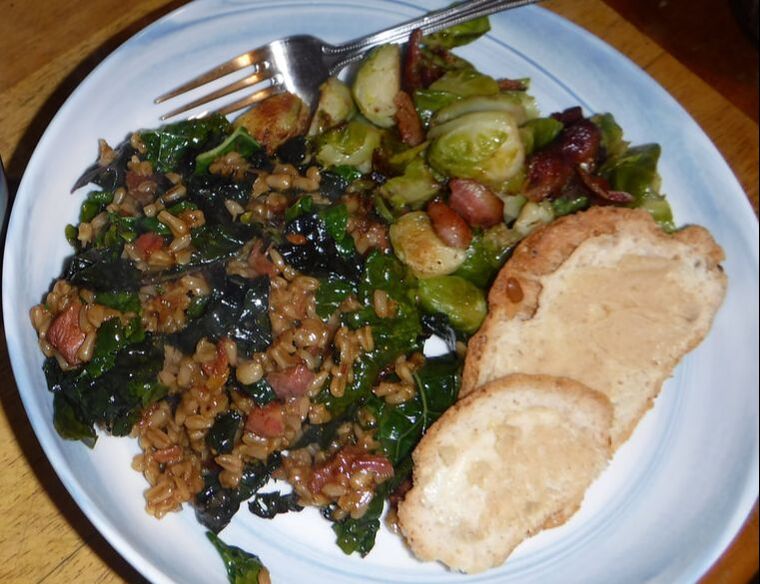
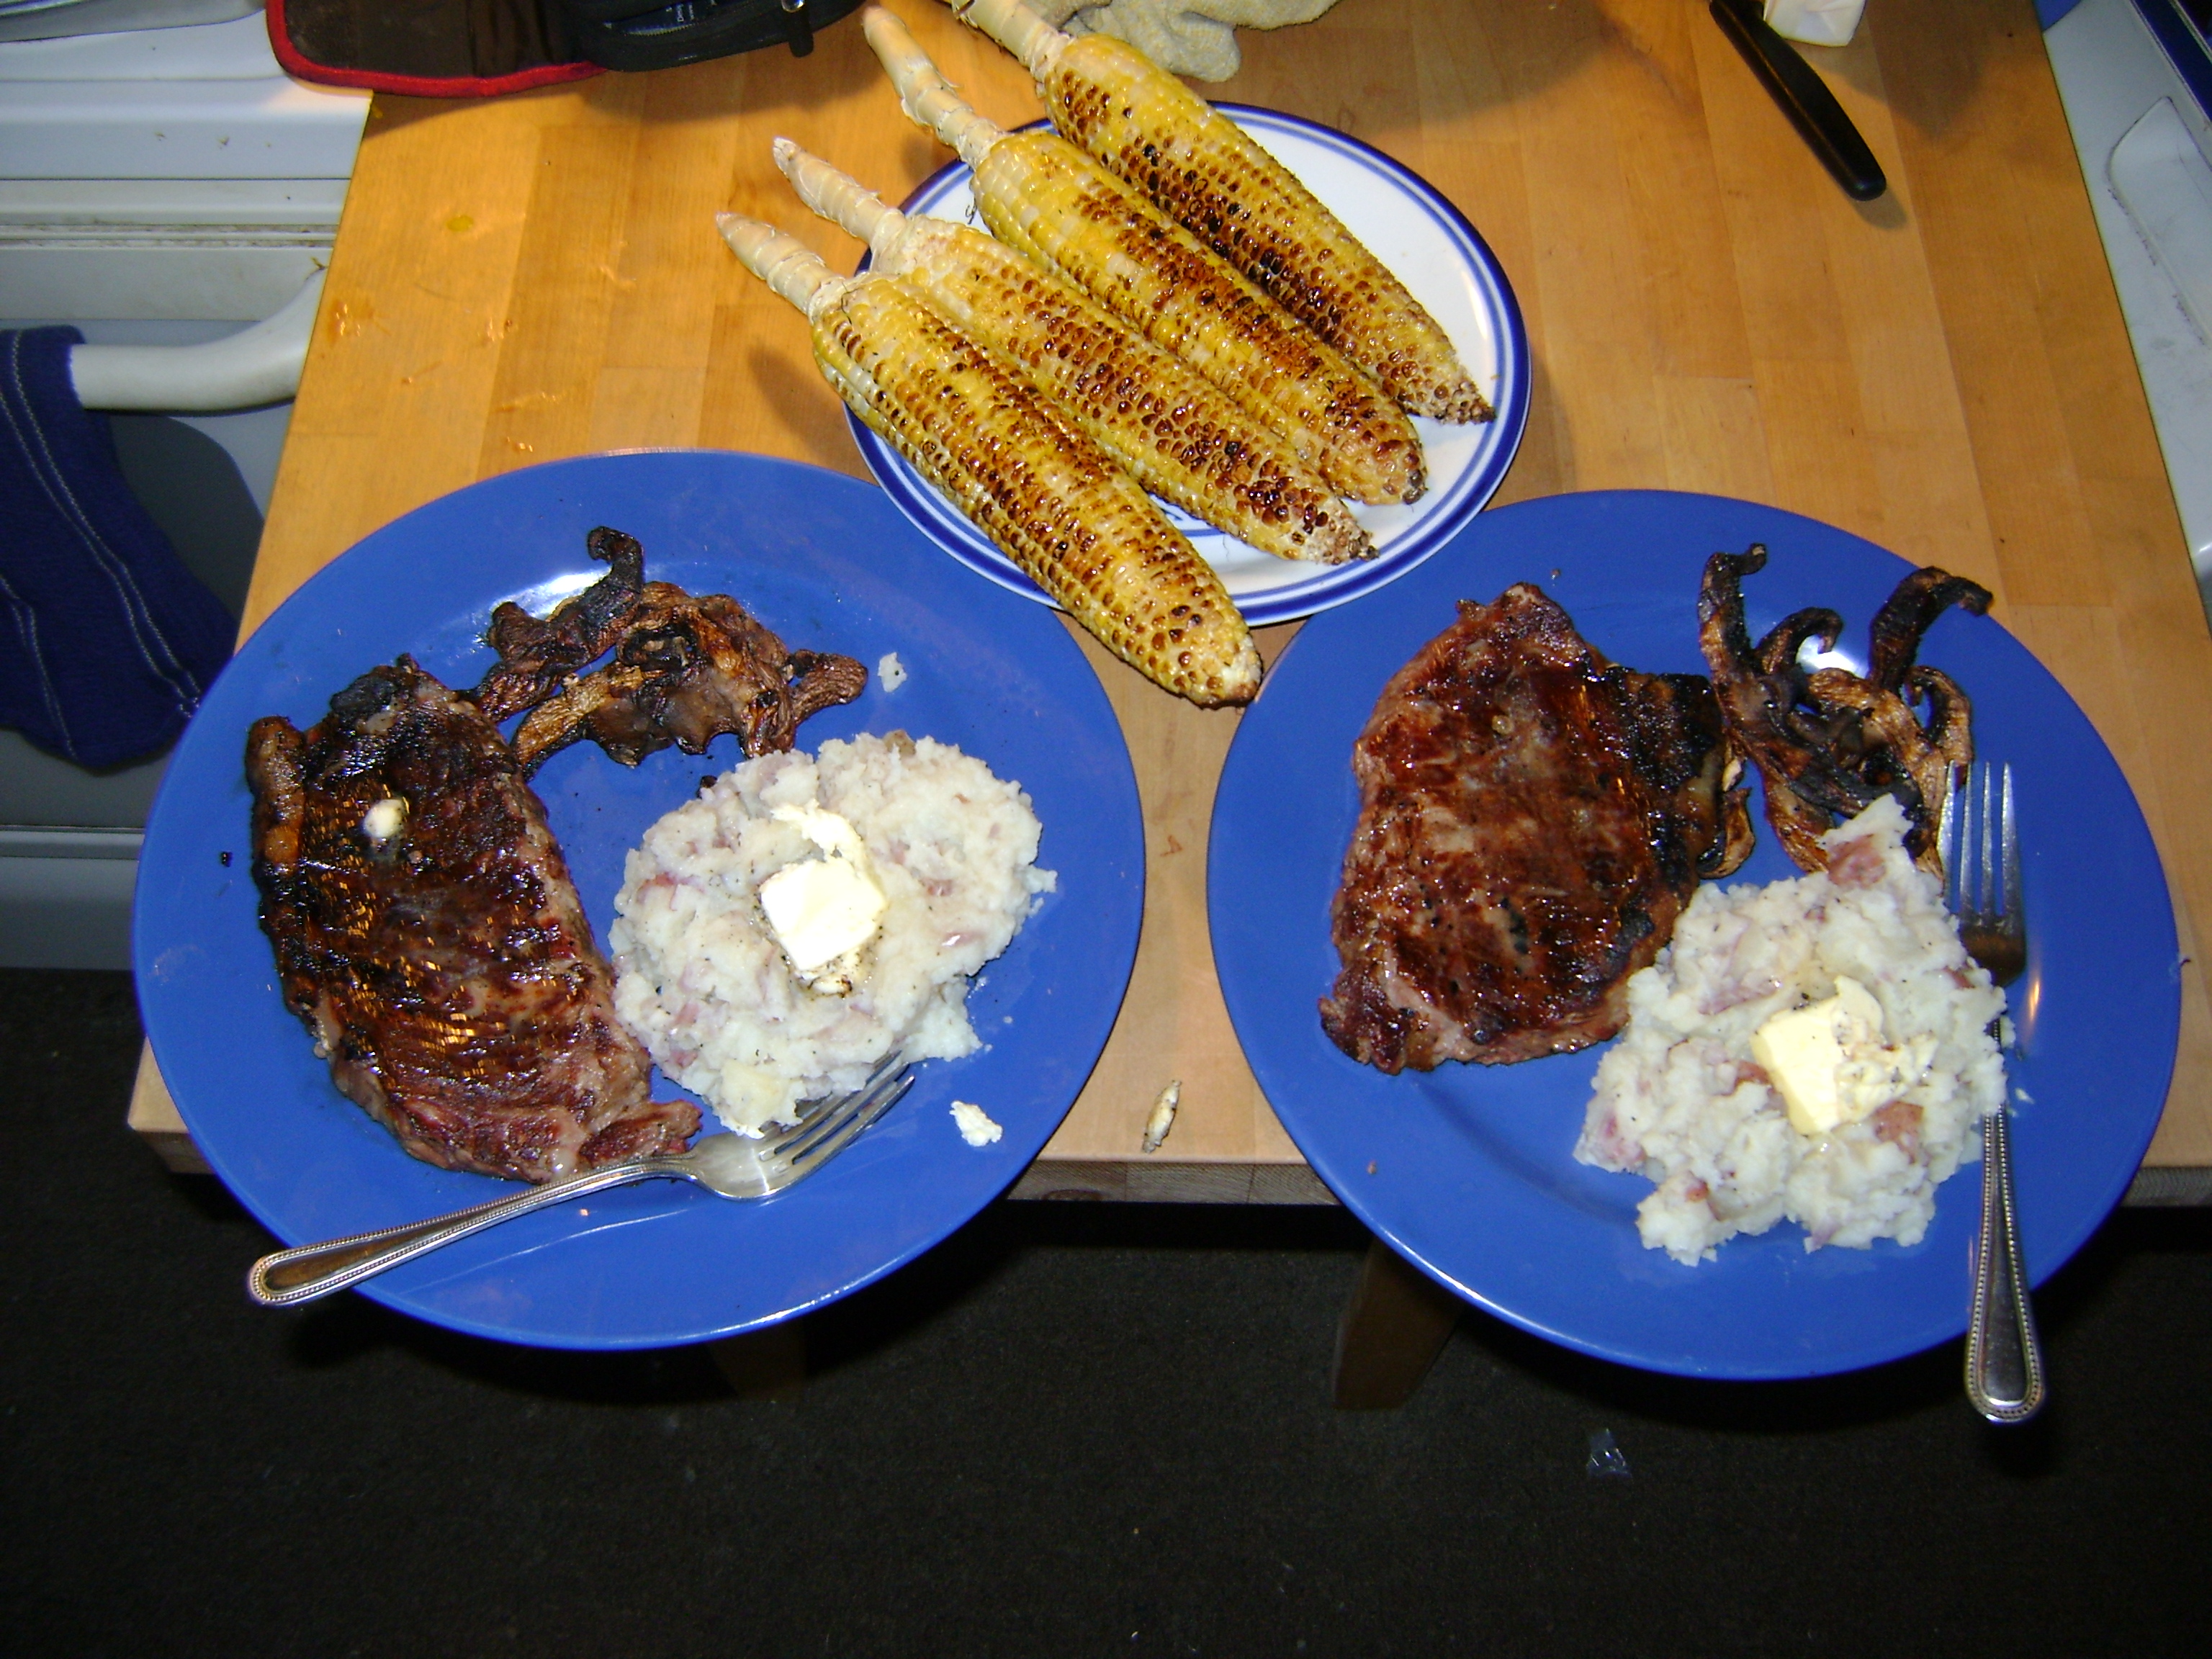
The finished recipe with a side of brussel sprouts and bread.
Our Beef Bone Broth Recipe
Makes 6- 8 quarts.
Days before:
Unthaw bones in the refrigerator (it takes a couple days).
If you have a water filter, make sure you’ll have enough water from it to use in the broth.
Days before:
Unthaw bones in the refrigerator (it takes a couple days).
If you have a water filter, make sure you’ll have enough water from it to use in the broth.
|
Ingredients:
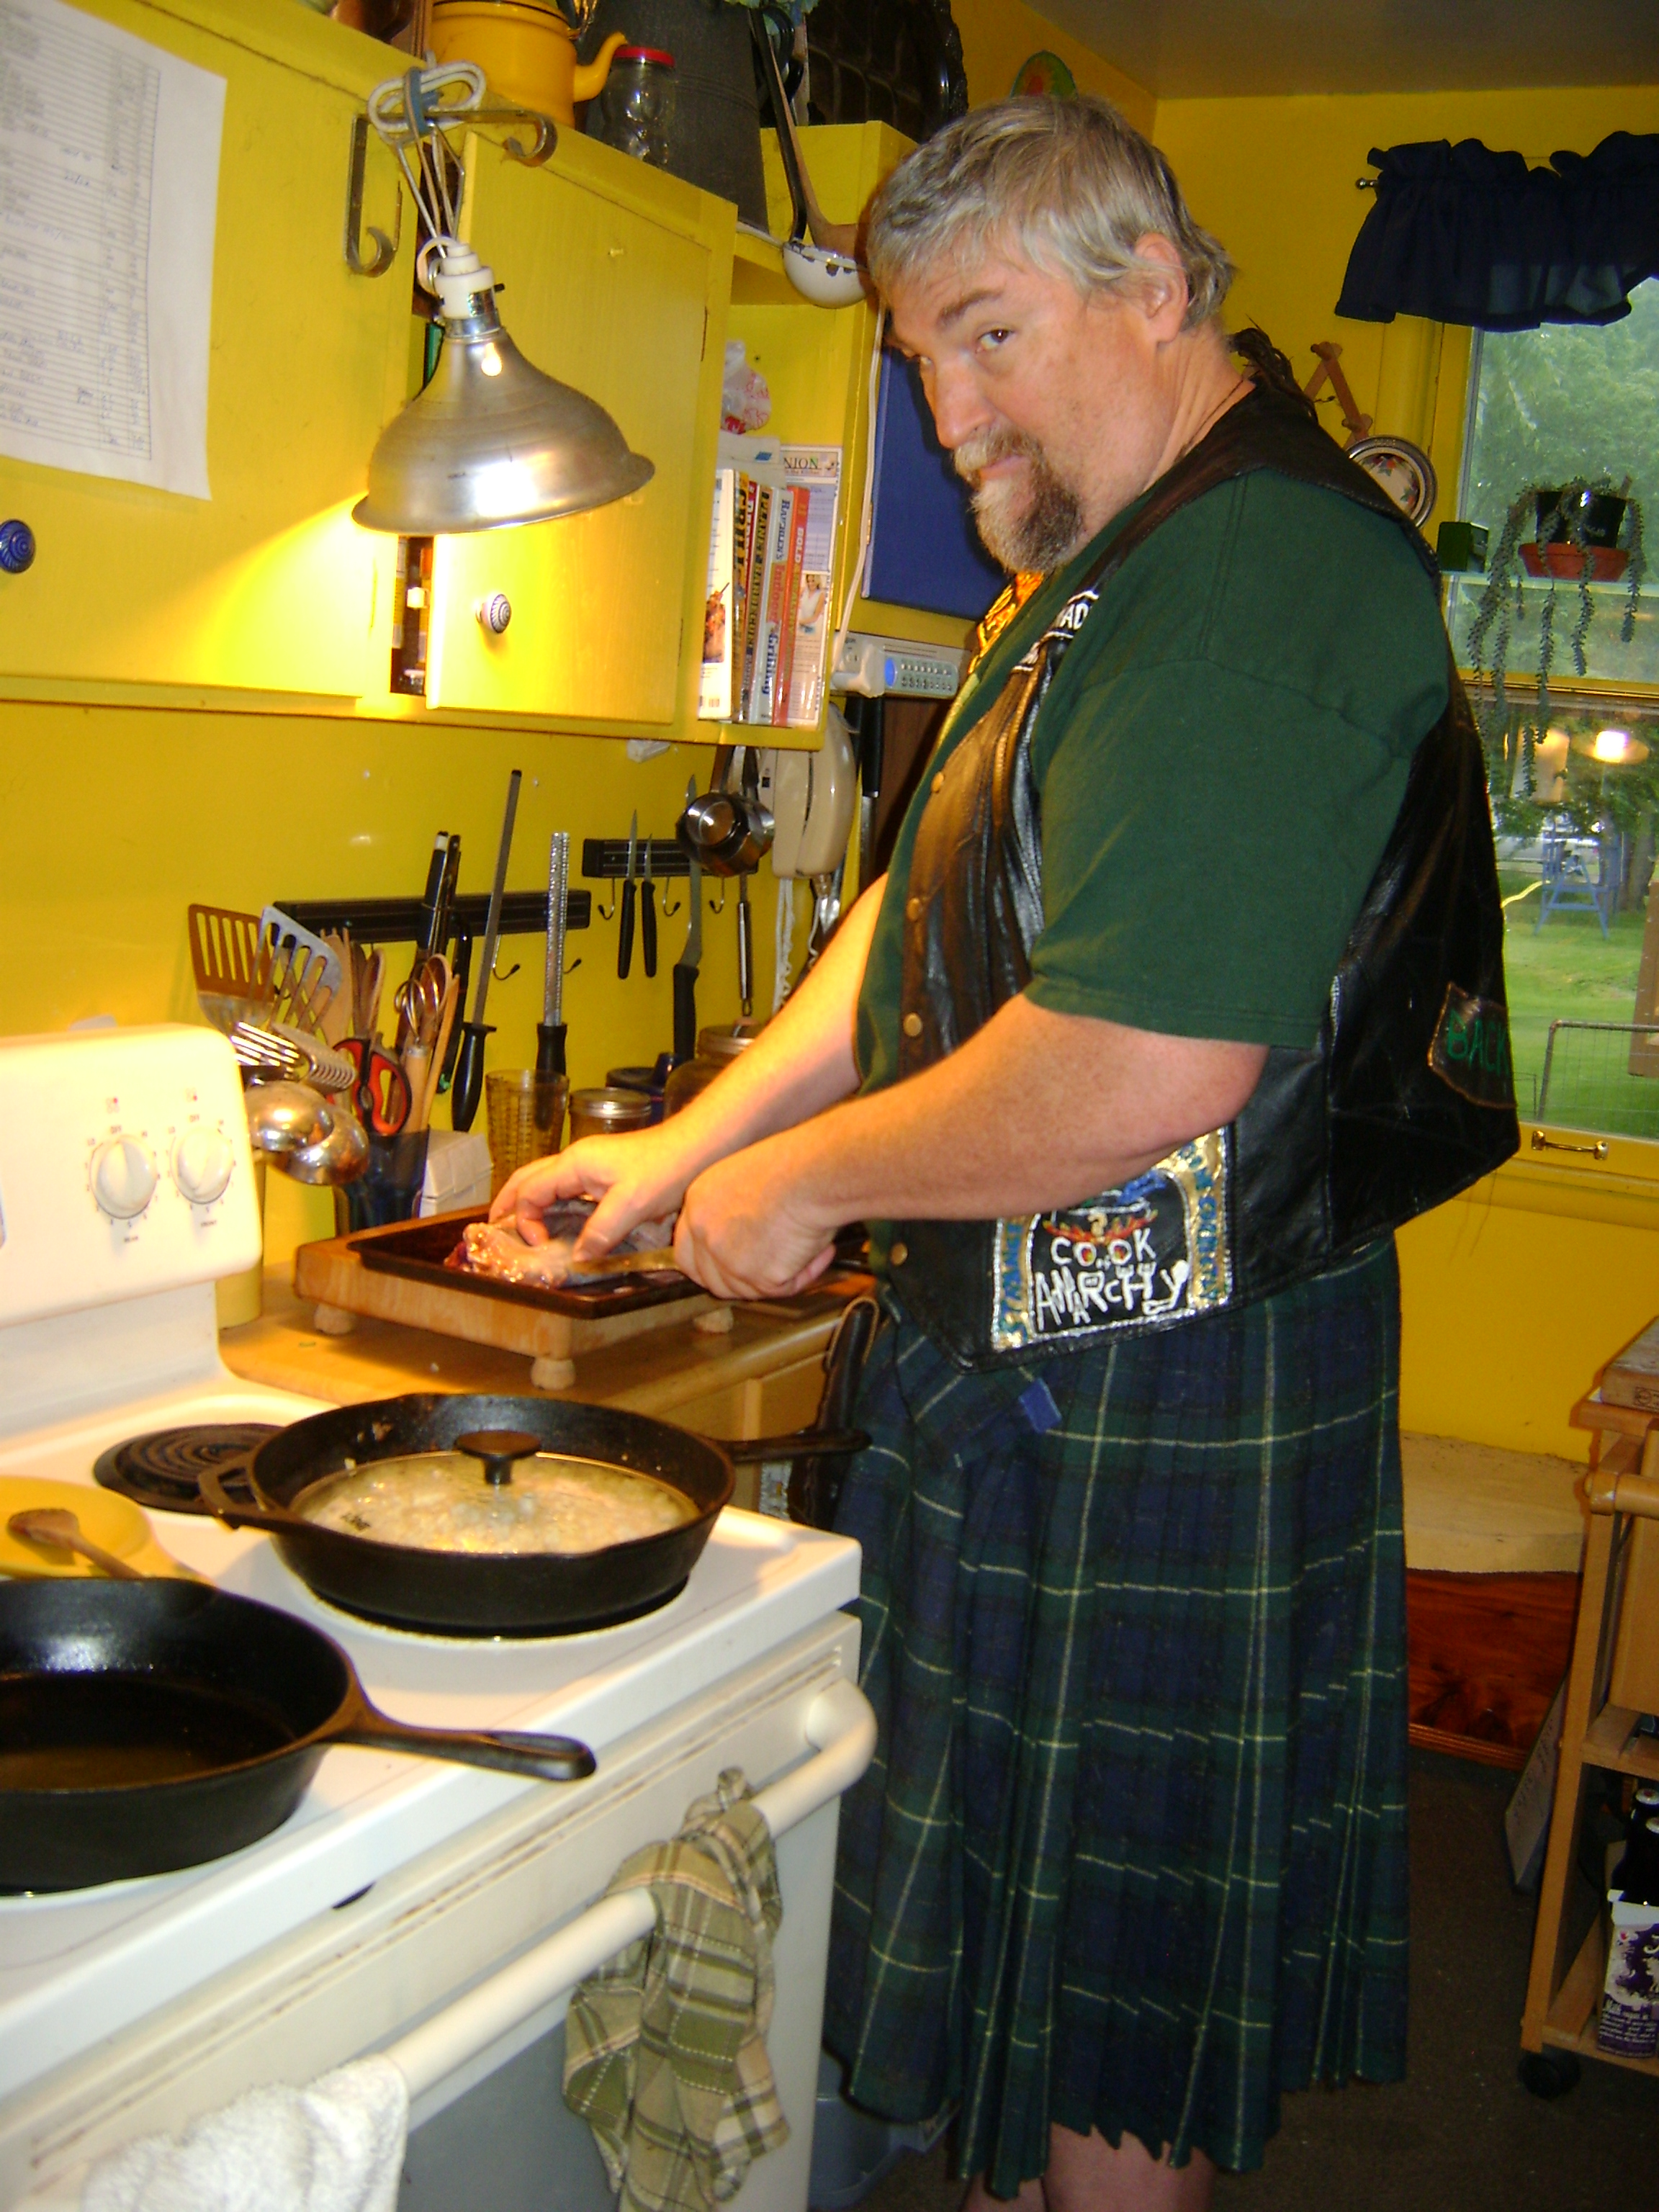
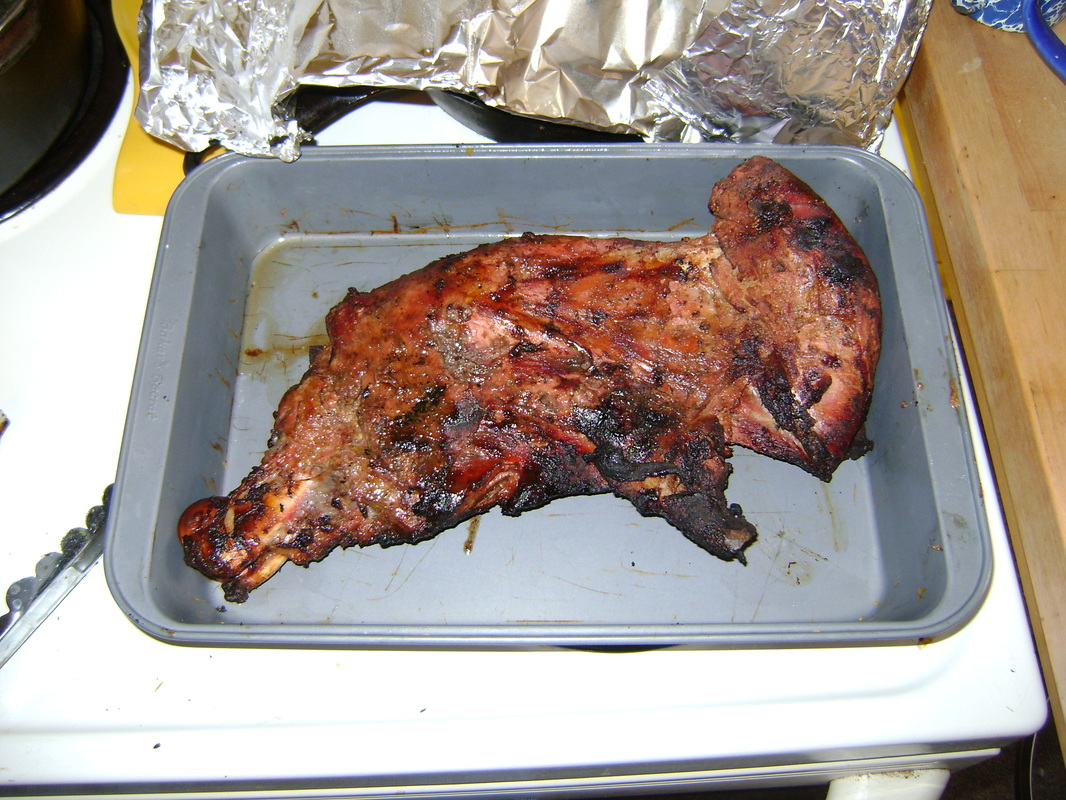
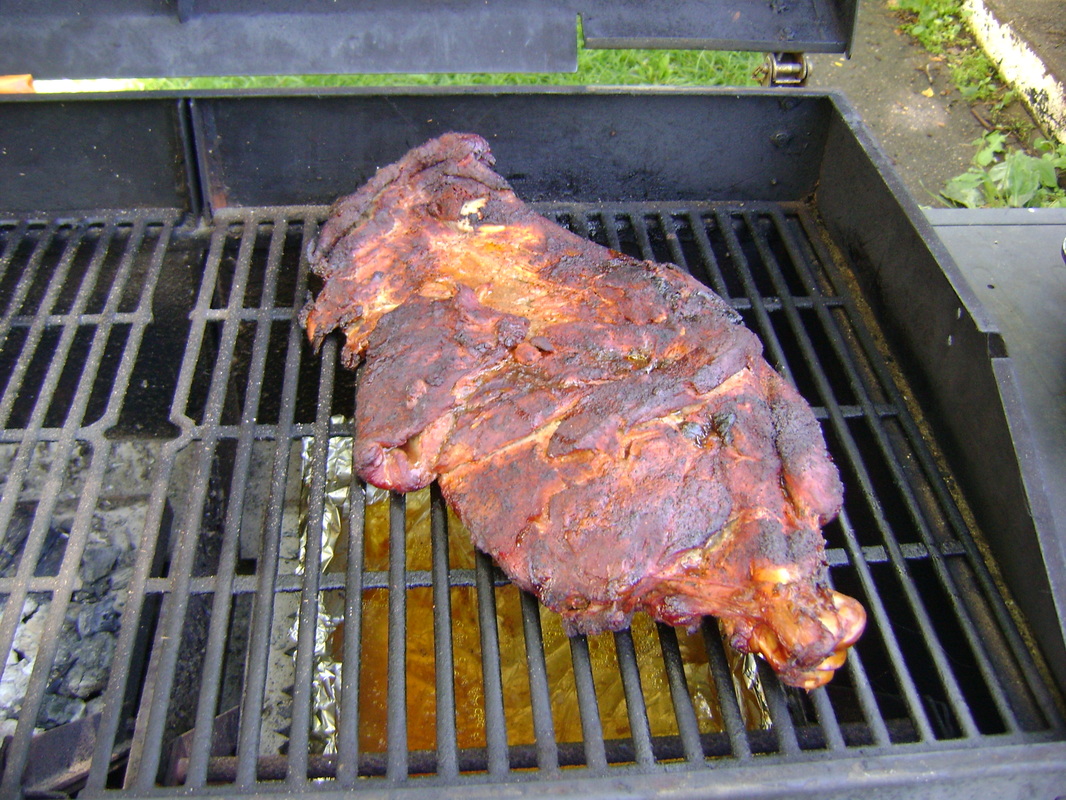
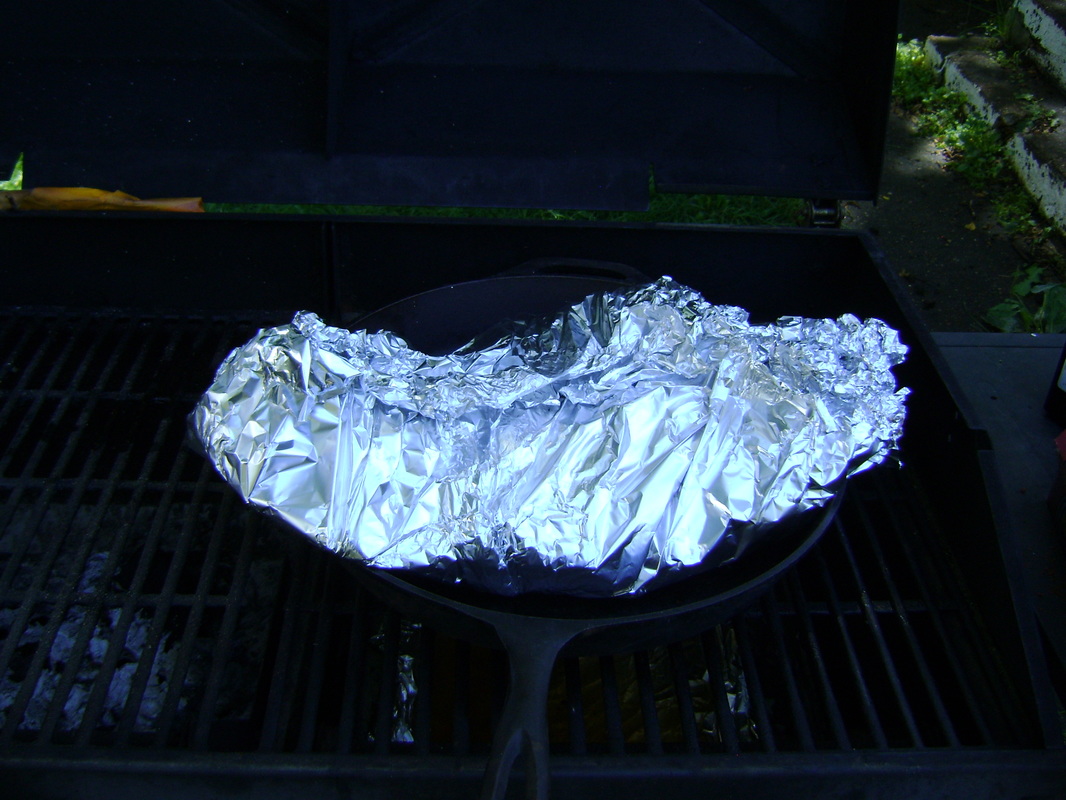
Roast the bones:
Simmer stock:
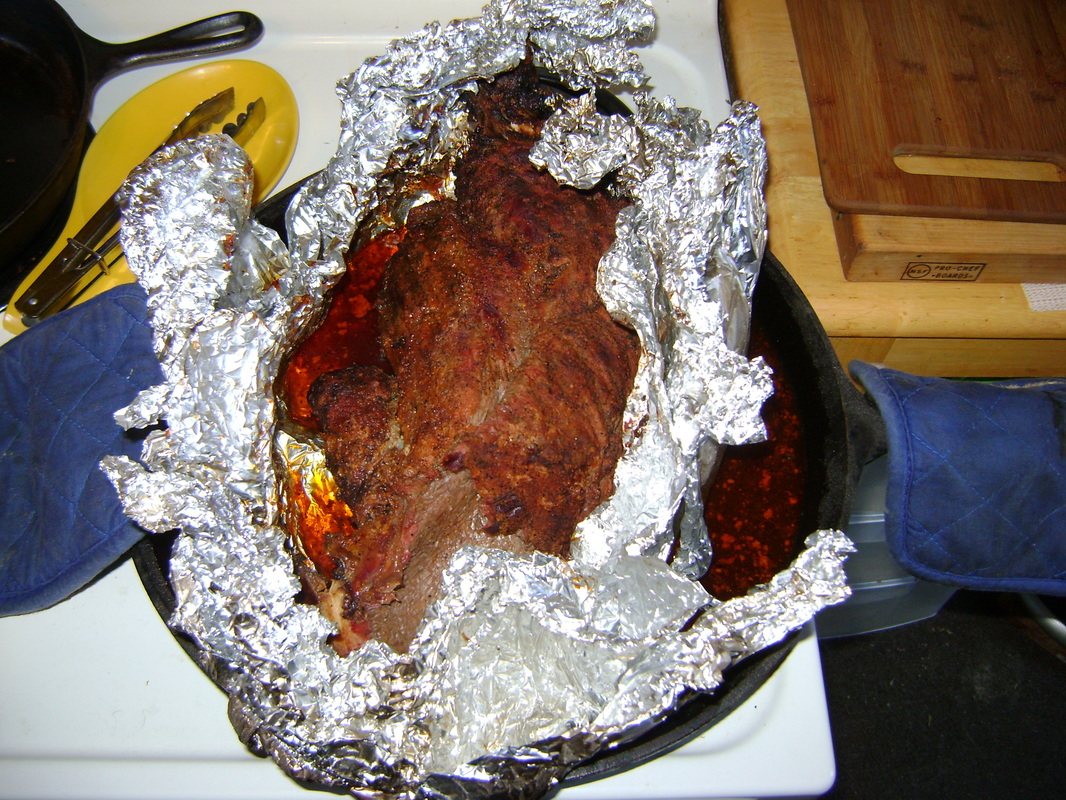
After about 12 hours:
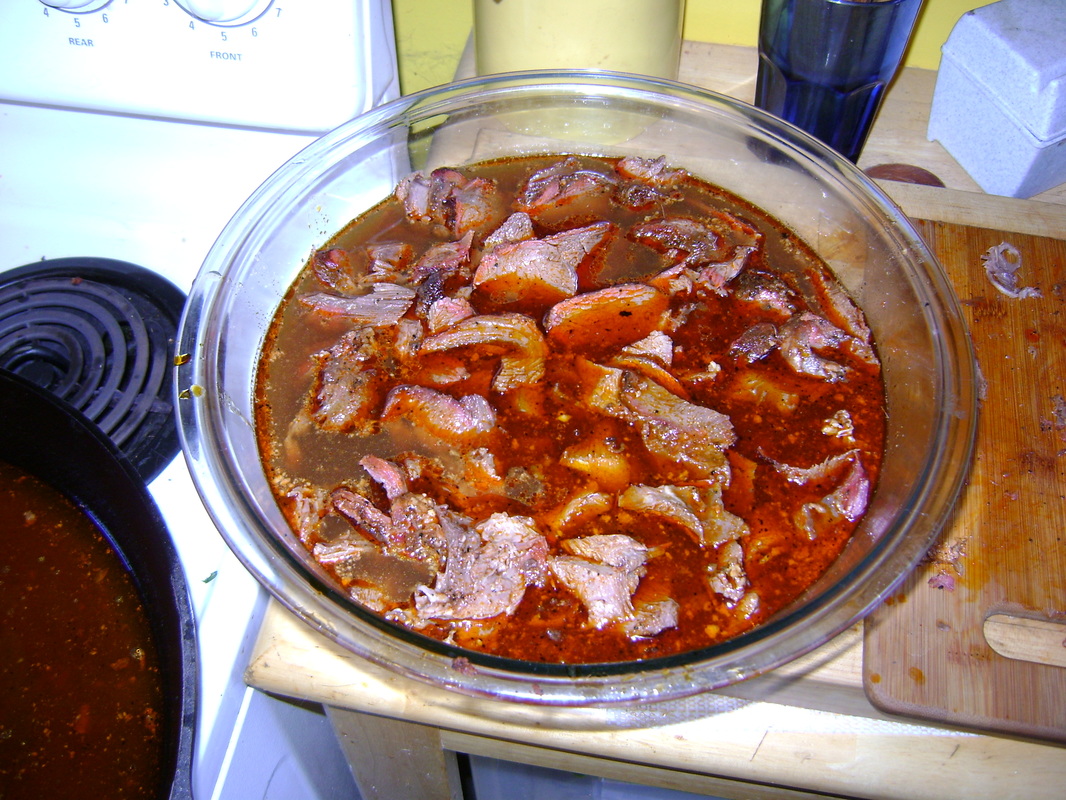
To finish the stock:
|
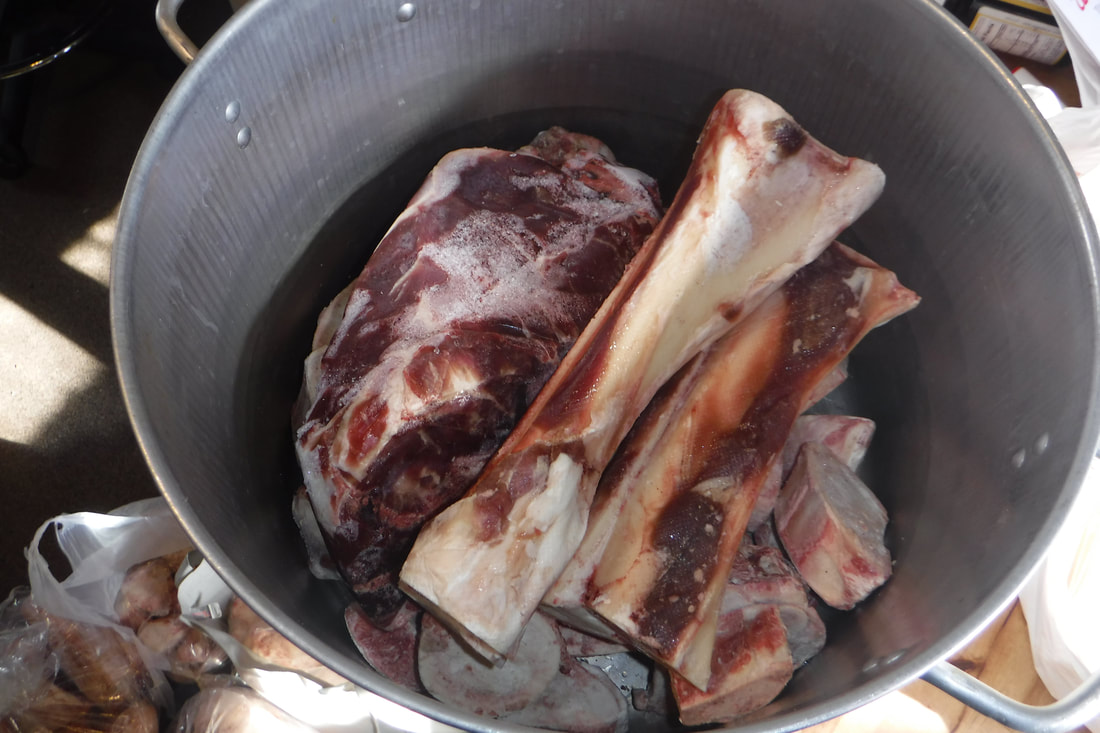
Unthawing 14 lbs. of beef bones:
The bones after roasting:

Removing the meat from the bones
after 12 hours: 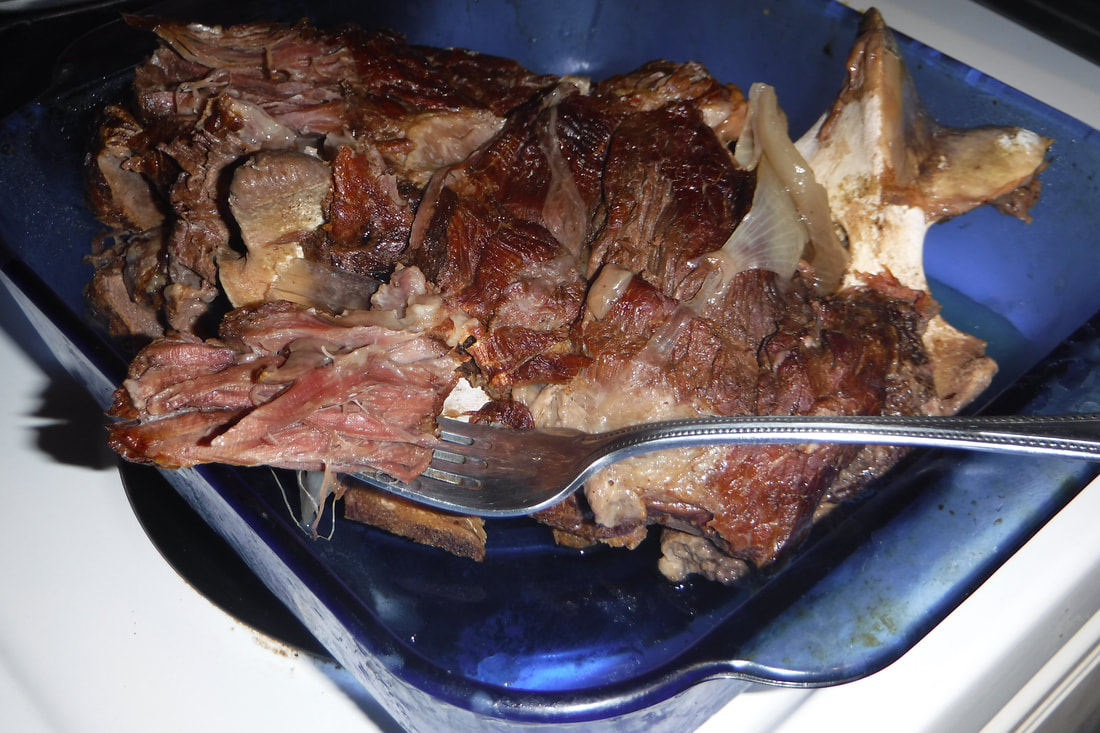
|
Tips:
- Local meat farmers who have stores at their farms or who sell at farmer’s markets are a good source for buying the types of bones you need.
- Simmering the broth means that there should only be a few bubbles breaking the surface at a time. When stock boils, most of the surface of the water starts moving. This should only happen when you first start cooking the broth.
- We prefer to simmer our stock until the bones actually start to fall apart when we stir them. This usually takes 4 days. The first recipe we tried said to simmer the broth for 2 days, but we read it wrong and did it for 4 days, and found out we like that better. If the bones are falling apart, you know that the healthy minerals have been removed and you’ll be drinking them in the broth.
- However, cook the broth for as long as your schedule allows. If you have only two days off in a row, then do it for two days. We only work part time, so are able to simmer it for 4 days. You could also do this recipe in a crock pot (although you’d probably need to make a smaller batch) so that overnight cooking isn’t an issue. I bet our great-grandparents just always had a soup pot simmering on the back burner, and didn’t have to worry about work schedules.
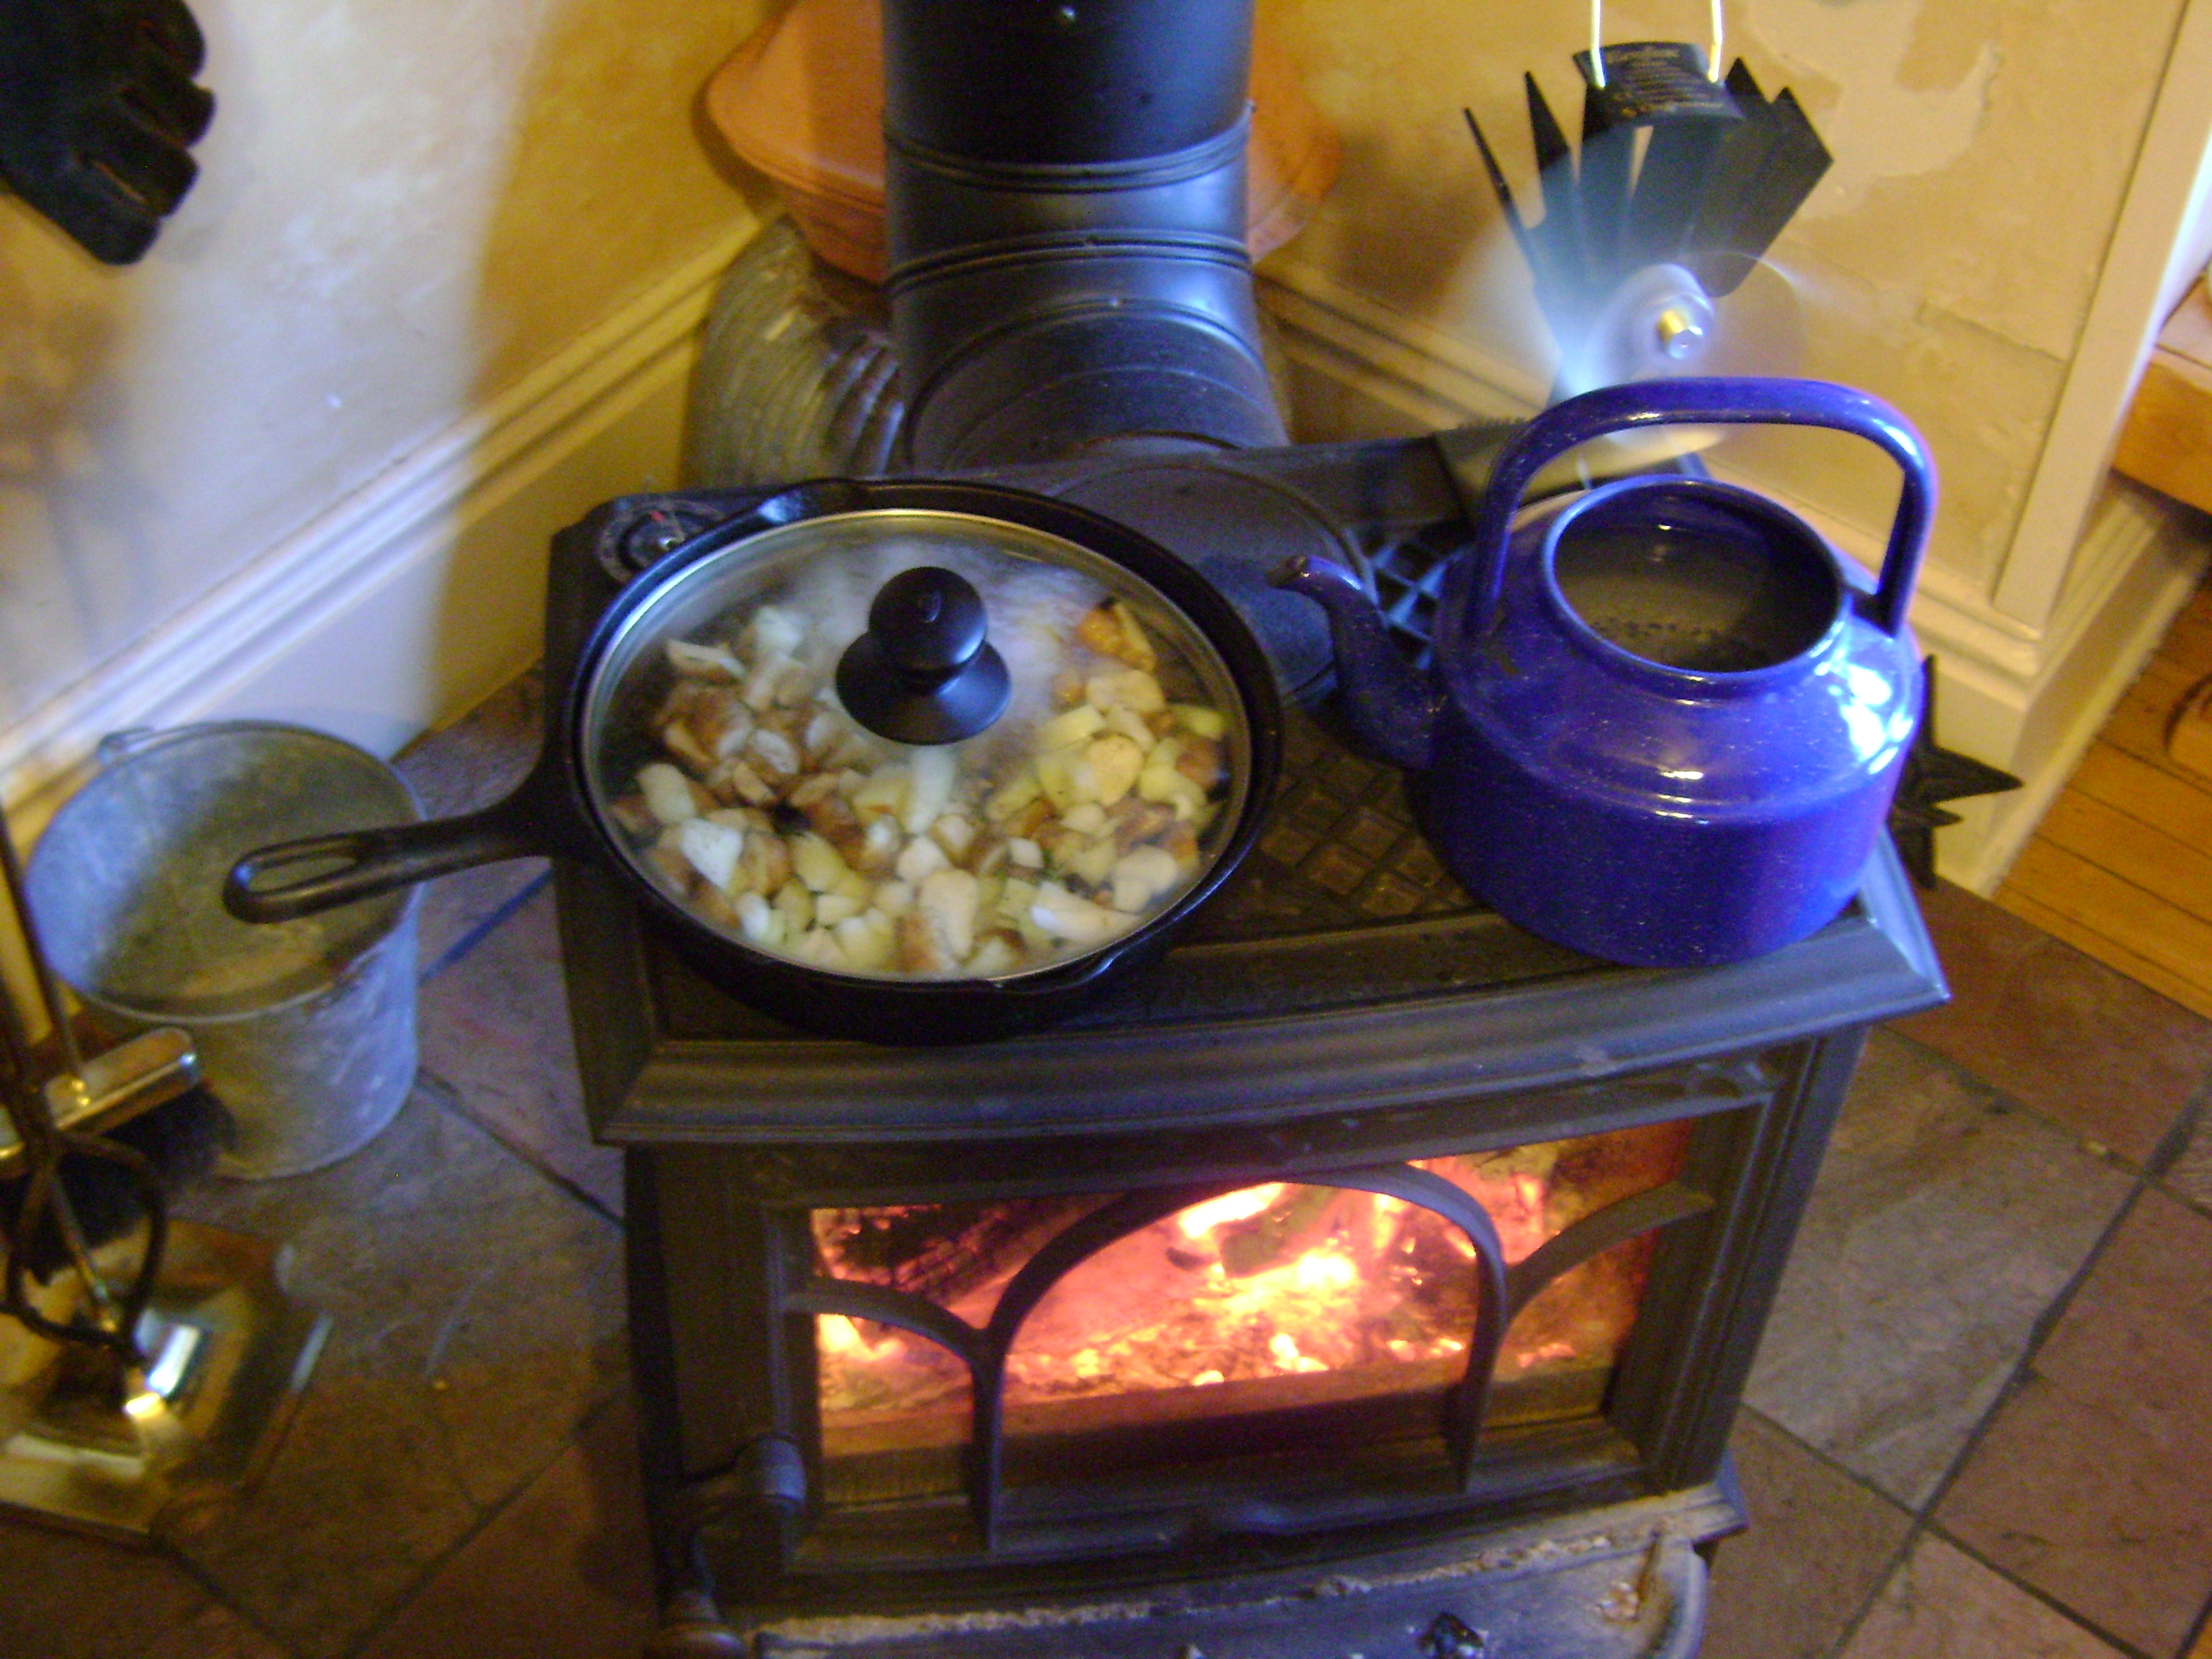
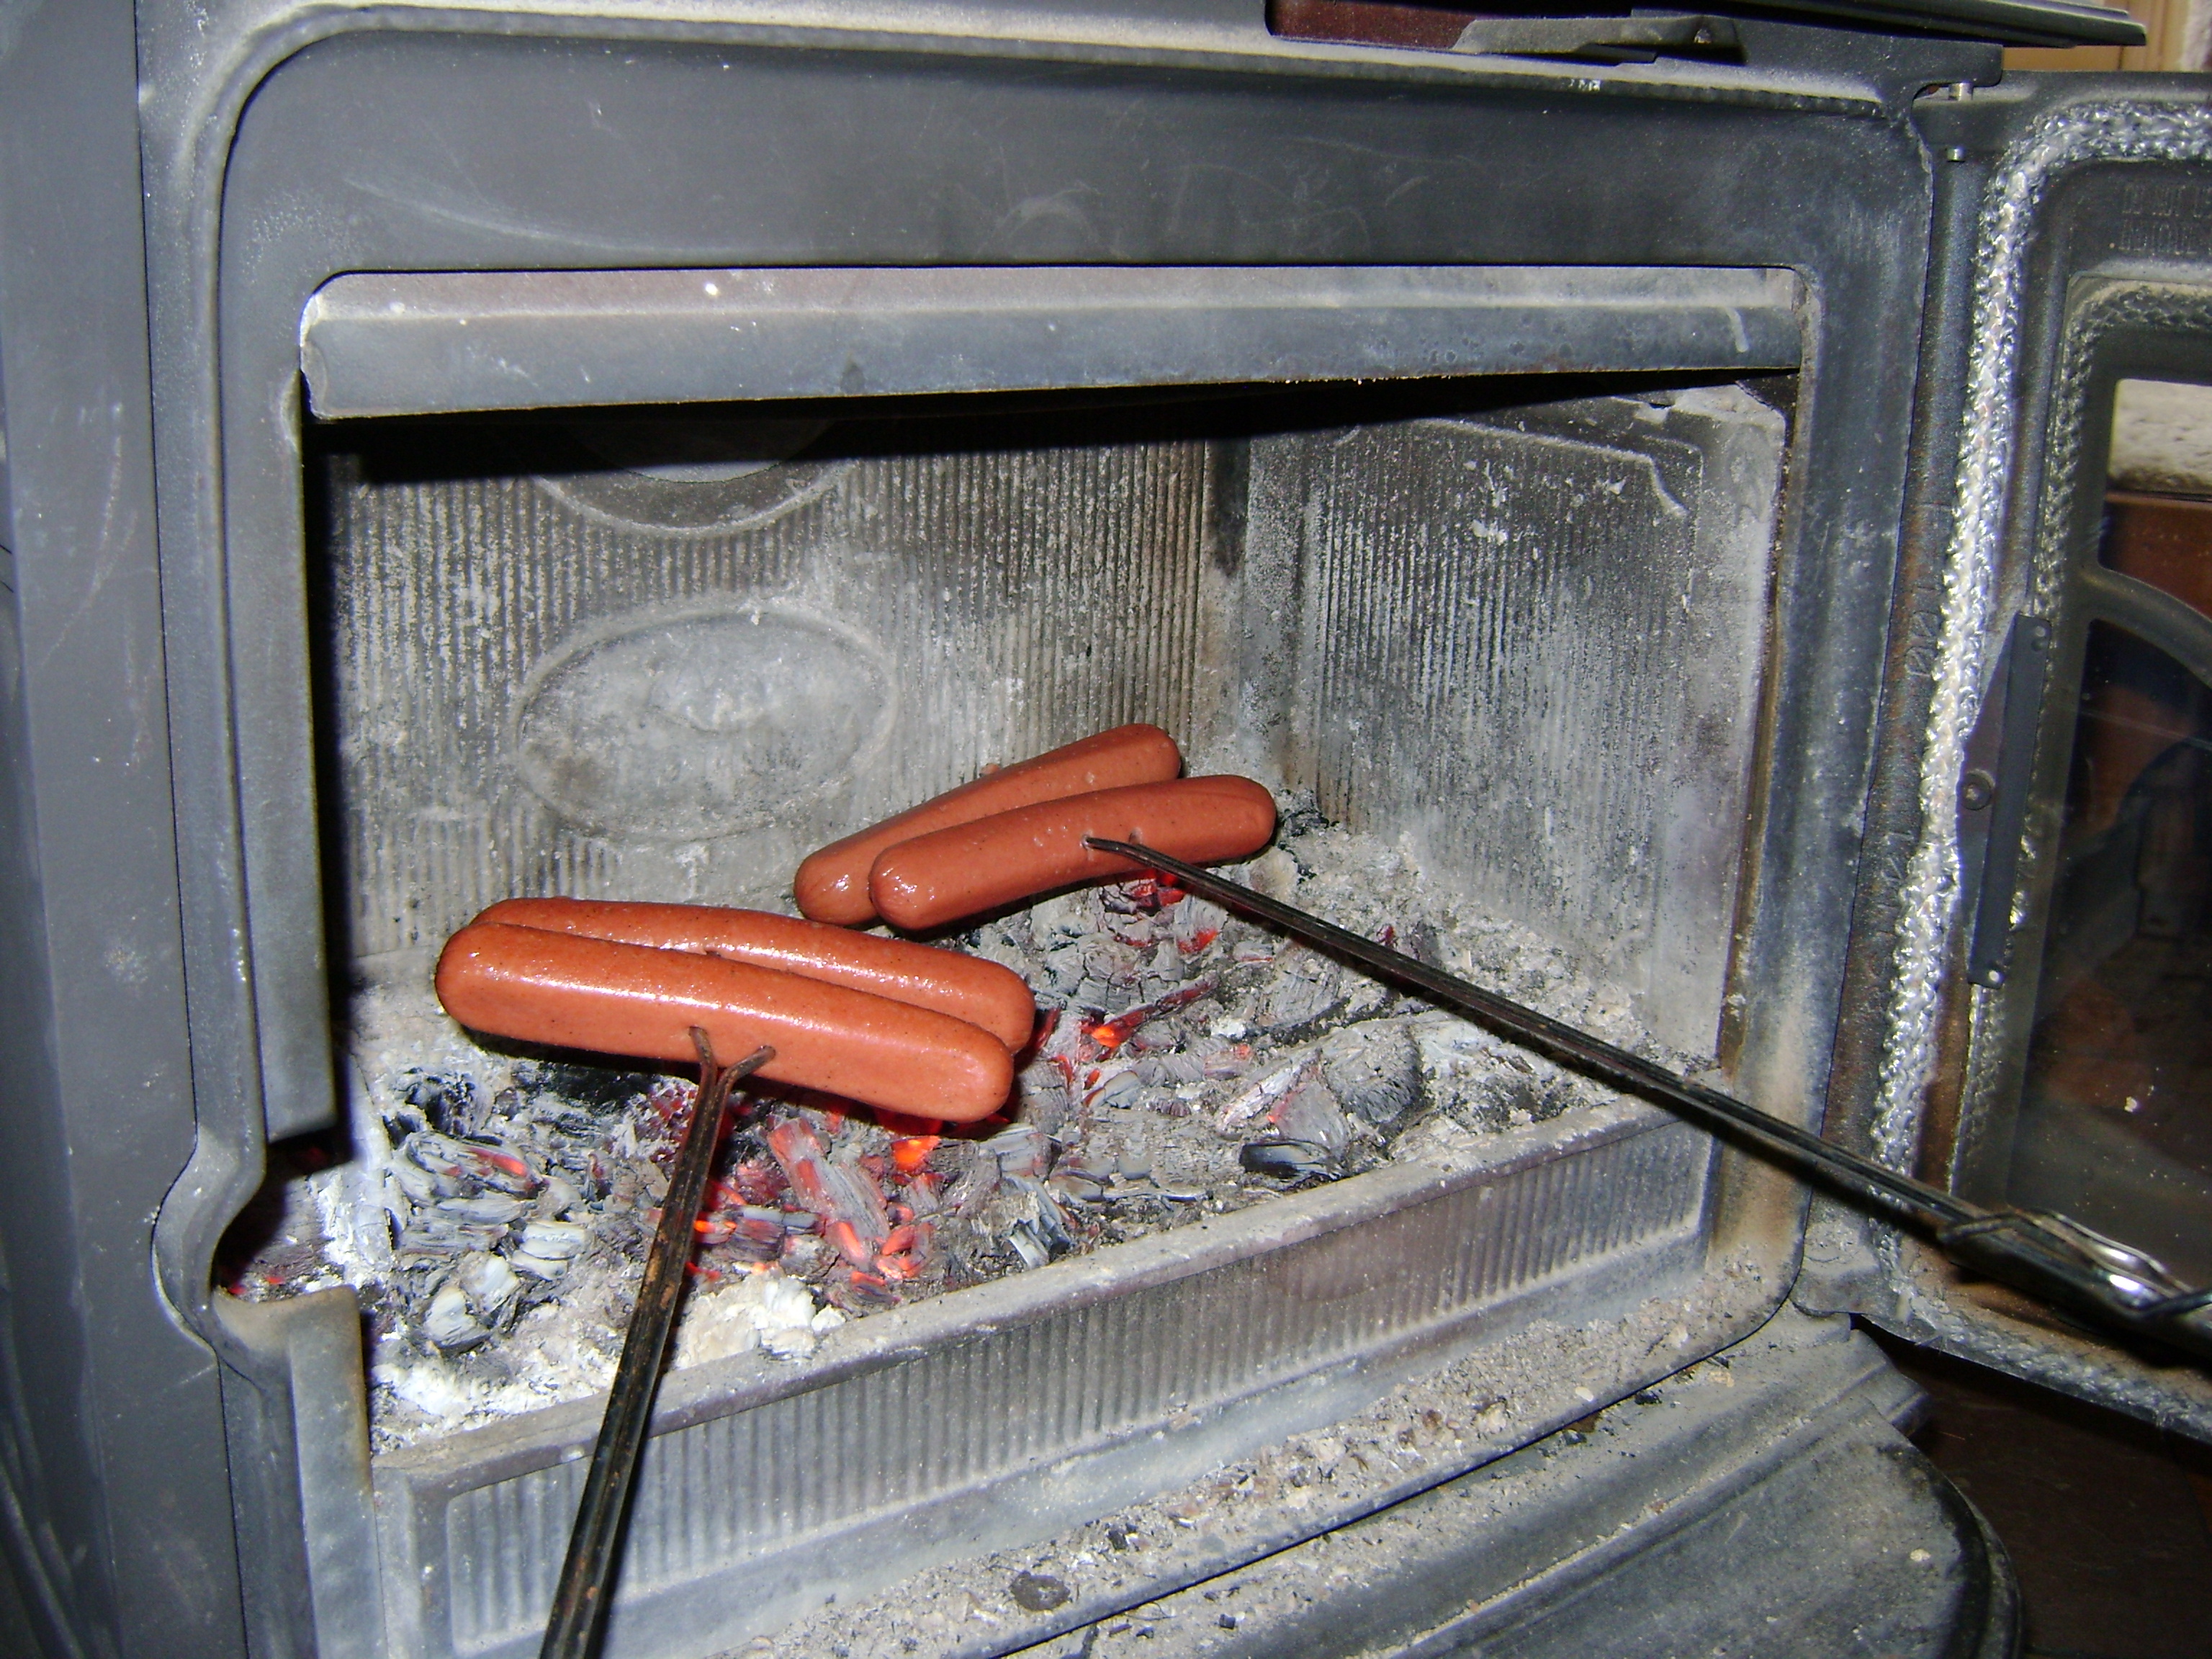
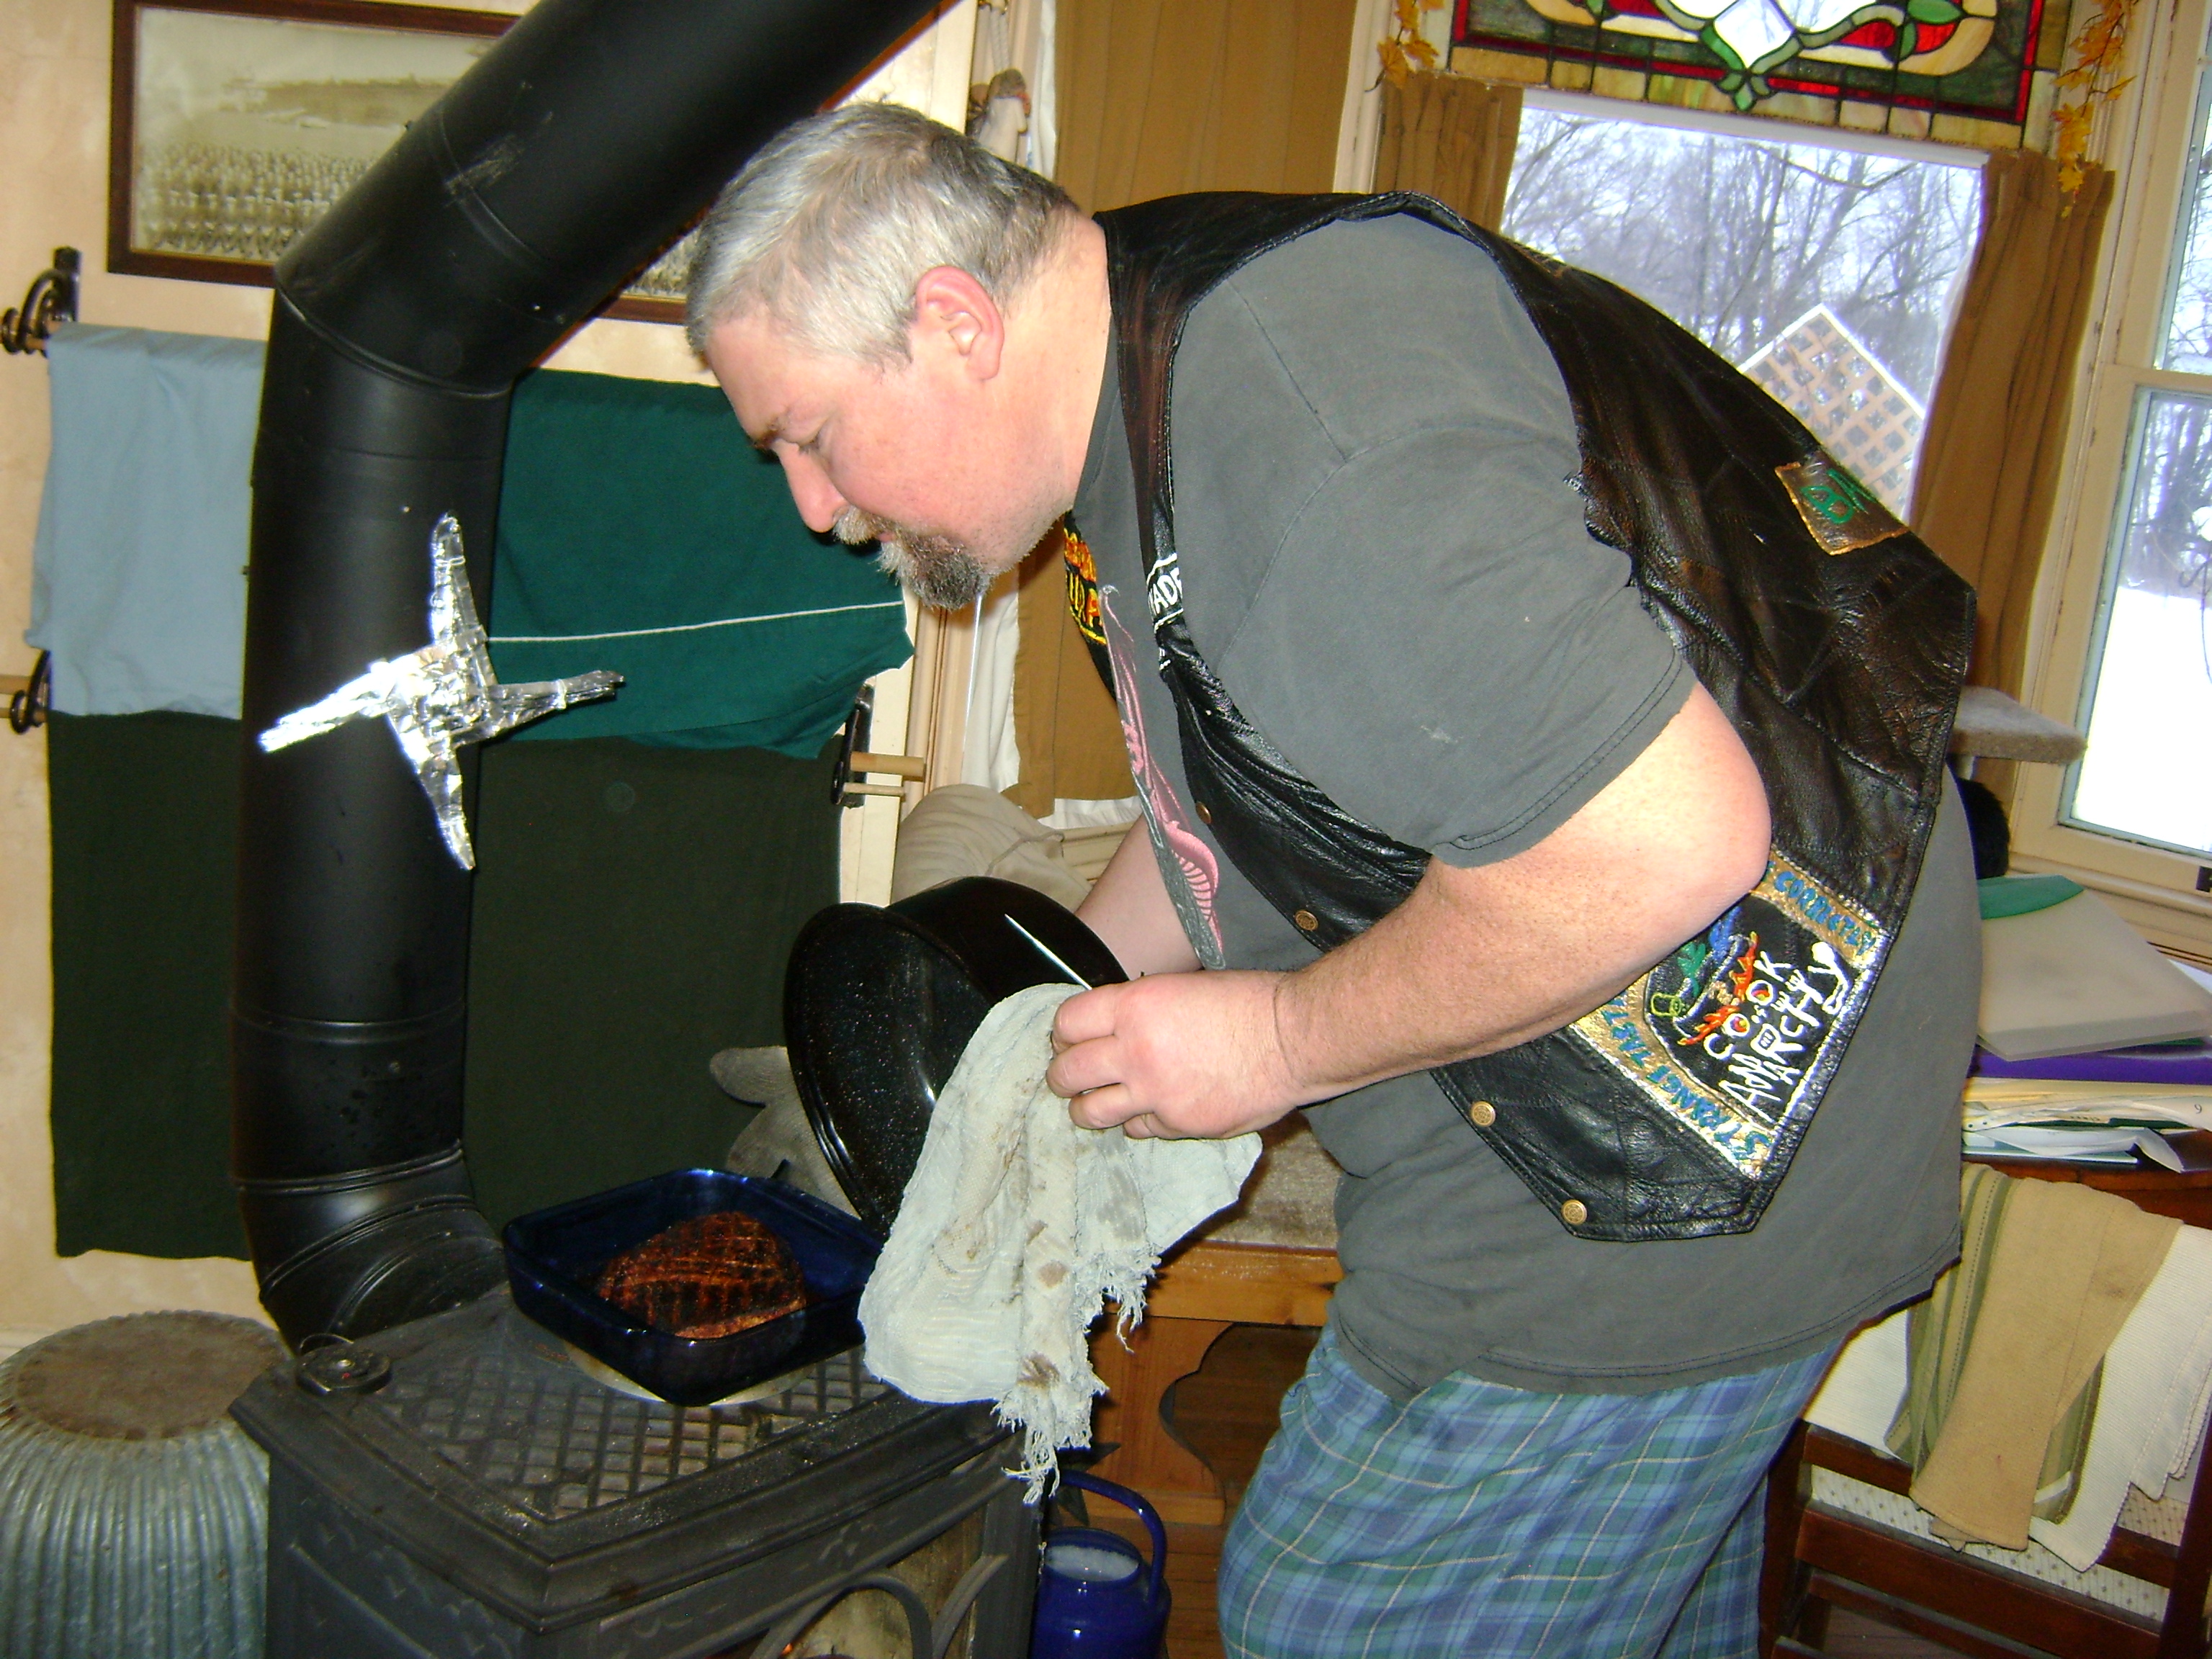
- We often simmer the broth on our woodstove during the day, then move it to our electric stove overnight, since our woodstove doesn’t stay lit all night. We find that if we put the burner on the .5 setting, just above “Low,” it is safe to cook it all night. You could also put it in the refrigerator overnight if needed, but that would entail removing it from the woodstove early enough that it would cool off, and then cooking it additional days to make up for the loss of overnight time. You could also experiment with leaving it outside overnight if it’s cold in your area, and if you have a place to keep animals out of it.
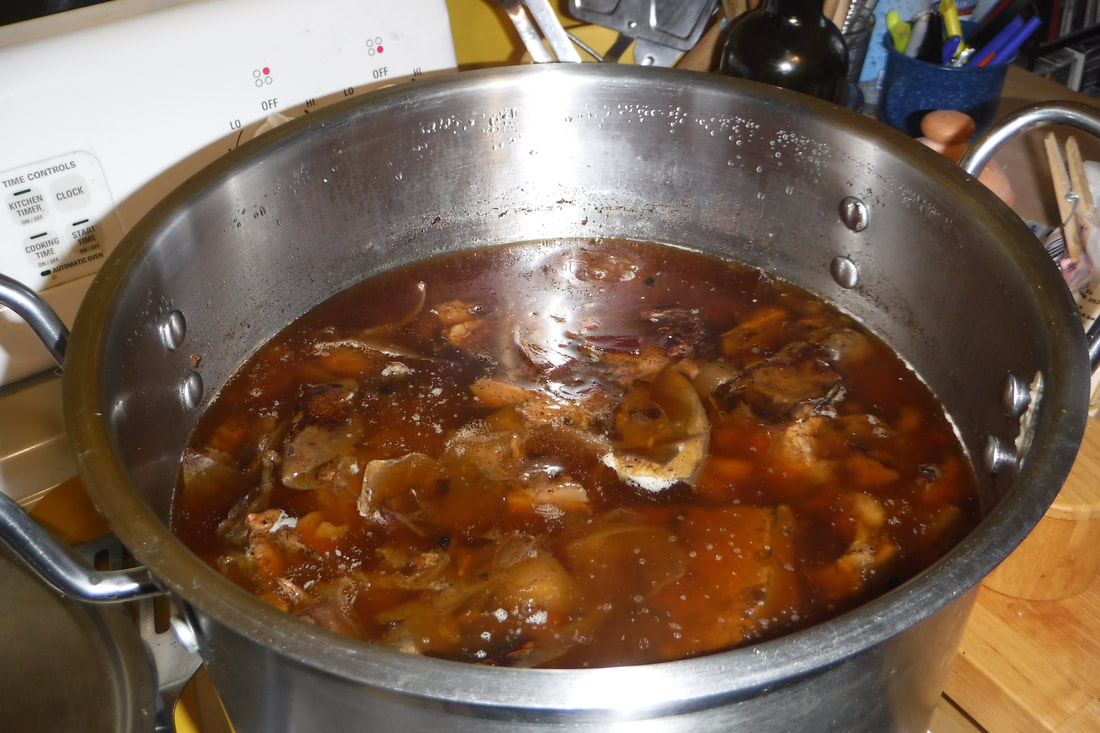
- The broth smells amazing and the scent will permeate your house as it simmers, so be prepared to spend your weekend craving it.
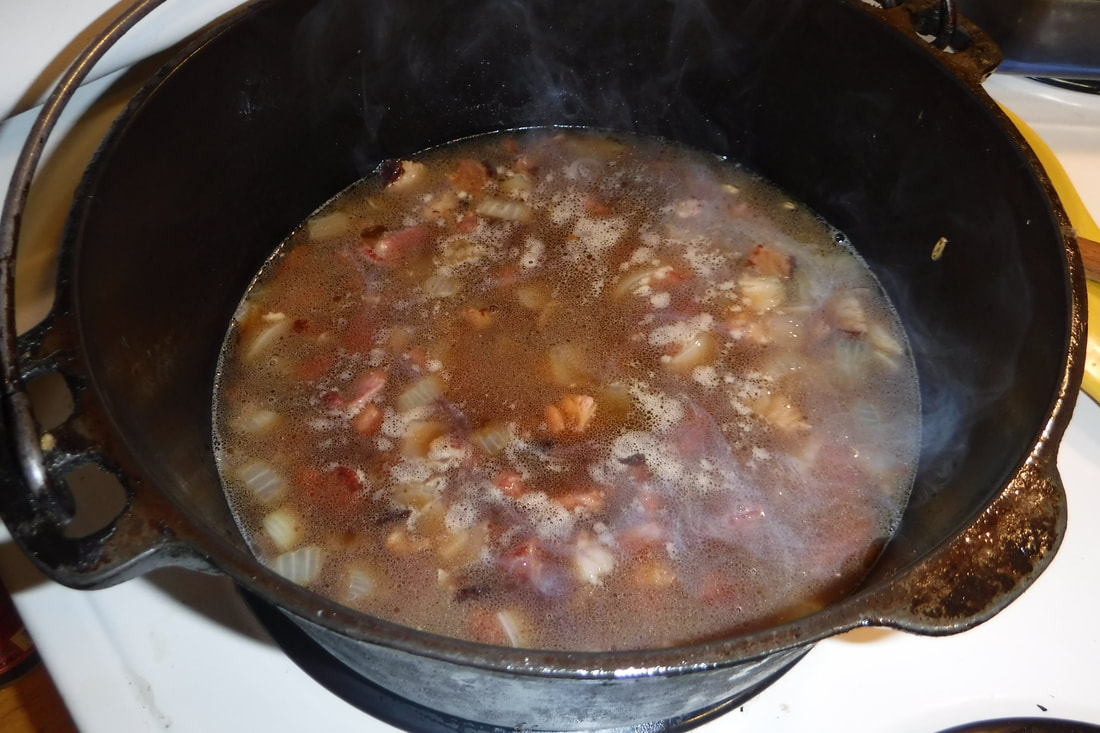
- Here's what the broth looks like after simmering for about a day and a half:


 RSS Feed