Alternative Ways to Dry Your Laundry
(in Winter)
Contents:
- Wet Underwear -or- Our Dryer Broke
- Sleepless in Wisconsin
- Designing a Clothes Rack for the Wood Stove
- How to Use a Clothesline
- How Bear Fixed the Dryer & Humidified the House
- Permaculture Success & Emergency Planning
- Are We Hillbillies?
- Update: One Year Later
- Wet Underwear -or- Our Dryer Broke
- Sleepless in Wisconsin
- Designing a Clothes Rack for the Wood Stove
- How to Use a Clothesline
- How Bear Fixed the Dryer & Humidified the House
- Permaculture Success & Emergency Planning
- Are We Hillbillies?
- Update: One Year Later
|
|
From Theresa: Wet Underwear
|
From Bear: Sleepless in Wisconsin - or- I Thought it was a Mouse
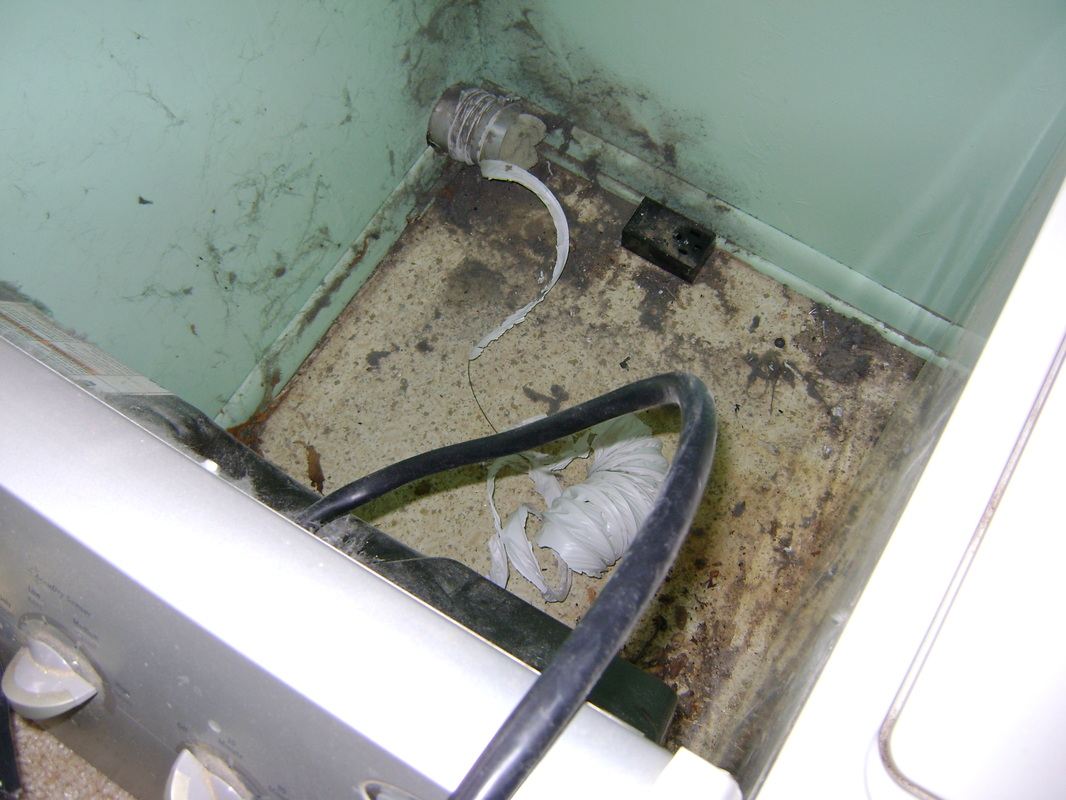
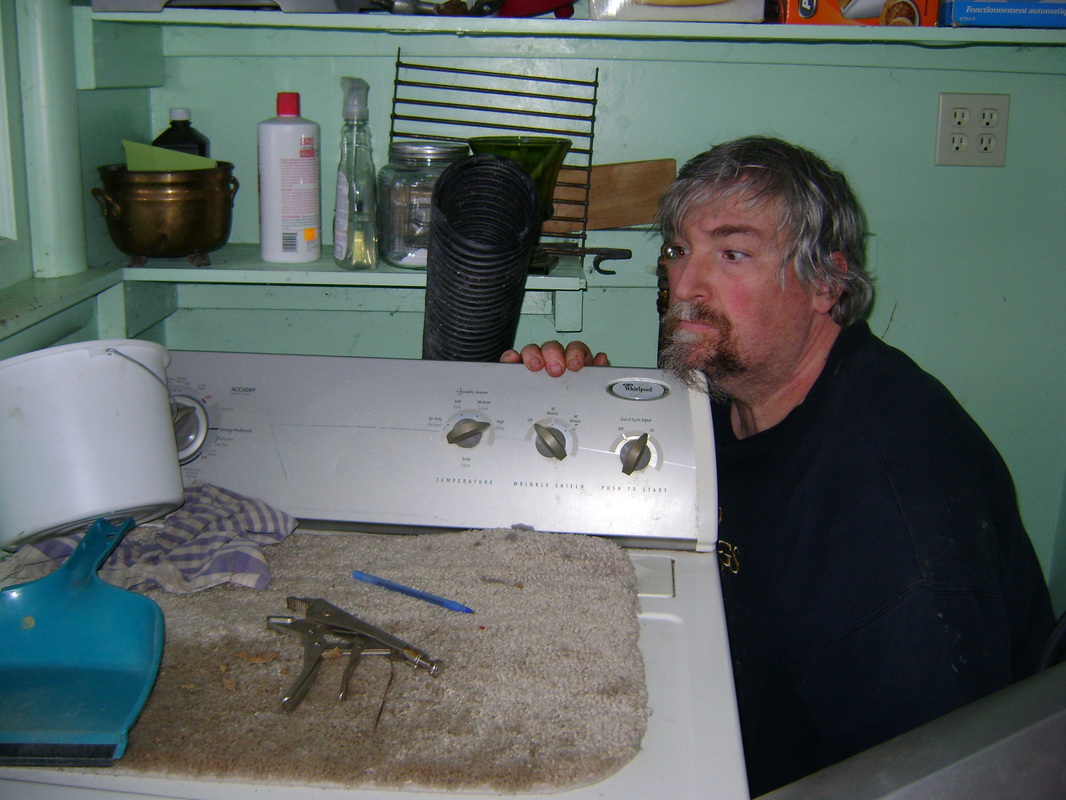
I was outside when I heard some rumbling from inside our dryer vent. I thought there was a mouse. I poked the cleaning brush through the vent hole to spook the mouse out. When I looked behind the dryer, I realized I have pushed too hard through the dryer vent and irritated a cat that was hiding behind the washer and dryer. Upon inspection, I realized the vent hose had been broken for a while and we had all kinds of lint and dust and what all behind the dryer. I was worried because there was a burning smell. I wanted to get it fixed, but because of the F#$%ing Buy Nothing challenge, I wasn’t supposed to just buy a new hose and install it.
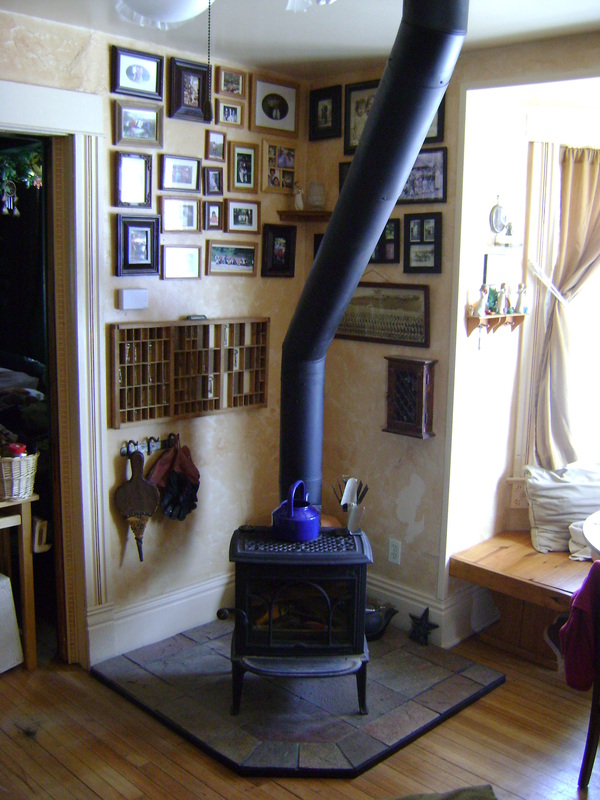
For some reason, this was going through my head at 4:00 in the morning Saturday night and keeping me awake. I was going over several ideas of how to dry our clothes without fixing the dryer. We needed something that was a lot easier to use than the movable drying stand in front of the wood stove. Instead of going from the floor up like the drying stand did, we needed to go from the ceiling down, so we didn't lose so much floor space. There’s more heat nearer the ceiling anyway. My best idea, while I lay awake, was to hang multiple poles from two ropes coming down from the ceiling, to create something like a rope ladder, from which we could hang clothes.
Since I couldn't sleep, I decided to break open walnuts while watching TV. I tried to be quiet, but darn, I was loud enough to wake Theresa up too. Then, I decided to tell her why I was up so early. She appreciated what she thought was my enthusiasm. I figured if we had a plan, it could get done in an hour or two, and I could get back to my TV and walnut cracking. Silly me. Theresa was off and running and the project took most of the day. On the bright side, unlike a lot of our other projects, it did only take one day, not all of the weekend or more.
From Theresa: Designing a Clothes Rack for the Wood Stove
|
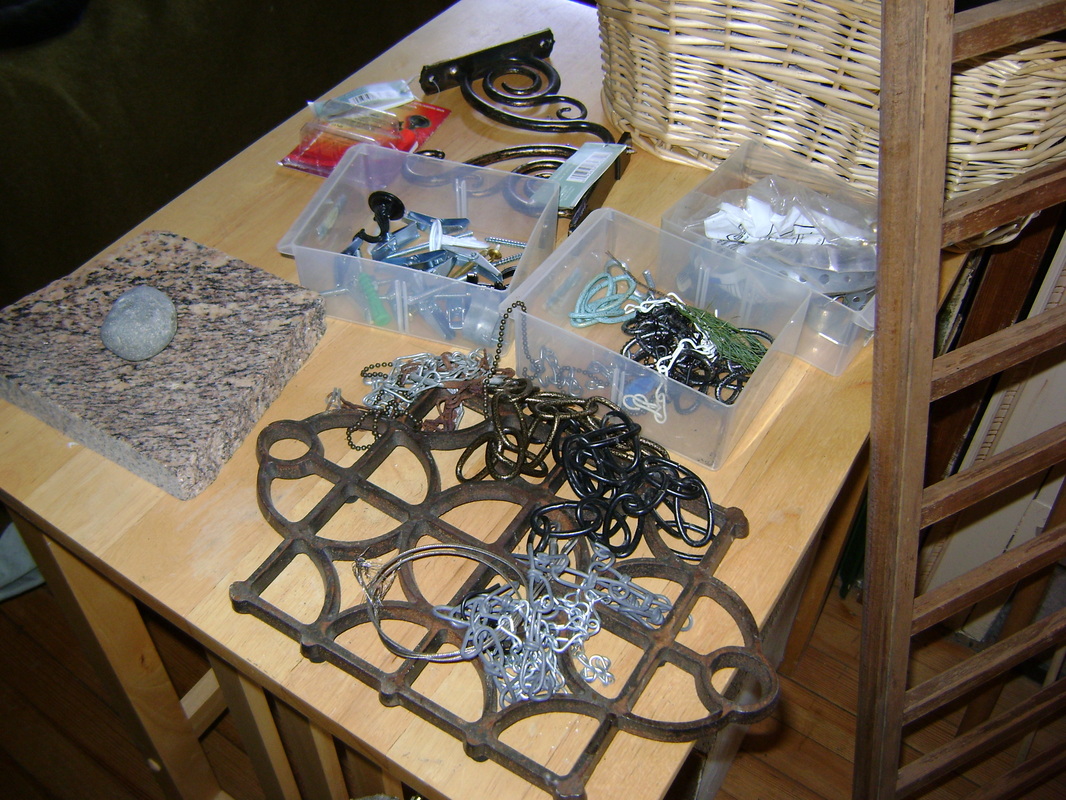
So Sunday morning we started pulling out supplies and considering various designs that would work with what we had on hand. After 8 years of house renovating, we had a lot of supplies choose from.
Miscellaneous hardware above and to the right: ceiling & wall hooks, chains, rope, brackets, S hooks, trim, an old window frame, the side of a baby crib, dowels, old broom handles.
What would you make from these supplies? |
|
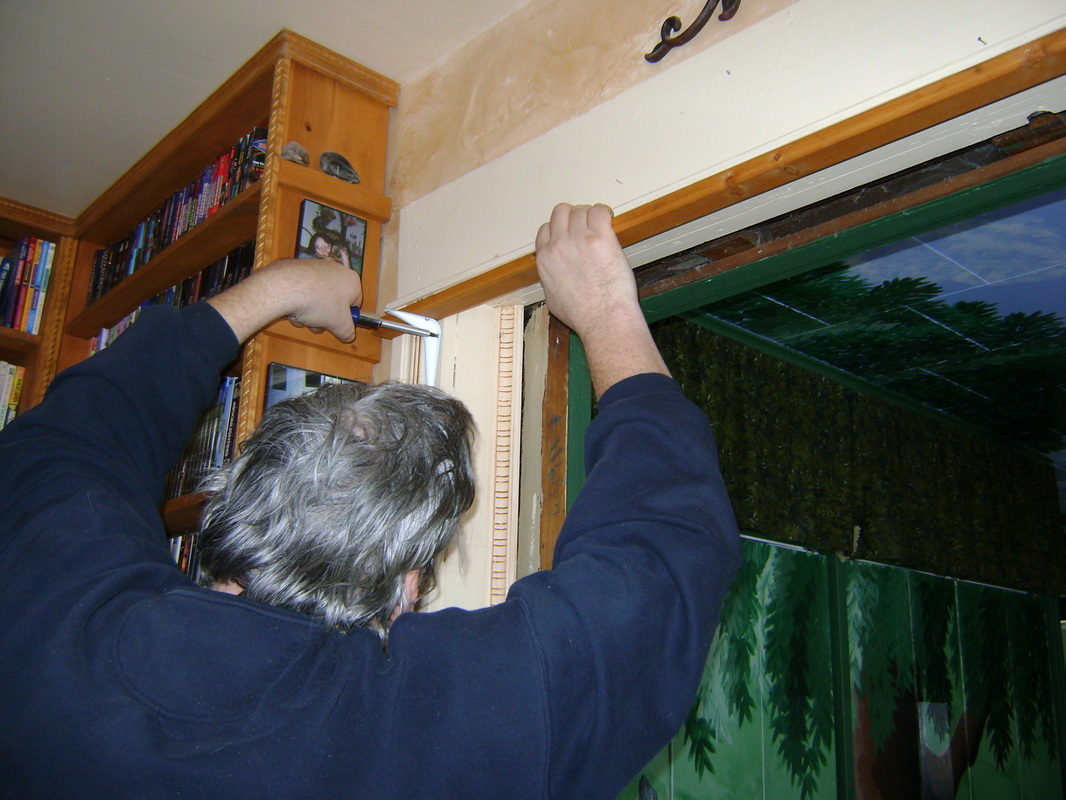
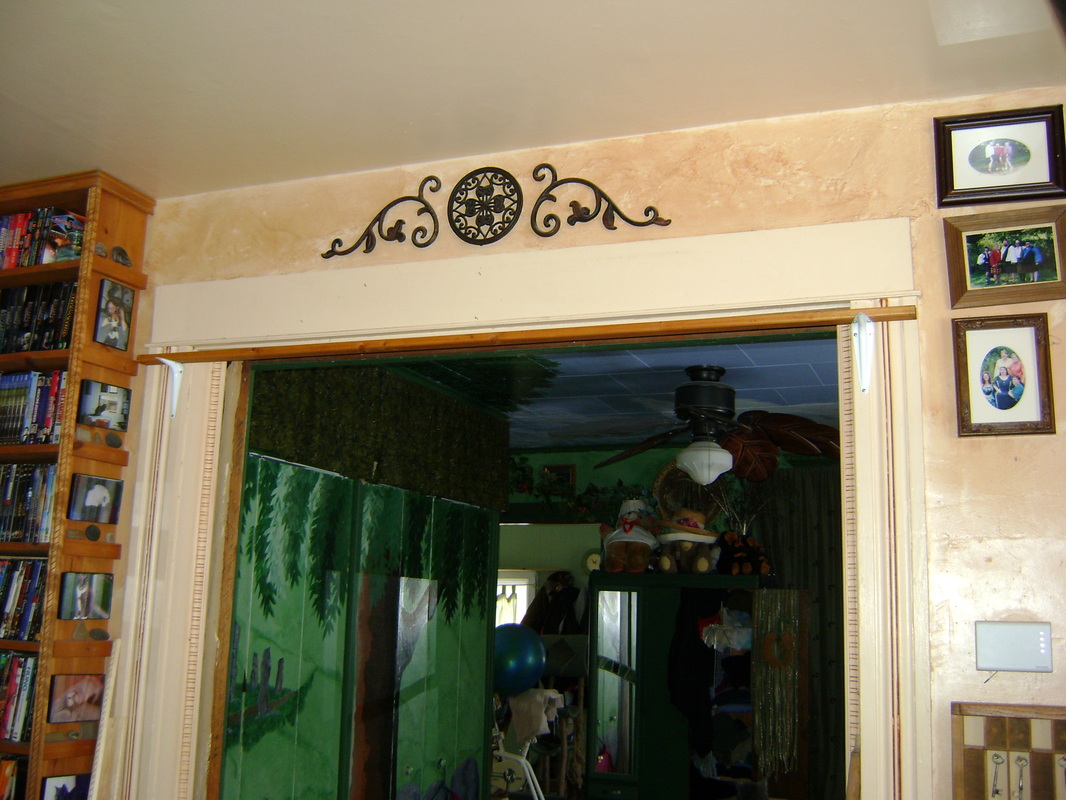
1. After a couple hours of discussing designs, we began by attaching brackets to the trim on either side of our pocket doors.
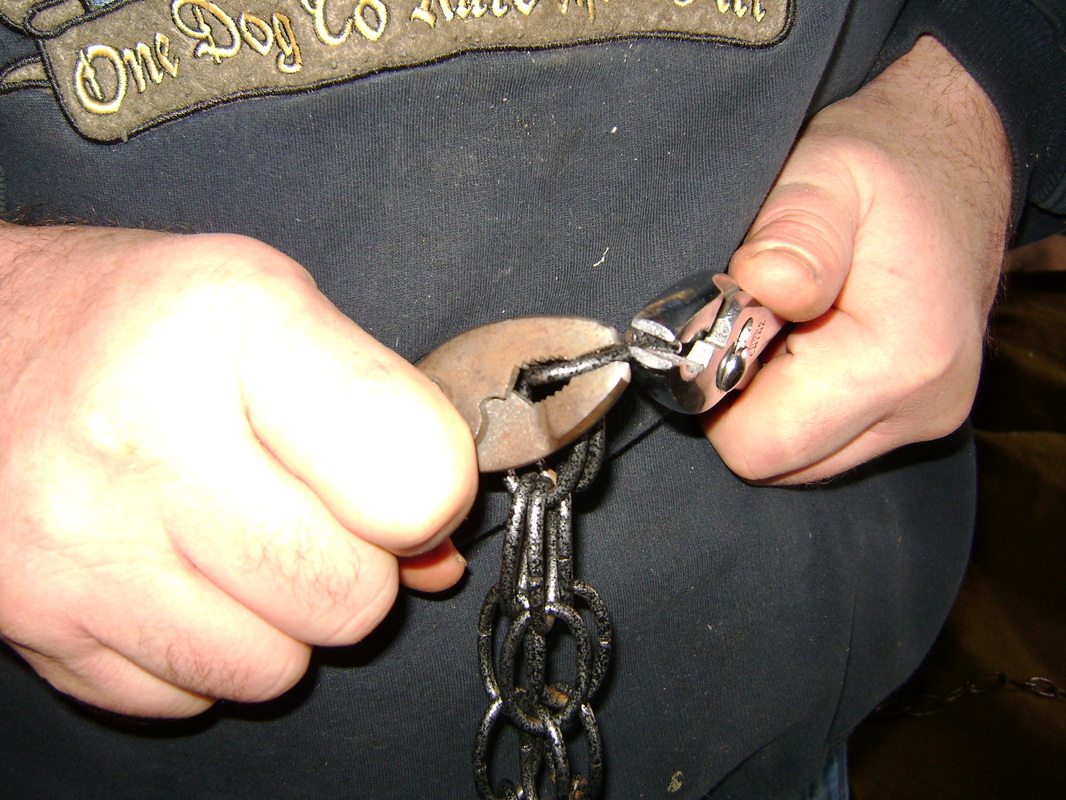
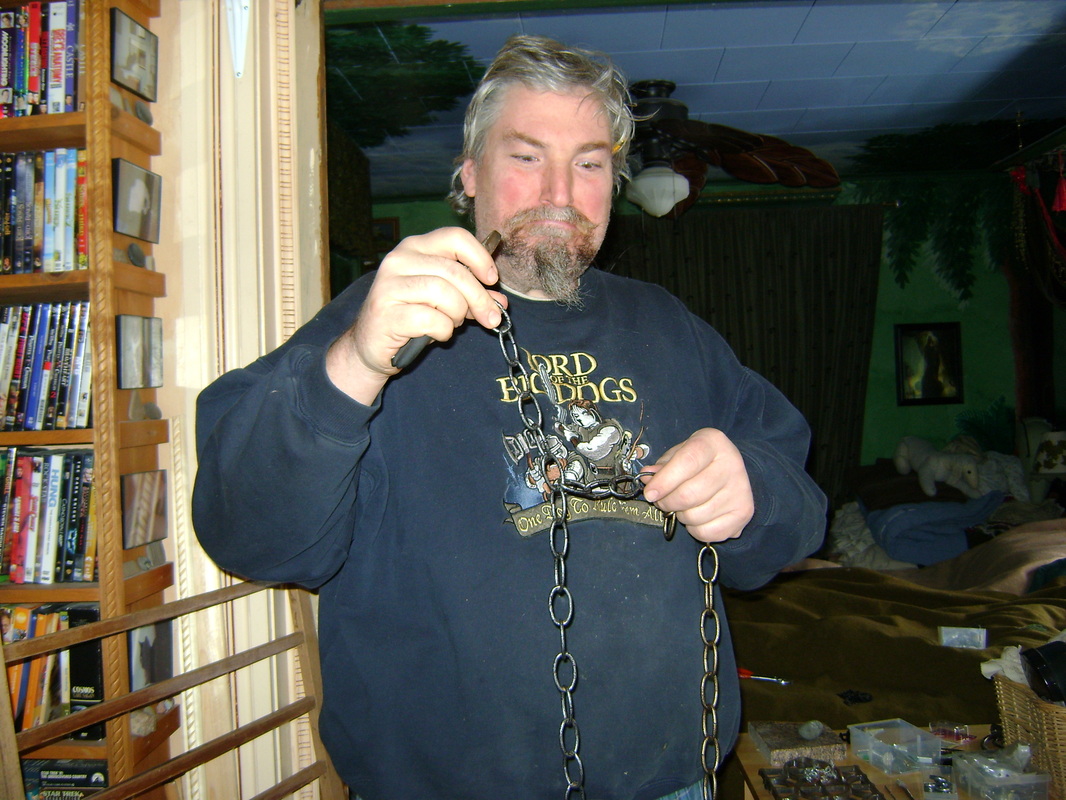
3. We needed longer chain to hang all the way down from the ceiling, so Bear muscled apart a couple links and attached two short chains together.
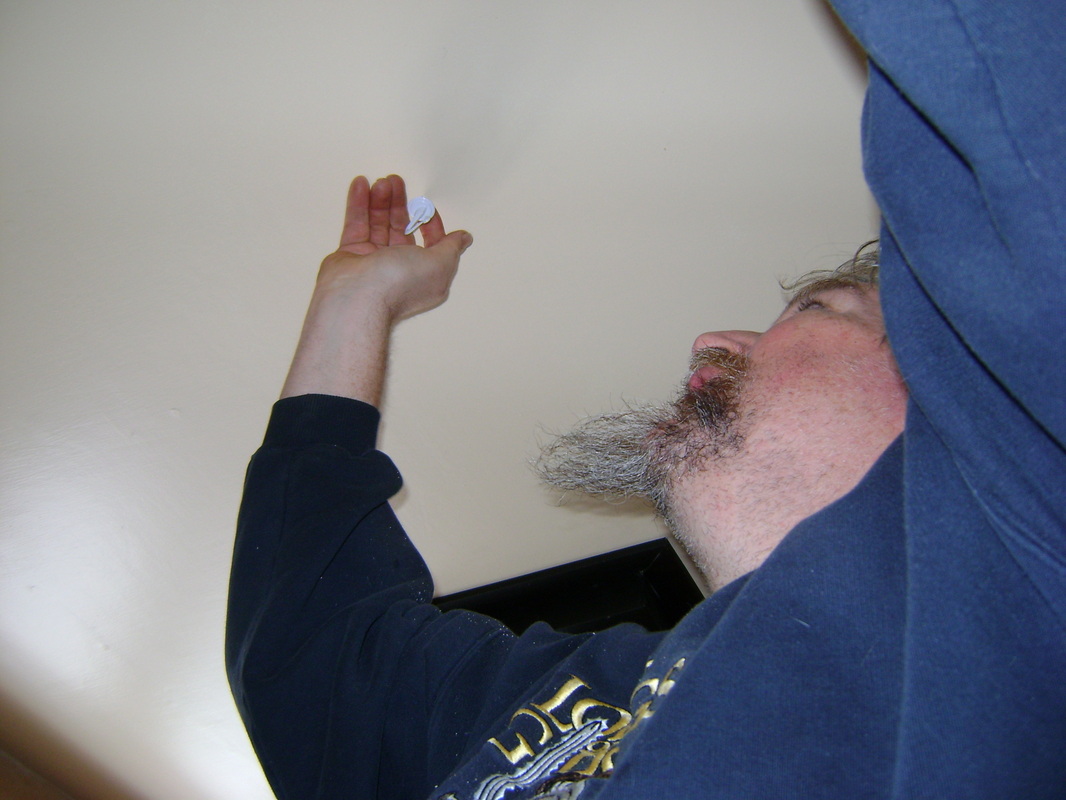
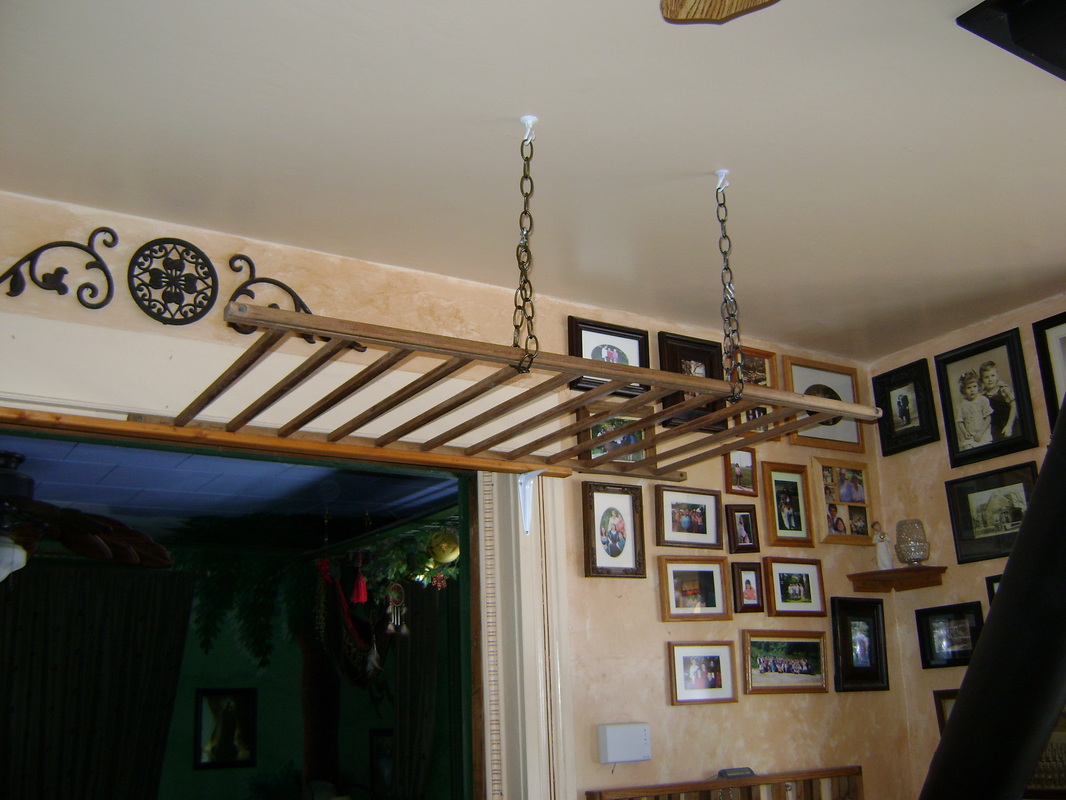
5. We attached two plant hooks to the ceiling. We were lucky and could see where the studs were on our ceiling. We screwed the hooks directly the into studs so that they would hold a lot of weight.
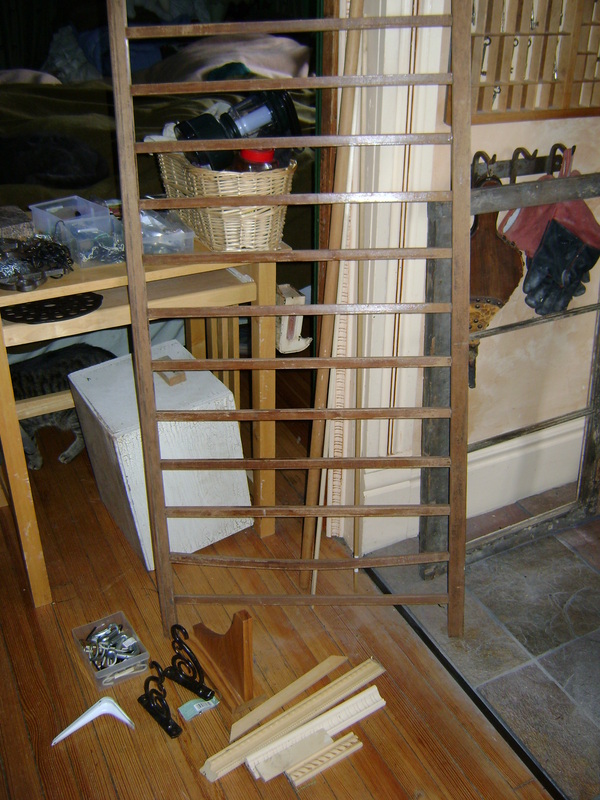
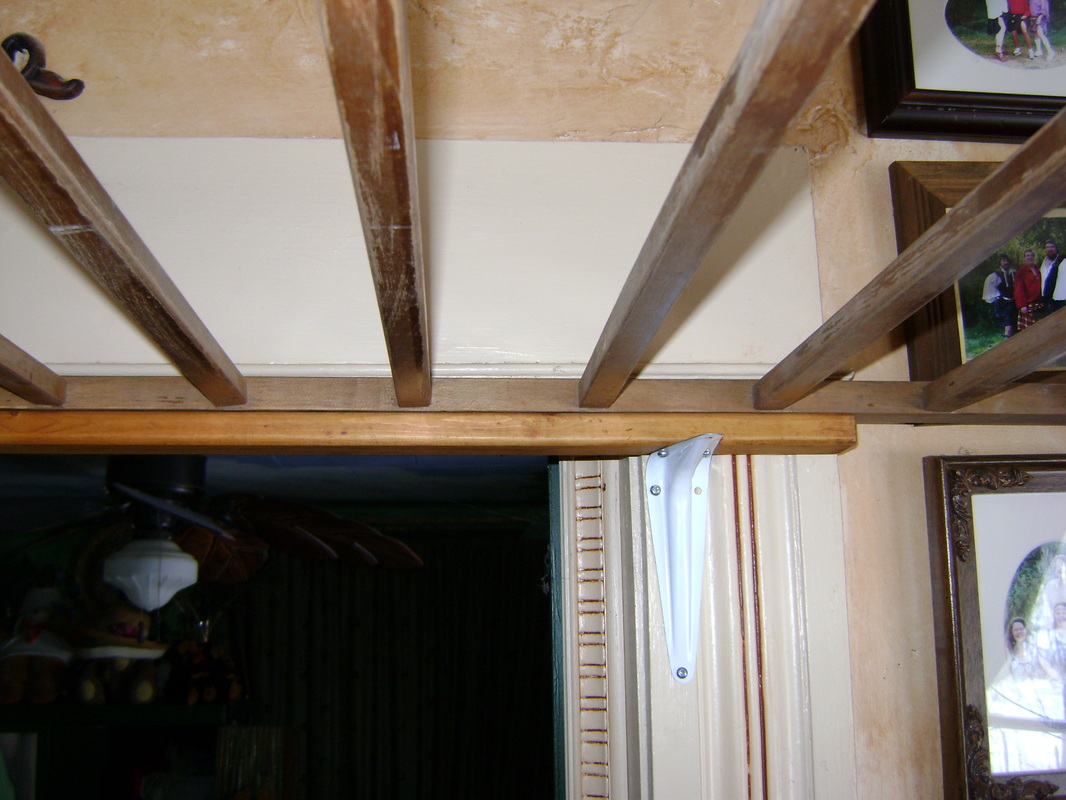
7. Close up view. The baby crib is wedged between the wood strip we hung and some trim above our door. If we didn't have a pesky Buy Nothing challenge, we could have bought two more ceiling hooks and more chain, although hanging it entirely from ceiling hooks would allow it to sway. I also would have bought chain in a lighter color and prettier brackets, but I'm sure I can hang something decorative in front of the brackets that will hide them.
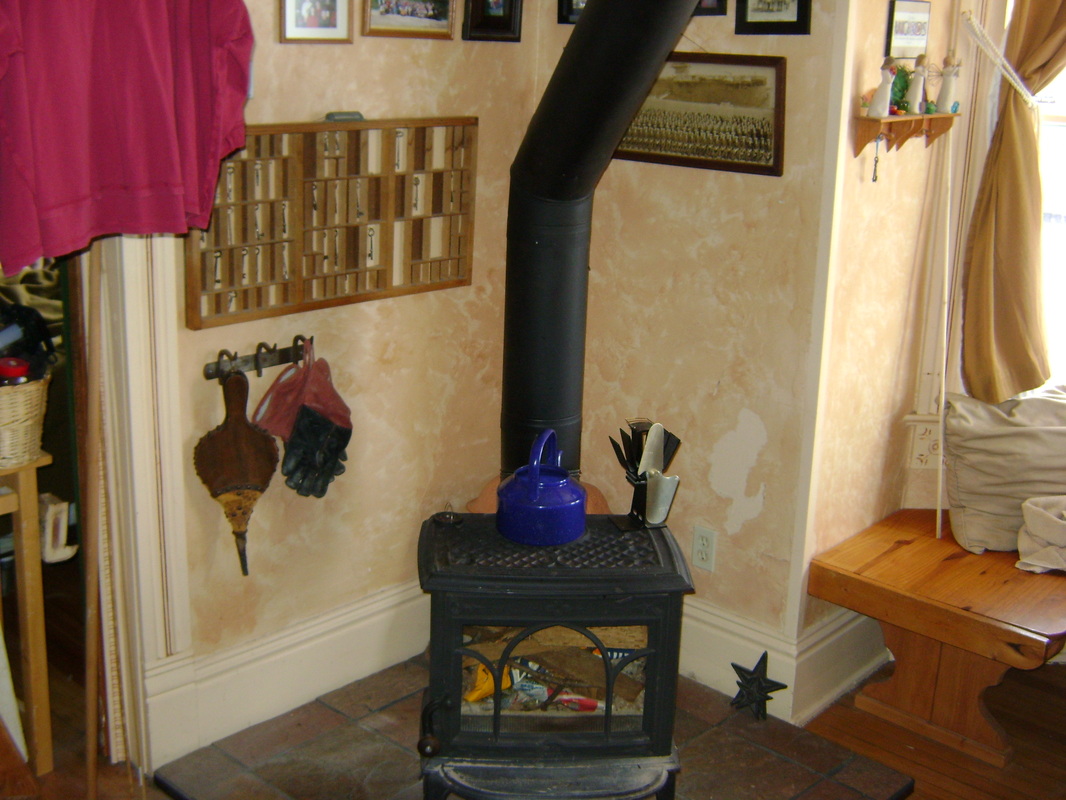
9. We also wanted to dry smaller clothes, so decided to do something with the empty wall behind the stove.
From Theresa:
|
2. We attached a small piece of stained wood to each of the brackets.
4. Unfortunately, he attached the second chain to the middle of the first chain instead of to the end, so had to start over. Unhappy Bear.
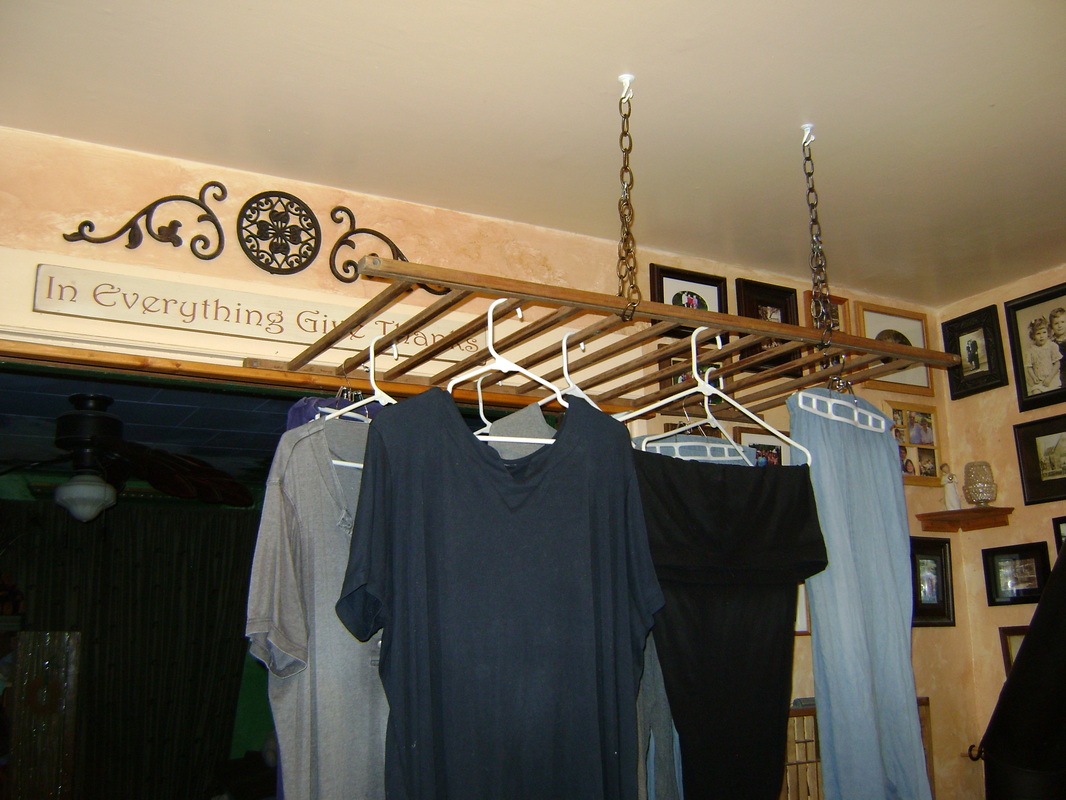
6. We then hung one edge of the baby crib side (a garage sale find) on chains from the ceiling hooks by wrapping the chains around the frame and attaching it to the rest of the chain with S hooks. Then we used a couple screws to attach the other side to the wood we had hung across the doorway.
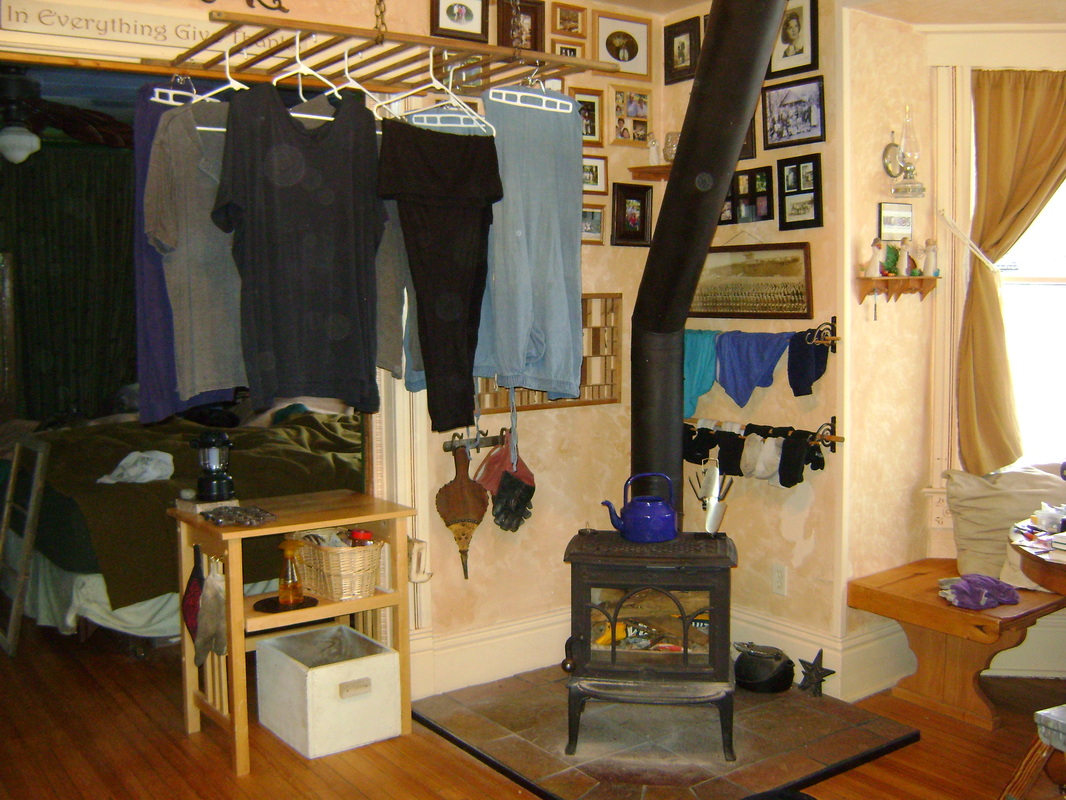
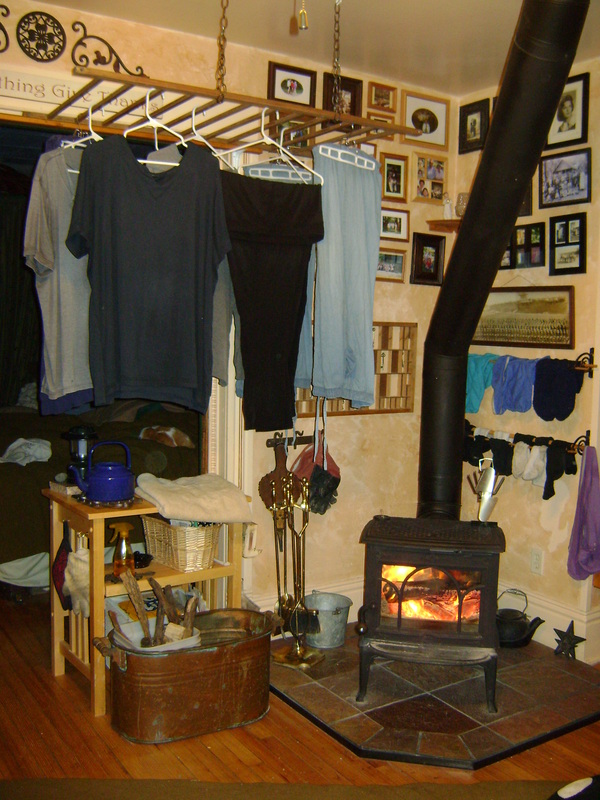
8. Viola! Clothes can hang from the baby crib and dry in the heat that rises from the wood stove. It's also fairly easy to remove if we want to take it down in the Summer and enjoy the decorations behind it.
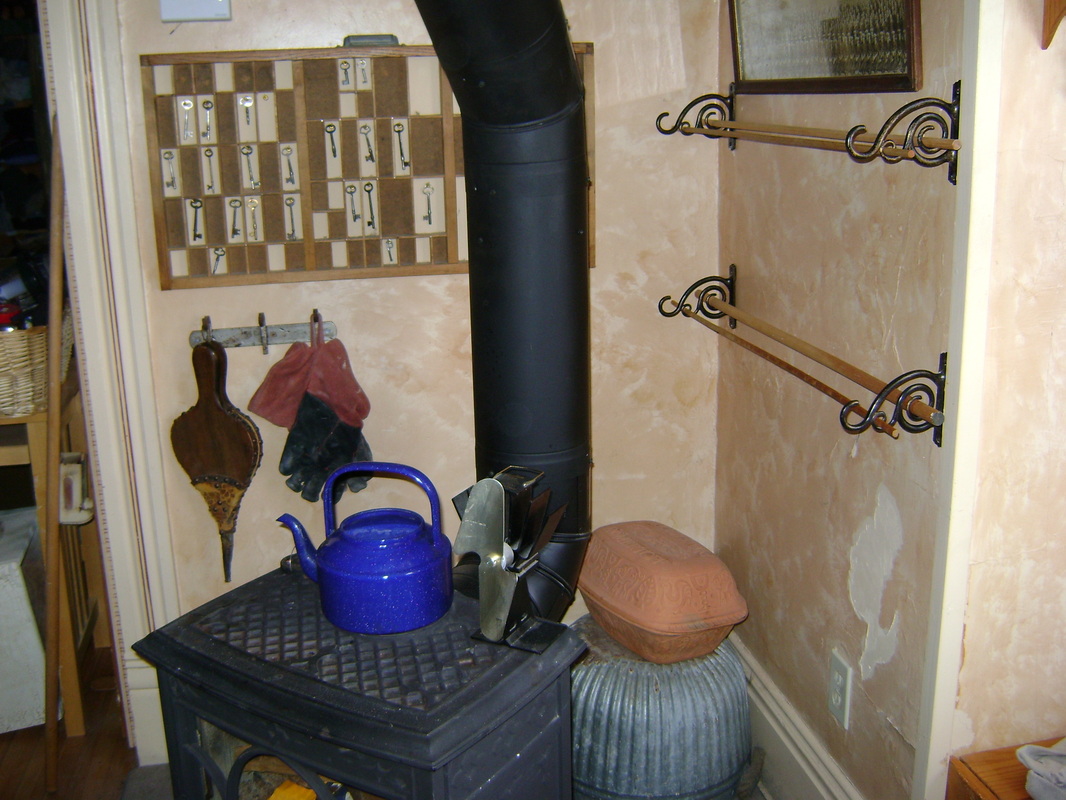
10. We hung four brackets and strung dowels between them. This is perfect for socks, underwear, and snow-covered mittens.
Our finished "clothesline." Now all we need is a fire (see below).
|
Consider safety issues: We kept a fire extinguisher nearby at first, in case the clothes blew into the hot chimney and caught on fire, but that didn't seem to be a problem. Bear was worried the metal brackets behind the stove would get hot and conduct heat into the wall, but they stayed cool to the touch. Even the cats have been good, and haven't tried jumping up on the clothes. Good kitties.
From Theresa: How Bear Fixed the Dryer & Humidified the House
|
Meanwhile, Bear still wanted to get the dryer working. He mentioned again that we should buy a replacement hose for the vent, but I reminded him about that reader’s tip. So instead, he took a piece of garden drainage pipe, attached one end to the dryer vent and pointed the other end into the room (instead of outside like usual). We put some wet clothes into the dryer and turned it on. Soon, the windows in the back half of the house were steamed up. The air became hot and muggy, with that slightly overheated laundromat smell. This would be terrible in the Summer, but in the Winter, it was a welcome change, bringing us relief from the dry cold.
The humidity in the house went from 16% to 26%! (60% is considered comfortable on a sunny Summer day.) |
Dryer Update: We've used our modified dryer for a few weeks now. It's next to the window that leads to our catio (an outdoor enclosed patio that we built for our cats). We've found that the moisture from the dryer makes the wood in the window swell, so that it's hard to open to let the cats in and out. It also melts any snow that's sitting in the window sill, which then refreezes and also makes the window stick. Most people, though, probably don't need to worry about opening their windows in the Winter. Bear also talked to someone who said they vented their dryer this way and the moisture ended up causing mold. So be cautious, and see what works in your house.
From Theresa: Permaculture Success & Emergency Planning
|
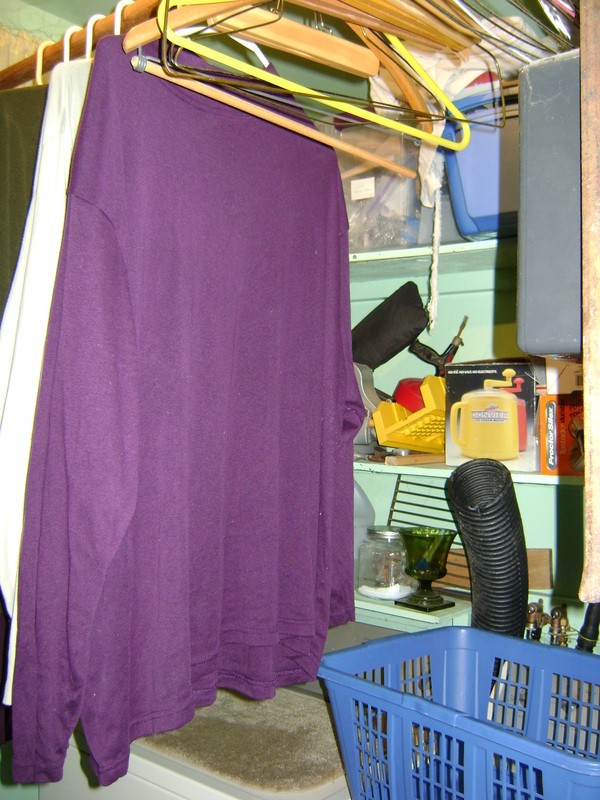
As an added bonus, the new dryer vent was directed so that it blew the hot air toward the wet clothes hanging above the washer and dryer, so that they dried in half the time. This is a great example of permaculture theory in action, which encourages us to think in terms of the entire system:
Our new system also illustrates some other permaculture principles- stacking functions and redundancy:
Bear was talking to a neighbor about maybe using our wood stove to dry our clothes. His asked, “Do you expect your dryer to stop working?” I did. One book I read asserted that we should include emergencies in our routine planning. If we’re prepared, we don’t have to worry as much. It’s a fact that our dryer will break down sometime. Because we live far from town, it won’t be easy or quick to get it repaired or replaced. And it’s not at all certain that we will have the money to pay for it at the time. But with multiple systems in place, we will be able to dry our clothes, because air is still free. Nobody knows what will happen.
Prepare for the worst and then you've some grounds to hope for the best. - Pa Ingalls in Little Town on the Prairie by Laura Ingalls Wilder |
Are We Hillbillies?
When we hung up all the clothes around the wood stove, Bear commented that we were now the town’s hillbillies. But I thought the clothes were beautiful. In subdivisions across the country there are rules against hanging clothes on a line outside. It’s considered ugly because it’s associated with being too poor to own a dryer. We need to change these preconceptions. When I see laundry on the line, I think, “These people care about the Earth enough to go against the established system.” We need to create a new way of thinking that equates using laundry lines with protecting the Earth, instead of with being hillbillies.
When I see laundry on the clotheslines, I think,
"These people care about the Earth."
Update: One Year Later
Feb. 2015
From Theresa:
I have definitely learned to prefer air drying to using our electric dryer, for several reasons:
Venting the Dryer into the House:
When Summer came, having the dryer vent into the house quickly made it overwhelmingly muggy. When Bear pulled the dryer out from the wall this time, he decided he was just going to buy a dryer vent and fix it permanently. It turned out to cost less than $10, so I guess I can't complain too much.
Unfortunately, when Winter came again I couldn't convince him to pull the dryer out again and return the vent to the house. Pulling out the dryer is not an easy task in our laundry room- it involves unhooking the washer from the water lines so that you can move the washer out far enough to get behind the dryer. I have really missed having the extra humidity in the house this Winter, but I guess I don't miss it enough to take the washer and dryer apart by myself.
Bear continued using the electric dryer, but then it broke again...
Bear continued to use the electric dryer because it was easier for him. He doesn't worry about wrinkles or getting to the dryer when the load is done and is happy to leave his clothes in the dryer for days, or until he washes another load. Unfortunately, though, the dryer broke again. This time it stopped heating the air, so he realized the clothes were going around and around but not get any dryer. Oops. This wasn't an emergency for us, though, since he could just switch to drying his clothes above the wood stove. If we didn't have a redundant system for drying our clothes, we would have had to call in a repair person right away, because we aren't allowed out in polite society with clothes that haven't been laundered.
Bear did eventually talk to a local repair person and they gave him instructions on how to replace the dryer's heating element and told him they could sell him the part for around $100. I expect he'll get to that eventually, or have them repair it for us, either of which I am in favor of doing, because then we have a back up to line drying if for some reason it fails. (Bear here... I am planning to get it fixed in the Spring just before we stop using the wood burning stove. We have lots of birds in our yard and I am not interested in wearing anything with od-du-birdy-poopoo on them, just sayin...)
There are some logistics that we're trying to work out now that we are both using the drying rack:
Bear here... OK... others may see this as a problem and you can call me a delicate flower if you want to, but sometimes when the laundry dries on the rack it feels stiff and a little scratchy, especially the towels. My solution: put the towels in the nondrying dryer for five minutes to tumble and soften them up. I have gotten used to the scratchy shirts. The stiffness goes away in under five minutes of wearing them. It's no longer a problem.
Theresa again... If my dry clothes are stiff, I just shake them a bit before I put them on. It helps. Terry cloth was developed with a dryer in mind- there's not a real way to make them soft without tumbling them through a hot air dryer. I tried Bear's suggestion about putting them in the non-drying dryer for a bit, but it only works a little. So you could think of them as exfoliating your skin when you use them. I did read in some catalog about the type of towels that were used before terry cloth was developed. I need to find that again...
One other thing- line dried clothes still have lint on them. There's no dryer lint trap to empty with each load, but you may need to brush the lint off after your clothes are dry. This is harder to do on some clothes than others, so I am actually wondering what a lint brush is and if I need one...
From Theresa:
I have definitely learned to prefer air drying to using our electric dryer, for several reasons:
- I can better predict when I need to be available to hang and fold clothes: The washer takes less than half an hour to wash a load, so when I start it I can make sure I'm not in the middle of a project when the load is done.
- I don't need to drop everything when the load is done: When the dryer was done I needed to drop everything right away to hang up the clothes so they didn't wrinkle (I hate ironing). When the washer finishes I don't need to get to it right this minute.
- No static cling! This is caused by the dryer flipping the clothes around and around. I'm so glad to get rid of this.
- It seems to save time. I put the load in the washer, about a half hour later I hang it up. Then I'm done for a couple days until it's dry enough to put in the closet. I skip transferring it to the dryer and waiting and waiting for it to get dry so I'm available to fold it.
Venting the Dryer into the House:
When Summer came, having the dryer vent into the house quickly made it overwhelmingly muggy. When Bear pulled the dryer out from the wall this time, he decided he was just going to buy a dryer vent and fix it permanently. It turned out to cost less than $10, so I guess I can't complain too much.
Unfortunately, when Winter came again I couldn't convince him to pull the dryer out again and return the vent to the house. Pulling out the dryer is not an easy task in our laundry room- it involves unhooking the washer from the water lines so that you can move the washer out far enough to get behind the dryer. I have really missed having the extra humidity in the house this Winter, but I guess I don't miss it enough to take the washer and dryer apart by myself.
Bear continued using the electric dryer, but then it broke again...
Bear continued to use the electric dryer because it was easier for him. He doesn't worry about wrinkles or getting to the dryer when the load is done and is happy to leave his clothes in the dryer for days, or until he washes another load. Unfortunately, though, the dryer broke again. This time it stopped heating the air, so he realized the clothes were going around and around but not get any dryer. Oops. This wasn't an emergency for us, though, since he could just switch to drying his clothes above the wood stove. If we didn't have a redundant system for drying our clothes, we would have had to call in a repair person right away, because we aren't allowed out in polite society with clothes that haven't been laundered.
Bear did eventually talk to a local repair person and they gave him instructions on how to replace the dryer's heating element and told him they could sell him the part for around $100. I expect he'll get to that eventually, or have them repair it for us, either of which I am in favor of doing, because then we have a back up to line drying if for some reason it fails. (Bear here... I am planning to get it fixed in the Spring just before we stop using the wood burning stove. We have lots of birds in our yard and I am not interested in wearing anything with od-du-birdy-poopoo on them, just sayin...)
There are some logistics that we're trying to work out now that we are both using the drying rack:
- The rack isn't big enough to hold a week's clothing from both of us, so we have to get better at our timing. We both shouldn't try to wash our laundry on the weekend. Bed sheets take up a lot of space.
- We have to plan ahead: It's probably going to take a day for most things to dry, so if there is a particular piece of clothing that you need at a particular time, you need to plan ahead. For instance, I have one pair of black long underwear that I wear to work during the week, so I have to wash and dry it over the weekend to have it ready again on Monday. I wonder what they did back when they only had one set of work clothes? Did they go naked on laundry day?
Bear here... OK... others may see this as a problem and you can call me a delicate flower if you want to, but sometimes when the laundry dries on the rack it feels stiff and a little scratchy, especially the towels. My solution: put the towels in the nondrying dryer for five minutes to tumble and soften them up. I have gotten used to the scratchy shirts. The stiffness goes away in under five minutes of wearing them. It's no longer a problem.
Theresa again... If my dry clothes are stiff, I just shake them a bit before I put them on. It helps. Terry cloth was developed with a dryer in mind- there's not a real way to make them soft without tumbling them through a hot air dryer. I tried Bear's suggestion about putting them in the non-drying dryer for a bit, but it only works a little. So you could think of them as exfoliating your skin when you use them. I did read in some catalog about the type of towels that were used before terry cloth was developed. I need to find that again...
One other thing- line dried clothes still have lint on them. There's no dryer lint trap to empty with each load, but you may need to brush the lint off after your clothes are dry. This is harder to do on some clothes than others, so I am actually wondering what a lint brush is and if I need one...
