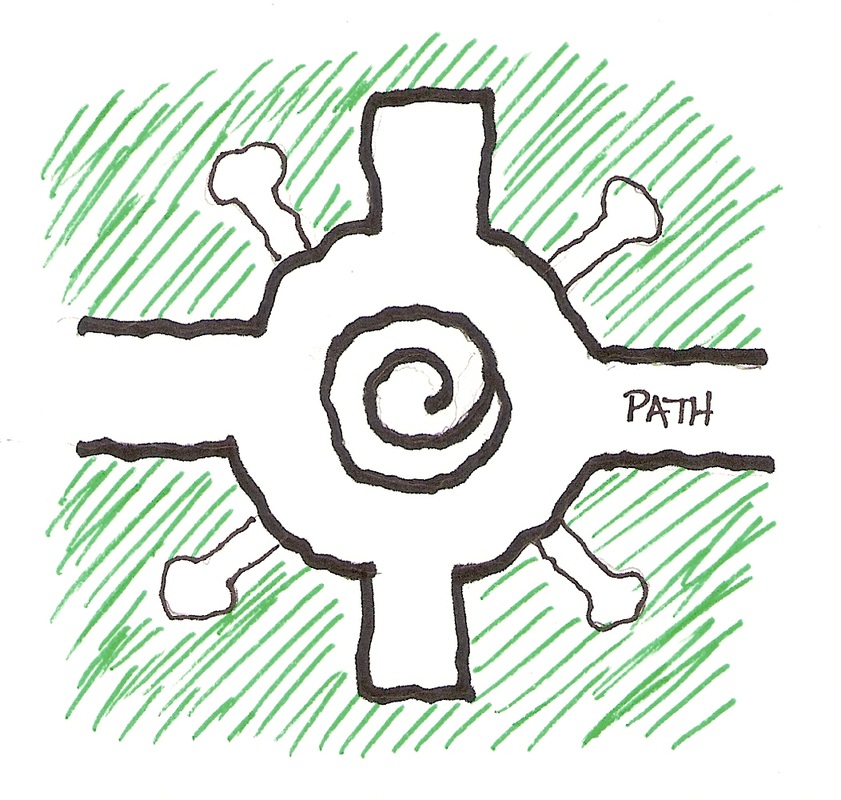
Celtic Cross Garden with Herb Spiral
|
|
Beginning the Celtic Cross Garden: Summer 2008
Bear removes the sidewalk with a jackhammer.
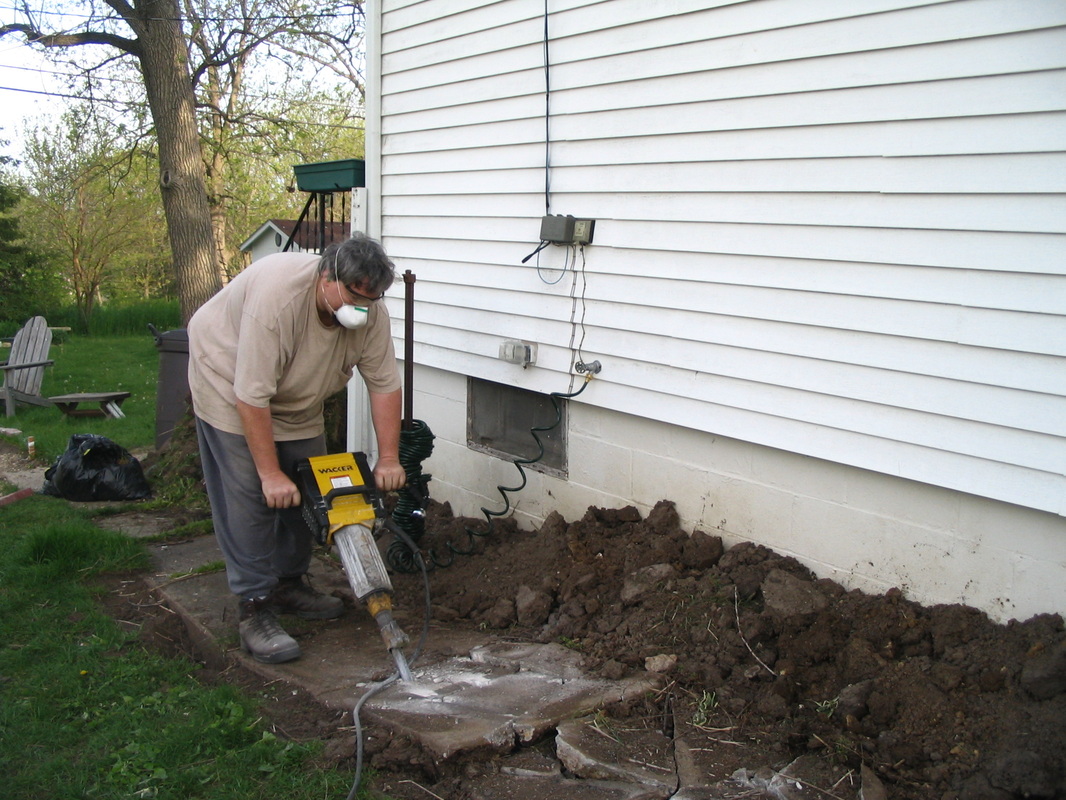
It took less than an hour to cut up the sidewalk.
Note the side yard began with all grass.
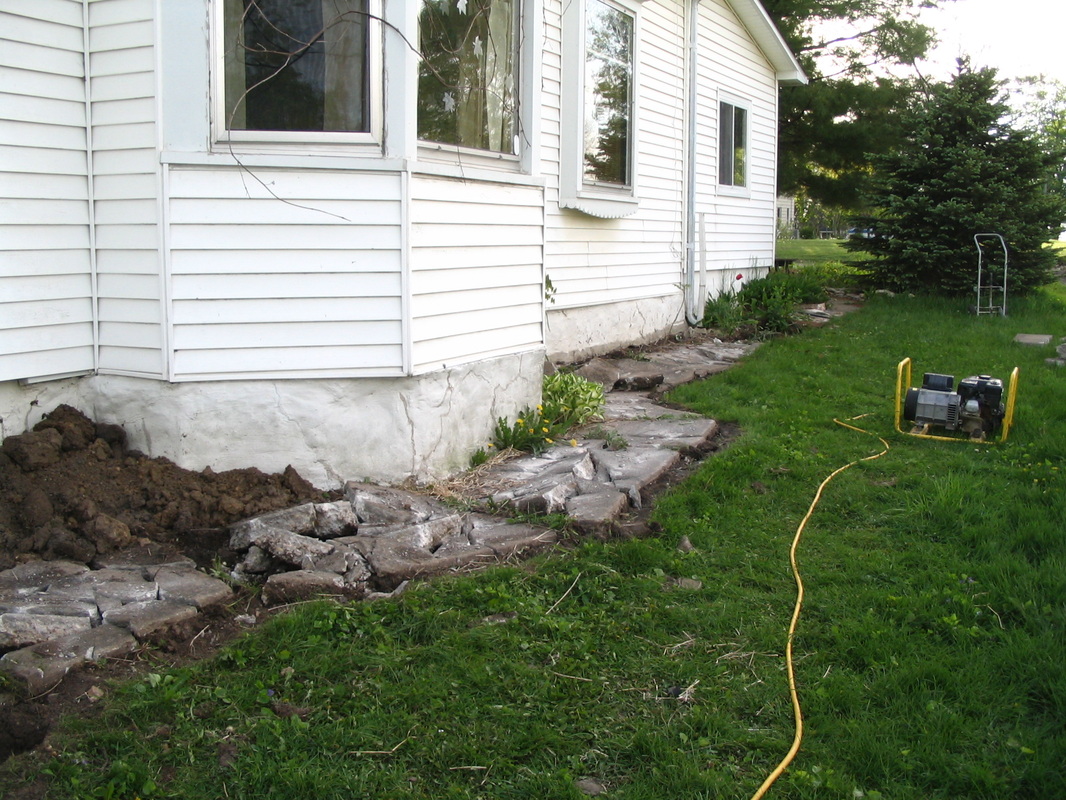
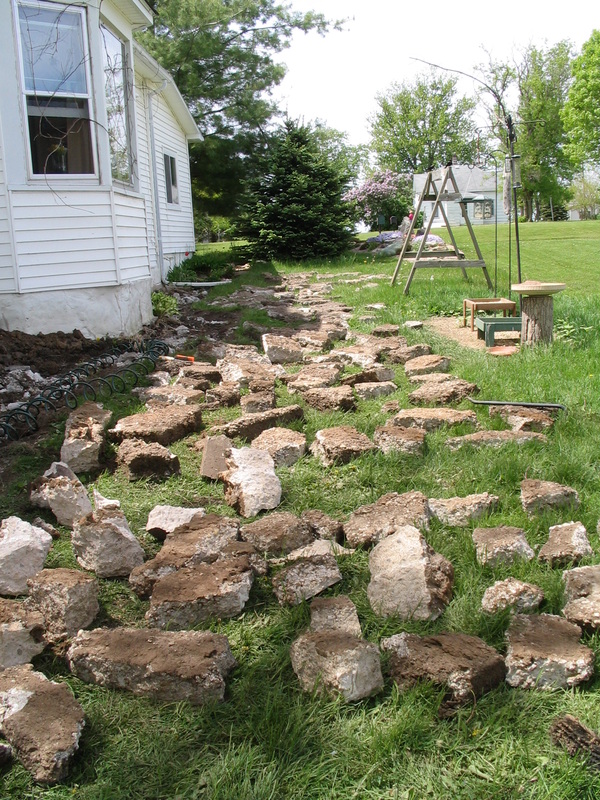
The “stones” from the sidewalk can be reused.
You need to scrape the mud off the bottom with a wire brush and a hose.
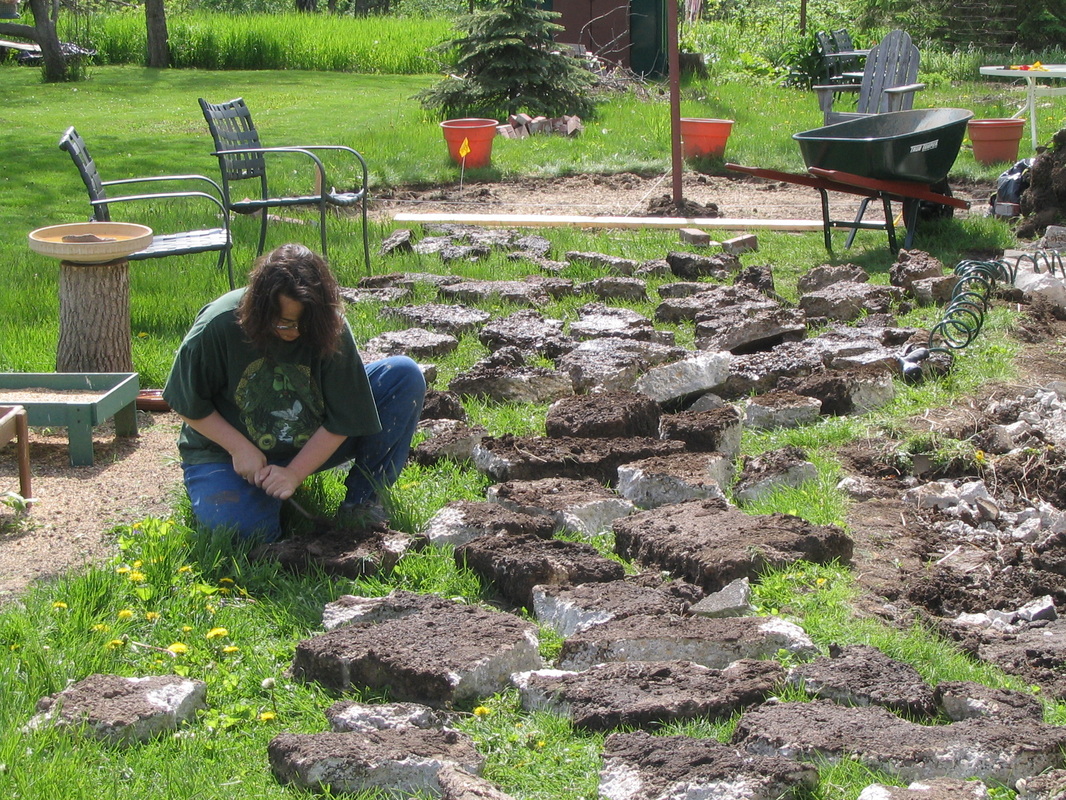
With the flat side up, the sidewalk pieces
can become stepping stones for paths.
Dig out the path and put down a gravel base. We added weed fabric.
Put sand under the “stones” until they are stable & flat.
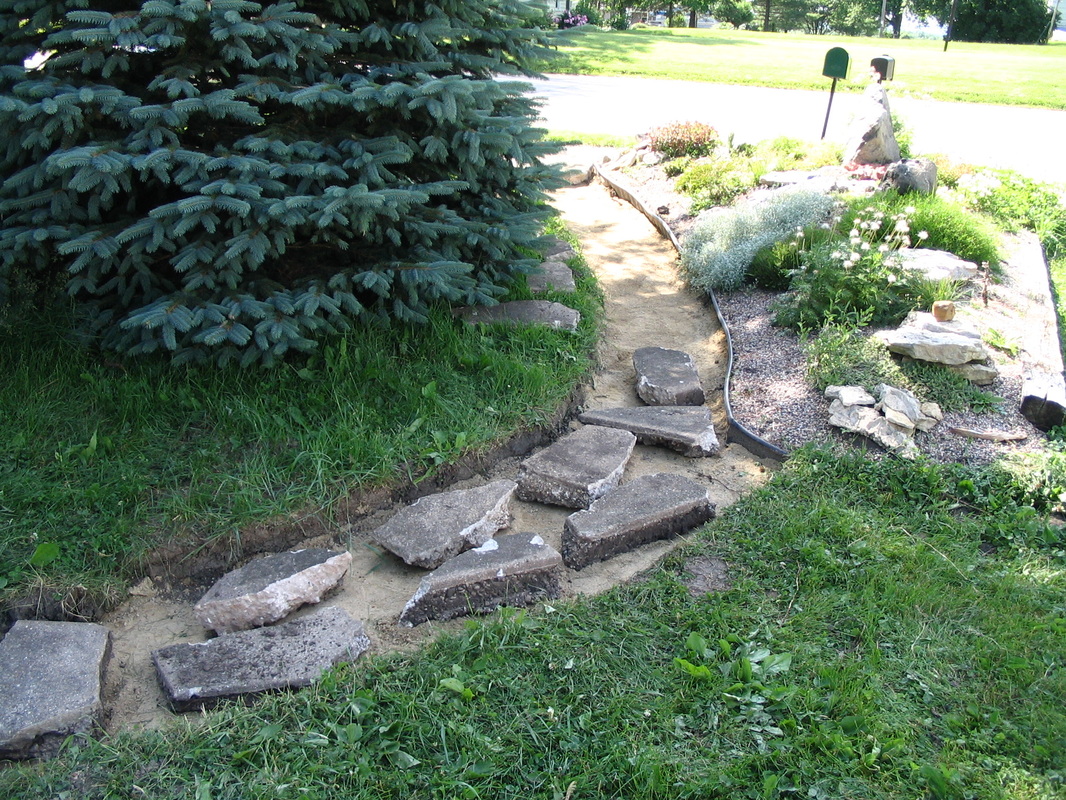
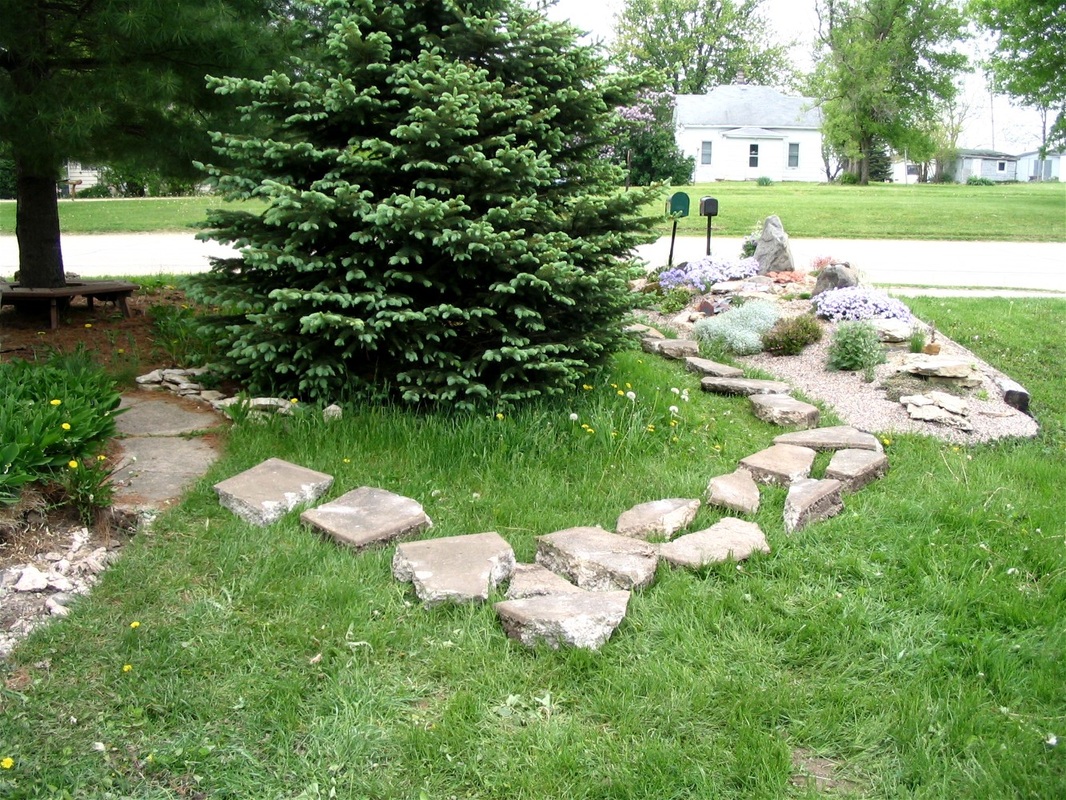
Finished path, filled in between the stones with pea gravel:
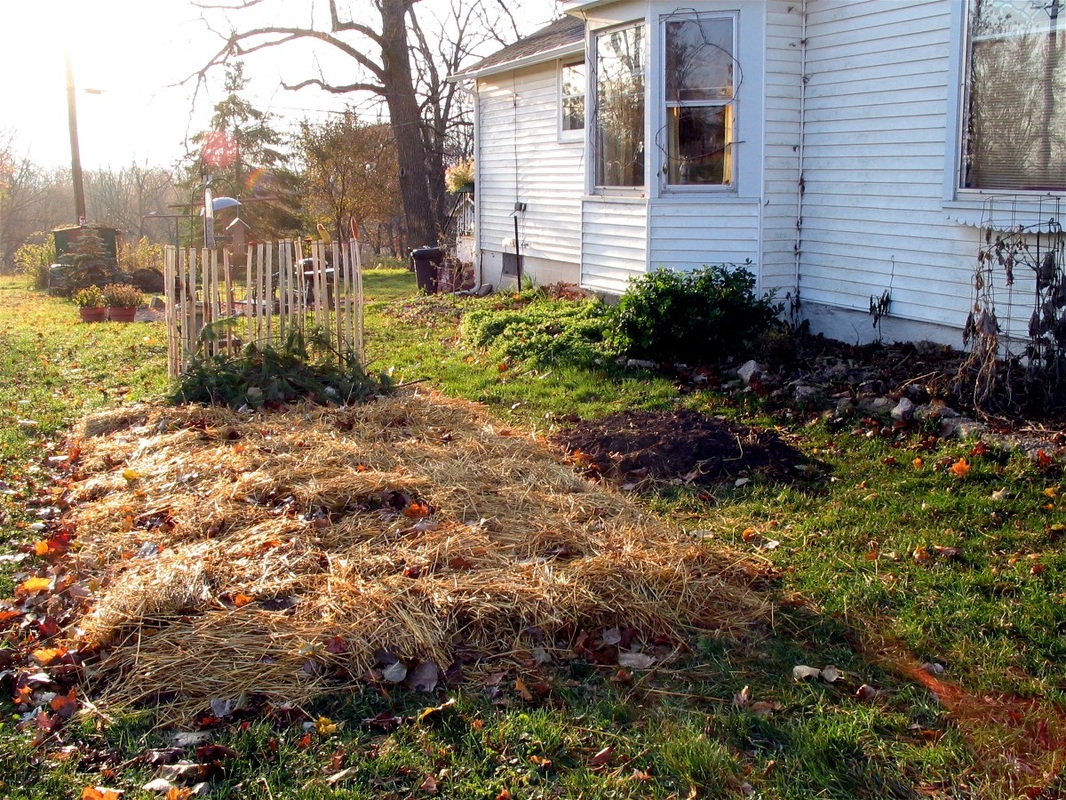
Fall 2008:
Sheet mulching part of the yard to remove the lawn. See instructions here.
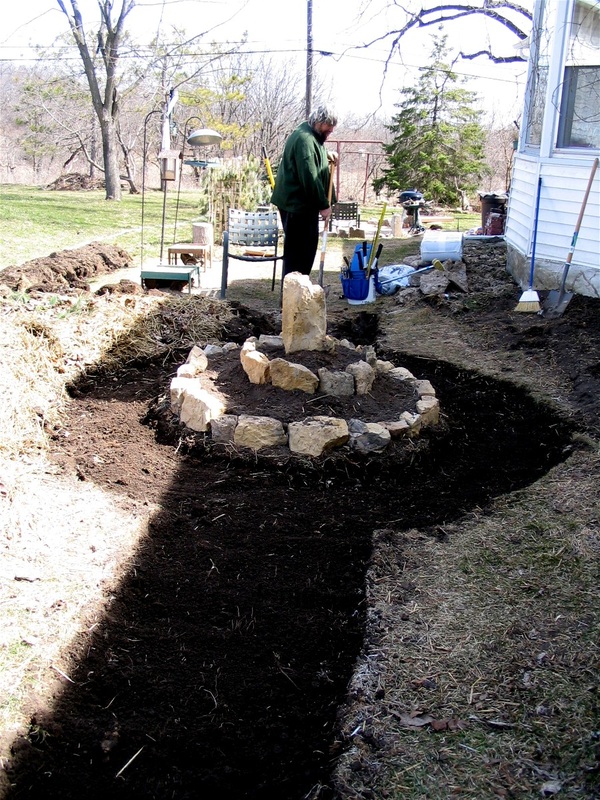
Spring 2009:
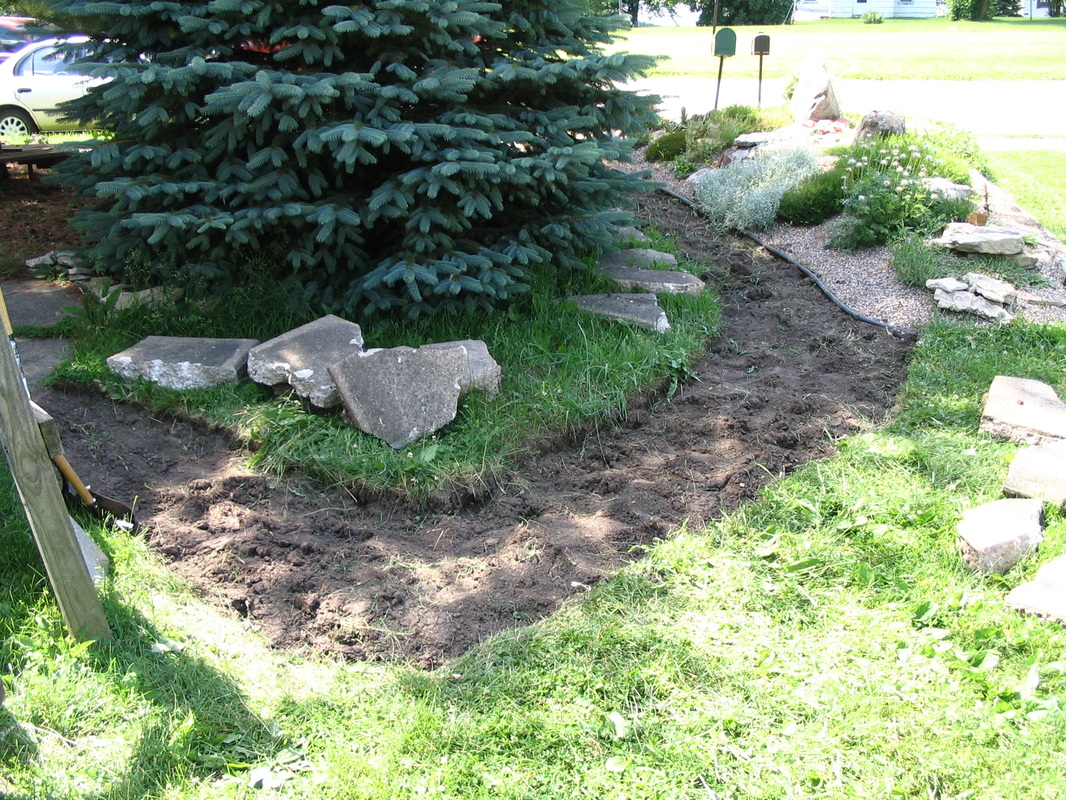
adding the Herb Spiral & digging up the path around it

Digging sod from the center path:
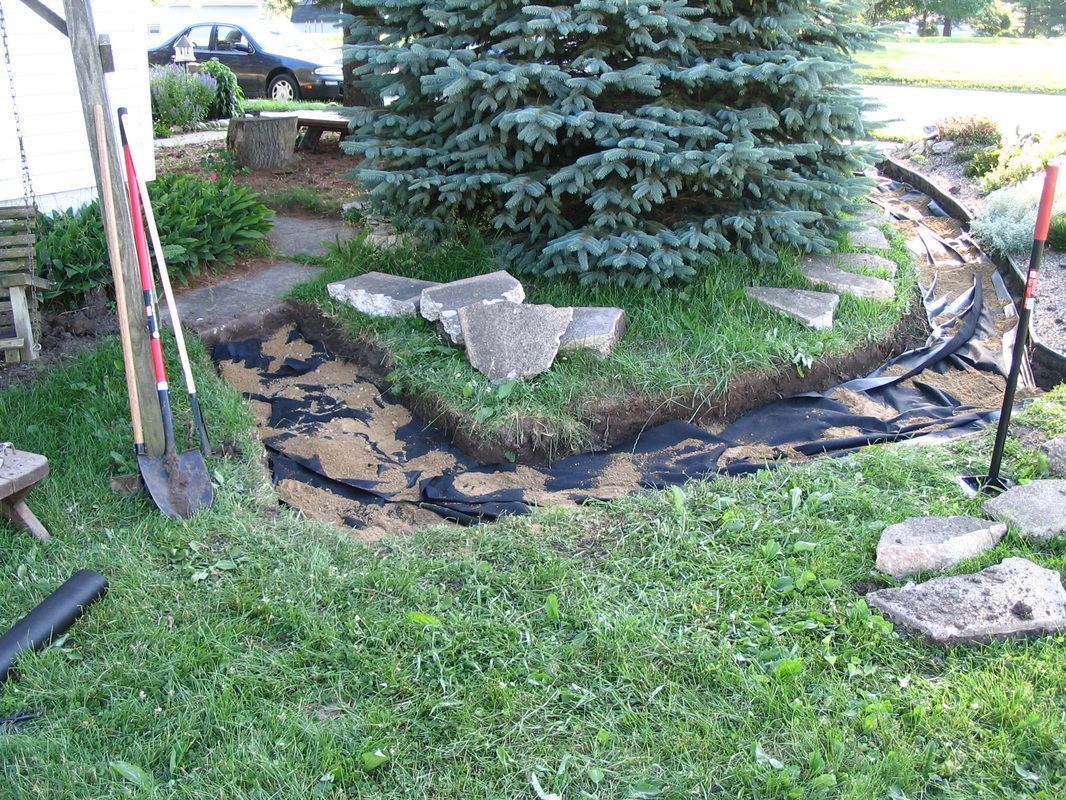
Adding gravel to the path:
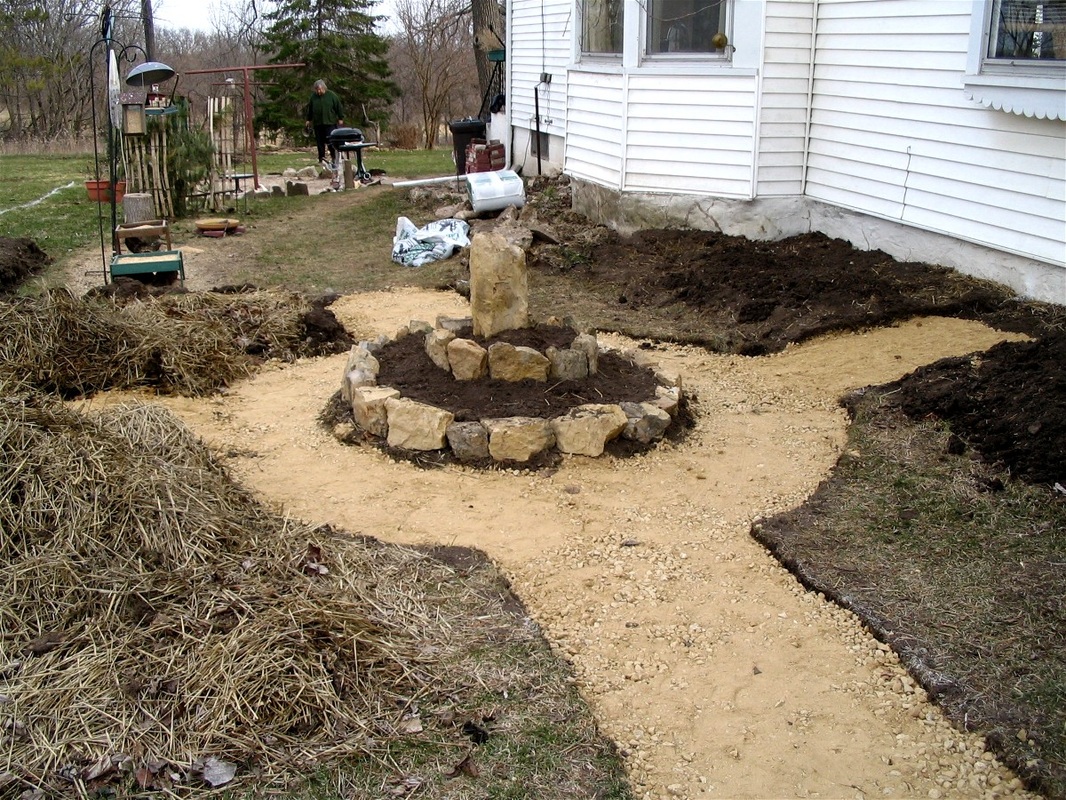
Concrete pieces from the sidewalk demolition,
with rough side up, become garden bed edging:
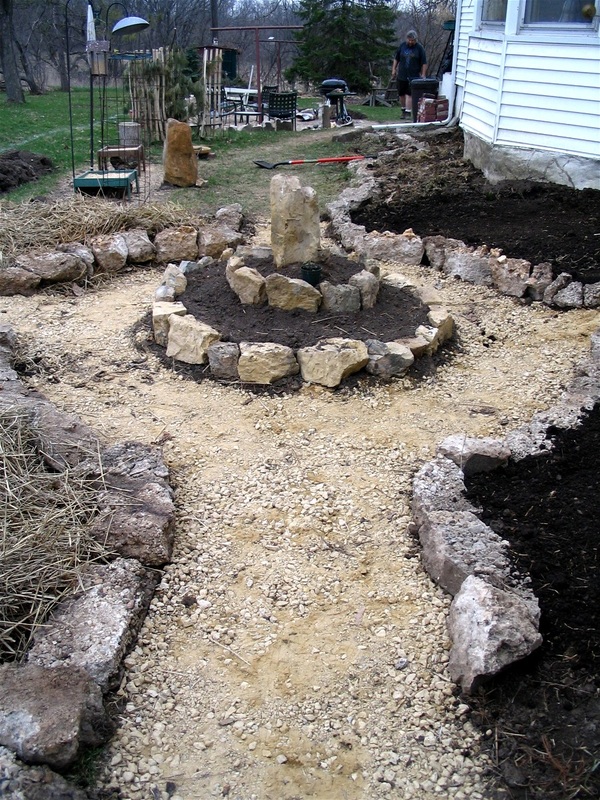
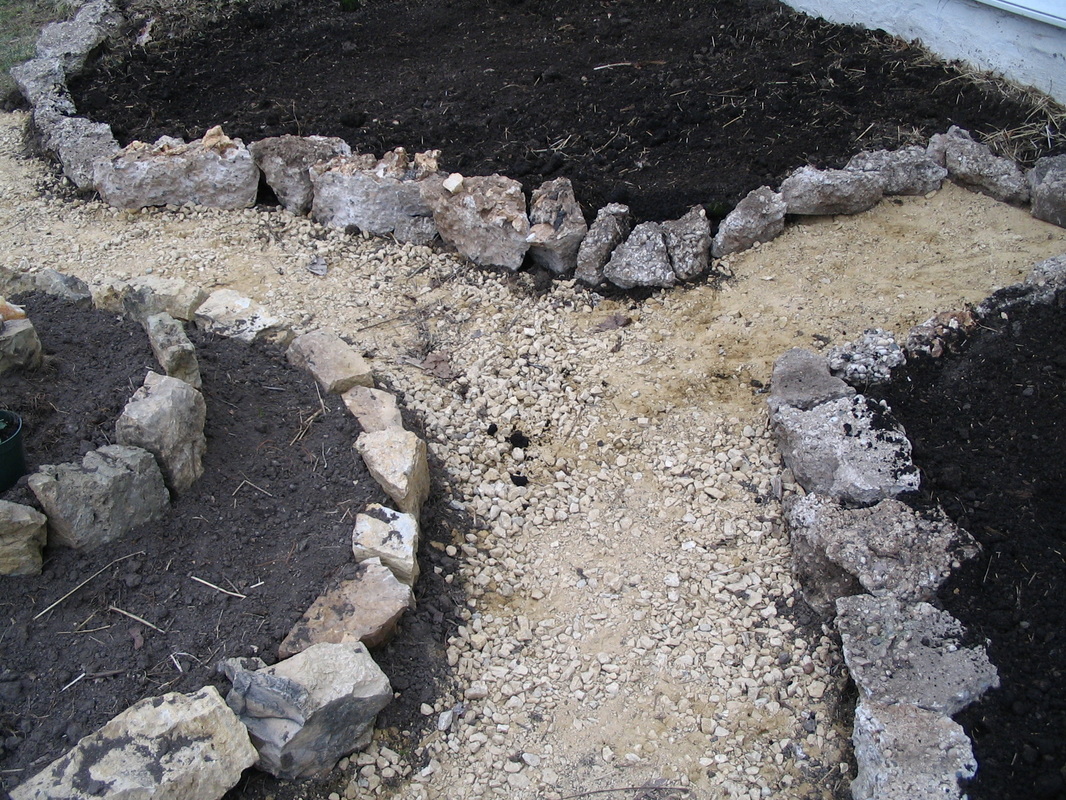
Adding fines to path (under the rake). Fines are smaller rocks that create a smoother path on which some people (Theresa but not Bear) can walk barefoot.
Initial Planting 2009. Keyhole paths are made of pea gravel.
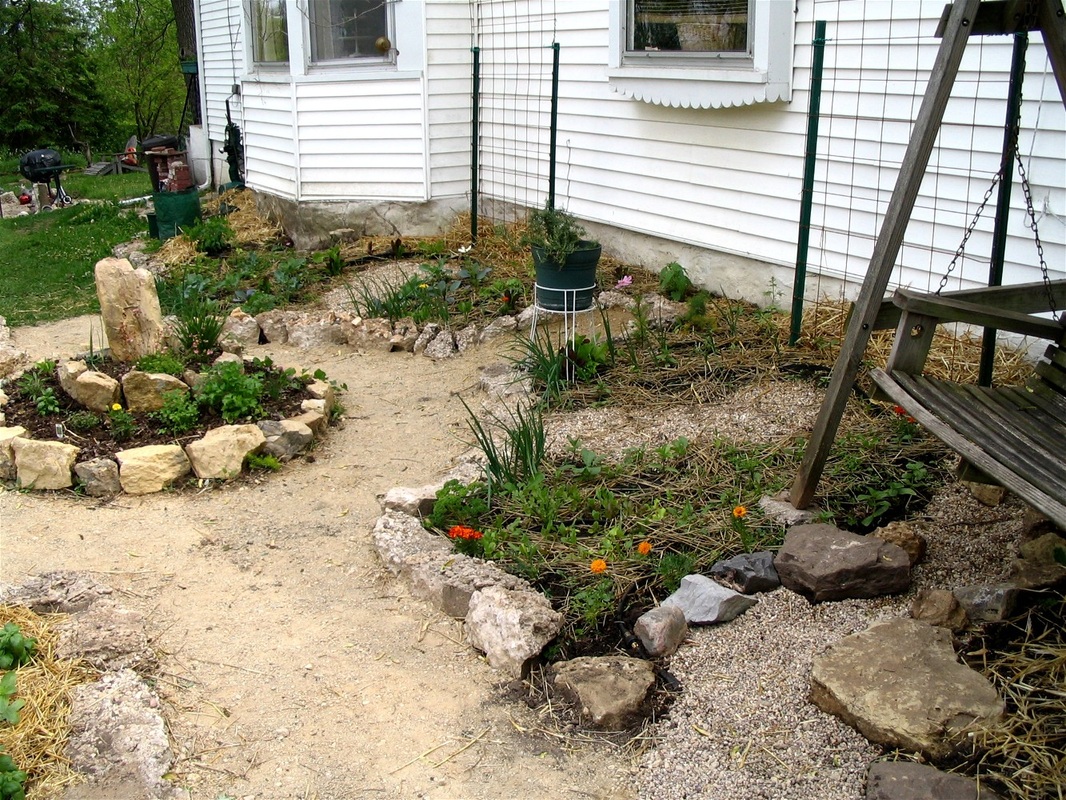
Initial planting 2009. Note seedlings planted directly in sheet mulch:
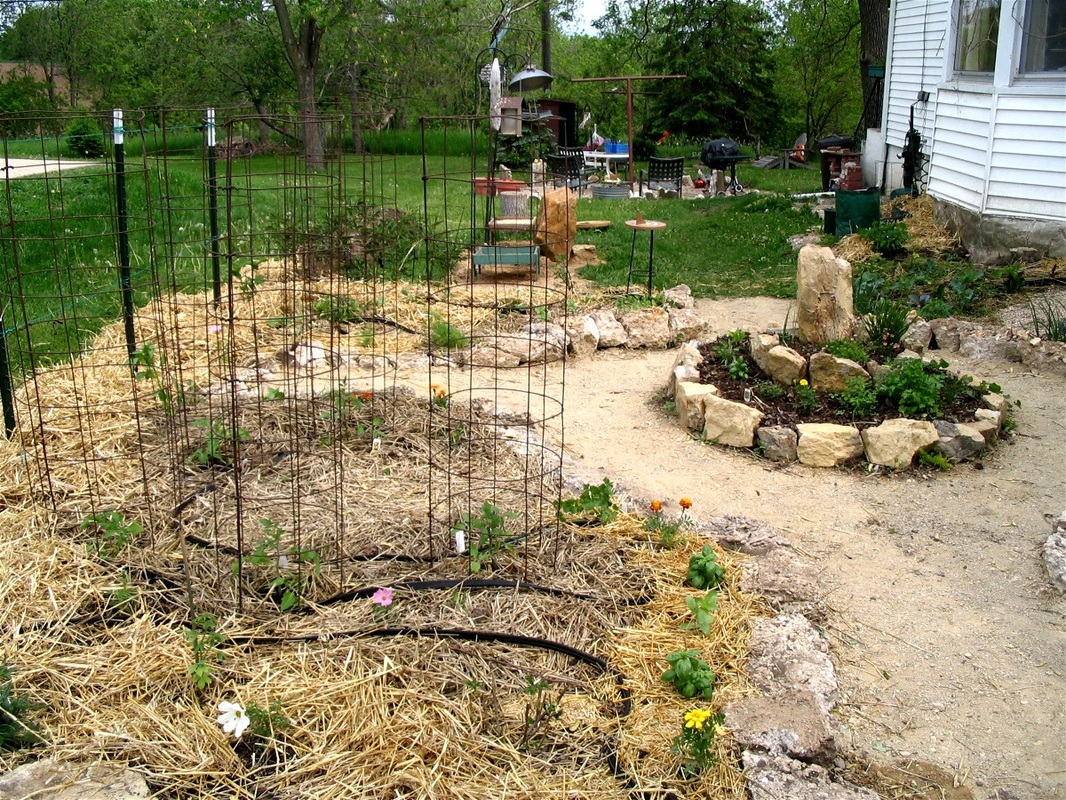
Later the first Summer, 2009:

First Summer, from opposite direction:
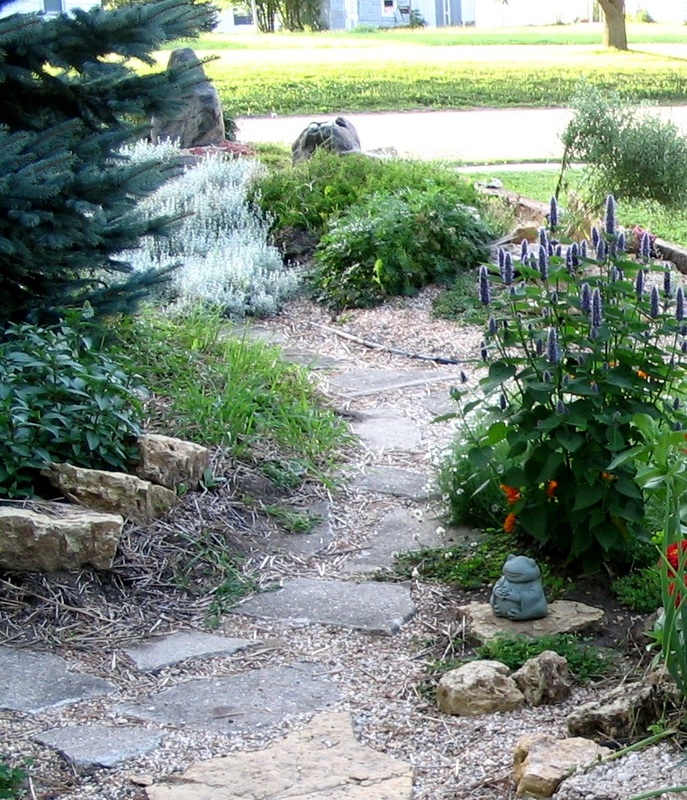
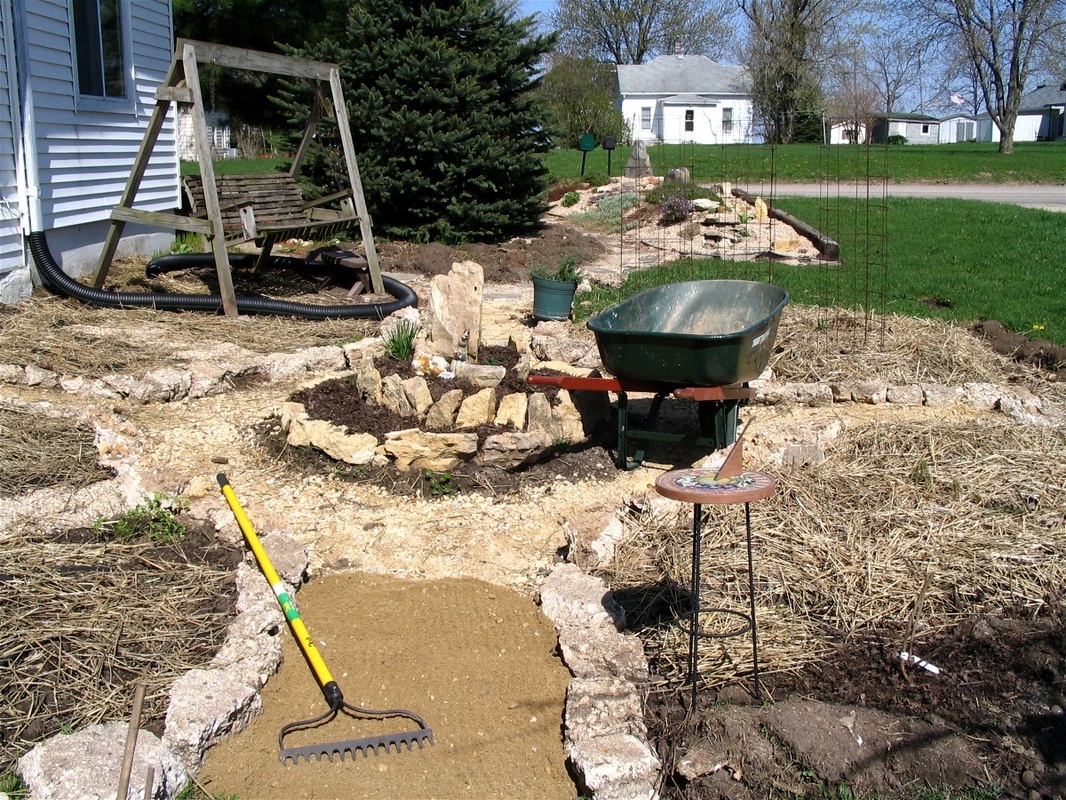
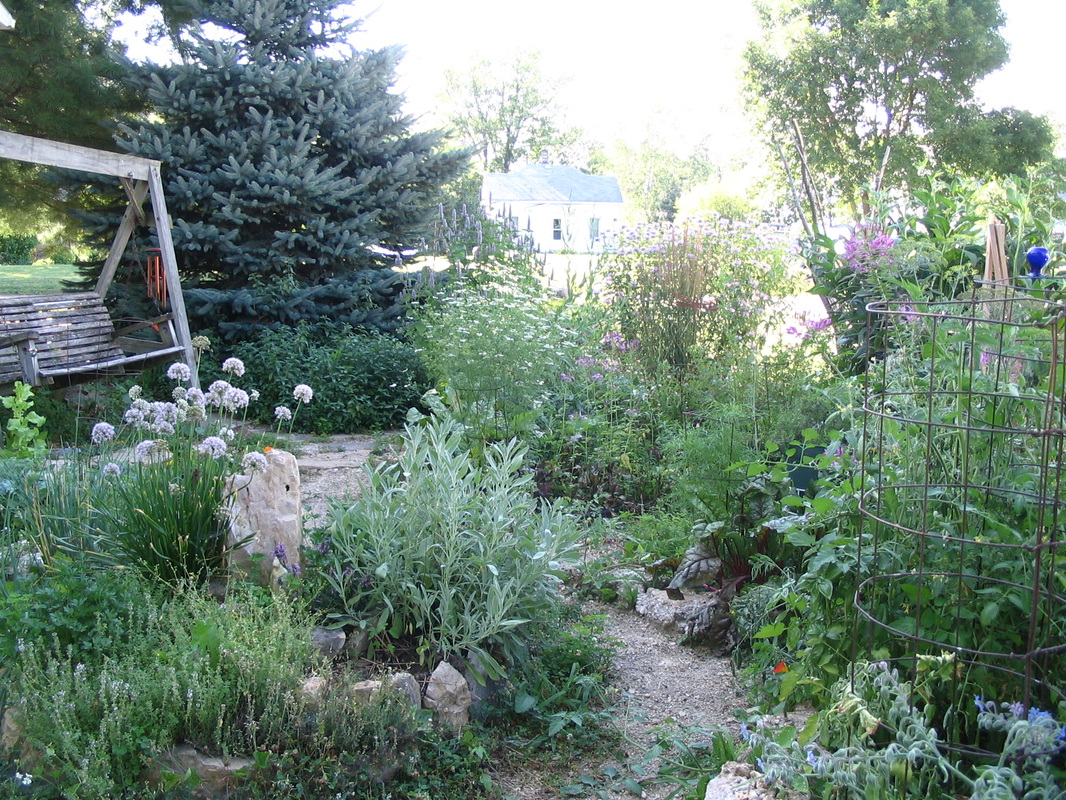
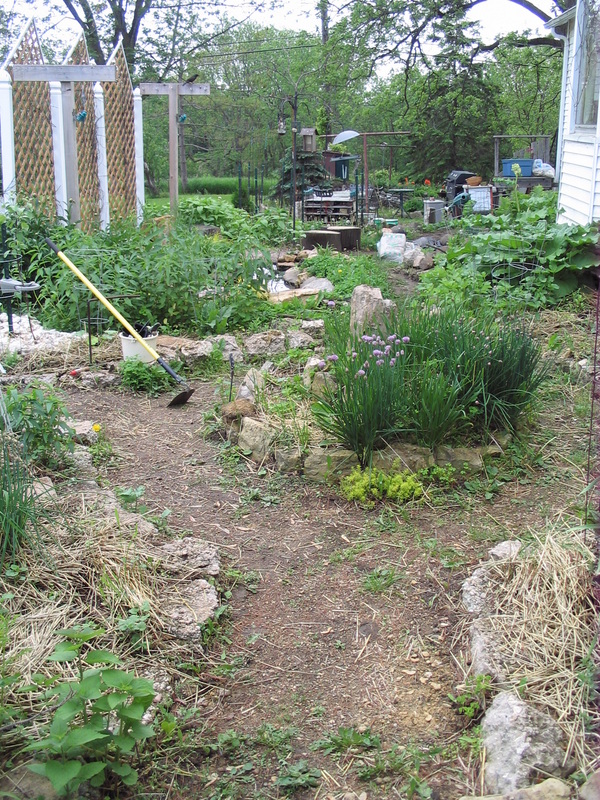
Later Years:
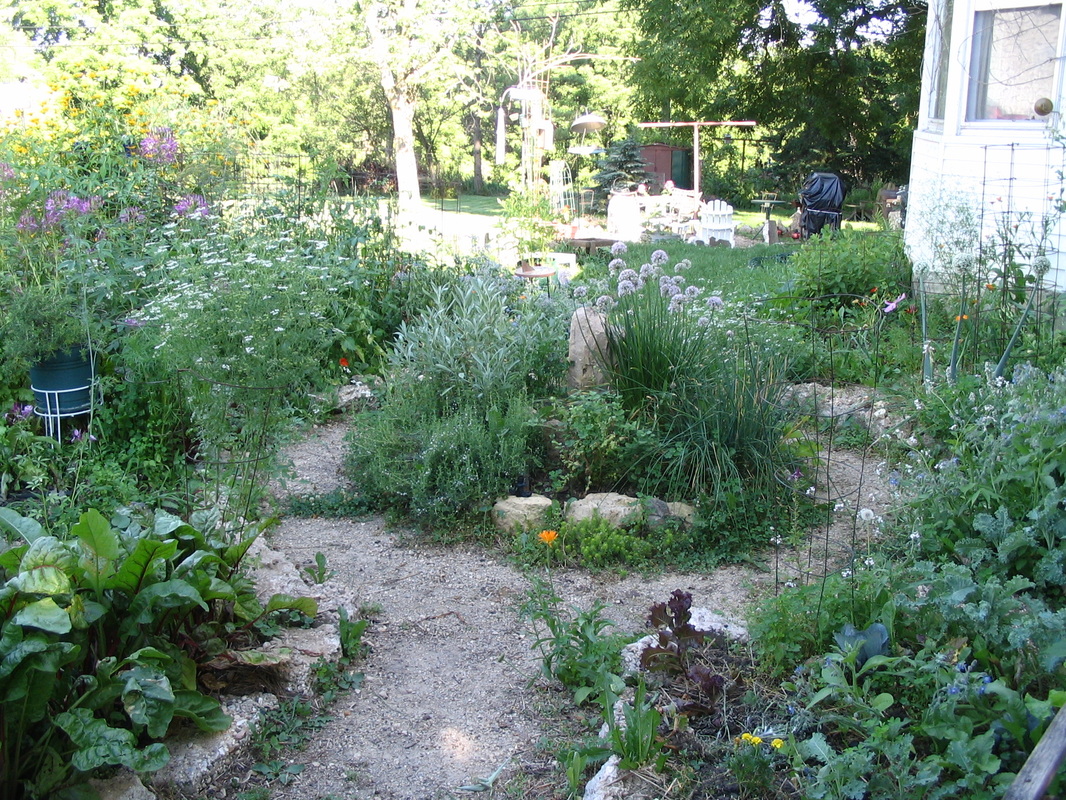
2010
2010
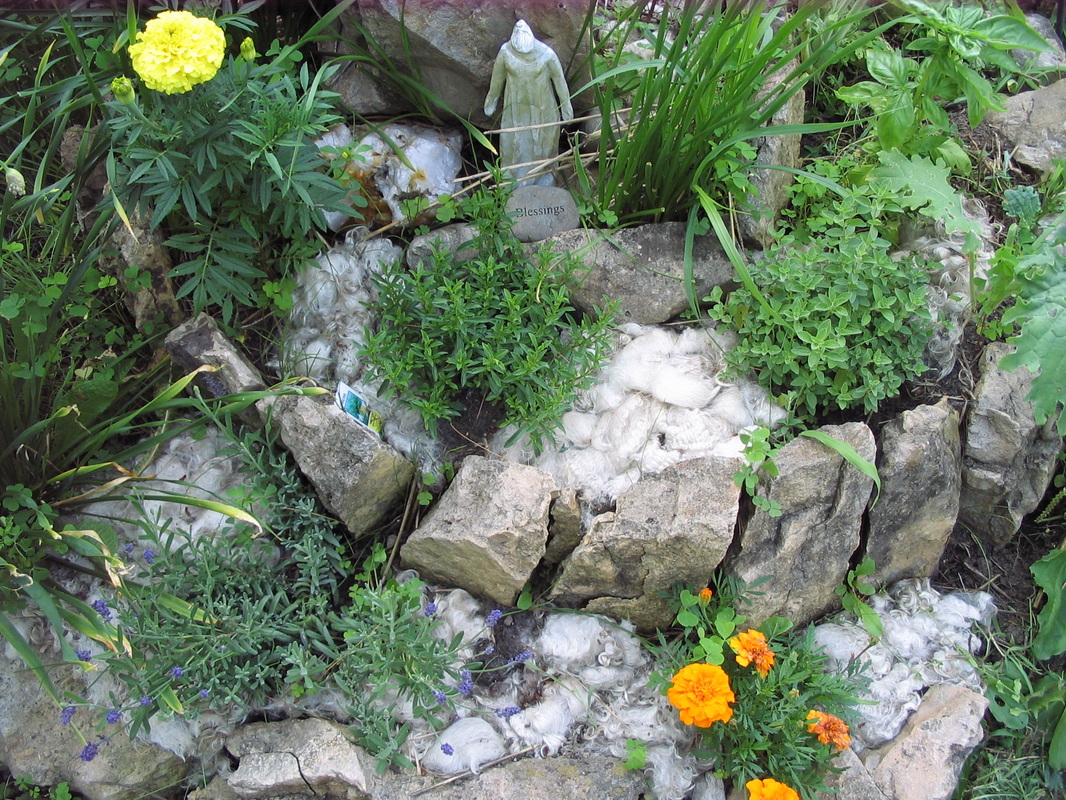
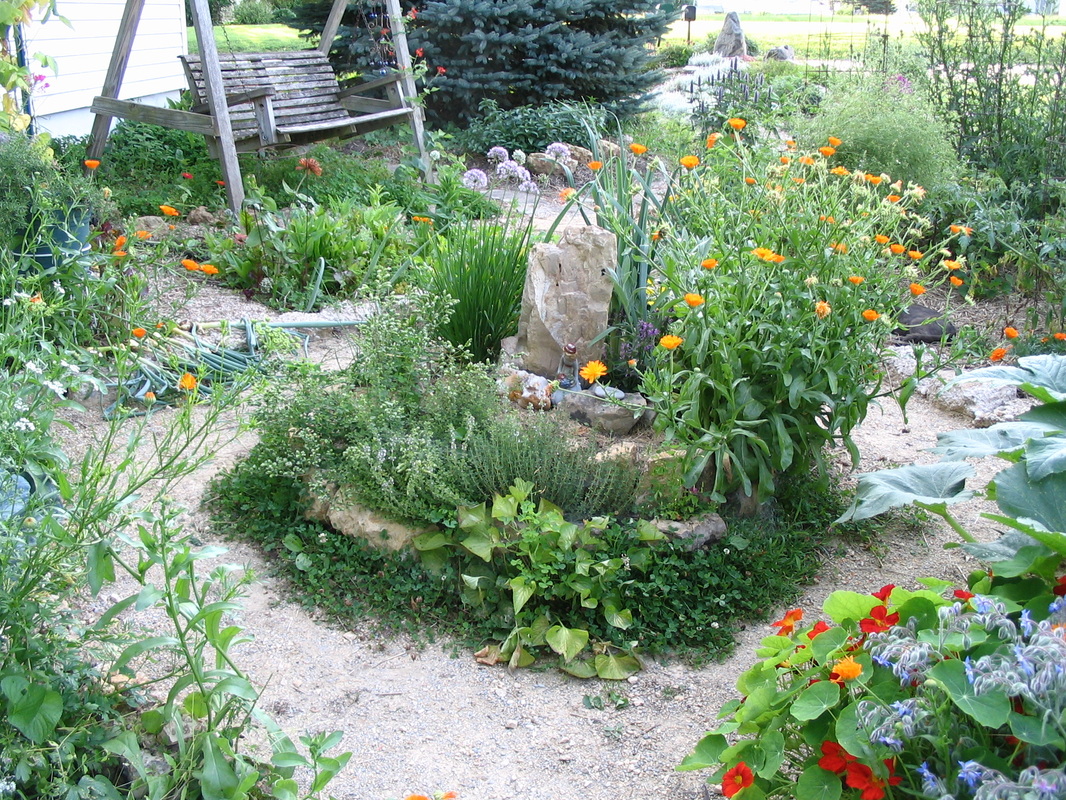
Herb spiral, 2013
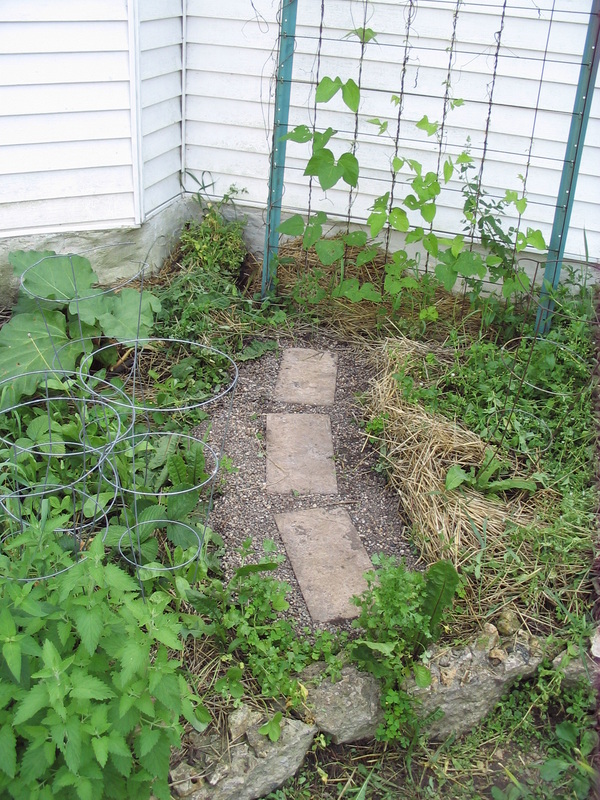
Adding pavers to the keyhole paths, 2013
Early Spring, 2013
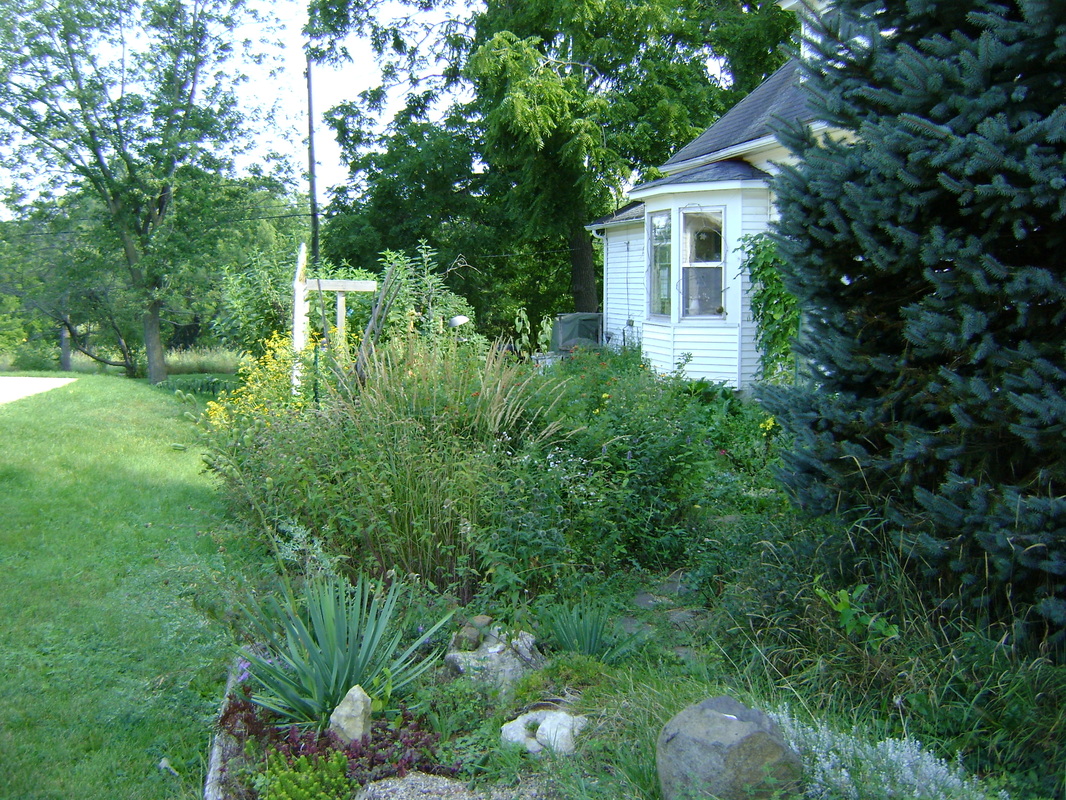
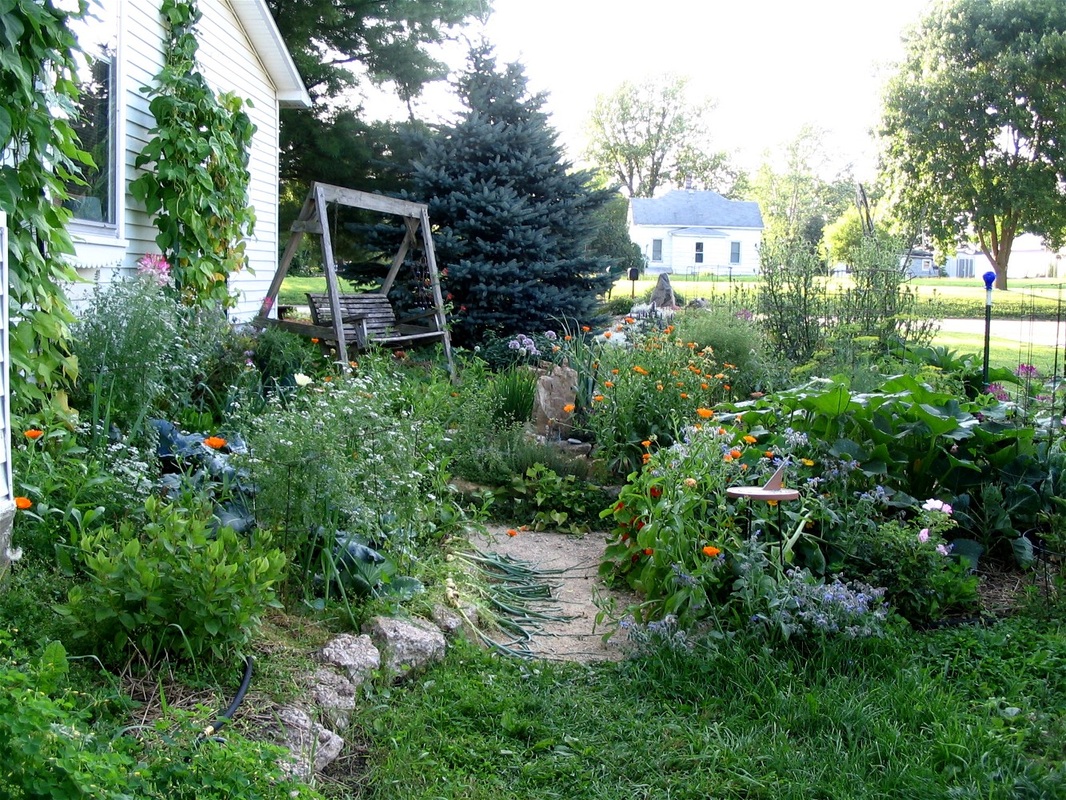
The long view of our side yard, 2013