Our Tiny Homestead
  • Home
  • Inside
    • Buy Nothing Challenge >
      • 2014
      • 2015
      • 2018
      • 2019 & Debt-Free
    • Our Wood Stove
    • Laundry
    • Prepare for a Power Outage
    • Renovations
  • Outside
    • Theresa's Gardening Goals
    • Permaculture 101
    • Perennial Vegetables
    • Eat Your Wild Yard
    • Seed Starting
    • Walnut Syrup
    • Gardening for Wildlife
    • Wildlife Pond
    • Save Our Bees
    • Our Gardens >
      • Celtic Cross Garden
      • Catio Construction
  • Cooking
    • Wood Stove Cooking
    • Shelf Chefing >
      • Bear's Shelf Chefing
      • In Shape Shelfchefing
      • Wild Raspberries
      • Grilled pizza
      • Celebrate Seasonal Eatin >
        • Samhain - Late Fall
      • Cook of Anarchy grilled cheese
    • Haybox Cooking
    • Heat wave solar cooking
    • Division of Labor
    • Recipes
  • Pantry
    • Pantry Intro
    • Pantry Cooking
    • Yearly Harvest List
    • Preserving
    • Making Staples
    • Growing Sprouts
    • Building Our Pantry
  • Celebrate
    • After the Pandemic
    • Winter Solstice
    • Mid-Winter & Imbolc
    • Spring Equinox
    • Late Spring & Beltane
    • Summer Solstice
    • Fall Equinox
    • Late Fall & Samhain
  • Our Books
  • Our Videos
  • Blog
  • About
  • Contact
  • Resources
Picture

GROWING SPROUTS
from Theresa

I grow sprouts as a Winter treat.
When you try to eat seasonally, there are not a lot of fresh food options in the Winter,
so sprouts are a great treat.
Picture
We do occasionally get to the weekly Winter market in Madison, where there is a vendor that sells amazing microgreens, but it's easier to grow our own sprouts than make the trek into town regularly. In the Winter we eat mostly veggies that we've preserved, which makes the live sprouts a particularly wonderful taste sensation. You can feel them gifting you with their energy and nutrition. ​There are so many other things to eat fresh in the Summer, and I'm so busy with the outdoor garden, that I don't usually have the energy to grow anything inside in the Summer.
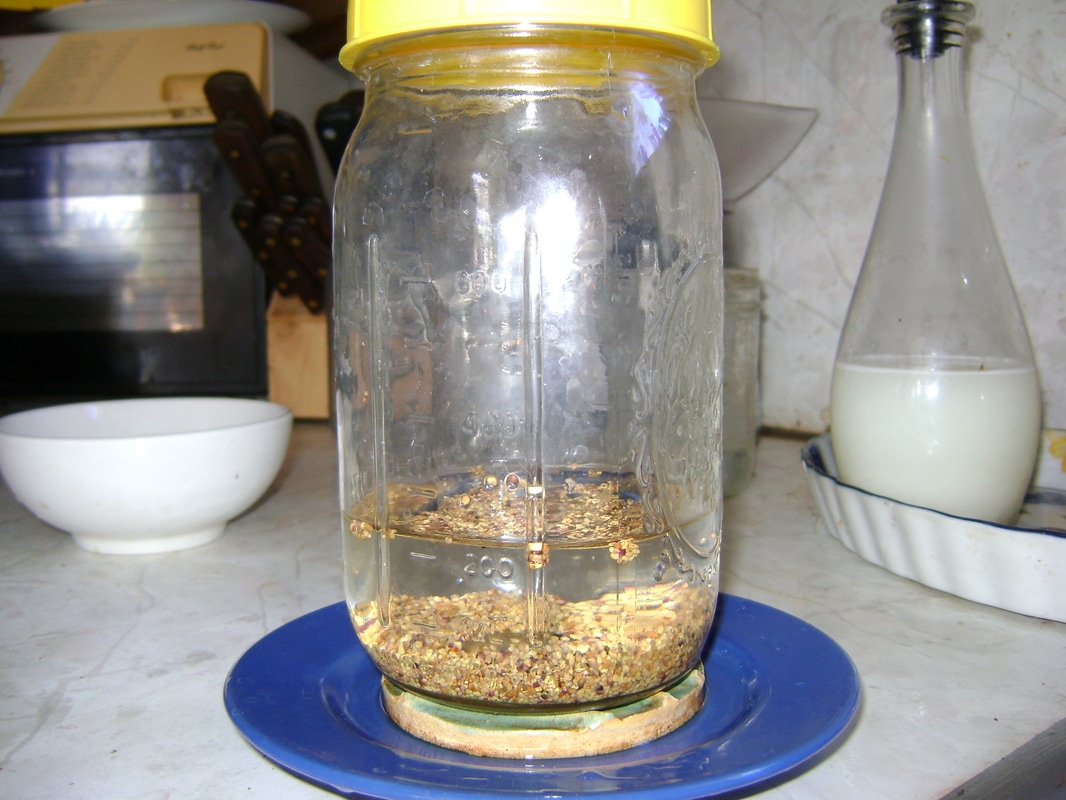
Picture

Supplies needed:

You can grow all different kinds of sprout seeds, and there are growing systems you can buy with multiple trays that let you grow several types at once, but I like to keep it simple and easy.  So far, I just grow one type at a time, using one of our mason jars.
​

Here's the set-up I use:
  • A quart mason jar (If you don't already have a lot of these around the house, they are easy to find at garage sales. They are also pretty inexpensive to buy from the store, but you'll have to get a dozen at a time.)
  • A small plate/saucer (blue in the photo) like the ones that come with a tea cup. It should have an outside rim/higher edge that will hold in a little water.
  • A lid for the mason jar that will let through air and water (yellow in the photo). I see these for sale in food coops, where you can also buy the seeds you'll need. Our lid is plastic, which I usually try to avoid, but in this instance it has worked the best. I also bought a metal mesh lid, but it just rusted. You could also try cheesecloth and a rubber band, but you might need to remove it every time you rinse the seeds.
  • Something to elevate the jar and let water seep out when the jar is turned upside down on top of it, which you'll do after rinsing the sprouts. I use a soap dish (the green ceramic circle that is in the middle of the saucer). An apple slicer & corer also works well and it easier to find at the store.
  • Seeds to sprout. So far I haven't been very experimental and have mostly just sprouted red clover seeds.  You can buy many more types of seeds for sprouting. If you want to be even more adventurous, I've read that you can eat sprouts from any plant for which you can eat the leaf when the plant is grown.

Picture
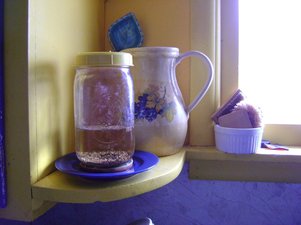
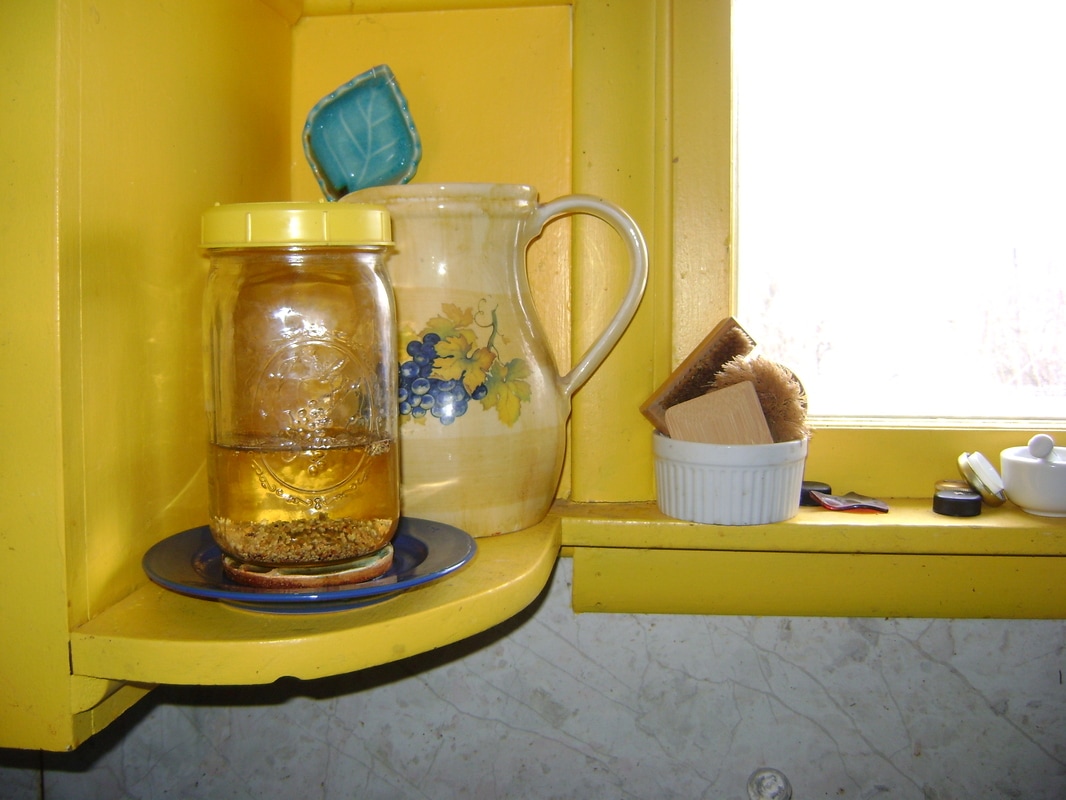
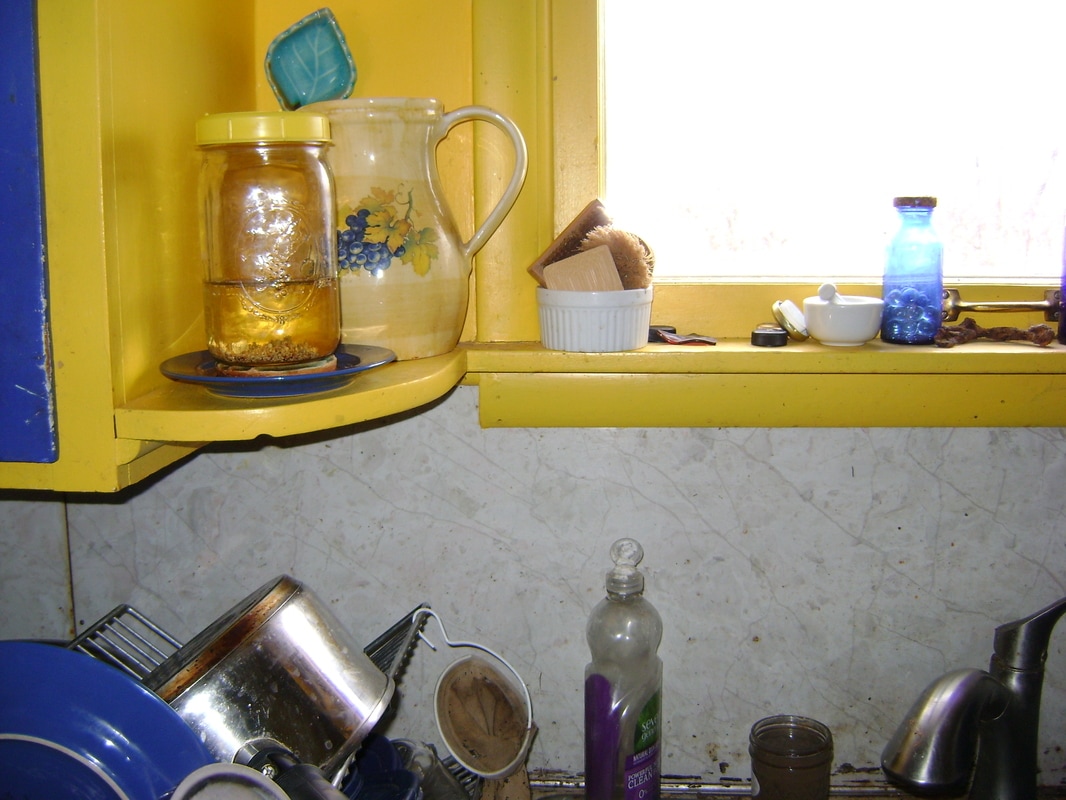
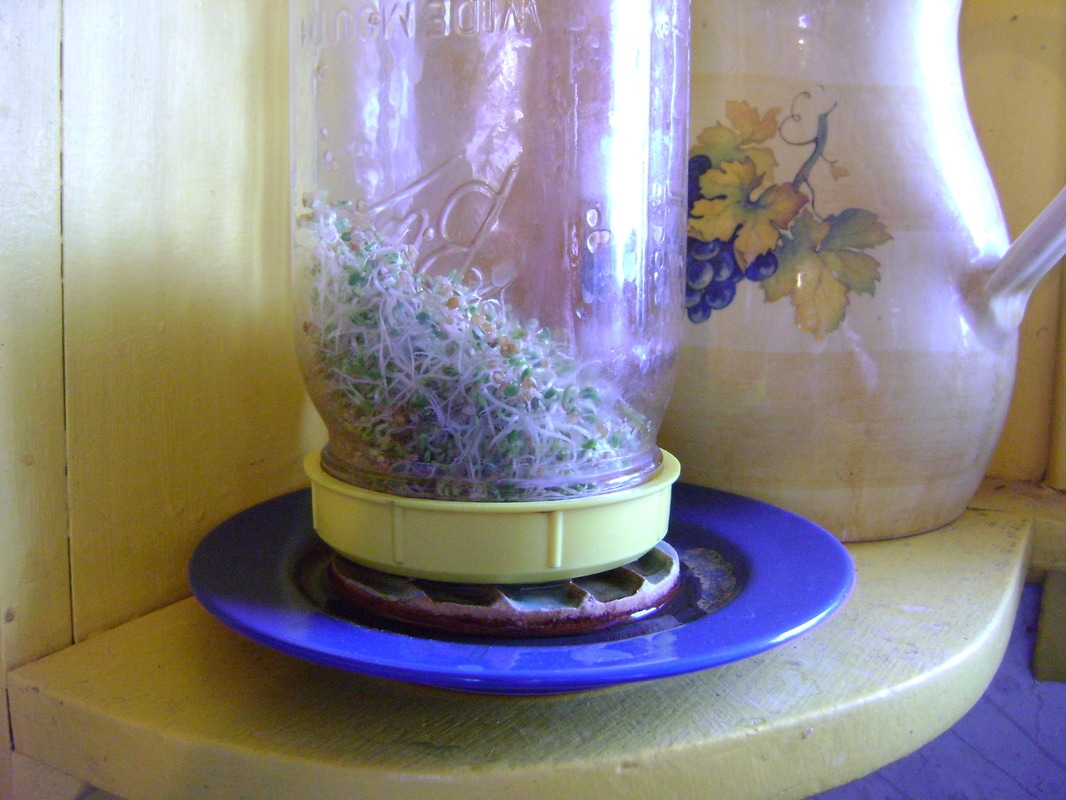
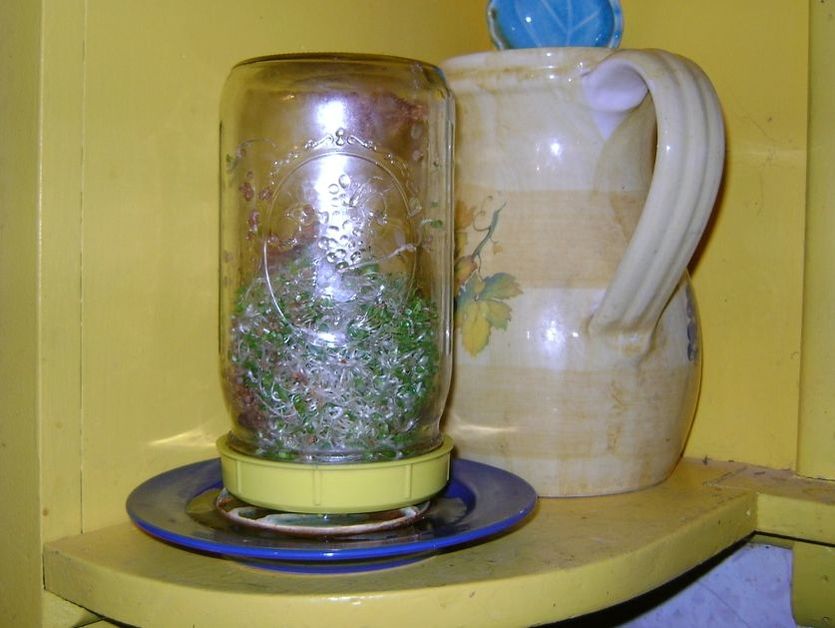
To the right is a photo of where I grow my sprouts. It's a small shelf above my kitchen sink next to a window, which:
  • lets the sprouts get some sunlight (to turn them green),
  • but doesn't get any direct sun (which could heat up the interior of the jar too much & kill the sprouts).
To the left is why my system looks like when it's put together and in use.
Picture

How to Grow Sprouts:

Soak the Seeds First:
1. Pour some seeds into the bottom of the mason jar (I usually do about a couple tablespoons) and cover them with water.
2. Leave them to soak overnight.
Picture
Picture
Rinse the Seeds/Sprouts Twice a Day:
3. Since my sprouts are by my sink, it helps me remember to rinse them twice a day, usually when I'm cleaning up from breakfast and dinner. The seeds and sprouts need water to grow, and rinsing them helps keep them clean so that unpleasant things like mold don't also grow. Some people rinse them three or more times a day, but I'm away at work for almost 12 hours, and I've found that rinsing only twice works just fine.
Picture
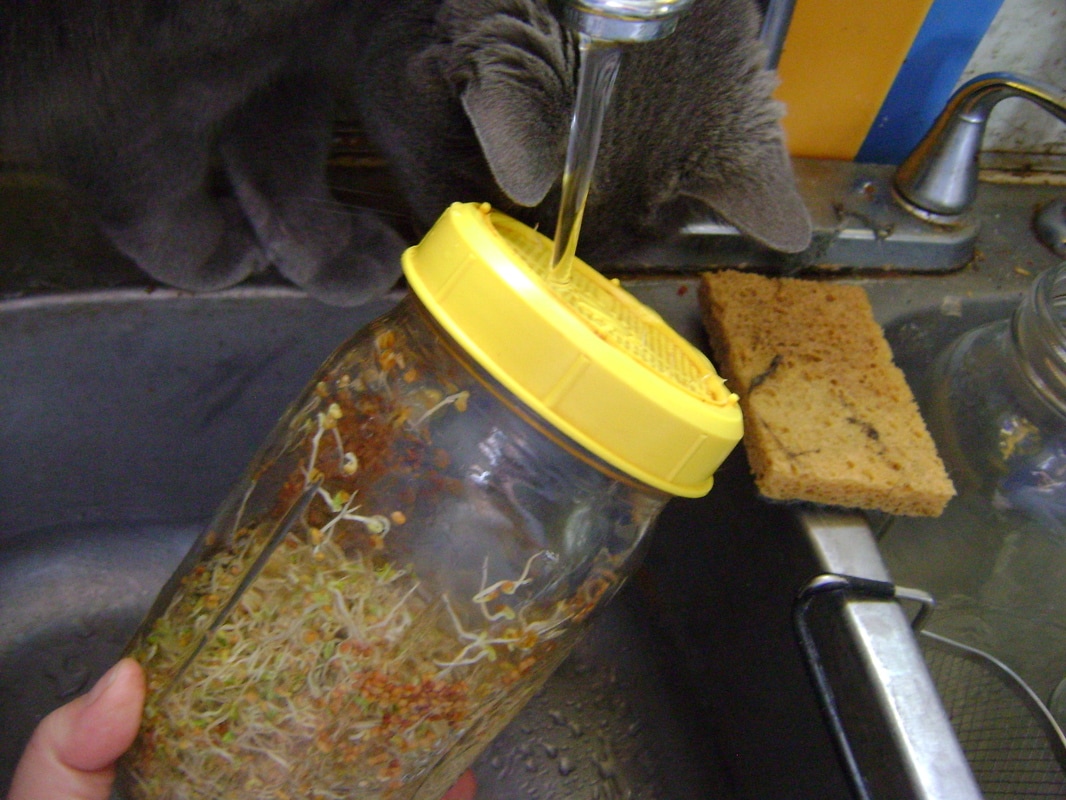
4. To rinse, put enough water in the jar to cover the seeds or sprouts. I use cold water straight from the tap. I find I have to keep the jar at an angle in order for the water to get through the lid I use.


​
Picture
5. Gently swish the jar around in a circular motion...
Picture
6. ... trying to get the water to rinse all the sprouts.
Picture
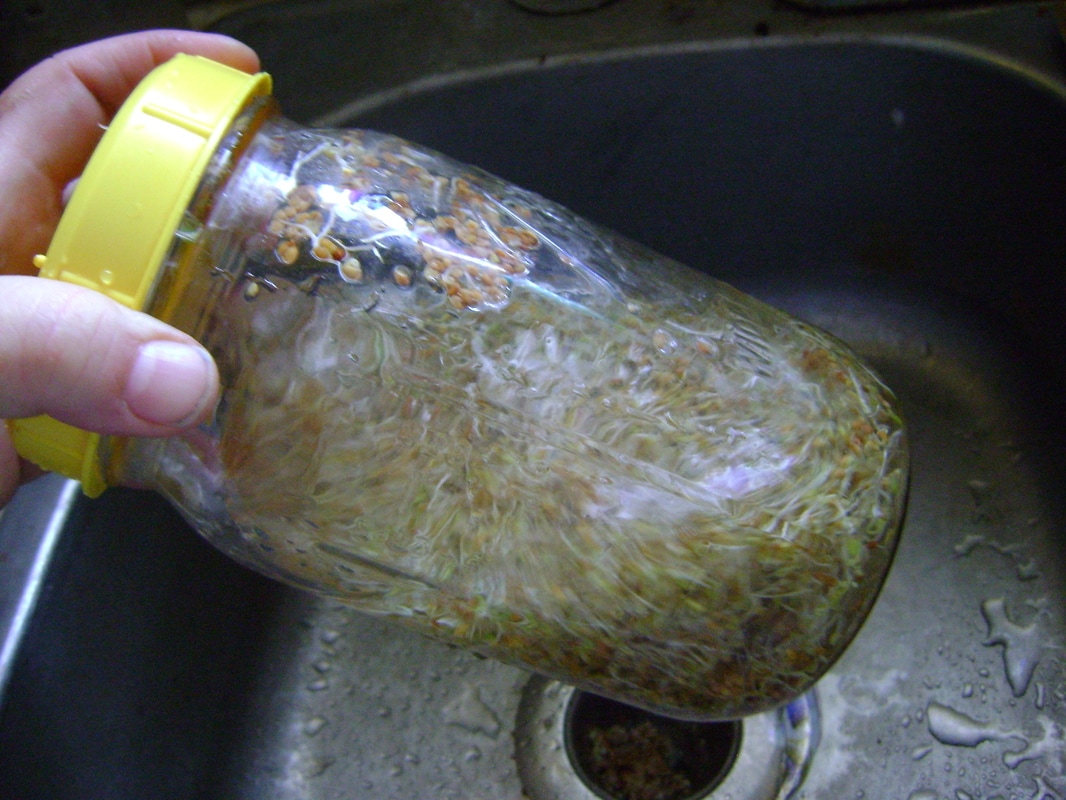
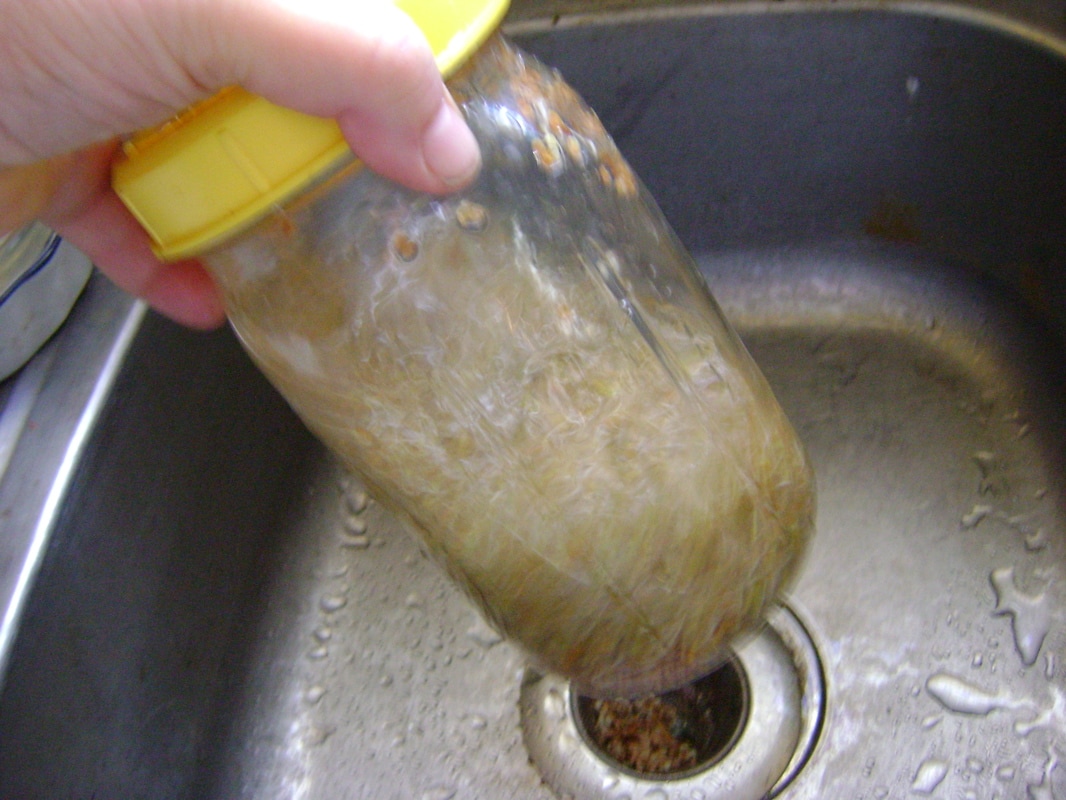
7. Then drain the jar. The lid will keep the sprouts in while the water pours out. Experiment to see what works best. For my lid, the water pours the fastest if I hold the jar at an angle and rotate it around. If you have house plants, you can pour the water on them instead, so it doesn't go to waste.
Picture
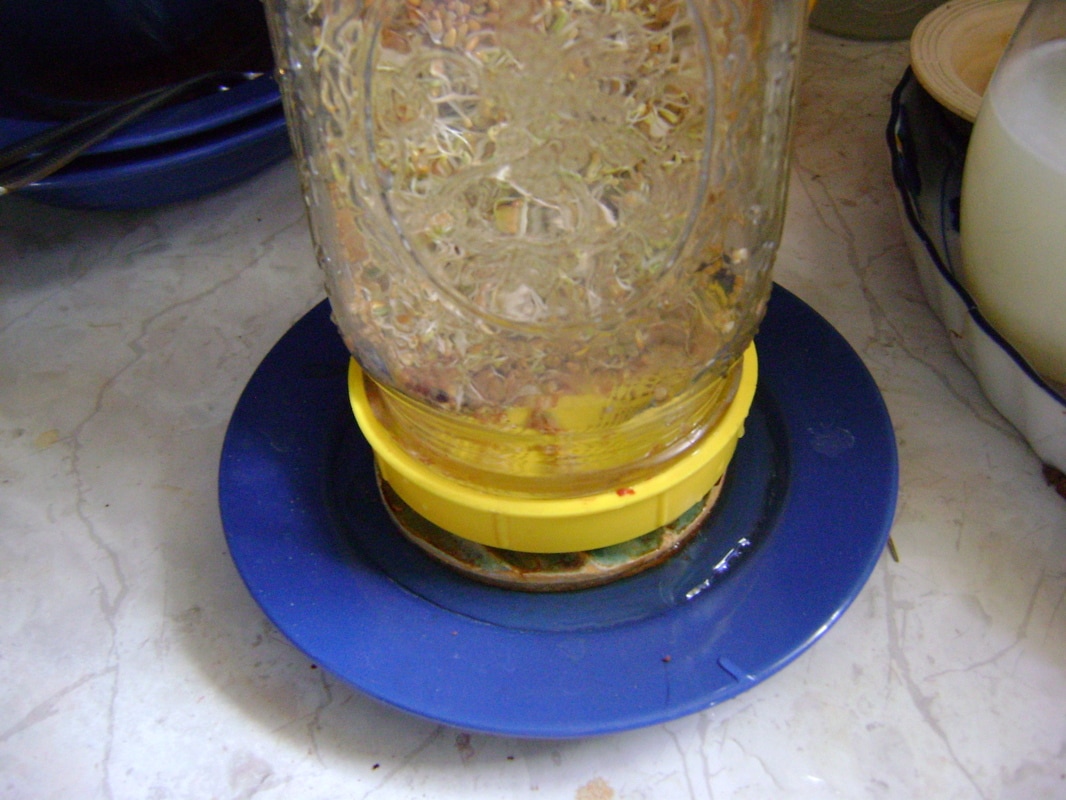
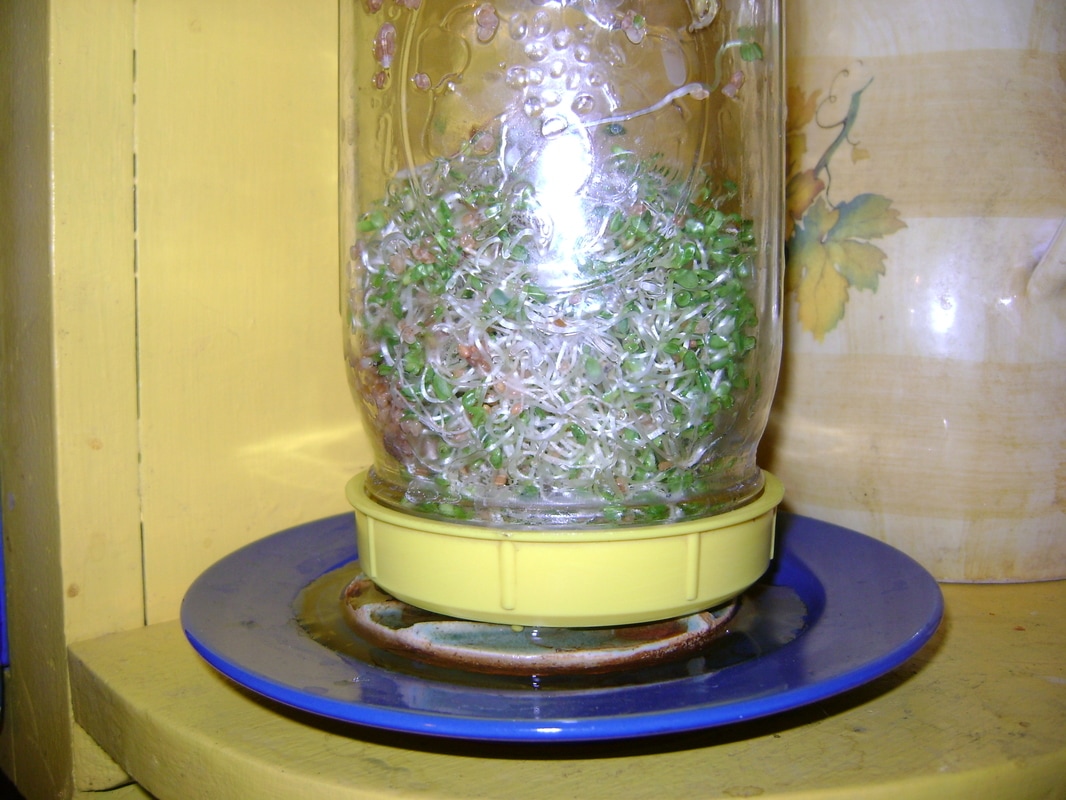
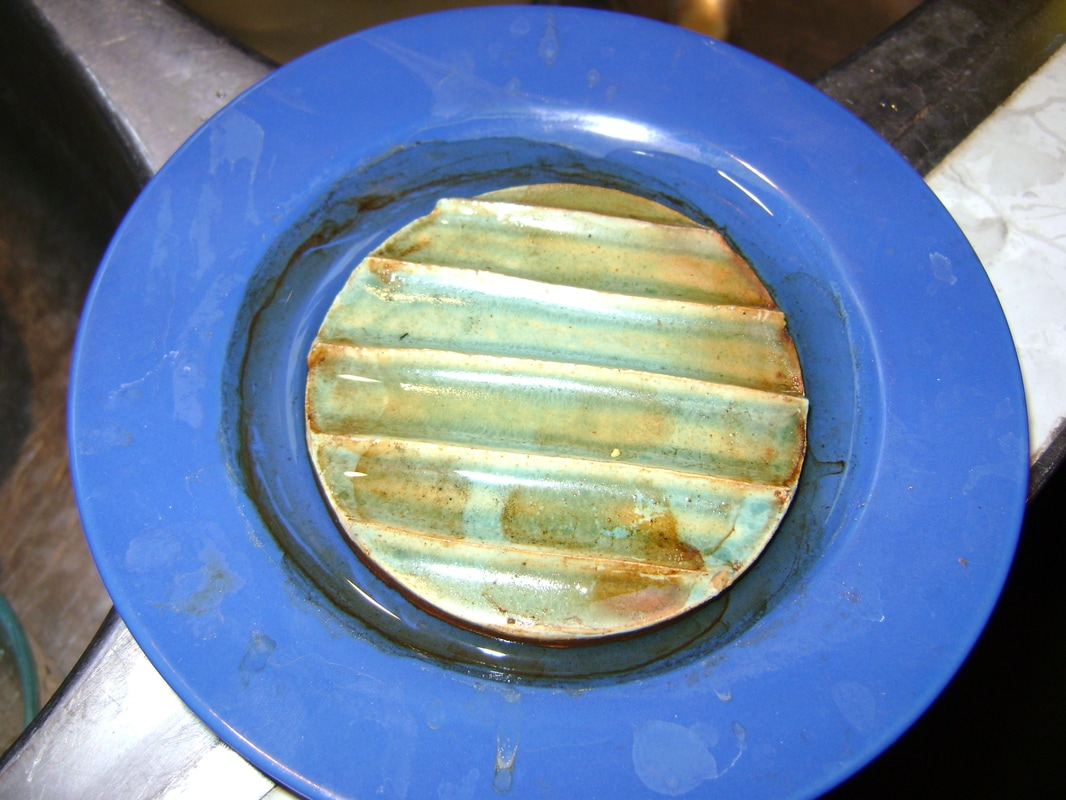
8. When you've poured out as much water as you can, turn the jar upside down and place it back on top of the soap dish (the green ceramic circle) that is in the middle of your saucer.
Picture
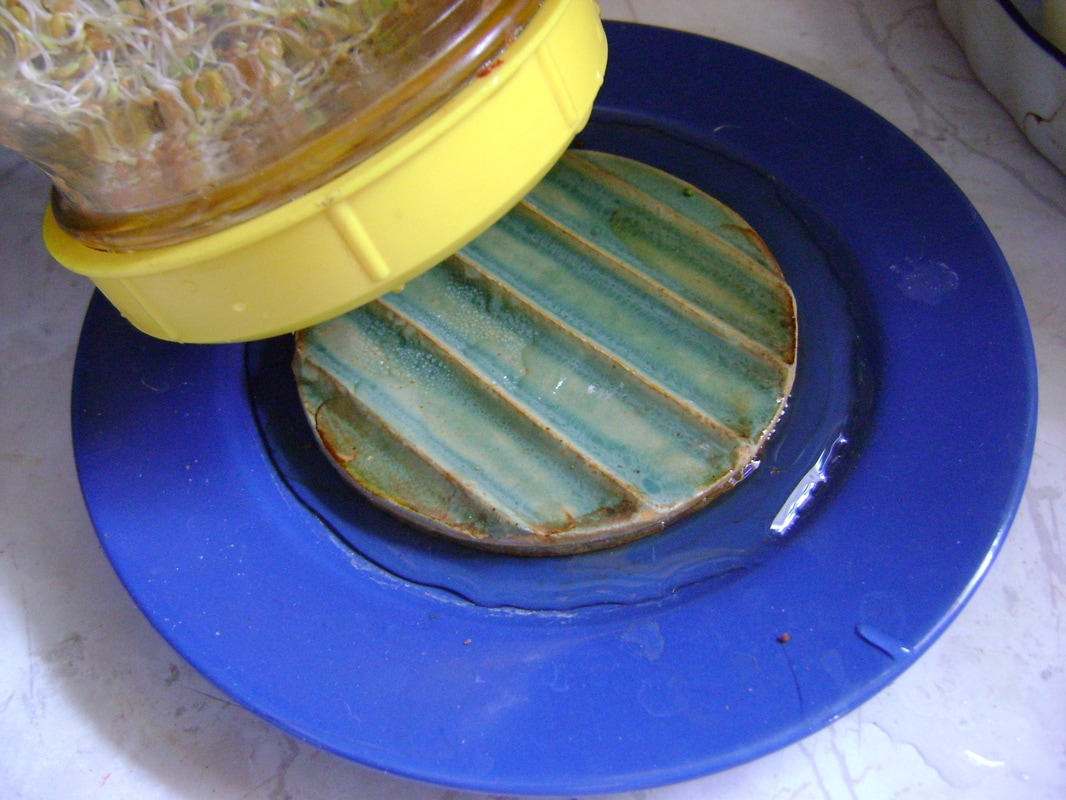
9. This will let the water continue to drain out of the jar into the saucer, where it will evaporate. The sprouts won't be sitting in the water, since the jar is on top of the soap holder. This keeps the sprouts from rotting.
Picture
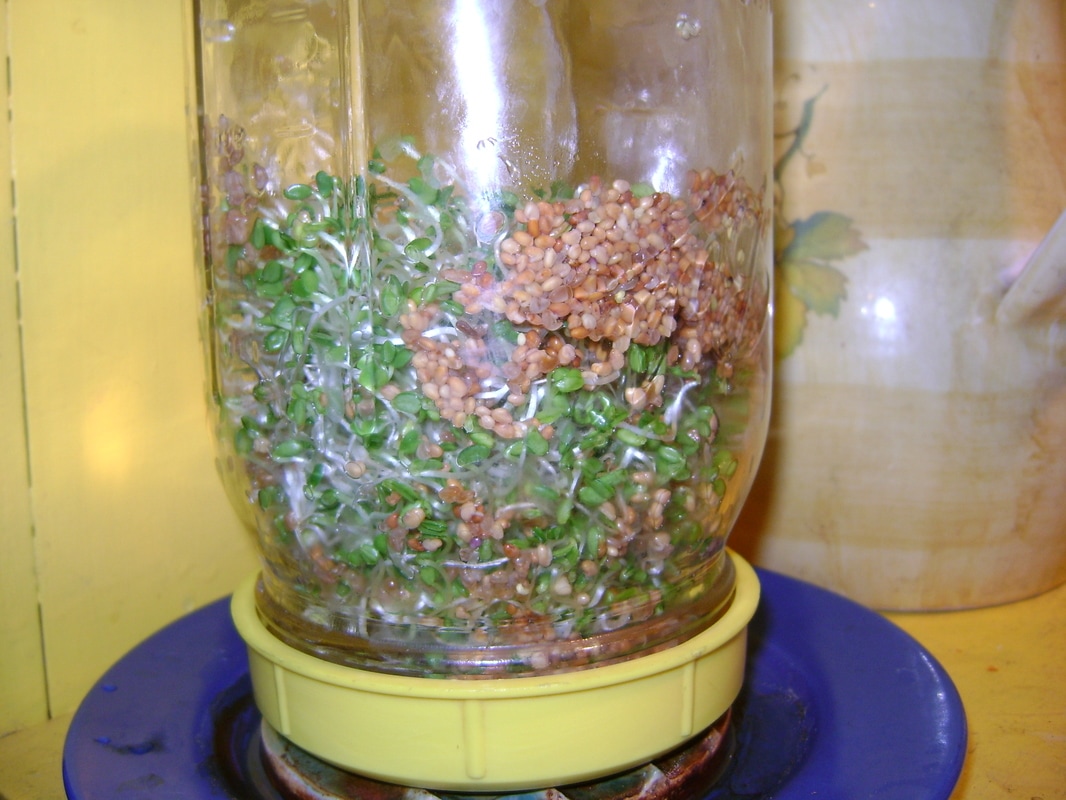
10. Continue rinsing the sprouts twice a day. You'll see that some will stick to the top and sides of the jar, and some seeds may never sprout. This is all okay. Just be as gentle as you can with the sprouts- don't forget that they are alive.
Picture
Continue until they're ready to eat:
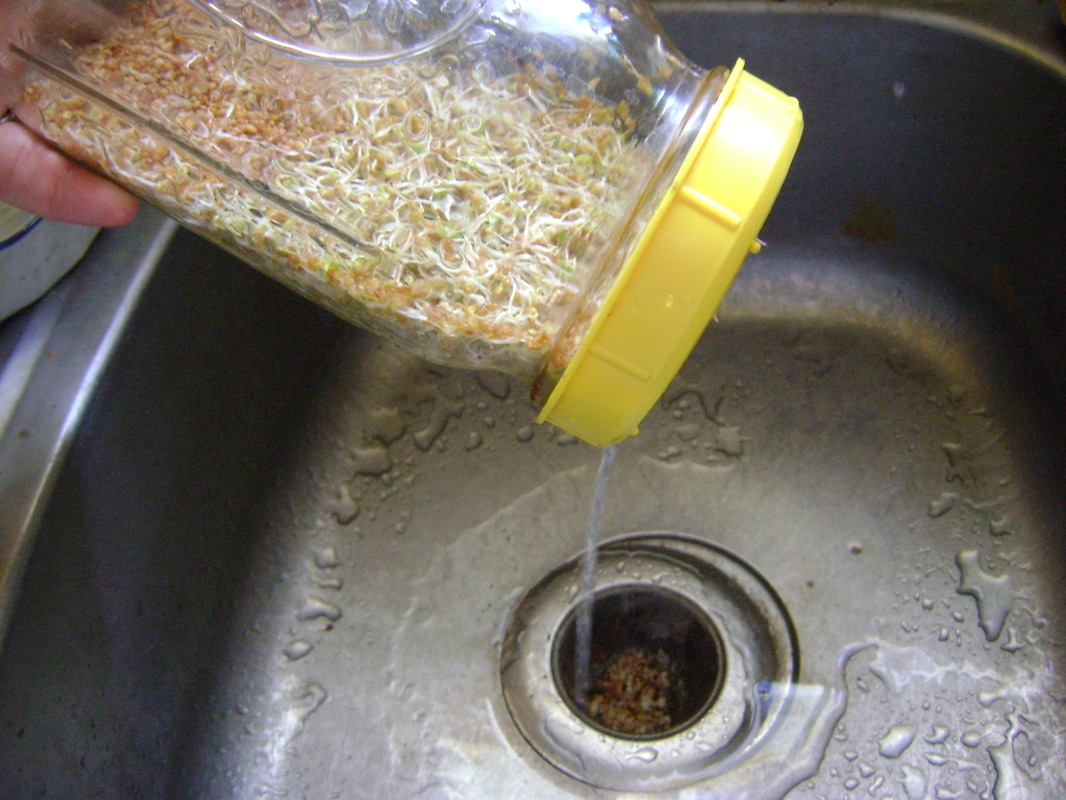
14. Keep rinsing twice a day until the sprouts have grown big enough that you want to eat them.
For the red clover seeds I usually grow, this takes about 10 days. Here are some daily photos so you can see the process,
​or scroll down to the end if you'd just like some eating suggestions.
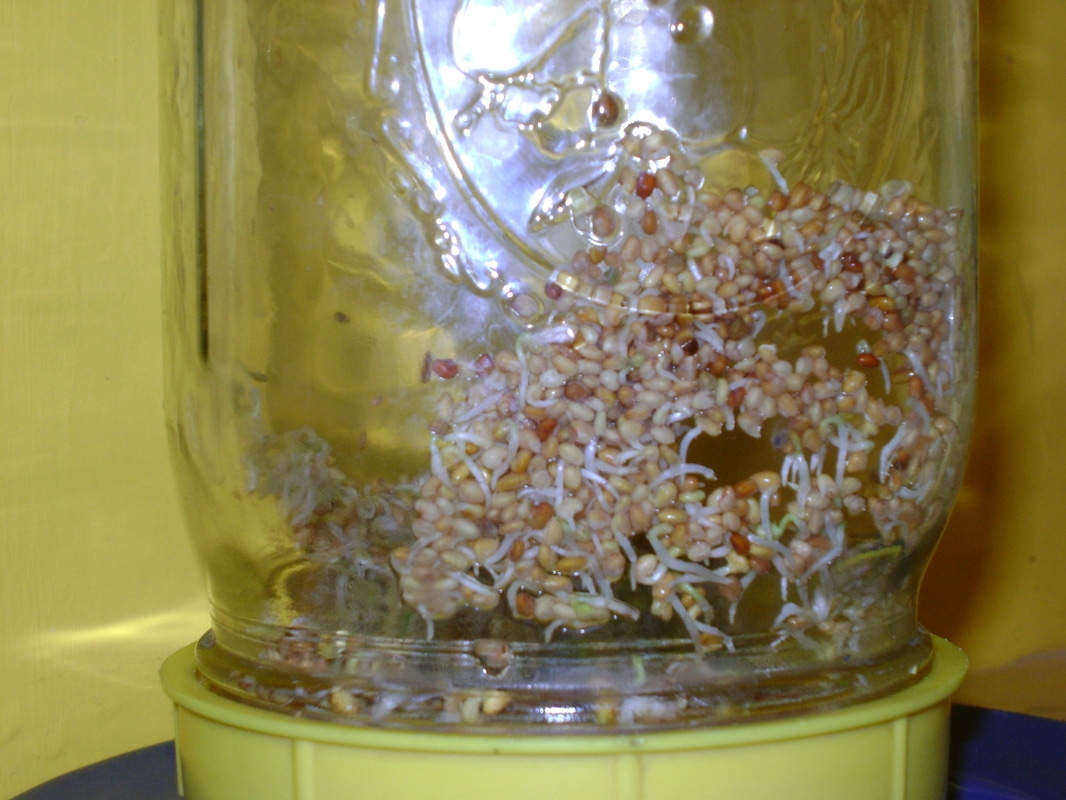
Day 5- the red clover seeds start sprouting:
Picture
Day 7- stems are longer and green leaves appear:
Picture
Day 8:
Picture
Day 10- They've grown enough to eat:
Picture
Day 11:
Picture
 Day 12- You can see that not all the seeds sprouted:
Picture

Clean Your Equipment between Uses:

  • Between batches of sprouts, it's good to clean off your soap holder and saucer, which, depending on your water, may have a film on them. Mine sometimes become brown.
  • Also wash the jar well, and let everything dry out before you start again, or use a different clean & dry jar.
Picture

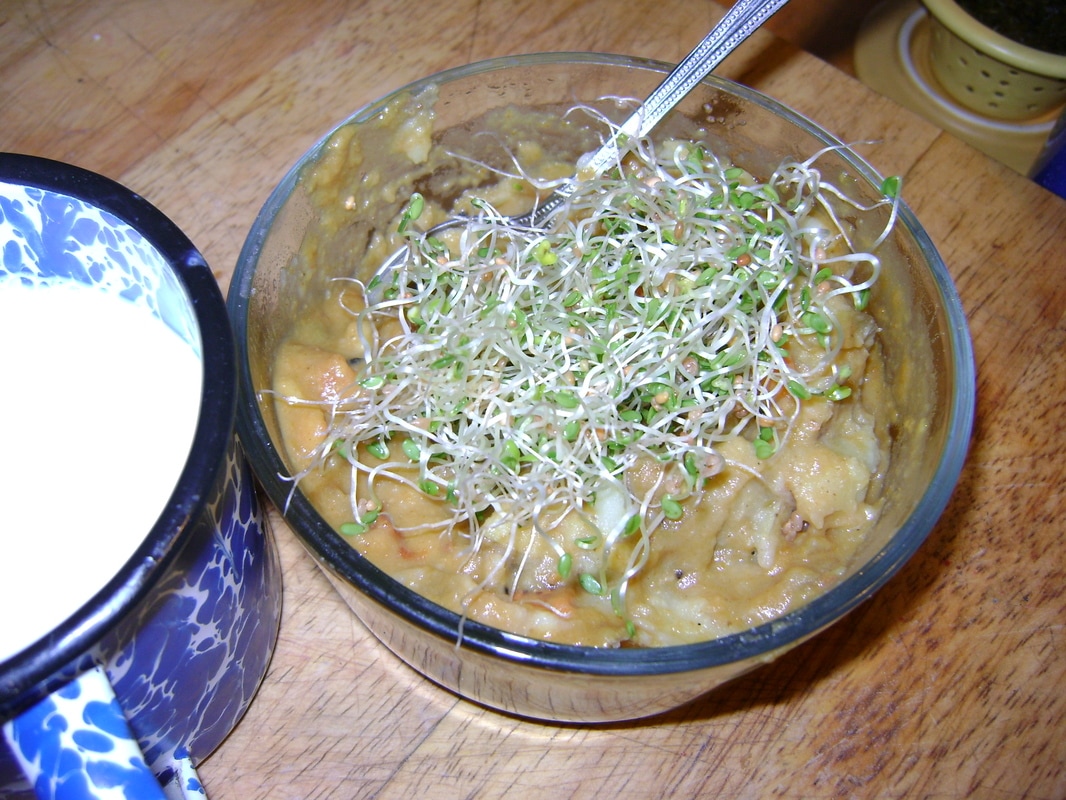
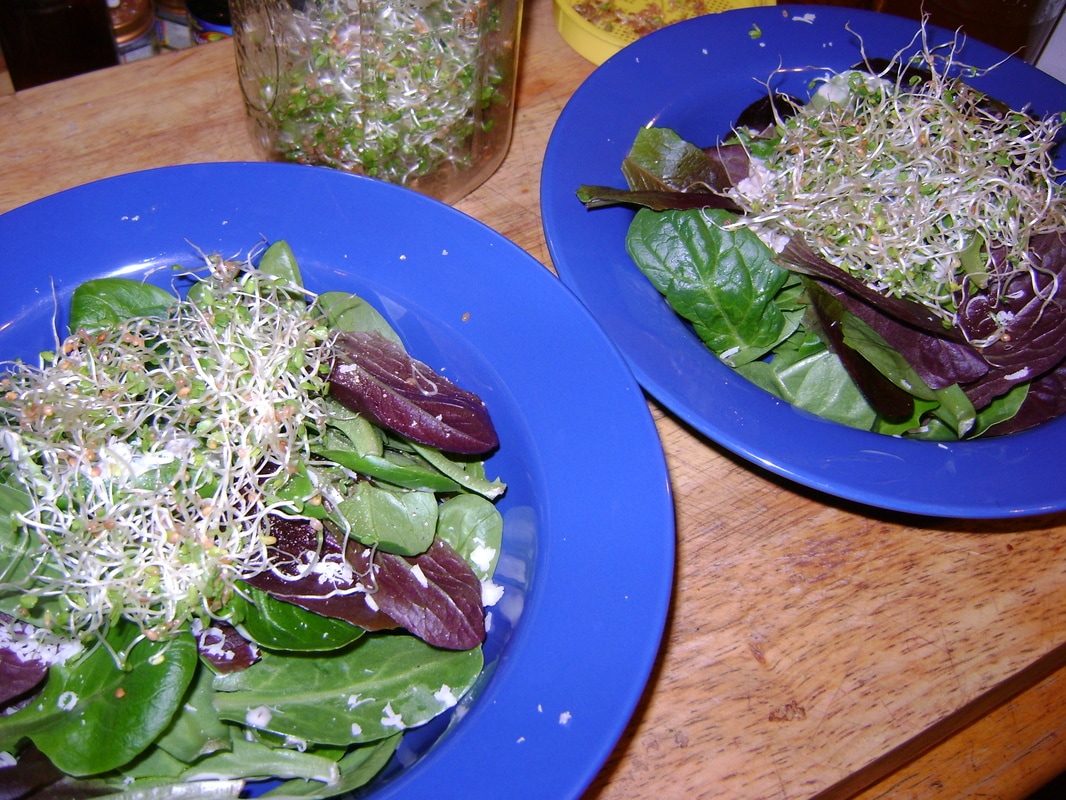
Ways to Eat Sprouts:

I do find it hard to get my timing right. I don't always have grown sprouts ready to eat when I have the right kinds of food to eat them with. So I'm trying to expand my ideas of how they can be used.

​If nothing else, I can just eat them straight from the jar. They are full of nutrients and taste like little flashes of sunshine on a cold and cloudy Winter day.

Here are some eating suggestions:
  • Sprouts can be substituted for lettuce in any sandwich or wrap.
  • They are good on top of lettuce salads (if you're lucky enough to have those in the Winter).
  • They can also be sprinkled over other types of Winter salads, like our coleslaw and beet & carrot slaw (see the recipes on our Side Salads page).
  • They are good sprinkled over cooked eggs.
  • They can be garnish on any dish (not the kind that just looks good, but the kind you actually eat).
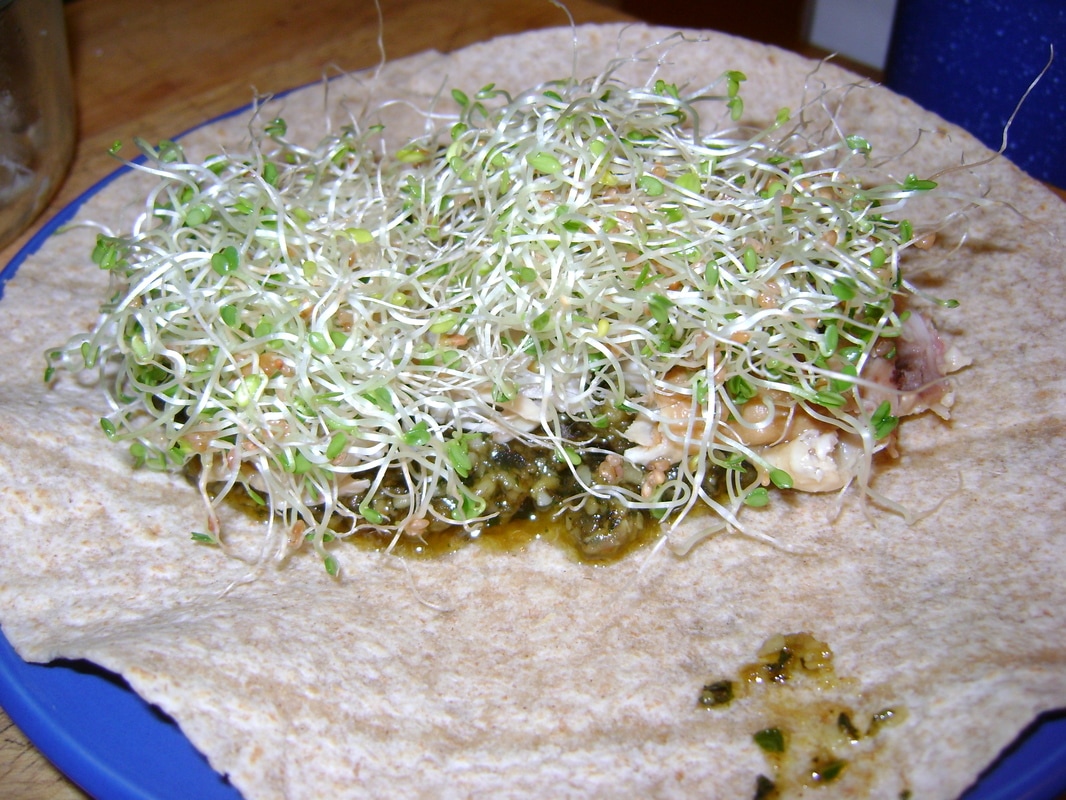
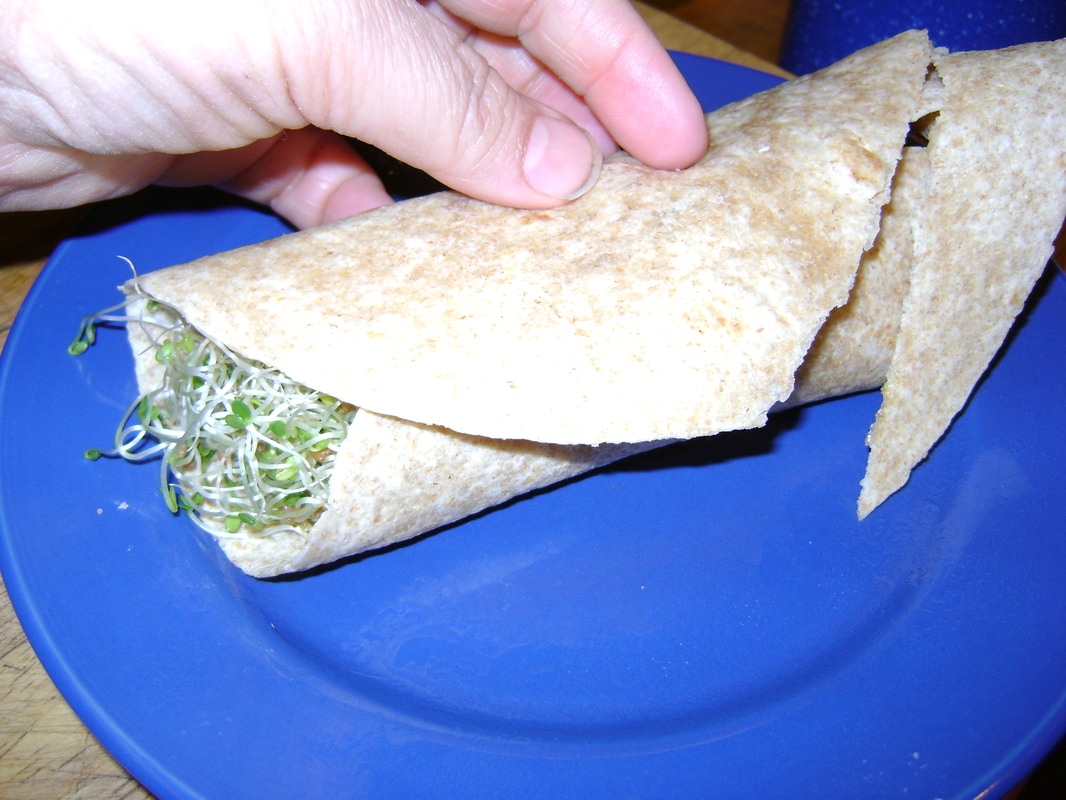
My favorite way to eat sprouts is on wraps, which I often have for breakfast:
  • I usually take a wheat wrap, add a bit of spicy cheese, and warm it up in the microwave until the cheese melts.
  • In a separate bowl, I warm up a small amount of dinner leftovers (just a few tablespoons), which usually consists of some grains with veggies and a little meat.
  • I put the warmed leftovers on the wrap, cover with sprouts, roll it up, and have a quick breakfast that I can take with me if I'm running late.
Picture
Picture
Picture
Picture

Happy Sprouting!

Home    Inside   Outside   Shelf Chefing   Cooking   Pantry   Celebrate   Our Books   Blog   About   Resources   Contact
Be the change you wish to see in the world.  ~Gandhi
Want to know when we add new content to our website?  Subscribe to our Blog.

These pages may contain affiliate links that allow us to share products we authentically recommend.
Clicking the links results in no extra cost to you, but we may receive a small commission that may someday help fund this work.

Copyright 2020 by Theresa & Rob Berrie