MAKING SYRUP FROM
|
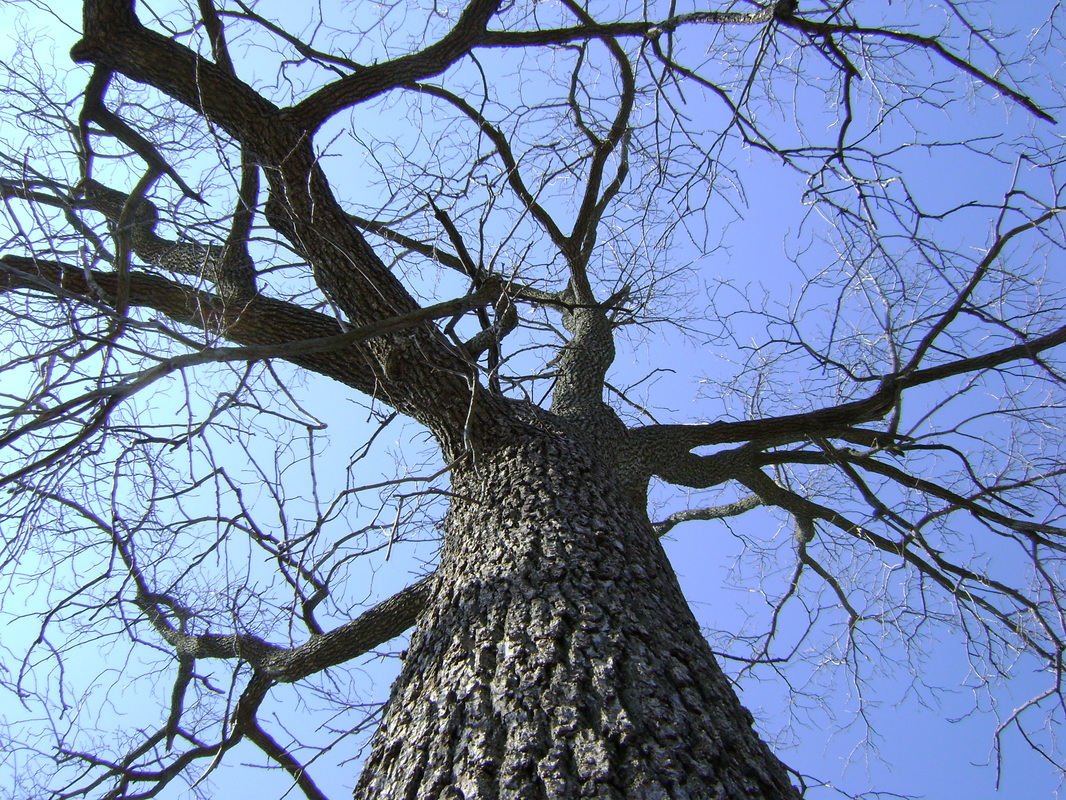
Trees that can be Tapped (not just Maples):
|
Apparently syrup used to be made from several types of trees. The sap from the different trees was combined, but it was called maple syrup because that was the predominant tree used.
According to what I've read, here is the list of trees that can be tapped:
How Many Taps?
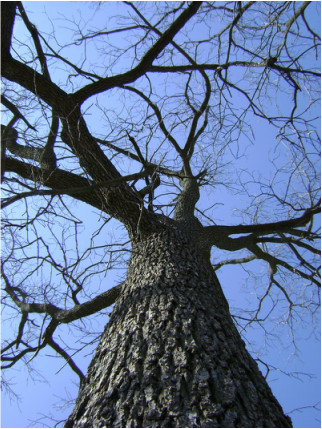
Larger trees that aren’t crowded by others (like in most yards) produce the most sap. |
Necessary Equipment:
|
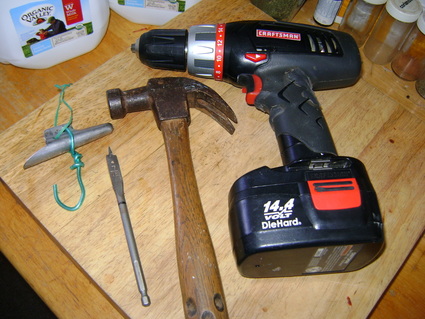
Not much equipment is needed for a small backyard syrup making operation that is only tapping a few trees:
|
When to Tap (at the end of Winter):
|
Tap when the days start getting above freezing, but the nights are still below. This happens in southwest Wisconsin in February or March, at the end of Winter when there’s still snow on the ground. Once the trees get their leaves in early Spring, it's too late. Sap will run the best on a sunny day that's not windy and that gets near 40° F, after a night that is below 30°. Here's our notes about timing in our yard:
Making syrup is a great early Spring project. I get Spring fever as soon as the weather starts to warm, but of course can't get into the garden yet because the ground is either still snow covered or soggy from snow melt. Sugaring gets me outside and shows me proof that Spring has actually arrived, cold temperatures to the contrary, because I can see that the sap has started to rise.
|
What Should Be Used to Collect the Sap- Buckets or Jugs?
You can buy metal buckets with lids that are specifically made to collect tree sap (try googling "sugaring supplies" or "maple syrup supplies"). Sap buckets cost around $25 a piece when new. For our first year of tapping in 2013 we were just experimenting to see if we could really make syrup and if we liked doing it, so I didn't want to spend $100 for the four buckets we needed. That year, we collected sap into some food grade plastic buckets (even though I try not to use plastic) that Bear was able to get for free from work (if you ask anywhere that sells prepared food, such as at a deli, they may be willing to give you the buckets they were going to throw away). The buckets had some disadvantages. They didn't have lids, so when it rained we had to take them down and missed getting sap on those warm days. Bits of bark fell into the buckets, I think from squirrels running up and down the trees, and bugs were attracted to the sweet sap and drowned in it.
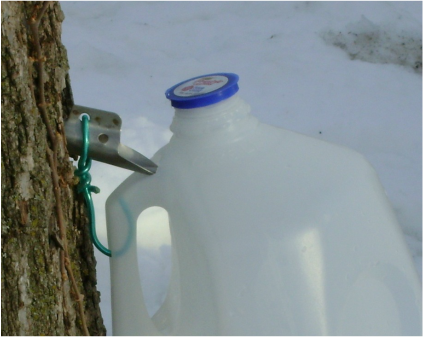
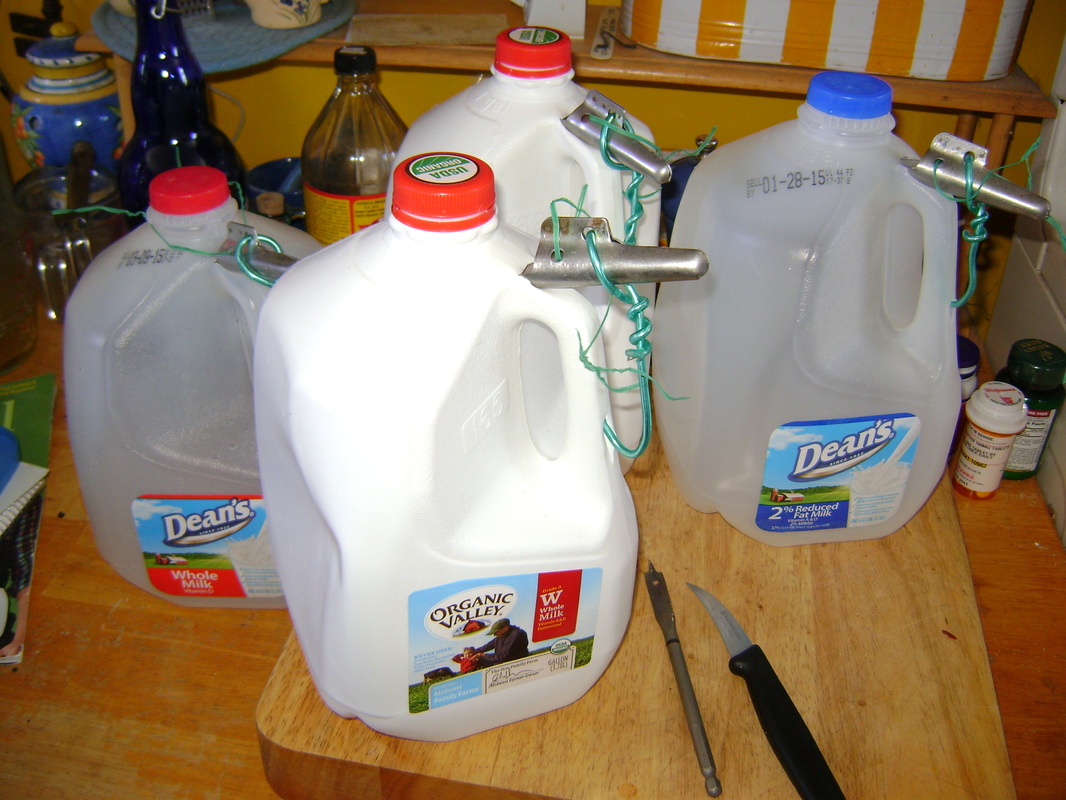
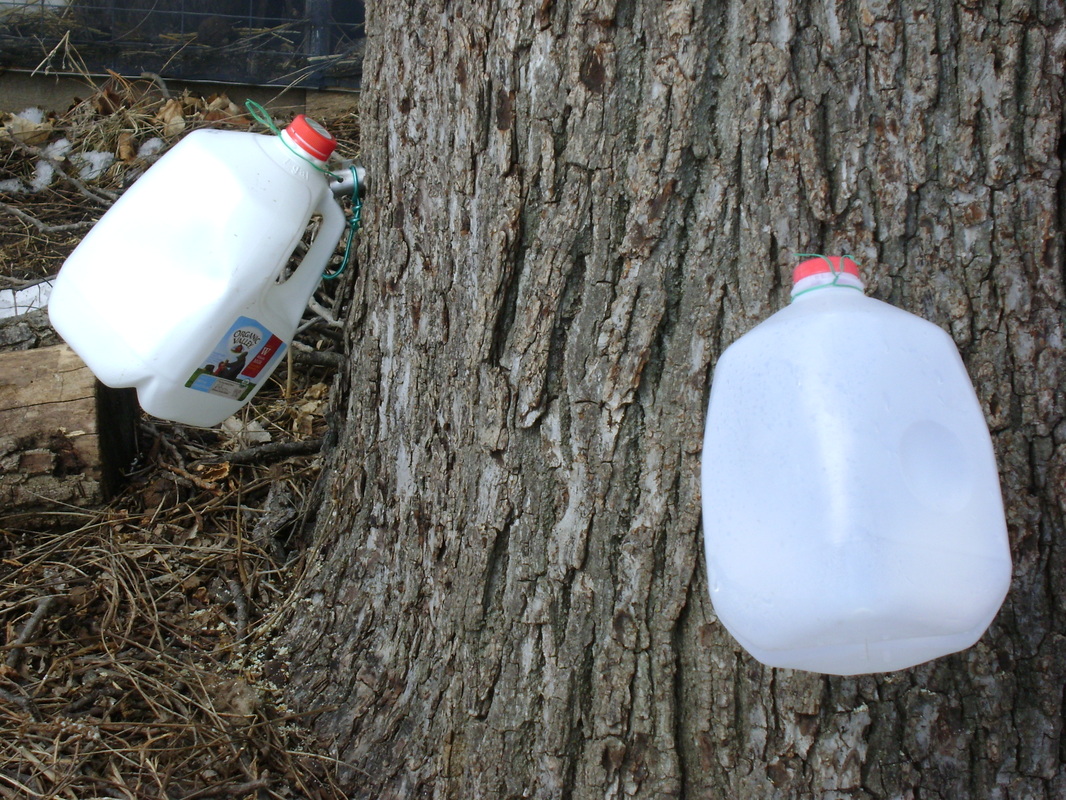
For these reasons, I wanted real sap buckets for the 2014 season. I found a couple companies online that sell used buckets for around $5 a piece and tried to buy them before our Buy Nothing Challenge started, but the website wouldn't take my credit card info thanks to my old computer. So I had to improvise instead. I have a Storey Country Wisdom Bulletin (from Storey.com) about "Making Maple Syrup the Old Fashioned Way," by Noel Perrin, that showed me a way to use milk jugs to collect sap. Jugs are an improvement, because they aren't as open to the elements. Here's how I did it based on the instructions from the bulletin:
1. Collect and clean plastic gallon milk jugs. It's good to have some extra jugs in case you have a difficult time cutting holes in them, or in case one breaks mid-season. Make sure you've rinsed out the jug and the cap well. If you do this several days in advance and let them dry, you will be able to smell any curdled milk that you didn't get clean. I rinsed mine one more time right before I started using them, just in case.
|
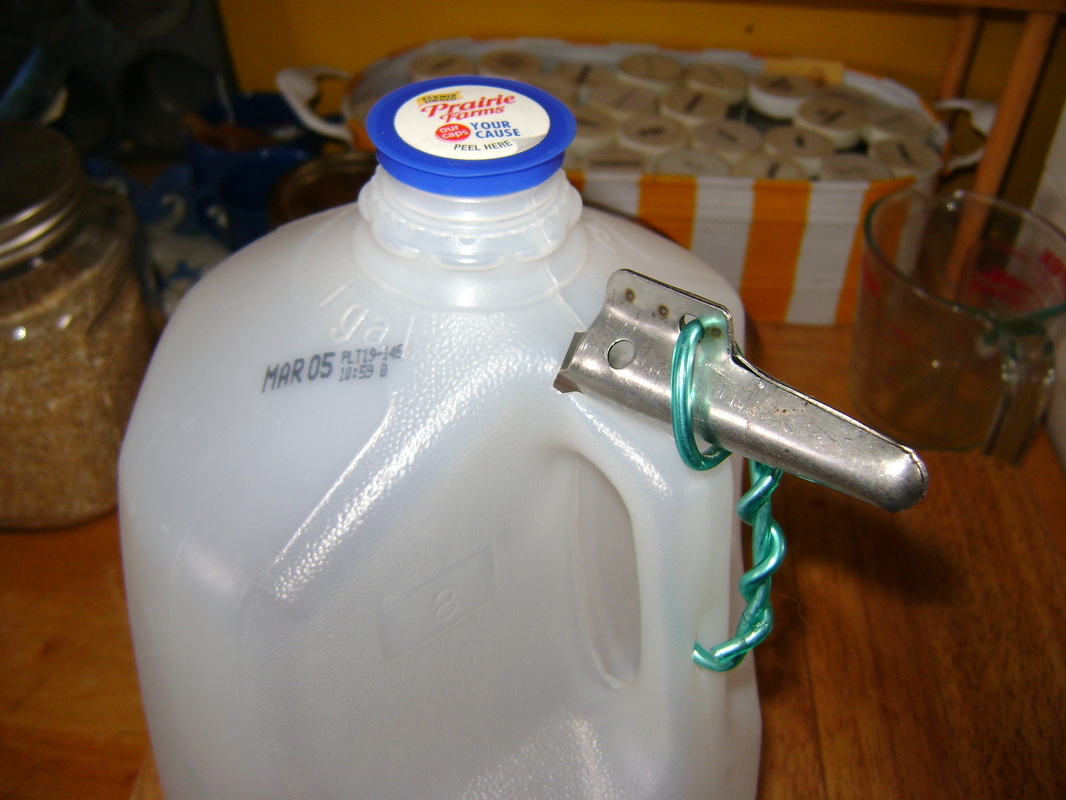
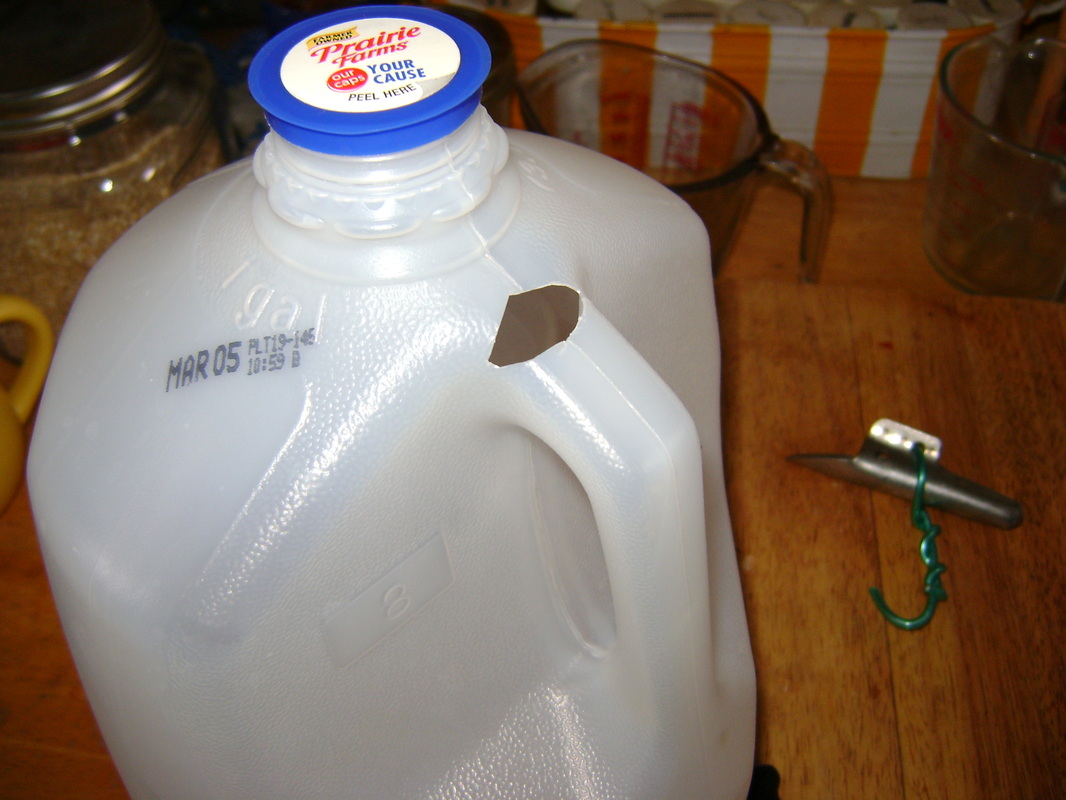
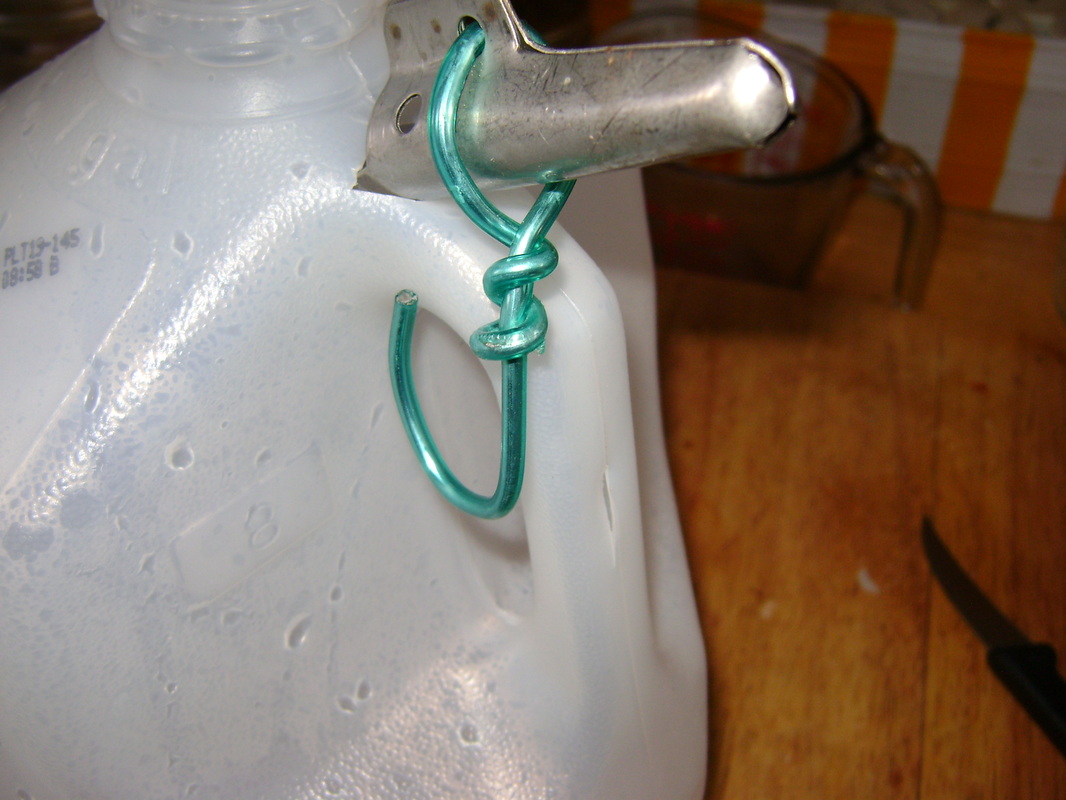
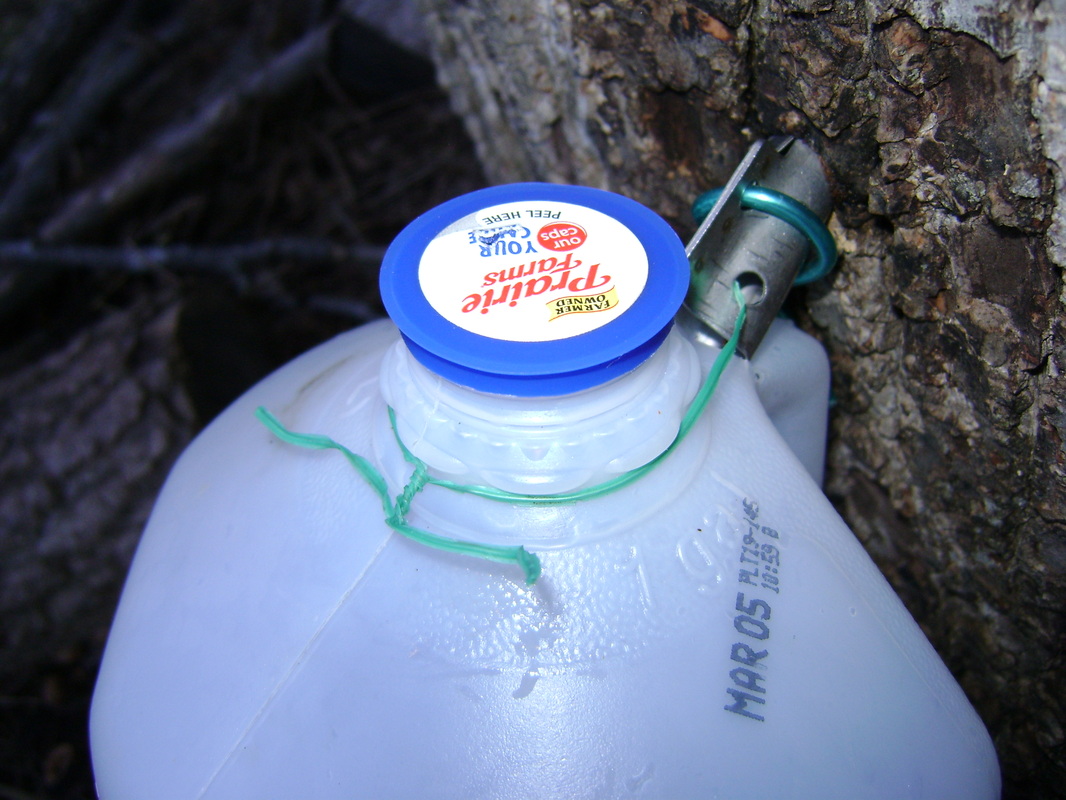
2. Below is a close up of the finished product. You need to cut two holes: one near the top of the handle for the spout of the spile and a slit in the handle for the hook to go through that will hold most of the weight. Only the handle of the jug is strong enough to support the jug when it's full of sap, so only make your holes there.
|
3. Start by cutting a large hole near the top of the handle, the width of your spile. The sap will run from the spile into this hole.
|
|
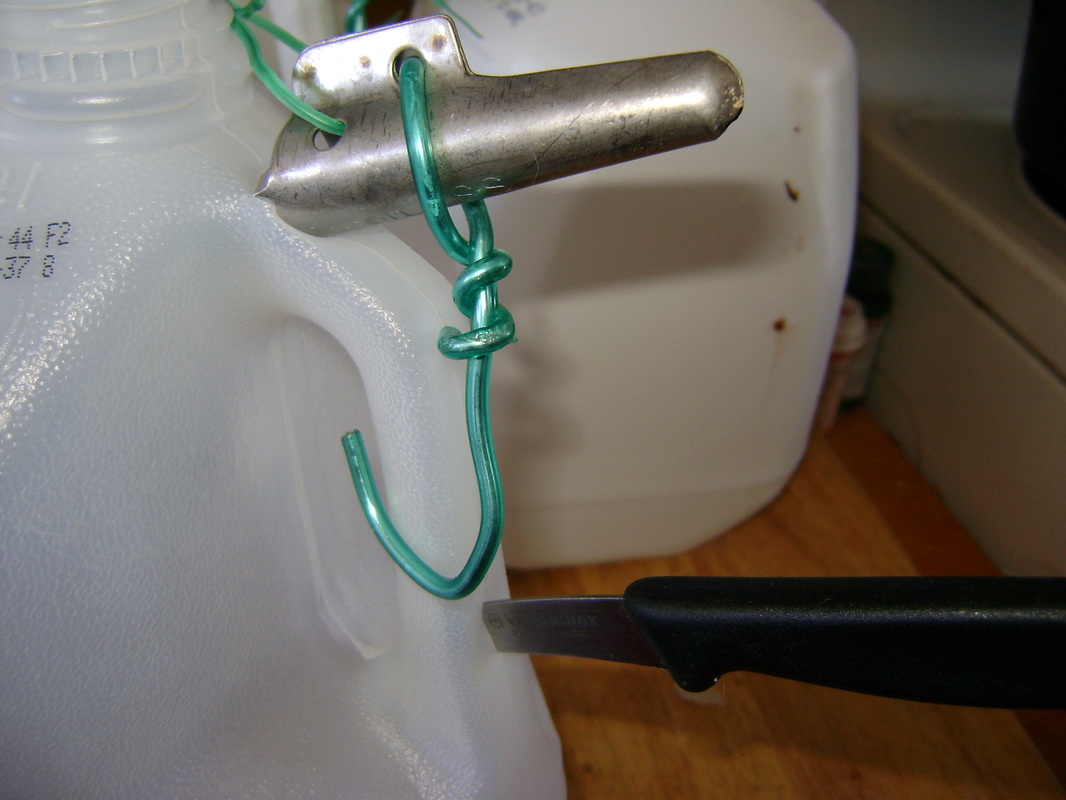
4. Next, cut a slit in the handle (you can just see it in the middle of the handle in this photo). The hook will go through this slit. (Note the sickle shaped blade of the knife I used to make the cuts in the lower right. You could also try using scissors or a small exacto knife instead.)
|
5. Cut the slit below where the bottom of the hook hangs when the spile is inserted, not above, or you won't be able to insert the spile after the hook is in.
|
How to Install Taps in the Trees:
|
First Year:
Subsequent Years:
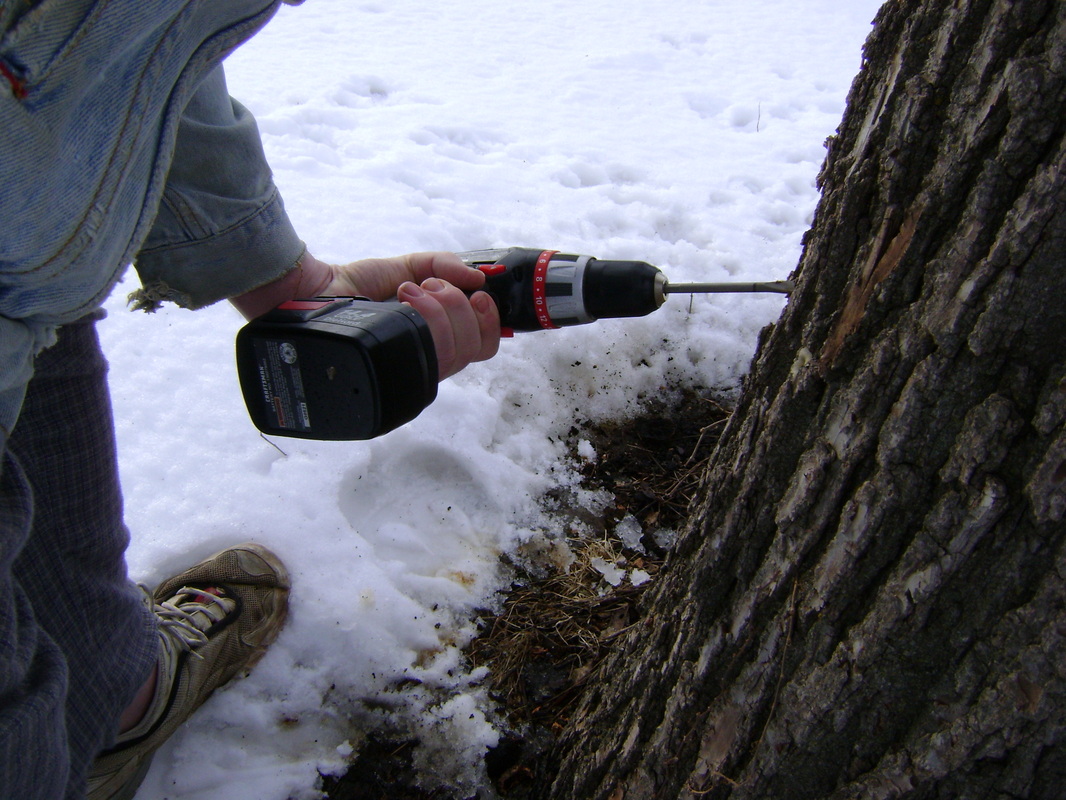
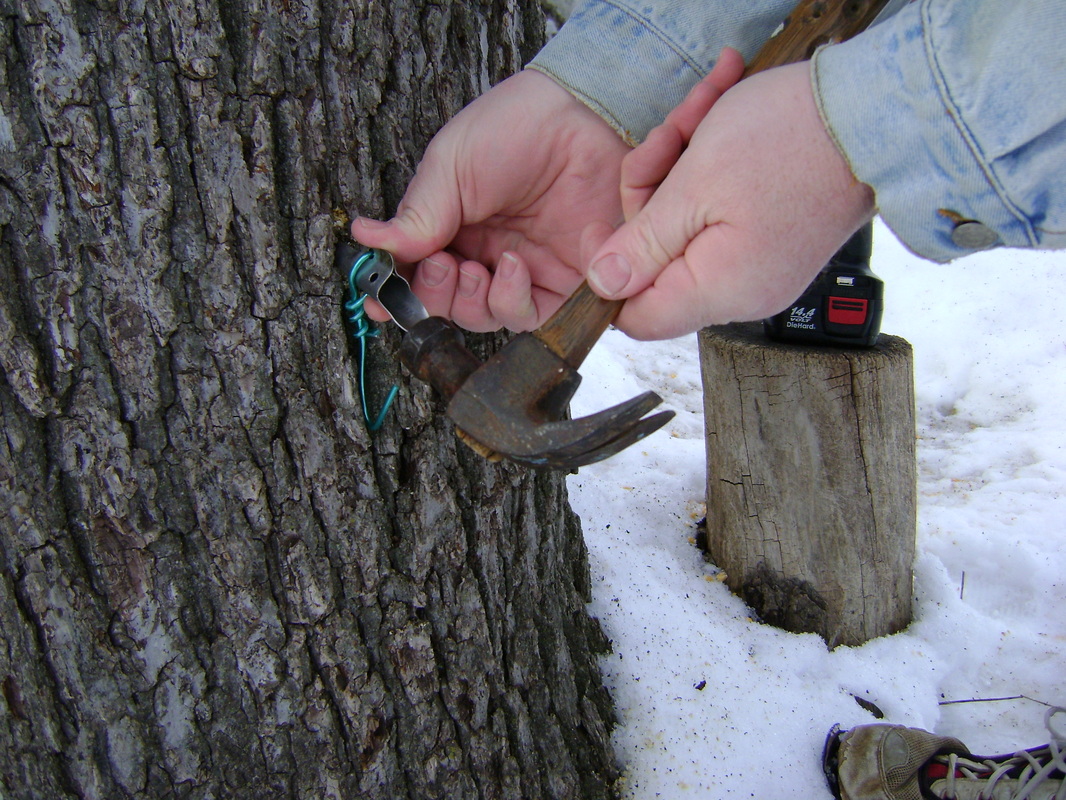
How to Install:
|
Attach Milk Jugs (or Buckets) to the Taps/Spiles:
|
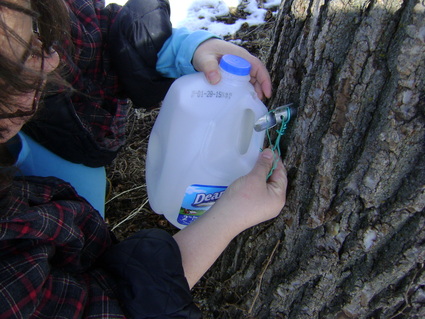
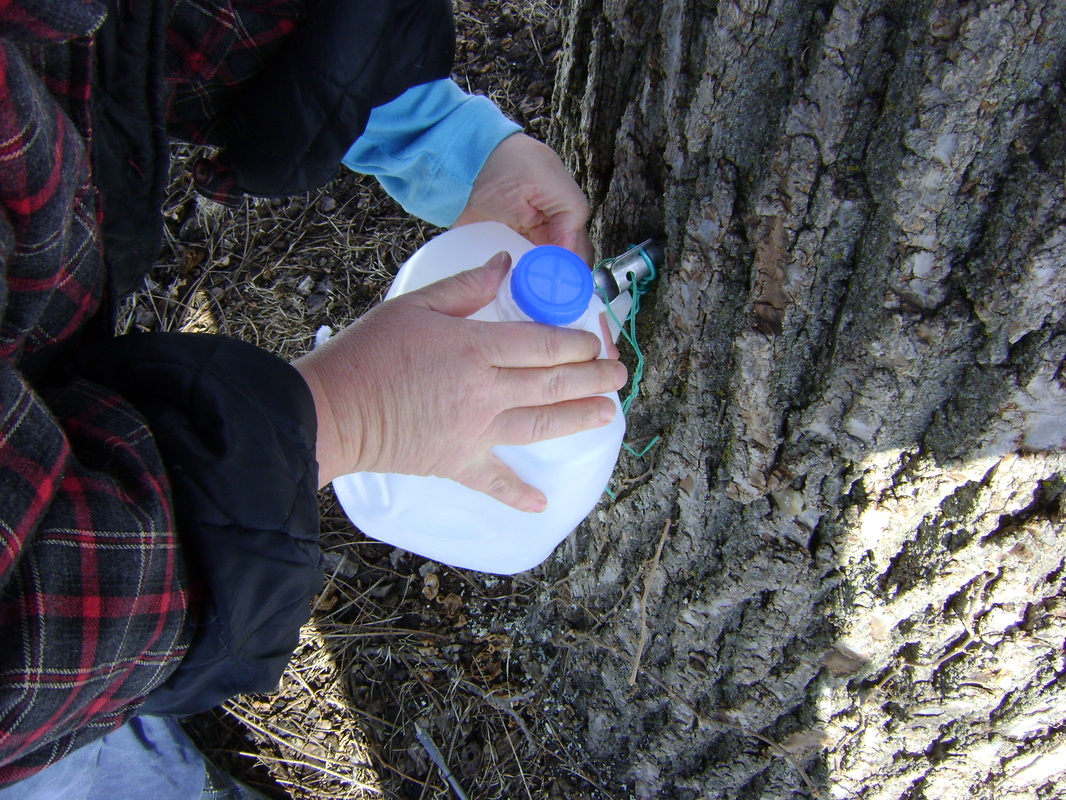
1. It was difficult at first to figure out how to get the hook into the slit in the jug's handle and the spout into the top hole. I got the hang of it eventually by first tilting the top of the jug a little to one side and inserting the hook.
|
2. Then tilt the jug back to the center to insert the spout.
|
|
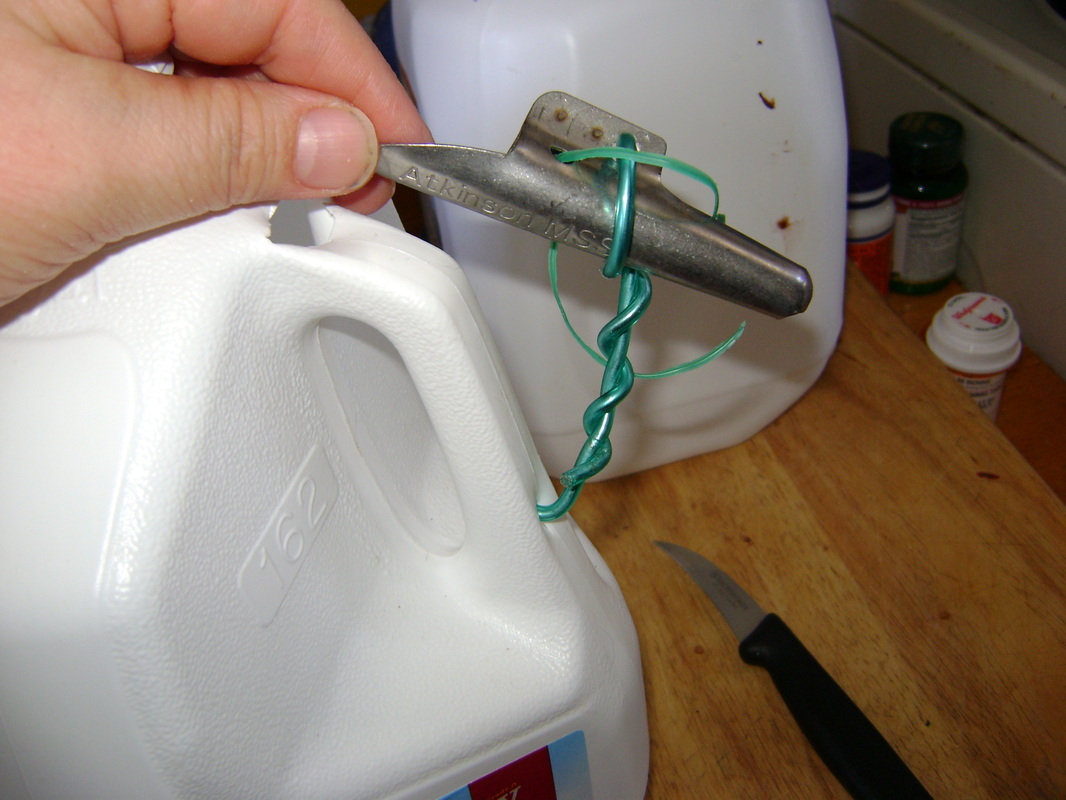
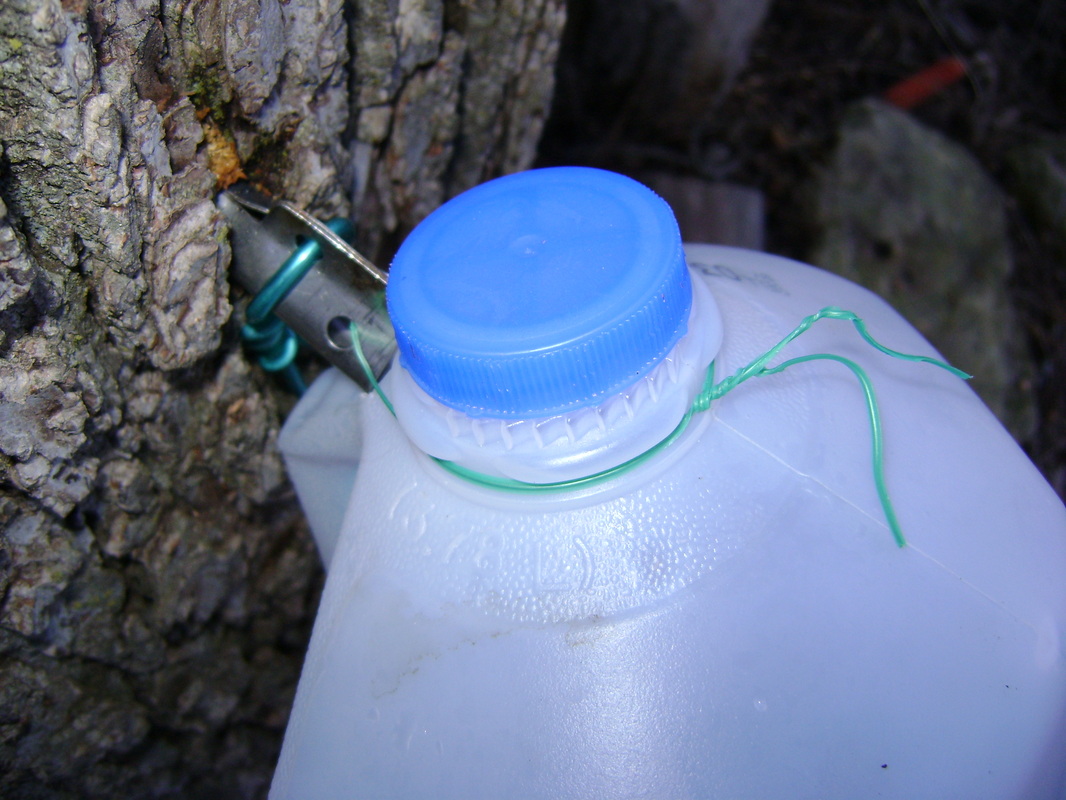
3. Some buckets didn't hang right, though, and fell forward away from the spout. I fixed this by putting some garden wire through the convenient holes in the spile (I don't know what they're really for), and twisting the wire around the grooves in the lid. This pulled the jug back so that the spout would stay inside of it.
|
3. Eventually, we wired all of our jugs, because even those that didn't seem to need it initially fell off their spouts when they were full of sap.
|
|
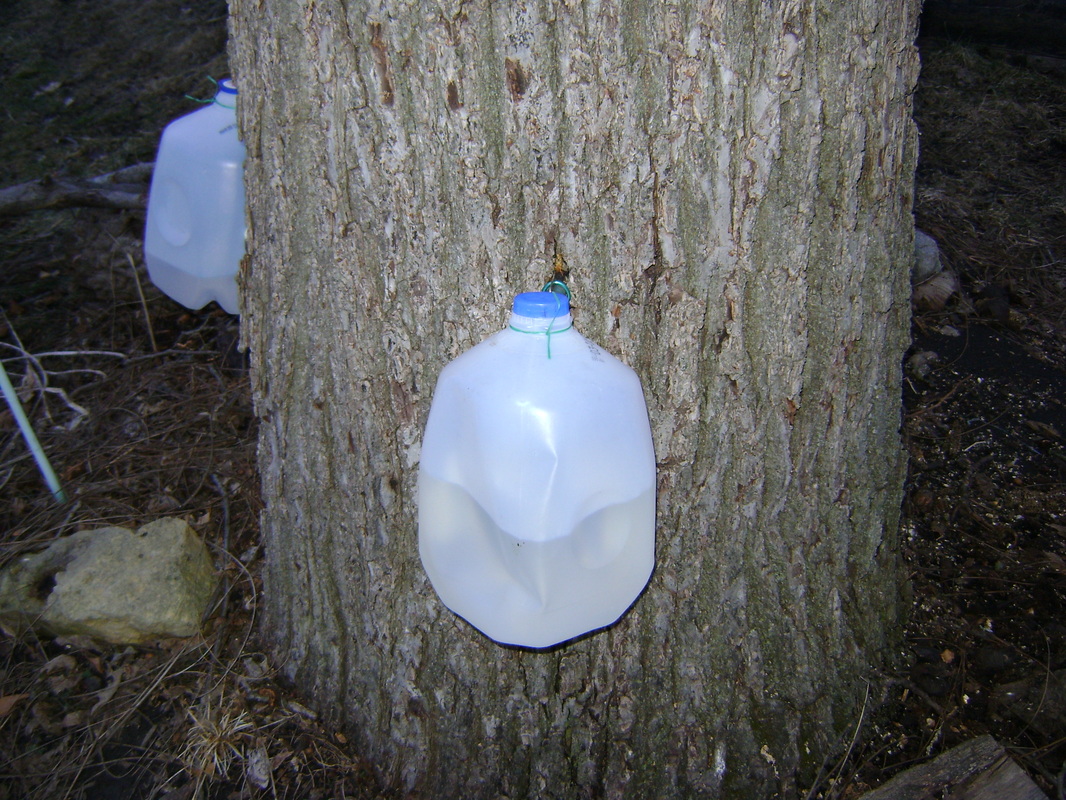
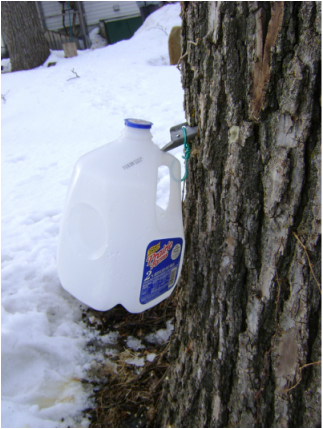
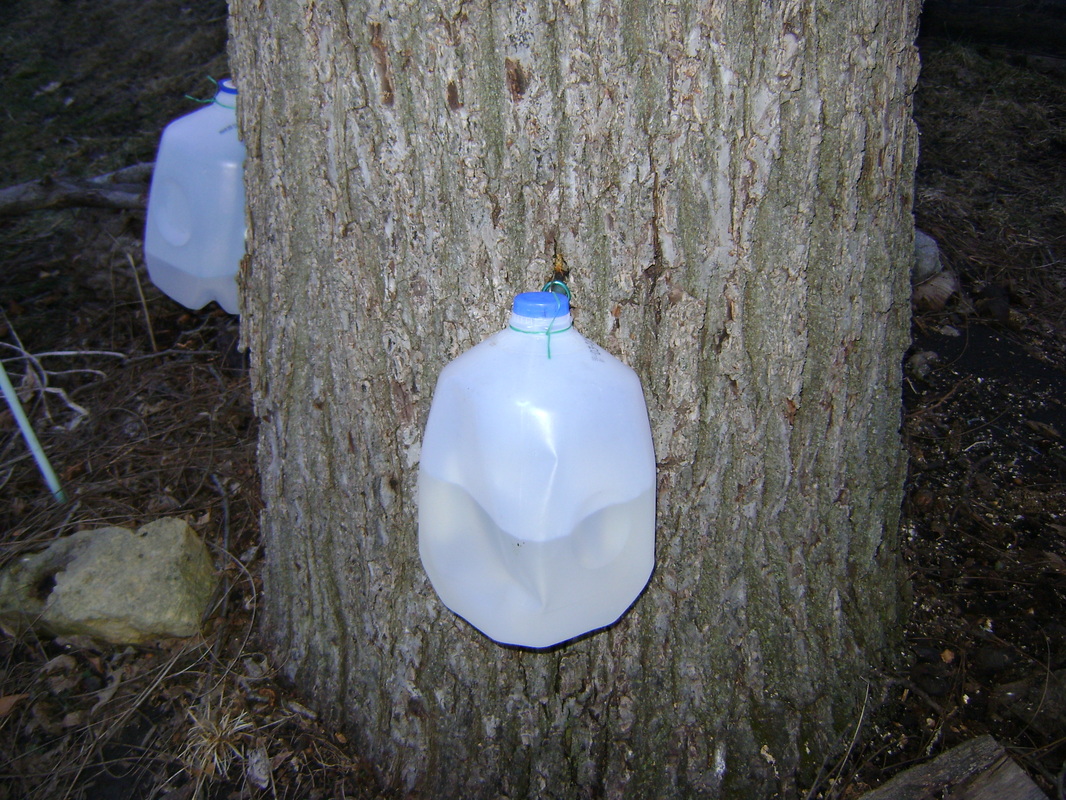
4. Here's a finished shot of the jugs on one of our trees. They worked very well. We can keep them out during the rain, and they got much less debris in them. Later in the season, however, they didn't keep out the bugs that wake up looking for food.
|
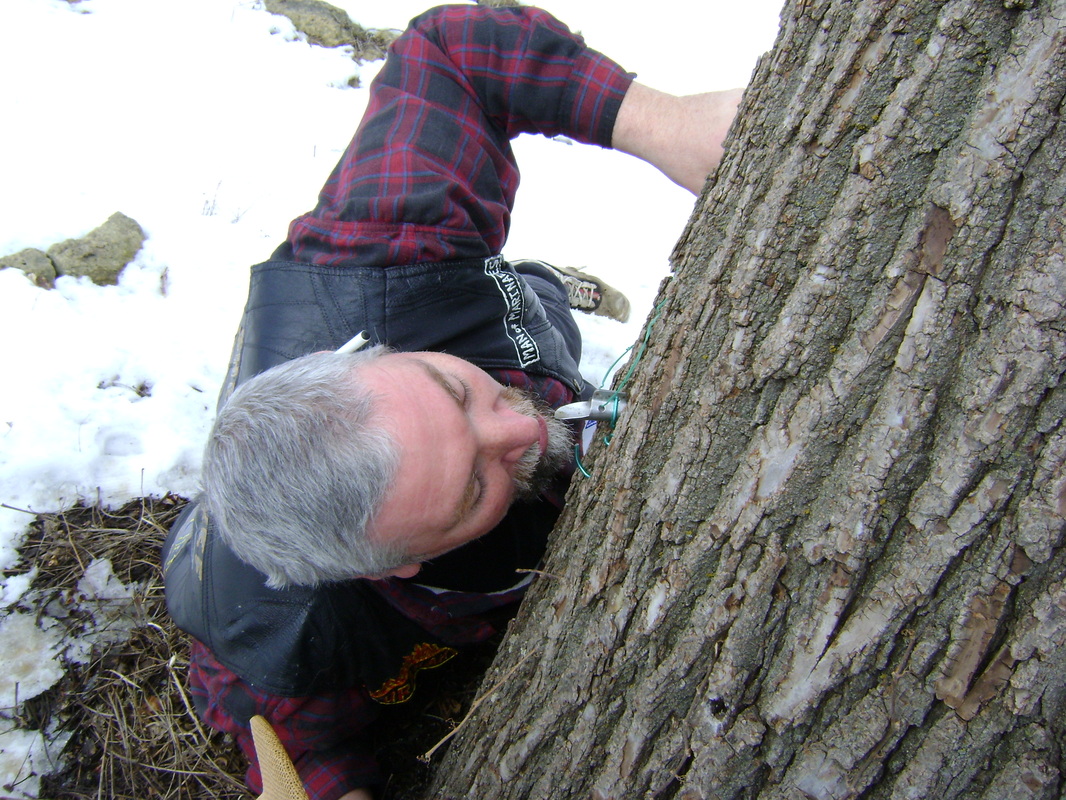
5. You could instead just try hanging out under the spout like Bear did. (Bear says: Tree tap? Beer tap? Should work the same....)
But he didn't have a couch so he didn't stay out long. |
Collect the Sap Every Day, Sometimes Twice:
- On a good day, we need to empty our buckets twice a day, when Bear comes home from work around 1:30 pm, and again when the sun goes down. On a cold day, we only empty once, at twilight, and they usually aren't very full.
- Collecting the sap at the end of a long day can be tiresome and very cold at the beginning of the season. Untying the wire from around the jugs and retying them can't be done with gloves on, so your fingers can get very stiff (this may be another reason to buy the actual sap collecting buckets).
- When you untie the jugs from the spout, they are heavy enough to fall, so you need to be supporting them with your other hand or your knee to keep from spilling the sap.
- Try not to leave your sap in the buckets for several days, because it can start to ferment. Needing to collect the sap once or twice a day is one of the limiting factors that may keep you from tapping a lot of trees (once you let your friends taste some of your syrup, they will offer to let you tap their trees). Professionals don't use buckets- they attach plastic tubing to the spiles, and run the tubing to a central collection spot, so that the sap collects itself. The Storey Wisdom bulletin I mention above includes instructions on how to do this.
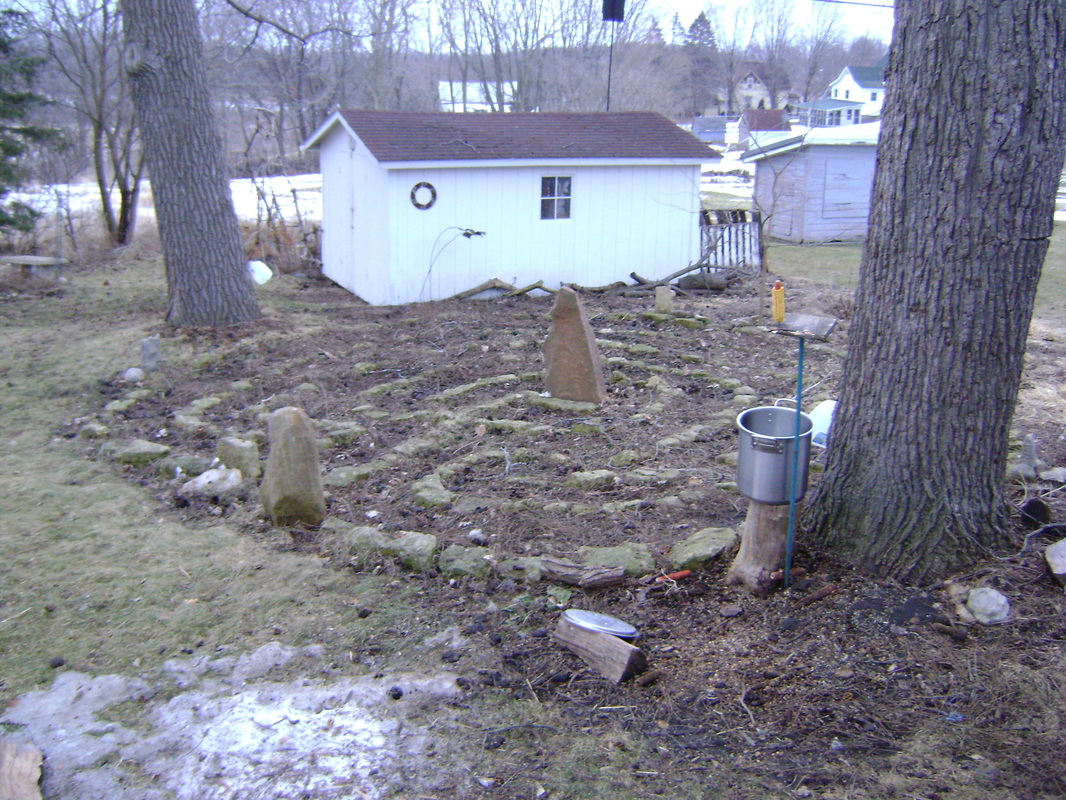
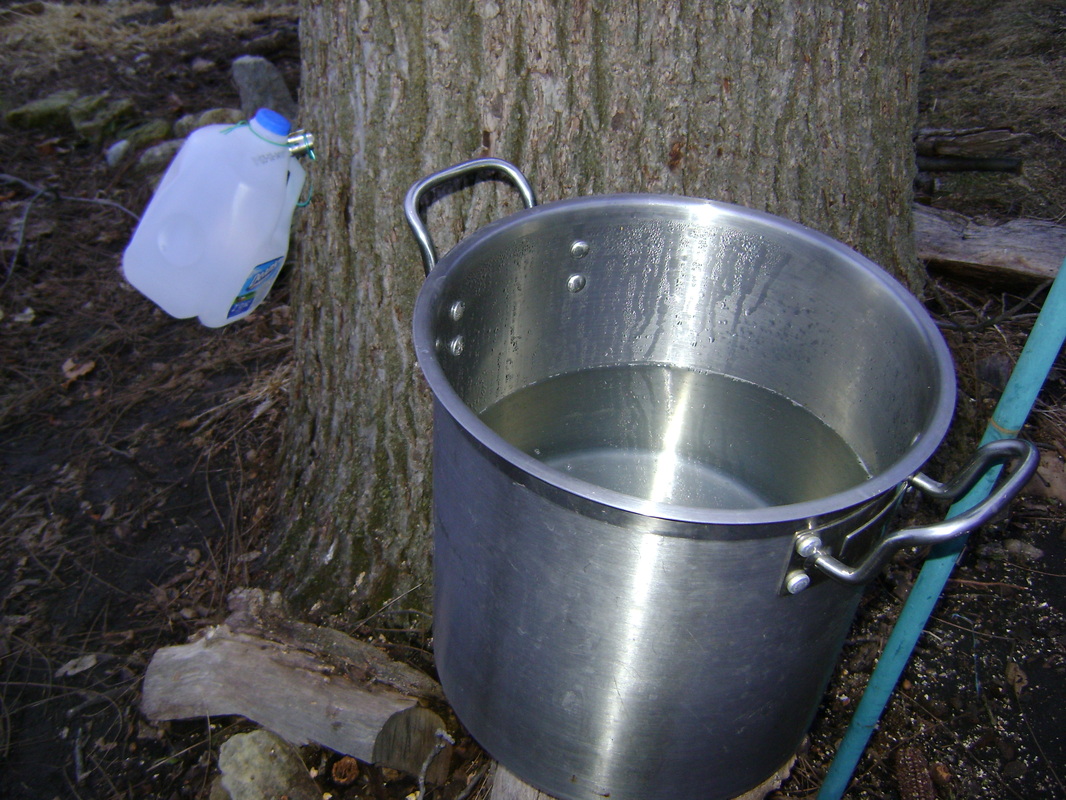
- We collect our sap ourselves, pouring the contents of each jug into a large pot, and taking the pot indoors. The pot can be heavy and the sap splashes out surprisingly easily, so walk carefully.
- We store the sap in the refrigerator when we're not boiling it down. When we have too much to fit in our regular sized fridge (we can only get two big pots in it at a time), we store the extra pots outside overnight, which seems to work since it's still below freezing, but we try to avoid this by boiling the sap down whenever we're home, to make room for more.
|
1. Different jugs will fill at different rates. You can see the jug in the middle is half full with the clear sap (it looks like water at this point), but the jug on the left has only a couple inches in it.
|
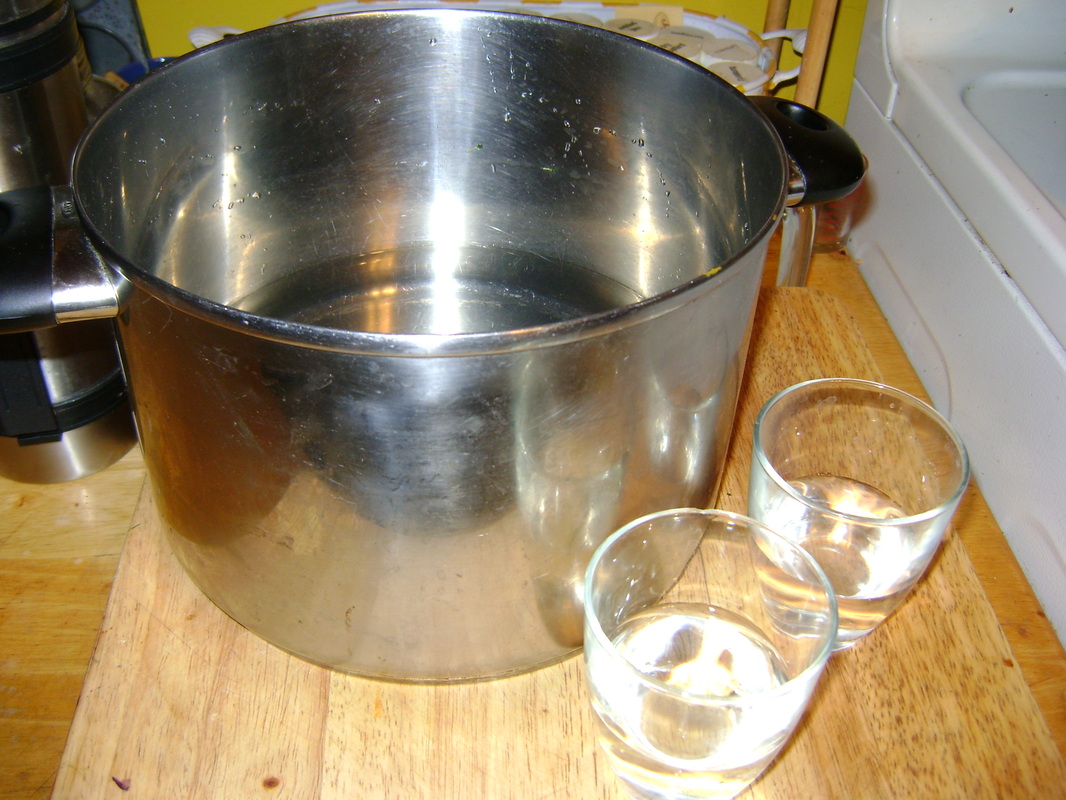
2. On good days, we need a really large pot to collect the sap. If it has visible debris in it, we filter it through a mesh strainer before storing it in the refrigerator.
|
Sap is a Spring Tonic:
|
When you bring in your first batches of sap, be sure to taste some. The clear sap is considered a Spring Tonic, which are foods we can eat, or in this case drink, in the Spring that nourish us after a long Winter without fresh foods. Sap is supposed to be high in anti-oxidants. I think it tastes amazing. Like the promise of Spring and a blessing from the trees, with very subtle hints of snow. Bear, though, thinks it just tastes like water. |
Boil Down the Sap to Make Syrup:
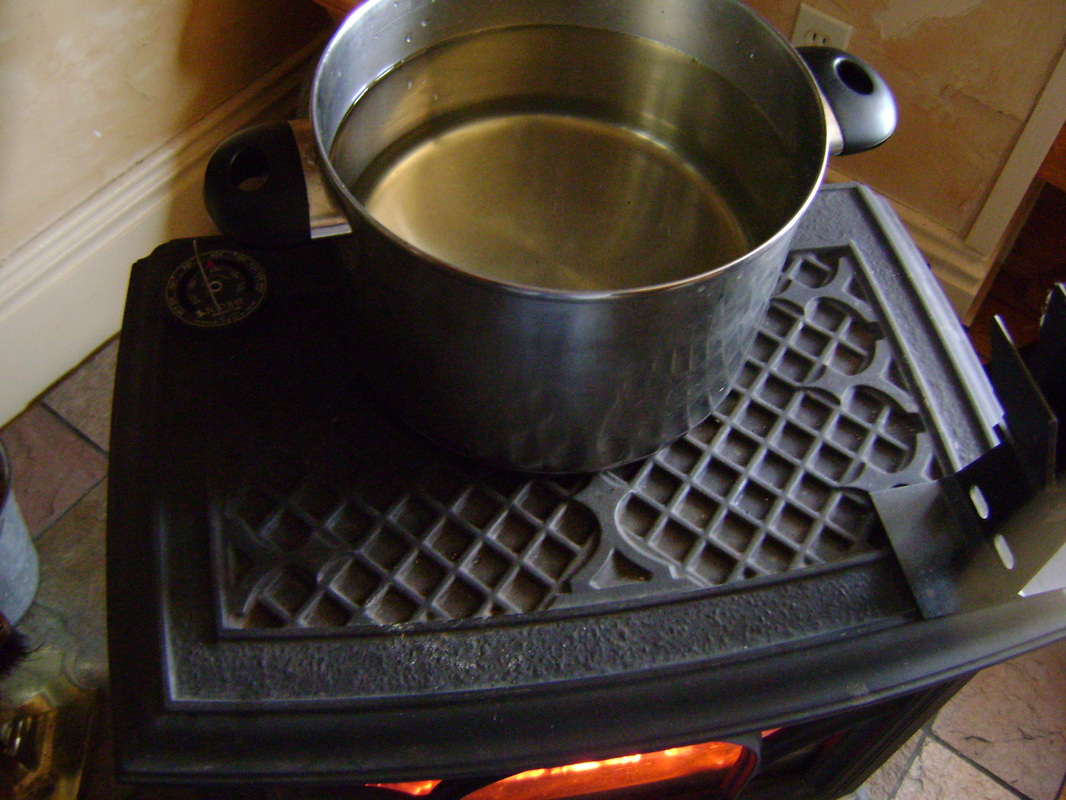
Here's the most time consuming part of making syrup. You have to boil down the sap to 1/10th of its original volume before it sweetens and thickens into syrup. We try to keep all the sap we have boiling whenever we're not at work. We often have a pot on the wood stove and another on the kitchen stove at the same time. Then on weekends we try to finish boiling whatever we have collected. If you have a wood stove that burns all night, you can leave a full pot of sap on it and it shouldn't boil all the way down by morning.
Professionals boil the sap down outside. This is because the steam can make your walls sticky. We haven't had much trouble with this yet in our house. Our first year, when we only had one pot to boil down, it didn't happen at all. The second year when we boiled almost constantly for a few weeks, we saw it start to happen when there was a lot of humidity in the house from our clothes dryer (see the Laundry section). It wasn't so bad, though, that we felt a need to move the operation outside.
Below are the basic steps for turning your sap into syrup. You might want to taste test as your sap boils down. You'll notice that it gets sweeter and sweeter.
|
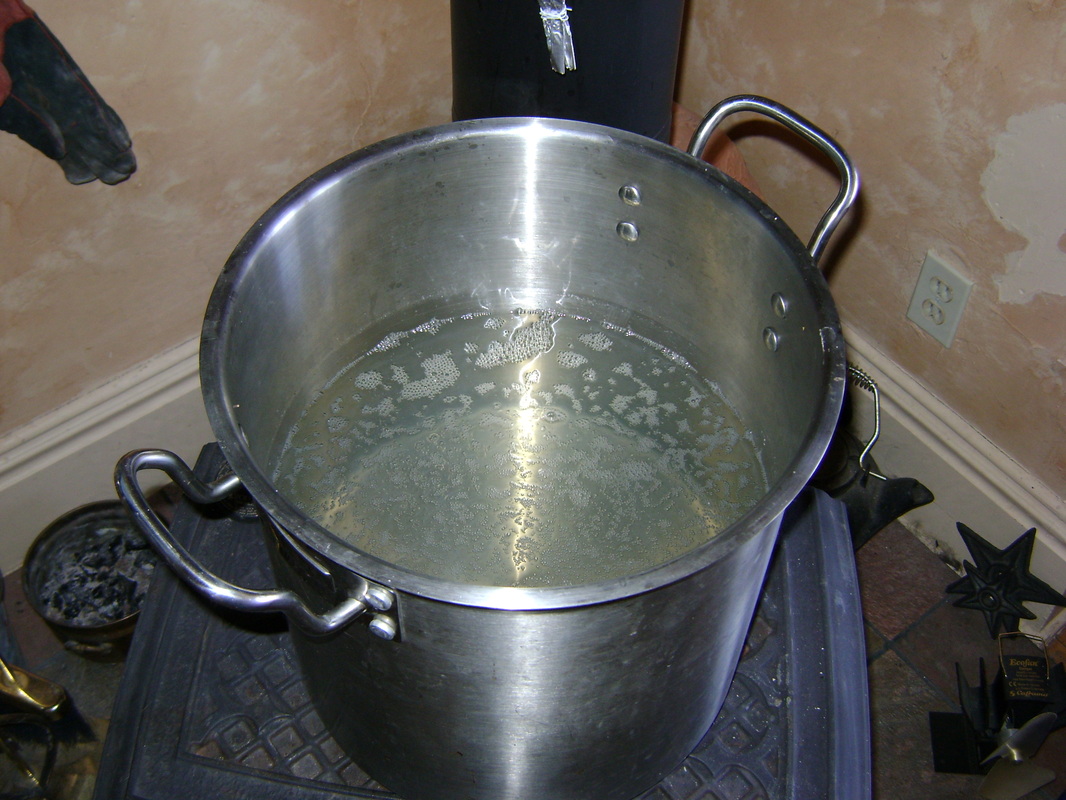
1. As soon as you have a full pot of sap, you can start boiling it down, either on a wood stove or kitchen stove. Boil as often as you can because you could get a lot more sap really fast and not have enough room to store it.
|
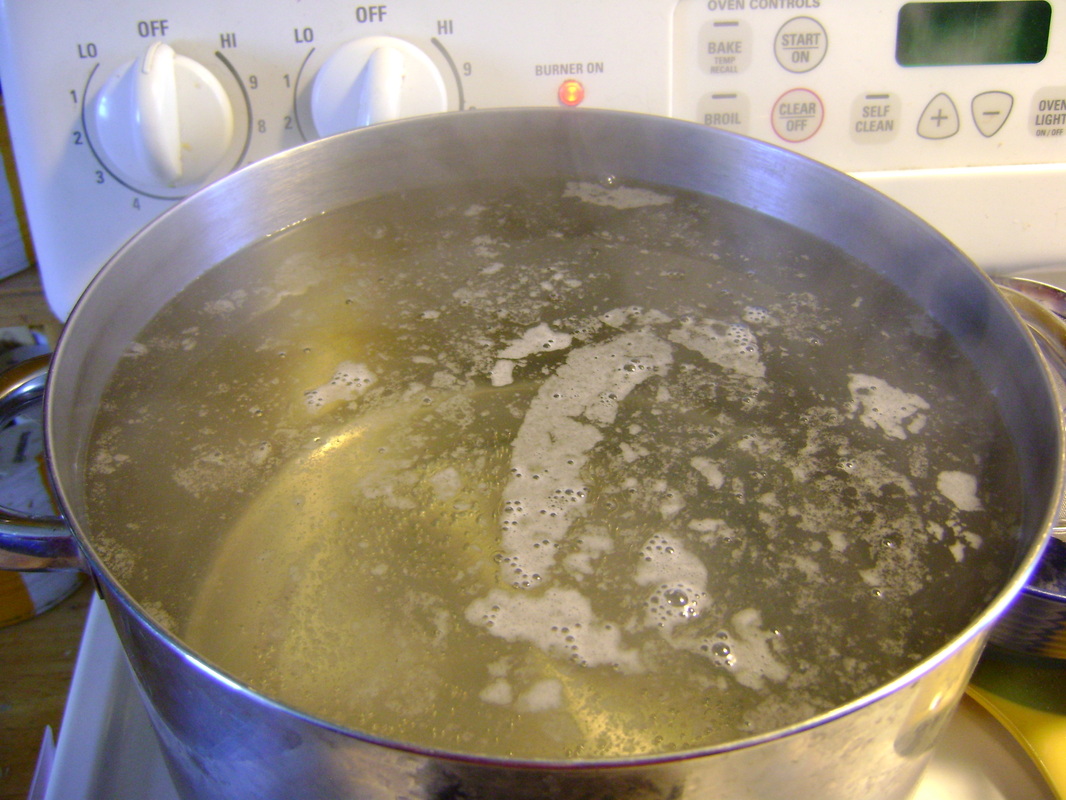
2. Boil the sap slowly over a low heat. At this stage, you don't want to see any bubbles boiling in the sap, but you do want to see a lot of steam rising from the pot.
|
|
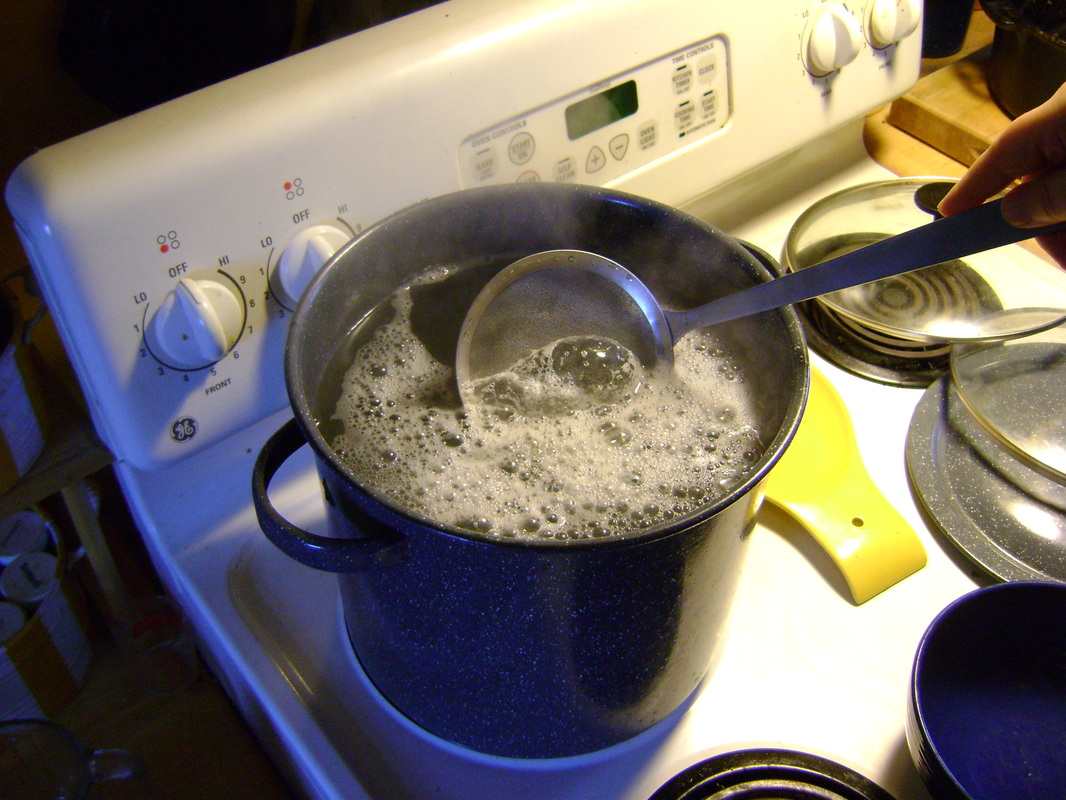
3. If you get foam on top, that is normal. Strain off what you can. We use a large mesh spoon that we got at a garage sale (I think it's for cooking Chinese food). Adding a bit of butter is supposed to stop the foaming, but this hasn't worked for us yet.
|
4. When the sap boils down by half, you'll want to fill the pot at least one more time with sap if you can. Two gallons of sap make less than a pint (2 cups) of syrup, so adding additional sap at least once should give you at least a pint of syrup at a time.
|
|
5. When the sap boils down to about a quarter of its original depth, which will take most of the day if you started in the morning, it's time to move it to the kitchen stove (if it was on your wood stove) where you can control the heat better and start watching it more closely.
|
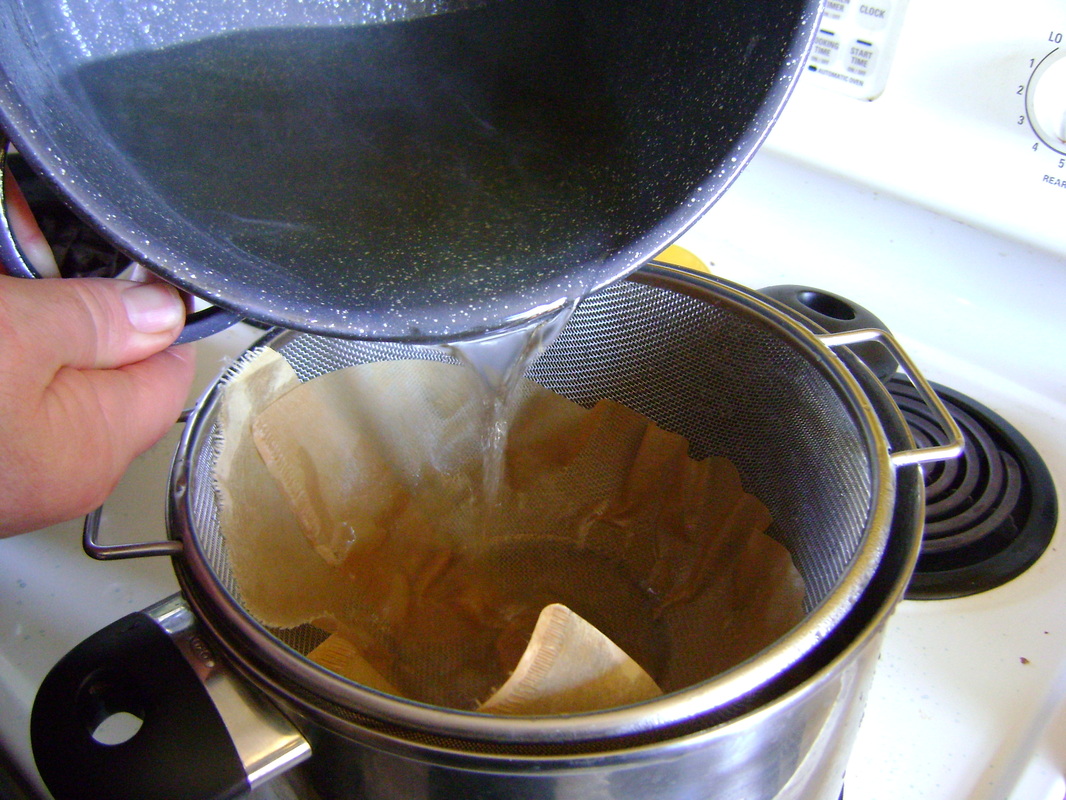
6. Sometimes we filter the sap again at this point, pouring it through a mesh strainer with a coffee filter in it. It's more traditional to filter at the end, but we don't have the professional tools to do that, and we find that the syrup is sometimes too thick at that point.
|
|
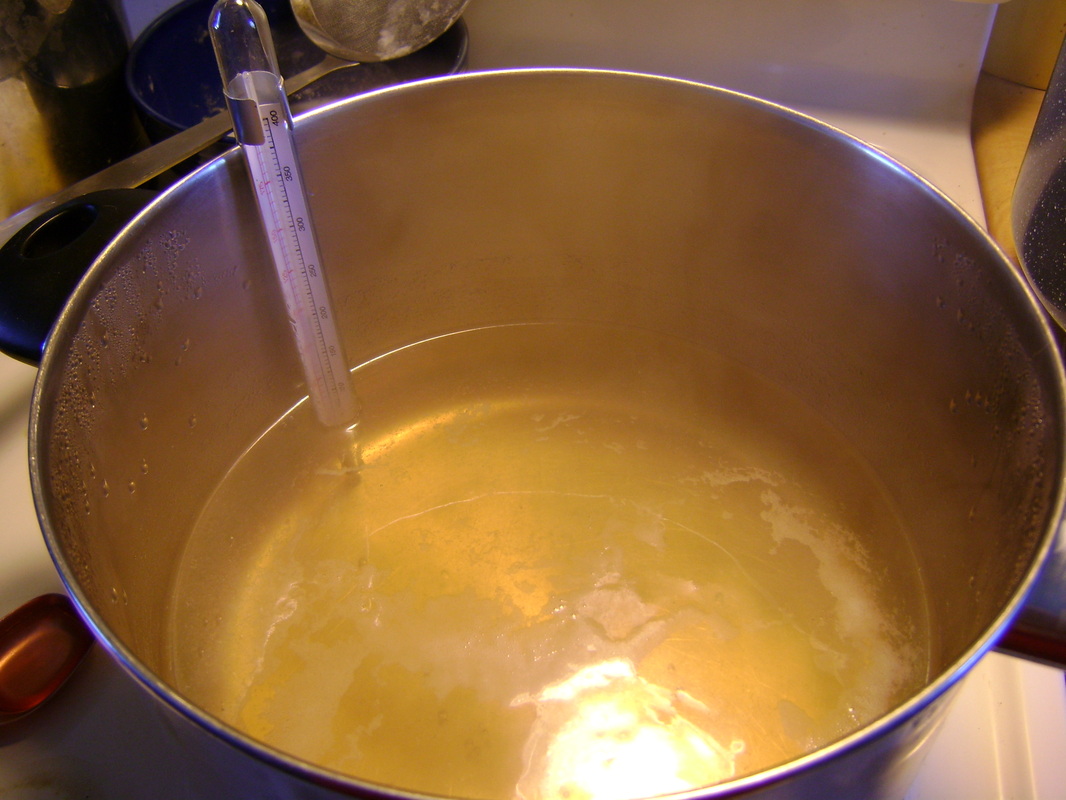
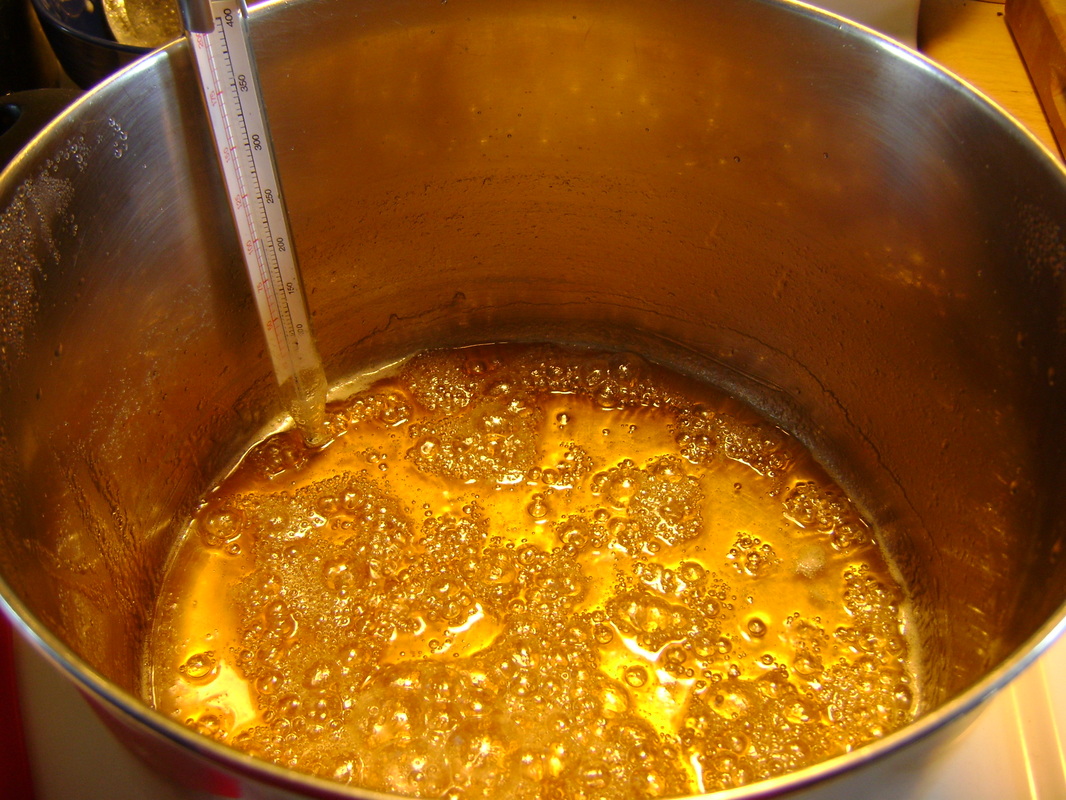
7. As the sap boils down more and more, it starts to take on the browner color we associate with syrup. It will get hotter and you will start to see boiling bubbles instead of just steam.
|
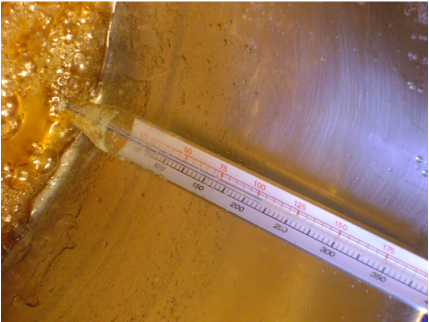
8. We're still learning to tell when to stop boiling the sap. If you insert a candy thermometer, most of my sources say sap is supposed to be safe for storage (it won't spoil) when it's reached 7° above the boiling point of water. The boiling point of water is 212° F at sea level, but varies at different altitudes.
|
|
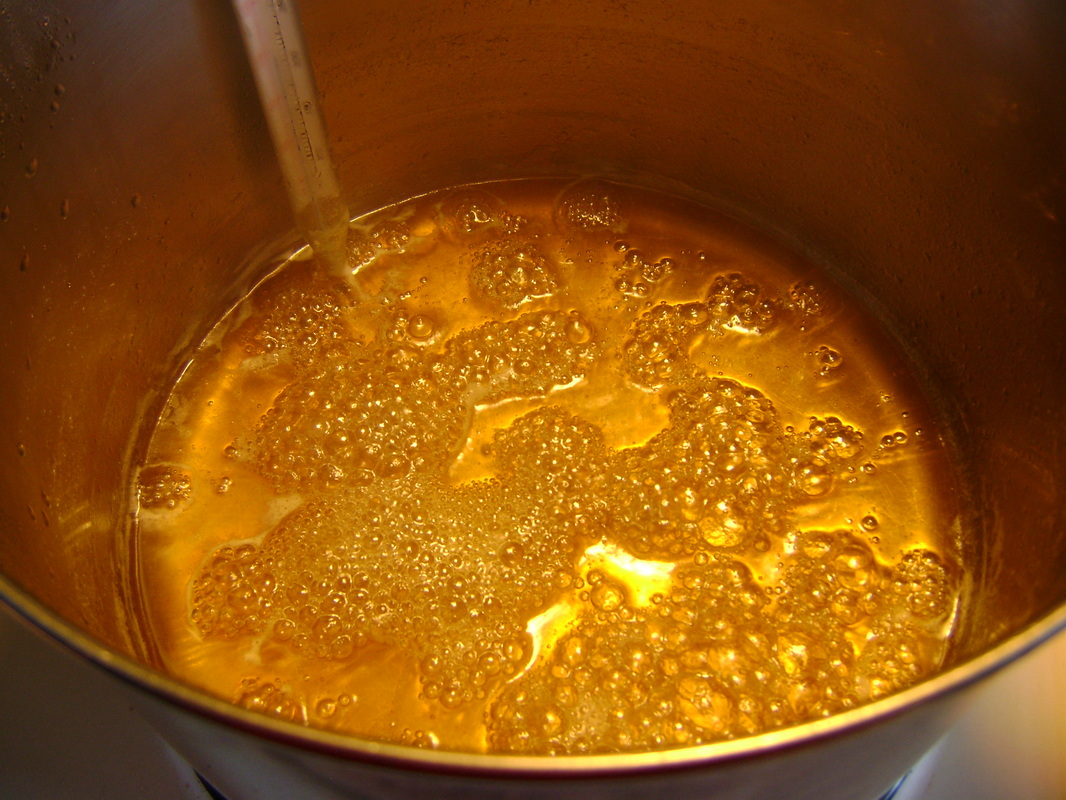
9. The other way to tell if the syrup is done is by paying attention to how thick it has gotten. If you dip a spatula into the sap and it runs off quickly, it's not yet done. If it drips off slowly, you're closer. If it hangs there and creates a bubble without dripping off (called aproning), it's definitely done. In the picture below, you can see that some of the syrup is hanging on the sides of the pot, so it's done.
|
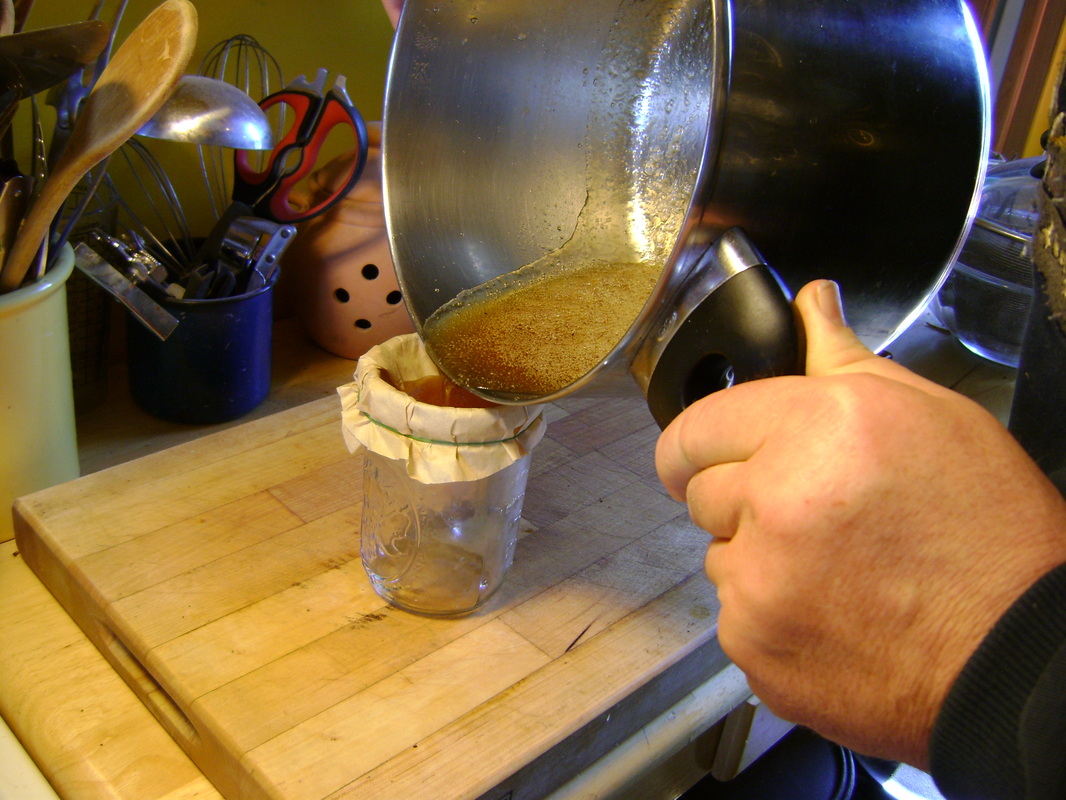
10. When you decide it's done, you can filter it at this point if it isn't too thick. We tried pouring the sap below through a coffee filter, but it didn't go through the filter because we had probably boiled it past the syrup stage. If you're not trying to sell your syrup, filtering isn't absolutely necessary. If you don't filter, you may notice sediment collecting at the bottom of your syrup jar. It doesn't hurt anything, just stop eating the syrup when you get to that part.
|
|
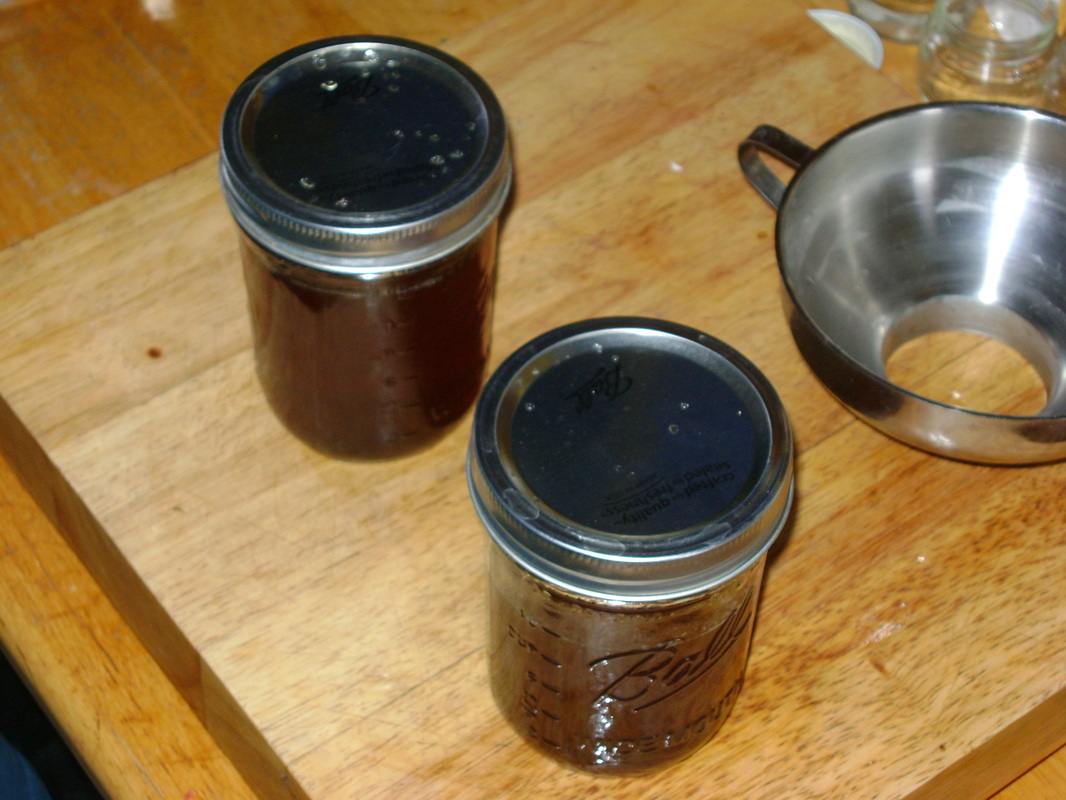
11. Now you can the syrup for storage. Pour the still hot syrup into sterilized and warmed (so they don't crack) pint canning jars. To sterilize our jars, we used to run ours through the dishwasher, but now we boil them for 15 minutes.
|
12. Add new canning lids that have been heated (in a pot of simmering, but not boiling, water for 10 minutes to soften the rubber seals) and hand tighten the screw on bands. Let sit overnight, test the seal, and if it's okay you can store it for up to a year on the shelf.
|
|
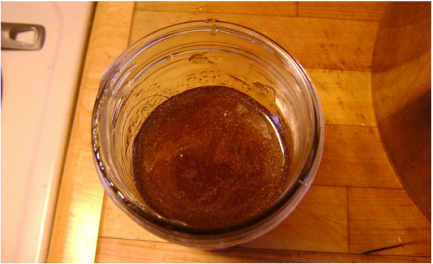
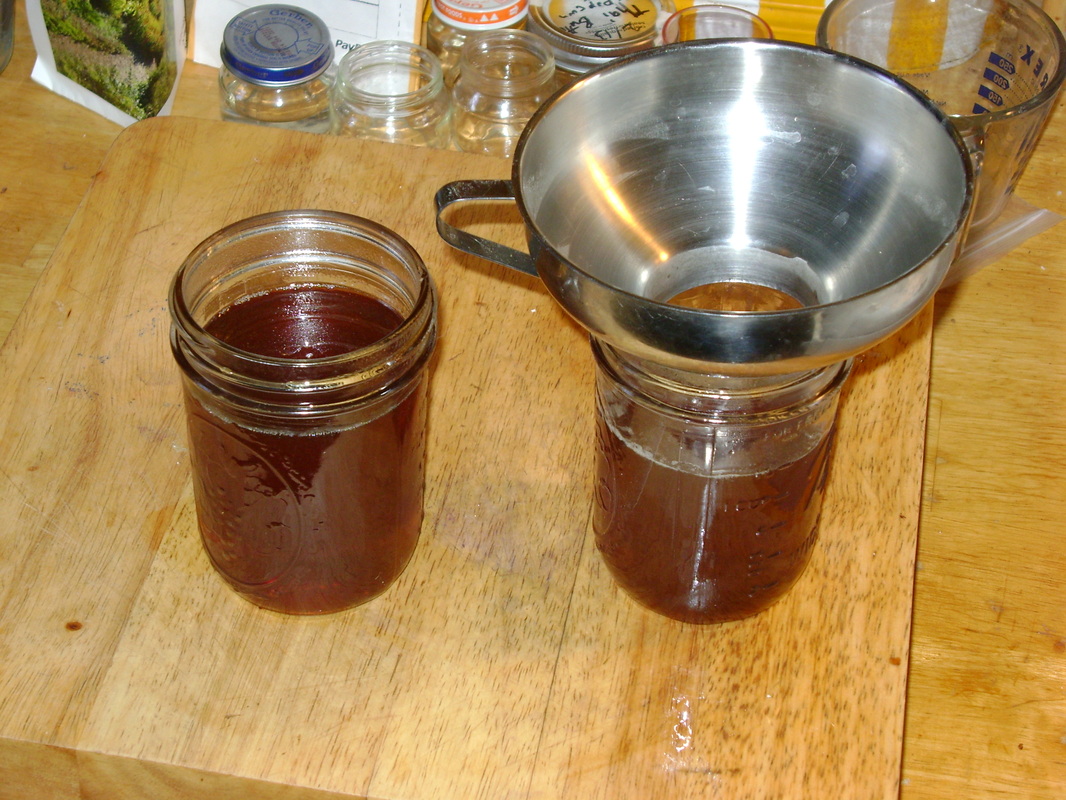
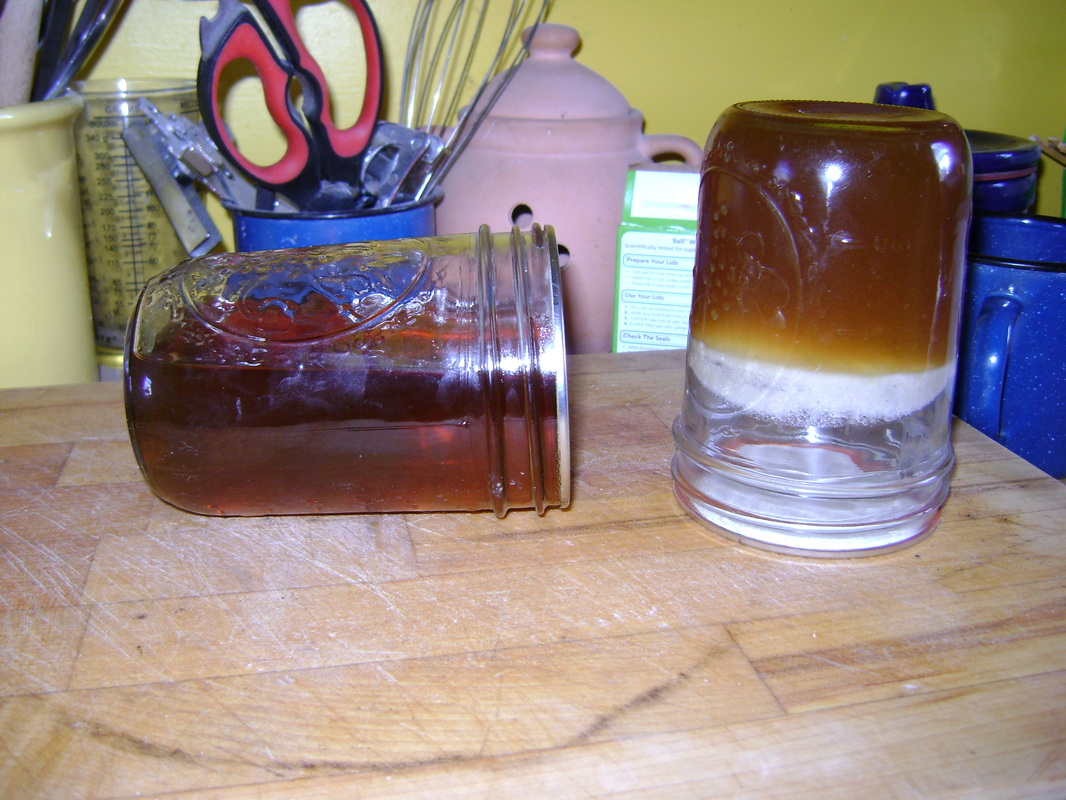
13. As I said, we are still learning how to tell when the syrup is done. You can see in the photo to the right that the longer you boil it, the thicker it becomes. The jar on the left was removed from the heat earlier and is more runny, like what we normally associate with syrup, while the jar on the right was boiled longer and is so thick it can hang suspended in the air when the jar is turned upside down. The later becomes taffy like. I should say that the syrup from both jars tastes amazing. If your syrup is too thick, reheating it will turn it back into a liquid that can be poured over pancakes. If you boil the sap even longer, it crystalizes into sugar. We haven't tried this yet.
Here's where I make some disclaimers about food safety: If you're not familiar with safe canning techniques, you'll want to learn about them before canning your syrup, because canned food that is sealed air tight can grow botulism, which is deadly, so I take it seriously. If you don't want to take on this responsibility, let the syrup cool off and then put it in clean jars and store in the refrigerator, where it will remain unspoiled for months. It tastes so good, though, it probably won't last that long. |
When is the Syrup Season Over?
|
One book says the season is over when you get tired of the work involved, or when the sap stops running. The later will happen when the days get too warm, or when the tree heals over the holes you made, whichever comes first.
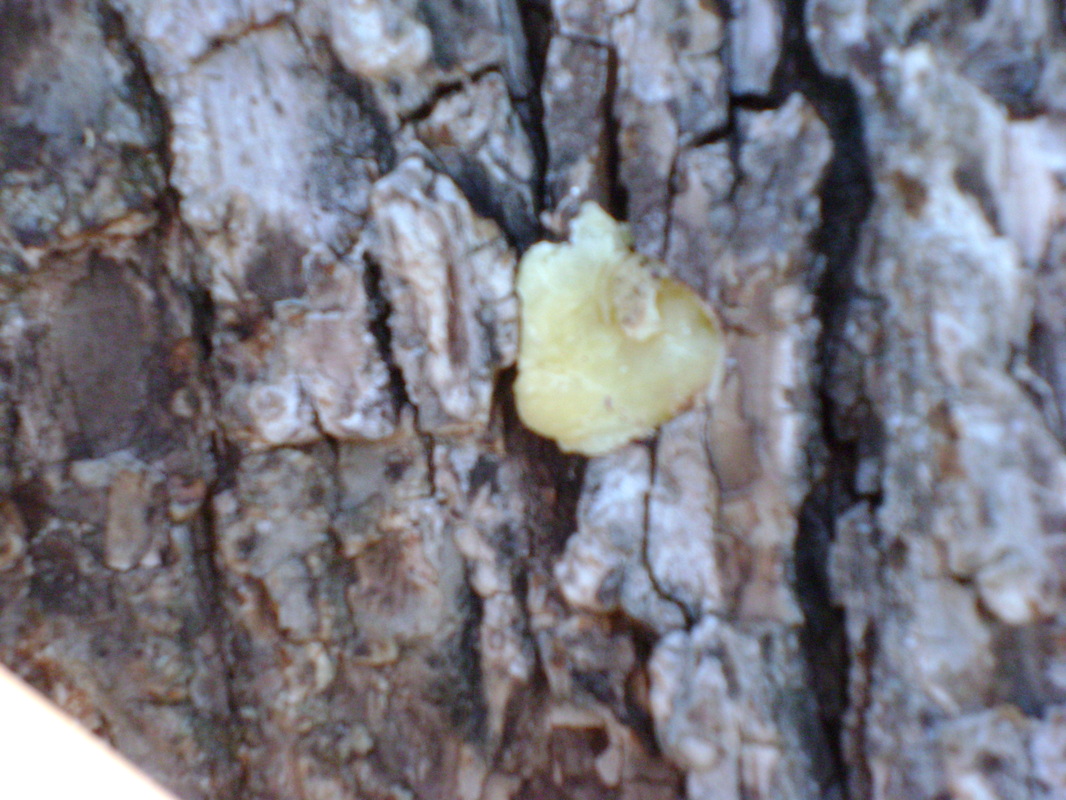
I would add a third possibility- the season is over when the sap starts to get full of bugs. This happens when it gets warm enough, and the sap may still be running a little at this point. When we decide the season is over, I soften some beeswax (by heating it in the microwave), and push a small ball of it into each hole (shown in the center of the photo to the left). This helps protect the tree while it is healing. |
How Much Does it Make?
It takes a whole lot of sap to make a little bit of syrup: 30-50 gallons of sap generally make 1 gallon of syrup. This is why real maple syrup is very expensive to buy in the store.
According to one of my sources, you can expect to get about a quart of syrup from each tap you make, but we haven't gotten that much yet. The amount can vary from tree to tree and from year to year. In our first year, it got too warm too fast, and we got very little sap. In our second year, the temperatures were much more conducive and we got a lot more. From 4 taps in 2 walnut trees we've gotten anywhere from 1.5 cups of syrup in a bad year to 8 cups in a good year.
According to one of my sources, you can expect to get about a quart of syrup from each tap you make, but we haven't gotten that much yet. The amount can vary from tree to tree and from year to year. In our first year, it got too warm too fast, and we got very little sap. In our second year, the temperatures were much more conducive and we got a lot more. From 4 taps in 2 walnut trees we've gotten anywhere from 1.5 cups of syrup in a bad year to 8 cups in a good year.
Syrup's Not Just for Pancakes: |
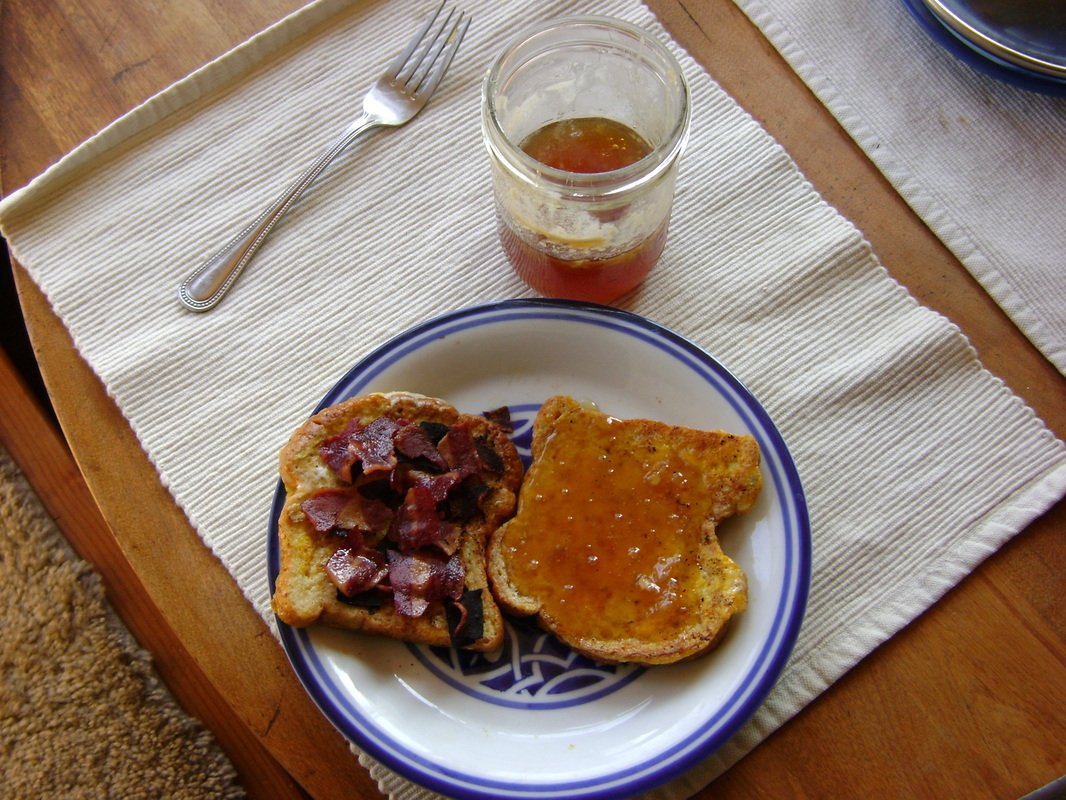
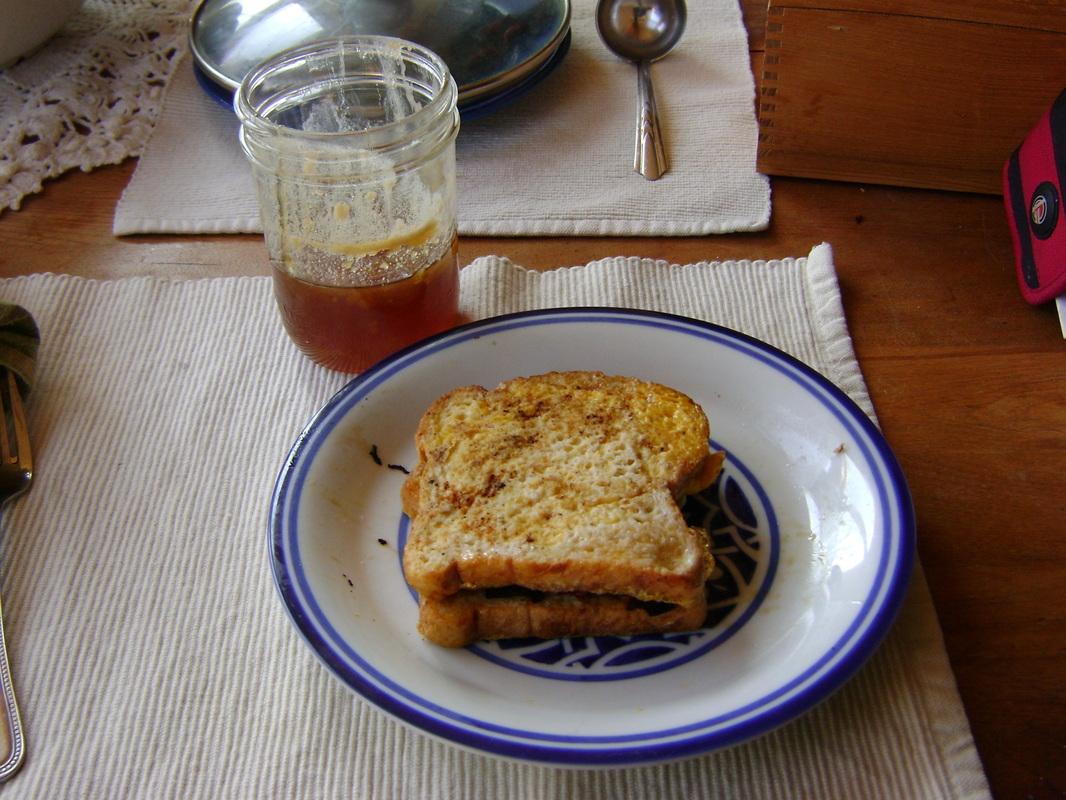
Syrup can be used to do a lot more than top your favorite pancakes, waffles, or french toast, although it does also go great with that, especially when bacon is involved. Here's Bear's concoction (left and below): a sandwich made with two pieces of french toast, turkey bacon, and a slathering of the thick, taffy like syrup we overboiled, which doesn't drip. Yummy.
Syrup can also be used:
|
Walnut Syrup Butter:
|
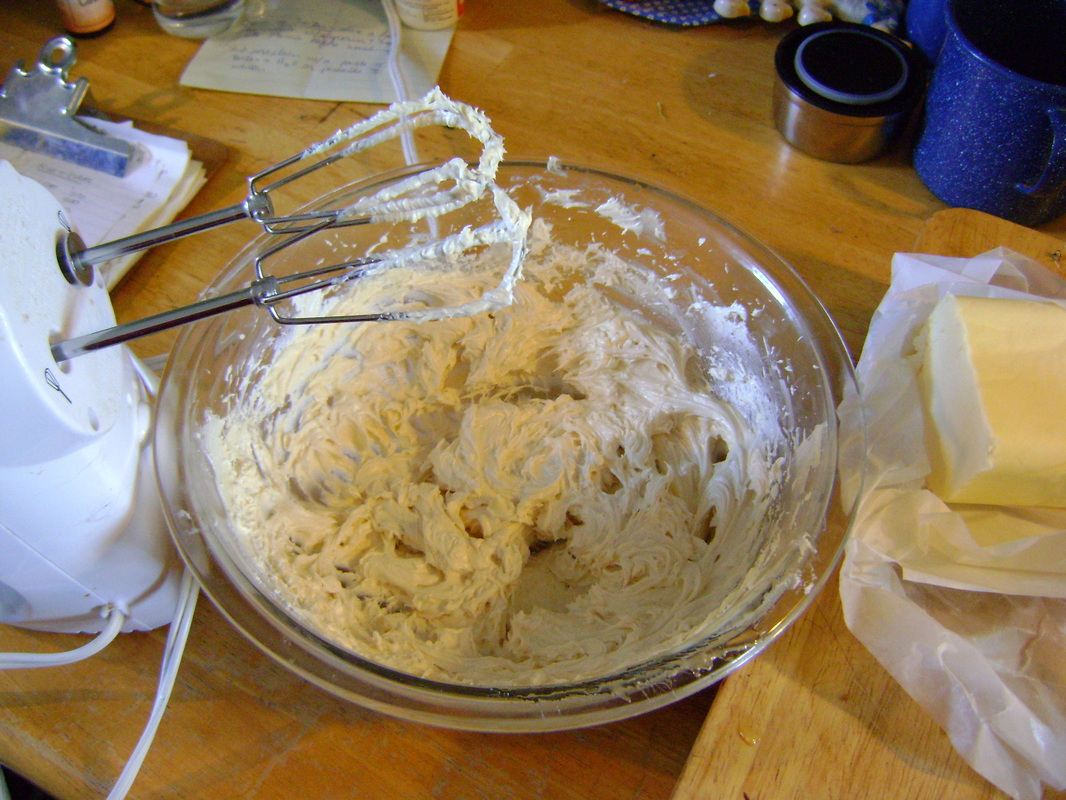
I first read about maple syrup butter in Mother Earth News. It is wonderful, and so rich that you can probably only eat it once a year, so it's a perfect treat to make with your first syrup of the season. Here's how I do it:
|
Walnut Syrup Ice Cream:
We make this in our little Donvier ice cream maker that produces only a small amount of ice cream at a time, so it doesn't use up as much syrup. Buying a new Donvier is expensive (around $60), but I see them often in resale shops, where they're cheap. It does not use salt or electricity to make ice cream. Double the below recipe to use it in a more traditional 4 quart electric or crank ice cream maker.
|
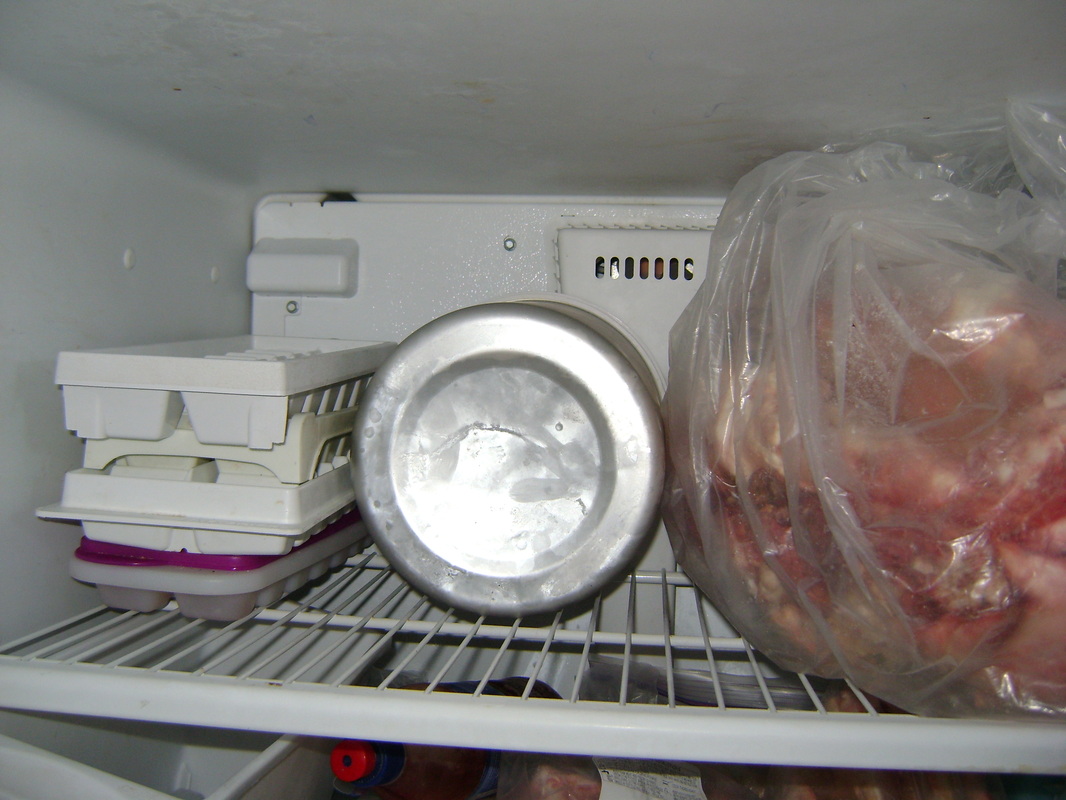
1. If using the Donvier ice cream maker, you have to freeze its inner core (the silver cylinder in the middle below) overnight in your freezer.
|
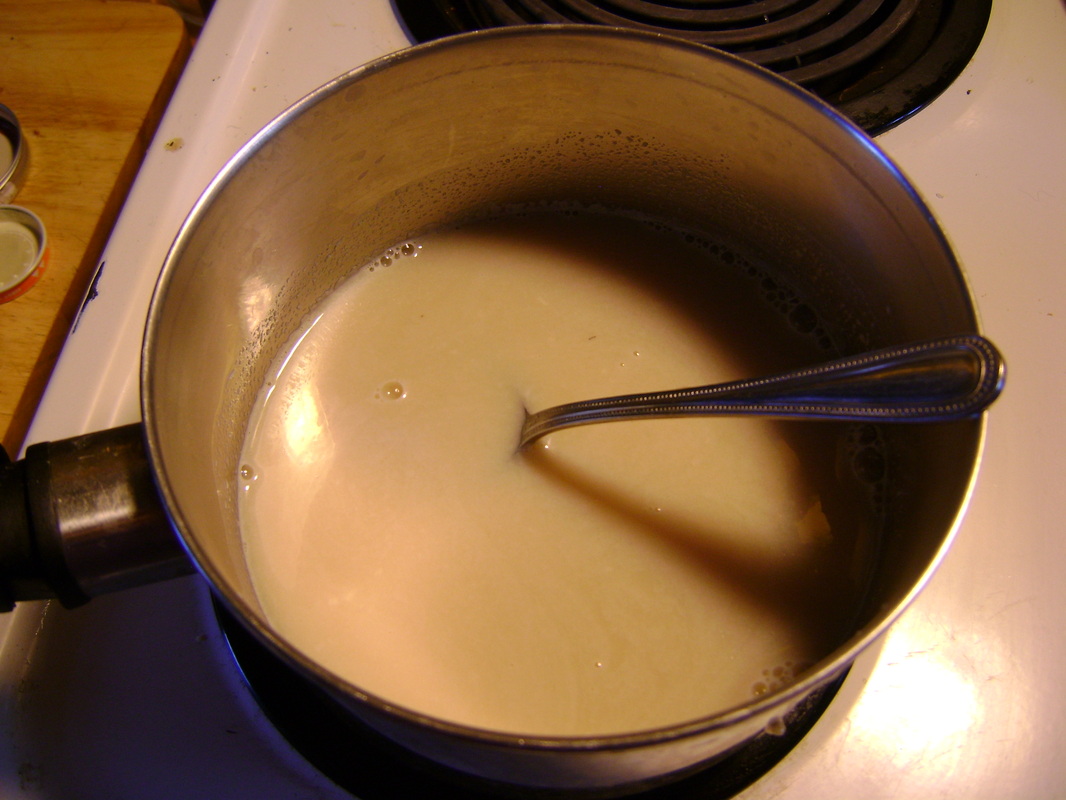
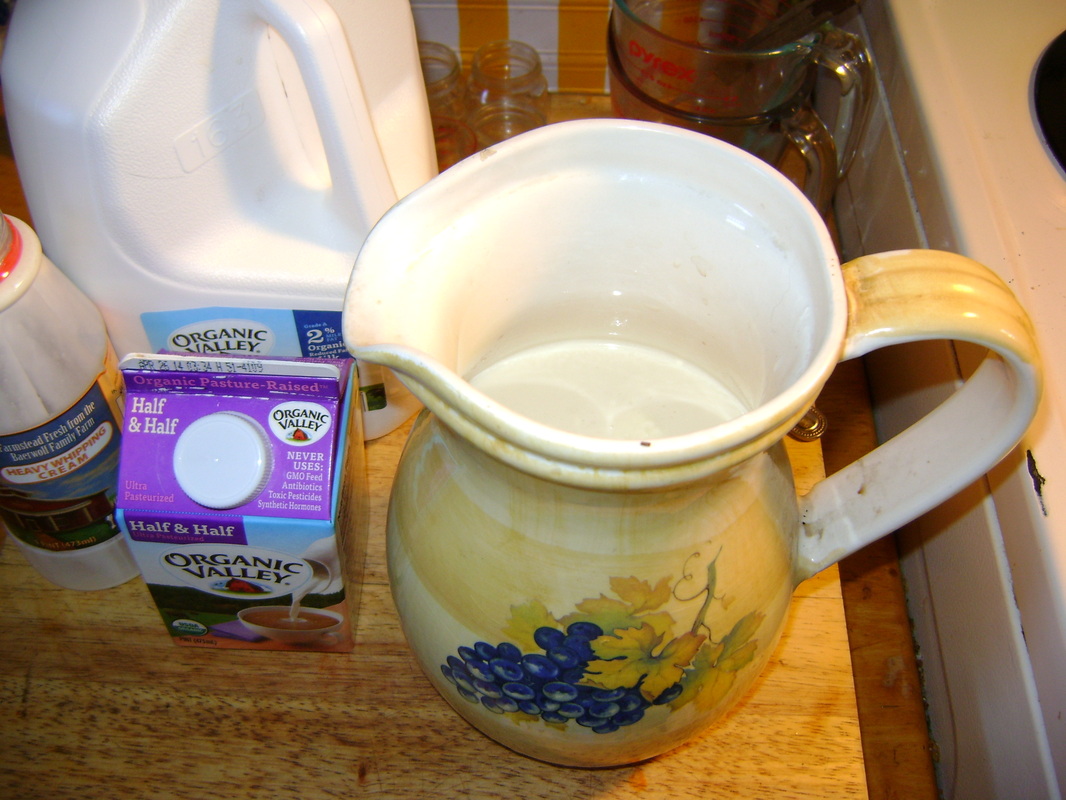
2. Also the evening before, make the ice cream mixture. Heat 1 cup of whole milk until it is steaming but not boiling. Turn off heat and add 1 cup of syrup. Stir until the syrup dissolves and turns the milk a little brown.
|
|
3. Remove from heat and pour into a pitcher. Add 1 cup of half and half and 2 cups of heavy whipping cream. Stir it together and store overnight in the refrigerator to ensure that it is entirely chilled. (It tastes yummy at this point if you want to try a sip.)
|
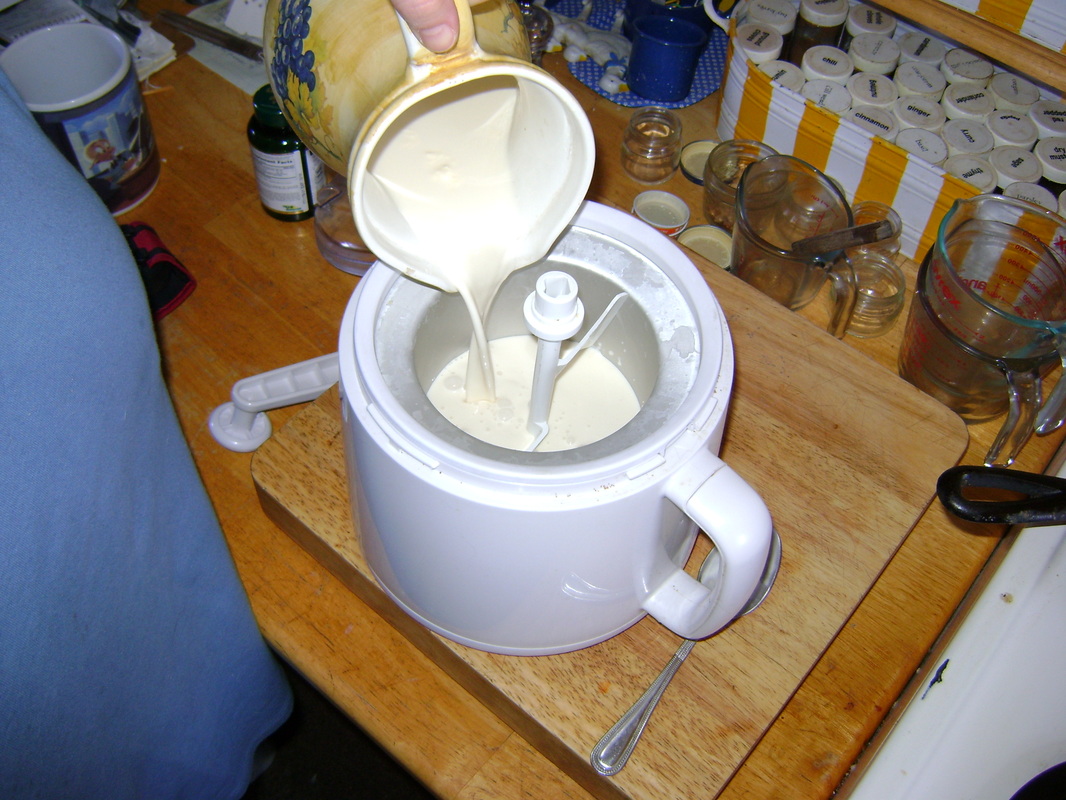
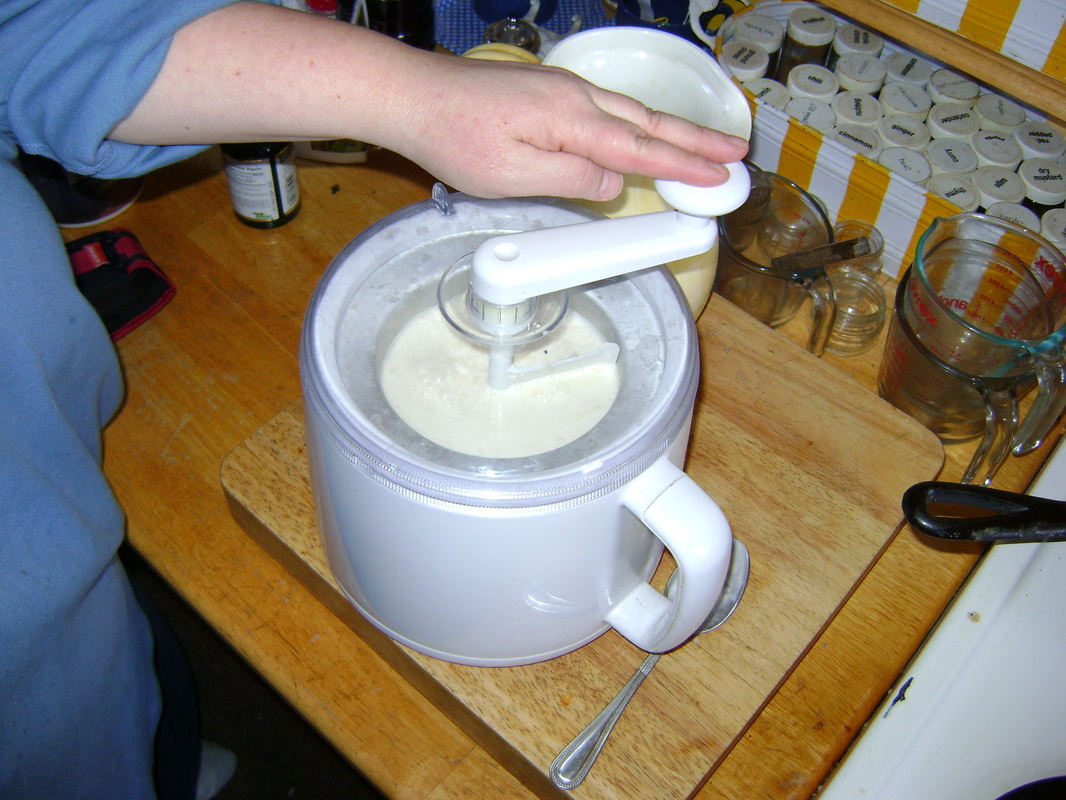
4. The next day when you're ready to make the ice cream, put the frozen core back into the ice cream maker and insert the paddle. Pour in the chilled cream mixture and assemble the lid and handle. Immediately turn the handle 4 or 5 times.
|
|
5. Then turn the handle only occasionally, every 2 or 3 minutes. The silver inner core freezes the liquid that is touching it, so if you don't feel a slight resistance when you turn the handle, you are turning it too often.
|
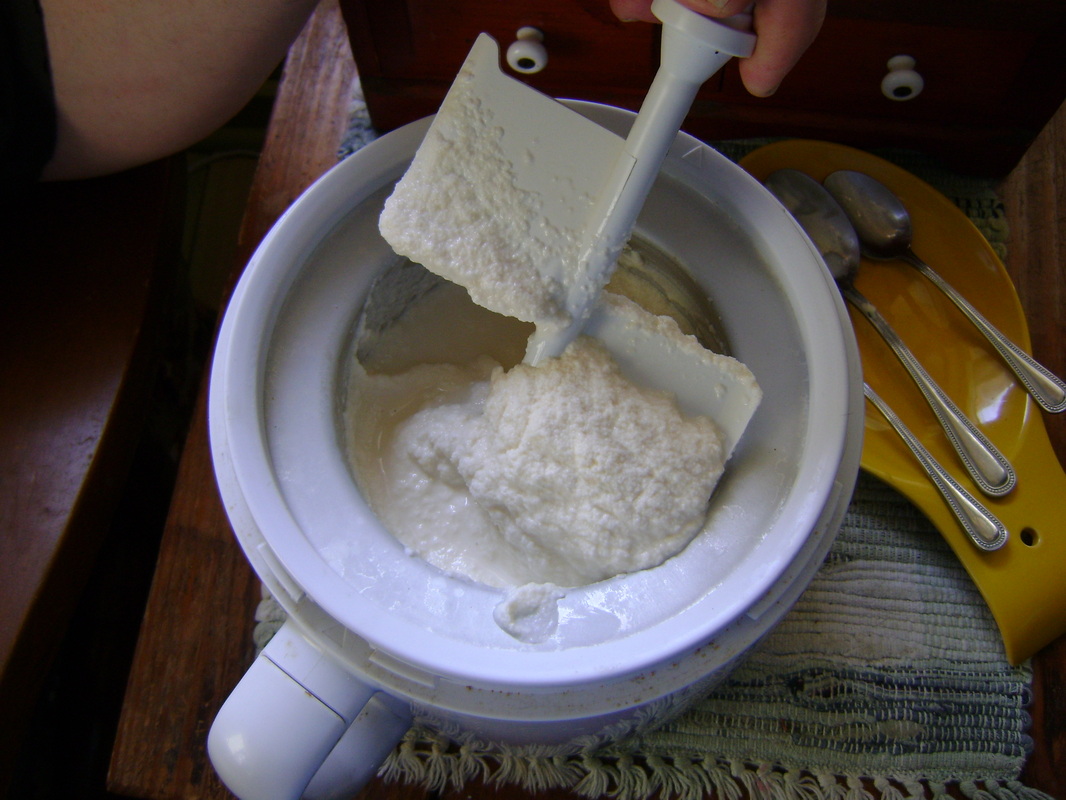
6. In about twenty minutes you should have finished ice cream that tastes like syrup! It will be soft serve, but if you like it more solid, you can put it in the freezer for a while. It doesn't last that long at our house.
|
Don't Forget to Thank Your Trees:
|
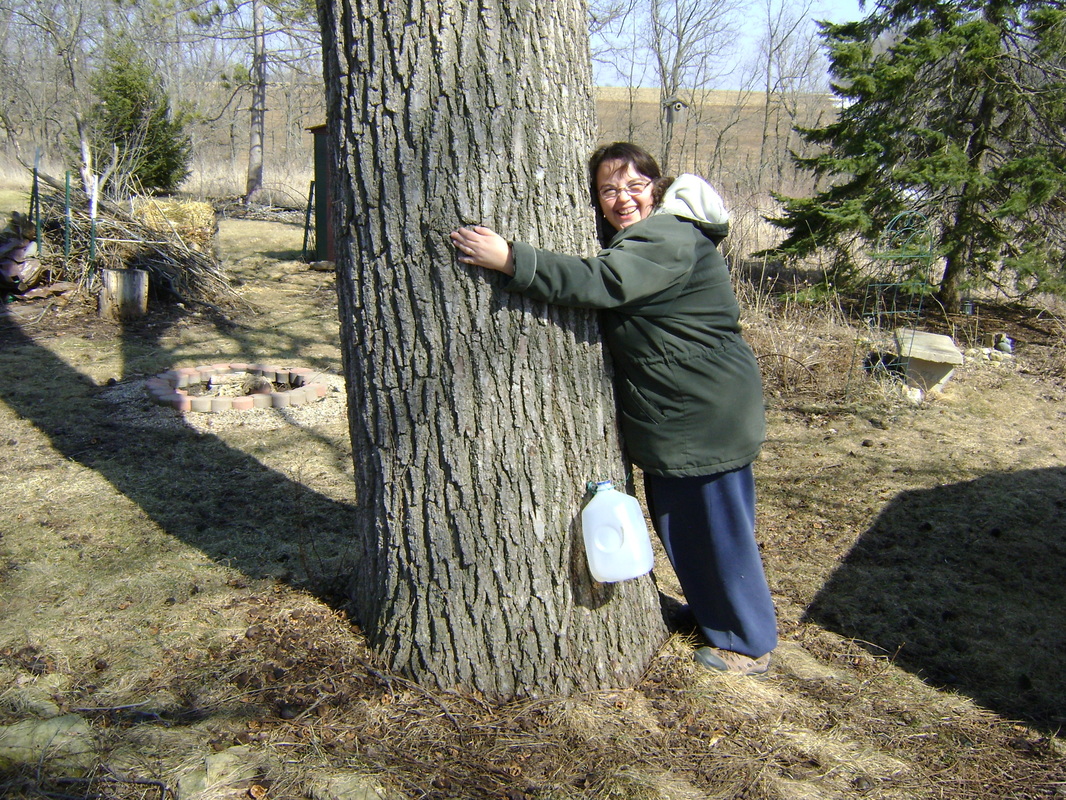
When I first learned about collecting sap, I was anxious that it might hurt our trees. From what I've learned, the holes we drill for the spiles heal over relatively quickly. If we stick to the above guidelines on how many taps to use per tree, we don't take enough sap to damage the tree's growth. I try to communicate this to our trees at the beginning of the sugaring season. Before we drill any holes, I silently tell them what we're doing and try to project my intention to do no harm. As I collect the sap, I like to pause for a moment with my hand on the tree and say thank you. I end the season with a big thanks for the wonderful blessing the trees have given us. I guess that makes me a tree hugger. |
