Finding Space for a Pantry:Although we are lucky to have many cupboards in our kitchen, I wanted additional storage space that would hold the bulk bags (25 lbs.) of grains and beans I wanted to start buying from our co-op, as well as more space to hold the jars of the foods we were learning to can. I read several food storage books that had lots of pictures of different types of shelves to get ideas. They all included the advice that if you look around your house, you will probably find underutilized space that could be used for food storage,
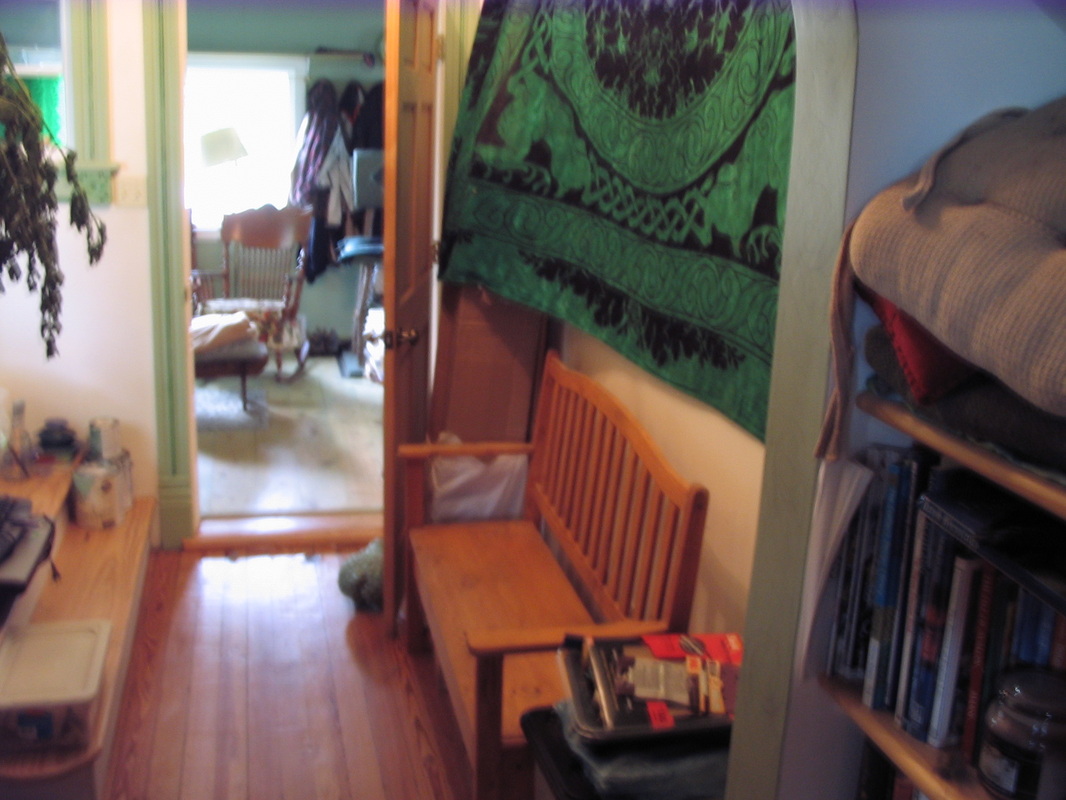
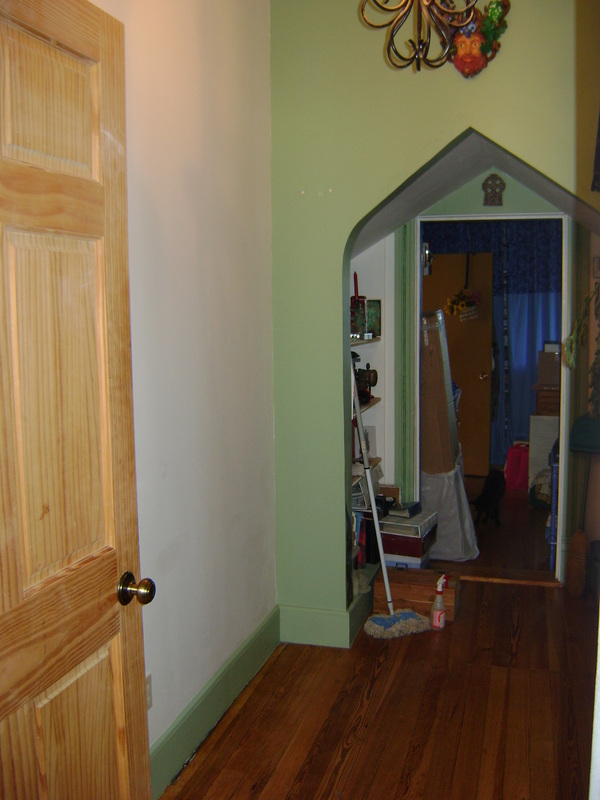
I let that sit with me for a while, and eventually realized that this bench in the "hallway" of our Scotland room (right) was taking up a lot of space, and no one ever sat on it. This space could be put to better use as a pantry. The Scotland room is not adjacent to our kitchen (see our "after" floor plan, room #7), but our house isn't very big, so I didn't think it would bother me to walk a little farther to get to our stored food. The shelves could only be about 12" wide, but there was enough empty wall space (where we had the green Celtic tapestry hanging) to build lots of 12" shelves. |
BUILDING OUR PANTRY
|
The Pantry Design:
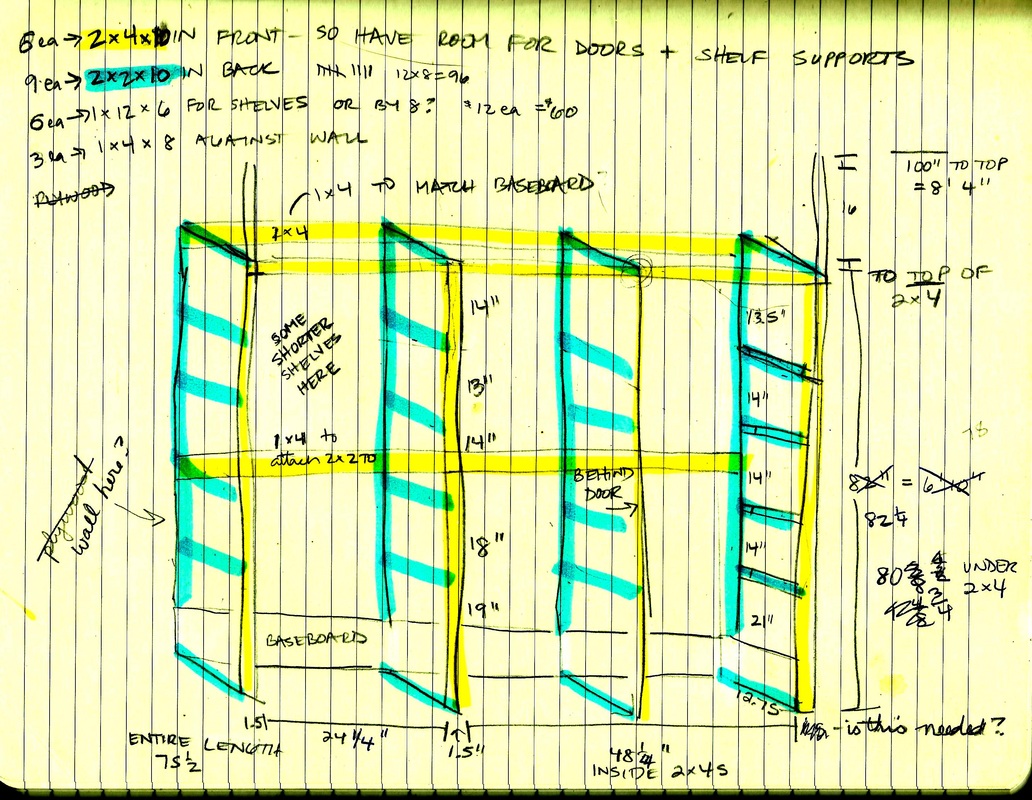
After choosing the location, I tried to design the pantry on paper (below). My paper designs are seldom exactly what we end up building, because we are amateur carpenters and have to figure things out as we go, but the design gives us a place to start. It also helps us decide how much wood to buy. We use #2 pine for everything, because it is the cheapest. For doors, we went to the local Habitat Restore (an architectural salvage store) and bought three sliding/folding closet doors for only $5 each, although we still had to go to the regular hardware store to buy the installation hardware, which was about $25 per every two doors (do $50 for us). Once we knew the size of the doors, we had to design the pantry frame so that they would fit in it. It also helped that our bedroom closets, which my stepfather Charlie built for us, had the same type of doors. I looked at how he put those closets together in order to create the pantry design, and when it was time to hang the pantry doors, the closet doors were our example of how they needed to be installed.
Pantry Design:
- The yellow highlighted wood in the front of the pantry is 2" x 4". In the back we used 1" x 4" to match the baseboard width.
- The blue highlighted wood is 2" x 2". They form the supports for the shelves.
- The shelves are 1" thick by 12" wide.
- We needed three folding closet doors and the necessary installation hardware.
- We wanted lots lots of air circulation, because things stored in the back of our other closets sometimes get moldy.
Steps in Our Pantry Construction:
|
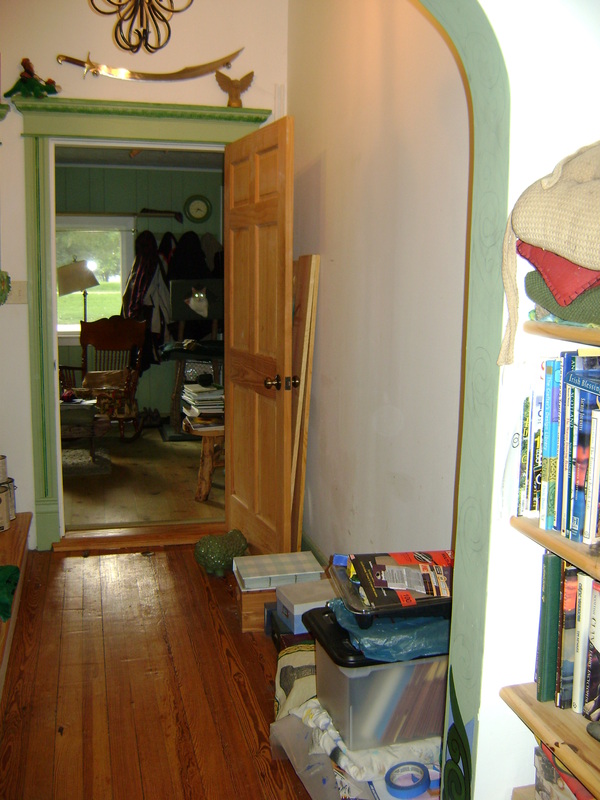
1. First we had to clear out the space, moving the bench and everything we had stored under and around it.
|
2. The cleared space looking from the other end. You can see that the pantry shelves will be narrow.
|
|
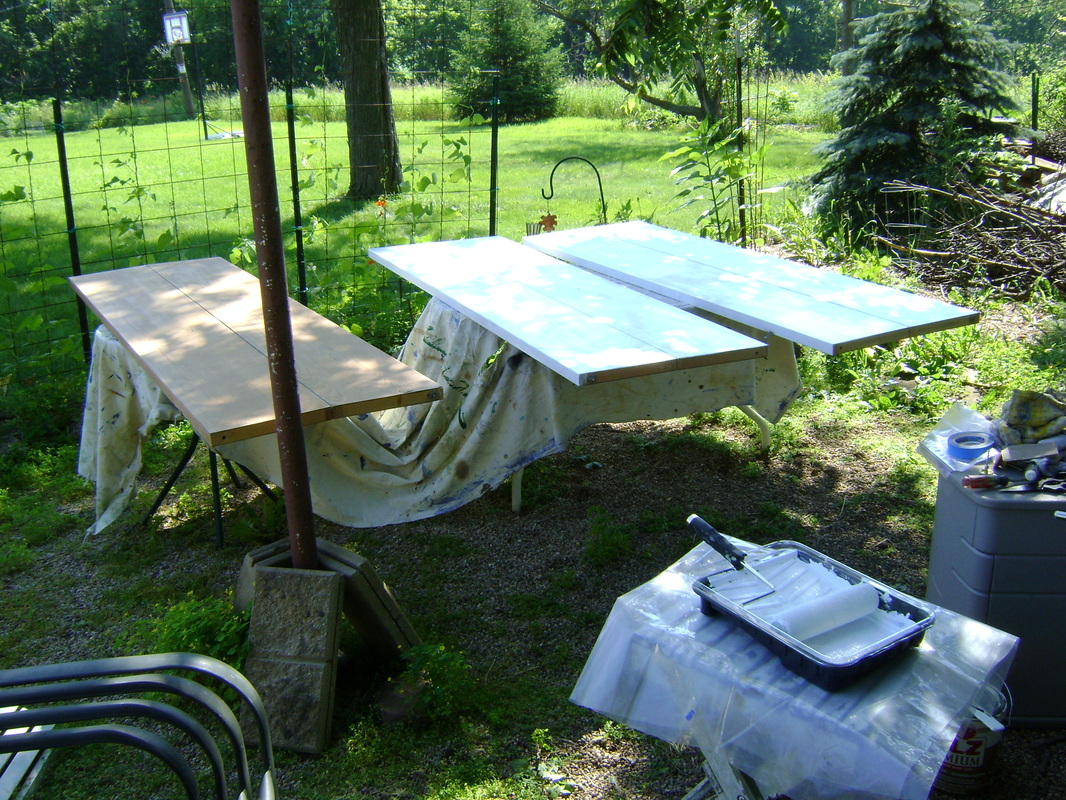
3. We painted the closet doors in our back yard, where they needed a couple primer coats followed by green latex paint.
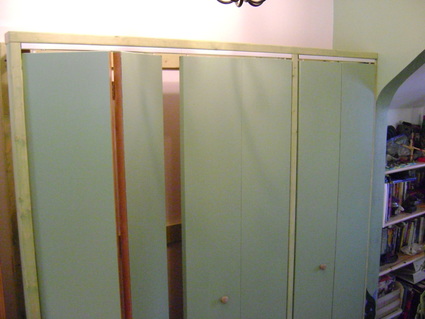
|
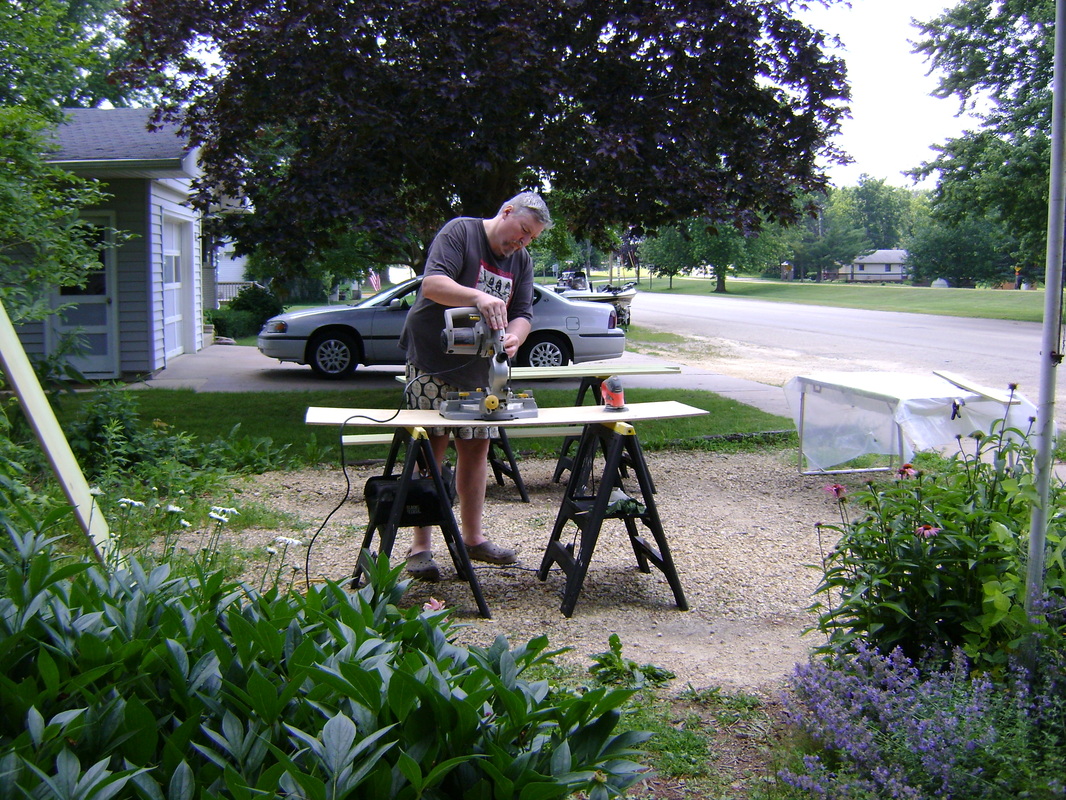
4. In our front driveway, we set up other saw horses and tables for cutting, sanding, and staining the rest of the wood before we installed it. We used a green deck stain on the interior of the pantry (they told us not too, but we did anyway and it looks lovely).
|
|
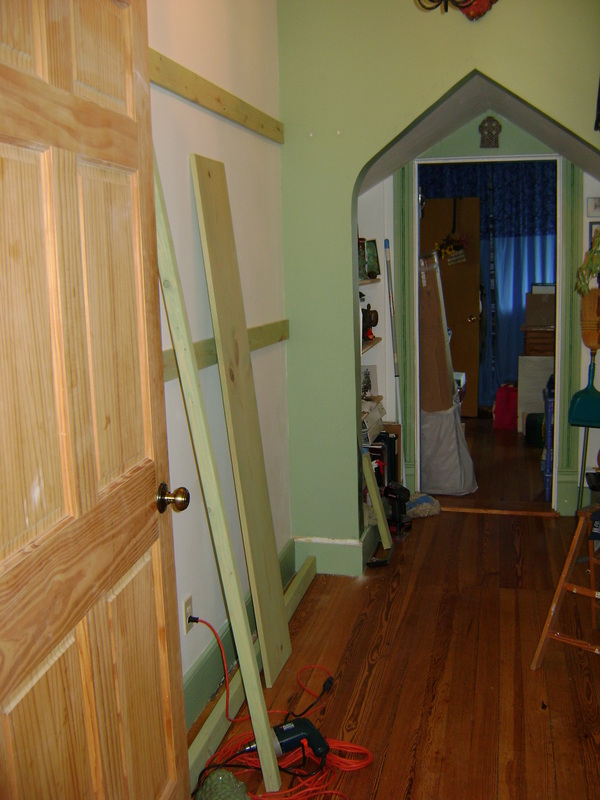
5. We began the pantry by attaching two 1x4 strips of wood horizontally across the back wall. These 1x4s could be attached to the wall studs, wherever we found them (which we always have trouble doing in our house). Then we could attach everything else to the 1x4s. The top 1x4 would also support the ceiling of the pantry.
|
6. There was old baseboard against the wall where we were building the pantry. I love old woodwork so wanted to keep it. The 1x4s attached to the back wall were the same width as the baseboard, so that we didn't have to remove it. The baseboard became the lowest board to which we could attach the shelf supports.
|
|
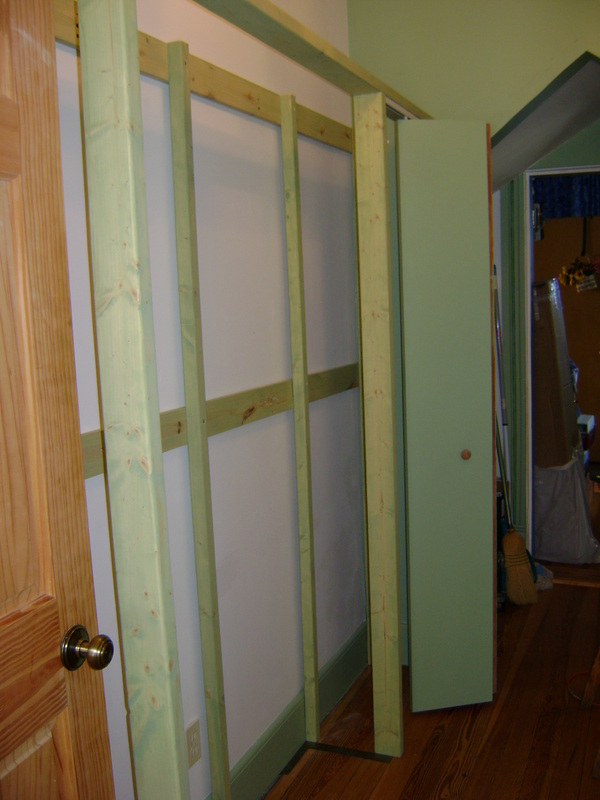
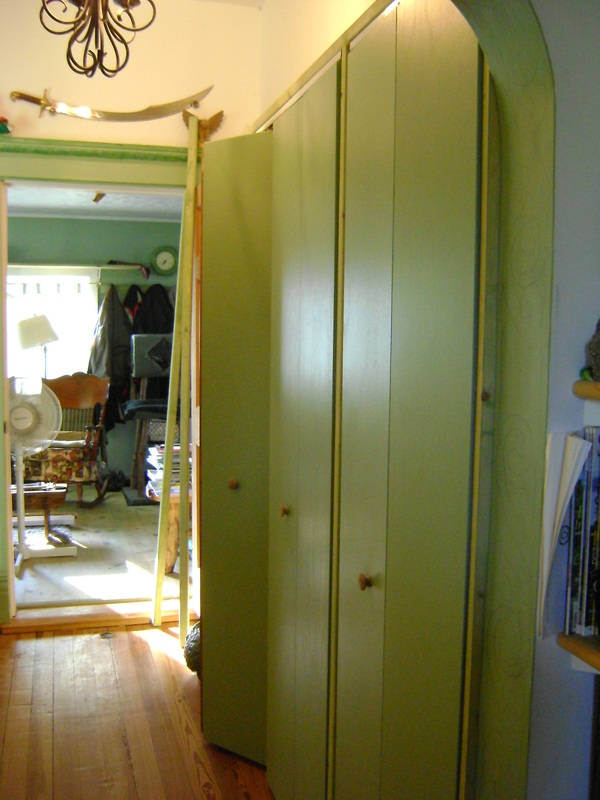
7. We continued to build the outside frame of the pantry, attaching 2x2s along the back wall and using 2x4s to build a frame on the front, which we attached to the wall next to the arched doorway. Then we attached the doors temporarily, to make sure that we had sized everything so that they fit correctly.
|
8. The tracks on which we hung the doors came with instructions. We also spent a lot of time looking at our other closets to figure out how to install them.
|
|
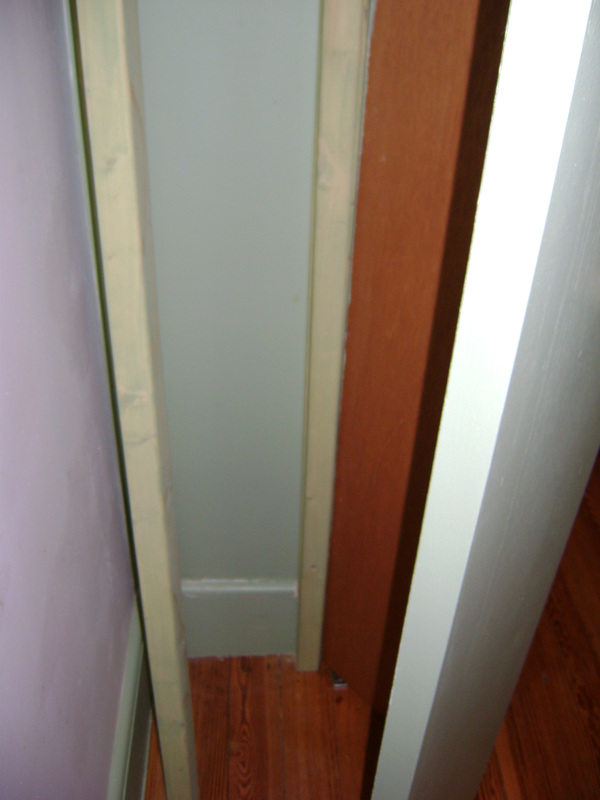
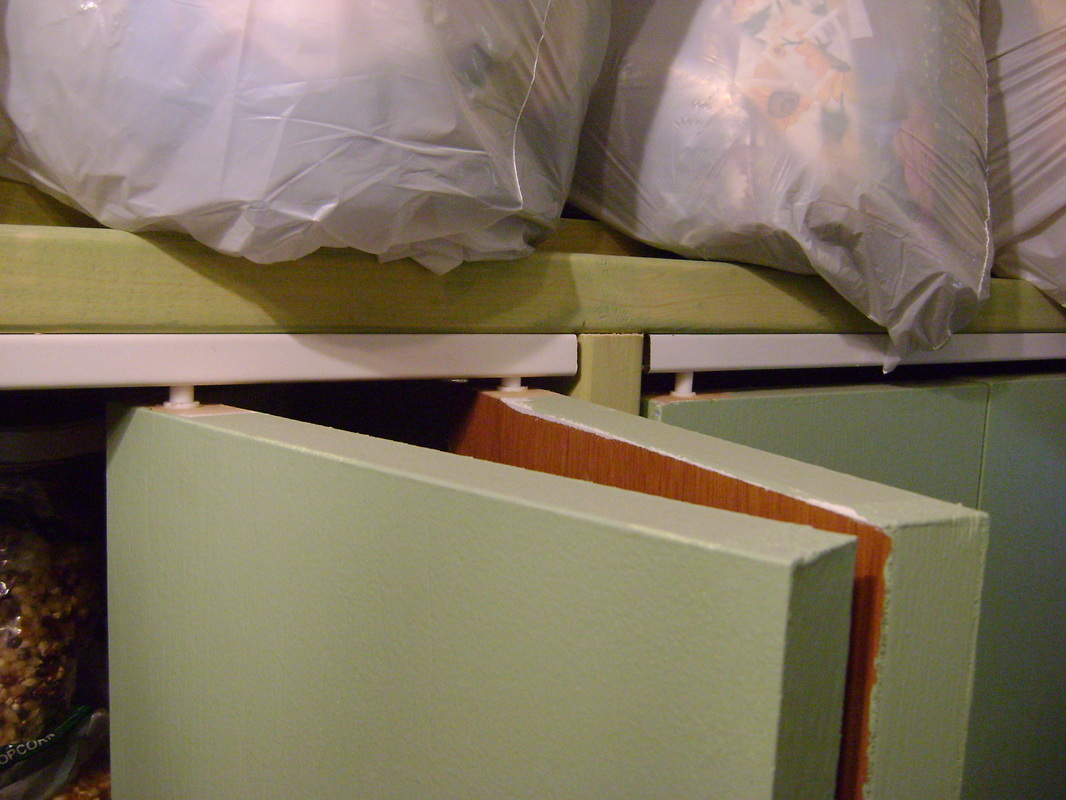
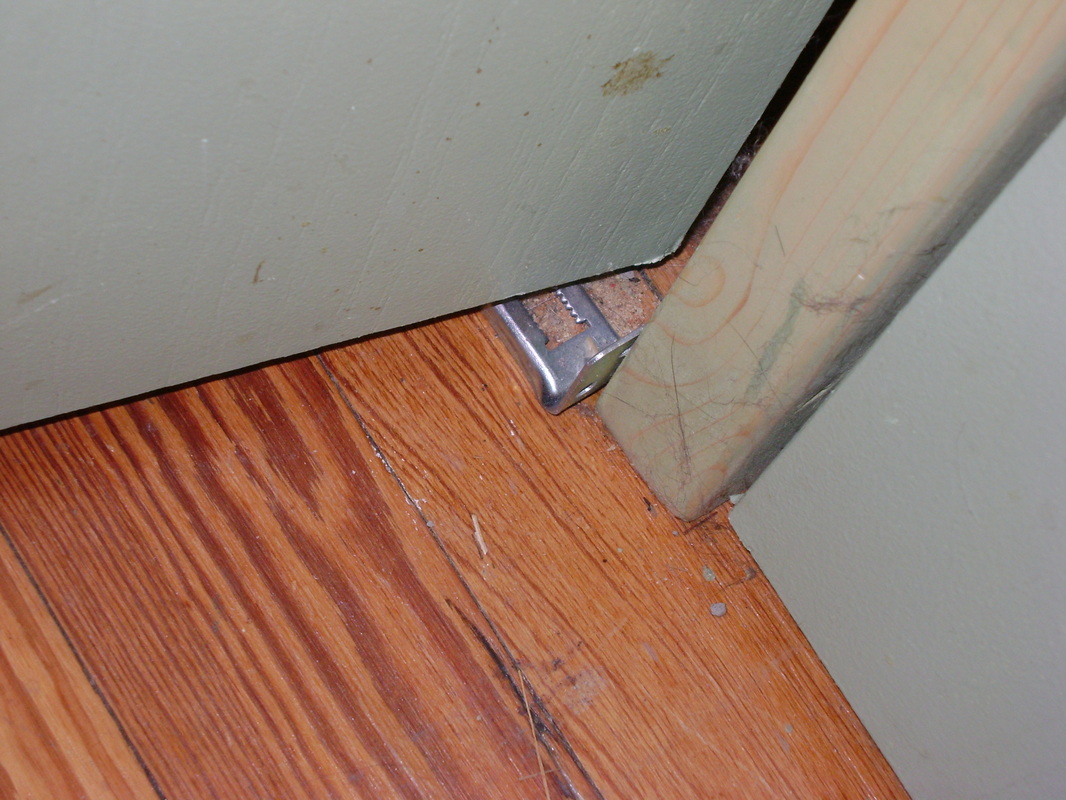
11. The bottom of the doors also have knobs (on one side only) that sit in a floor anchor that holds them in place (the silver hardware). These knobs are adjustable so that you can make the doors hang straight.
|
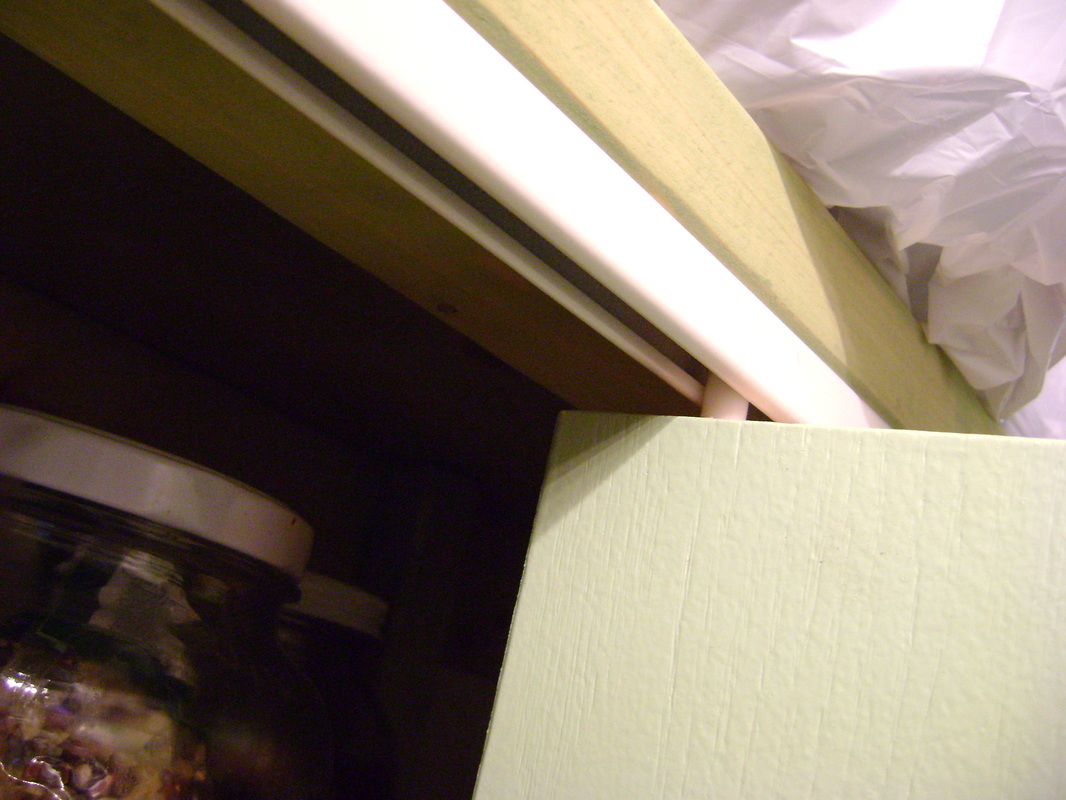
12. This show shows the white metal track going all the way across the top of the pantry and holding the doors. If you don't like the color, you can paint the metal (which I did on our bedroom closets because they were dark green and the white stuck out too much).
|
|
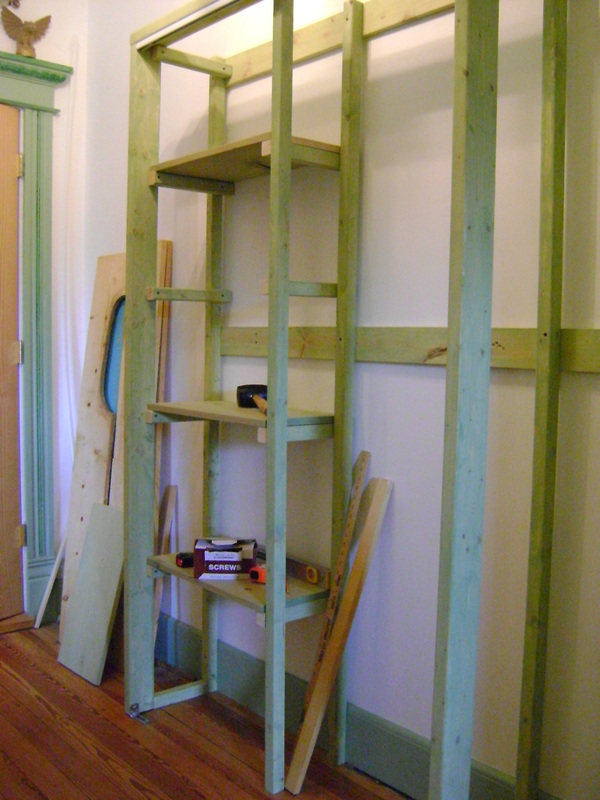
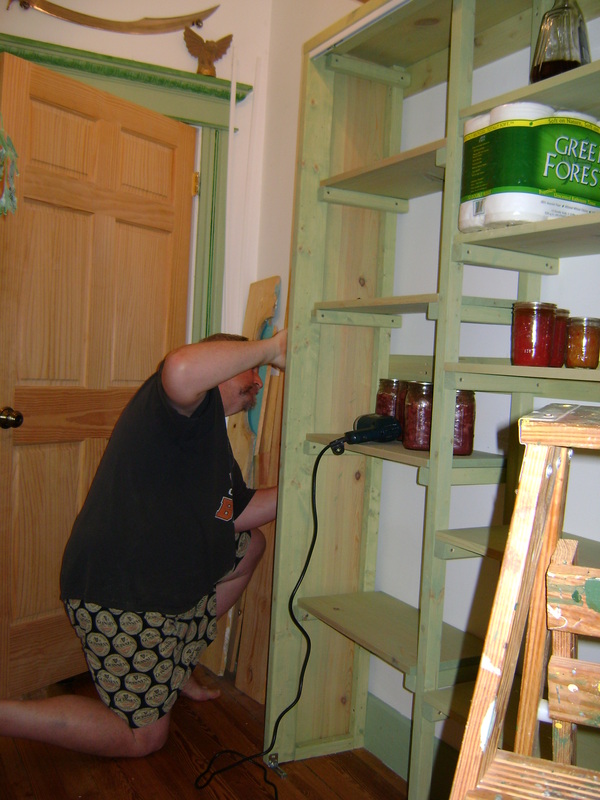
13. Then we removed the doors and started building the interior shelves. We used short 2"x2" supports under the shelves.
|
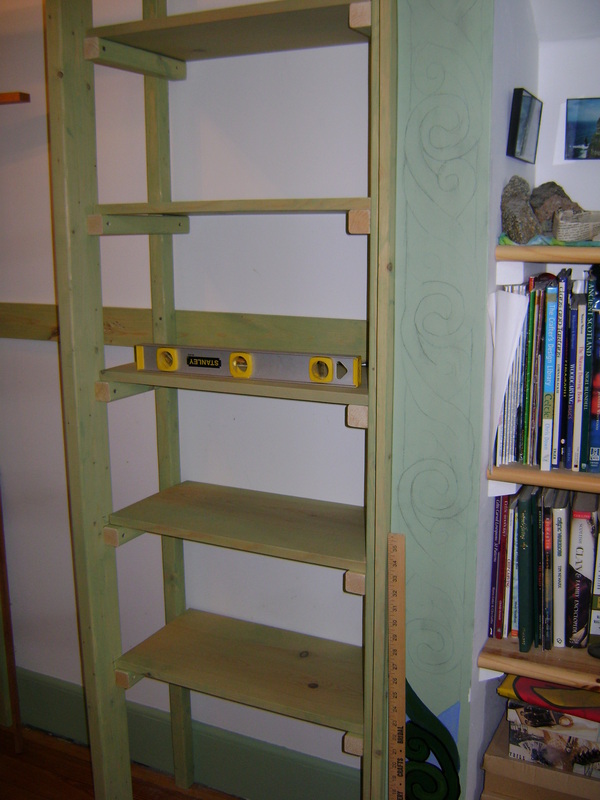
14. We've found that the floors and walls in our old house are seldom level, but we can use a leveling tool to build the shelves so that nothing rolls off them. (It is better to be level than to look level.)
|
|
15. I wanted a variety of heights between shelves. I measured a bunch of the things I wanted to store (like two quart canning jars stacked on top of each other) to decide where to put the shelves. I had a hard time deciding, and continued to move things around on the shelves as we built them.
|
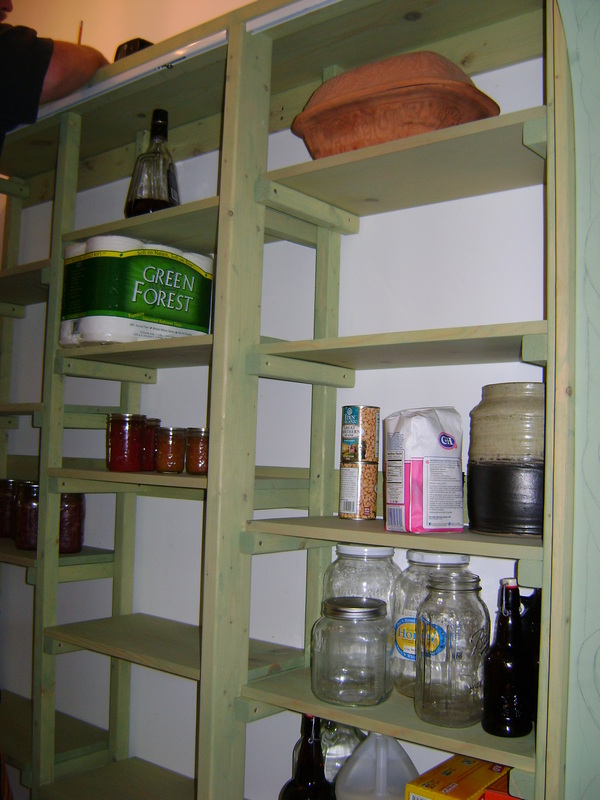
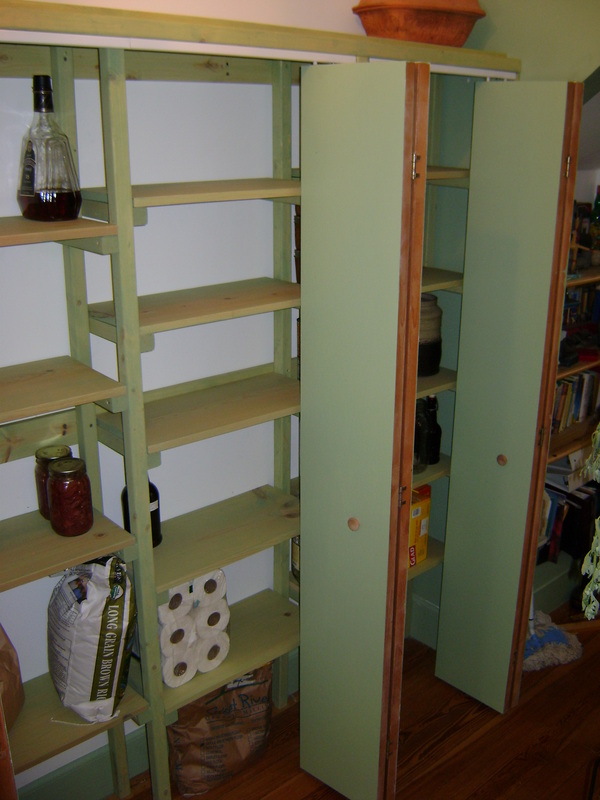
16. Shelves completed. No adjacent shelves are at the same height, which contributes to air circulation.
|
|
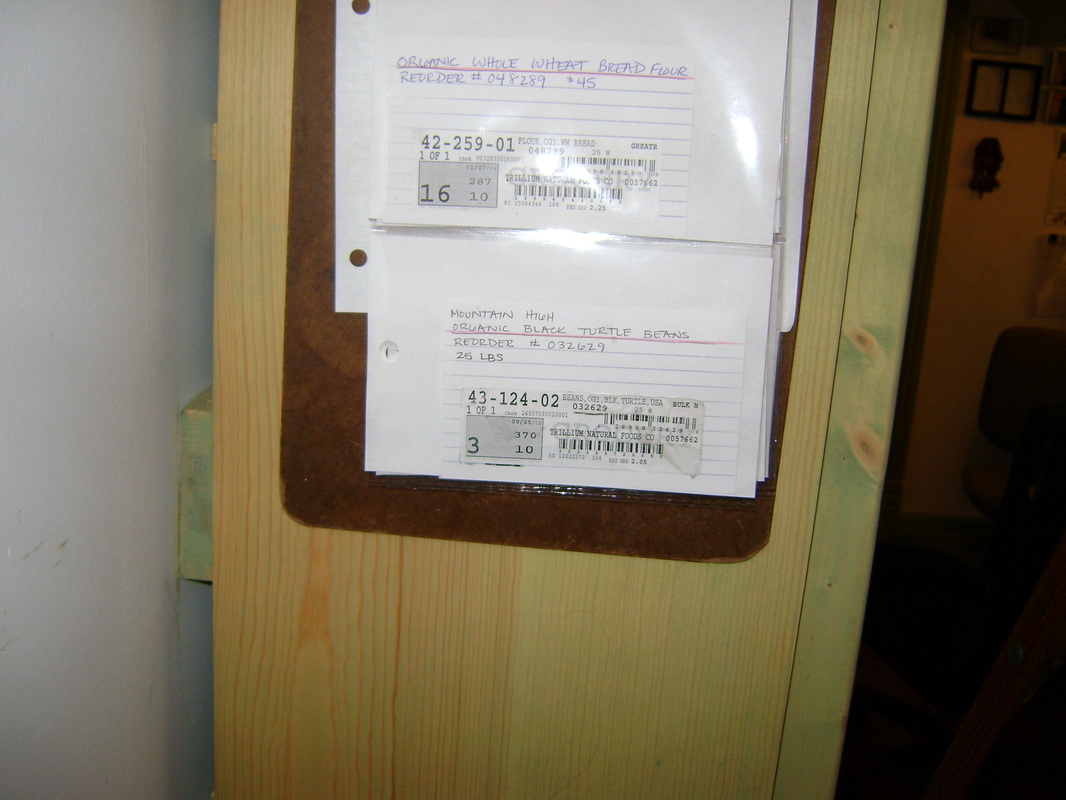
19. The 1"x12" was not wide enough to cover the whole side of the pantry, but we left a 1" open space against the back wall on purpose to improve air circulation. (The clipboard holds my pantry records.)
|
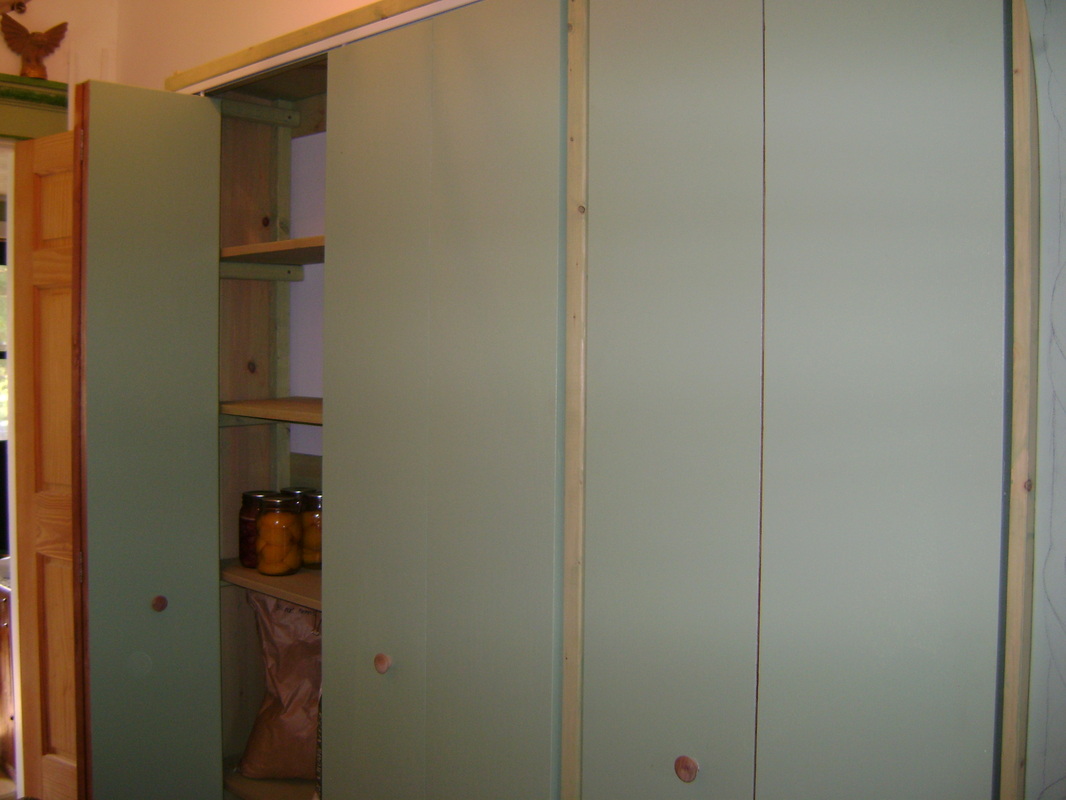
20. Then we re-hung the doors. Unfortunately, in some places, there wasn't enough room for the doors to move in front of the shelves and their supports (I don't really know how that happened!). We had to recut and/or reinstall some supports, which was no fun. It was also impossible to get the doors to hang perfectly straight, so we settled for having them look good enough.
|
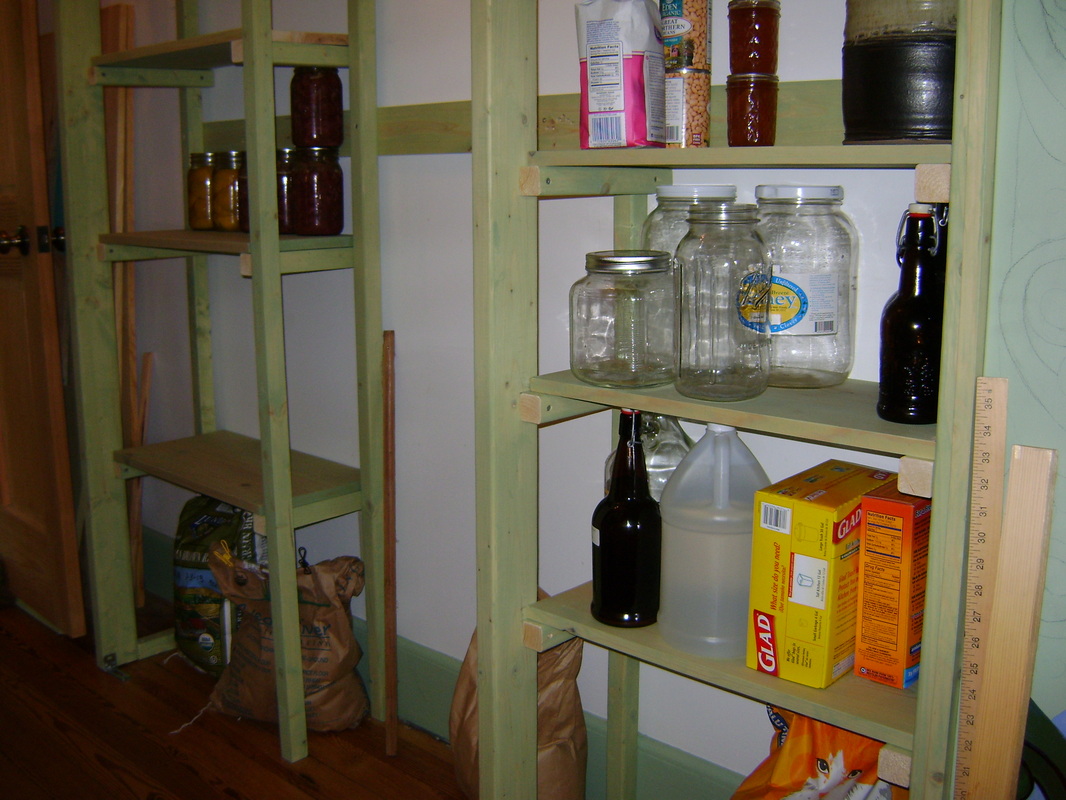
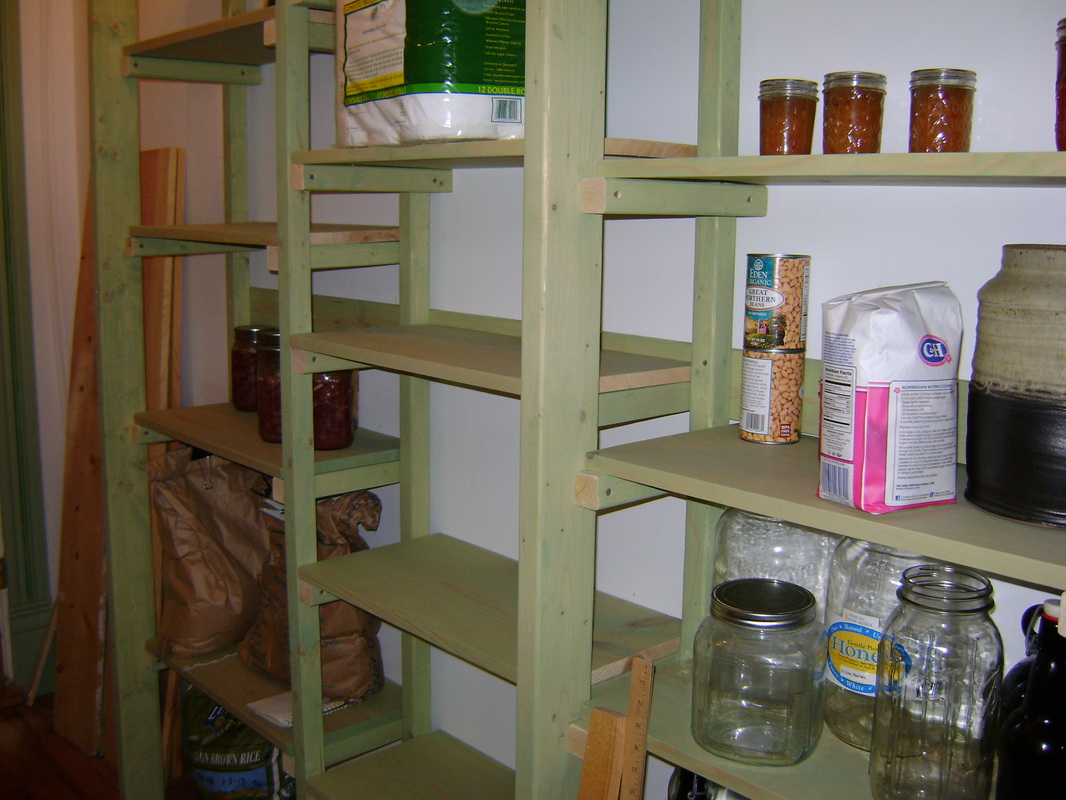
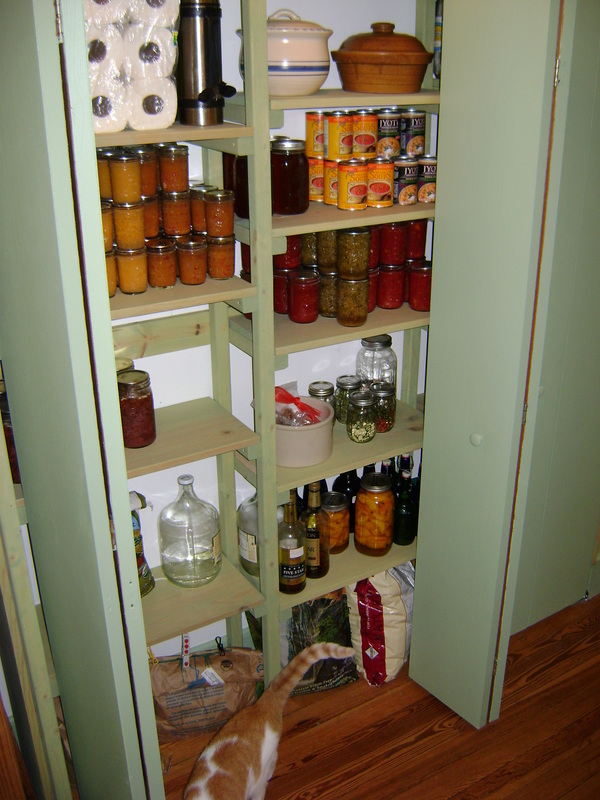
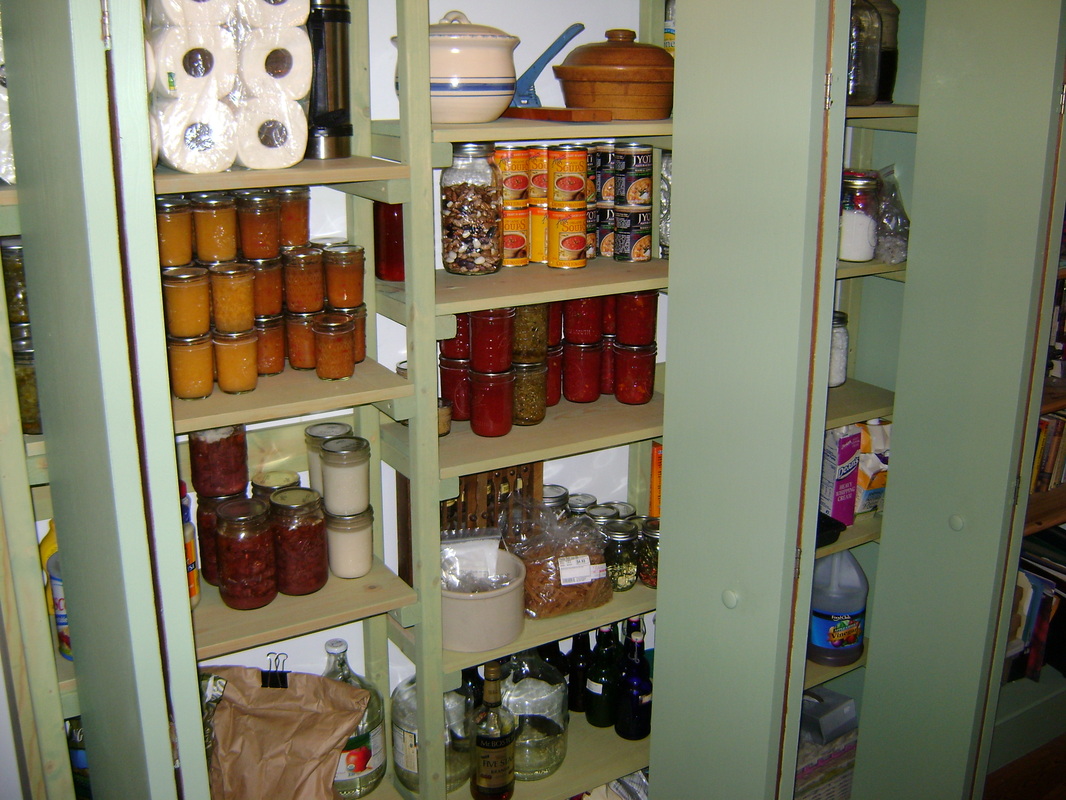
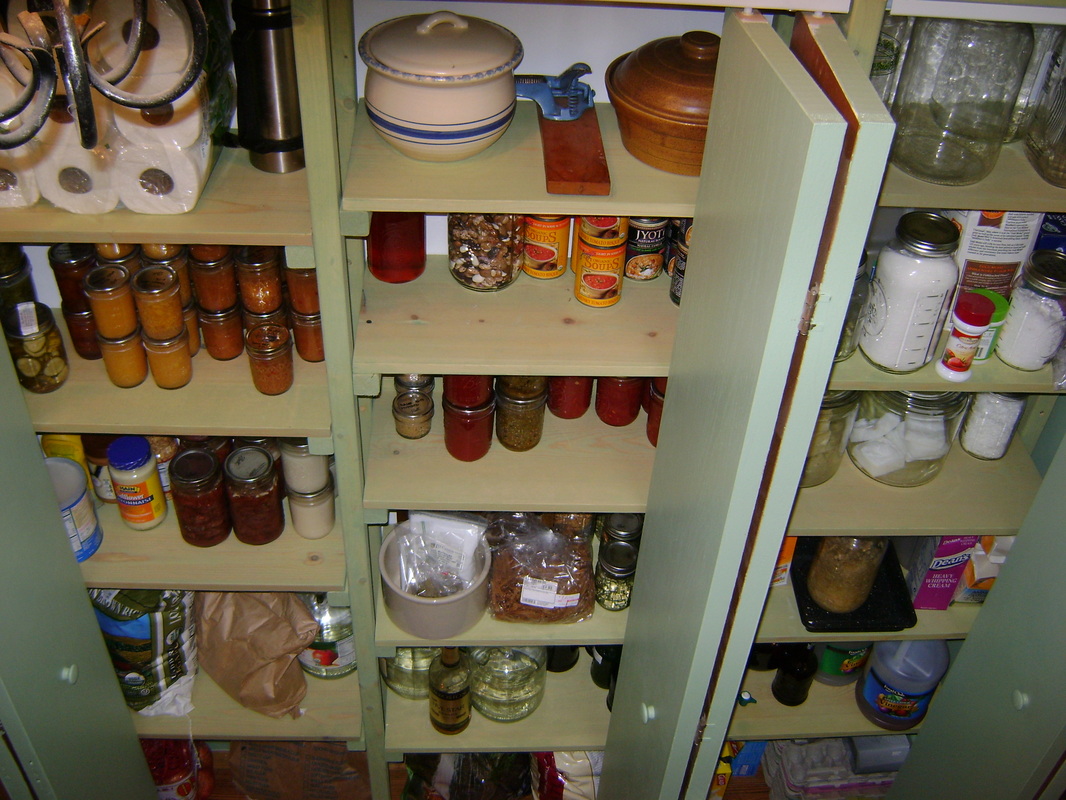
23. Here are some close-ups:
I Love Our Pantry!
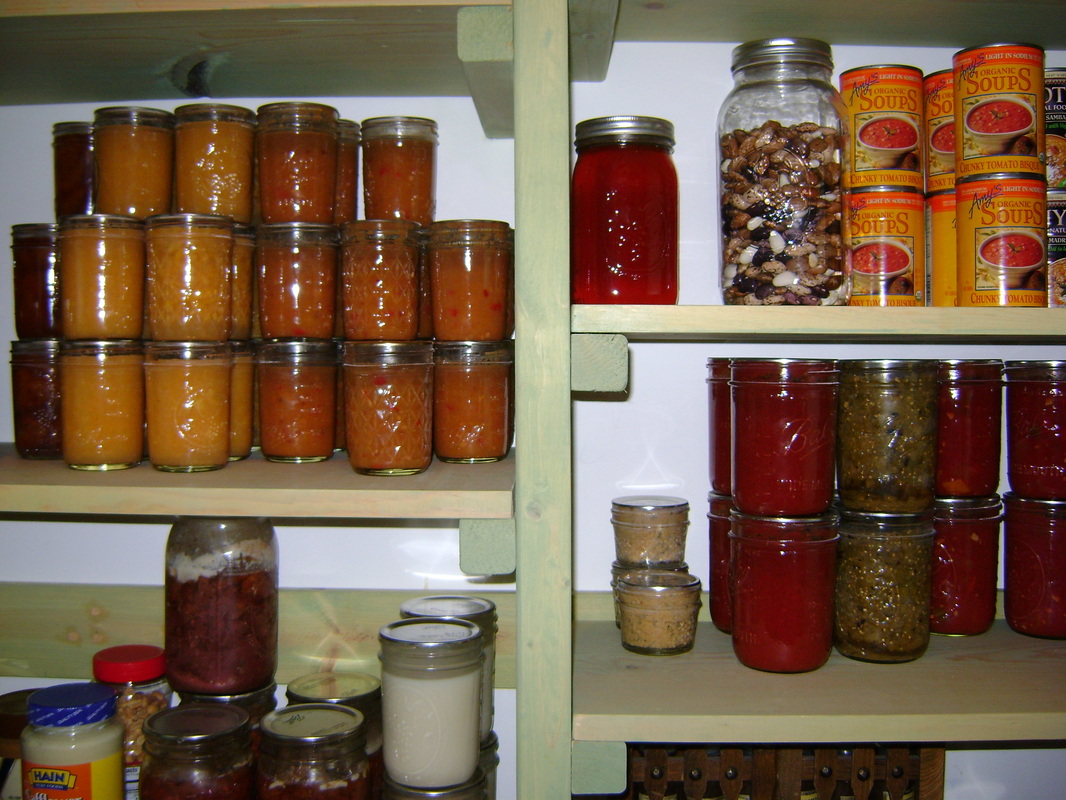
Sometimes I just open the doors of our pantry and stare happily at the shelves. Not only does it appeal to the part of me that likes to be organized, looking at all that food makes me feel a lovely sense of security. If there's some type of disaster, or if one of us loses our job, we have back up supplies that would keep us going for some time. I feel like I have my own free grocery store conveniently located steps from my own kitchen.
Future Plans
We worked hard on the pantry and wore ourselves out, so decided not to add more shelving. The Scotland room has very high ceilings, so we could get another couple tall shelves on top of what we've already built. It would be a great place for storing empty glass canning jars. I hope to add these shelves later. I also want to put some open shelves behind the door that is next to the pantry. They wouldn't be very wide (maybe 6"), but would hold a lot of small things, like spices or condiments, of which we only have one each. A couple years after we built the pantry, I also decided to get rid of most of the supplies in my craft closet, giving me a whole other closet full of storage space to work with. Good luck finding pantry space in your house!
