Oatmeal cooked overnight in a homemade haybox.
|
HAYBOX COOKING
|
THE SIMPLE IDEA:
1. Heat your food in a lidded pot by boiling it for a short time (such as 10 minutes).
2. Put the pot in an insulated box so that it keeps cooking on its own, but without any additional fuel.
3. Several hours later the food will still be warm and ready to eat.
1. Heat your food in a lidded pot by boiling it for a short time (such as 10 minutes).
2. Put the pot in an insulated box so that it keeps cooking on its own, but without any additional fuel.
3. Several hours later the food will still be warm and ready to eat.
Hayboxes can be made from many different types of materials:
|
Possible types of insulation:
|
Possible containers for the insulation:
|
It's like a Crockpot and a Thermos: Basically, the haybox works like a crockpot, but it doesn't need to be connected to an electrical outlet. It cooks food over a long period of time on low heat. It also works great if you've cooked something elsewhere and need to keep it warm, like putting soup in a big thermos.
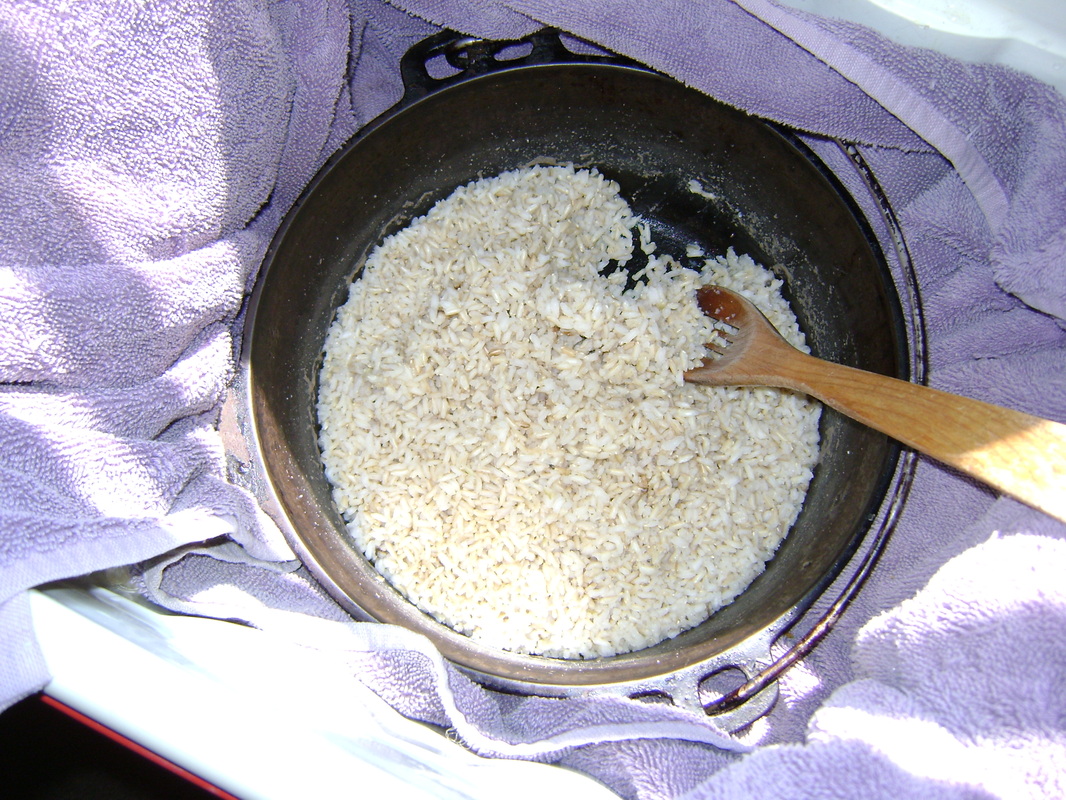
How We Cook Rice in Our Haybox:
|
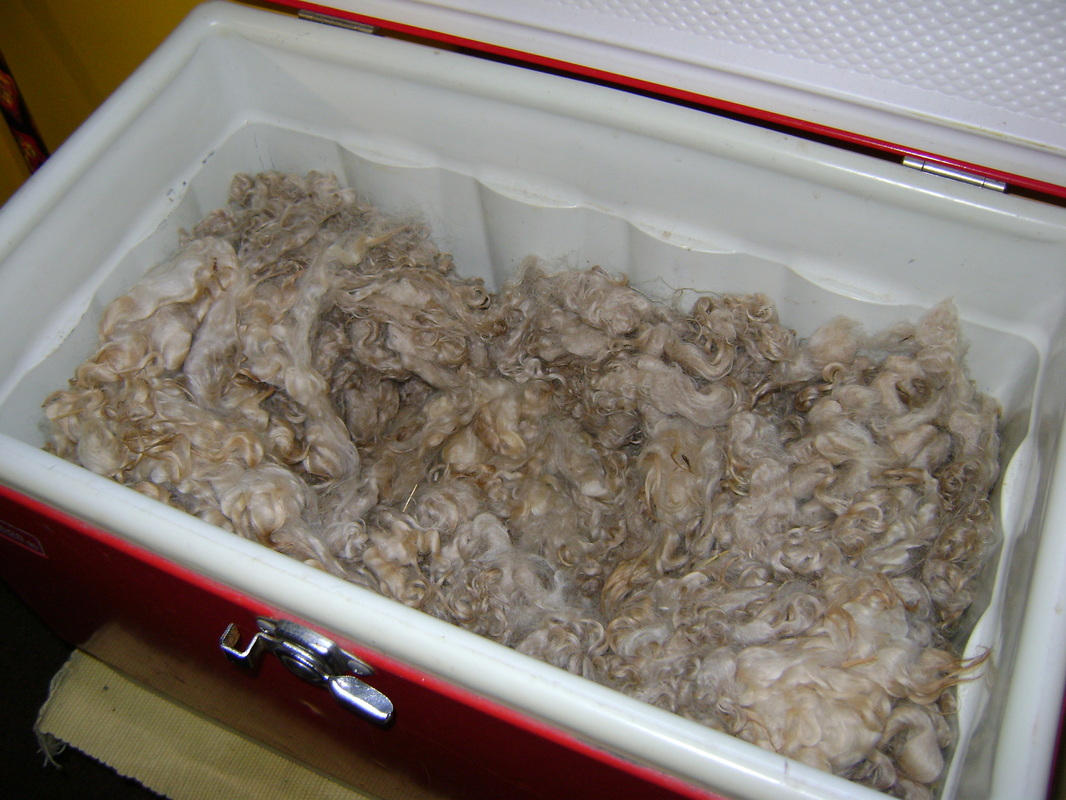
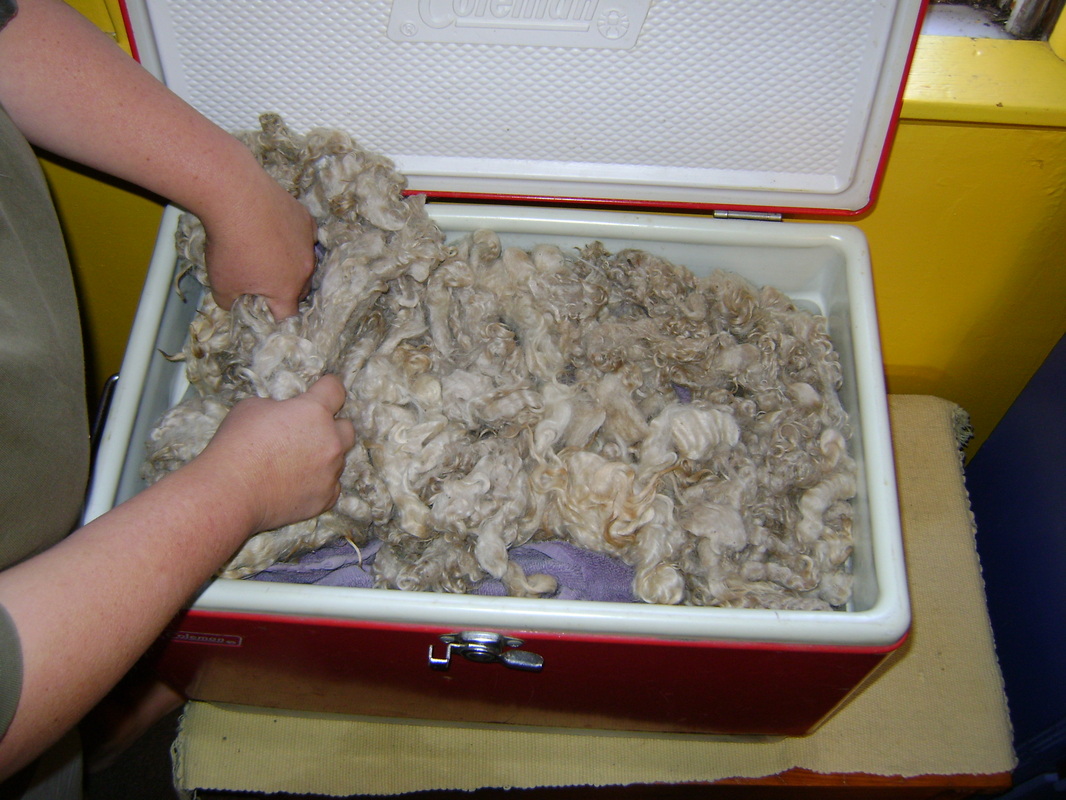
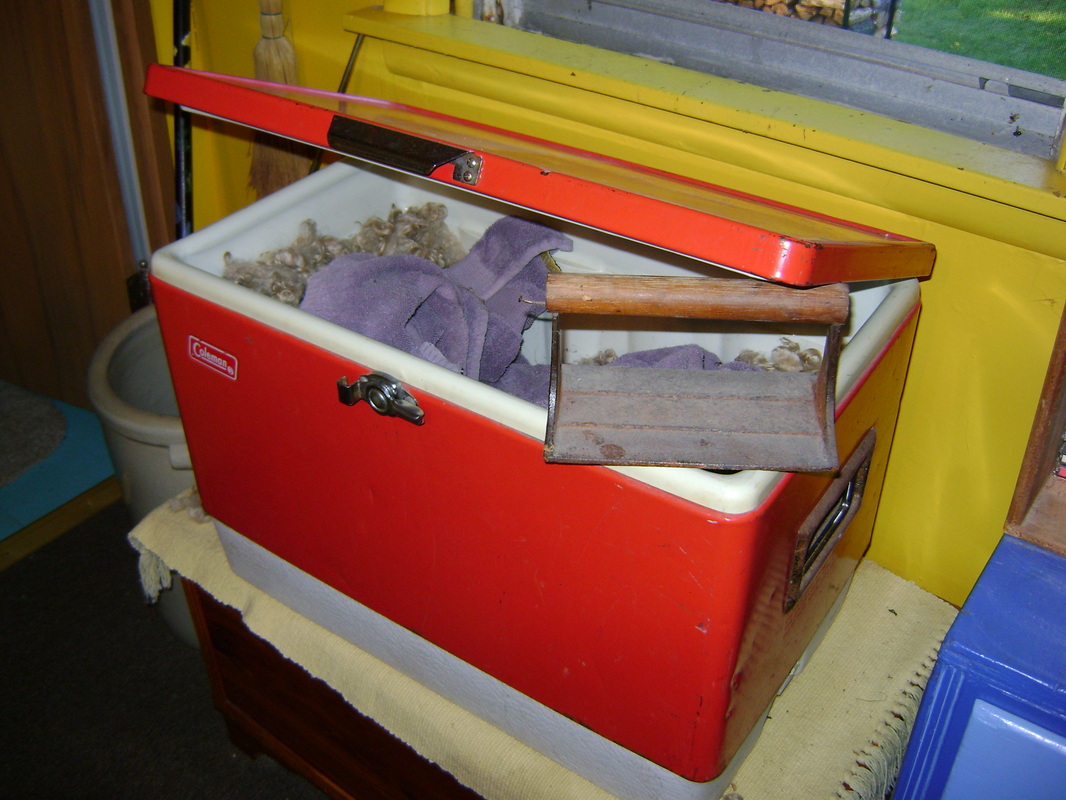
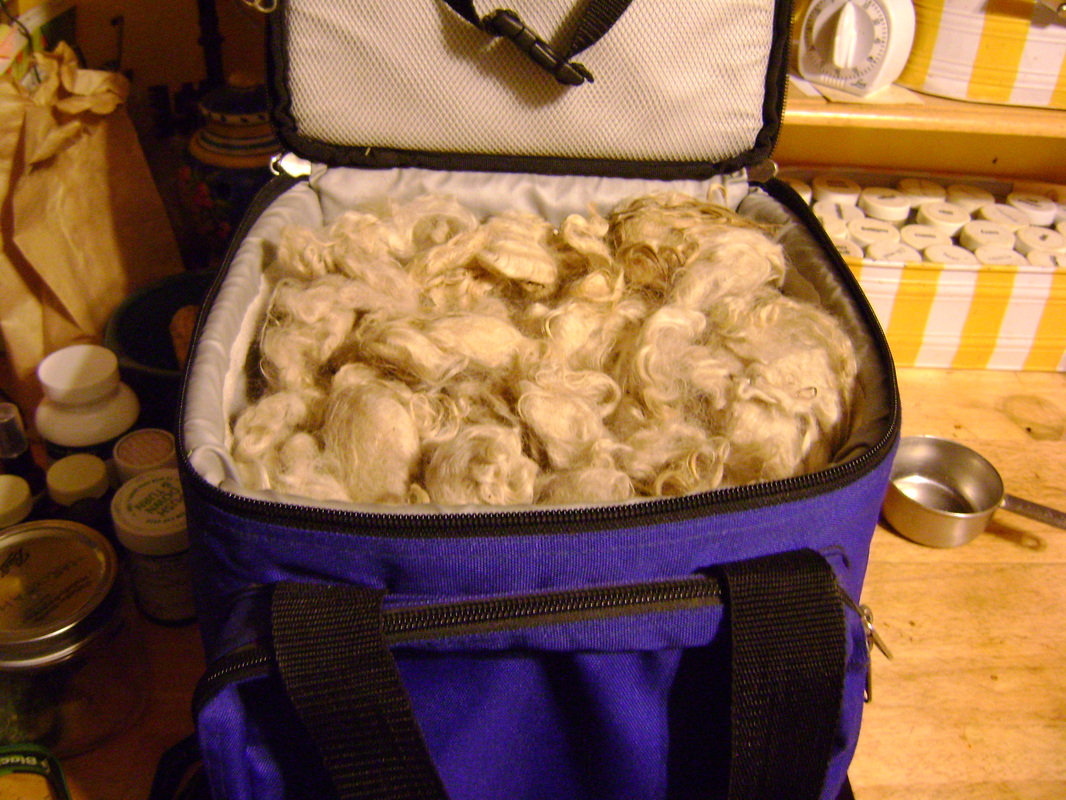
1. We made a haybox out of an old camping cooler we got at a garage sale. We filled it with wool, which we got from helping our friend Holly with her sheep shearing. It took me a long time to get the wool washed and dried, but it doesn't have to be quite as clean as it would need to be if I were weaving with it. (Note from Bear: I'm thinking it should be close to that clean, cause I don't want the "poop-a-ree" smell when we open the box.)
|
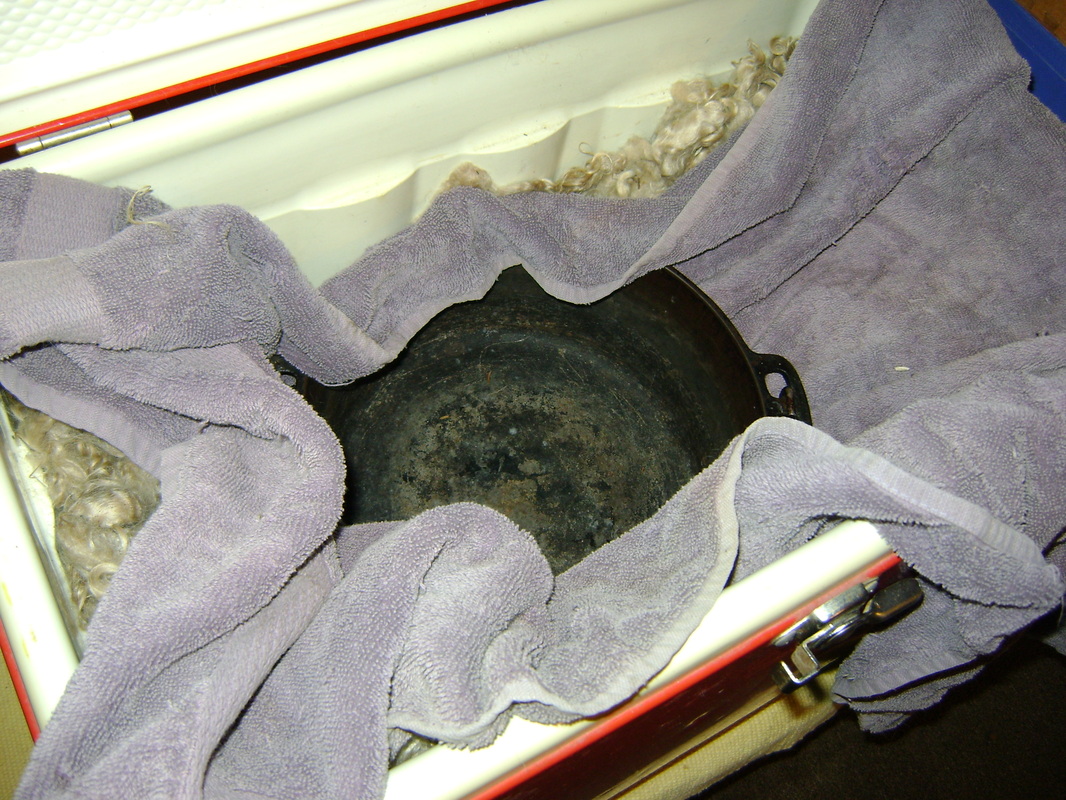
2. Before using the haybox for the first time, put an old towel over your insulating material (in our case, wool) and push your empty pot down into the towel. Arrange the insulation to make a pot sized indentation, making sure you leave insulation under and all around the pot. The indentation will make it easier to get the pot into the haybox when it's filled with boiling food.
|
|
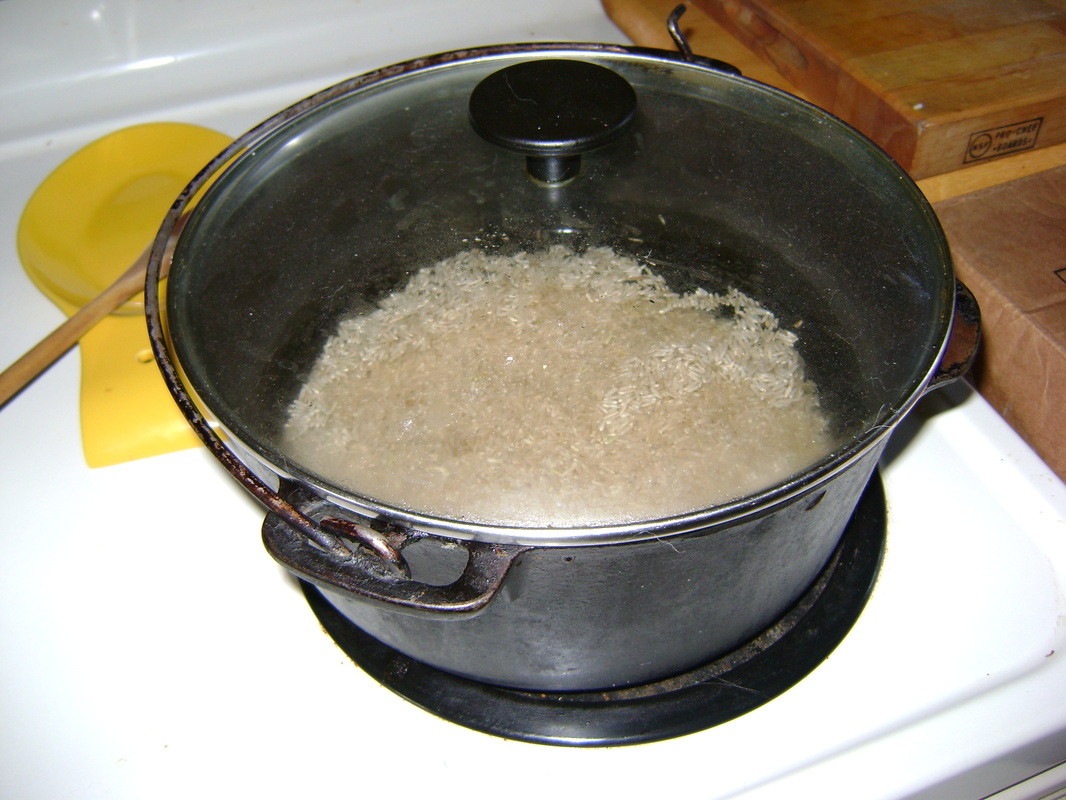
3. To make rice in the haybox, bring it to a boil on your stove. We use our cast iron pot because it retains heat well. Haybox instructions indicate you can use a little less water than normal because none will evaporate in the haybox, but I use our normal amount and it works fine (1.5 cups of brown rice to 3 cups of water). Bring the rice to a rolling boil and continue boiling for 10 minutes.
|
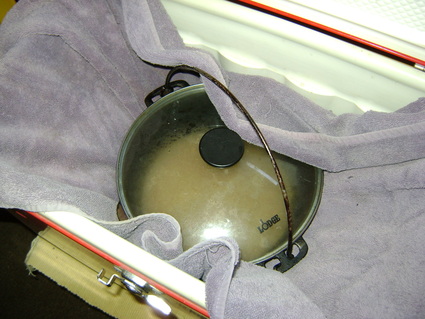
4. After 10 minutes, put the pot (with the lid on) into the towel immediately after removing it from the stove, while it is still boiling.
|
|
5. Pull the bath towel up the sides of the pot and over the lid to help keep the insulating material from falling into the food.
|
6. Quickly cover the pot with wool to hold in the heat. Since heat rises, it's important to have a lot of insulation over the pot.
|

|
|
|
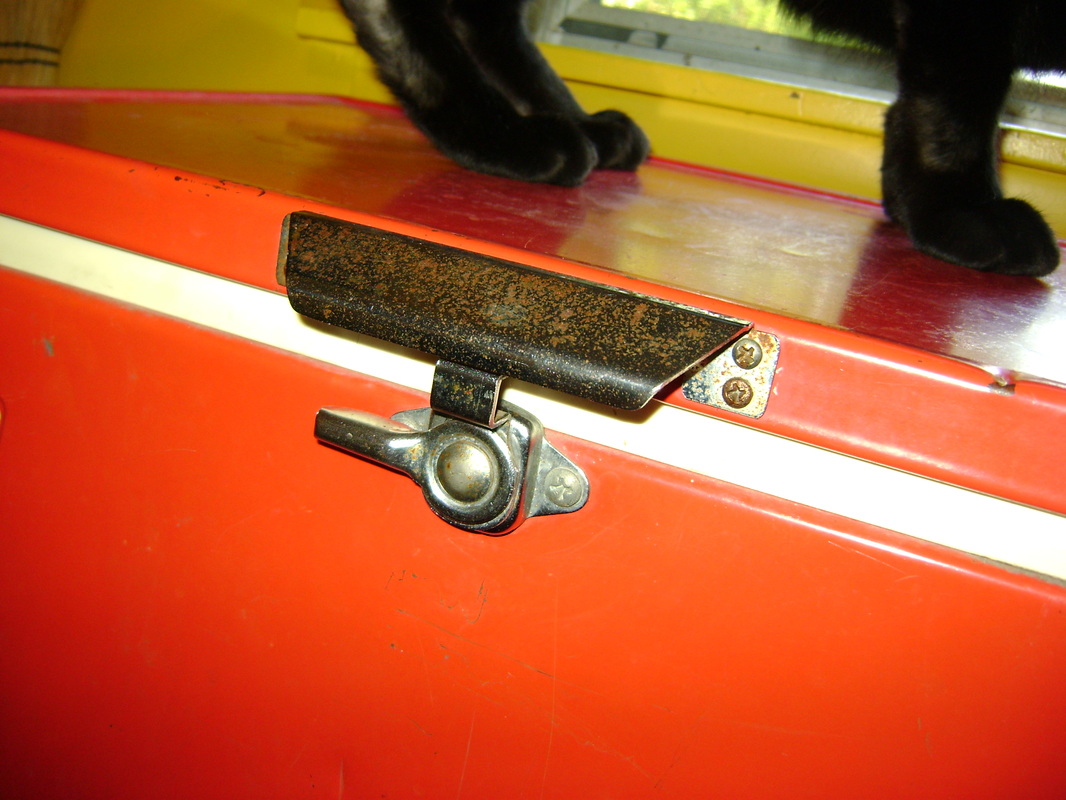
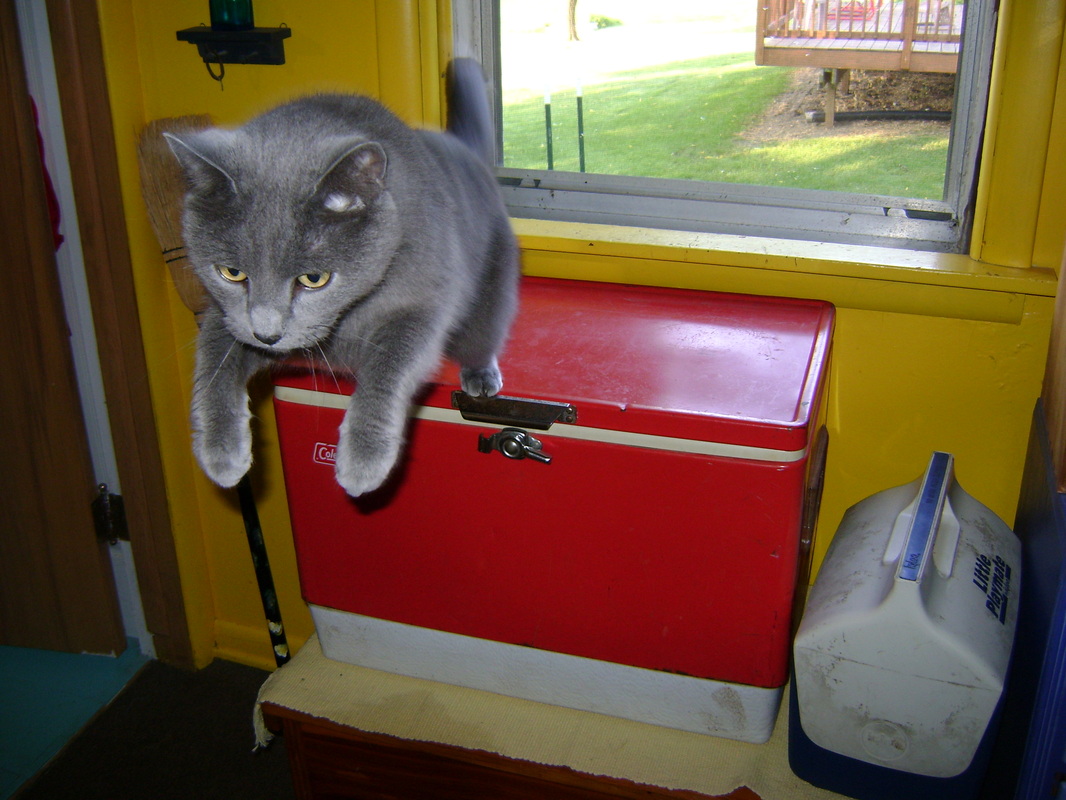
6. Close the clasp if your cooler has one to increase the insulating value. (Having a feline friend hold down the lid is optional.)
|
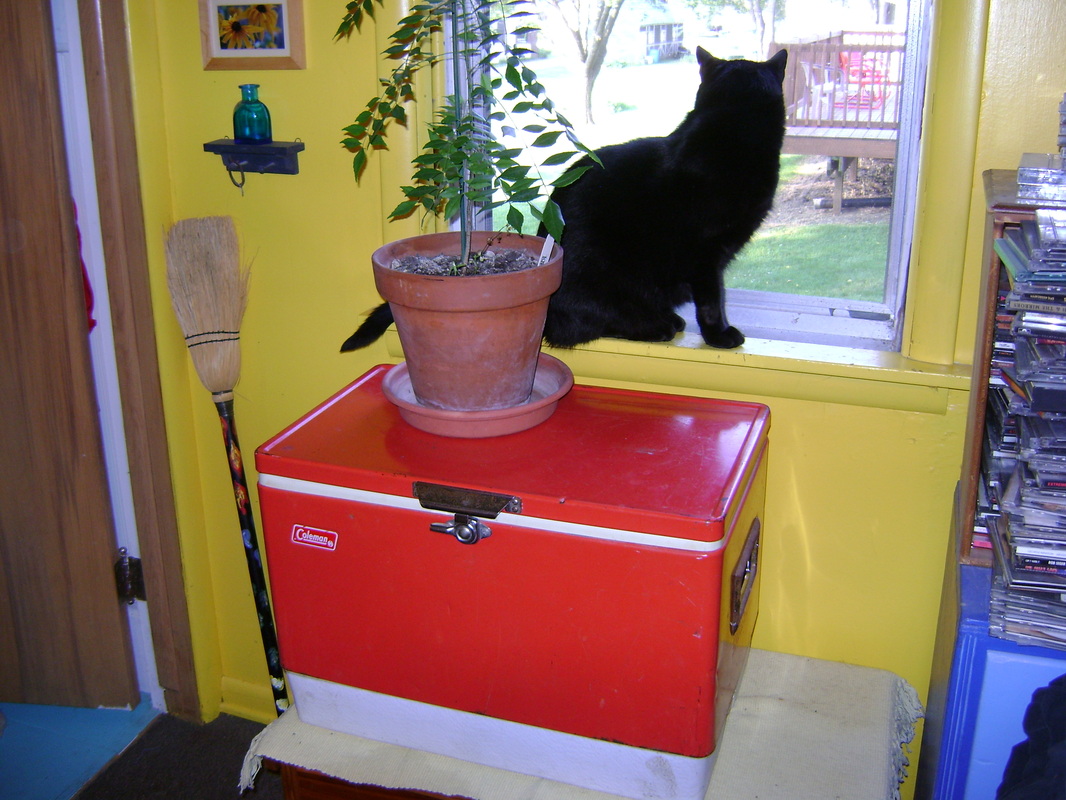
7. Let the pot sit for several hours in the haybox. The cooler does not get hot on the outside, so your plants and animal companions can sit nearby.
|
|
|
|
8. When you're ready to eat later in the day, you'll have well-cooked and still warm rice.
|
9. After you've removed the pot, you may need to prop the haybox open for a while to let any condensation on the inside of the cooler evaporate so the insulation dries out and doesn't get moldy.
|
|
|
What Else Can Be Cooked in a Haybox?
 Making room for cooking two pots at a time in the haybox.
- So far we have mostly used our haybox for cooking rice. If Bear puts rice in the haybox when he gets home from work in early afternoon, it's ready for me to use by the time I get home and cook dinner in early evening. All I do is add toppings (see my section on cooking from the pantry for topping suggestions).
- It also works great when you wake up in the morning and realize you've forgotten to presoak your beans overnight. Boil them for 10 minutes on your stove, then put them in the haybox. I did this with some kidney beans around 9 am and by 3 pm when I was ready to make dinner, they were still hot and were already pretty soft. I boiled them back on the stove for less than an hour, which overcooked them. I also tried this with chickpeas, but they didn't get at soft as I like them.
- I've seen lots of haybox cooking recipes on the web and hope to experiment more. They aren't just about making staples like rice, but are complete meals in a pot.
- It also makes sense to try crockpot recipes in the haybox.
- Cooking times will vary for each haybox, depending on how well it is insulated. If you've left your food in the haybox too long and it has cooled off, keep safety in mind in terms of whether your food has spoiled. I've read that if you're cooking meat, you should boil the dish again for 5 minutes after it's cooked in the haybox to avoid possible problems with bacteria.
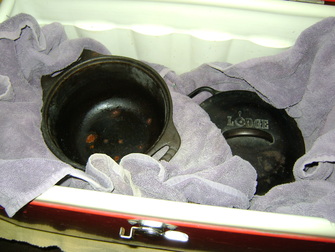
- If your haybox is big enough, you can cook two things at once. In the photo above, I'm setting up the haybox to cook rice in one pot and cook beans I forgot to soak overnight in the other.
Soup in the Haybox:
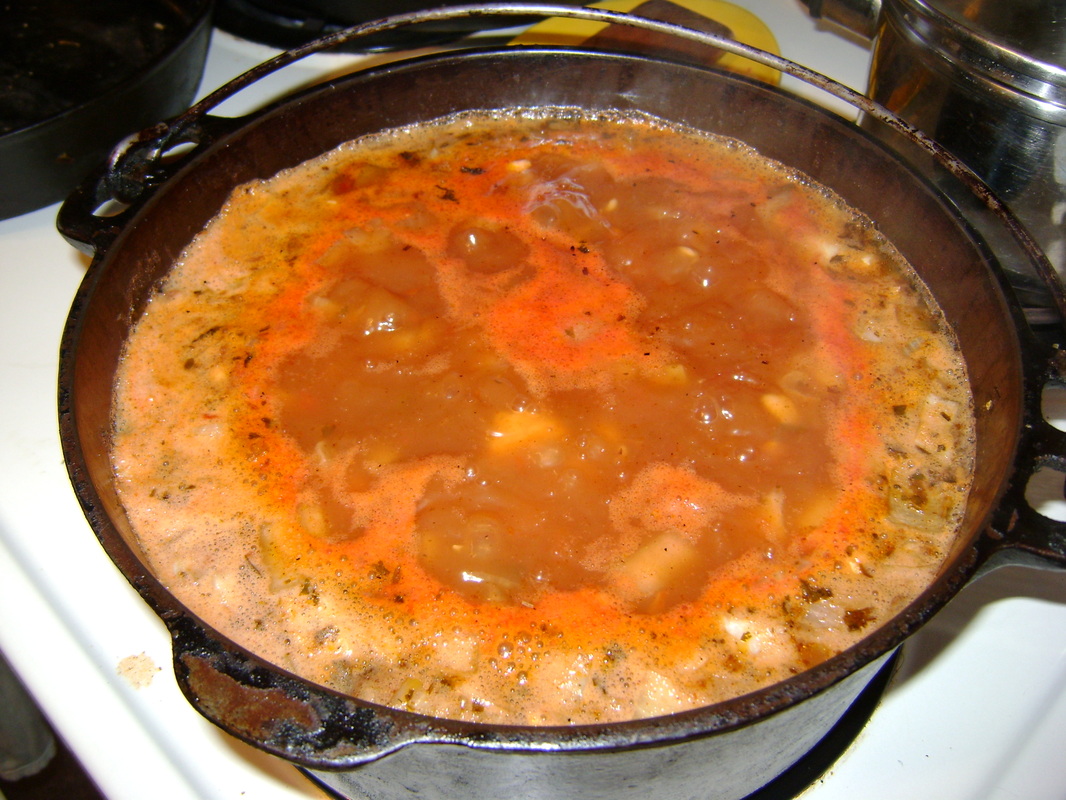
Chicken Cheese Chili boiling on the stove before being placed in the haybox.
|
I followed my own advice and tried this crockpot recipe in the haybox, and it worked fine. This is a Chicken Cheese Chili soup that our friend Willow brought to a gathering. Bear liked it so much he asked for the recipe, which calls for mostly canned ingredients and makes it a really easy meal to cook. Since we cook more from the bulk items in our pantry, though, we adapted the recipe this way:
|
- Bring the soup to a rolling boil on the stove, then boil for 10 minutes. Transfer to the haybox and cook until done. We put ours in the haybox around 9:30 am and took it out around 2:30 pm (that's 5 hours of cooking). It was still hot and steaming.
- Stir in 2 cups of a shredded hot cheese, such as cheddar jack. Let the cheese melt and serve.
- We like this soup to have a bite- so put in a lot of hot salsa, chipotle chili powder (which is made from smoked jalapenos) and a hot cheese. You can tone it down if that's more to your taste.
- The soup is great served with tortilla chips. It would probably also go well with fresh cilantro and plain yogurt or sour cream on top.
- It makes yummy leftovers and stores well in the refrigerator for at least a week.
Oatmeal in the Haybox:
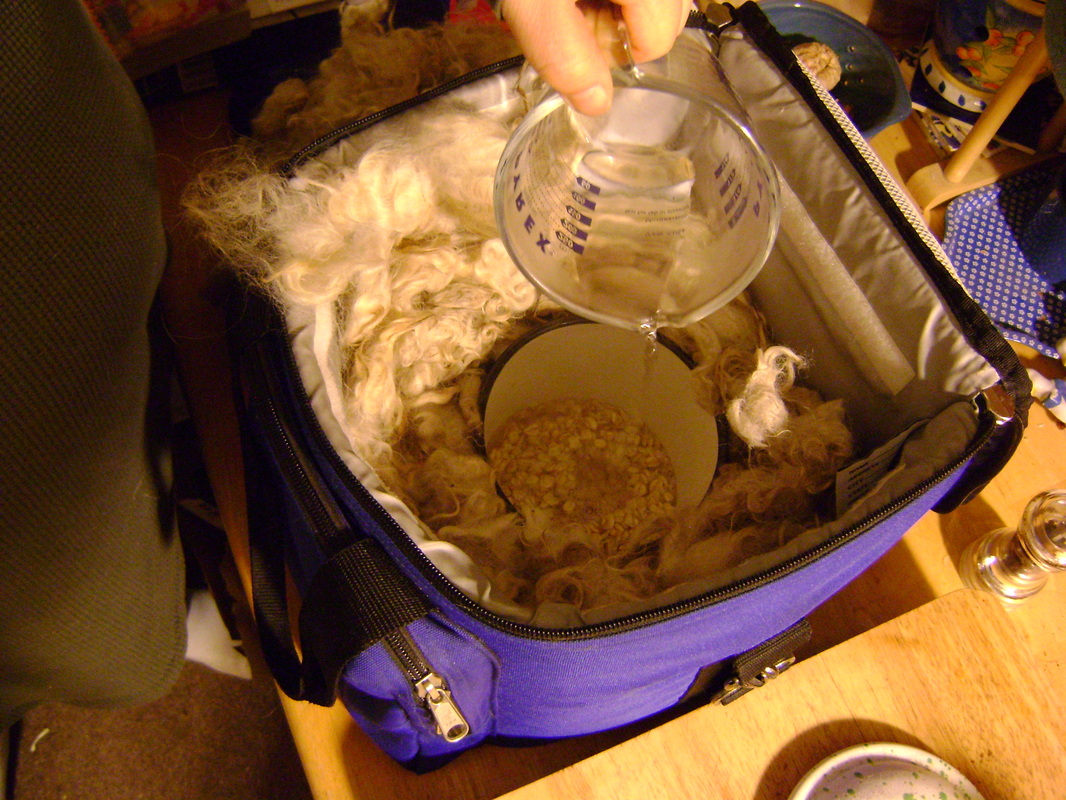
I eat a lot of warm oatmeal for breakfast in the Winter time. It's really good sweetened with homemade jelly or jam, and the oats are really healthy. I used to use instant oatmeal but wanted to switch to using the 25 lb. bag of rolled oats I bought from the coop. Even though the rolled oats still only take a few minutes to cook on the stove in the morning, I found myself feeling like I didn't have time to do it. So I wondered if a haybox would work to cook the oatmeal overnight.
|
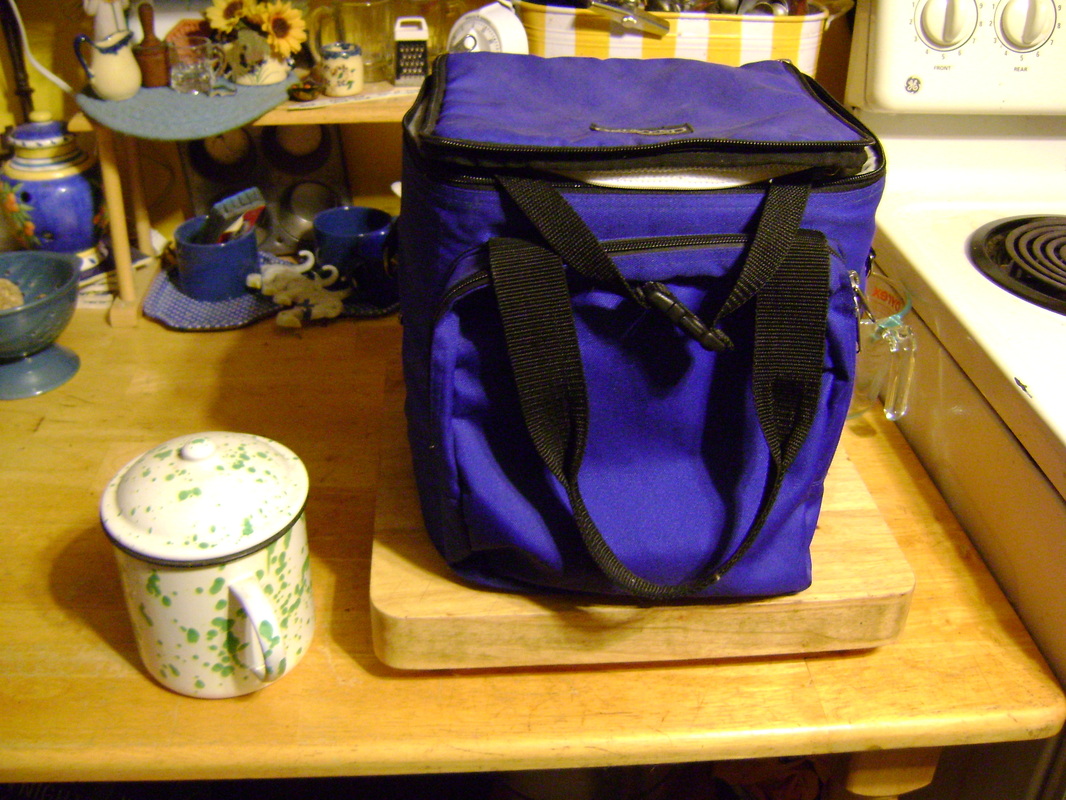
1. I made a much smaller haybox using a different fabric lunch cooler we got from a garage sale, and a small, lidded pot.
|
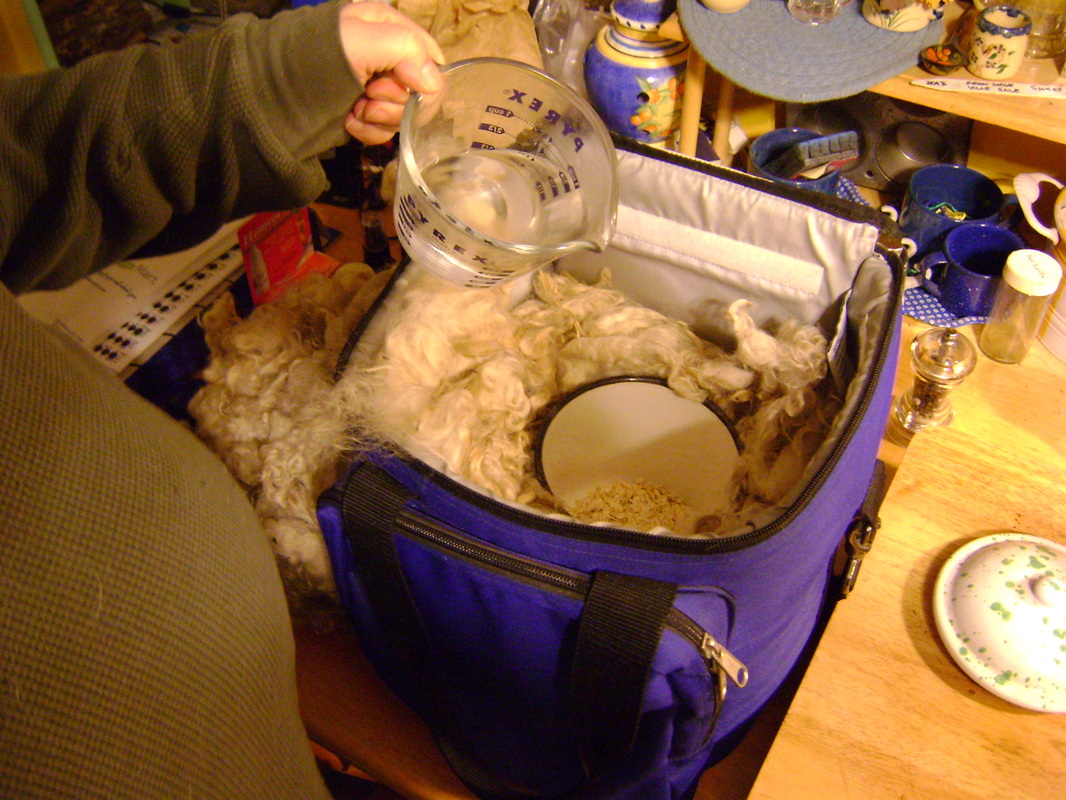
2. I used the same procedures outlined above, except that I used hot water that I keep simmering in the tea pot on the woodstove and poured it over the dried rolled oats before I went to bed.
|
|
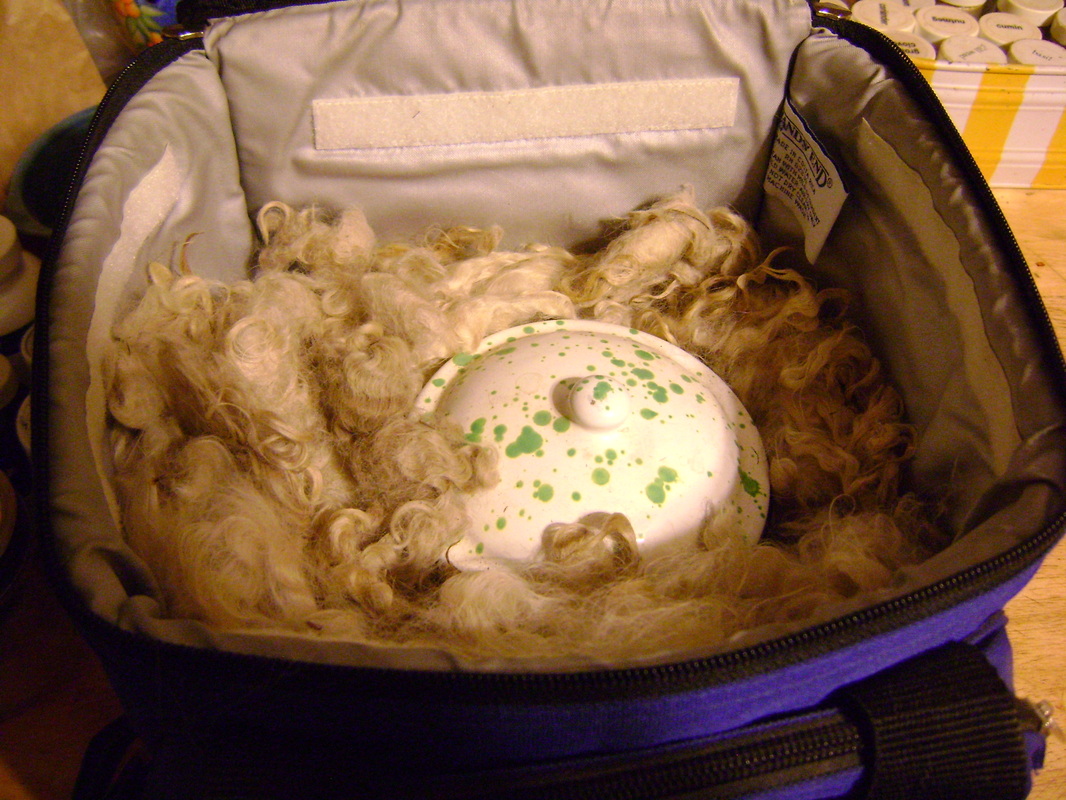
3. I put the lid on the pot...
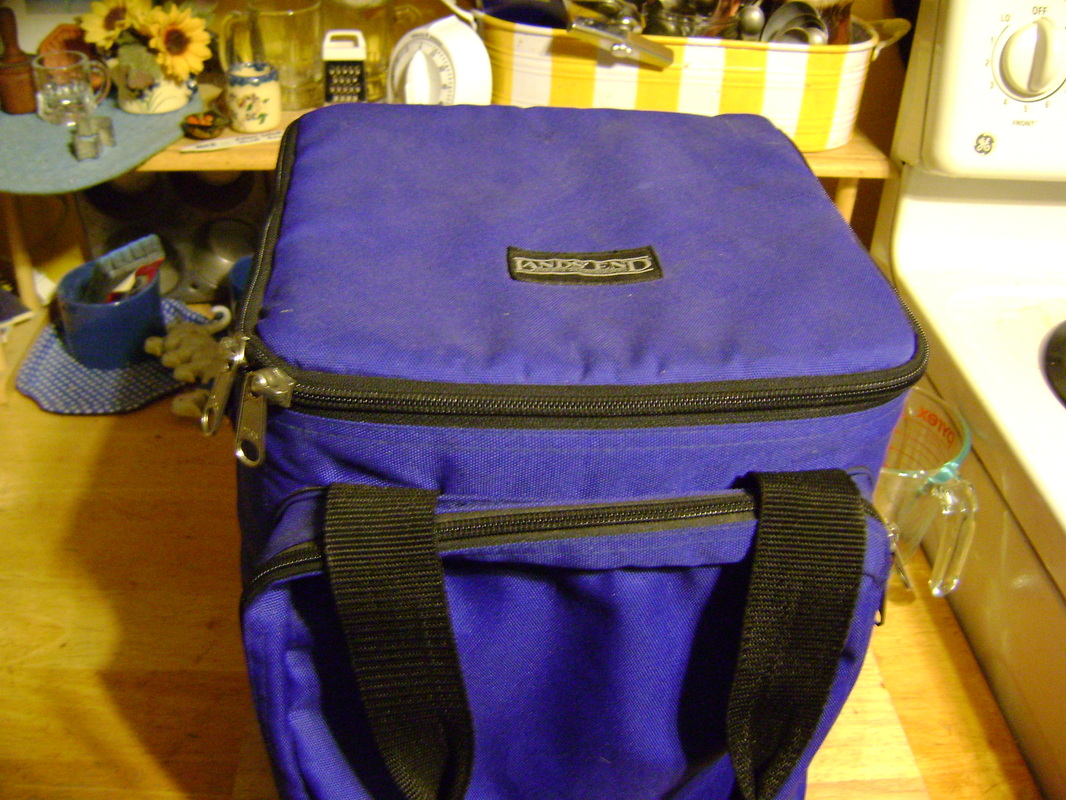
5. ...closed the cooler and went to bed.
|
4. ... covered the pot with wool...
Results:
|
- Oatmeal cooked overnight in the thermos is still warm in the morning, as long as the water you put in it the night before is very hot.
- I can't tell you the ratio of water to oatmeal that I used, because it's Summer now and I am eating homemade granola for breakfasts. The Winter oatmeal was a long time ago and I didn't follow my own advice and write down the recipe I used so I would remember it when Winter came again. My cookbook says to use 1 cup of rolled oats to 3 cups of water.
- Rolled oats are a great bulk storage item for emergencies because you can eat them raw. This isn't true of most grains, but is very useful if you're in an emergency situation where you need to save your water for drinking and can't waste it on cooking. In one of her great books (probably Independence Days ), Sharon Astyk says she eats dry rolled oats with jam for a quick breakfast and it's not as bad as it sounds. I tried it, and agree, but I think it's something I would need to develop a taste for if I wanted to eat it often.
Bear spotted Princess trying to make catnip tea in the haybox, but she denies it.
He's still trying to figure out how she boiled the water.
He's still trying to figure out how she boiled the water.
Other Resources:
- Aprovecho Research Center- See the Capturing Heat pdf on their publications page: aprovecho.org/lab/pubs/arcpubs
It's a great introduction to "Five Earth-Friendly Cooking Technologies," including hayboxes. - Search for "haybox (or hay box) cooking recipes" on the web.