Our "Taj-Meow"
|
Building Our Catio
(a patio for cats to enjoy the outdoors) |
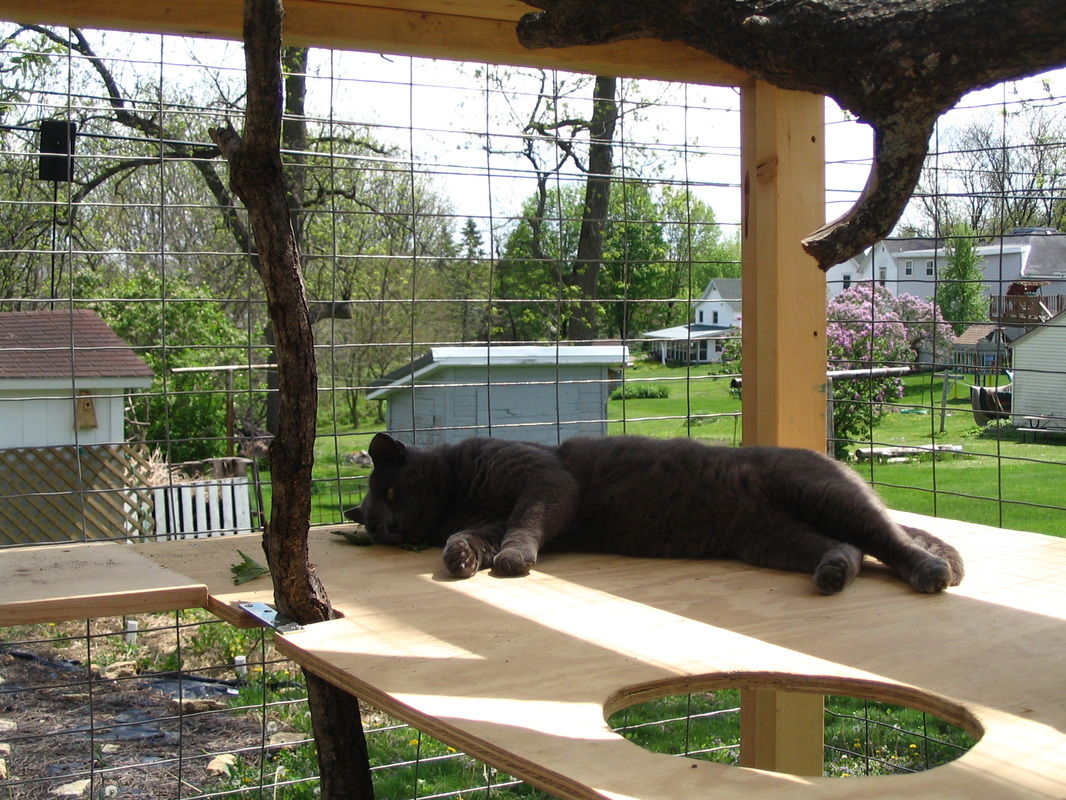
Passing out in safety...
|
|
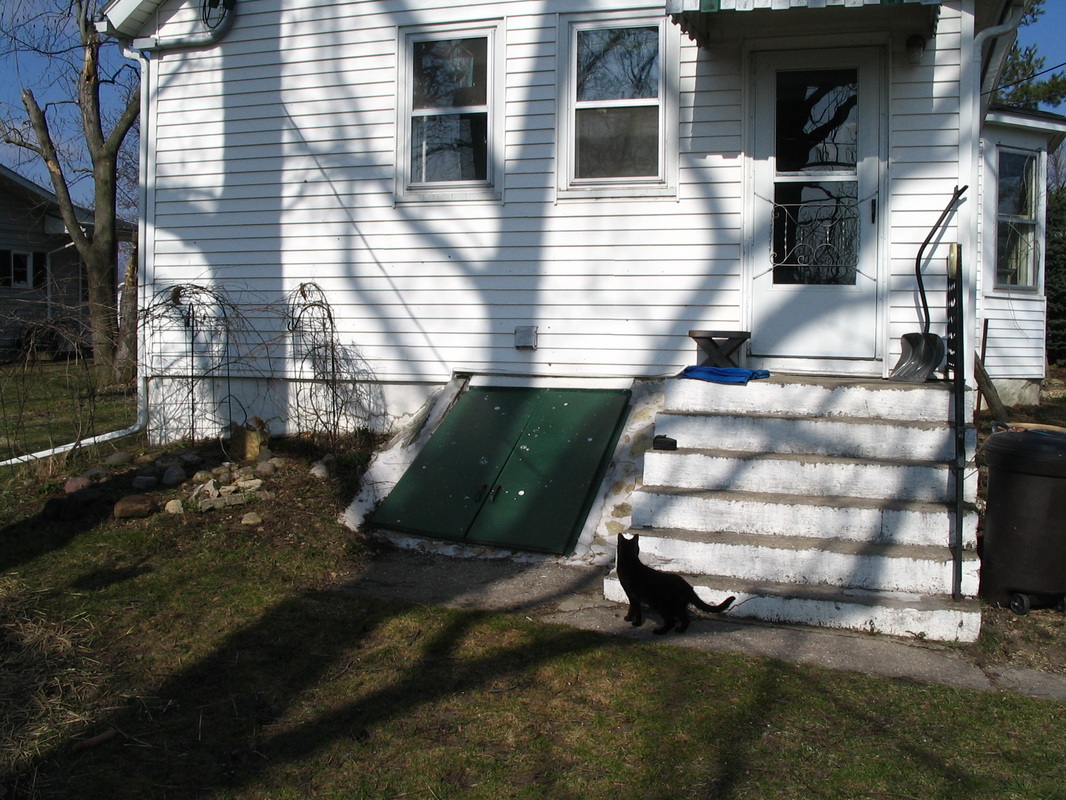
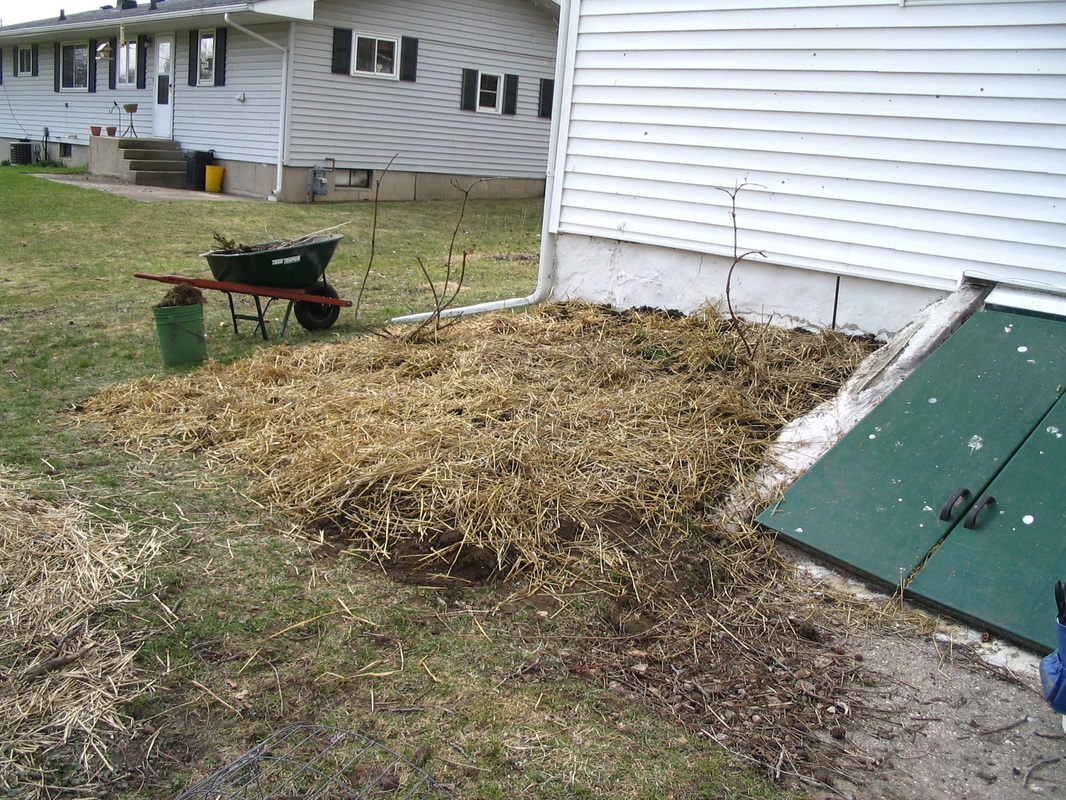
1. The "before" shot. This is the back of our house.
|
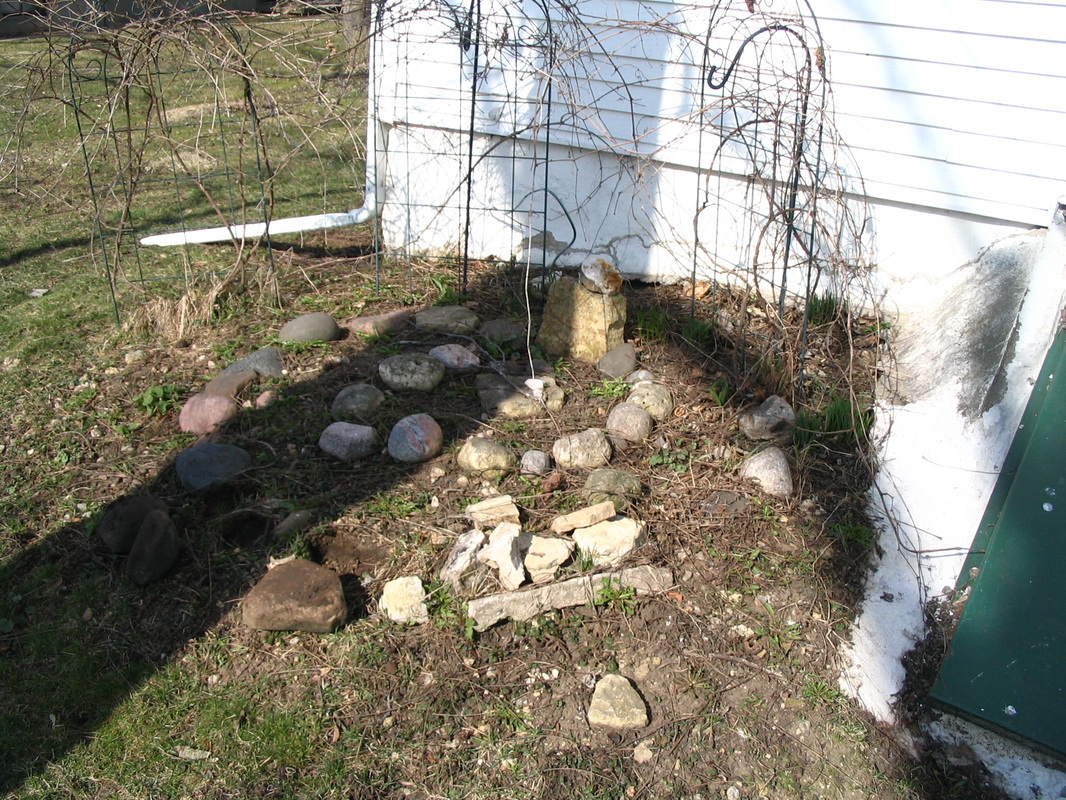
2. We would build the catio where this small spiral stone garden was planted, next to the door to our basement.
|
|
3, First we cleared the area, but note we left two grape vines alive (the twigs sticking up out of the straw), so they could later grow to cover the catio and give it a more natural look.
|
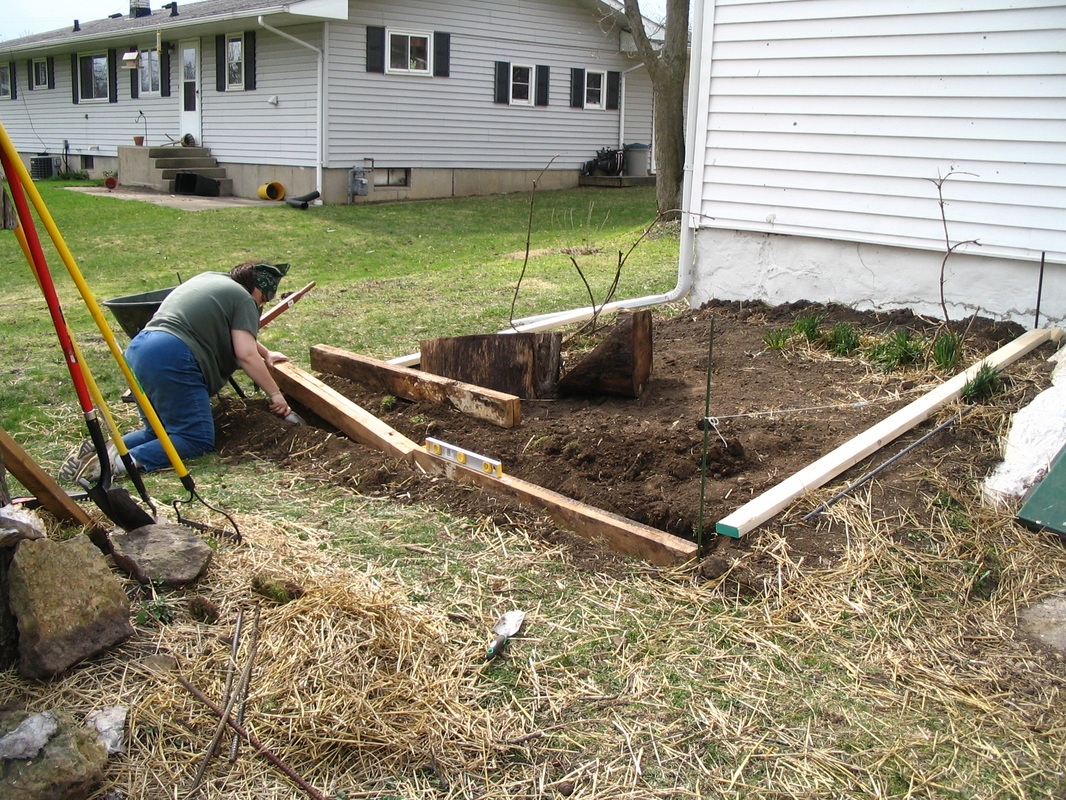
4. To create a foundation for the catio, we dug trenches into which we put thick oak boards surrounded by pea gravel. The gravel should help water drain away from the wood so it would last longer before rotting.
|
|
5. The finished foundation. We got these rather massive 2x6 oak boards from a neighbor. We put two side by side on their edges (so they would be 4" thick) and left a few inches above ground. We would screw the bottom of the catio walls (made of 2x4s) to these.

|
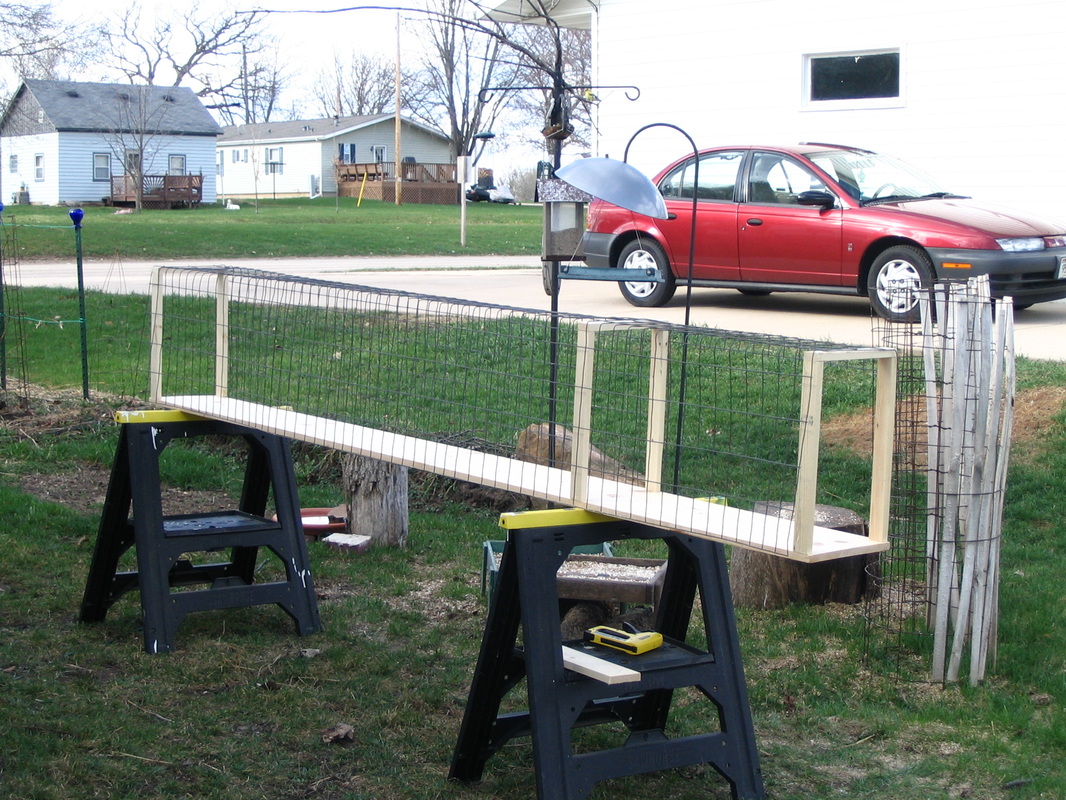
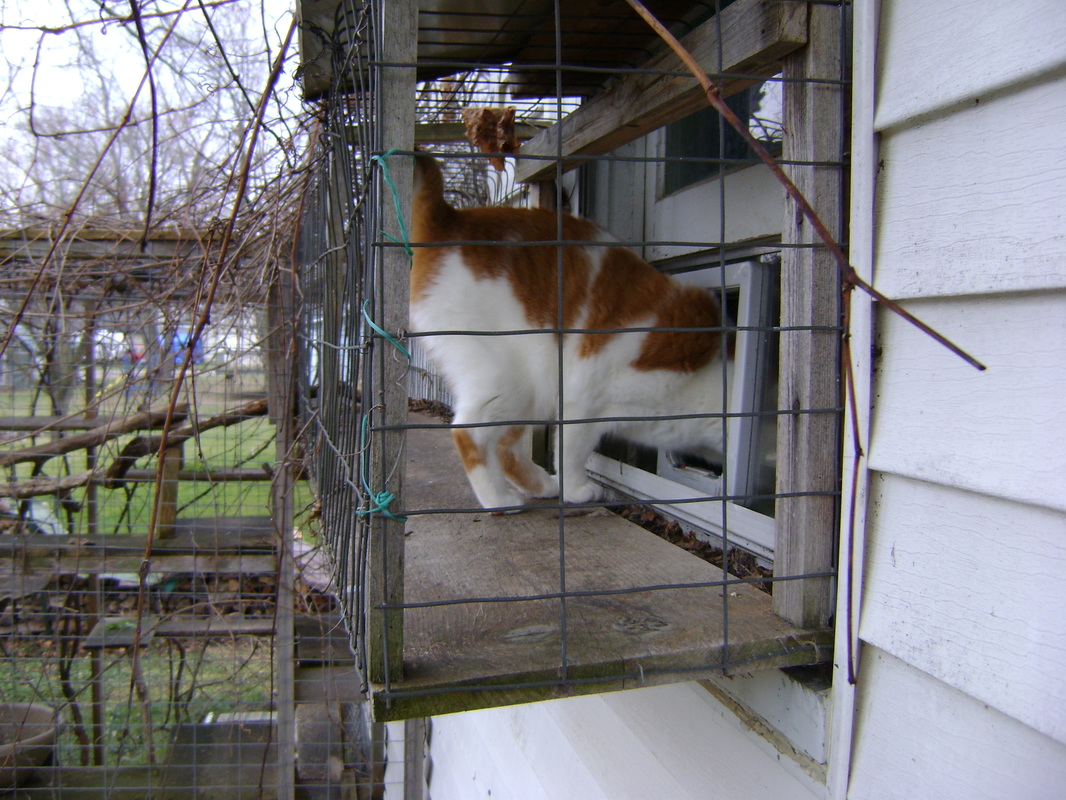
6. We needed a tunnel to get the cats from our window to the catio. We built it separately, with a 1x12 as the bottom, then bent and shaped fencing over it.
|
|
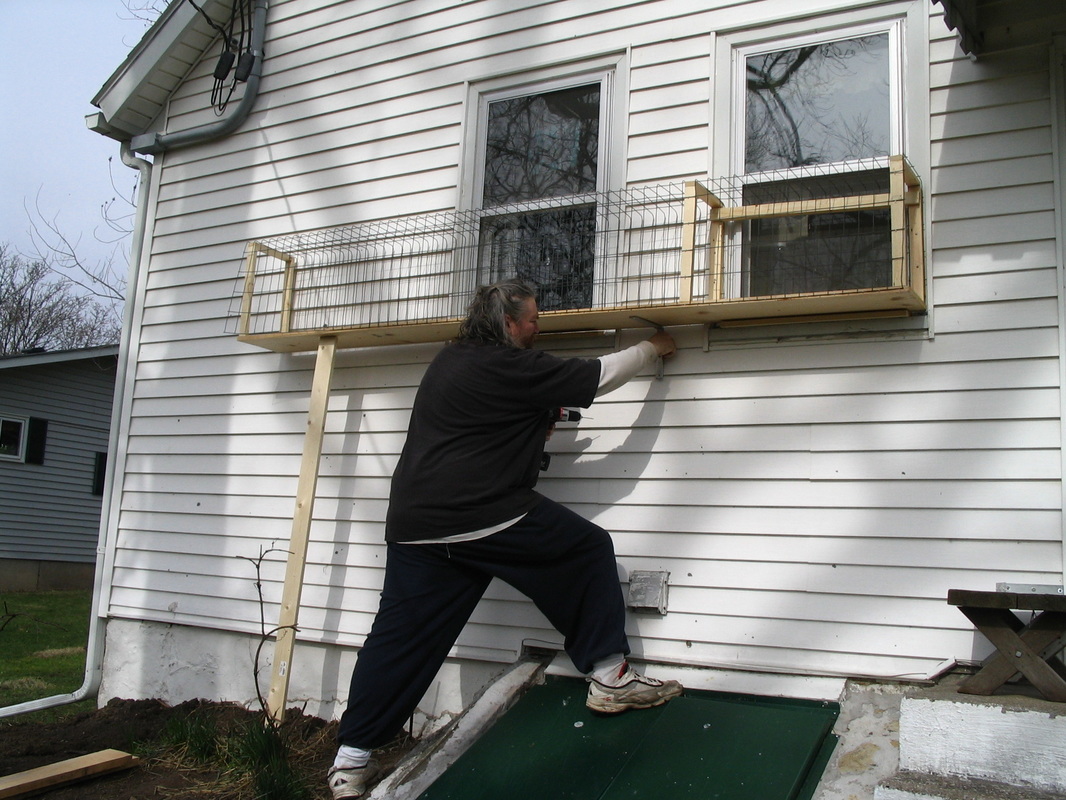
7. We attached the tunnel to the side of the house with large metal "L" brackets screwed directly through the siding into the exterior of the house. Note that if you're able, it can be helpful to have two entrances to your catio, so that no one cat can sit in the entrance and block passage to the others (this happens a lot at our house).
|
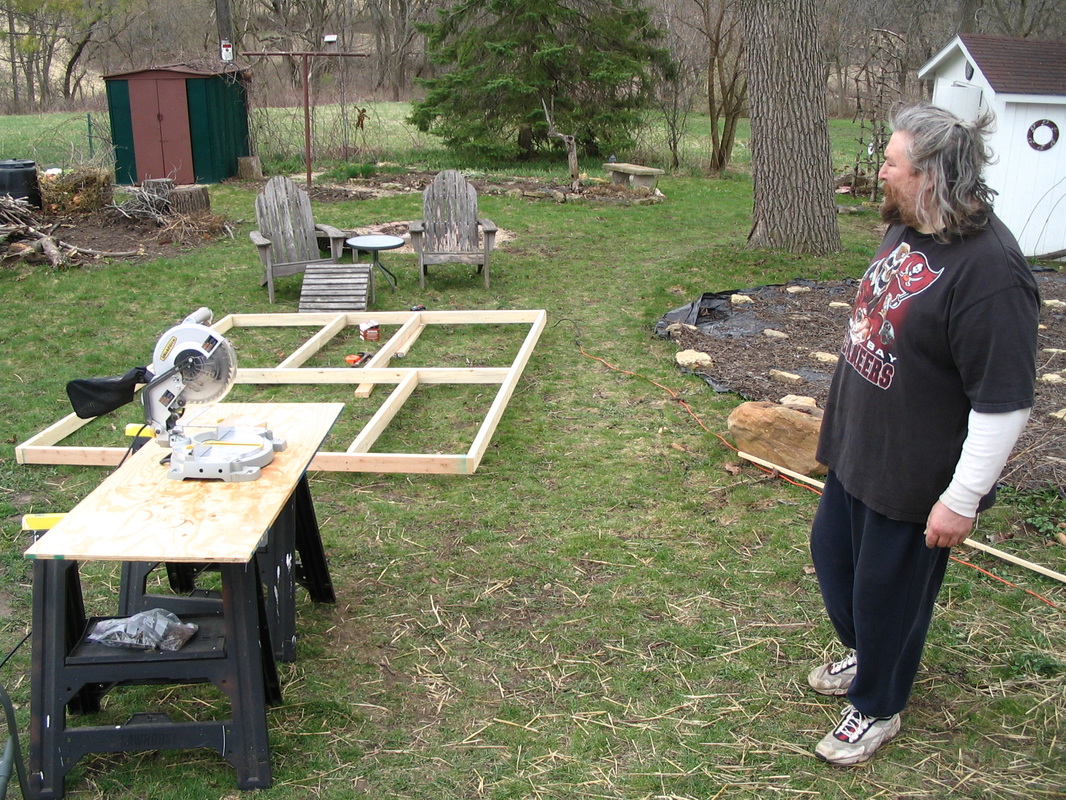
8. We assembled the catio walls on the ground out of 2x4s, putting cross beams wherever we thought we'd attach shelves later. We made the walls 8 ft. high by 10 ft. wide, which are standard wood sizes available at the lumber yard, so that we didn't need to do extra cutting. We used untreated pine. It won't last as long, but it doesn't have poisons that could hurt the cats. Then we attached fencing to the 2x4s with a staple gun.
|
|
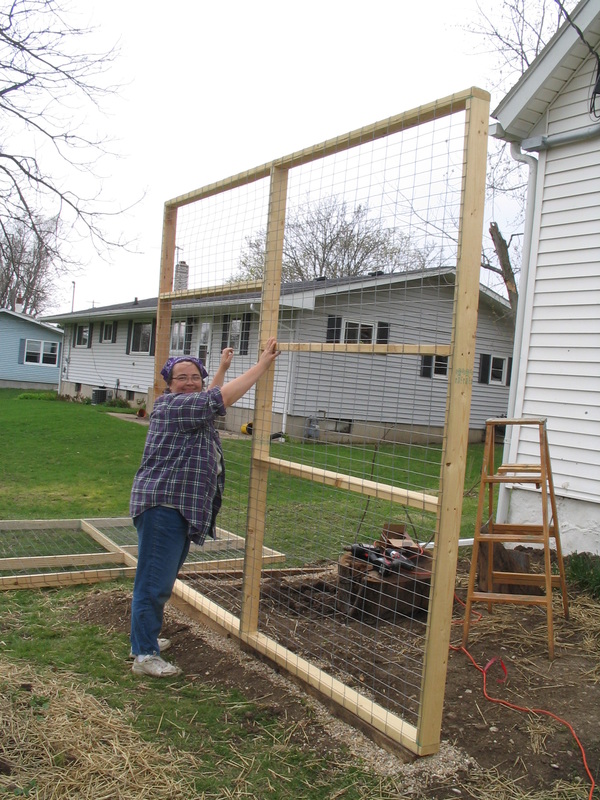
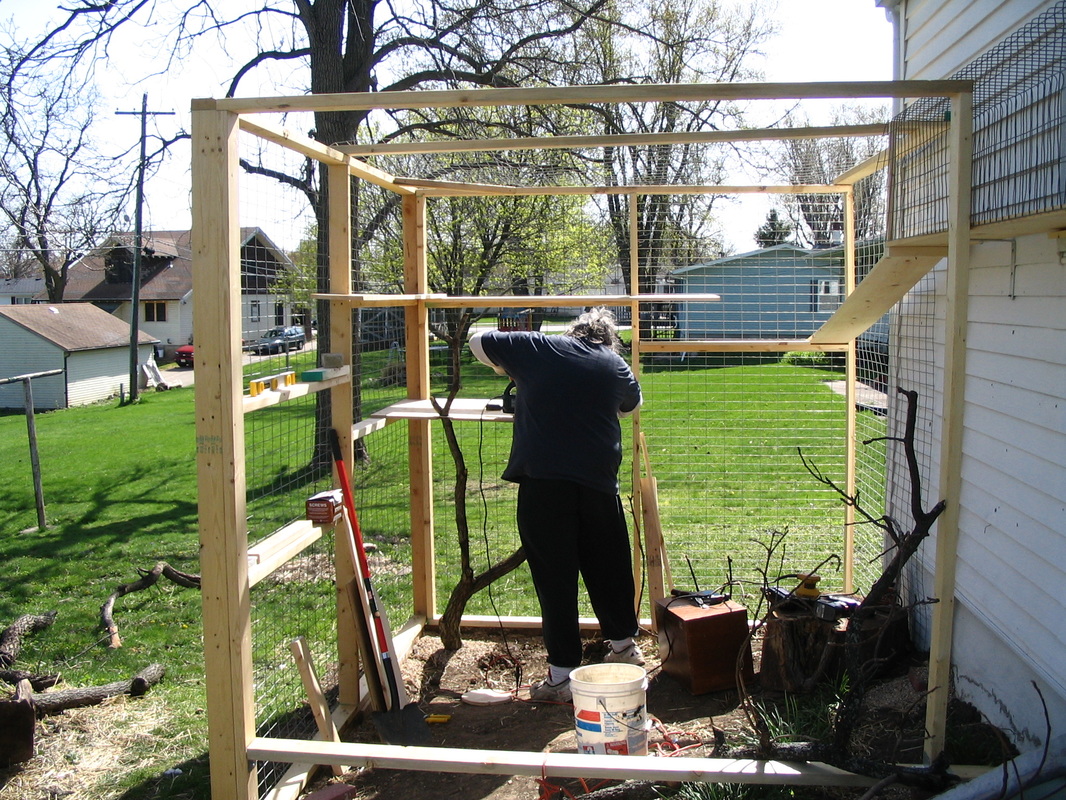
9. Here's Theresa holding up the first wall, ready to be screwed onto the foundation. Her first reaction was "Why in the #%@! did we built it this tall (8 feet)? The neighbors will complain...." We wanted it tall enough, though, that Bear could walk in it, so 6 ft. lengths of lumber weren't high enough, and the next size was 8 feet. It turned out this was exactly the height we needed to connect to the tunnel, though.
|
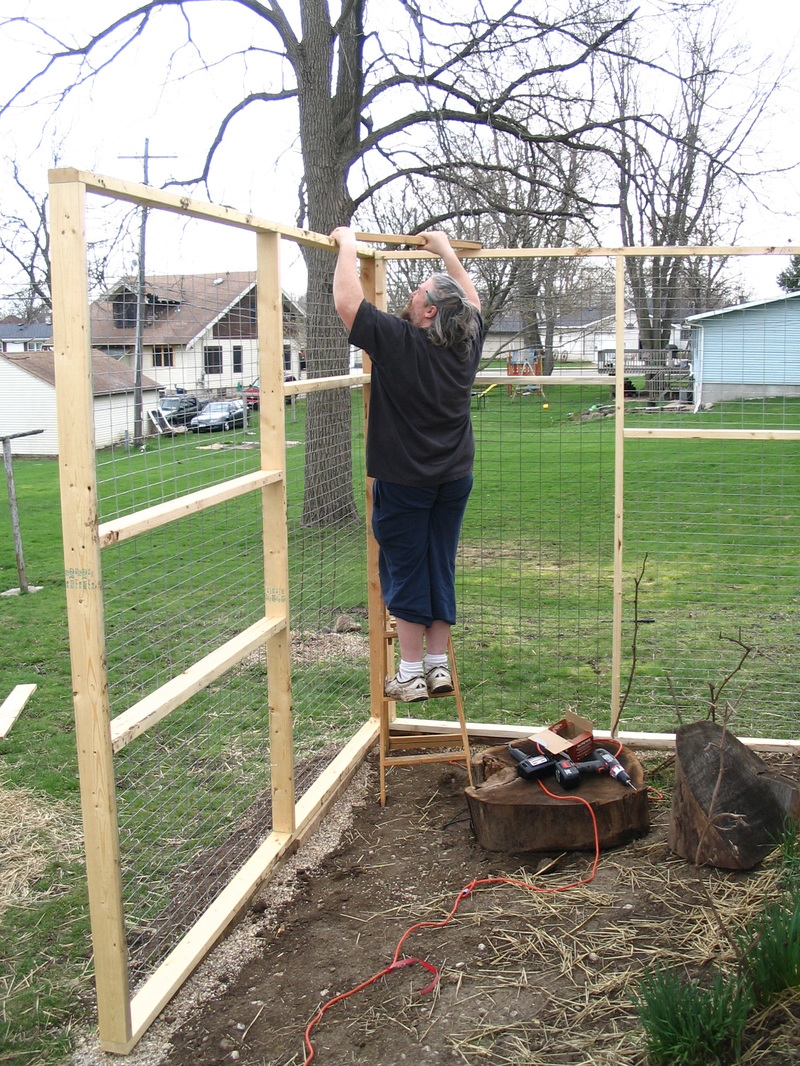
10. Here are the first two walls standing by themselves, with Bear attaching a brace between the two to make them more sturdy.
|
|
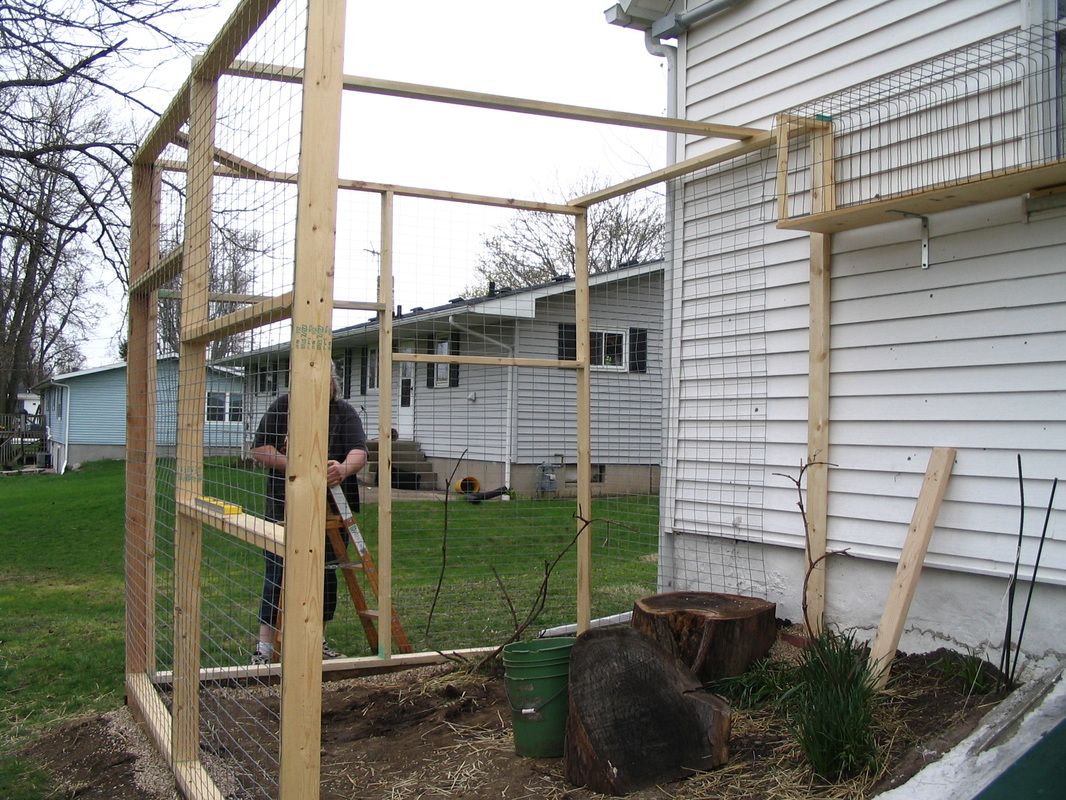
11. The back wall against the house was made with just a couple more 2x4s and a little fencing. Cats are tricky and can get through small spaces, though, so we made sure the fencing was flush against the house so they can't get stuck behind it.
|
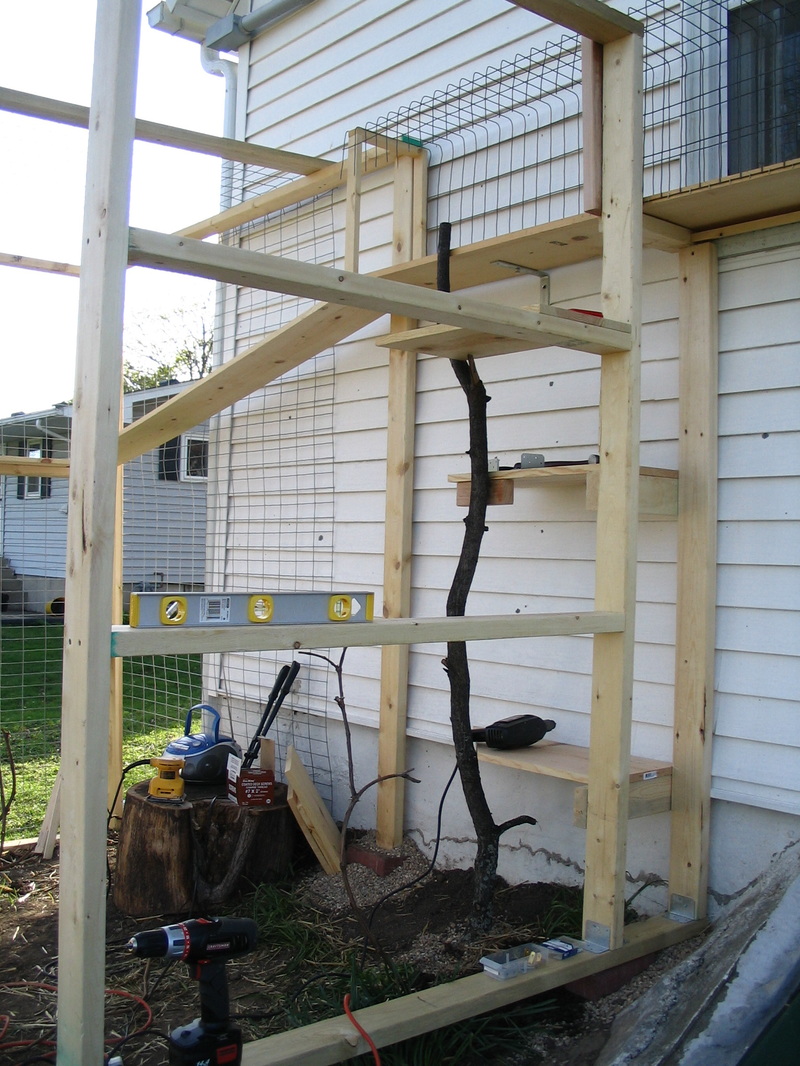
12. Next we started adding shelves and ramps, remembering that a lot of cats like to be high up. We tried to circle the whole catio with ramps so the cats would be able to run....
|
|
13. We built the fourth wall in place, because it was trickier with a tilted foundation and a door. We treated the door like a smaller wall, building it with 2x4s and fencing, and attached it with hinges. It has a latch on both the inside and out, because the cats could push the door open when we're inside with them if it's not locked.
|
14. Remember that cats can walk right up this kind of fencing if they want to, so you have to have a roof on your catio. We put more fencing across the top.
|
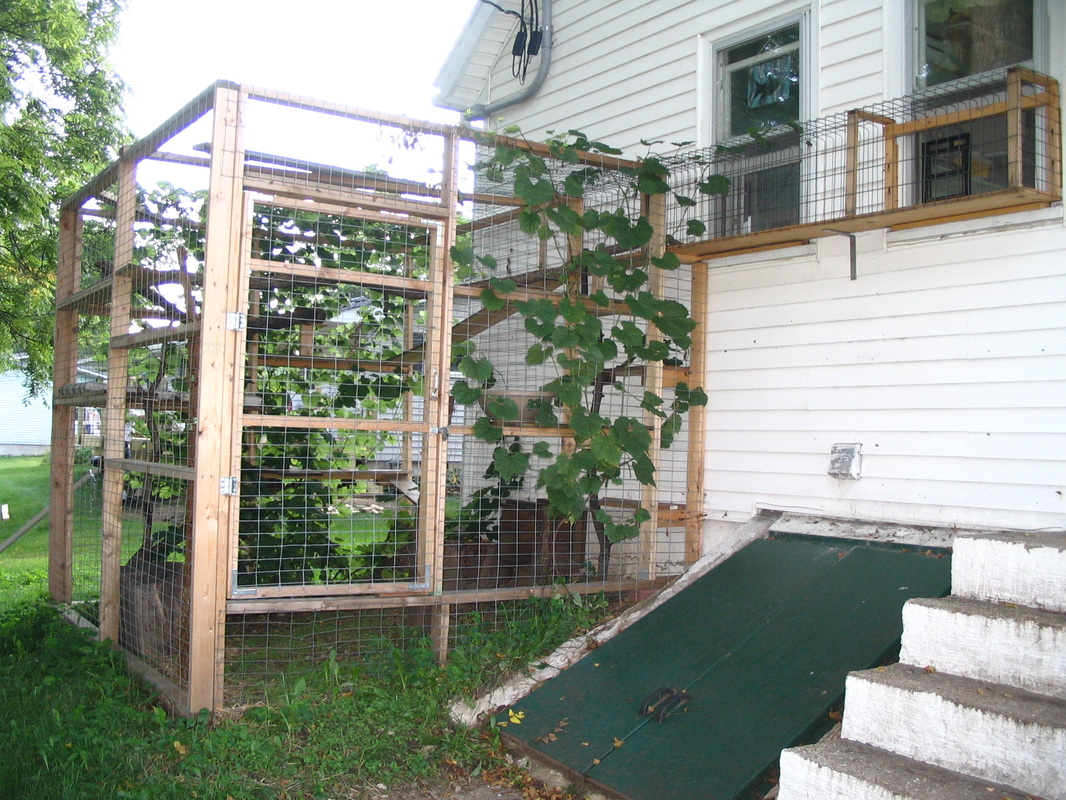
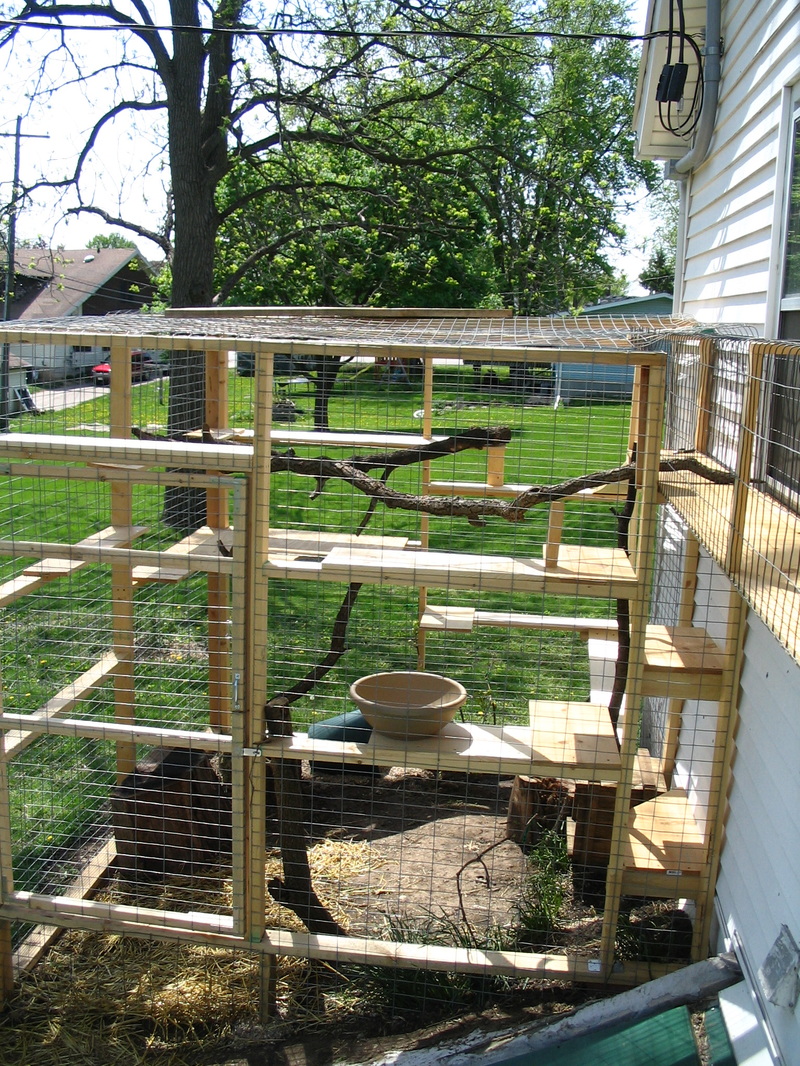
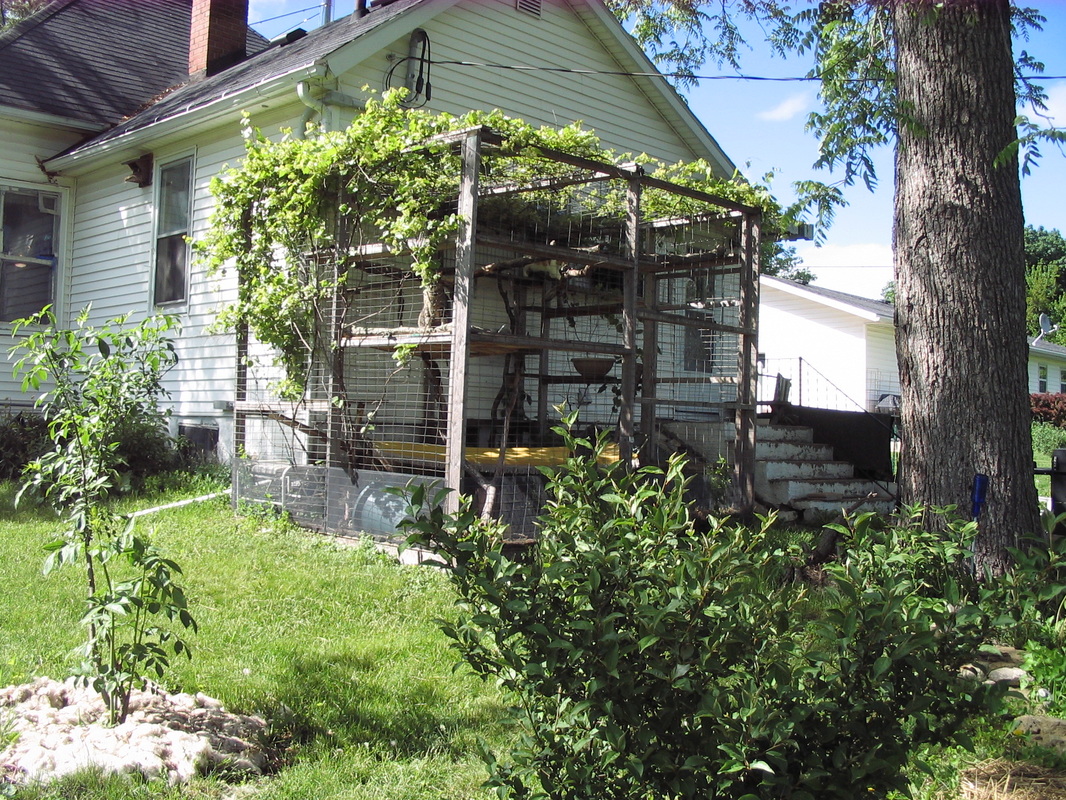
The Finished Catio, 2010:

The Cats Explore Their New Catio
|
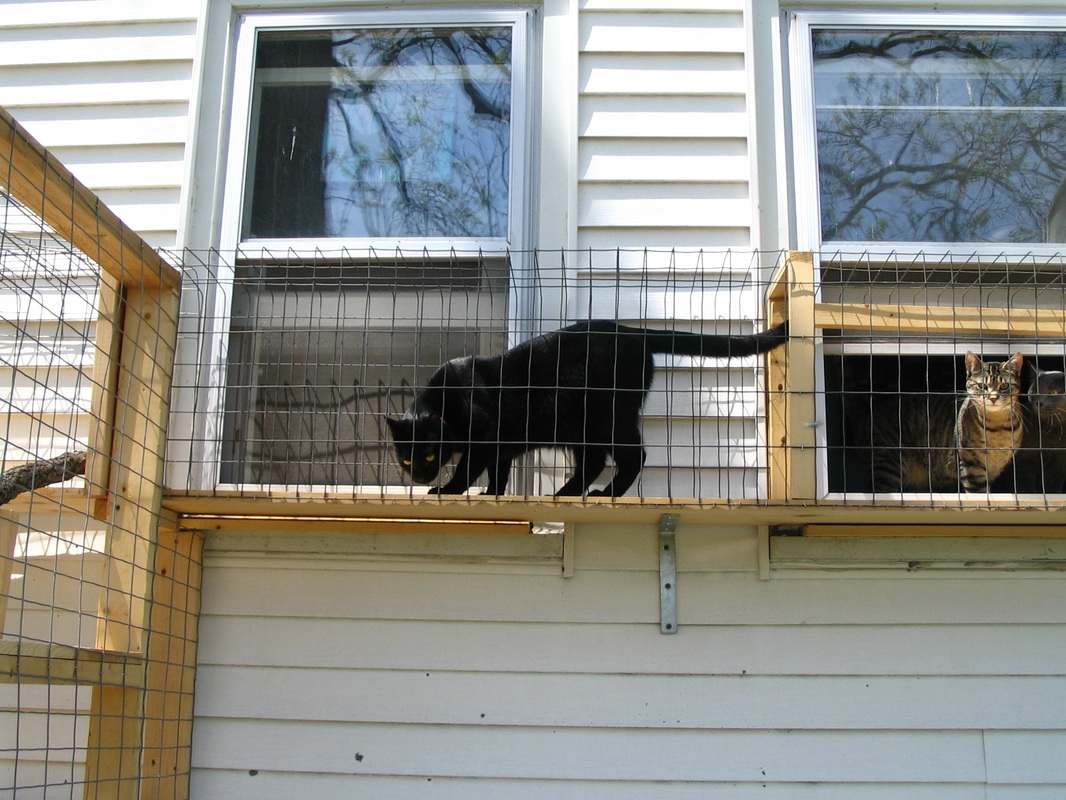
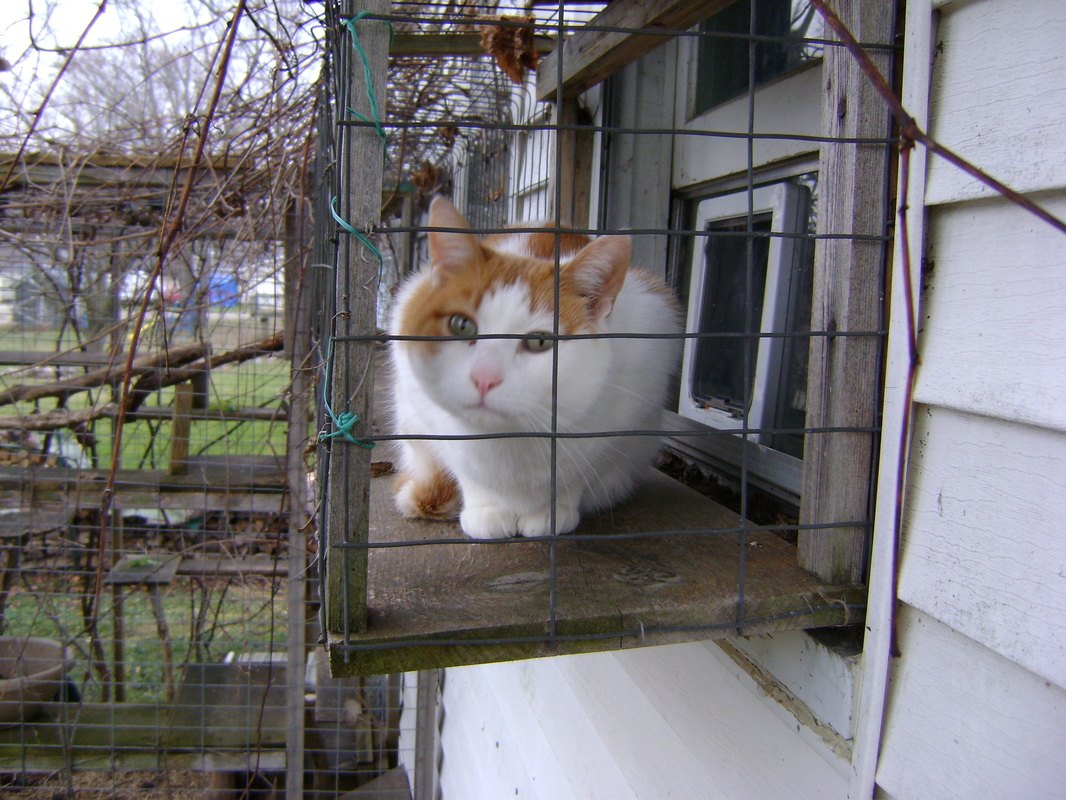
1. The cats access the catio via the open window from our utility room (on the right). In the beginning, we just left the screen window open. Then we installed a cat screen door in the window screen for Summer use, which kept out the bugs and let in the fresh air.
|
2. In the Winter, though, we had to open the glass window ourselves to let the cats in and out. This meant they could only go outside when we were home. Eventually, we bought a cat door installed in plexiglass ($100 from ebay) that sits permanently in the window, so the cats can access the patio themselves in the Winter too.
|
|
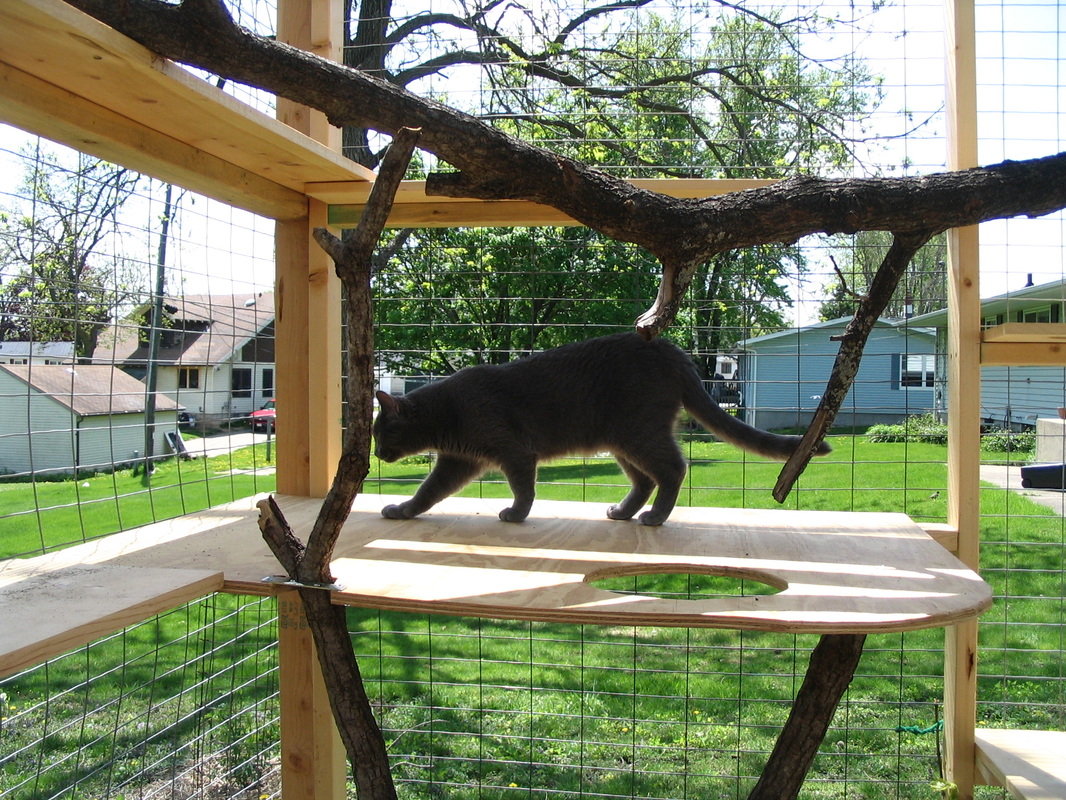
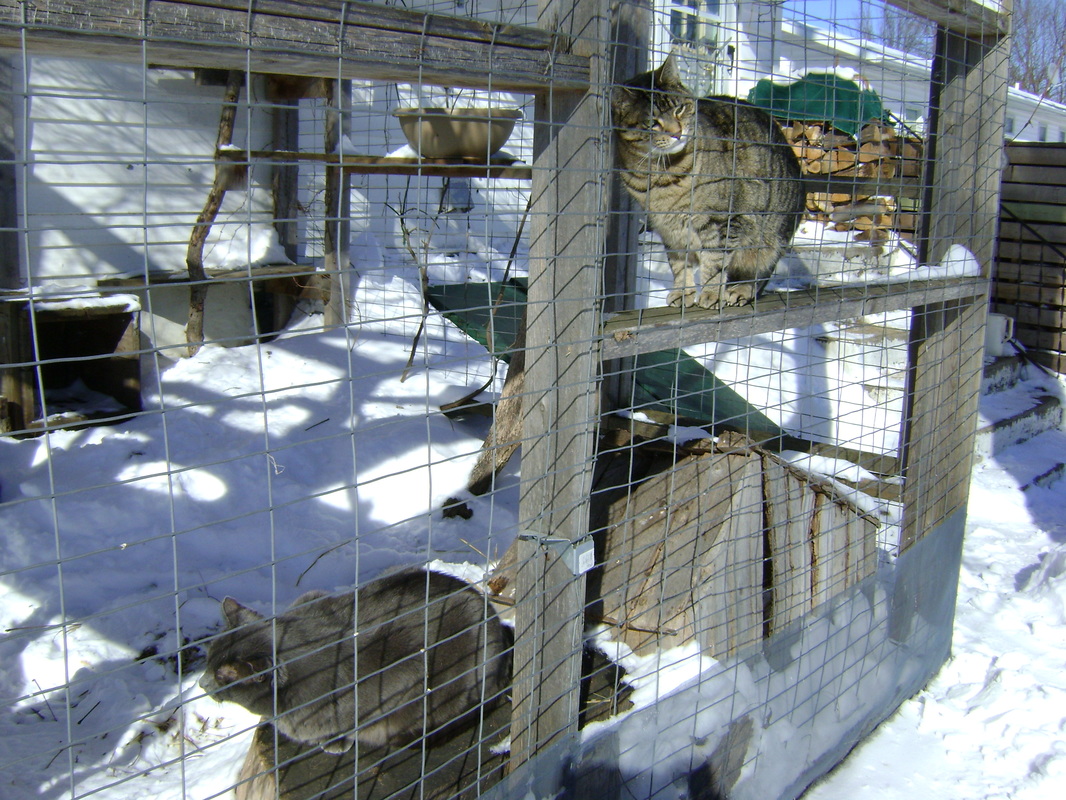
3. This large shelf area was meant for napping. Later we put a patio cushion on the shelf and now the cats curl up there together for their afternoon snooze.
|
4. The cats seem to appreciate the views from the high ledges, built of 1x12 lumber.
|
|
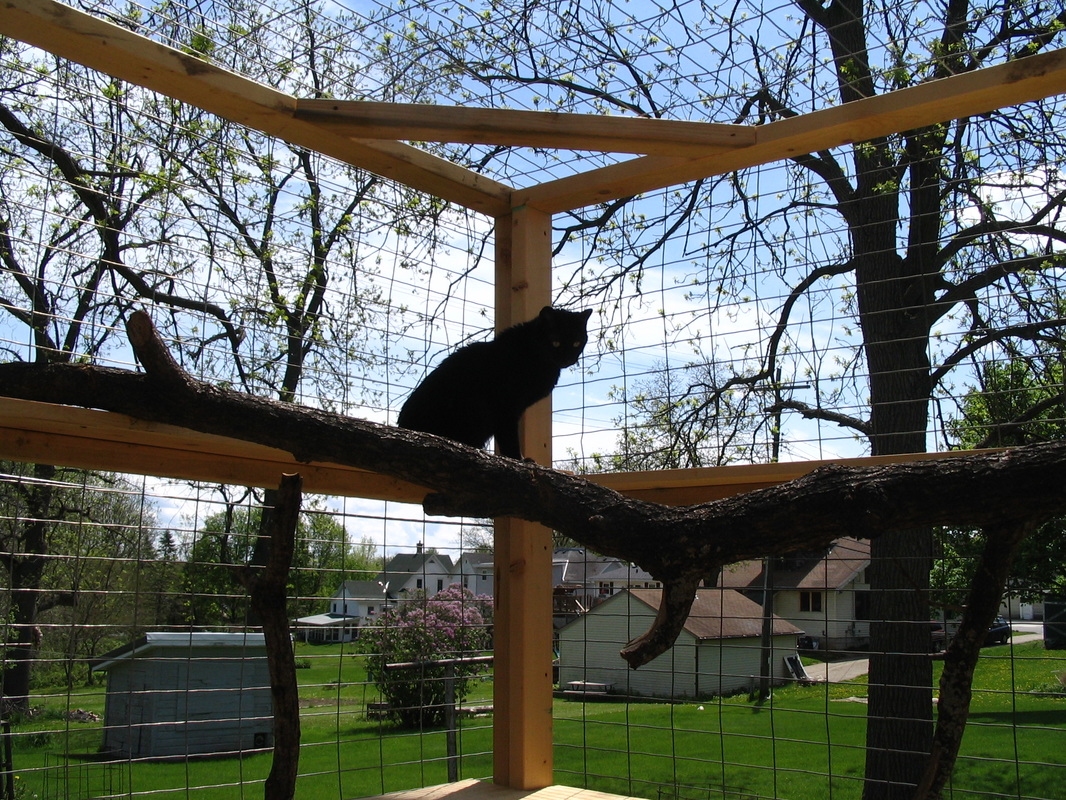
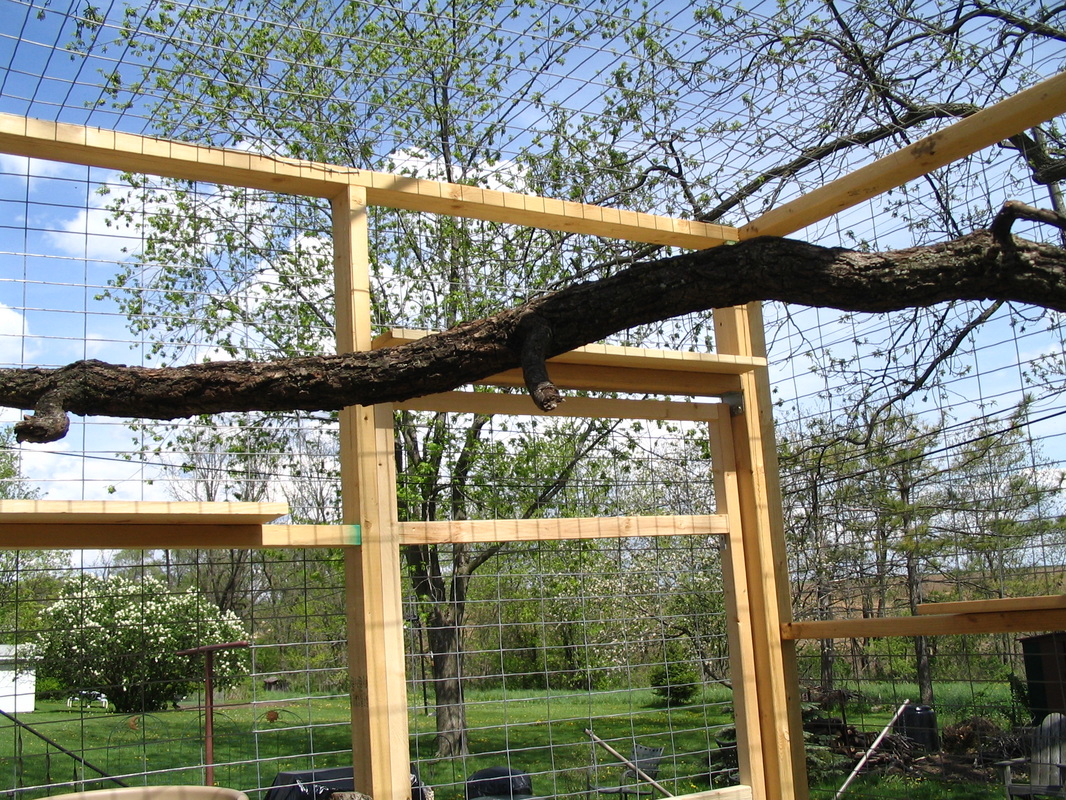
5. We also added a few large tree limbs, screwed securely in place, across the top of the catio. The cats walk easily across them, and use them as scratching posts. If you can find large logs or stumps, they also make good cat furniture on the ground and seating for humans.
|
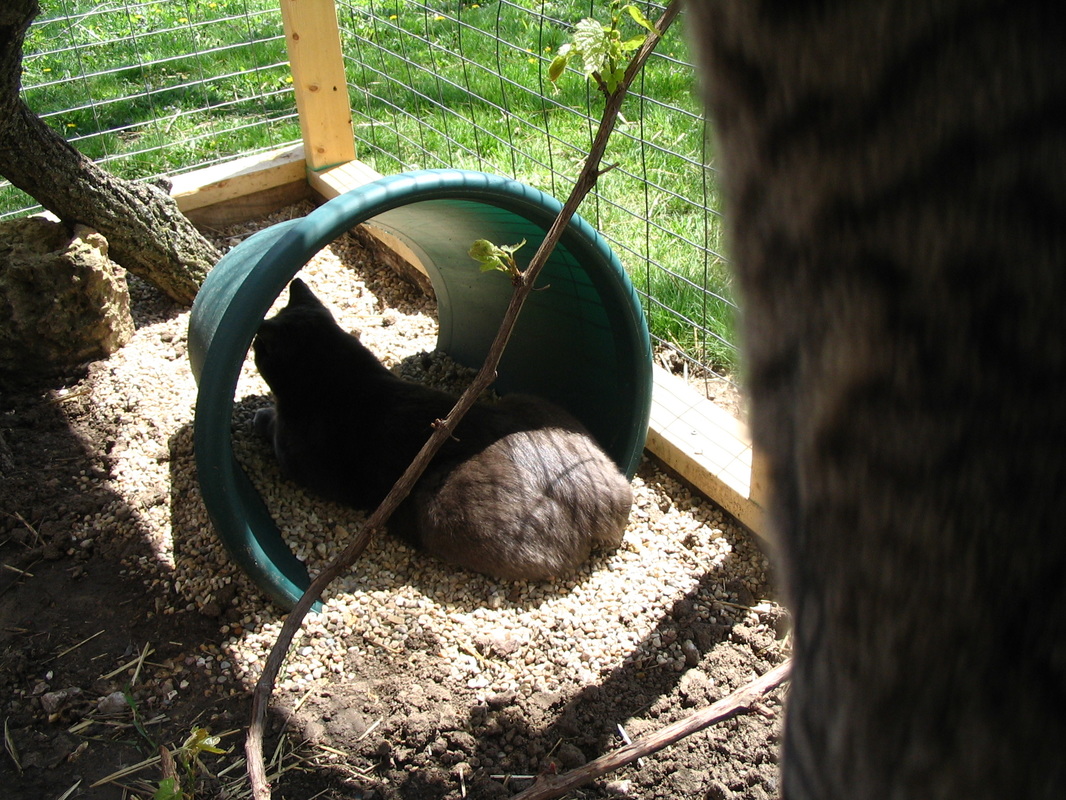
6. This is a large plastic planter, with its bottom cut out and set on its side. It's dug down a bit into the dirt so it doesn't move, and gives the cats a tunnel to shelter in. They like to sleep there.
|
|
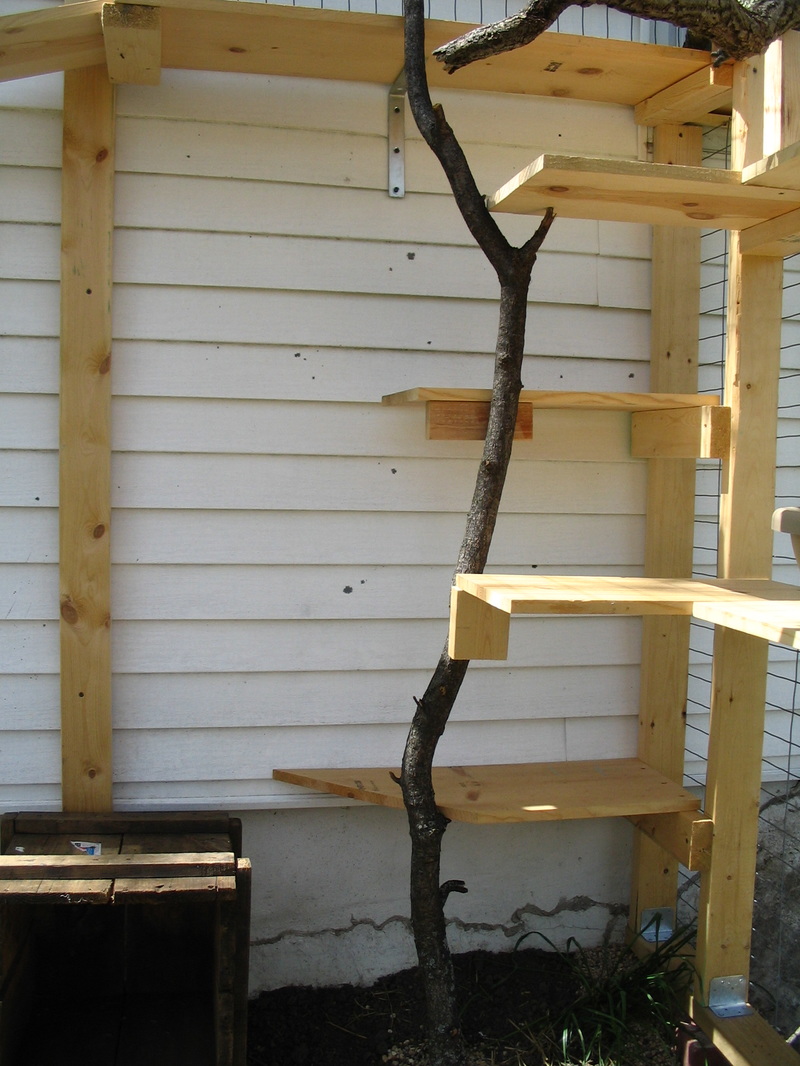
7. Here's one way we solved the dilemma of how to get the cats from the top levels of the catio to the ground. We built a "spiral" staircase around this tree limb, alternating which side of the limb the "step" is on, so that the cats can jump down from one step to the next. This will be good for any cats that get older and can't jump a lot.
|
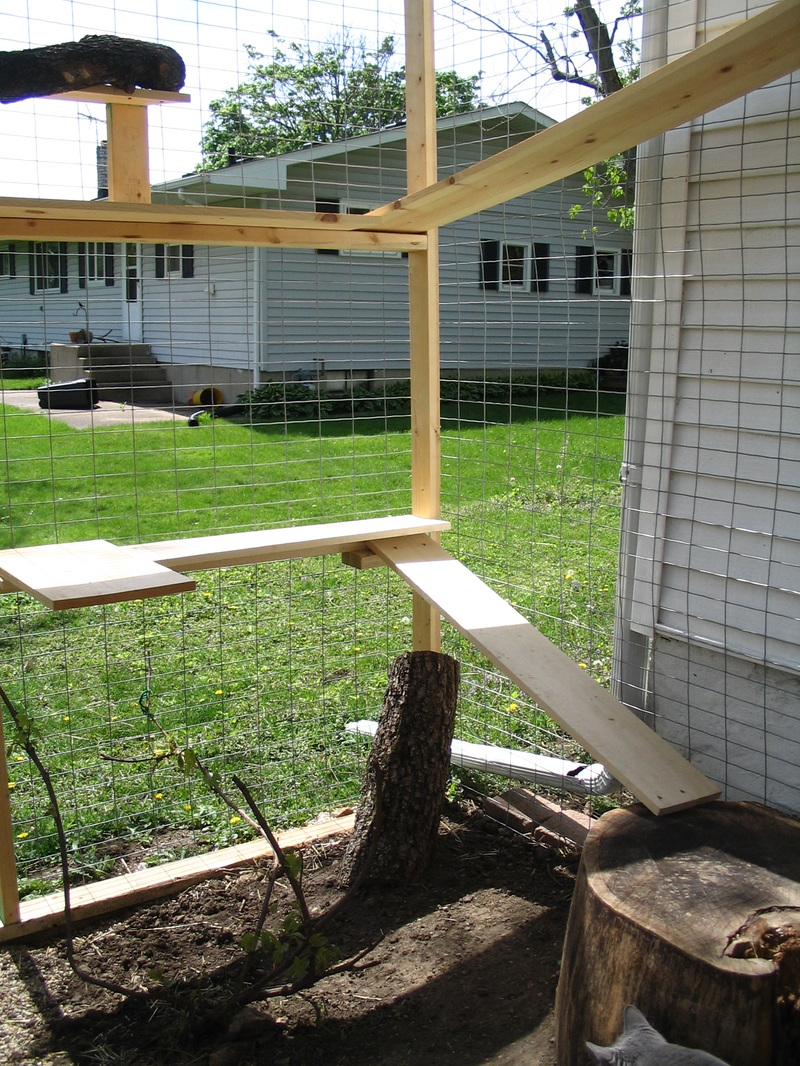
8. We also built ramps for those cats that want to run fast and work their way down to the ground by going from ramp to ramp. Creating different paths into the main play area helps prevent traffic jams when one cat thinks he or she owns the road.
|
In Later Years:
The wild grape vine grew to cover the top of the catio so that it blends in more with the rest of our gardens.
Hopefully, we'll also get grapes from it some day.
Hopefully, we'll also get grapes from it some day.
Yes, the cats still want to go outside, even when it's cold:
|
|
Catio Updates in 2020
See Bear's blog about repairs we did to the catio in 2020: catio-repairs.html
Don't Your Cats Deserve a Catio?
For examples of more enclosed outdoor cat spaces, search "catio" on the internet. It's becoming more and more popular.
There are lots of ways to build your own, or if you can afford it, there are companies that will ship you
some pretty niffty ready to assemble enclosures.
There are lots of ways to build your own, or if you can afford it, there are companies that will ship you
some pretty niffty ready to assemble enclosures.