HOW TO MAKE YOUR OWN BUTTER
from Theresa
|
An Experiment:
I was in the dairy section of the grocery store recently (December of 2014) with a shocked look on my face after noticing that a pound of organic butter cost $8.00! No wonder we can't get out of the grocery store without spending $100. A couple days later this led to a spontaneous experiment to see if we could make our own butter. Bear and I were both on vacation and in the mood to learn new cooking skills. I happened to have a partial pint of cream leftover in the refrigerator that needed to be used up, so we gave it try. I did not expect it to be hard to make our own butter. Once I was whipping cream to use as dessert topping, and I whipped it too long. It separated into a milky liquid and some solid chunks. I had to throw it out and start over again. Later I was reading one of my favorite cookbooks (right), and read a similar story about one of the author's students. I was chagrined to find out that I had made butter and thrown it away. This time I followed the cookbook's instructions and used cream to make butter on purpose.
Ingredients Needed: heavy whipping cream
(We used ultra-pasteurized & homogenized cream because that is what we had, but I suspect that the closer you can get to cream right out the of the cow, the better will be your results.) |

Forgotten Skills of Cooking
by Darina Allen, 2009 ISBN: 978-1-906868-06-2 We first discovered this book at our local library, full of beautiful glossy photographs, by an Irish author who also runs a culinary school, and liked it so much that we bought a copy. (Comment from Bear: Tiny homesteading and forgotten cooking skills... go figure) |
Tools Needed:
- a mixer (this could be a kitchen hand mixer or a stand mixer)
- two mixing bowls (chill in freezer)
- a colander and a piece of cheese cloth (chill colander in freezer)
- your clean hands- serious butter makers use butter bats (which are small wooden paddles) to squeeze and shape the butter, but our hands worked fine
Instructions:
|
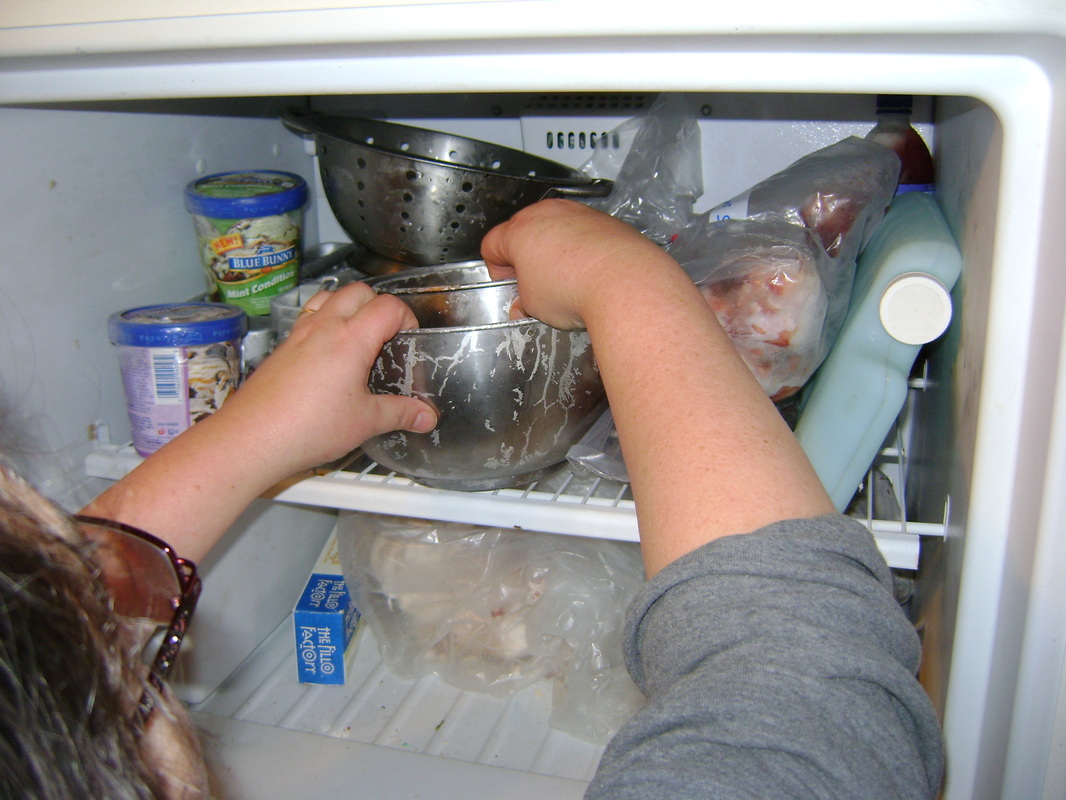
1. Butter needs to stay cold so it doesn't melt while you're making it, so put you're equipment in the freezer to chill for at least 30 minutes. We used two mixing bowls (one large, one small) and a colander.
|
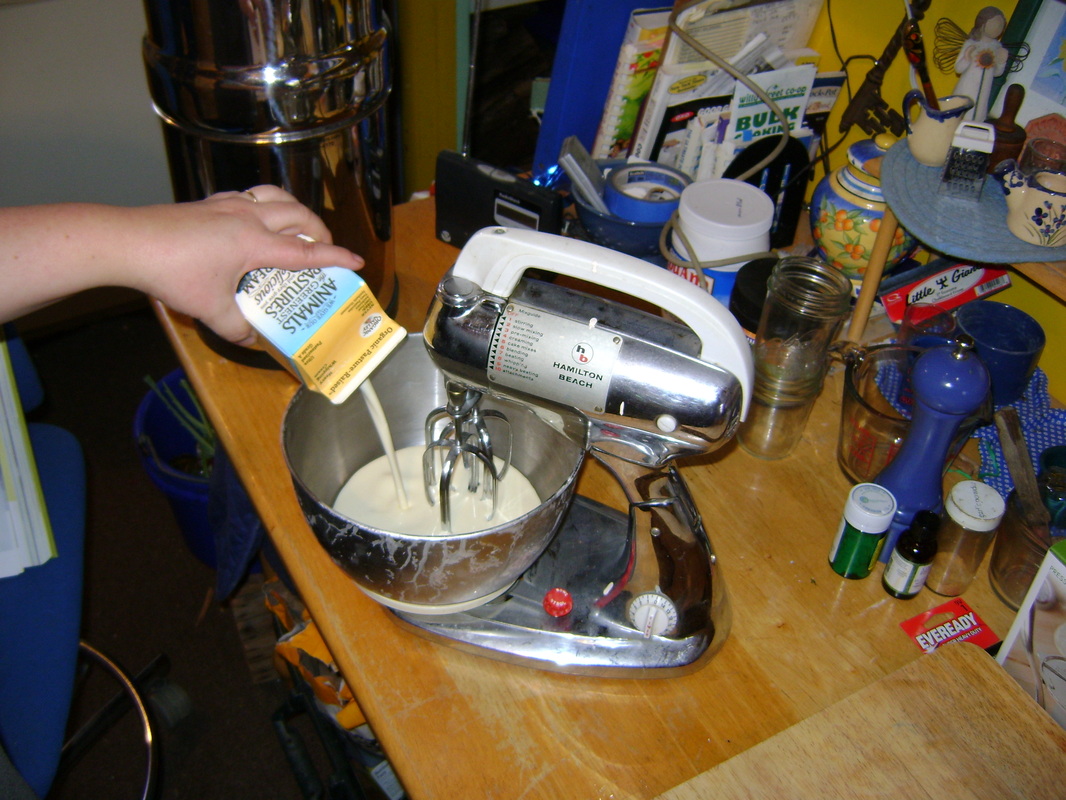
2. Remove the large mixing bowl from the freezer and either attach it to your kitchen mixer, or get your hand mixer ready.
|

|
|
|
3. Pour your heavy whipping cream into the mixing bowl. We had around one and a half cups to experiment with.
|
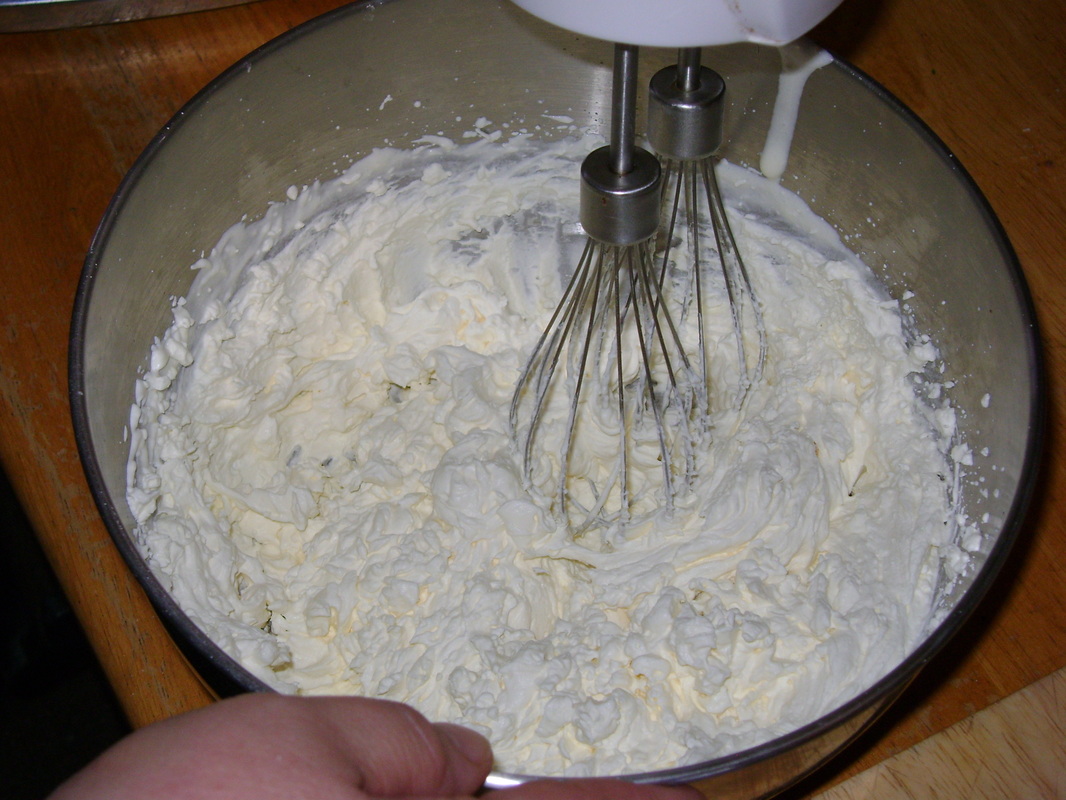
4. Start mixing the cream on a medium to high speed.
|
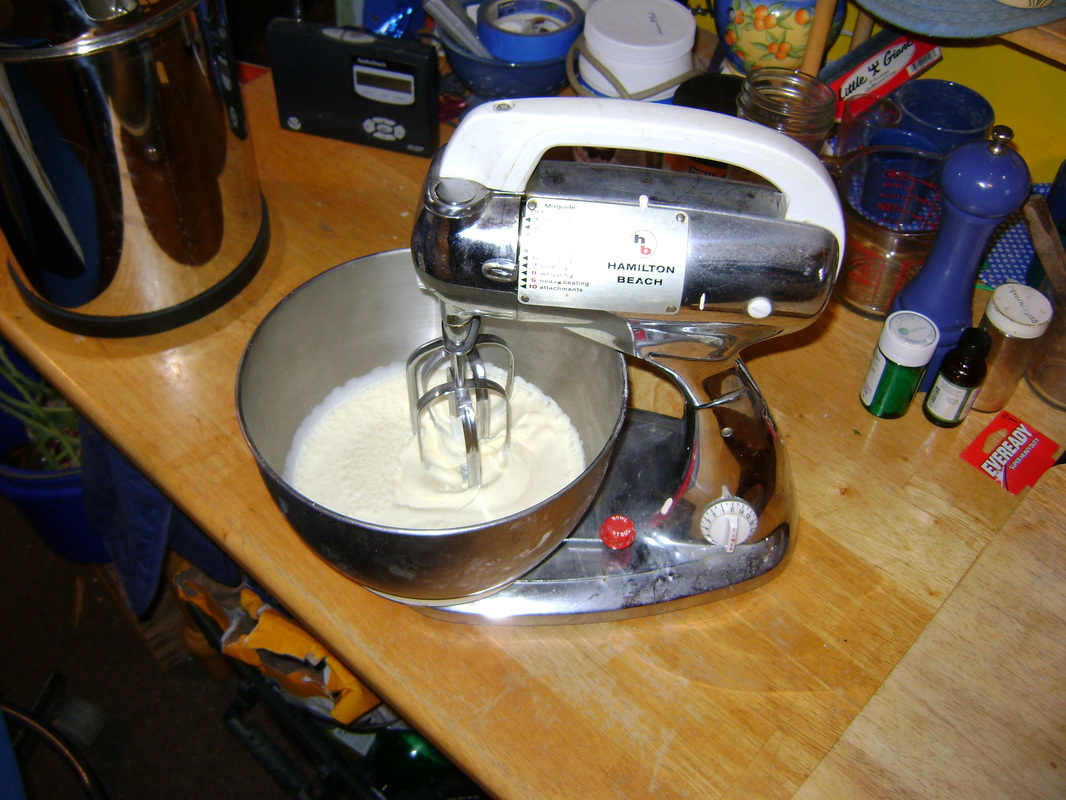
|
5. Our vintage stand mixer wasn't working fast enough, so I changed to our hand mixer with the whipping beaters attached (they look like whisks), because I know from experience I can make whipped cream with them in only a few minutes.

|
6. I ran the mixer on its highest setting.
|
|
8. This quickly made whipped cream, which I usually sweeten with honey and serve on desserts.
|
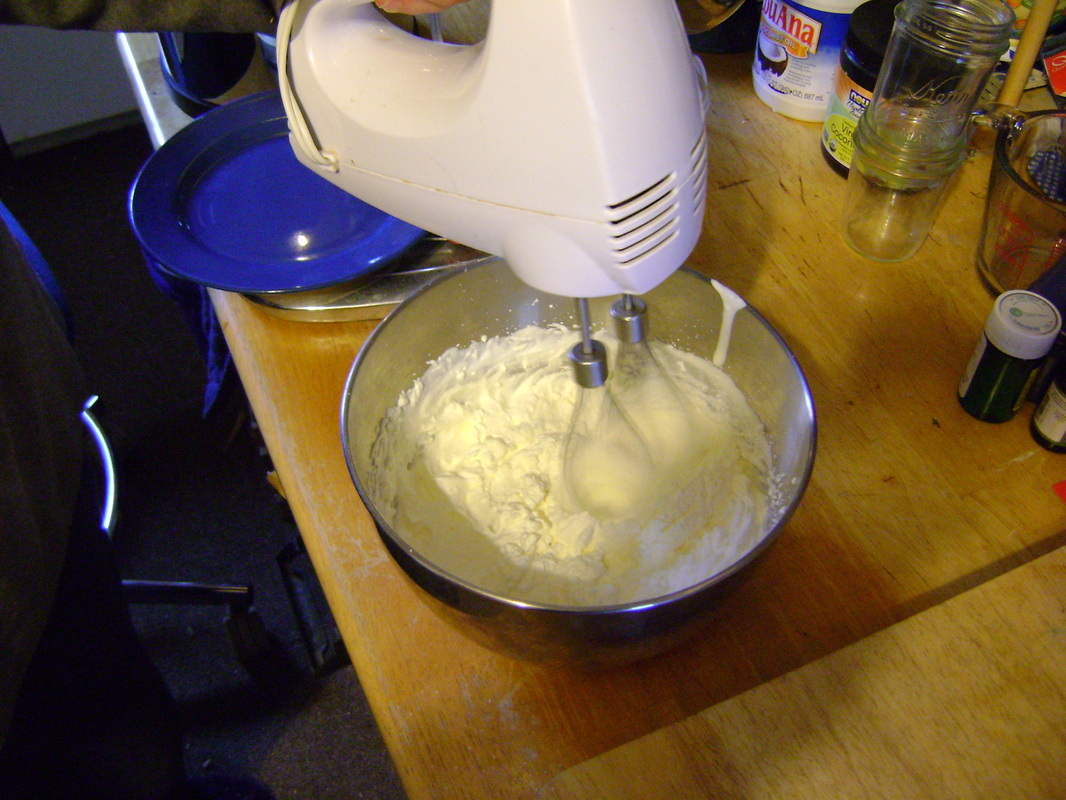
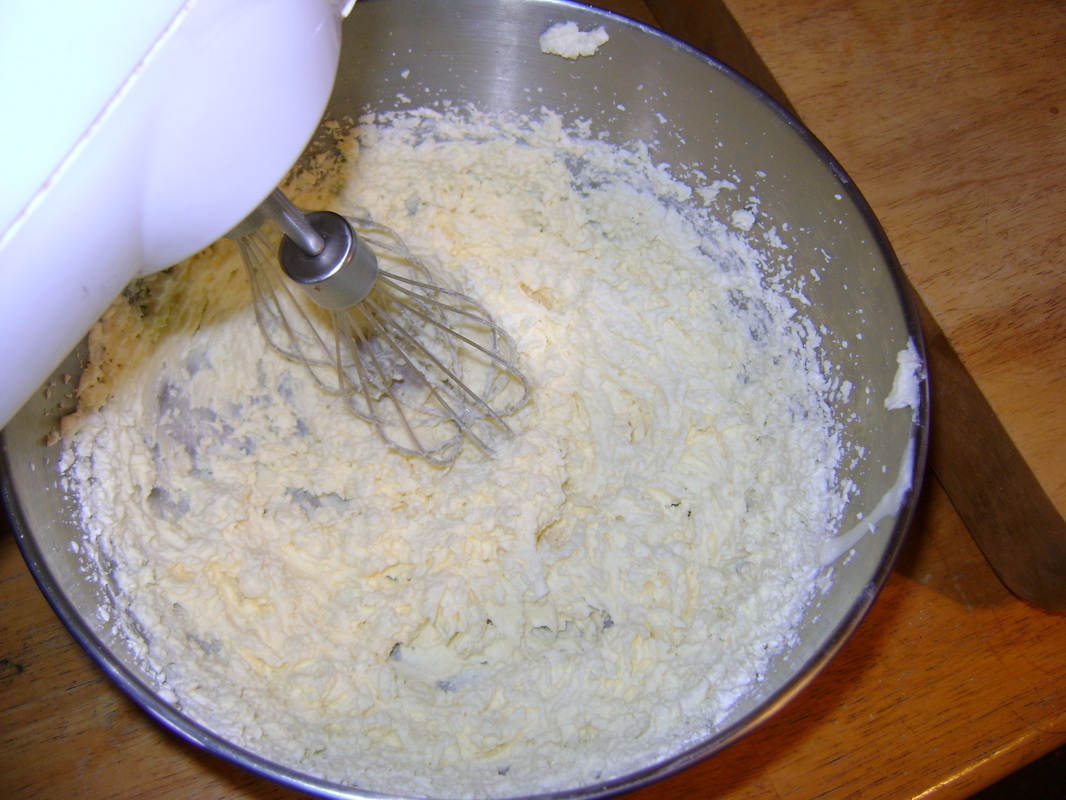
9. To make butter, you keep mixing beyond the whipped cream stage. The cream will start losing its fluff.
|
|
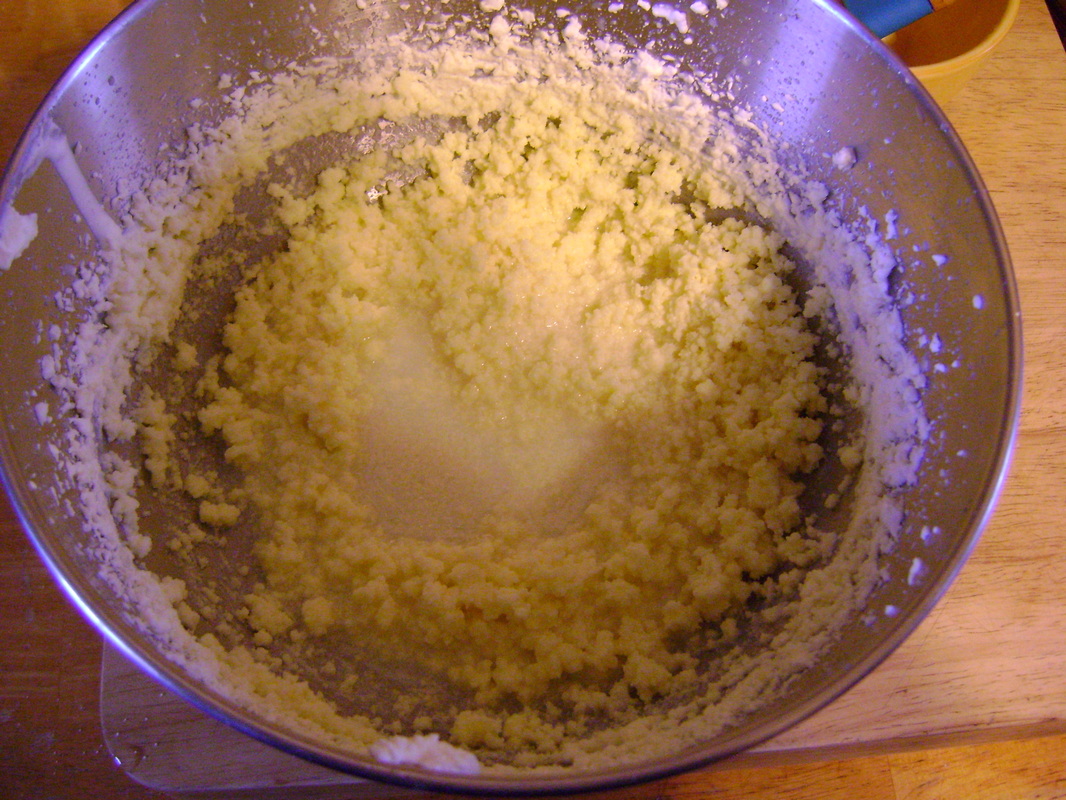
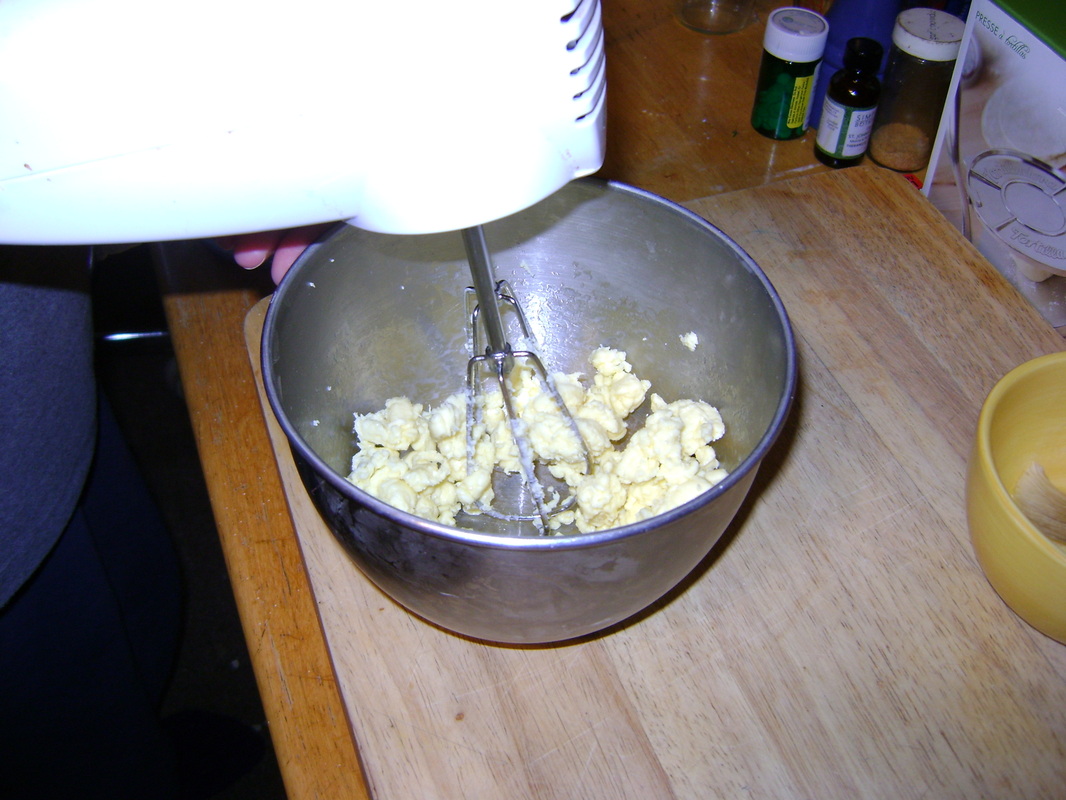
10. We switched to the regular beater attachments at this point and kept mixing. The cream started to look a bit like dry scrambled eggs, which according to the cookbook is what we wanted. It also got a slight yellow tint to it.
|
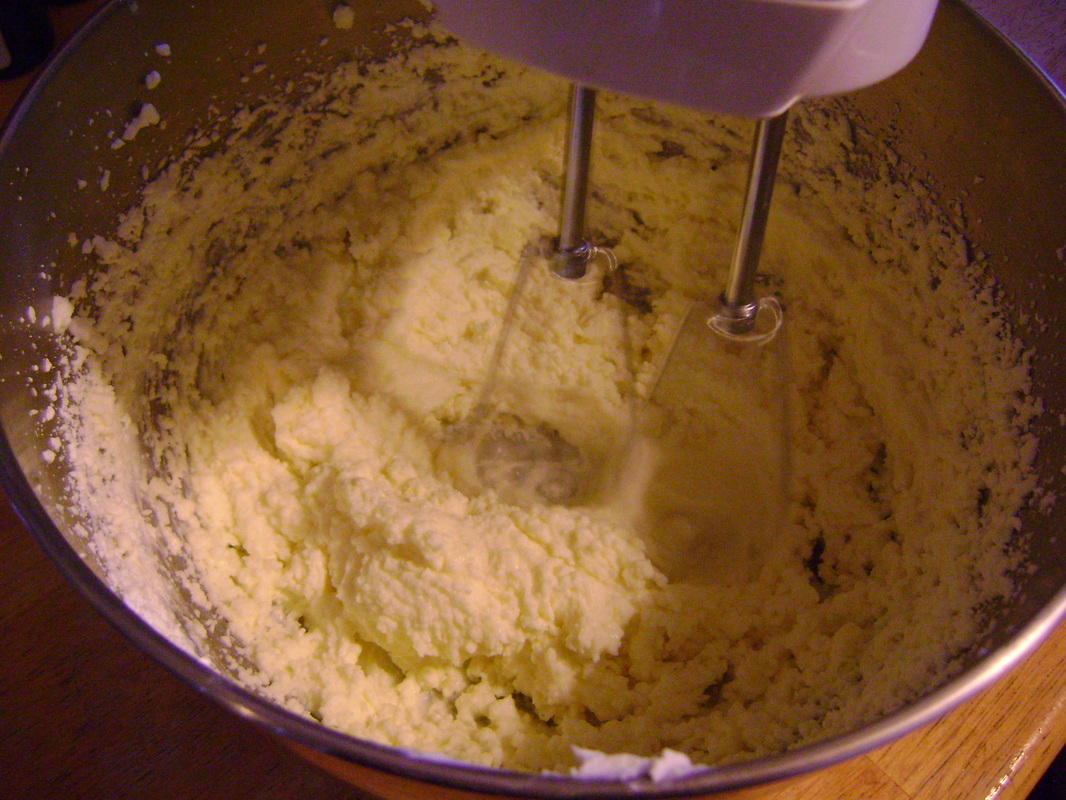
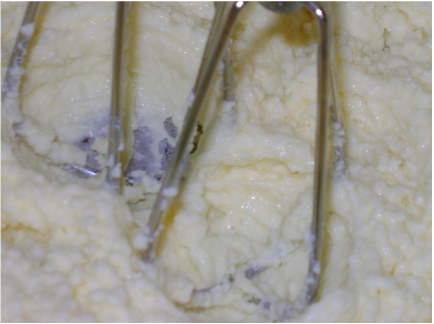
11. Keep beating. Eventually, the previously dry, scramble egg-like cream will start to glisten. Here's an extreme close up that may or may not let you see this. The glistening means the buttermilk is starting to separate from the butter.
|
|
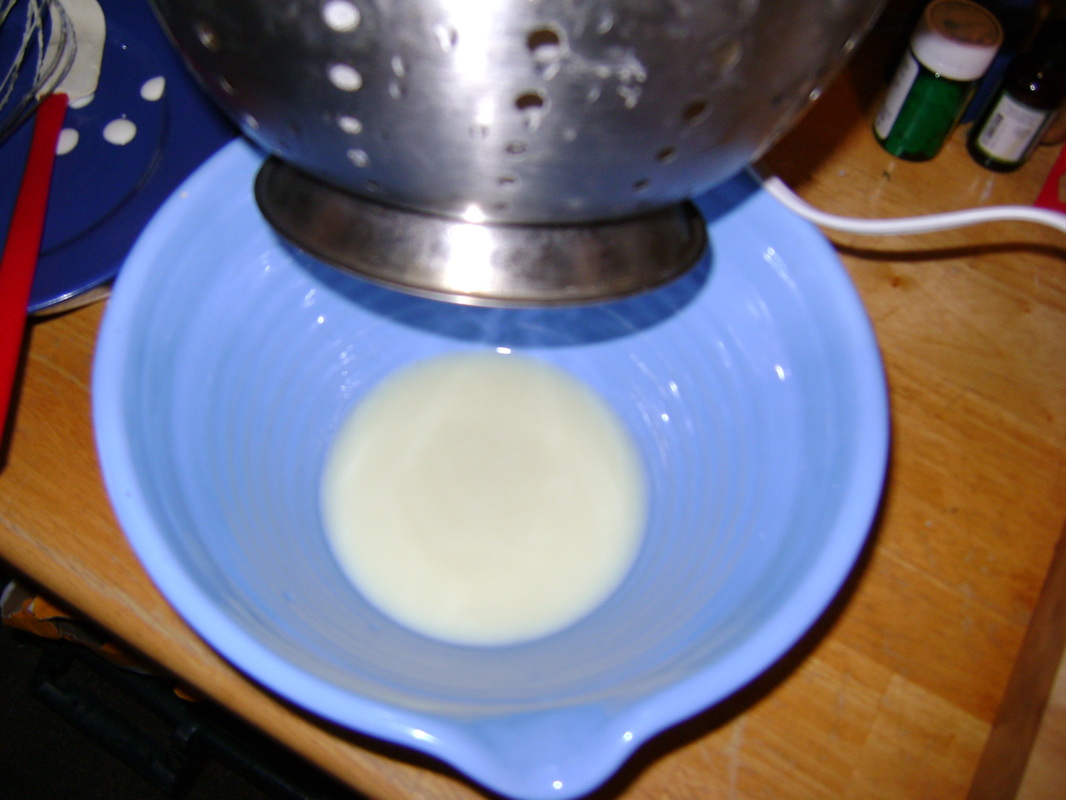
12. Stop beating when it looks like this- they'll be a pool of buttermilk liquid that has separated from the solid butter.
|
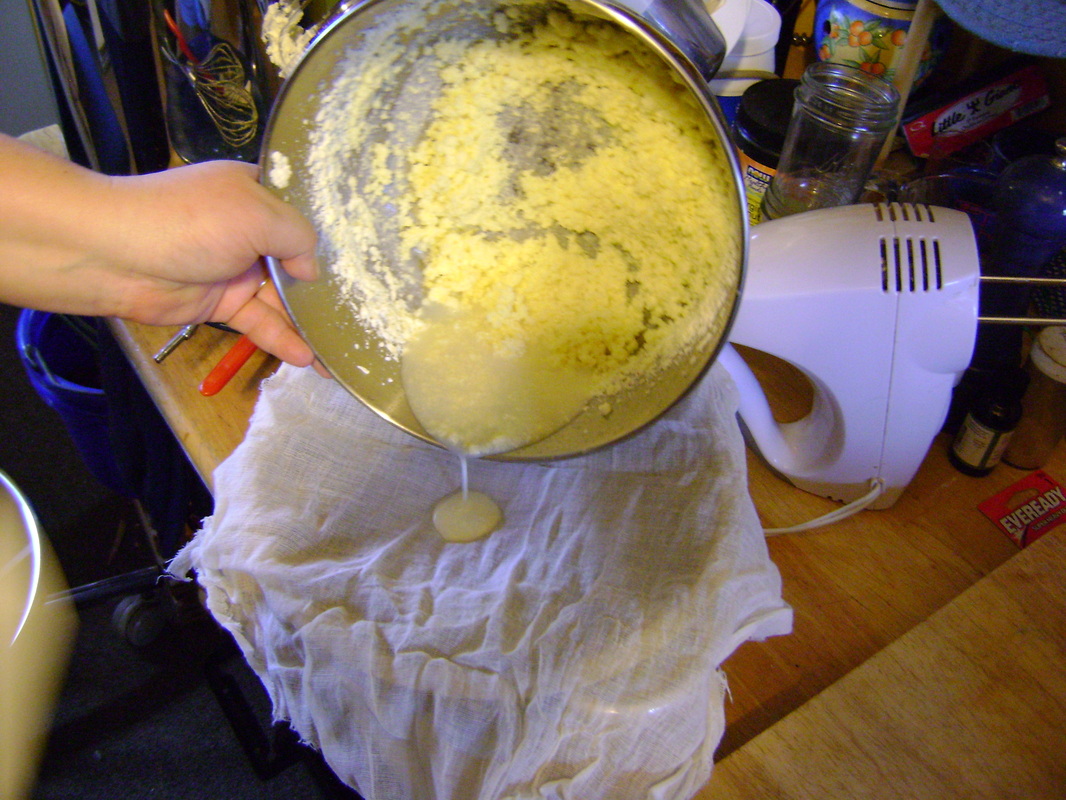
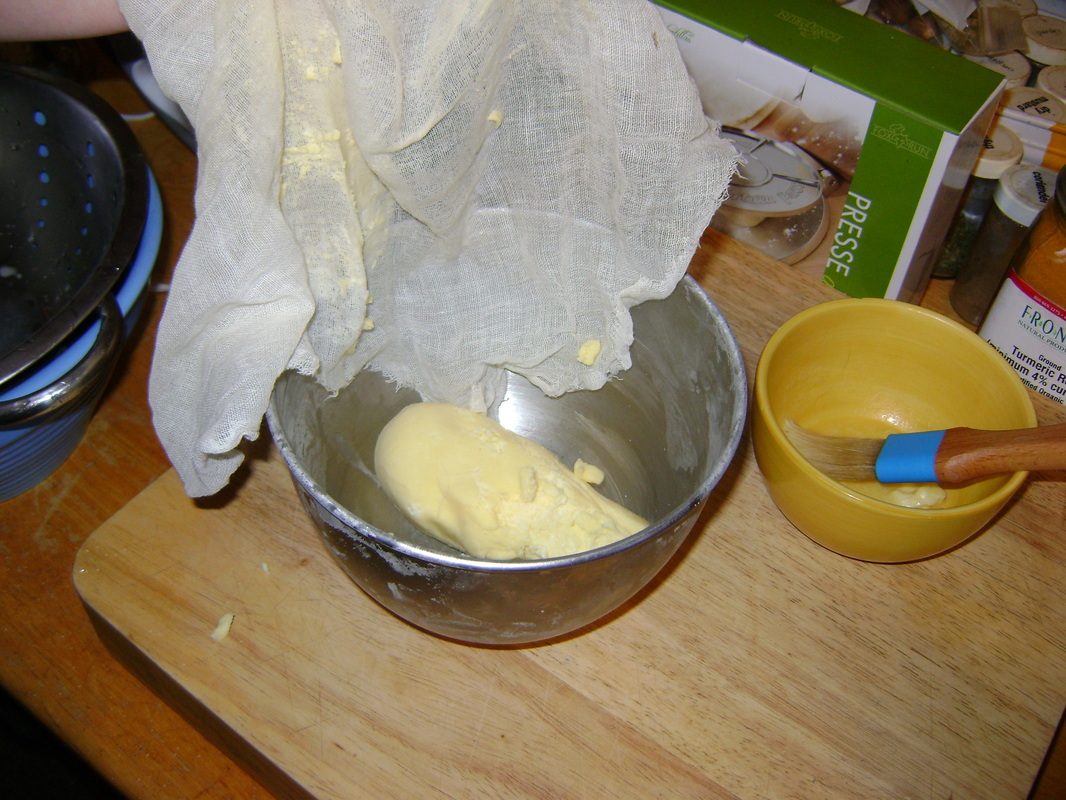
13. Next, remove your colander from the freezer and line it with cheese cloth. Strain the milk from the solid butter.
|
|
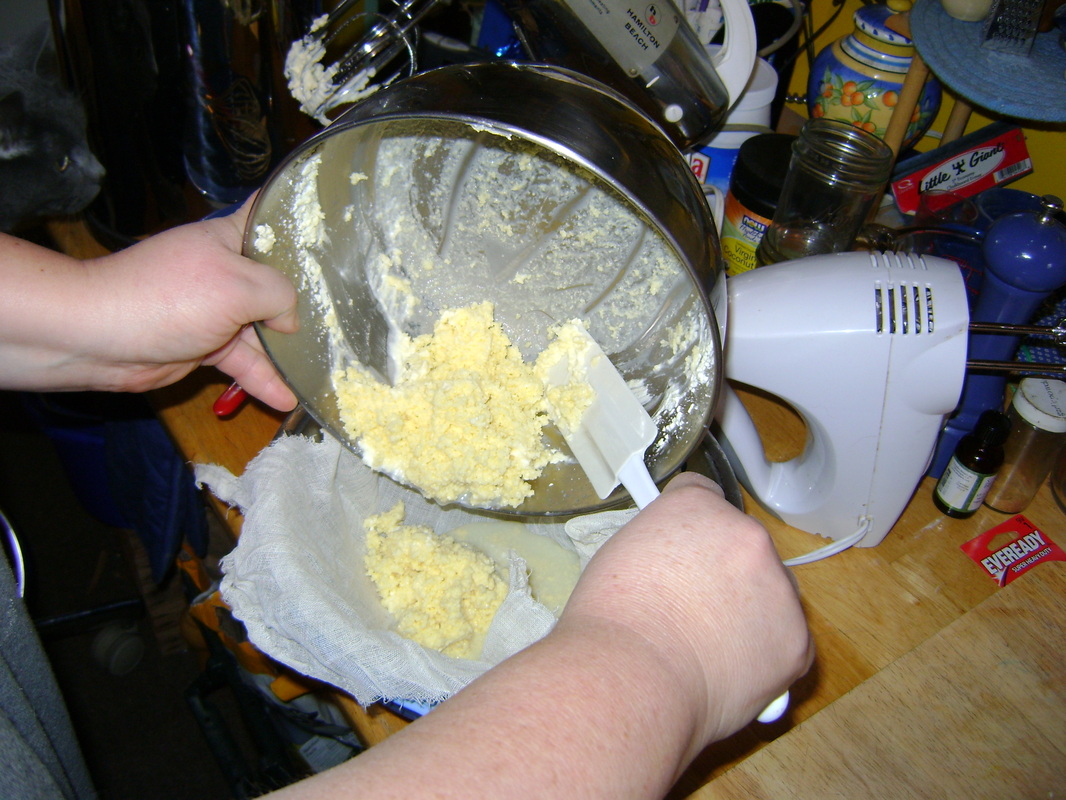
14. Scrape the butter into the cheese cloth.
|
15. The goal is to get as much buttermilk out of the butter as possible. The cookbook says this is important because any buttermilk left in the butter will sour quickly and spoil the butter. We wrapped the cheesecloth around the butter and squeezed.
|
|
16. Take your second, smaller mixing bowl out of the freezer and put the butter in it.
|
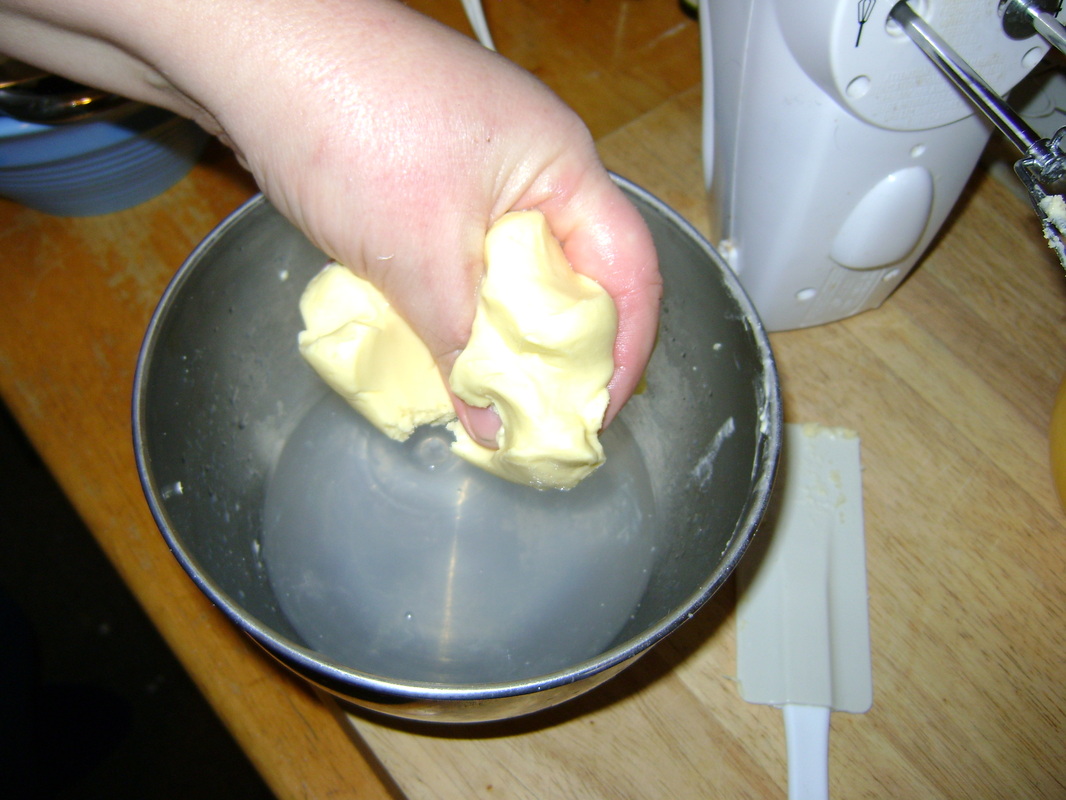
17. Beat for 30-60 seconds more to see if you can get more buttermilk out. Strain again and return the butter to the bowl.
|
|
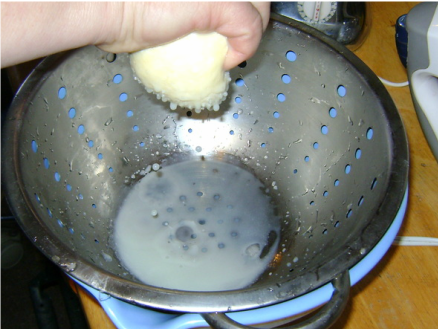
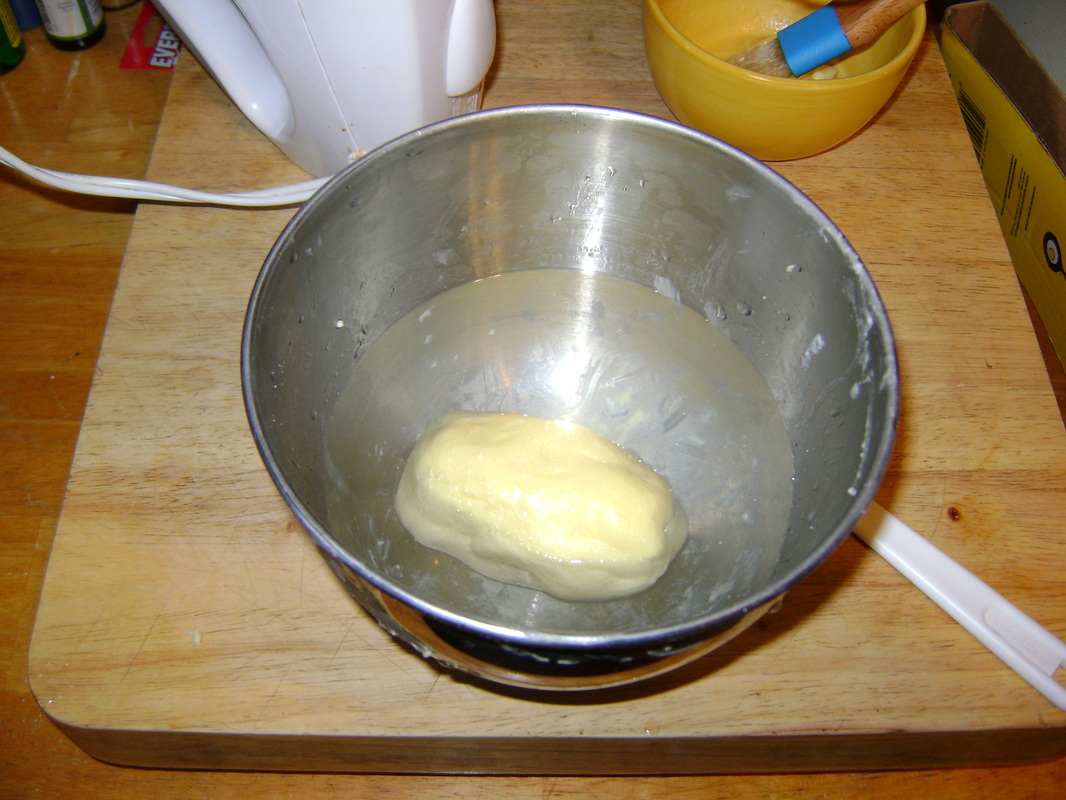
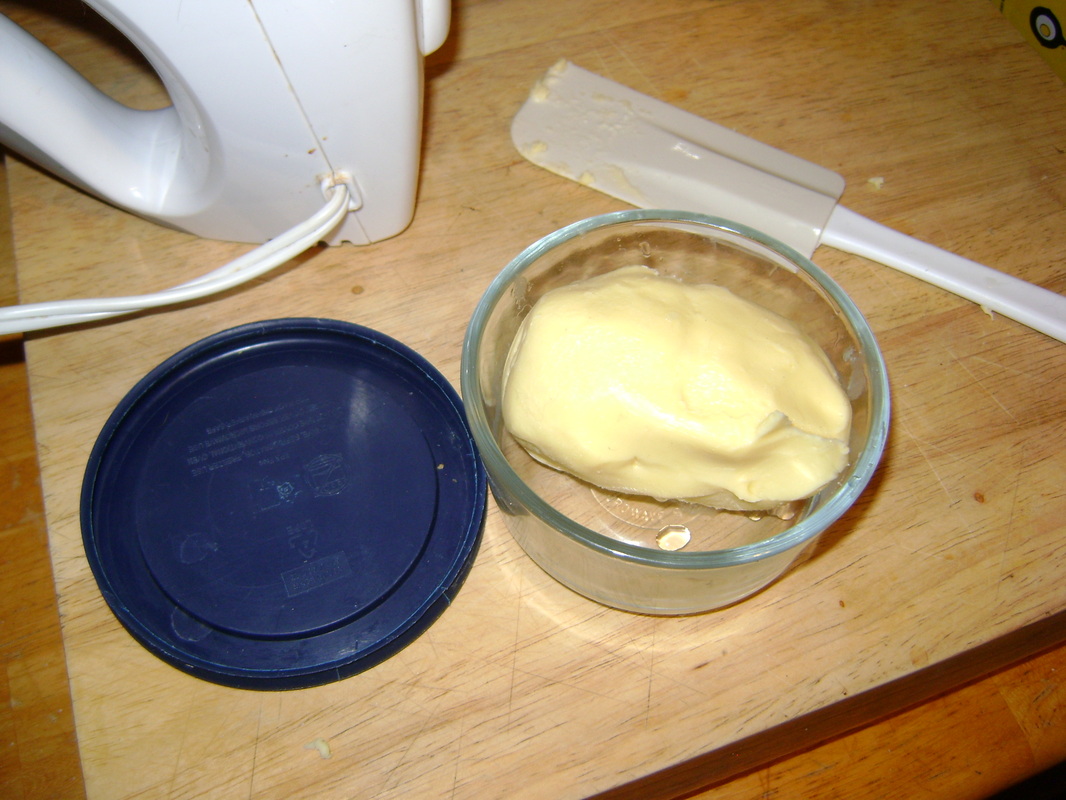
18. Then pour very cold water over the butter and use your hands (or butter bats) to knead the butter and squeeze out more buttermilk.
|
19. Keep squeezing and change the water a couple more times until it is clear. Now you have butter.
|
|
20. Don't throw away the buttermilk! There's a whole world out there of buttermilk recipes in which it can be used (which we'll have to start exploring). Or, you can just drink it.
|
21. We stored our butter in a lidded jar, since I was also baking bread and we figured the butter wouldn't last long enough for us to worry about it spoiling.
|
|
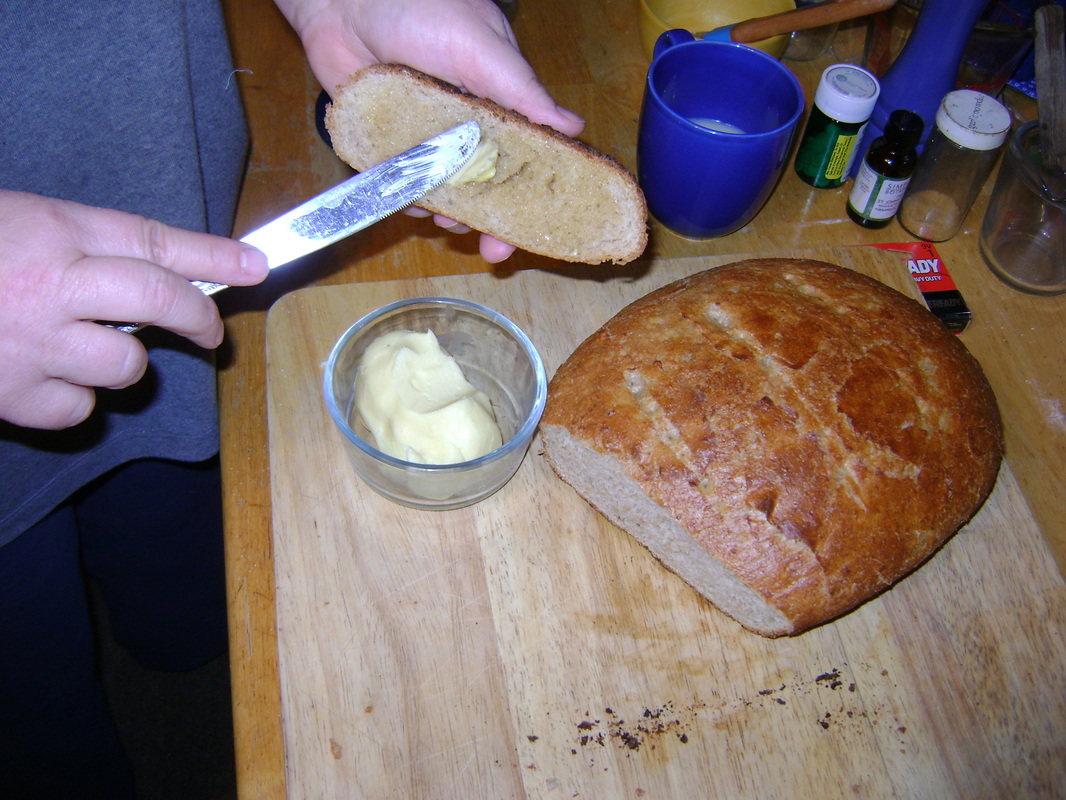
22. Homemade butter is wonderful on hot homemade bread right out of the oven.
|
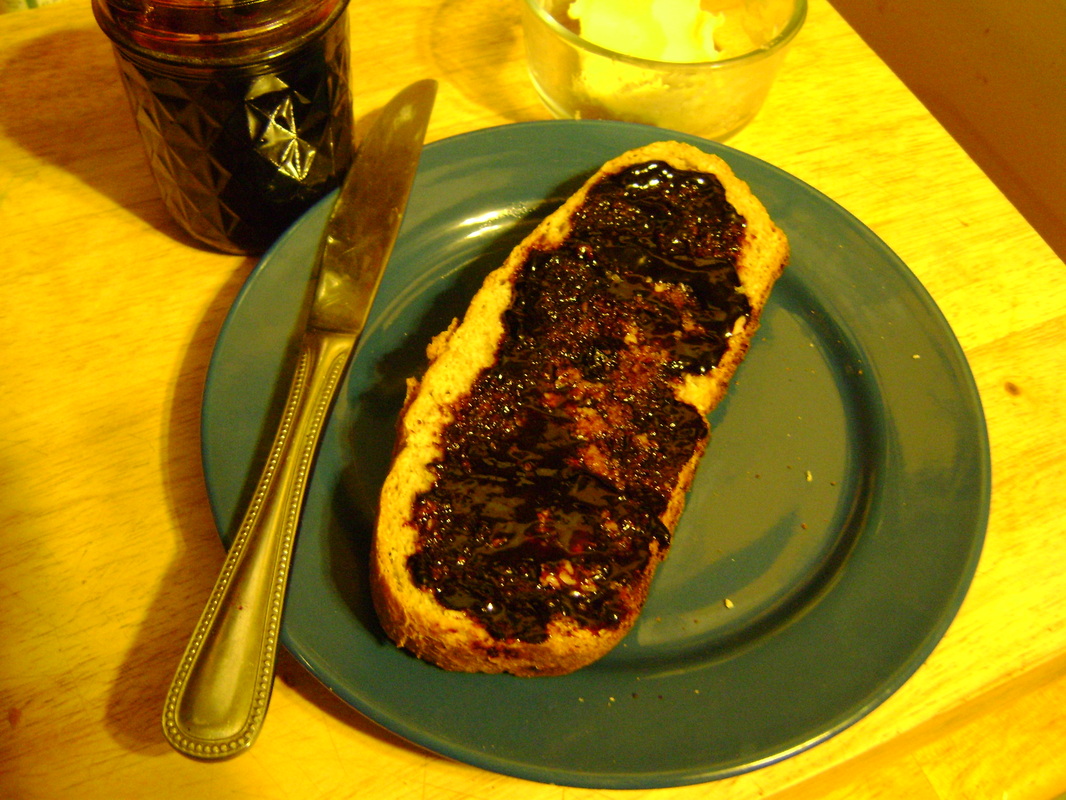
24. The next morning, here's what we were able to have for breakfast: homemade bread, with homemade butter, and homemade wild grape jelly. Yum. Next, we need to grow our own wheat and raise a cow.
|
23. A close up of the butter (taste tested by Bear), with the hot, crusty bread, and a mug of buttermilk:

Afterthoughts:We estimate that we made the butter in about the time it took to bake the bread, which was around 45 minutes (less than the time it took to write these instructions). Afterwards, these were our thoughts:
Bear: So making butter is easy. Theresa: As long as you have electricity. Some day maybe we'll try making butter by hand only, with the egg beaters we bought at a garage sale (below). It will probably take a lot longer. Lehman's sells a really cute table top butter maker (a Dazey churn) that you crank by hand, which I have for some reason wanted since I first saw it. But it's really expensive ($150), as are all the butter churns I've seen for sale, so we'd really have to be committed to making our own butter all the time in order to invest that much money. Since we don't and can't have a cow on our tiny lot, we wonder if it would even be cost effective to make our own butter? Does organic heavy whipping cream cost less than the amount of butter it can become? I'll have to check out prices next time I'm in the store. 
|
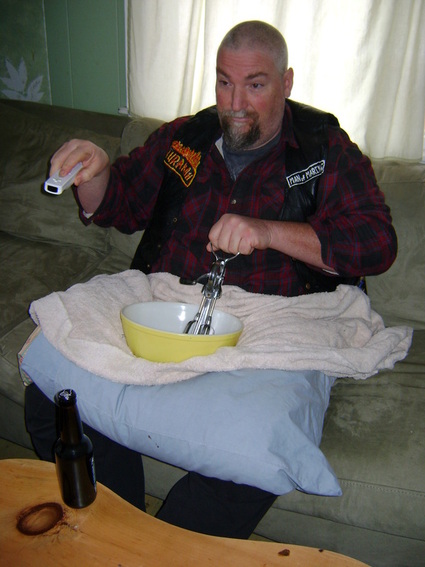
Tools at the ready, TV show chosen, this could take a while.
Could we make butter with our hand beater? Bear has managed to use it to make whipped cream before. |
Other concerns if you're not just experimenting with a small batch:
|
Preserving & Storing Butter:
Sterilizing equipment:
|
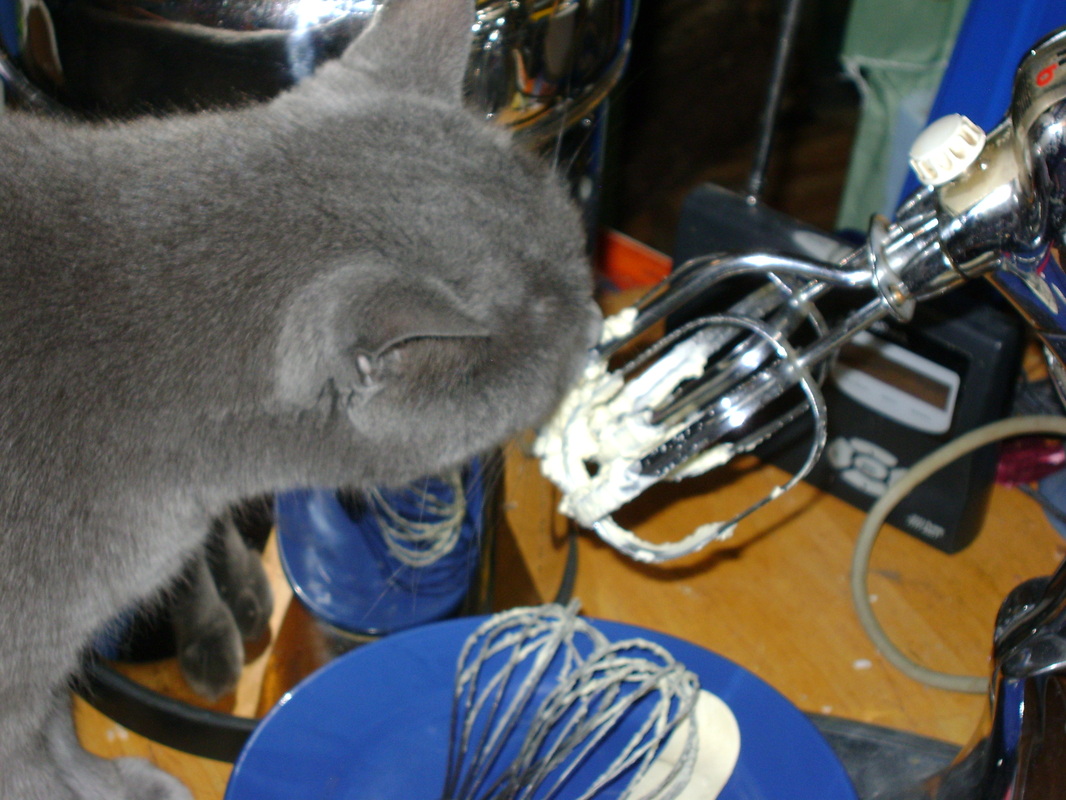
Tester #1... Princess approved. This is not an example of keeping your equipment sterile.
|
The Lovely Butter Bell
|
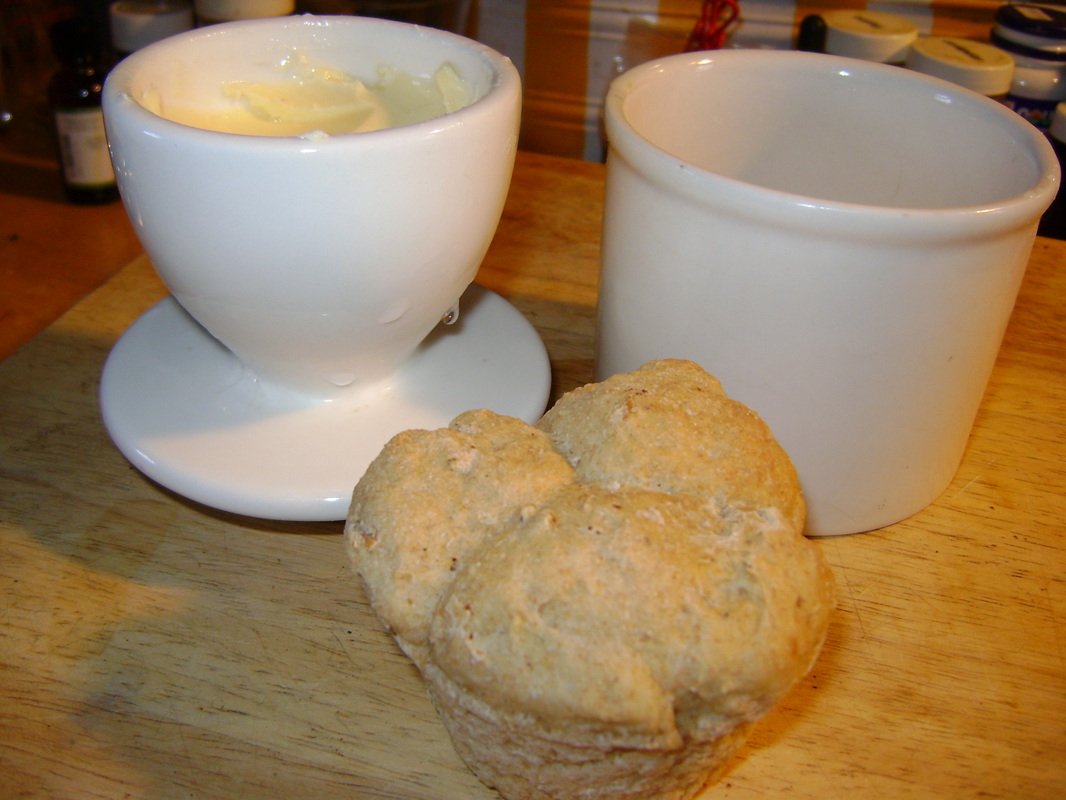
Fill the "bell" shape on the left with butter and the bowl on the right with a little cold water.
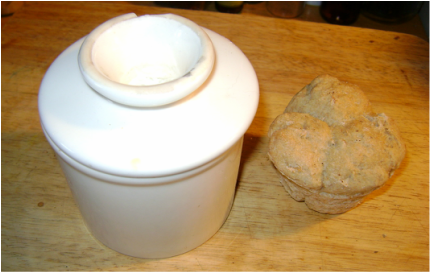
Hang the bell upside down in the water and it creates a seal that preserves the butter.
|
Other Goodies to Make:
The Forgotten Skills cookbook has further instructions on using your butter to make:
- herbed butters (we're thinking of doing this in the Summer and freezing it for use in the Winter)
- the butter pats that are served in fancy restaurants
- ghee (a type of clarified butter used in Indian cooking)
- and other treats that look worth trying.
It also has a whole dairy section, and discusses the different types of milk (pasteurized or un-, homogenized, etc.). It includes instructions on what you can make with milk (straight from the cow or from the grocery store) and includes recipes in which to use your homemade dairy products:
|
|
It definitely looks worth exploring further.