|
RECIPES FOR SIDE SALADS1. Coleslaw
|
From Theresa: We love salads and have one with almost every dinner. Salads add variety, lots of vitamins and minerals and fiber, and help keep us from overeating the main dish. I think of salads broadly, so some of these dishes are cold and some are hot. They are all easy to make. After you've done it a few times, you won't need to measure anymore.
The taste of any of these salads will be enhanced by using fresh, local ingredients from your garden or farmer's market whenever possible.
The vegetables sold in the supermarket are shipped thousands of miles, so are bred for toughness and storage life, rather than flavor.
The taste of any of these salads will be enhanced by using fresh, local ingredients from your garden or farmer's market whenever possible.
The vegetables sold in the supermarket are shipped thousands of miles, so are bred for toughness and storage life, rather than flavor.
1. Homemade ColeslawSlaw ingredients:
Combine all the ingredients in a very large bowl and stir until the mayo and yogurt are very evenly distributed. If you spend sufficient time stirring, you may find that you need to add less mayo, so the slaw is healthier. Taste and adjust seasonings as needed. If I don't like it, I usually end up adding more pickle relish, more vinegar, and sometimes more mayo.
This slaw is also excellent as the main dish of a meal, if it's served over rice. Adding chickpeas would taste great too. If you eat meat, you could add tuna or small pieces of chicken. |
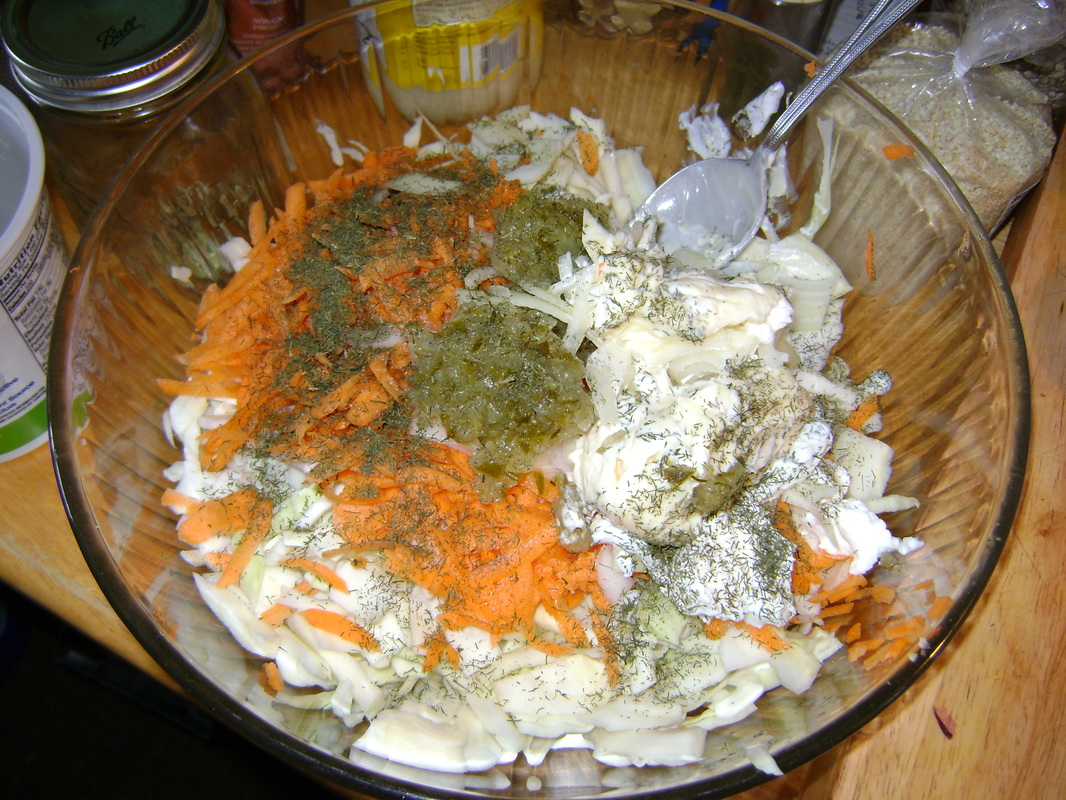
Before stirring ingredients together.
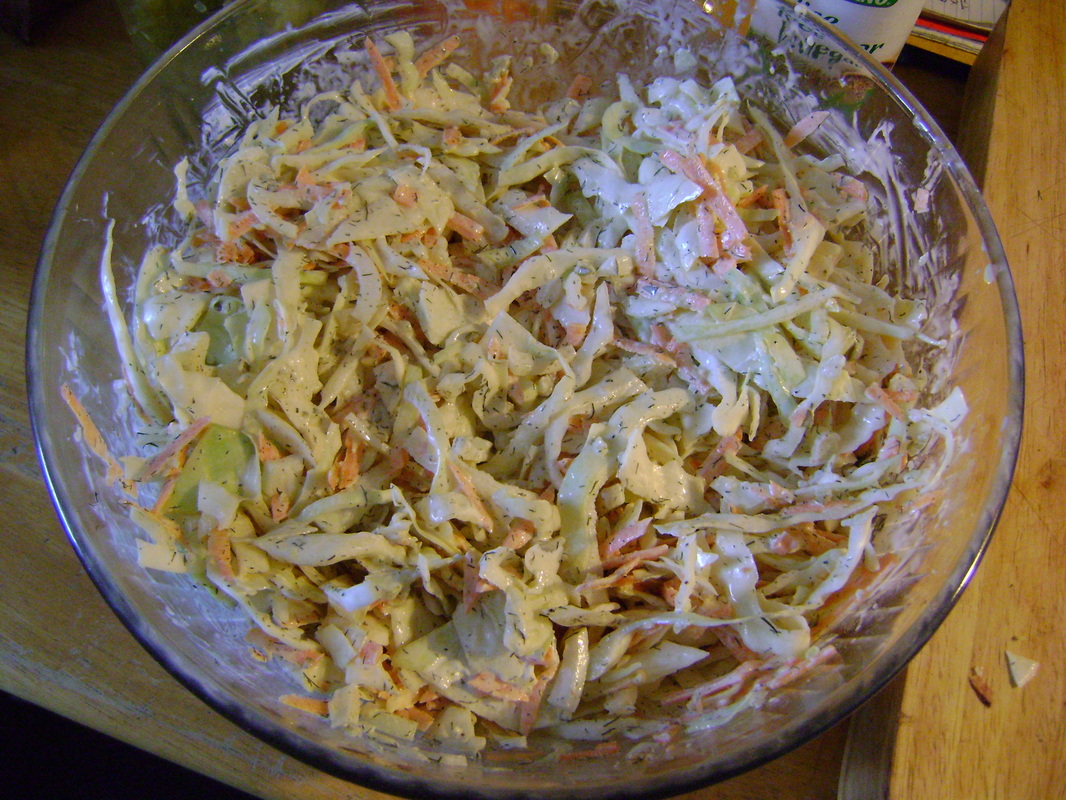
Coleslaw ready to eat.
|
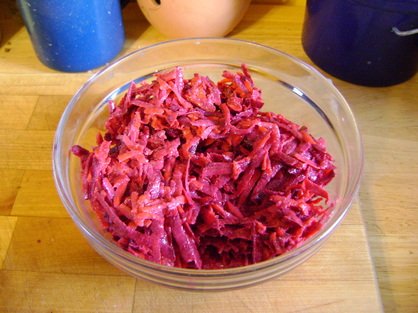
2. Bear's Beet and Carrot Slaw
|
Peel and shred one very large raw beet and two large carrots. You should have twice as much shredded beet as carrot.
To make the sauce, mix together the following (a part is approximately one tablespoon):
|
|
Mix together the sauce ingredients, then add the sauce to the shredded beets and carrots and stir well. Adjust seasoning to taste. It is the sesame oil flavor that should come through most strongly. This sauce might also be good on other root vegetables.
Theresa has made this salad many times since Bear developed it, and in the process, she has started using a simpler sauce that has been well received at the pizza parties where she works. She uses only: 1/2 tbsp lime juice, 1 tbsp Braggs Liquid Aminos, 1/4 tsp brown mustard, and 1 1/2 tbsp toasted sesame oil.
Either way you make it, this is a great Winter salad, since beets and carrots are easy to store in the Fall. We bury each beet or carrot in sand (they shouldn't touch each other) within containers that we store in our unfinished attic, where it stays above freezing but below 45 degrees F during the Winter months. See more details on the page about our attic root cellar. Stored this way, beets and carrots last all Winter, letting you continue to eat locally after the farmer's markets are closed.
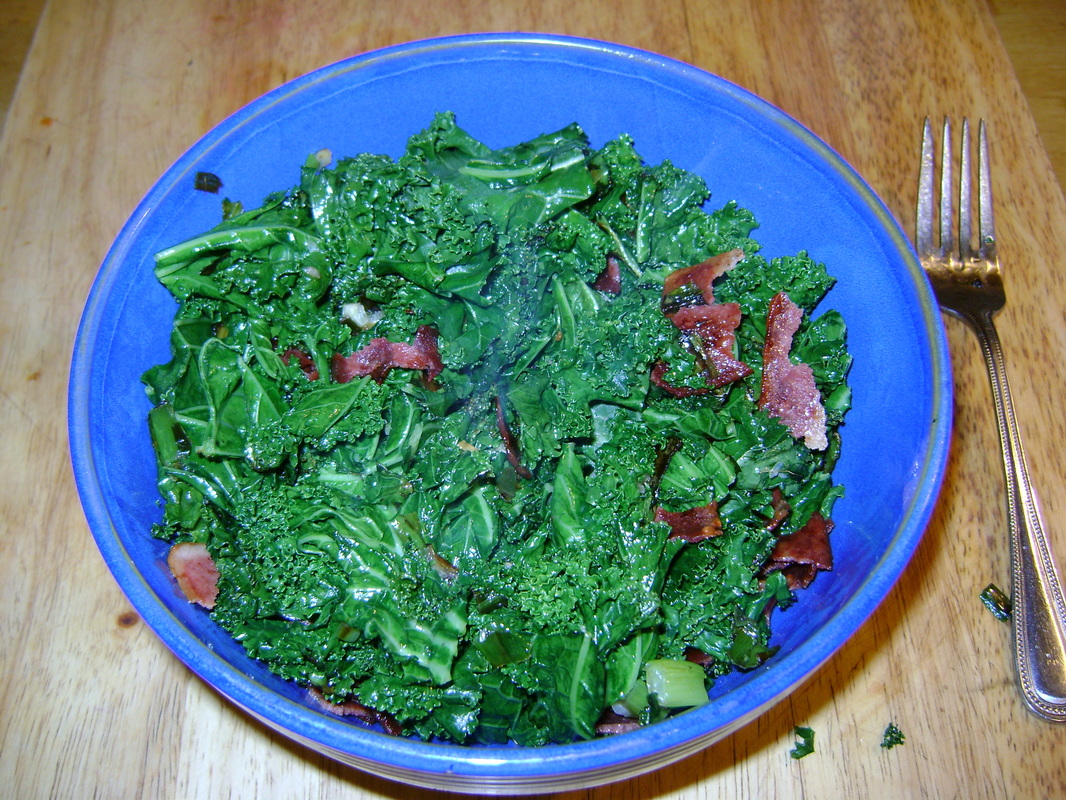
3. Kale and Bacon
- Fry 2 slices of bacon (we use turkey bacon) in a skillet.
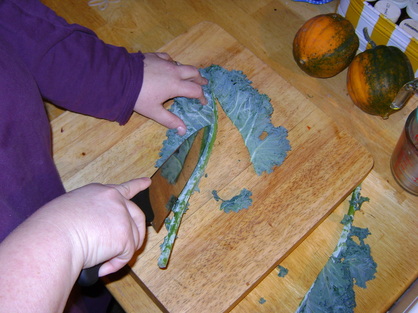
- While the bacon is cooking, remove the stems from the kale. There are two ways to do this, and it gets very easy after you've done it a few times:
|
1. If the kale leaf is naturally folded around the stem, lay the leaf on its side and slice once between the stem and the leaf with a sharp butcher's knife, removing both sides of the leaf at once:

|
2. If the leaf isn't naturally folded, then lay the whole leaf flat on your cutting board, and slice twice to either side of the stem.
|
|
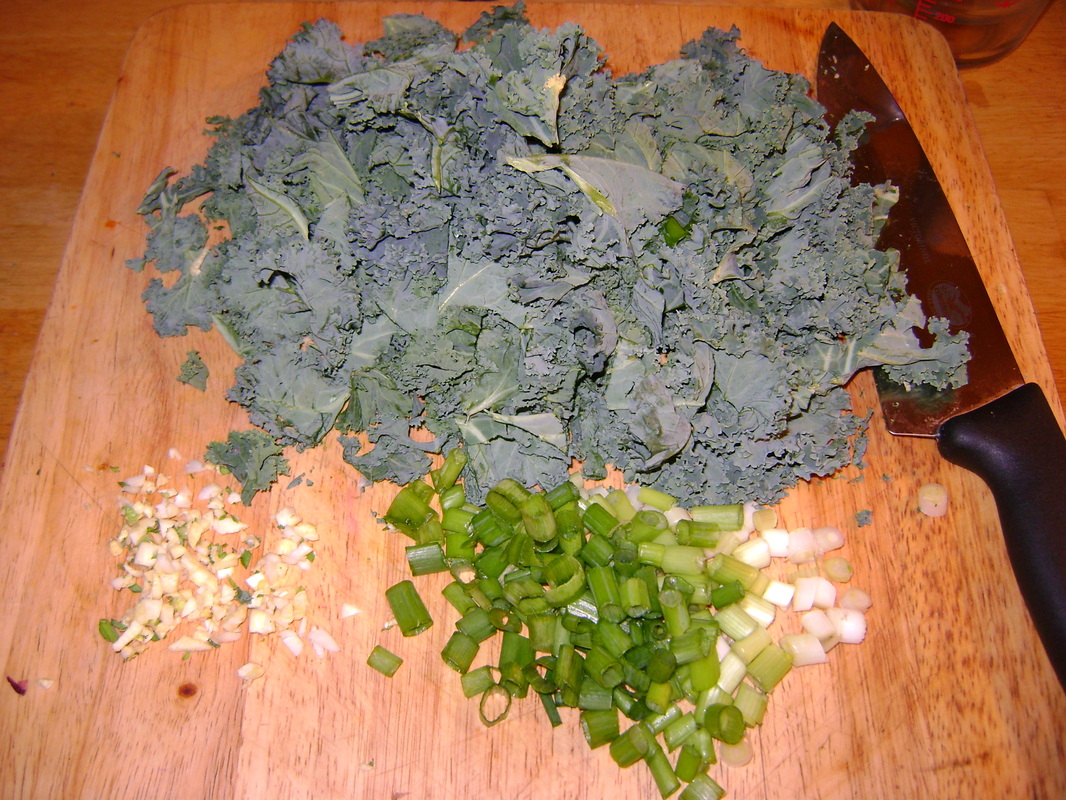
3. Remove all the stems, and slice the remaining leaves in thin strips. Also chop garlic and onions if desired. They aren't necessary, but do taste great, so give them a try if you want to impress someone or convince your family that kale tastes really good. When I'm in a hurry, I skip them.
|
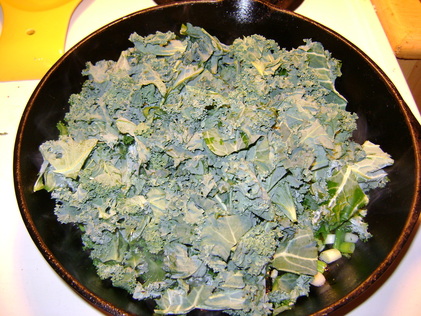
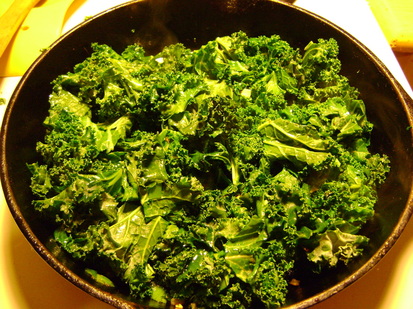
4. When the bacon is done, set it aside. Let the skillet get very hot and add a little bit of olive oil. Add the kale leaves, along with the green onions and garlic. The kale will be a greyish green at this point.
|
|
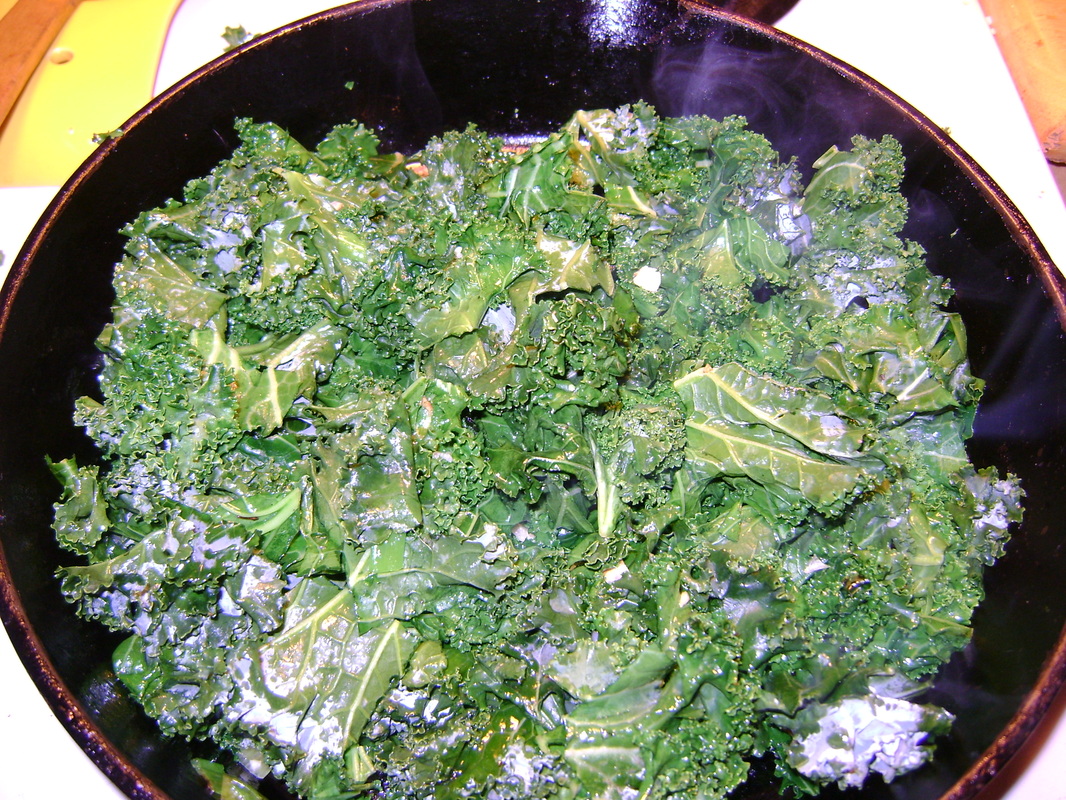
5. Pour a little more olive oil over the kale. Stir to distribute. Most of the leaves will change color, becoming a more emerald, glossy green very quickly because of the oil and heat.
|
6. Put a lid on the pan and cook the kale for a few minutes until the edges of the leaves that were in contact with the skillet are browned a bit. Don't stir. All the leaves will be a little wilted. Remove from heat immediately so it doesn't over cook. If the leaves become a dull green, they were cooked too long. You can still eat them, but they don't taste as good.
|
7. Tear up bacon and stir into kale. Serve while still hot.
Some people also eat the kale stems. They would need to be cooked longer than the leaves so that they become soft.
So far, the stems have been too bitter for us to like them.
Some people also eat the kale stems. They would need to be cooked longer than the leaves so that they become soft.
So far, the stems have been too bitter for us to like them.
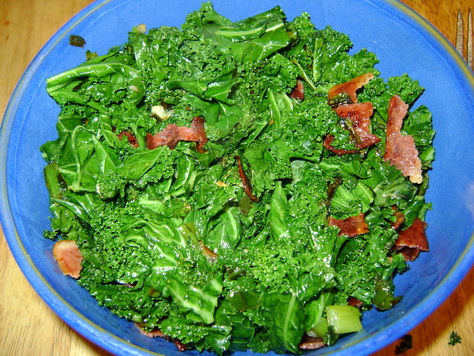
Finished kale & bacon salad.
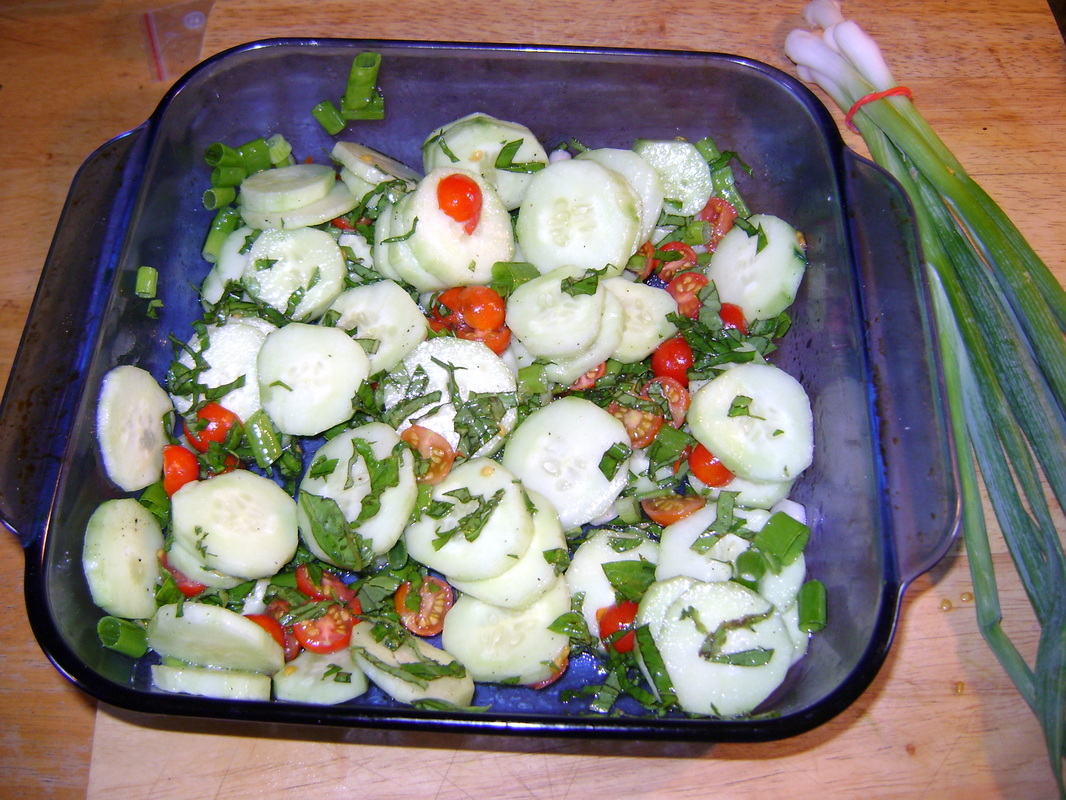
4. Cucumber, Tomatoes, and Basil
This is a Summer salad, good for when your cucumber vines start producing more fruit than you think you can eat. Don't bother making it in the Winter when you can only buy cucumbers at the store. It's also only good with fresh basil- dried does not work well.
This salad doesn't store well, so don't make more than you can eat at one meal. It's also traditional to add mozzarella cheese, if you aren't worried about the extra calories. |
|
5. Cucumber Dill
|
This side salad is also only good if made with fresh Summer cucumbers. It can be stored for a day or two in the refrigerator, but is best eaten right away.