|
A SIMPLE ROOT CELLAR
|
Temperature and HumidityTemperature and humidity are the two things you need to consider when searching for a place in your house to store vegetables. I bought the thermometer shown at right for $10. It measures both temperature and humidity, and importantly, gives you a high and low reached for both. Conditions in any given space aren't likely to stay the same throughout the day and night, so using a thermometer that gives you the range experienced can let you know if it will be safe to store your vegetables in a certain place.
If you read the root cellaring book I recommend below, you'll see that the ideal temperatures and humidity ranges needed for each type of vegetable can get very complicated and are not likely to be found in any one space. I found some more general guidelines from an issue of Mother Earth News that were less intimidating and easier for a beginner to use. Here are the temperature ranges you're looking for:
I put the thermometer in various places for several days in our house during one Winter, and found these temperatures:
Humidity:
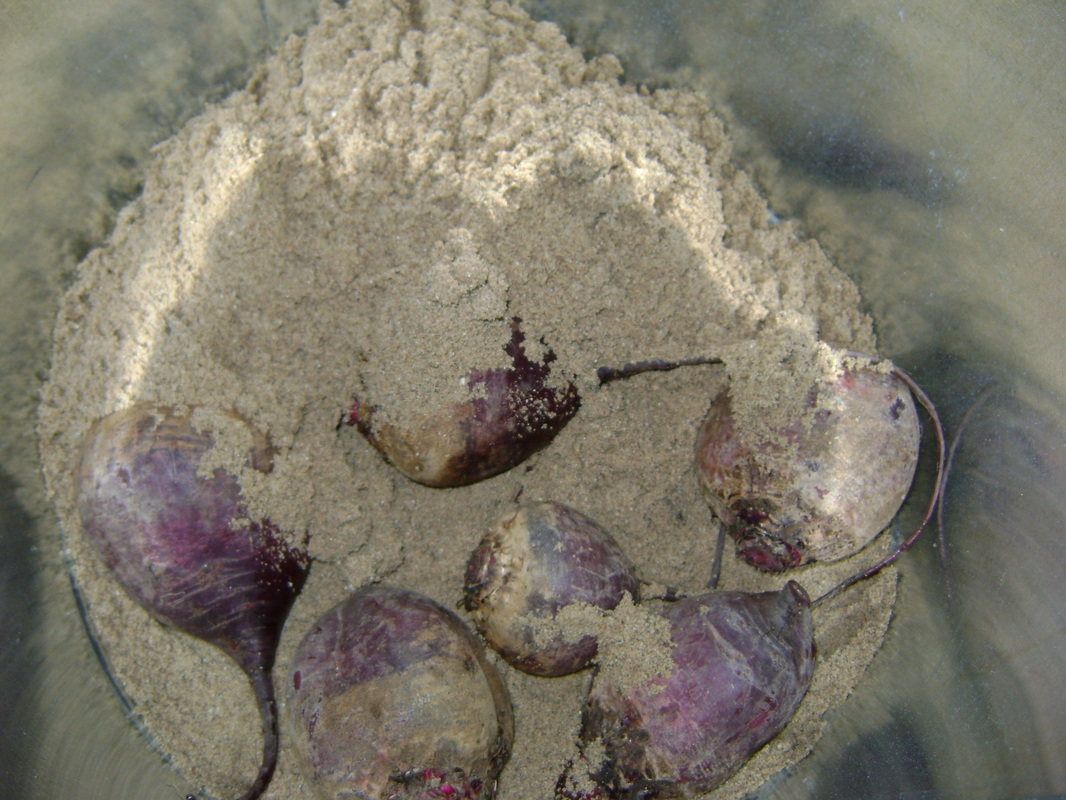
You can also try to get very specific about the levels of humidity that are good for each type of fruit or vegetables, but I've found that the most important thing is that some foods need high humidity so that they don't dry out in storage. This is true of all the vegetables I've listed in the 32° - 45° temperature range above. To provide high humidity, we store sunchokes, carrots, and beets in damp sand (see how below). Some day I hope to also store apples and cabbage, which according to what I've read, should be stored in perforated plastic bags to maintain humidity (but I have to wonder what they did before plastic was invented?). Cabbage, if you grow it yourself, can also be dug up, rooted in damp sand, and stored that way. |
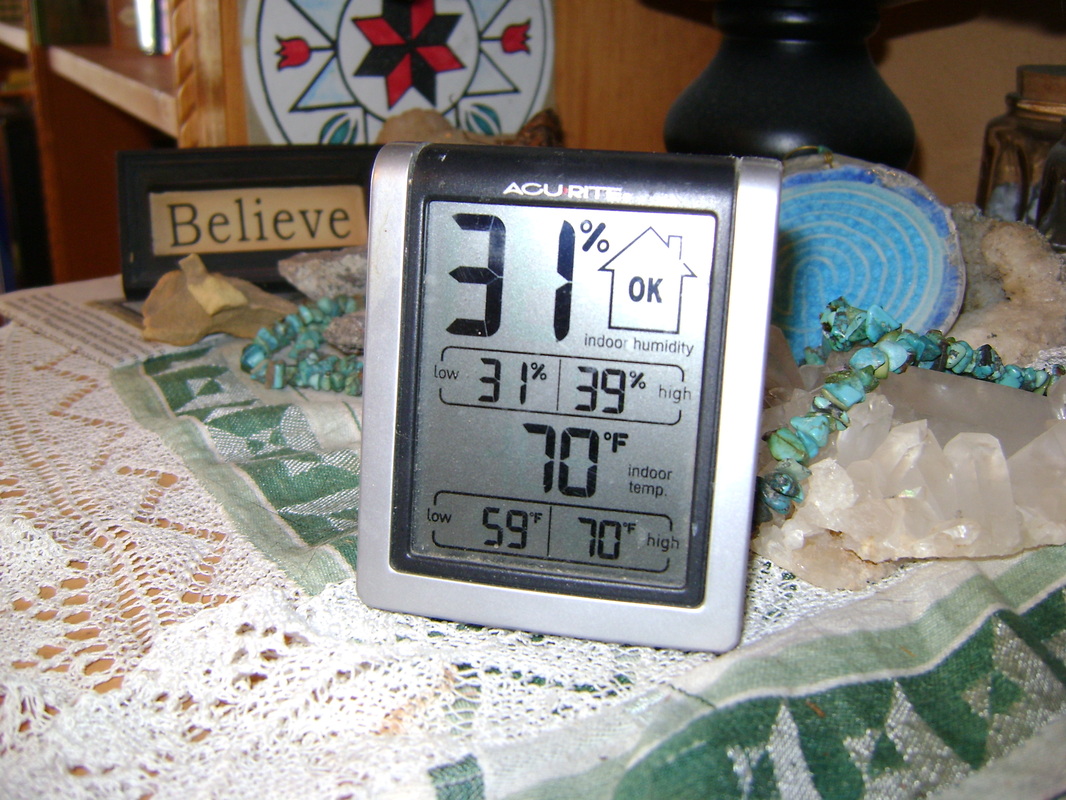
Use a thermometer that gives highest and lowest readings of temperature and humidity to find what areas in your house are good for vegetable storage.
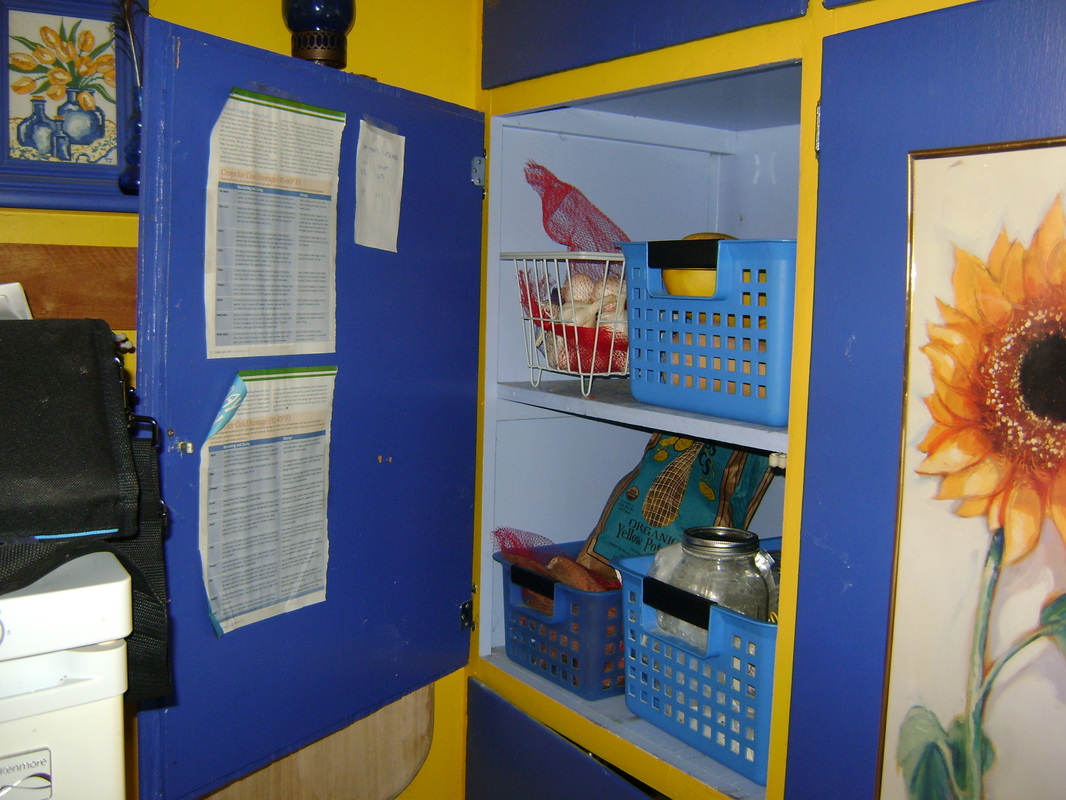
This kitchen cupboard against an outside wall is cool enough to store squash, potatoes, and garlic.
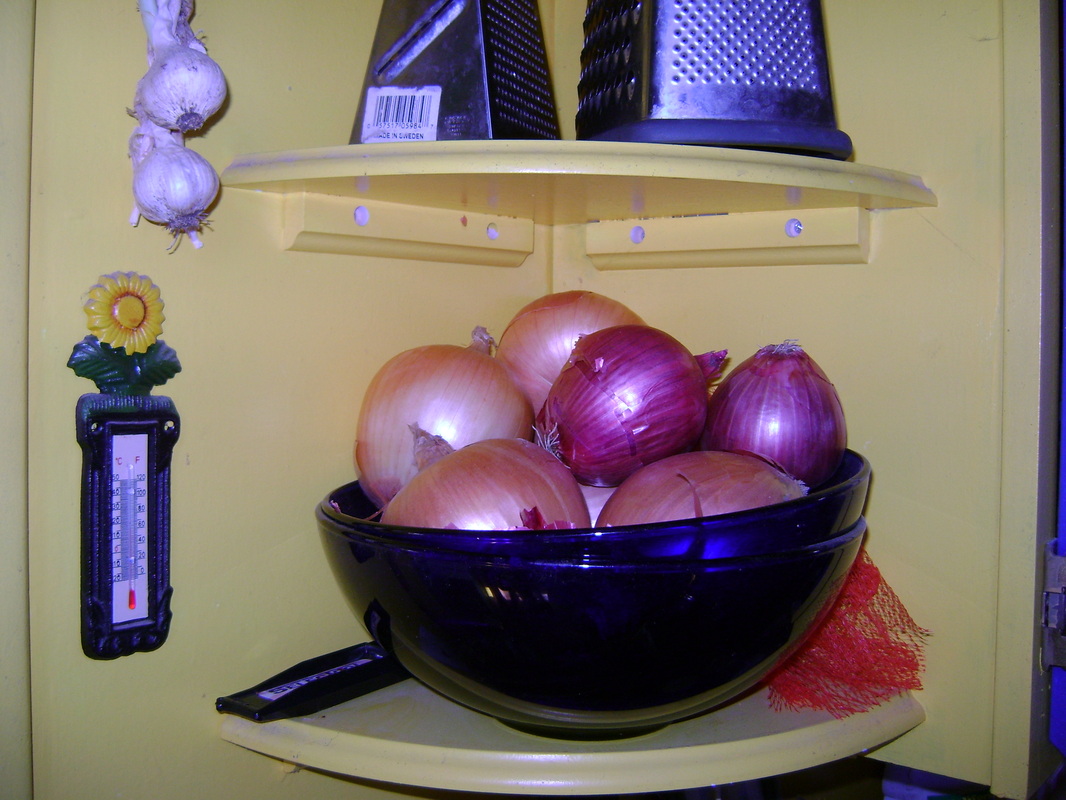
We store our onions out of the shelf since we eat them so fast.
|
Our Attic Root Cellar:
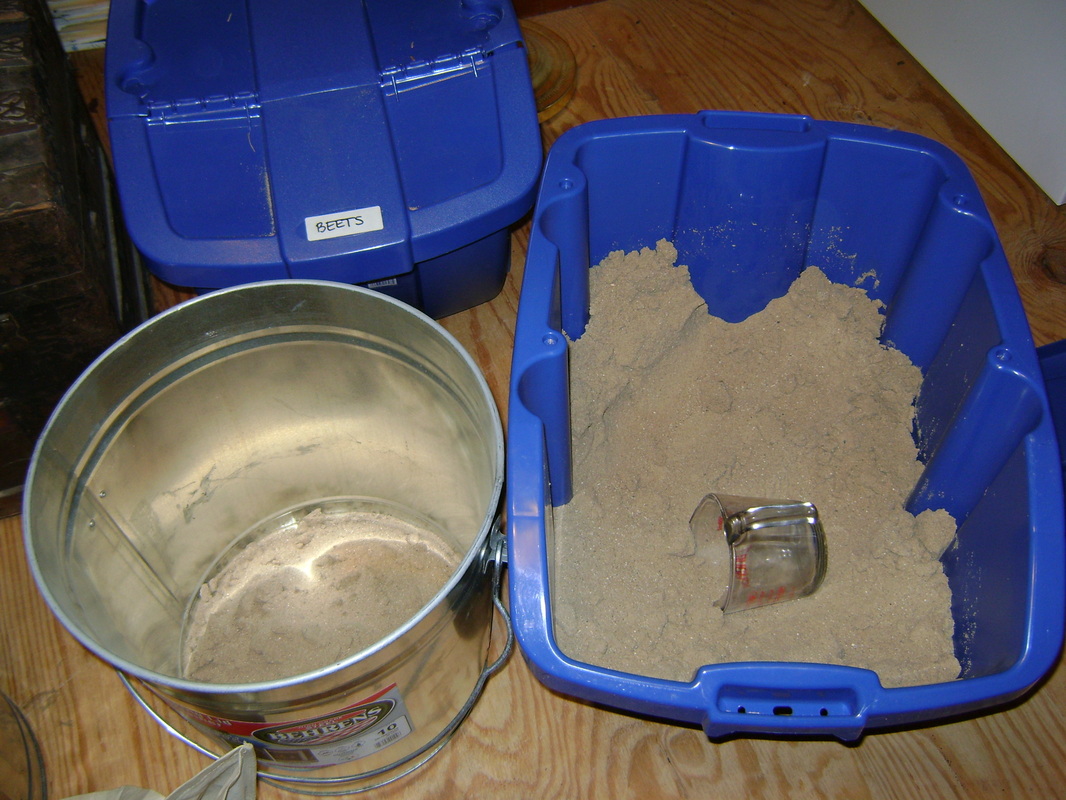
Sunchokes, Beets, and Carrots Stored in Damp Sand
|
1. We have used two types of containers to store these vegetables: plastic, stackable recycling bins and 10 gallon high grade, galvanized steel trash cans that are sold to hold animal feed and bird seed. I have concerns that neither should be used for food storage, but they are the best options we have found so far, and we have not noticed any problems. We do try to make sure that the food we store in them does not touch the sides of the containers.
|
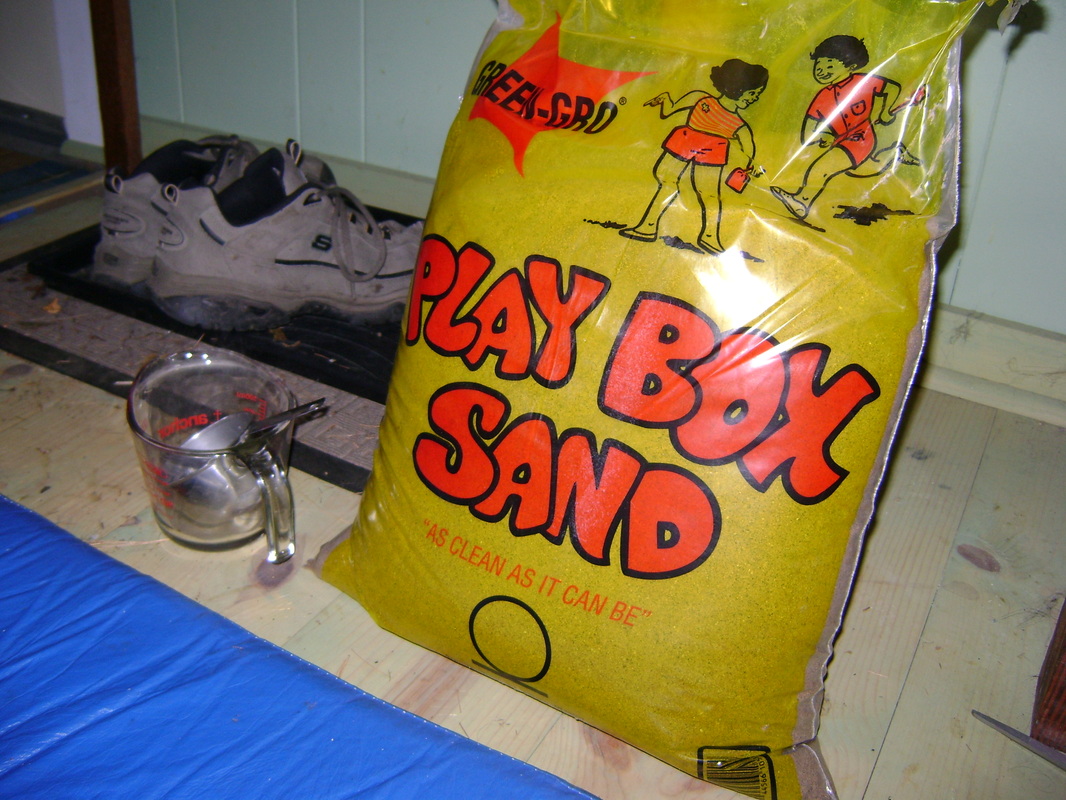
2. Be sure to use only playbox sand, which is supposed to be child safe, for vegetable storage, as construction sand can have things in it that you wouldn't want to eat accidently.
|
|
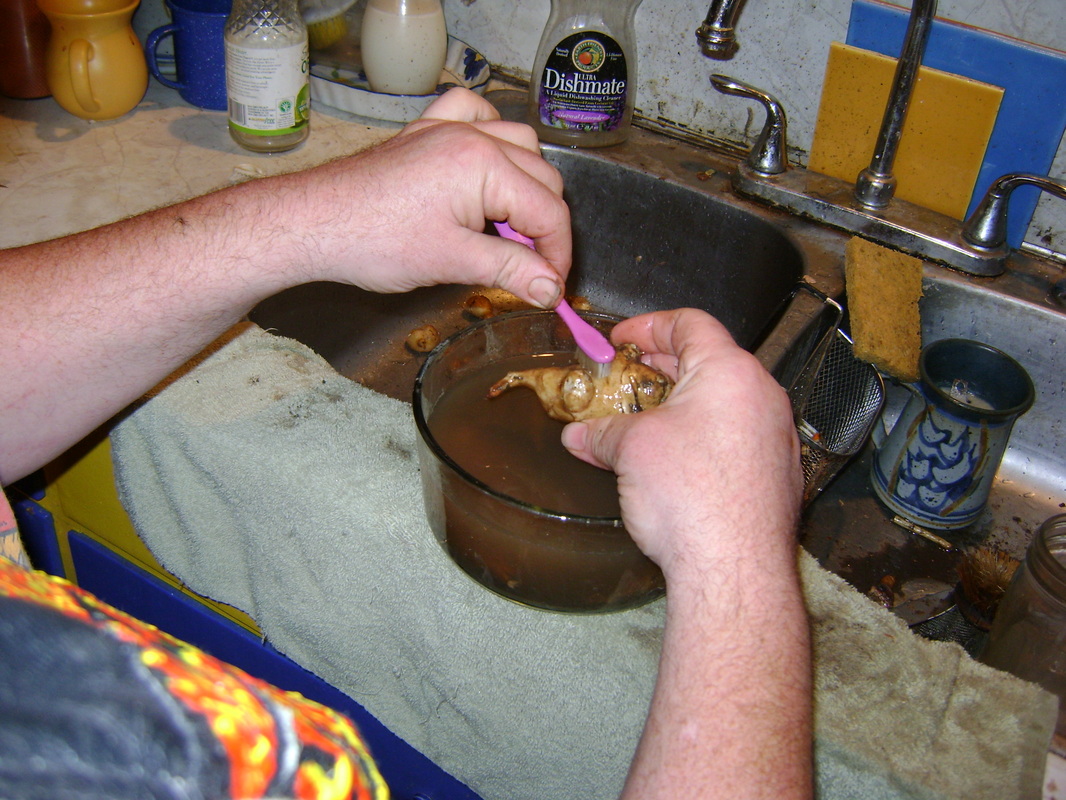
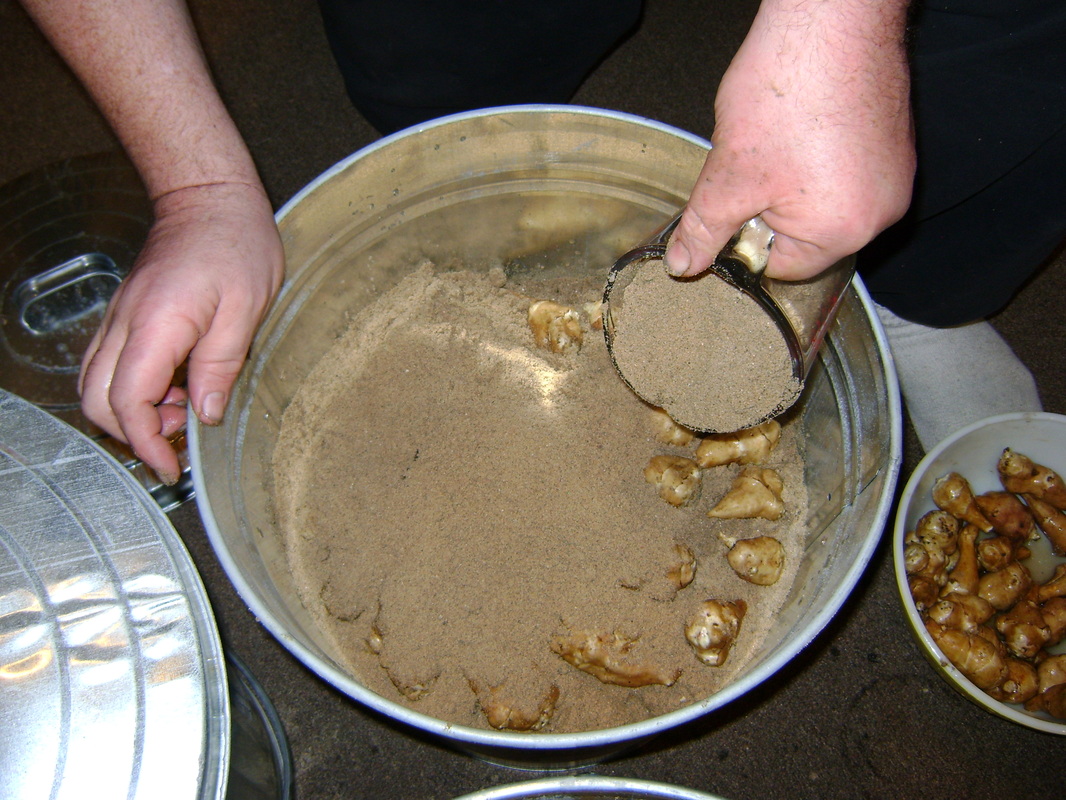
3. To store sunchokes, begin by washing the dirt off them. Bear likes to use a toothbrush, I use a vegetable scrubber.
|
4. When your sunchokes are cleaned, put a layer of sand on the bottom of your storage container. If you're using sand straight out of the bag, it will already be damp. If you're reusing sand that has dried out, be sure and sprinkle water on it and mix it up so that everything is slightly damp.

|
|
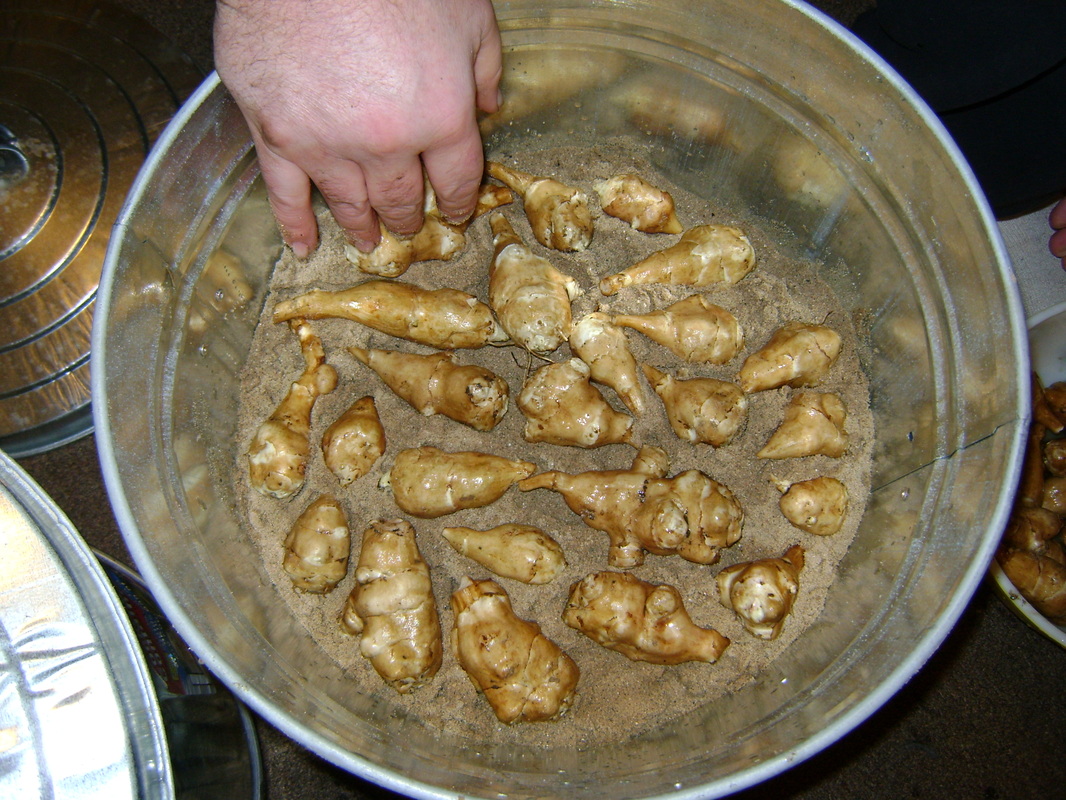
5. Begin putting a layer of sunchokes on the sand, leaving some space in between each choke.

|
6. A completed layer:
|
|
7. Cover the layer with sand.
8. Repeat with more layers, until you've filled the container. Note that if you need to move the container, sand gets very heavy, so you may not want to fill the container to the top. Bear (aka Og) can carry a sand filled container to our attic, but I can barely move it a foot.
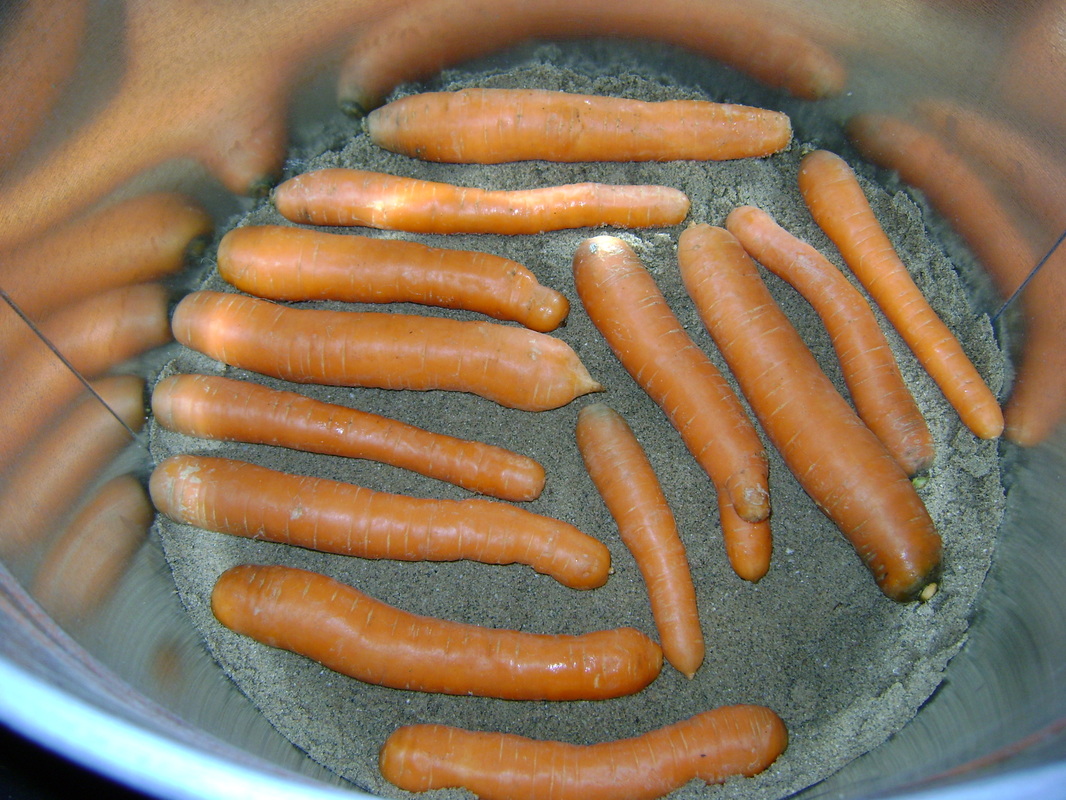
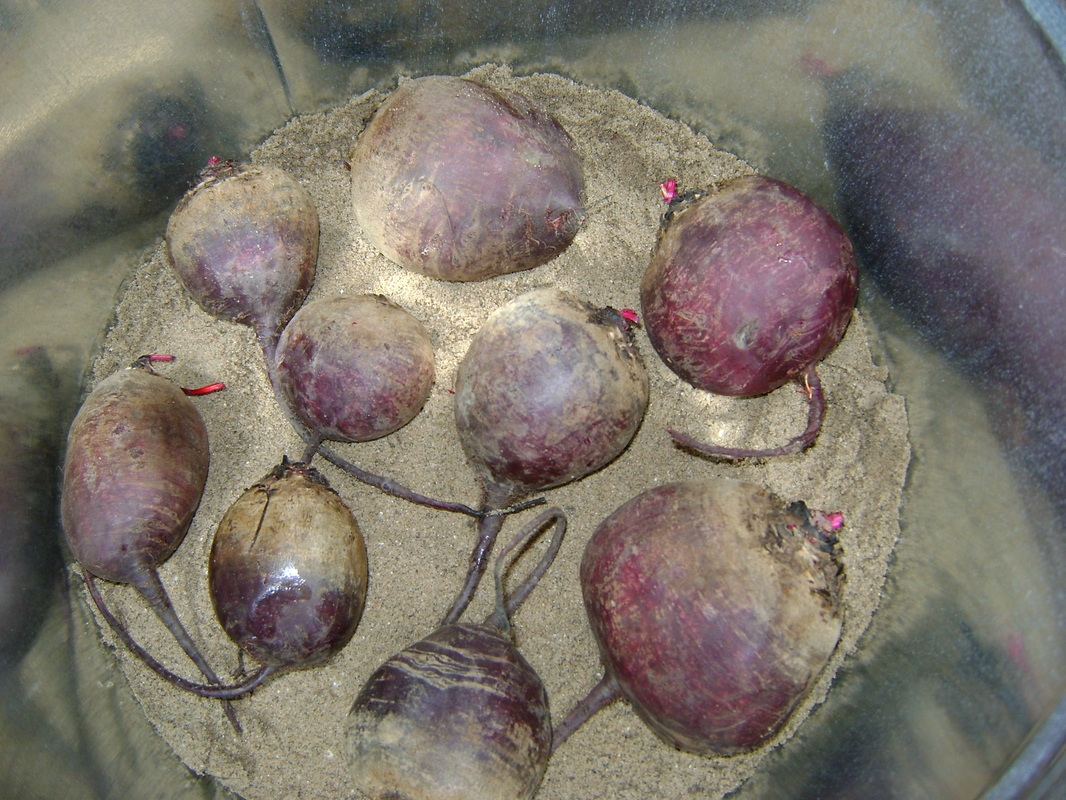
9. We have used the same method with carrots and beets:
|

|
|
|
|
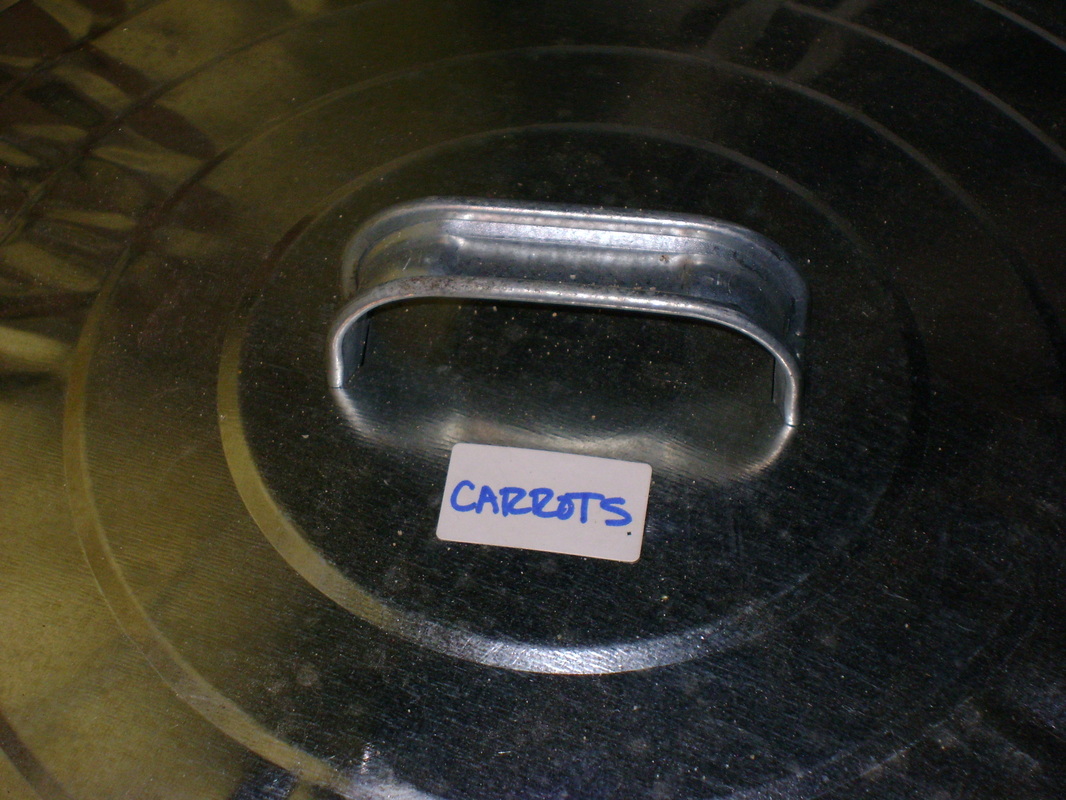
10. Label your containers so you can find what you want (it will be buried in sand, so you won't be able to tell by lifting the lid).
12. Other Tips:
|
11. We put several containers in our unfinished attic. This is in the area that has fiberglass insulation, which of course is also not ideal for food storage, so we are considering enclosing an area in our attic to use as a root cellar.

|
Problems with this Approach:
- Containers of sand are really heavy: I've read that other people use cardboard boxes and damp sawdust, which would be much lighter. We can't use cardboard because we have small mammals in our attic (since it's not safe to let the cats in there). Apparently you can buy sawdust at the hardware store, but I haven't looked into it. You would need to be confident that it was not made from any treated lumber, which has lots of poisonous things in it. I wonder if damp leaves would work instead? I've read that walnut leaves, which we have in abundance, keep mice away.
- Plastic bins can break: The plastic recycling bins we used were lighter and stackable and worked fine for one year, then the top bin cracked from the weight of the sand. We could have remedied this by putting some wood inbetween the containers that would support the top bin.
- The attic isn't cold until November: The attic usually does not get cold enough for vegetable storage until early to mid-November, and as soon as it warms up in Spring, in late March or early April, it gets too hot. This is a problem if you're harvesting in September. The perennial vegetables we grow (sunchokes, skirret, groundnuts) can all be harvested after the first frost or two, so the attic is usually cold enough at that point. The veggies we buy (carrots, beets) come from the last farmer's markets in our area, which are in late Oct./early Nov. If it's not cold enough at that point to store things in the attic, we keep them in the refrigerator until it is. If we built an actual root cellar in our basement, we could have a longer storage season because we could have some control over the temperature. We could open the cellar vent at night, when it starts to get in the 40s (degree F), letting in the cold air, and close it during the warmer days so that cold air keeps everything cool enough even if it's still in the 60s during the day.
Don't Forget to Check Your Stores!
Root cellars all need to be monitored throughout the season to make sure that the vegetables aren't rotting. The sooner you remove one rotten vegetable, the less likely it is to affect the vegetables around it.
Also check to see if your vegetables have started growing, which can happen in our attic when it gets too warm in the Spring before we have eaten all our stores:
Also check to see if your vegetables have started growing, which can happen in our attic when it gets too warm in the Spring before we have eaten all our stores:
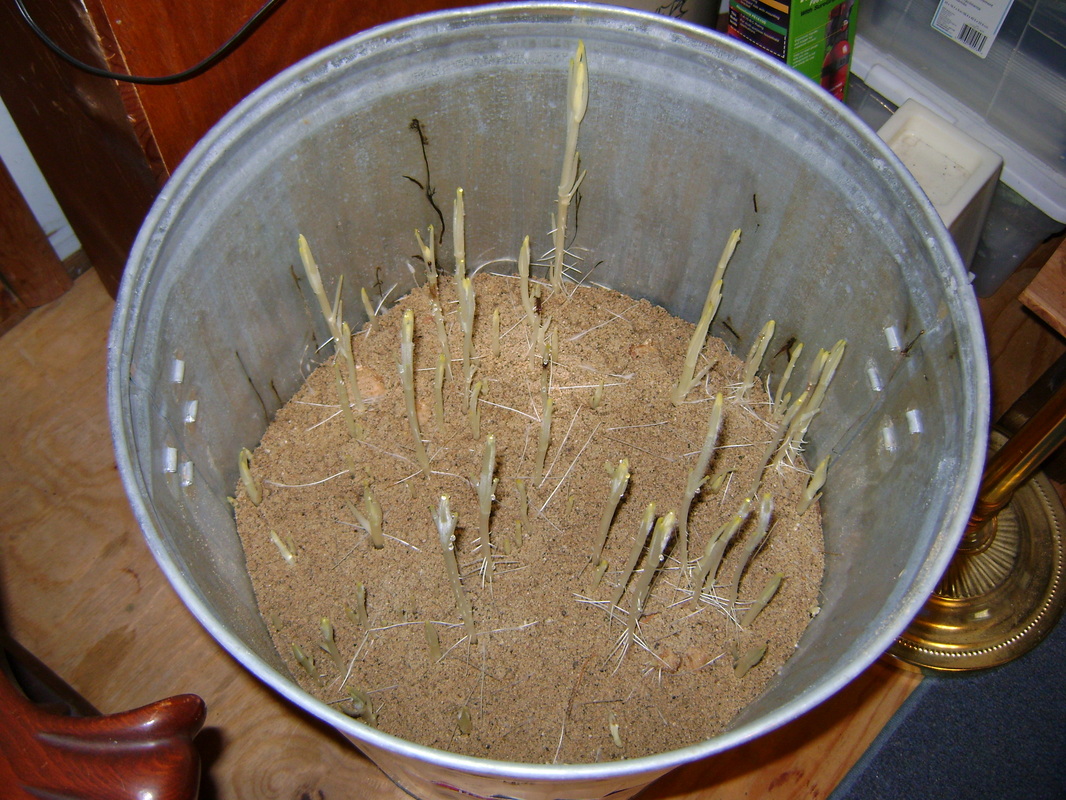
When the attic warms in Spring, any leftover sunchokes will start to grow.
|
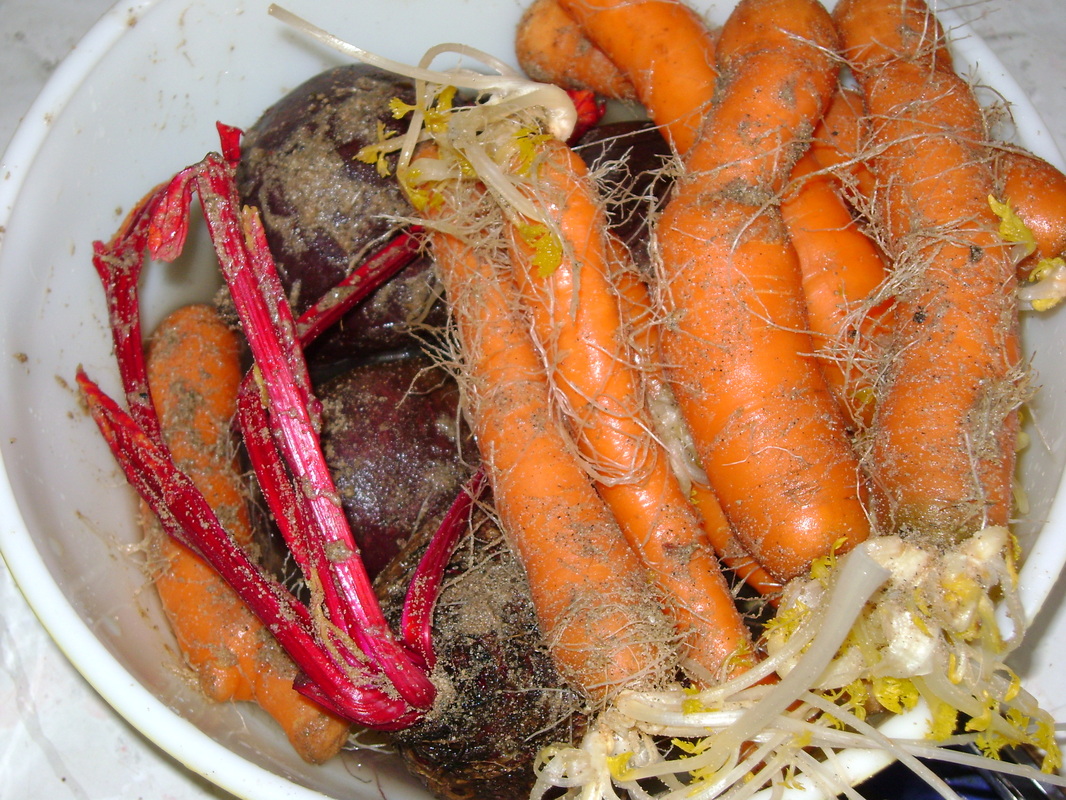
The same happened with these carrots and beets.
|
How Do You Use What You've Stored?Don't store anything you don't like to eat, right? Otherwise you won't use it up. Winter squash are so easy to store and so cheap at the last farmer's market that I often overdo it. Since I haven't yet worked a lot of squash recipes into our cooking routine, I've had a lot of it spoil. We do much better with the root vegetables, though, and here are some of our recipes:
|
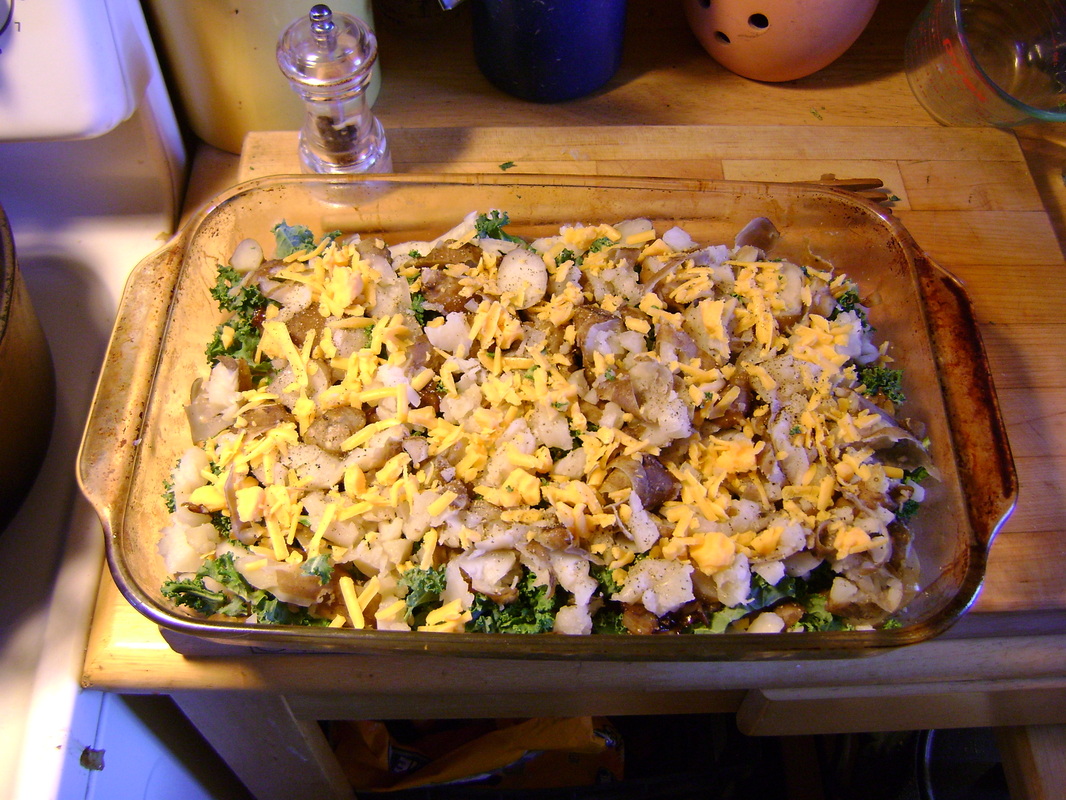
Sunchoke colcannon (sunchokes, kale, onion & cheese) before baking.
|
Other Considerations:
We've found the above approaches to be very easy to implement, and I recommend you just try it with a small amount of vegetables and see what happens. There are other things you can consider if you'd like to get more complicated:
- Put the bigger/ better roots on the top to eat first in case you forget about them and don't eat every thing.
- At first, Bear made sure there was lots of sand between each vegetable and between each layer, and kept the vegetables at least 1" from the sides of the container, but now he has a new philosophy: You don't need as much space between everything. Better food than sand!
- Unblemished vegetables store the best. If you have some with nicks in the side, they are likely to spoil, so eat them first.
- Some varieties of vegetables store better than others, so if you are storing vegetables that you've grown yourself, you'll want to plant storage varieties.
- There are many more types of vegetables that can be stored in root cellars. Check out the book below for more information.
Suggested Resource:
 |
Root Cellaring: Natural Cold Storage of Fruits & Vegetables
by Mike and Nancy Bubel, 199 ISBN: 978-0-88266-703-4 This is the book I read to learn about root cellaring. It is pretty comprehensive and includes:
|