Our Tiny Homestead
  • Home
  • Inside
    • Buy Nothing Challenge >
      • 2014
      • 2015
      • 2018
      • 2019 & Debt-Free
    • Our Wood Stove
    • Laundry
    • Prepare for a Power Outage
    • Renovations
  • Outside
    • Theresa's Gardening Goals
    • Permaculture 101
    • Perennial Vegetables
    • Eat Your Wild Yard
    • Seed Starting
    • Walnut Syrup
    • Gardening for Wildlife
    • Wildlife Pond
    • Save Our Bees
    • Our Gardens >
      • Celtic Cross Garden
      • Catio Construction
  • Shelf Chefing
    • Bear's Shelf Chefing
    • In Shape Shelfchefing
    • Wild Raspberries
    • Grilled pizza
    • Celebrate Seasonal Eatin >
      • Samhain - Late Fall
    • Cook of Anarchy grilled cheese
  • Cooking
    • Wood Stove Cooking
    • Haybox Cooking
    • Heat wave solar cooking
    • Division of Labor
    • Recipes
  • Pantry
    • Pantry Intro
    • Pantry Cooking
    • Yearly Harvest List
    • Preserving
    • Making Staples
    • Growing Sprouts
    • Building Our Pantry
  • Celebrate
    • After the Pandemic
    • Winter Solstice
    • Mid-Winter & Imbolc
    • Spring Equinox
    • Late Spring & Beltane
    • Summer Solstice
    • Fall Equinox
    • Late Fall & Samhain
  • Our Books
  • Blog
  • About
  • Contact
  • Resources

Weekends Full of Canning & Bone Broth

2/14/2020

Comments

 
Picture
From Theresa:
 
We recently got out the “new” pressure canner that had been sitting unused in our closet for several years, because I hadn’t had the time or energy to learn how to use it. Not that I was feeling guilty or anything about spending all that money on something that was gathering dust, but I am relieved to have finally put it to good use.  We have recently learned to make bone broth, which has opened up a whole new world of flavors for us. We were freezing the broth, though, which meant we had to take it out two days in advance to let it thaw enough to use it in recipes. If we pressure canned the broth instead, it would safely stay on the panty shelf and be ready at a moment’s notice whenever the urge to try a new recipe hit us. So we canned some turkey bone broth with the carcasses we had left over from Thanksgiving.

I had also bought the pressure canner so that we could can beans, so we decided that if we had the canner going, we might as well add beans to the weekend project. We buy our beans in 25 lb. bags at a discount from our local Co-op. In the past, this amount has lasted us for years, but now that we are canning them, I bet we will start to use them more. Just like the frozen bone broth, dried beans need a lot of prep time. They need to be soaked in water overnight, and sometimes cooked separately for hours before you can add them to your dish. Now, with canned beans, we just pull them off the shelf and they’re read to heat and eat.
Our Turkey Bone Broth:
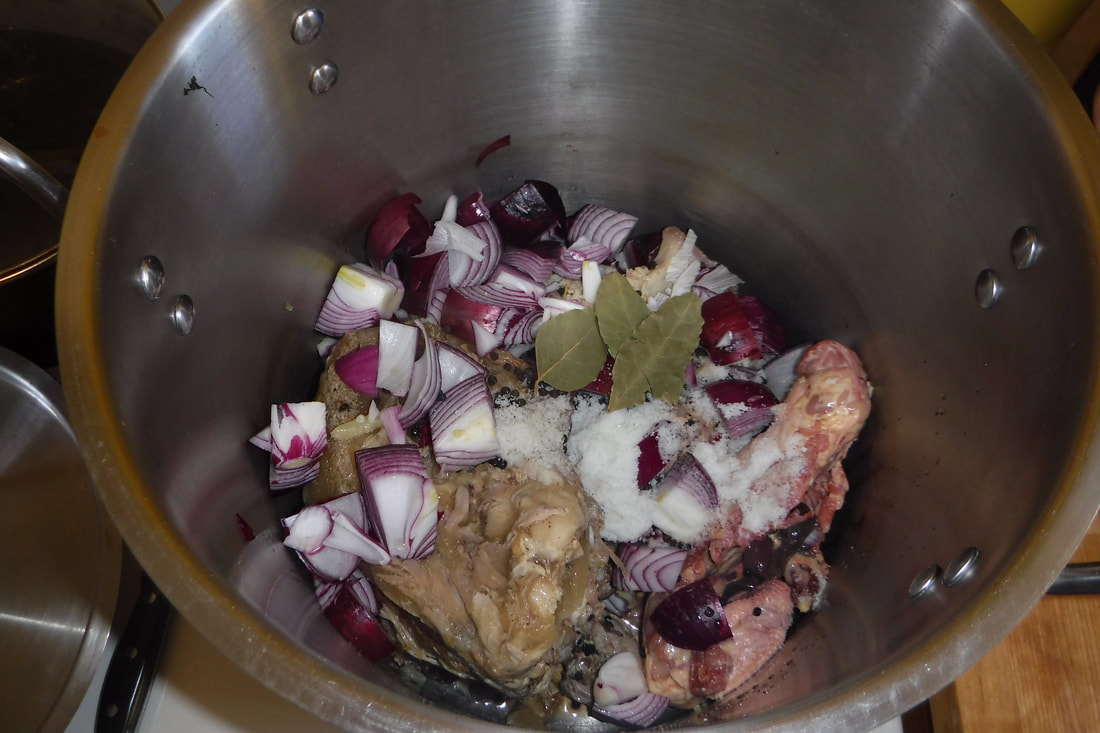
Add turkey carcasses, onions, garlic, bay leaves, vinegar, and salt and pepper, to a large pot and cover with water:
Picture
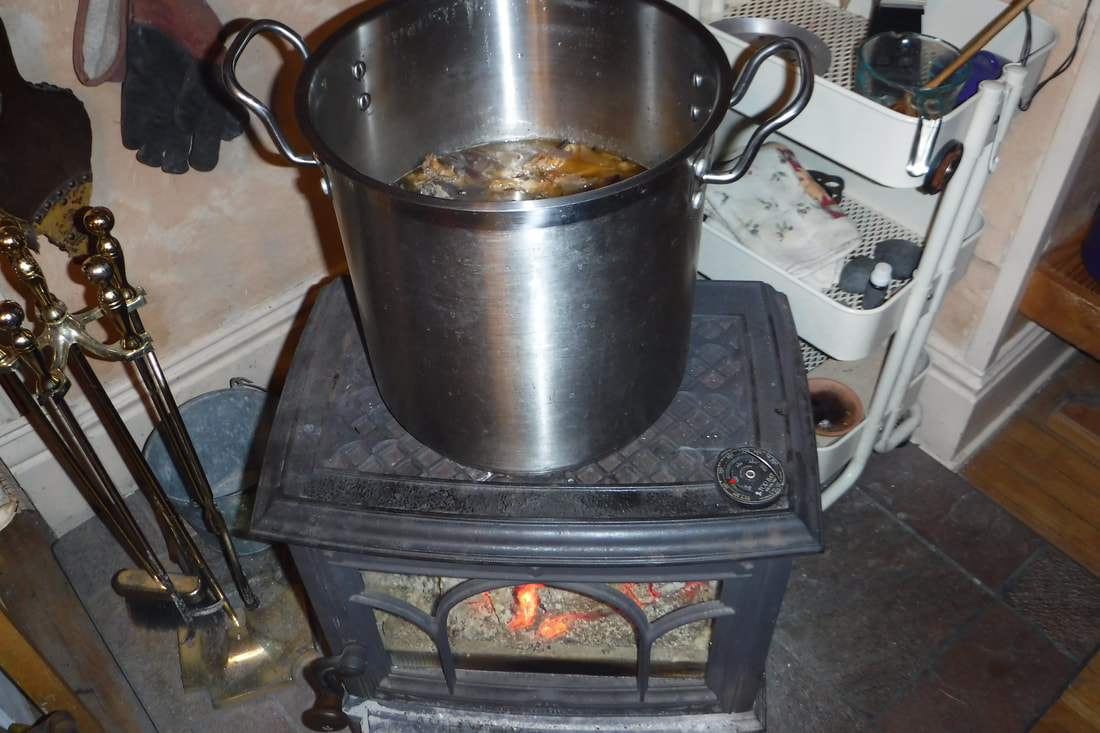
Simmer for two days:
Picture
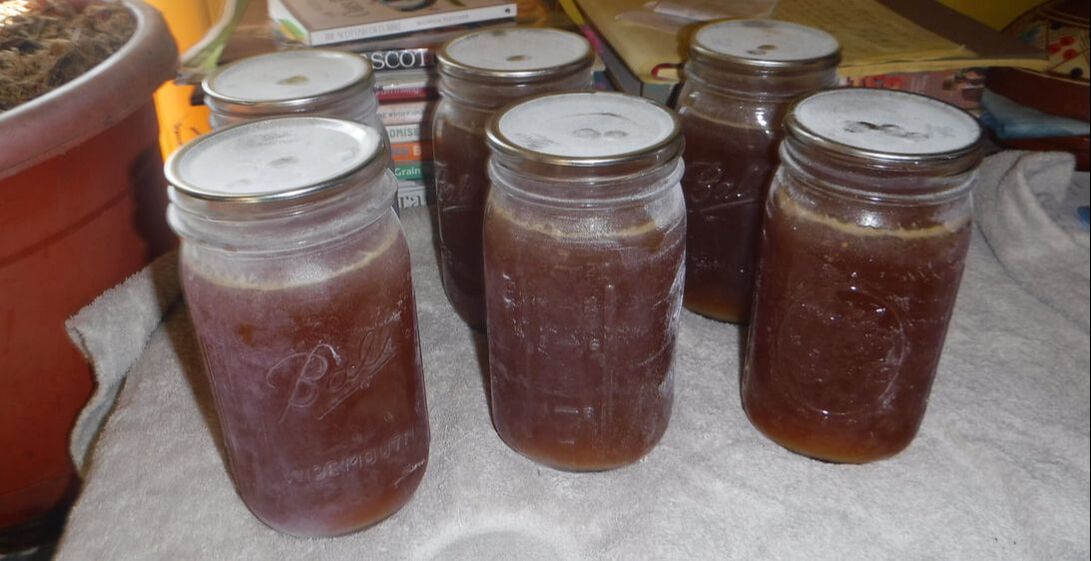
Strain and pressure can:
Picture

Was it Worth the Time it Took?

Picture
We spent three days canning, and although it was lots of time watching pots boil and probably only four hours of actual work, I was worn out at the end and wondered if it was worth our time, since we could have just bought the food already canned from the store. So I did some math:
 
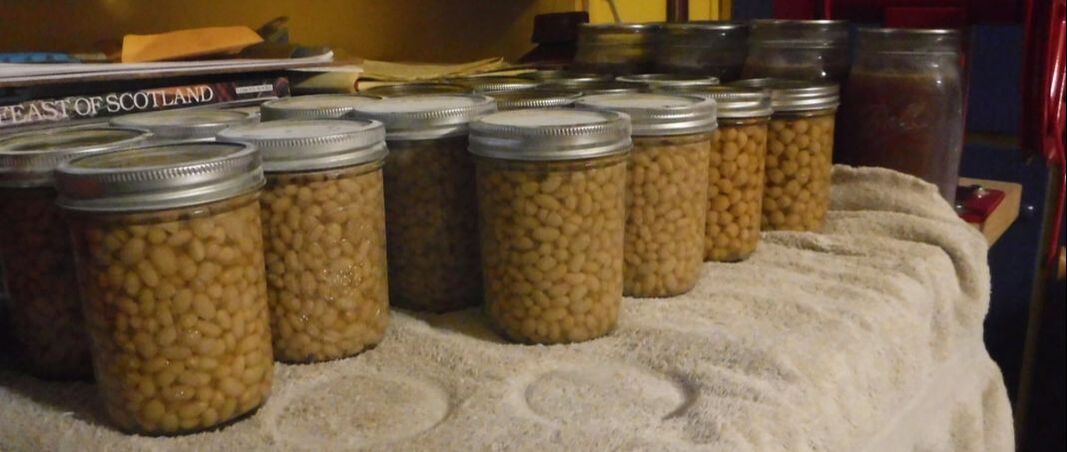
Organic navy beans in the store cost $2.59 per 15 oz. can, which is $.17 per oz. We canned 192 ounces (12 pints x 16 oz each), so in the store it would have cost us
=$32.64
 
Organic chickpeas in the store cost $2.89 per 15 oz can = $.19/oz x 176 (11 pints x 16 oz each)
=$33.44
 
Organic bone broth in the store costs $6.59/quart. We canned 8 quarts, so that’s
=$52.72
 
So to buy everything we canned from the store would have cost us
=$118.80.


I figure we used approximately $12 worth of dry beans and there’s a very small cost for canning supplies, so we still come out over $100 ahead. That made me feel like it was worth it, since I would rather spend my time making the things we need, then spend my time working to make money to buy the things we need. Plus, the bone broth we make is better than anything you can buy in the store.

Our Expensive Pressure Canner

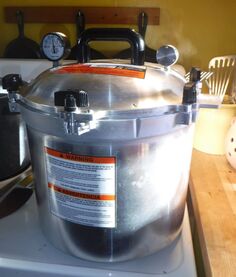
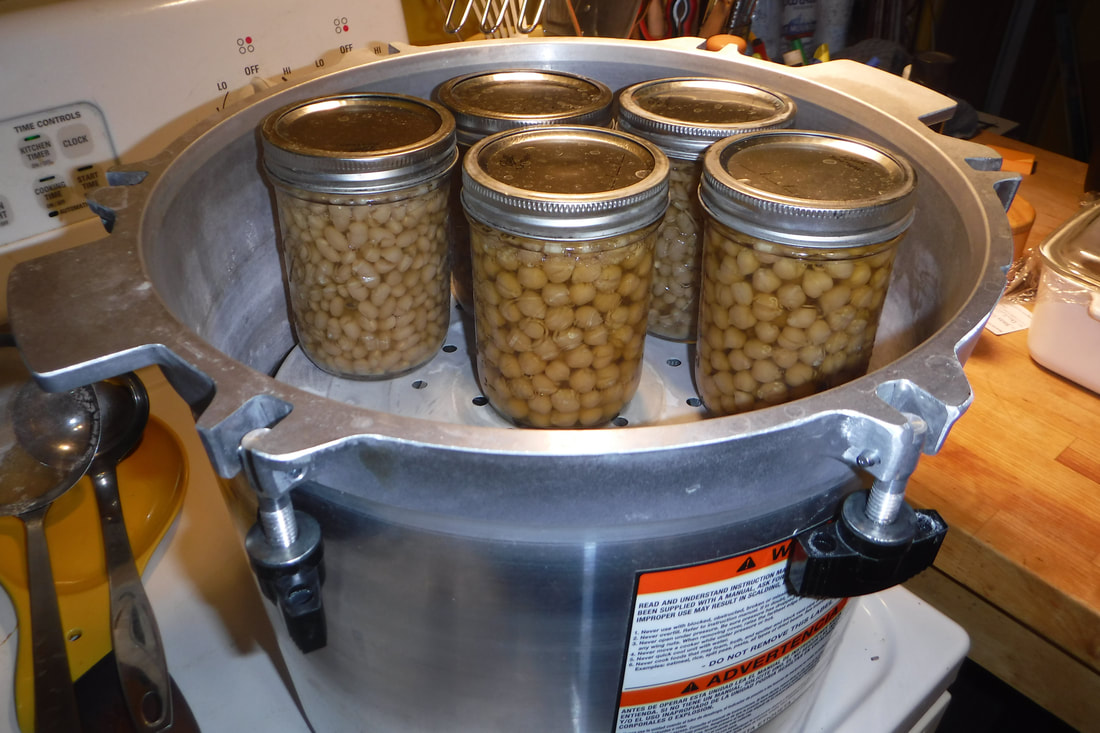
Water bath canners are inexpensive. They are basically a very large pot with a lid and a rack to hold jars. You can often buy them from garage sales. But they can only be used to can high-acid foods, which means mostly tomatoes and other fruits. A pressure canner cans everything else: meats, beans, soups, vegetables. But they are much more complicated machines with lots of safety features, so they are quite a bit more expensive.  After researching my options, I decided I really wanted an All-American cast aluminum pressure canner, which of course was one of the most expensive I found. We bought the 21.5 quart, which is big enough to let us do two layers of pint jars at time.
Picture
Our All-American 21.5 quart Pressure Canner

I wanted this higher-priced pressure canner because it seemed the most self-reliant:
  • It didn’t have a rubber gasket around the rim that would need to be replaced periodically.
  • Although it had a gauge dial for reference, it relied on the weighted gauge to measure the pressure. I didn't want one that only had a dial gauge, because it should be taken annually to your county extension agent for testing to see if it is still reading accurately.
The canner came with pretty good instructions and a helpful DVD that showed us the basics of how to use it. Once I took the time to pay attention, it wasn't at all hard to figure out how to make it work.
Picture
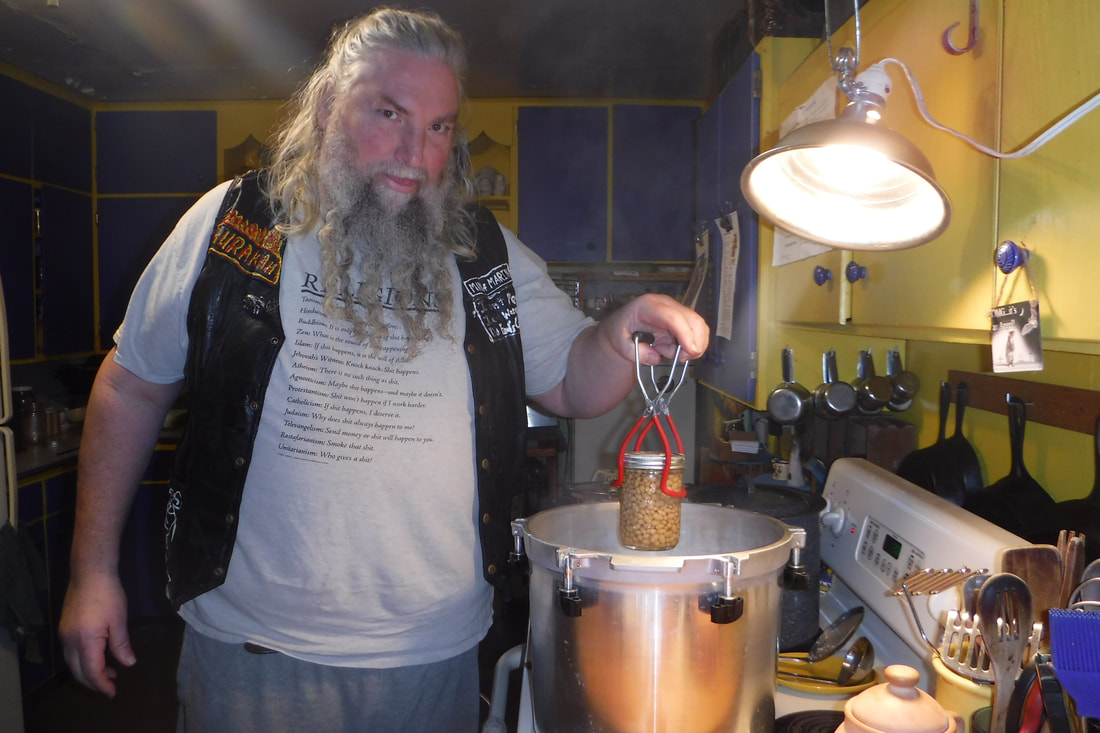
Our canner is big enough to hold two layers of pint jars. This batch has navy beans and chickpeas.

Three Weeks Later:
We're almost out of navy beans & broth

It’s about three weeks later, and as I thought, we only have 2 quarts of broth (out of 8) left, and only 3 pints of navy beans (out of 12) remaining. Having ingredients at our finger tips has made experimenting with recipes much easier, so our supplies are running out fast. We’ve been trying to challenge ourselves to cook from the pantry more, rather than buy food from the grocery store, because we need to save money, so learning to use the pressure canner has been very serendipitous timing (Bear here- good scrabble word, hon...).
 
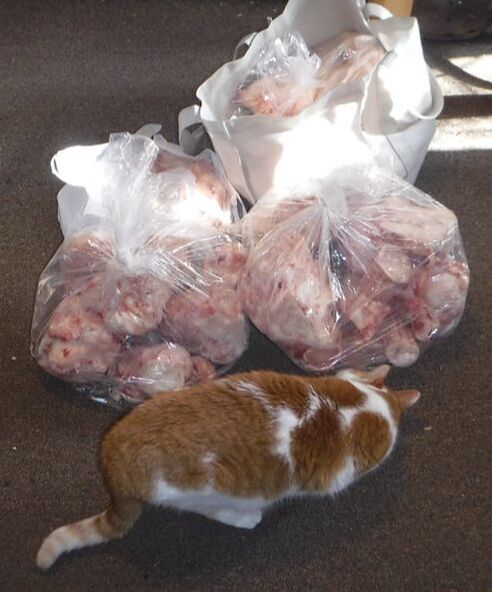
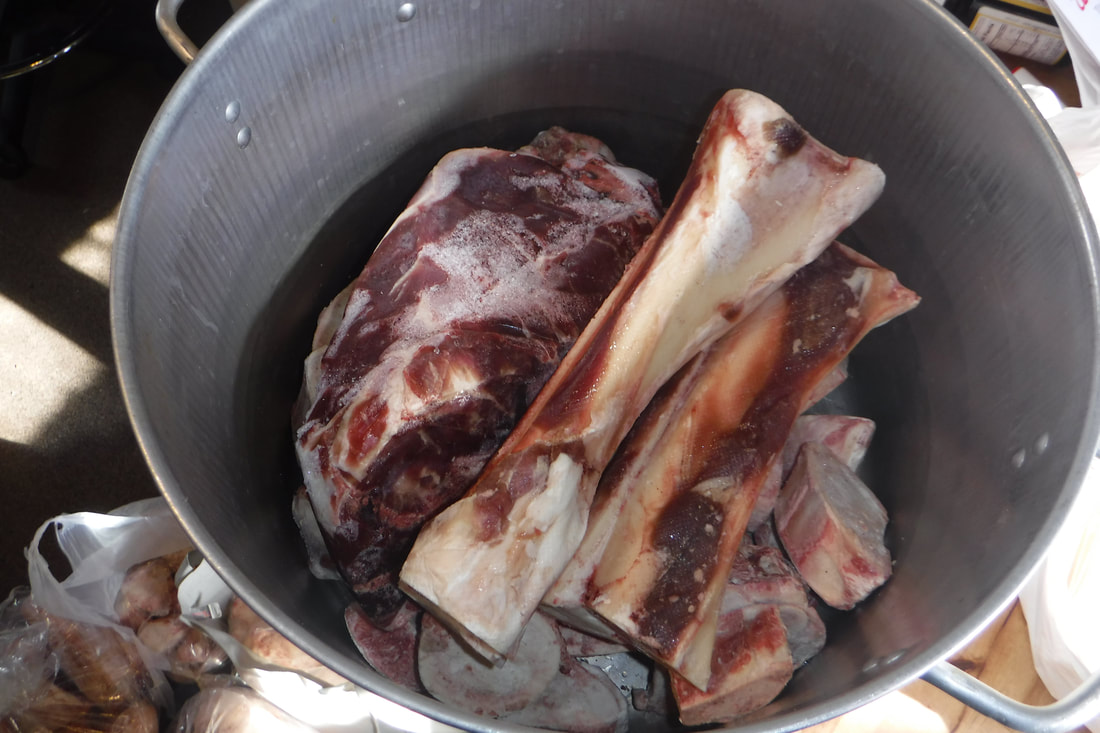
This weekend we are canning beef bone broth. I like its flavor better than poultry broth, and the farmers we buy our bulk organic beef from recently decided to clean out their freezers and gifted us with almost 90 lbs. of bones! We will be making bone broth on weekends for the foreseeable future, since we don't have enough freezer space to store the bones long term. Actually, if we use 14 lbs. of bones per batch, that would be 5 more batches, so it would be good to figure out a way to get two batches going at a time. However, I don’t think we have space in our refrigerator to safely unthaw that many bones at a time.
Picture
Here's about half of the almost 90 lbs. of beef bones our friends gave us.

Why Make Bone Broth?

We have been making "plain" stock for years with leftover chicken bones and vegetables, but I confess that I didn’t notice any flavor difference between adding our stock vs. plain water to our soups. When bone broth became popular, I looked at some recipes and realized there were some things I had been doing wrong when making stock all these years:
  • I needed to simmer the broth much longer. I usually only simmered it for several hours, or however long was convenient that day. I should have been simmering it for at least two days, or ideally, three or four for beef broth.
  • I needed to add vinegar, which has the ability to leach minerals from the bones. You don’t add enough to change the flavor, but enough to extract the minerals that make the broth good for you.
  • I had never made beef broth. We had just made stock from leftover poultry bones, but I think beef broth has much more flavor. We just don’t have hardly any leftover beef bones, so we needed to buy them specifically to make the broth.
 
Bone broth is definitely more flavorful in recipes that plain water. There are a lot of claims about how healthy it is, but I don't worry a lot about whether those are true, because we would make bone broth just because it tastes so good. Even if you just drink it straight without adding anything to it, it is so tasty it seems like a really nourishing meal in itself. It seems like something your grandmother would give you to make sure you stay healthy.
If you want to do more than drink it straight, though, it can be used in endless ways. If you are making a recipe that calls for any water, you can substitute bone broth instead, and it will add flavor. So don’t just think about adding it to your soups. For example, it is great when used to boil oatmeal. Add some bacon and parmesan cheese and you’ll have an amazing savory breakfast. We got this idea from Healing Bone Broth Recipes by Sharon Brown. It's a book about the Paleo diet, which we're not really into, but it's full of ideas for how to use your broth.
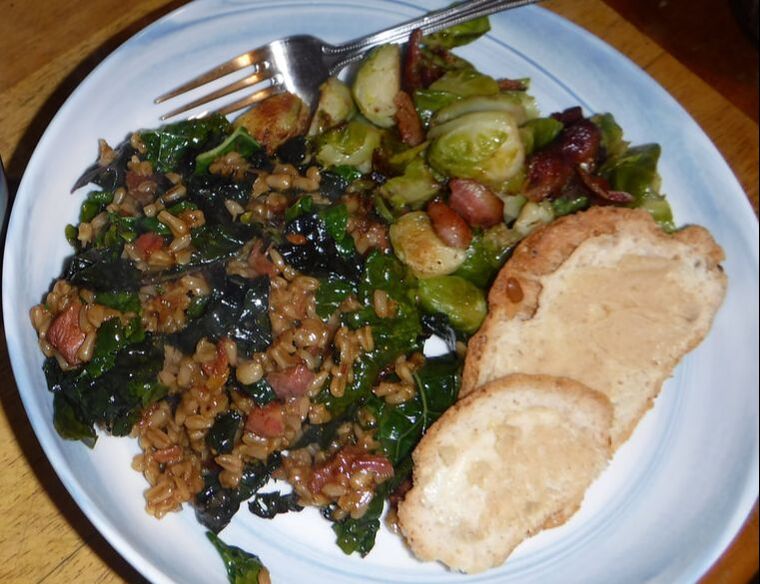
As part of our pantry challenge, we have cooked groats (whole oat kernels) in bone broth to create a pilaf, then added veggies and a little meat. It has been amazing. We are basing our oat experiments on recipes from The Scottish Oats Bible, by Nichola Fletcher, which Bear brought back from Scotland. We are sure that as we go on to experiment with barley, rice, and other grains, that cooking them in bone broth will also add incredible flavor.
 Pork and Kale and Knockit Corn (aka groats) recipe from The Scottish Oats Bible:
Picture
Groats (aka whole kernal oats) boiling in beef bone broth.
Picture
The finished recipe with a side of brussel sprouts and bread.

Our Beef Bone Broth Recipe

Makes 6- 8 quarts.
 
Days before:
Unthaw bones in the refrigerator (it takes a couple days).
If you have a water filter, make sure you’ll have enough water from it to use in the broth.

Ingredients:
  • 7 lbs of mixed beef bones  (Such as knuckle or neck bones, oxtail, short ribs, soup bones. Include at least one that has some meat on it.)
  • 16 cups filtered water 
  • 3 onions, roots removed, roughly chopped into quarters (Leave the skins on to add color to the broth.)
  • Large head of garlic, roots removed, skin left on
  • 2 bay leaves      
  • 1 tbsp peppercorns, or more or less to taste
  • 1 tbsp seasalt, or more or less to taste
Roast the bones:
  • Preheat the oven to 350° F.
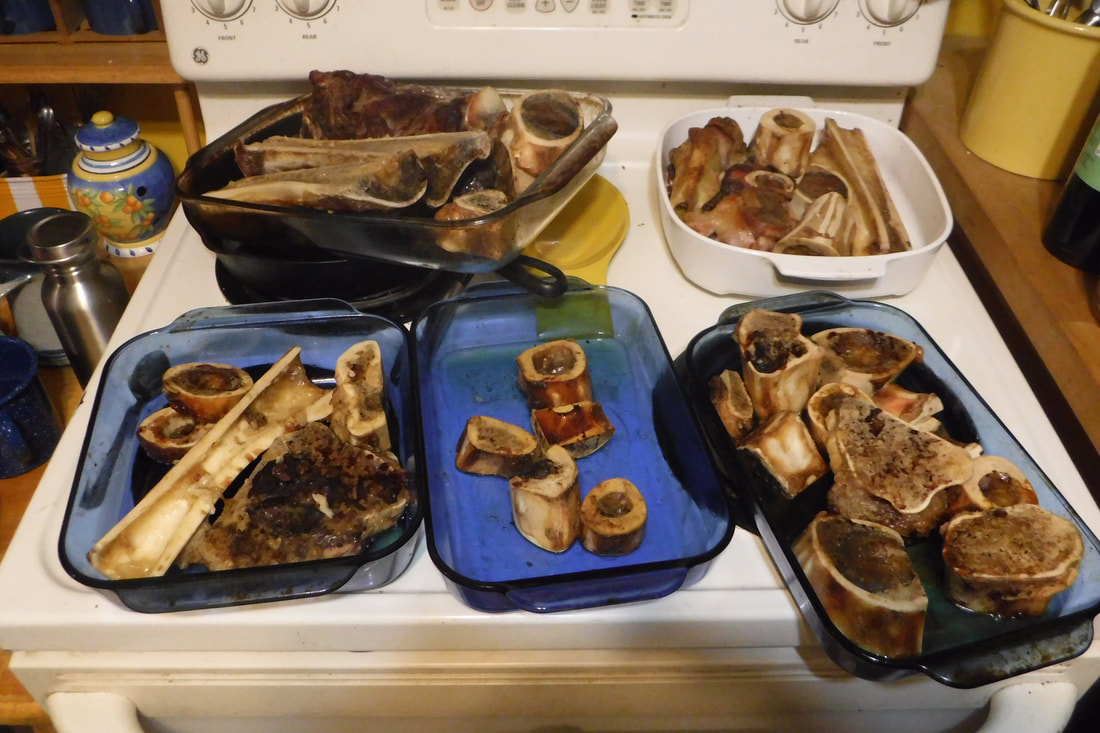
  • Put all the bones in roasting pans (there’s no need to add any oil) and roast until very brown, for about an hour.
 
Simmer stock:
  • Add the bones and all other ingredients to a large stock pot. Add additional water if needed to cover everything. Put on the lid and bring to a boil. Continue boiling for 10 minutes, then lower heat and simmer for at least 2 days, ideally 4.
 
After about 12 hours:
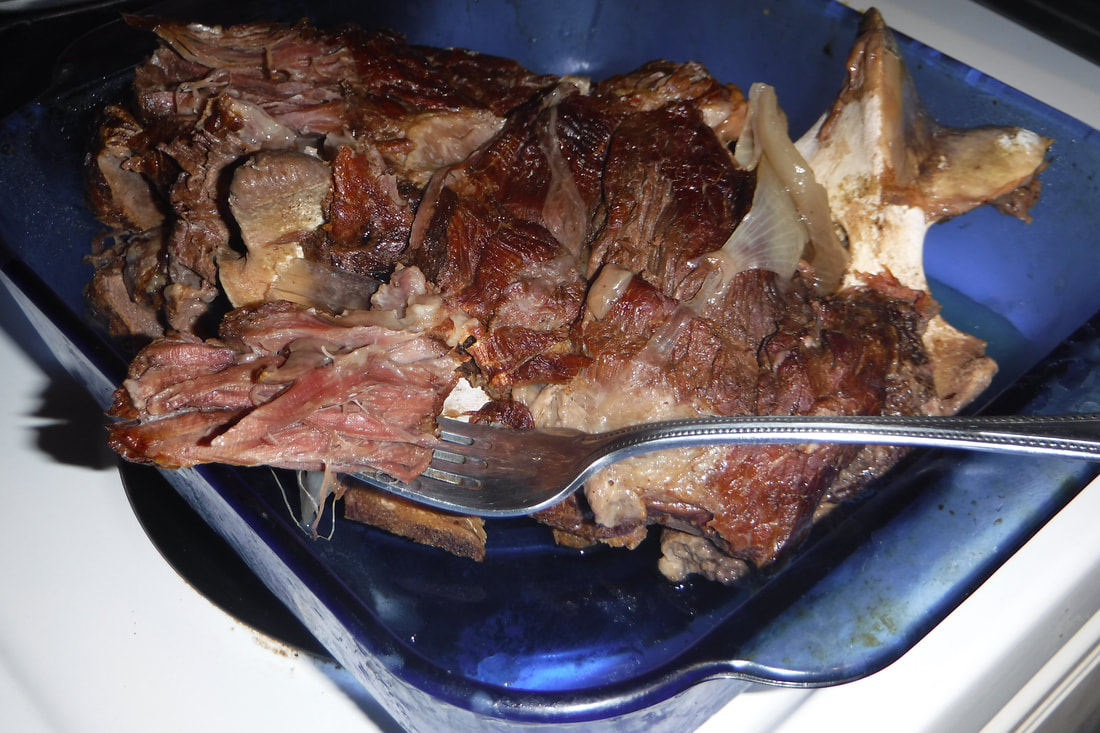
  • Around this time, if you used any meaty bones, you should notice that the meat is very tender and falling off the bones.
  • If you want, you can remove the meat and use it in other recipes, returning the bones to the broth.
  • We like to start our broth in the evening, then remove the meat when we get up in the morning. It makes great sandwiches, or add it to soup or a grain pilaf.
 
To finish the stock:
  • Pour everything through a large strainer.
  • The resulting broth can be used right away, frozen, or pressure canned.
  • Once the broth cools, it will have a solid layer of fat on top, which you can discard before using the broth.
Unthawing 14 lbs. of beef bones:
Picture
The bones after roasting:
Picture
Removing the meat from the bones
after 12 hours:
Picture
Tips:
  • Local meat farmers who have stores at their farms or who sell at farmer’s markets are a good source for buying the types of bones you need.
  • Simmering the broth means that there should only be a few bubbles breaking the surface at a time. When stock boils, most of the surface of the water starts moving. This should only happen when you first start cooking the broth.
  • We prefer to simmer our stock until the bones actually start to fall apart when we stir them. This usually takes 4 days. The first recipe we tried said to simmer the broth for 2 days, but we read it wrong and did it for 4 days, and found out we like that better. If the bones are falling apart, you know that the healthy minerals have been removed and you’ll be drinking them in the broth.
  • However, cook the broth for as long as your schedule allows. If you have only two days off in a row, then do it for two days. We only work part time, so are able to simmer it for 4 days. You could also do this recipe in a crock pot (although you’d probably need to make a smaller batch) so that overnight cooking isn’t an issue. I bet our great-grandparents just always had a soup pot simmering on the back burner, and didn’t have to worry about work schedules.
  • We often simmer the broth on our woodstove during the day, then move it to our electric stove overnight, since our woodstove doesn’t stay lit all night. We find that if we put the burner on the .5 setting, just above “Low,” it is safe to cook it all night. You could also put it in the refrigerator overnight if needed, but that would entail removing it from the woodstove early enough that it would cool off, and then cooking it additional days to make up for the loss of overnight time. You could also experiment with leaving it outside overnight if it’s cold in your area, and if you have a place to keep animals out of it.
  • The broth smells amazing and the scent will permeate your house as it simmers, so be prepared to spend your weekend craving it.
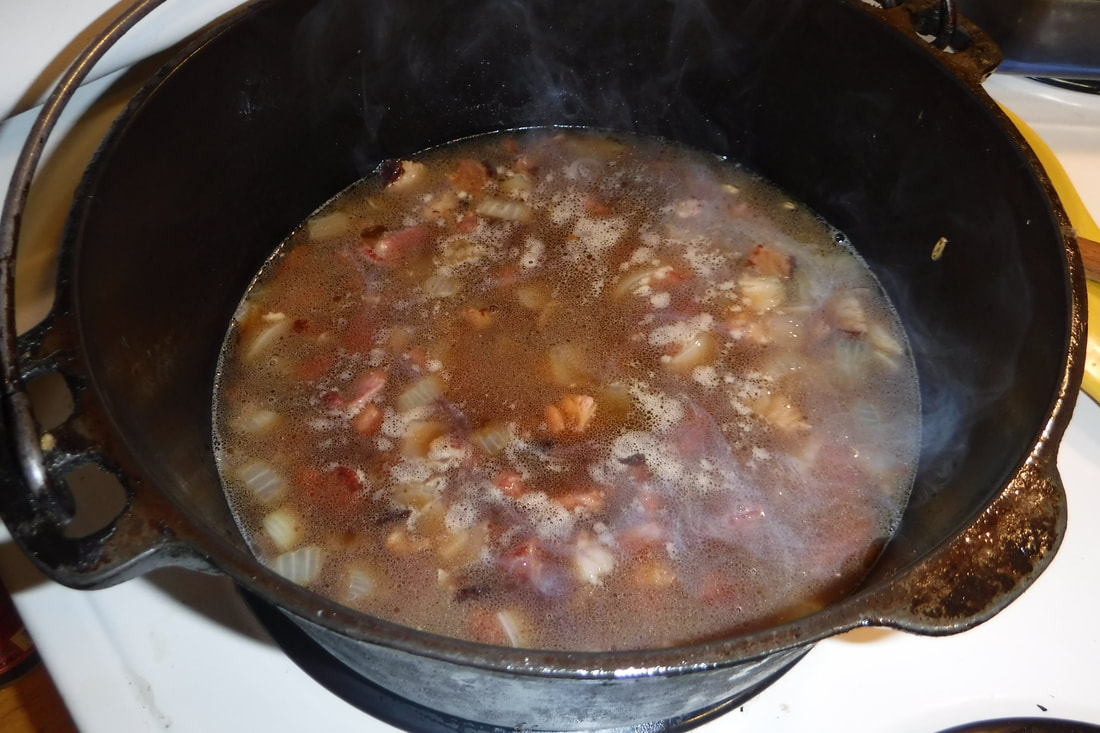
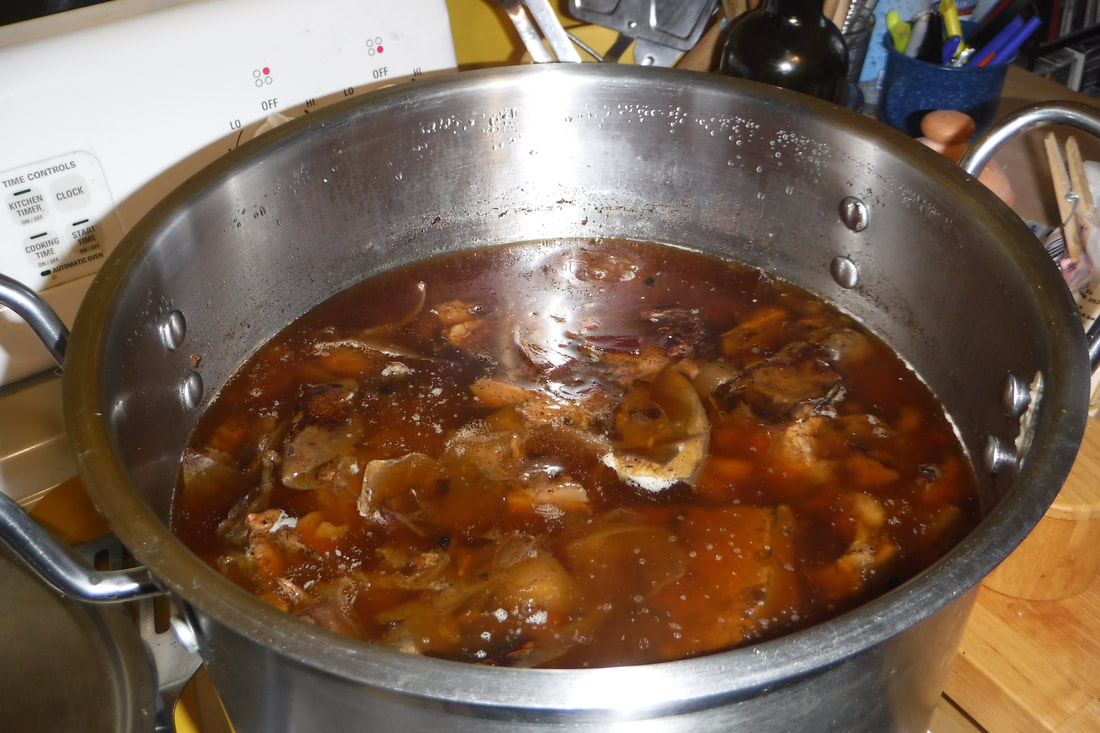
  • Here's what the broth looks like after simmering for about a day and a half:
Picture

May your pantry be full of good things to eat!

Comments

Homemade Peanut Butter and Wild Grape Jelly

8/28/2016

Comments

 
Picture
Picture
From Theresa:
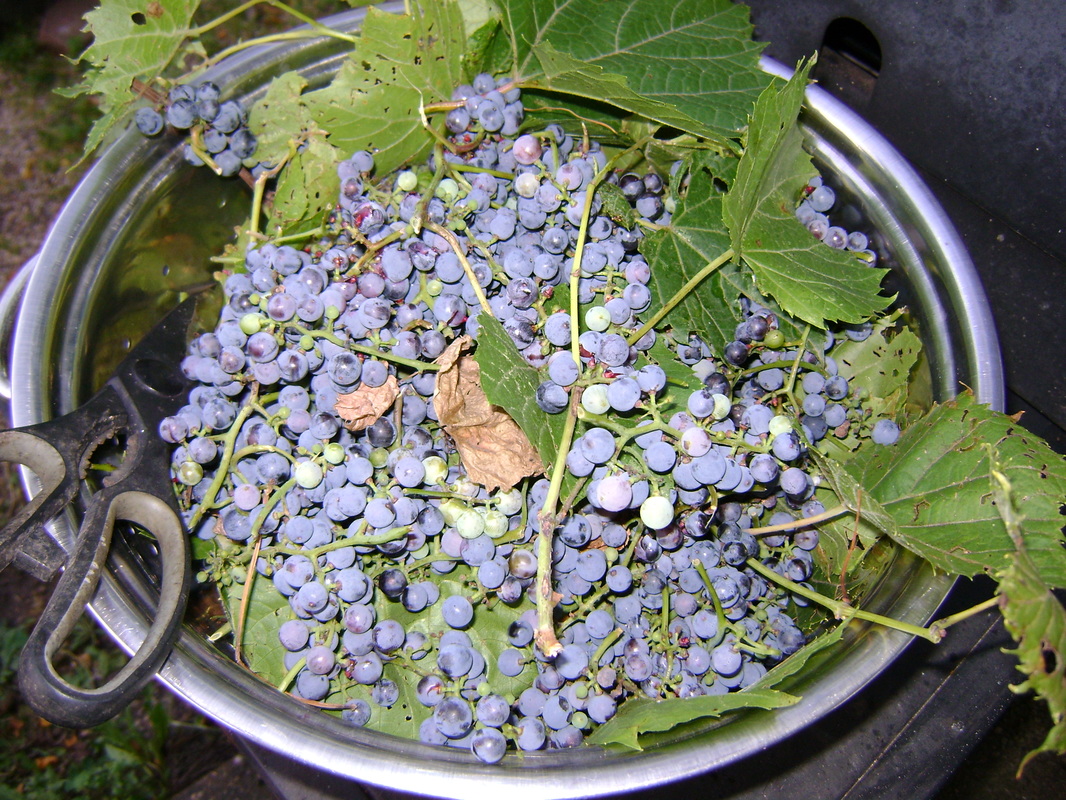
Last weekend we foraged for wild grapes in the yard and on the bike trail.

Wild grapes are tiny and very, very tart, but they grow in the shade under our walnut trees and in my opinion, make better tasting jelly than their sweeter, cultivated cousins.

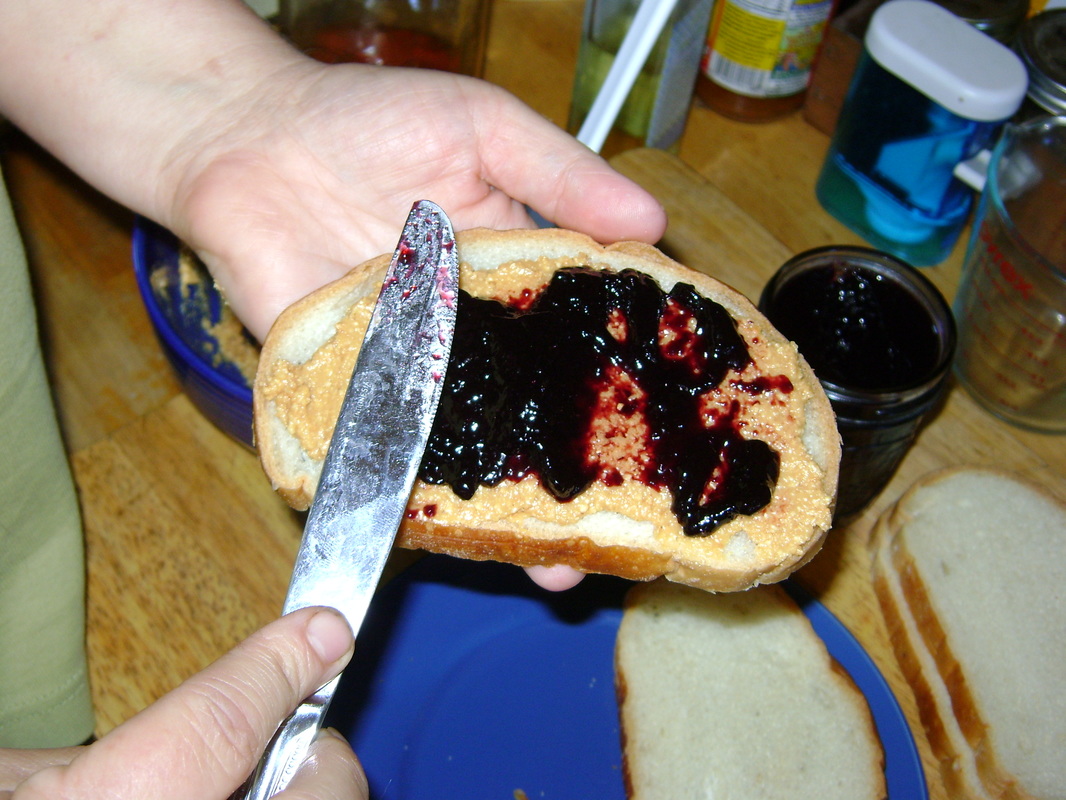
And what could be better with wild grape jelly than its classic companion, peanut butter, which can be easily & quickly made in the kitchen. ​It's these kind of simple pleasures that make homesteading worthwhile for me.

So we're happy to share instructions on how we make our own:
  • homemade peanut butter
  • wild grape jelly
Enjoy!

Savoring the Classic PBJ:

Picture
Comments

Anatomy of a Breakfast, or, How to Make a Meal Out of What You Have When Your Husband Uses Up All the Bacon

5/1/2016

Comments

 
Picture
From Theresa:

It's early Saturday morning. I announce to Bear that I'm going to make eggs and bacon for breakfast, but when I peer into the refrigerator, I realize that he has used up all the bacon in a previous meal and neglected to thaw out more. (From Bear...  I'm getting the blame but not feeling too guilty.)

So plan B. I know we have a few very old potatoes in the cupboard. I pull them out, and see that they have started growing, but they're still edible. I cut them into thin slices and put them into our cast iron skillet, into which I have put in a generous amount of leftover bacon grease. 

I am thinking of my Mom, who passed on a few years ago. She made the most amazing fried potatoes. She actually peeled each potato, which I am too lazy to do, and then she was so skilled with her paring knife that you could almost see through her thin potato slices. I didn't inherit her slicing skill, but I do have her knife.

And although I loved my mother's meals and certainly got my appreciation of home cooked meals from her, I am not her, so I learned my own way of cooking. I'm looking at the frying potatoes, and although my mouth is salivating, I know that my system needs more vegetables and fiber, or I will regret having all that bacon grease.

I also pride myself on being able to create meals from whatever ingredients we have on hand so that nothing gets thrown out. Food is life- life that is taken from whatever we are eating and being given to us- so we shouldn't waste it.

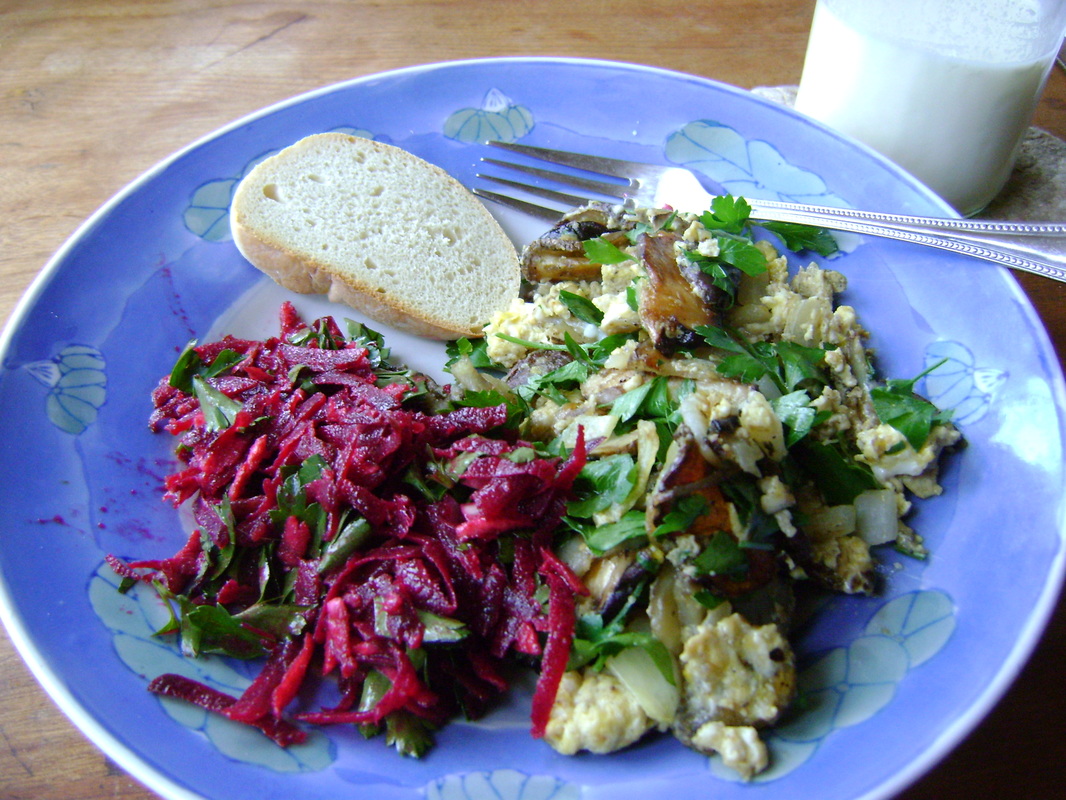
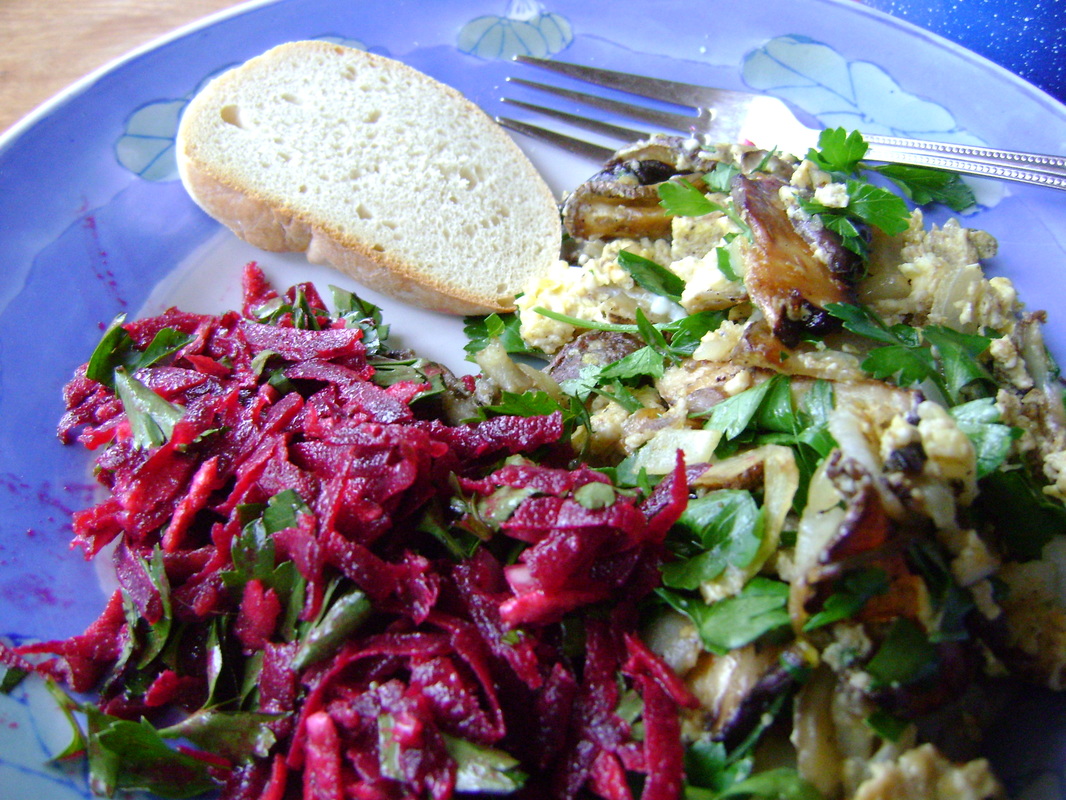
I find mushrooms in the vegetable bin and part of a chopped up onion, and add those to the pan. I also bought a burdock root, to help my ailing liver. It's really good chopped thin, dunked in egg, and fried, so I think I'll put it the frying pan with the potatoes. But I also love eating salad with my breakfast eggs, and while I'm staring at the large burdock root I'm holding in my hand, I suddenly remember a workshop I took in which the instructor made a shredded carrot and burdock root salad. So the plan changes again.

I don't have any carrots, but there's one of last Fall's beets left from our attic root cellar, so I make Bear's beet and carrot slaw recipe, but with beet and burdock. The sesame oil dressing is really good, although I think the burdock is a little dry compared to carrots, so I add some fresh chopped parsley, which adds a wonderful flavor (it's really not just for garnish).

By now the mixture of potatoes and mushrooms has gotten brown and crispy, and the onions are translucent, so I stir up some eggs and pour it over the mixture. I add a generous amount of fresh pepper, and cook the eggs for a few minutes, stirring constantly. We like them slightly runny. When they're done, I add more fresh parsley, because it doesn't last long in the refrigerator.
Picture
I toast some French bread we got from the bakery and pour a glass of organic milk from pasture raised cows, and we have a wonderful way to start our Saturday morning. It will nourish us much more than simple bacon and eggs (although if your husband hasn't used up all the bacon, I suggest crumbling it up and adding it to the eggs- it would taste wonderful amongst all the vegetables).

(From Bear...  Ooooo... She ends up making a good meal and I get the blame. Does that sound right to you?)
Picture
A satisfying meal goes fast, although the satisfaction of using up some of the random vegetables we have in our refrigerator continues.

Hope you have some equally satisfying meals this week...
Comments

Our Division of (Cooking) Labor

2/28/2016

Comments

 
Here's a humorous look at Bear and Theresa's different cooking styles and the  
Division of Labor at Our House
as we spend our Sunday afternoon cooking. Enjoy!

Theresa's Cooking:

Picture

Bear's Cooking:

Picture
Comments

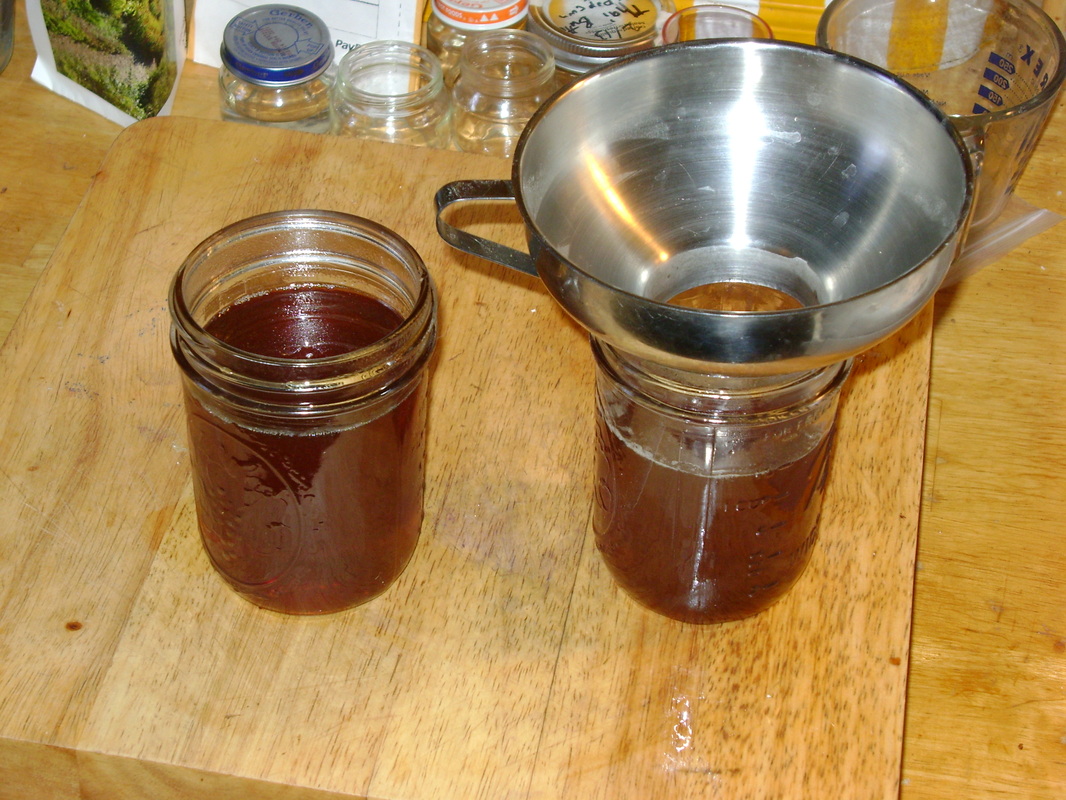
Our Rites of Spring:  Walnut Syrup

3/7/2015

Comments

 
Picture
Picture
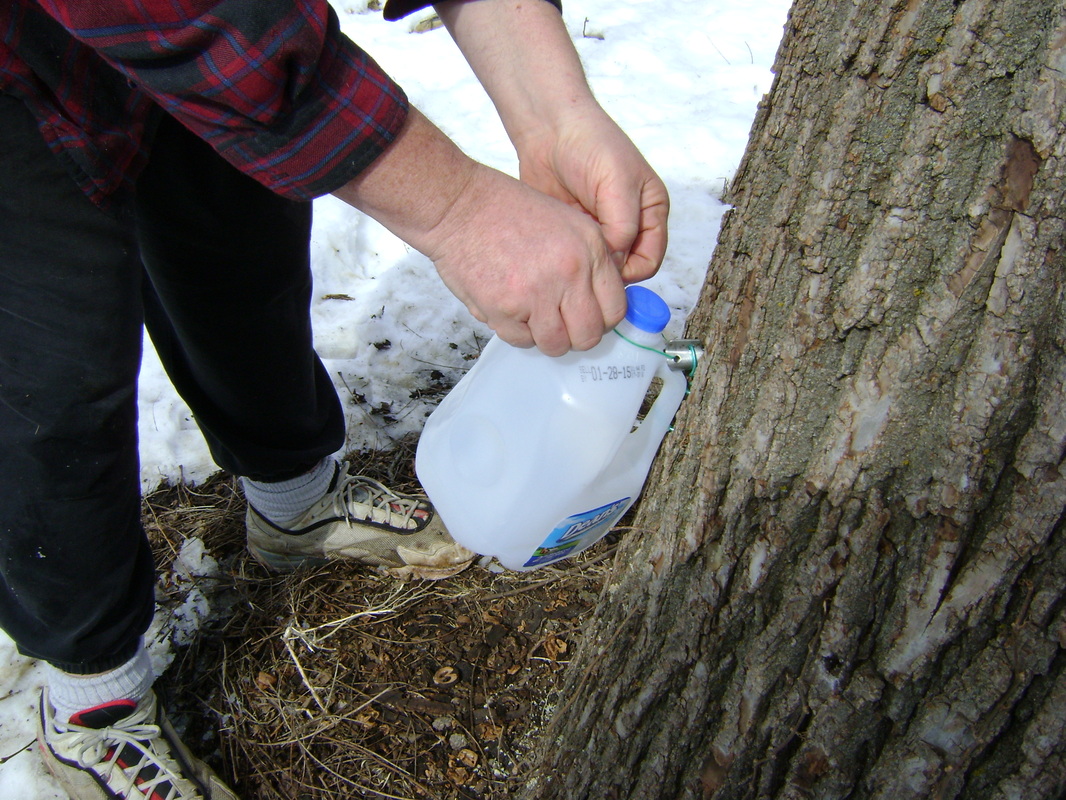
It's our first warm "Spring" day! Time to tap our trees for syrup! All you need is patience, except Bear didn't last for more than two minutes under the spout, so we put up the jugs instead. (In Bear's defense, tree taps are much slower than beer taps.)

If you didn't take a look at the instructions when we posted them last month, here's the link again for Making Your Own Walnut Syrup.

Later today we should have our first Spring sap!
Comments

Getting Ready to Make Walnut Syrup

2/13/2015

Comments

 
Picture
Picture
The finished syrup. Yummy!
Hi, my name is Theresa and I'm a tree hugger. I don't need tree huggers anonymous. I hug our walnut trees because I'm thankful they give me sap to make into wonderful syrup!

Sugaring season usually starts in late February or early March in our area (southwestern WI), when the day time temperatures get above 40 degrees F, but stays below freezing at night. That's when the sap will start to run.  So it's time to gather or buy your supplies so you're prepared when it gets a little bit warmer.

If you need instructions, see our Making Walnut Syrup page, which includes info about:
  • what trees can be tapped (not just maples)
  • necessary supplies
  • how to turn milk jugs into sap collectors
  • how to tap trees & collect the sap
  • how to boil the sap down into syrup
  • recipes for homemade syrup butter and syrup ice cream. Yum!


If you live in the North and are hankering to get out into your garden, sap is something you can harvest while there's still snow on the ground! 

If you're trying to be self-sufficient, here is a way to make your own sweetener.

Enjoy!
Comments

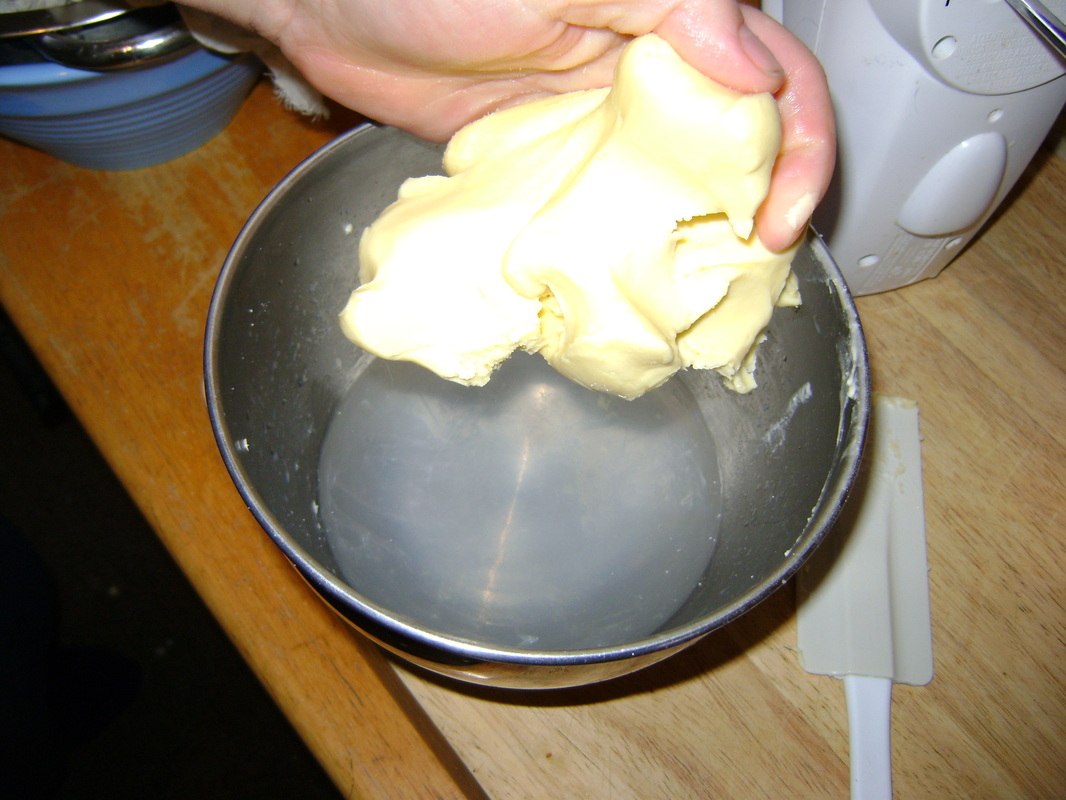
Make Your Own Butter

12/22/2014

Comments

 
Picture
From Theresa:

We decided to try this project after our last trip to the grocery store, when I noticed that organic butter was $8 a pound! It turned out to be very easy to make our own. All you need is heavy whipping cream and a mixer.
Comments

Celebrating Summer and the Solstice Sun

6/28/2014

Comments

 
Picture
Summer Solstice sunrise at Blue Mounds State Park.
Picture
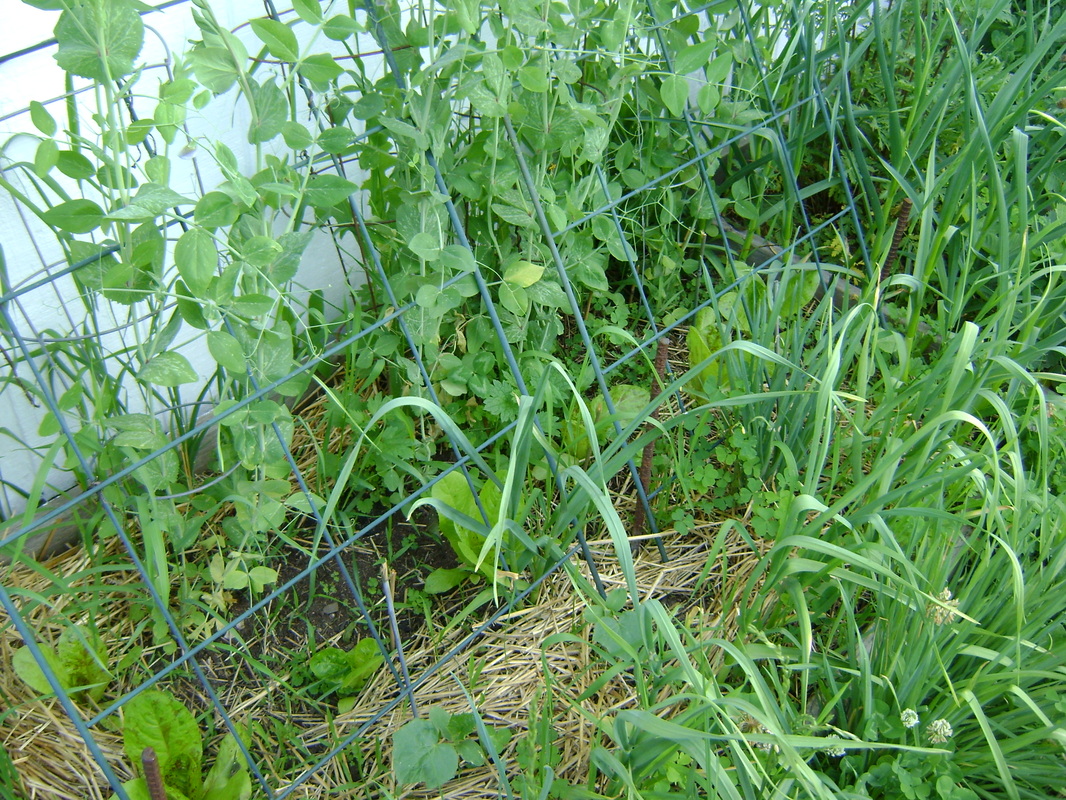
The garden is growing! Here are baby lettuce, peas, cucumbers, and garlic.
From Theresa:

I've added a page on celebrating early Summer, a time when I wait hungrily to be given those iconic Summer foods that aren't yet ripe in the garden. I dream about the first ripe tomato and how it will taste on my tongue. I harvest herbs and spend so much time in the garden that my nails and feet are always dirty. 

We also celebrate the Summer Solstice, the longest day of the year (June 21st). This year we watched the Solstice sunrise and sunset from the observation towers at Blue Mounds State Park, and remembered how important the Sun is in our lives.

I hope everyone is enjoying the blessings of Summer!
Comments

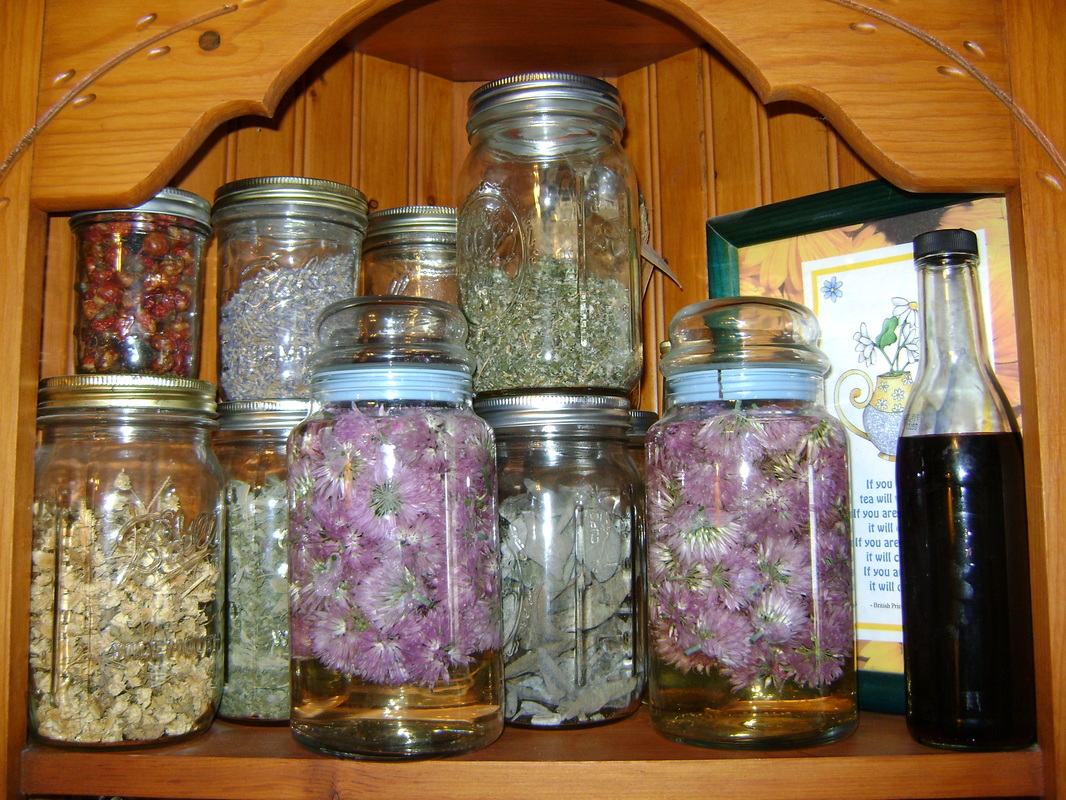
Making Flavored Vinegars

6/1/2014

Comments

 
Picture
From Theresa:

I've posted instructions on making your own flavored vinegar, which couldn't be simpler and results in unique flavors you can use in your cooking that can't be bought in a store.

Last year I made a small batch of chive blossom vinegar, which we loved, so this year I've shared photos of making a much larger batch.  These instructions can be applied to making any type of flavored vinegar.  Enjoy!
Comments

Homemade Salad Dressings

5/28/2014

Comments

 
Picture
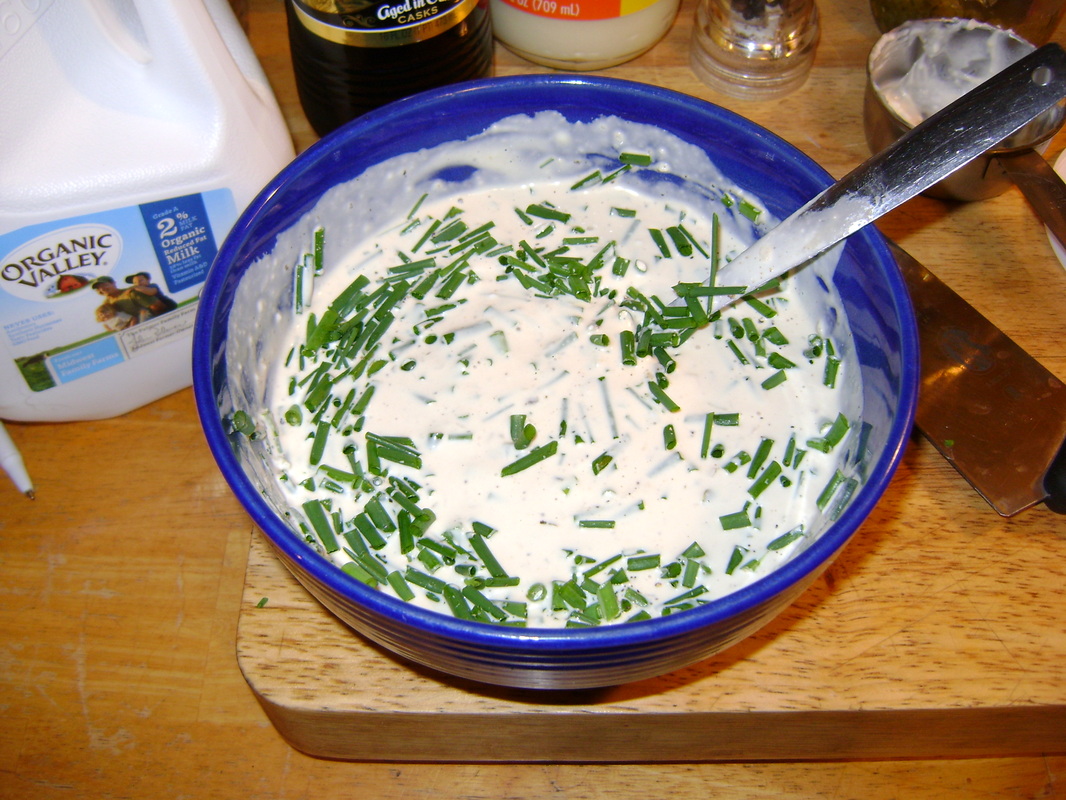
Homemade ranch with chives added.
From Theresa:

Recently I accidentally made a really good homemade ranch dressing that is simple and quick to make.  You have to be thankful for those types of small blessings, so I am sharing the recipe here, along with a more complicated but tasty one for raspberry vinaigrette.  We eat a lot of salads, so are saving money making our own dressings.
Comments
<<Previous

    Theresa & Bear's Blog

    We prefer quality to quantity! 

    Theresa will be posting notifications of the new pages we add to the website and Bear likes to share inspirational posts about our homesteading experiences. 

    If you'd like to follow our blog:
    • ​subscribe via email (below)
    • like us on Facebook (see the "f" link at the top right of the page)

    Note that if we include a link to a product in our blog, it means we have used and authentically recommend it. Though it doesn't cost you any extra, we may receive a small commission if you click on the link or buy the product. Some day it may be enough to help support our work so we can do more of it. We gratefully thank you.

    Archives

    October 2022
    July 2022
    June 2022
    May 2022
    April 2022
    March 2022
    June 2021
    April 2021
    November 2020
    October 2020
    April 2020
    March 2020
    February 2020
    December 2019
    November 2019
    October 2019
    July 2019
    June 2019
    February 2019
    December 2018
    October 2018
    September 2018
    June 2018
    May 2018
    April 2018
    February 2018
    December 2017
    November 2017
    October 2017
    September 2017
    August 2017
    July 2017
    June 2017
    May 2017
    April 2017
    March 2017
    February 2017
    January 2017
    November 2016
    October 2016
    September 2016
    August 2016
    July 2016
    June 2016
    May 2016
    April 2016
    February 2016
    January 2016
    December 2015
    October 2015
    August 2015
    July 2015
    June 2015
    May 2015
    April 2015
    March 2015
    February 2015
    January 2015
    December 2014
    November 2014
    October 2014
    September 2014
    August 2014
    July 2014
    June 2014
    May 2014
    April 2014
    March 2014
    February 2014
    January 2014

    Categories

    All
    Buy Nothing
    Buy Nothing
    Buy Nothing
    Cooking
    Cook Of Anarchy
    Fall
    Foraging
    Gardening
    Green Cleaning
    Grilling
    Misc.
    Pantry
    Renovation
    Shelf Chef
    Spring
    Summer
    Weight Control
    Wildlife
    Winter
    Wood Stove

    Subscribe:

    Enter your email address:

    Delivered by FeedBurner

    RSS Feed

Home    Inside   Outside   Shelf Chefing   Cooking   Pantry   Celebrate   Our Books   Blog   About   Resources   Contact
Be the change you wish to see in the world.  ~Gandhi
Want to know when we add new content to our website?  Subscribe to our Blog.

These pages may contain affiliate links that allow us to share products we authentically recommend.
Clicking the links results in no extra cost to you, but we may receive a small commission that may someday help fund this work.

Copyright 2020 by Theresa & Rob Berrie