Our Tiny Homestead
  • Home
  • Inside
    • Buy Nothing Challenge >
      • 2014
      • 2015
      • 2018
      • 2019 & Debt-Free
    • Our Wood Stove
    • Laundry
    • Prepare for a Power Outage
    • Renovations
  • Outside
    • Theresa's Gardening Goals
    • Permaculture 101
    • Perennial Vegetables
    • Eat Your Wild Yard
    • Seed Starting
    • Walnut Syrup
    • Gardening for Wildlife
    • Wildlife Pond
    • Save Our Bees
    • Our Gardens >
      • Celtic Cross Garden
      • Catio Construction
  • Cooking
    • Wood Stove Cooking
    • Shelf Chefing >
      • Bear's Shelf Chefing
      • In Shape Shelfchefing
      • Wild Raspberries
      • Grilled pizza
      • Celebrate Seasonal Eatin >
        • Samhain - Late Fall
      • Cook of Anarchy grilled cheese
    • Haybox Cooking
    • Heat wave solar cooking
    • Division of Labor
    • Recipes
  • Pantry
    • Pantry Intro
    • Pantry Cooking
    • Yearly Harvest List
    • Preserving
    • Making Staples
    • Growing Sprouts
    • Building Our Pantry
  • Celebrate
    • After the Pandemic
    • Winter Solstice
    • Mid-Winter & Imbolc
    • Spring Equinox
    • Late Spring & Beltane
    • Summer Solstice
    • Fall Equinox
    • Late Fall & Samhain
    • Nature's Magic Altar
  • Our Books
  • Our Videos
  • Our Art
  • Blog
  • About
  • Contact
  • Resources
Picture

HOMEMADE PEANUT BUTTER-
IT'S EASY (REALLY!)
​From Theresa

All you need is:  peanuts, vegetable oil, honey,
​and a food processor or blender.
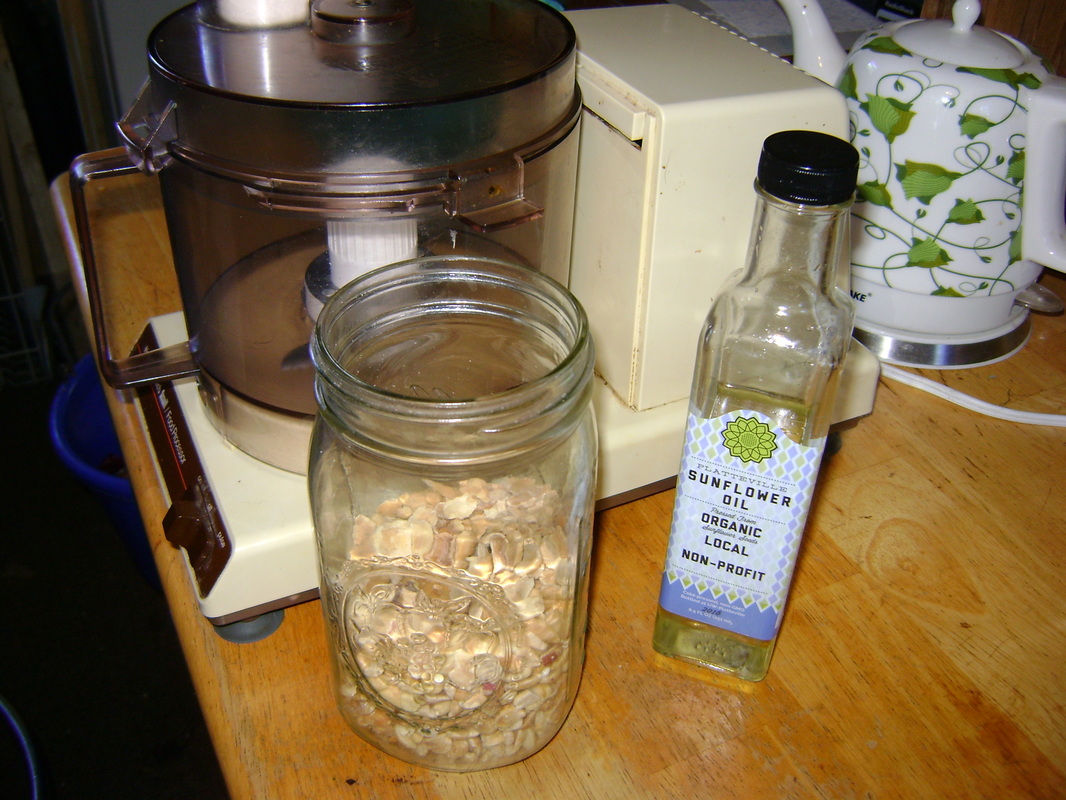
1. Get out your food processor (you could also try a blender), your peanuts, and some vegetable oil. We use sunflower oil. Any oil that's not strong tasting will work.
Picture
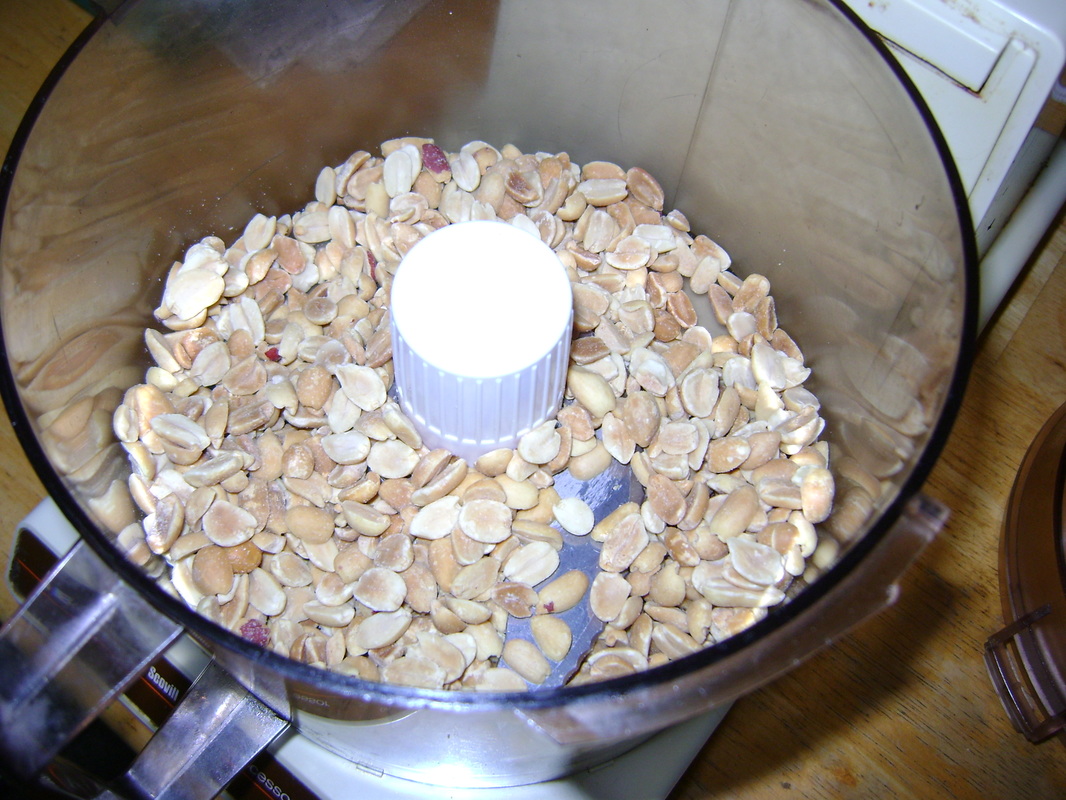
2. Add the peanuts to your food processor. We use plain, organic peanuts. You might prefer roasted or salted peanuts.

Picture
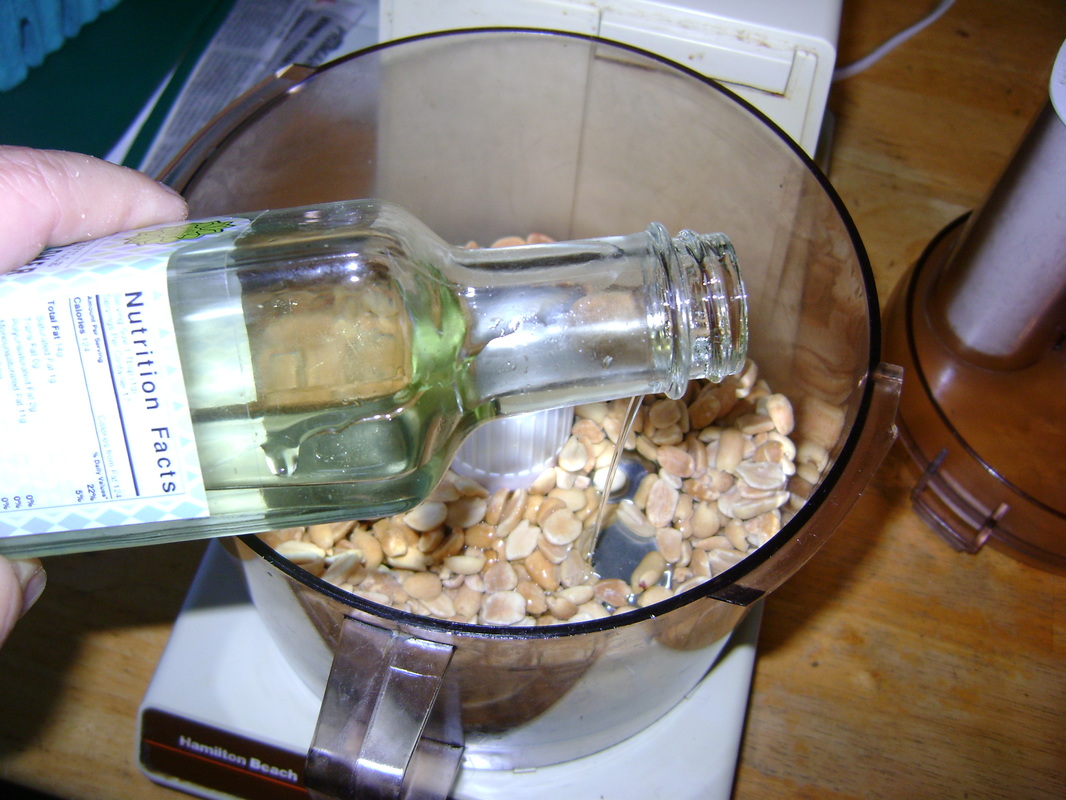
3. Add just a little bit of oil to grease the bowl until the peanuts are pulverized enough to release their own oil. Turn on the food processor.
Picture
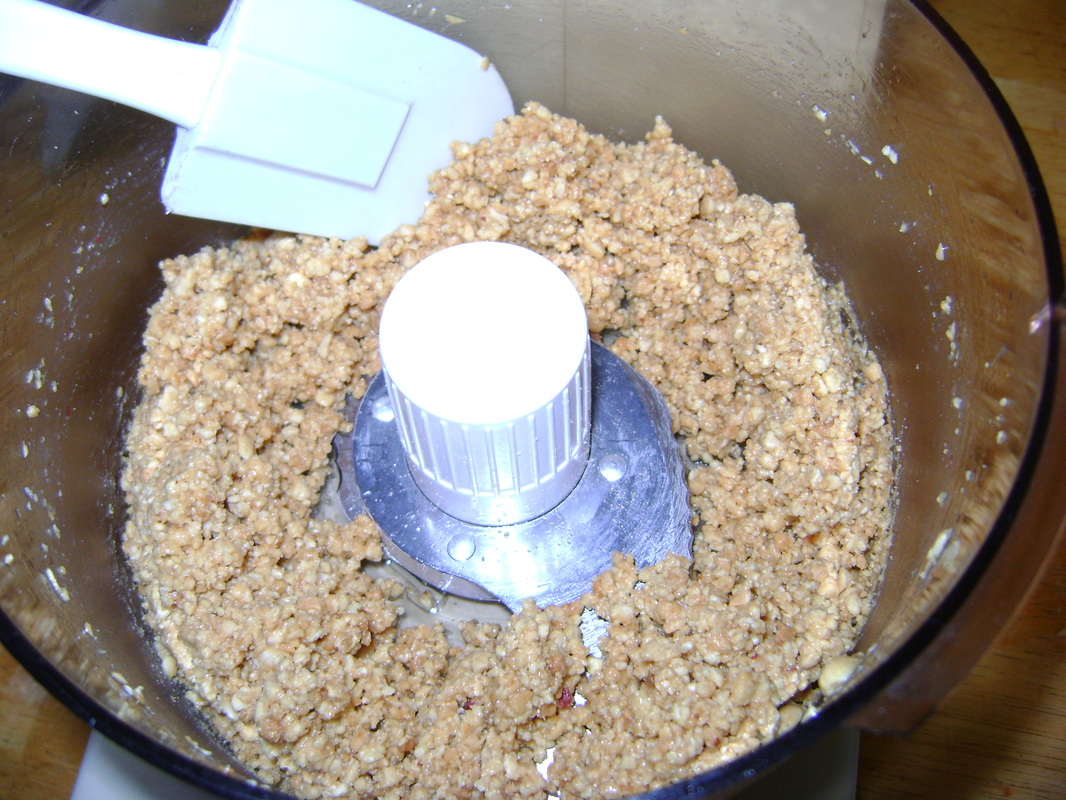
4. You may need to stop and scrape down the sides of the bowl a time or two. You can see here that the nuts are partially pulverized, but still chunky. 
Picture
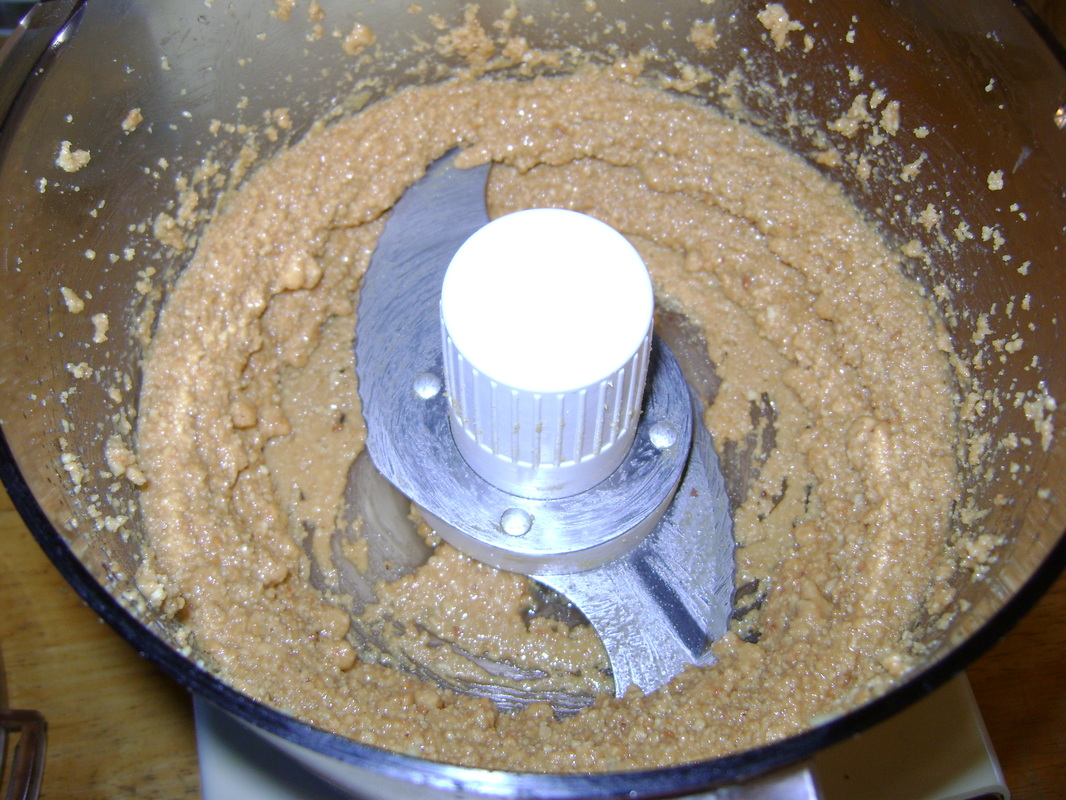
​5. Keep the food processor going until the peanuts become "buttery." Eventually, the blade will rotate but no more peanut butter will move around, and then you know you're done.
​

Picture
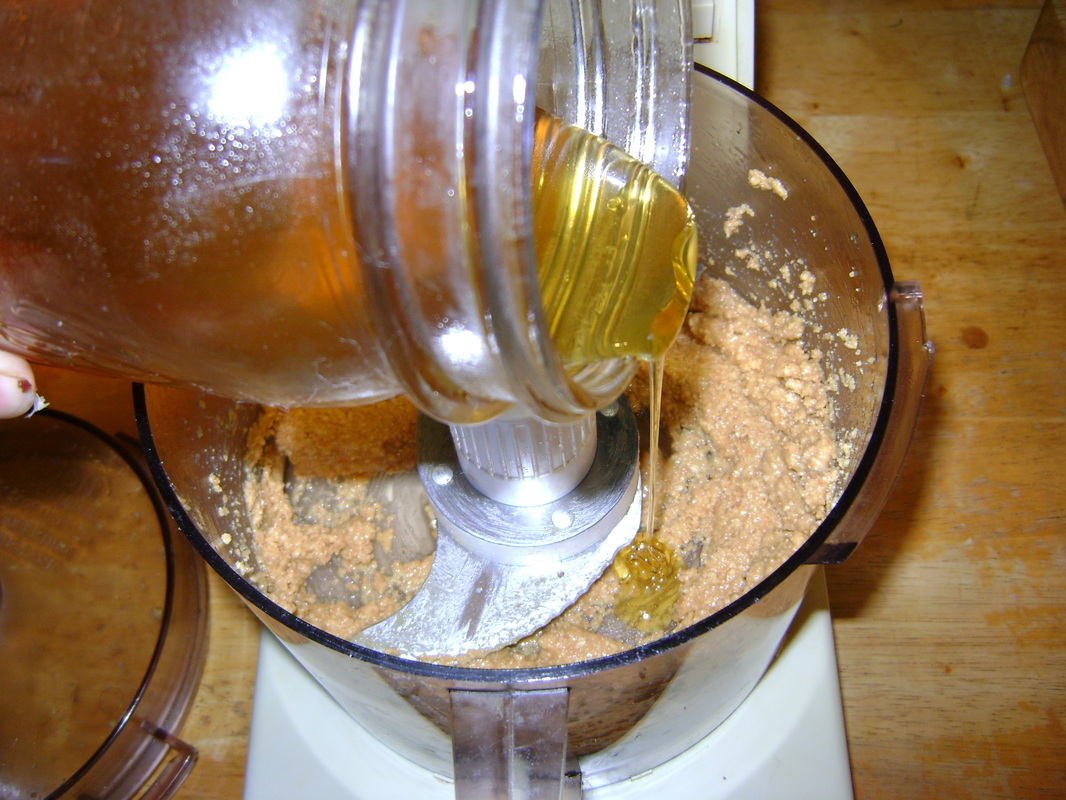
6. If you taste the peanut butter at this point, you will remember that the jars from the store have added sweetener. We like to use honey. Pour it on to taste, and spin the food processor until it's mixed. Alternately, you may need to scrape the peanuts into a bowl and mix in the sweetener by hand.
Picture
Picture
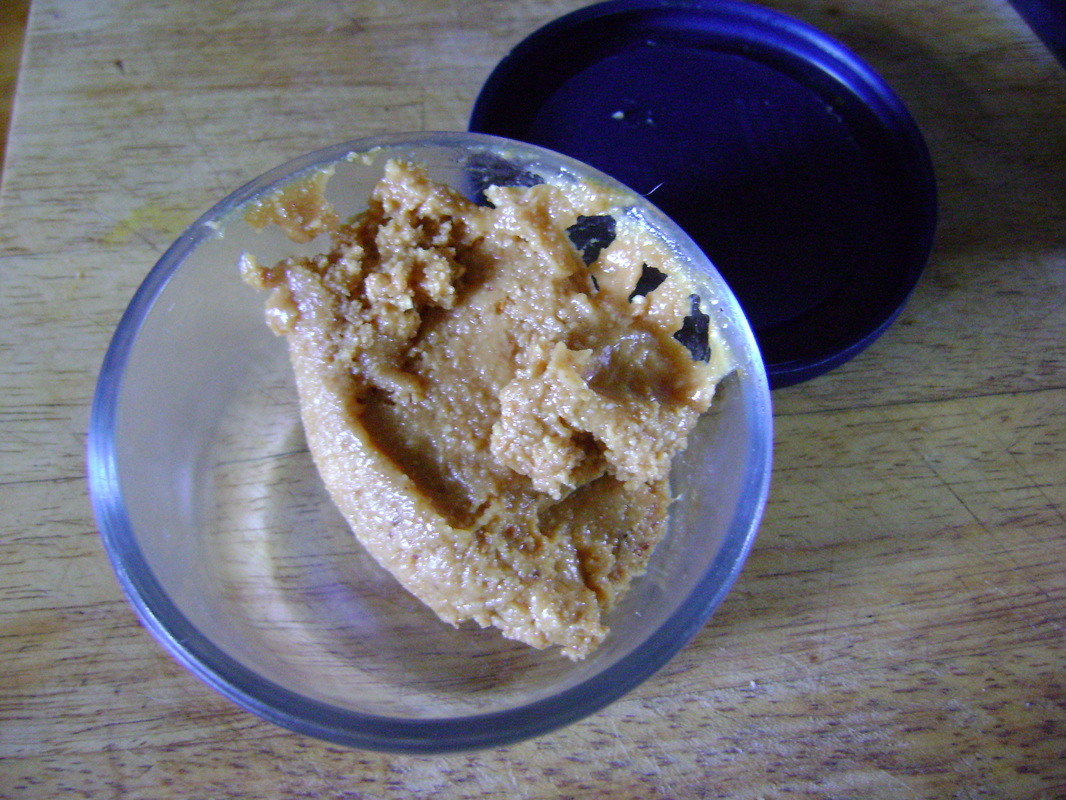
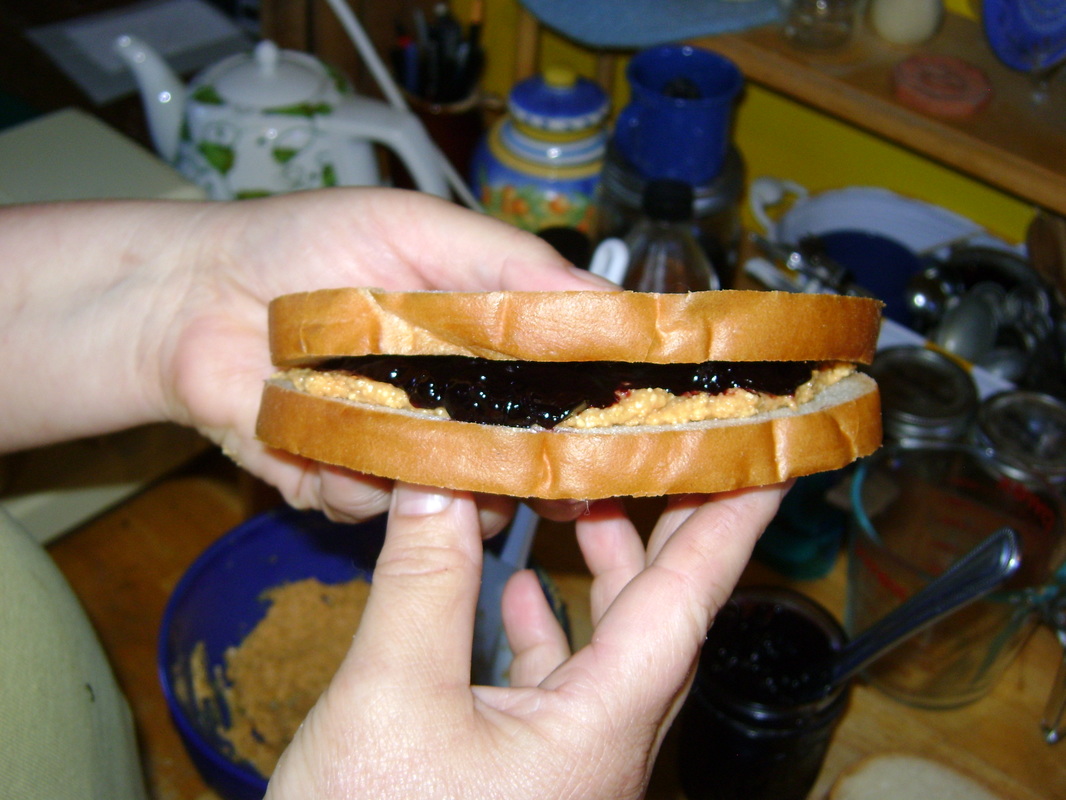
If you prefer your peanut butter chunky,
​you can fine chop some peanuts and mix them into the butter.

Now you have
​homemade peanut butter!

And I wasn't lying- it was quick and easy.
Picture
Storage:  
​My book says the peanut butter can last up to a month stored in the refrigerator, but it never lasts very long at our house, so we don't need to worry about it spoiling.
Eating:
  • We first learned to make our own peanut butter when we were making homemade peanut butter cups. After we did that, we realized that peanut butter in candy bars sold in stores mostly taste like salt instead of peanuts.
  • Homemade peanut butter is also yummy on traditional PBJ sandwiches. ​Try it with your own homemade wild grape jelly.
  • You'll notice that homemade peanut butter does not have the consistency as store bought, but that doesn't mean it doesn't taste good!

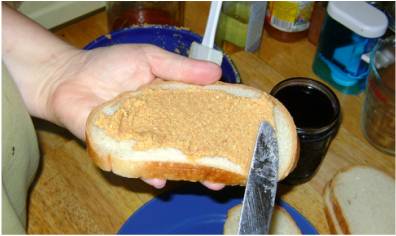
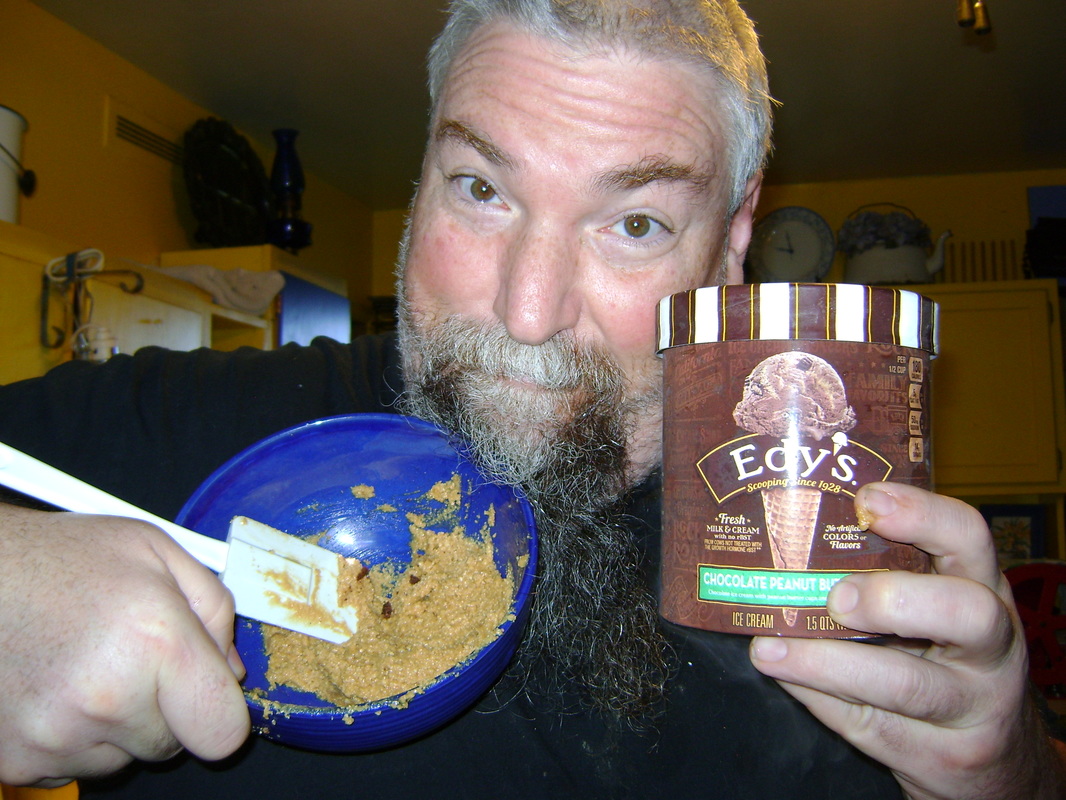
Naughty Serving Suggestions:

​Here are some other less than nutritious, but extremely tasty suggestions. You may not want to try these at home:
Peanut butter added to chocolate ice cream:
Picture
Peanut butter added to chocolate brownies:
Picture
Picture
Picture

Good Eating!

Home    Inside   Outside   Shelf Chefing   Cooking   Pantry   Celebrate   Our Books  Our Videos  Our Art  Blog   About   Resources   Contact
Be the change you wish to see in the world.  ~Gandhi
Copyright 2025 by Theresa & Rob Berrie