Our Tiny Homestead
  • Home
  • Inside
    • Buy Nothing Challenge >
      • 2014
      • 2015
      • 2018
      • 2019 & Debt-Free
    • Our Wood Stove
    • Laundry
    • Prepare for a Power Outage
    • Renovations
  • Outside
    • Theresa's Gardening Goals
    • Permaculture 101
    • Perennial Vegetables
    • Eat Your Wild Yard
    • Seed Starting
    • Gardening for Wildlife
    • Our Gardens >
      • Celtic Cross Garden
      • Wildlife Pond
      • Catio Construction
    • Walnut Syrup
  • Shelf Chefing
    • Bear's Shelf Chefing
    • In Shape Shelfchefing
    • Wild Raspberries
    • Grilled pizza
    • Celebrate Seasonal Eatin >
      • Samhain - Late Fall
    • Cook of Anarchy grilled cheese
  • Cooking
    • Wood Stove Cooking
    • Haybox Cooking
    • Heat wave solar cooking
    • Division of Labor
    • Recipes
  • Pantry
    • Pantry Intro
    • Pantry Cooking
    • Yearly Harvest List
    • Preserving
    • Making Staples
    • Growing Sprouts
    • Building Our Pantry
  • Celebrate
    • After the Pandemic
    • Winter Solstice
    • Mid-Winter & Imbolc
    • Spring Equinox
    • Late Spring & Beltane
    • Summer Solstice
    • Fall Equinox
    • Late Fall & Samhain
  • Our Books
  • Blog
  • About
  • Contact
  • Resources

What is Cooking?  by Bear

11/30/2016

Comments

 
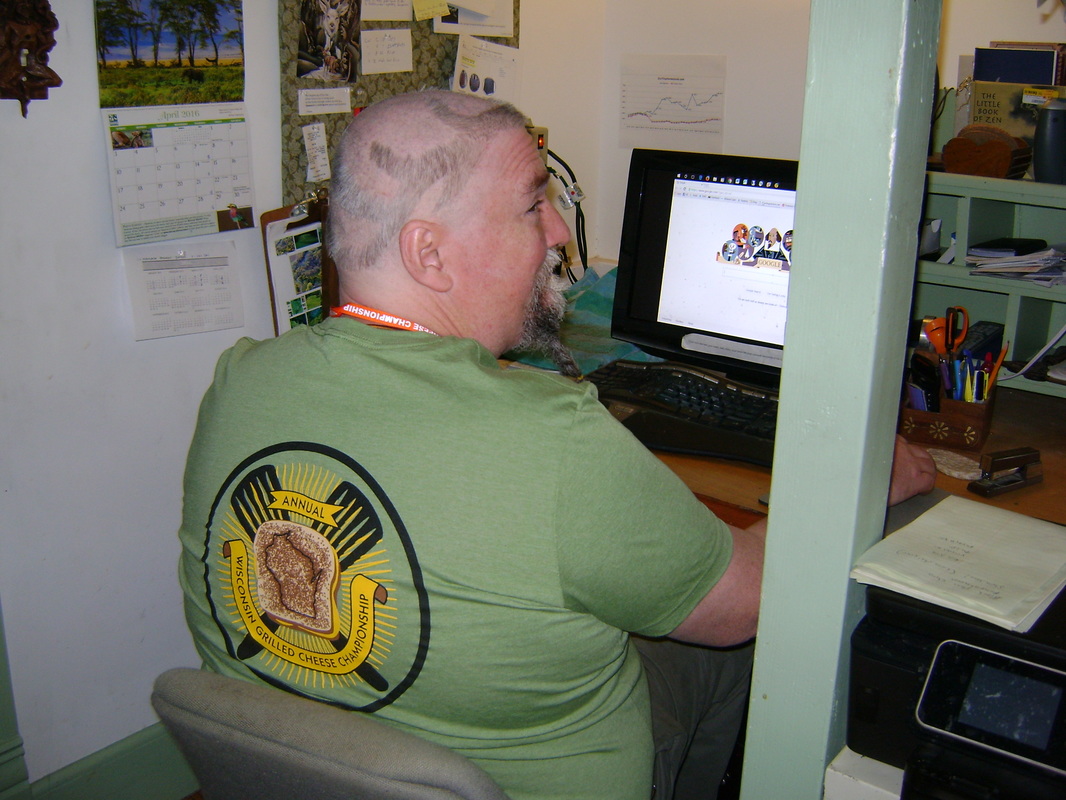
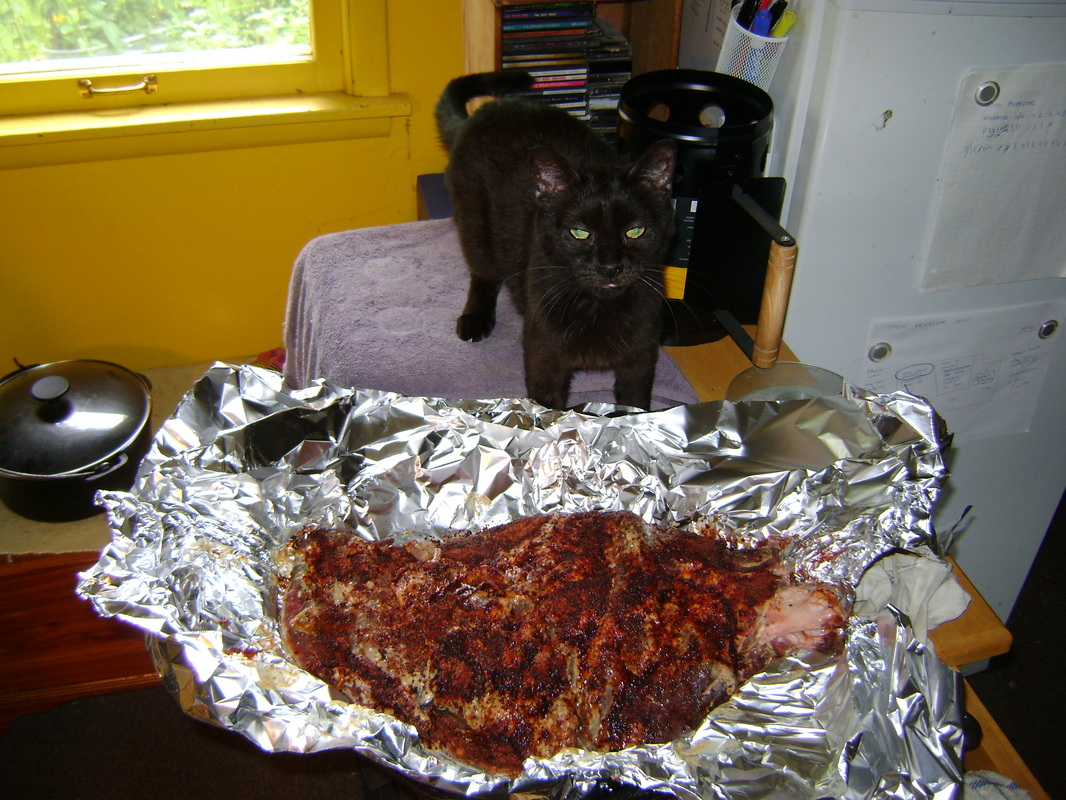
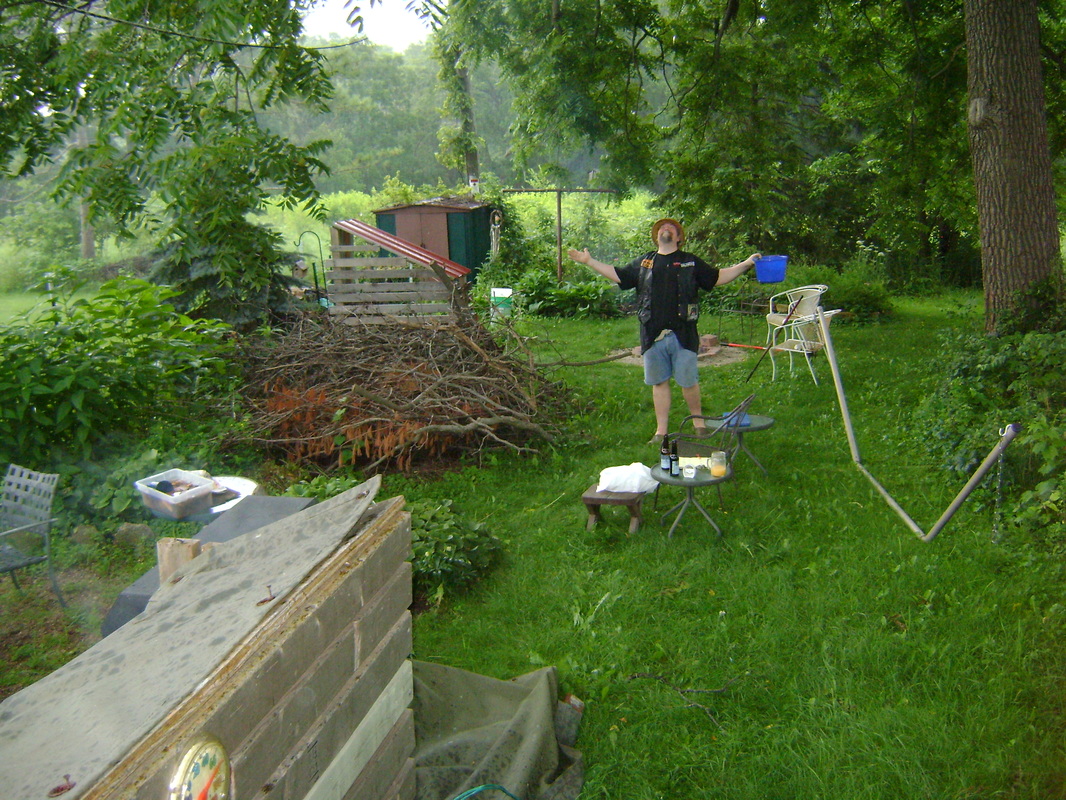
Bear here...

There is a song by Metalica that goes through my head when I am thinking about cooking and why I do it. My version of Fuel goes like this:

It is FUEL...

It is FIRE...
IT GIVES ME THAT WHICH I DESIRE...

This is how I roll.
​
Let me explain with words and pictures...
Picture
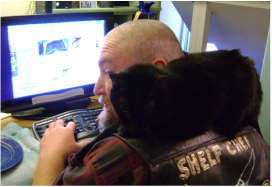
Cat! For the last time, I am done with the catnip recipes, deal with it!
Picture
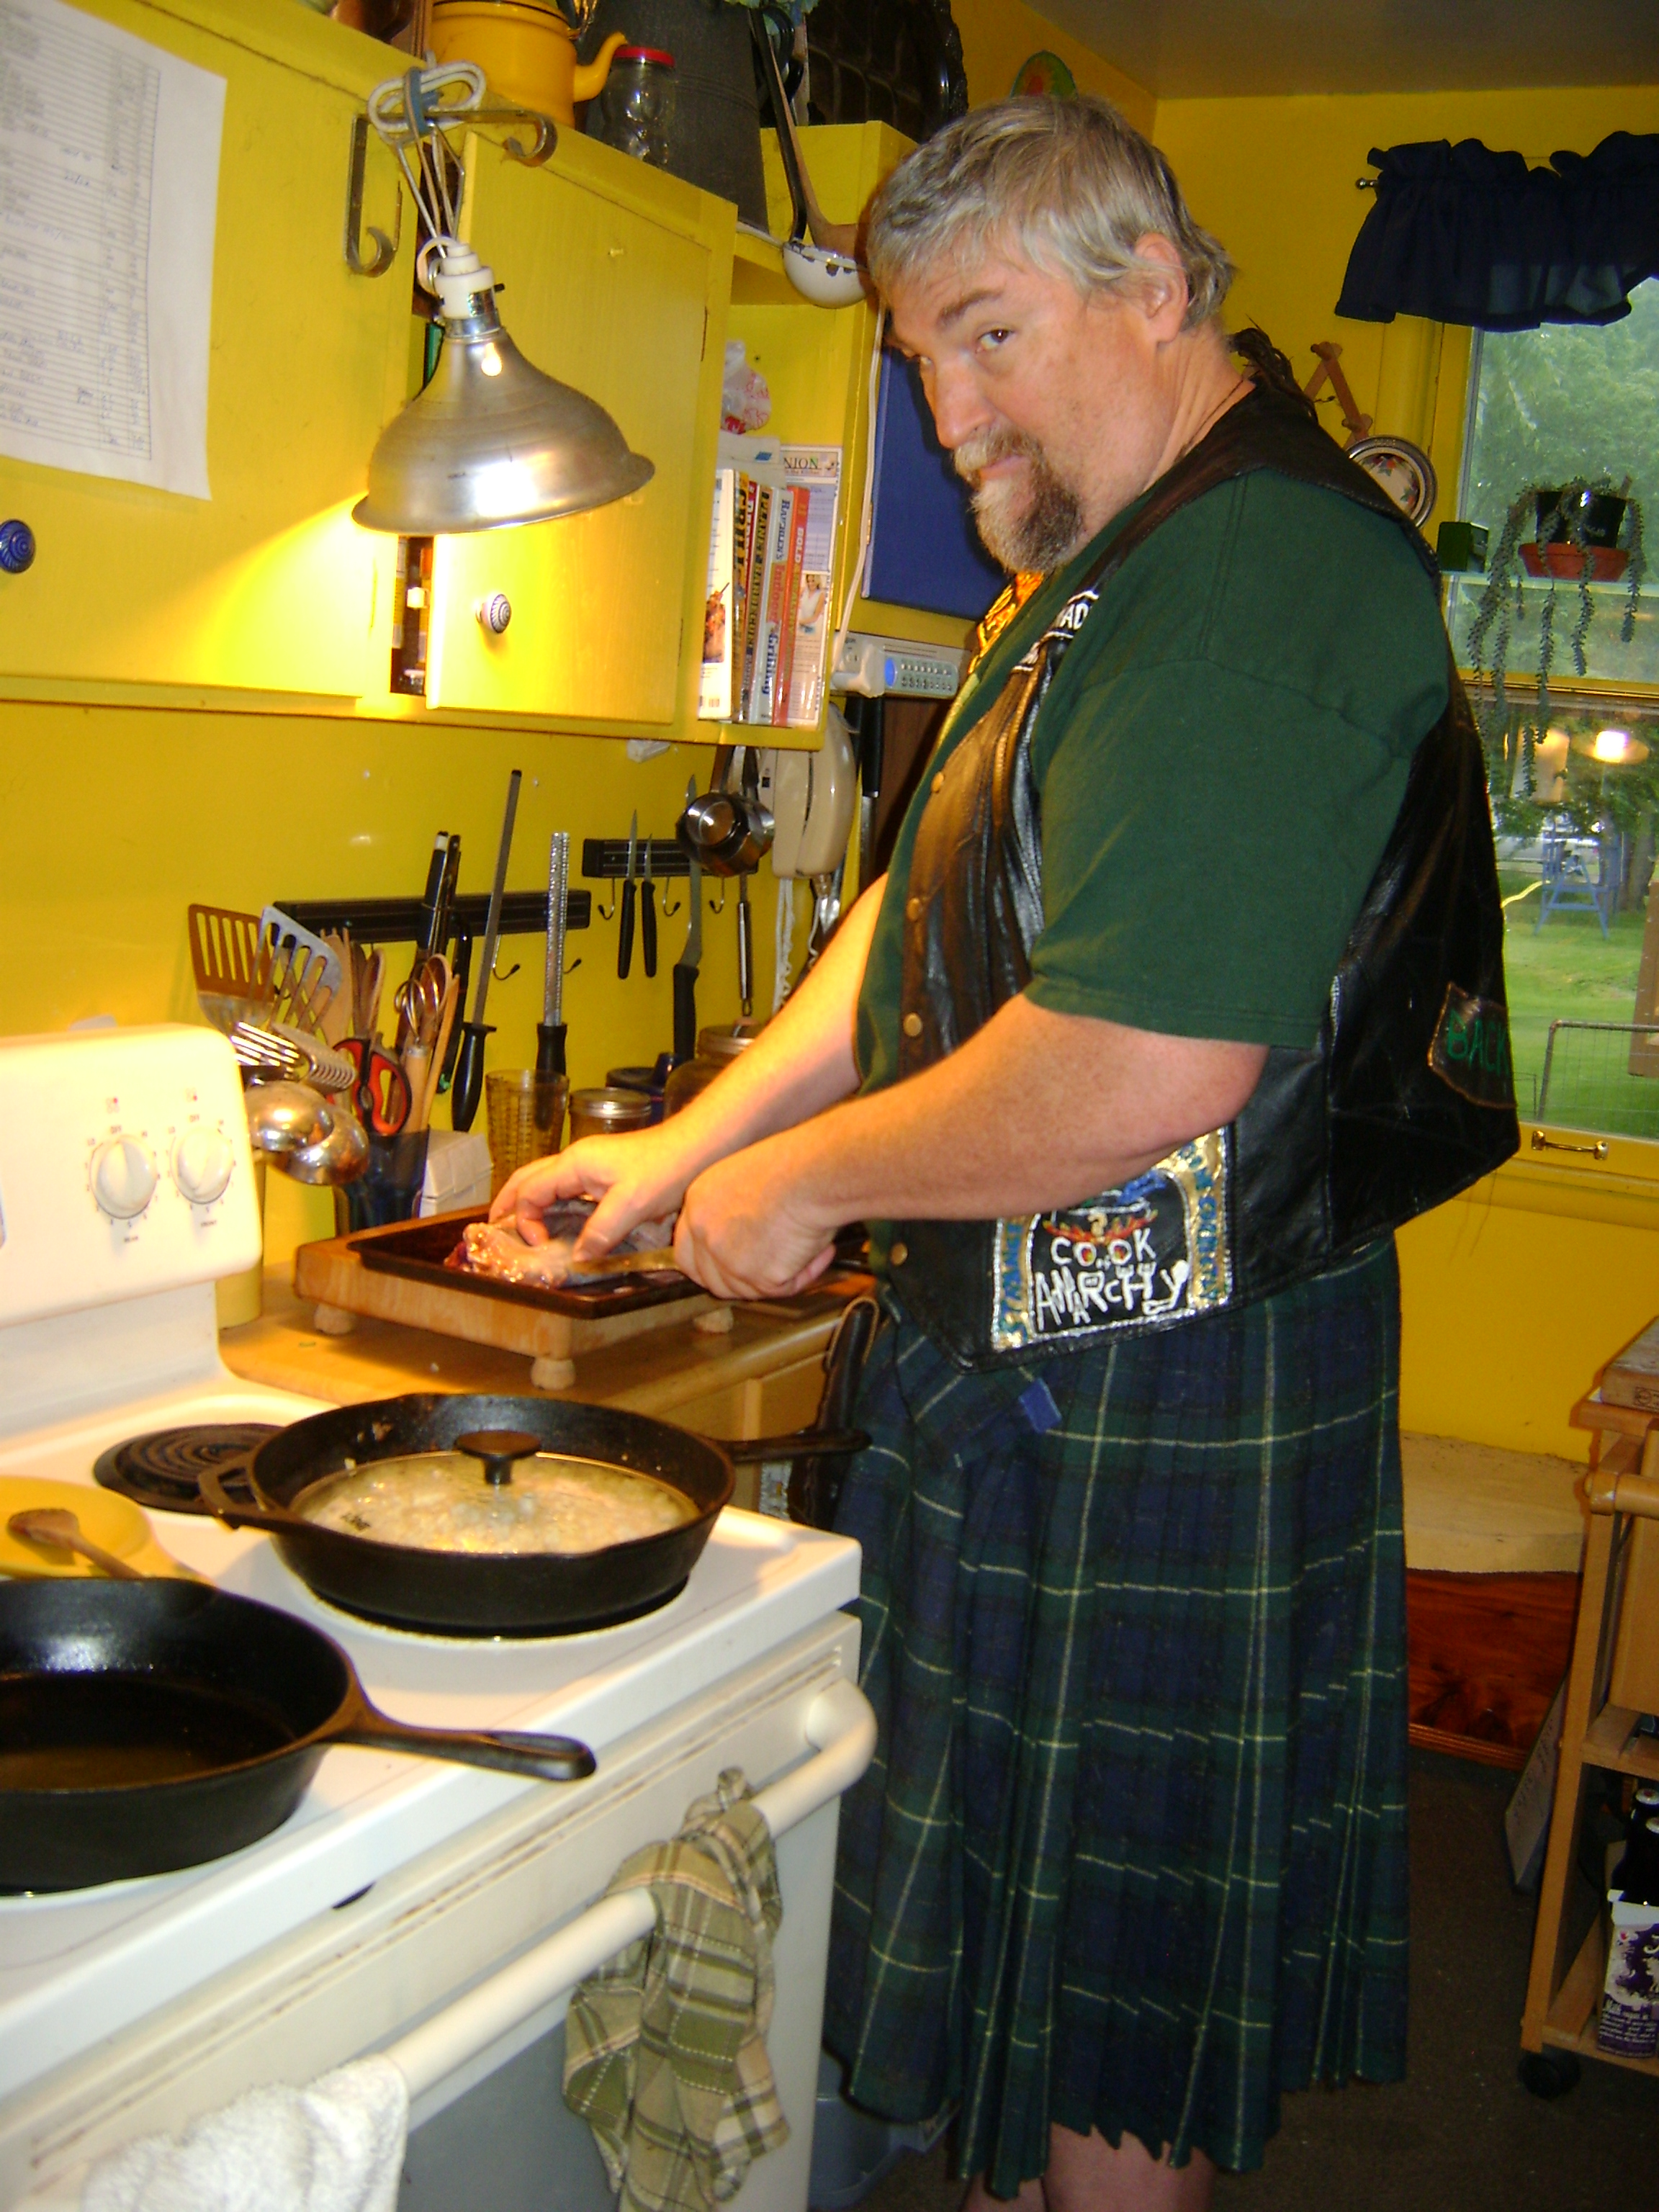
Cooking in a kilt. Yep... The wife digs it. What can I say?
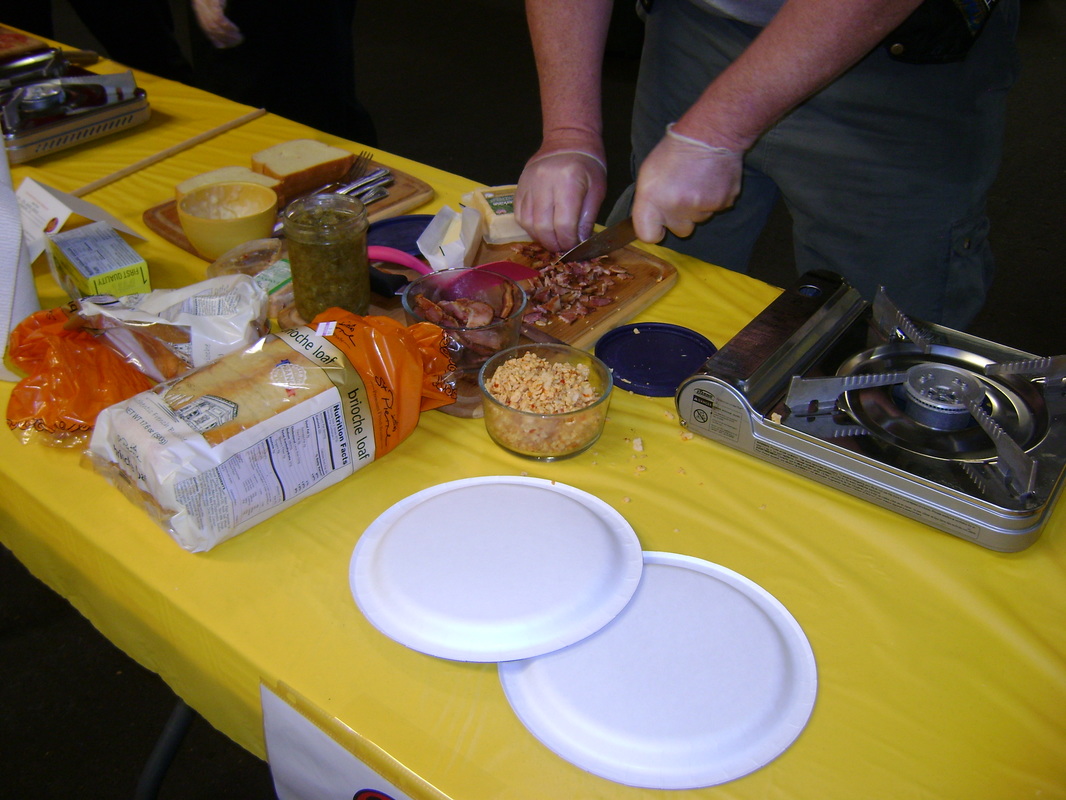
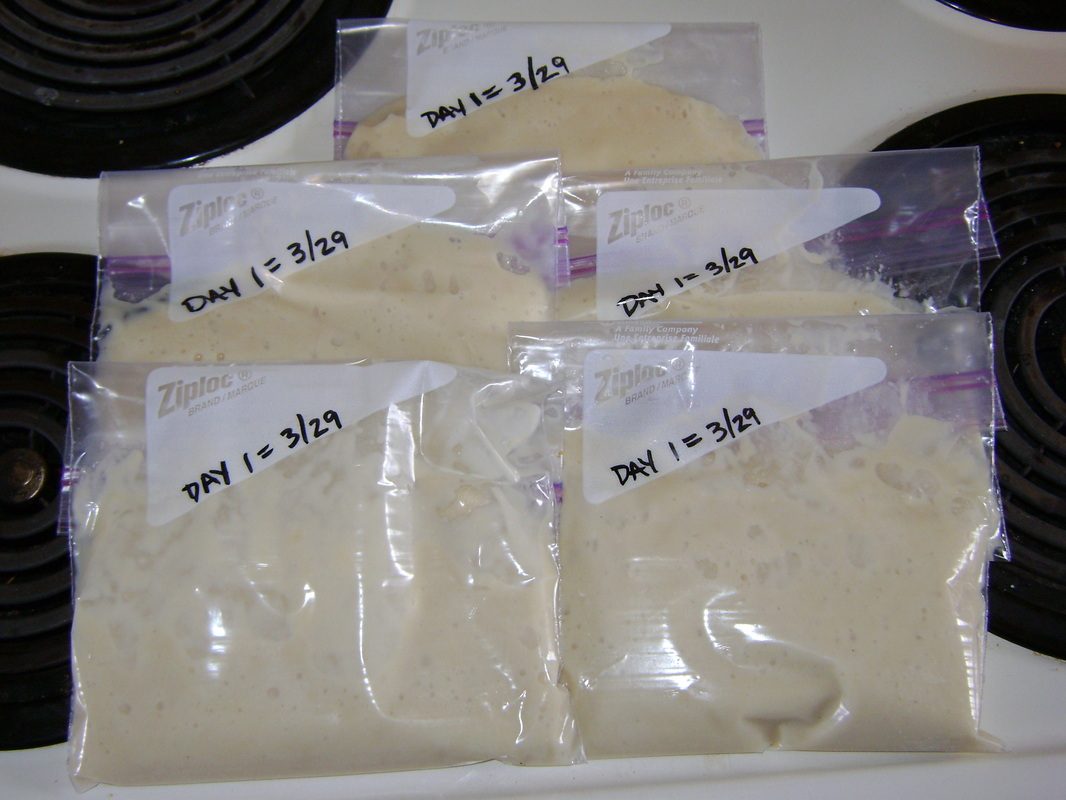
THE FUEL...  I know what is going into my meals. I get to choose the ingredients...
Picture
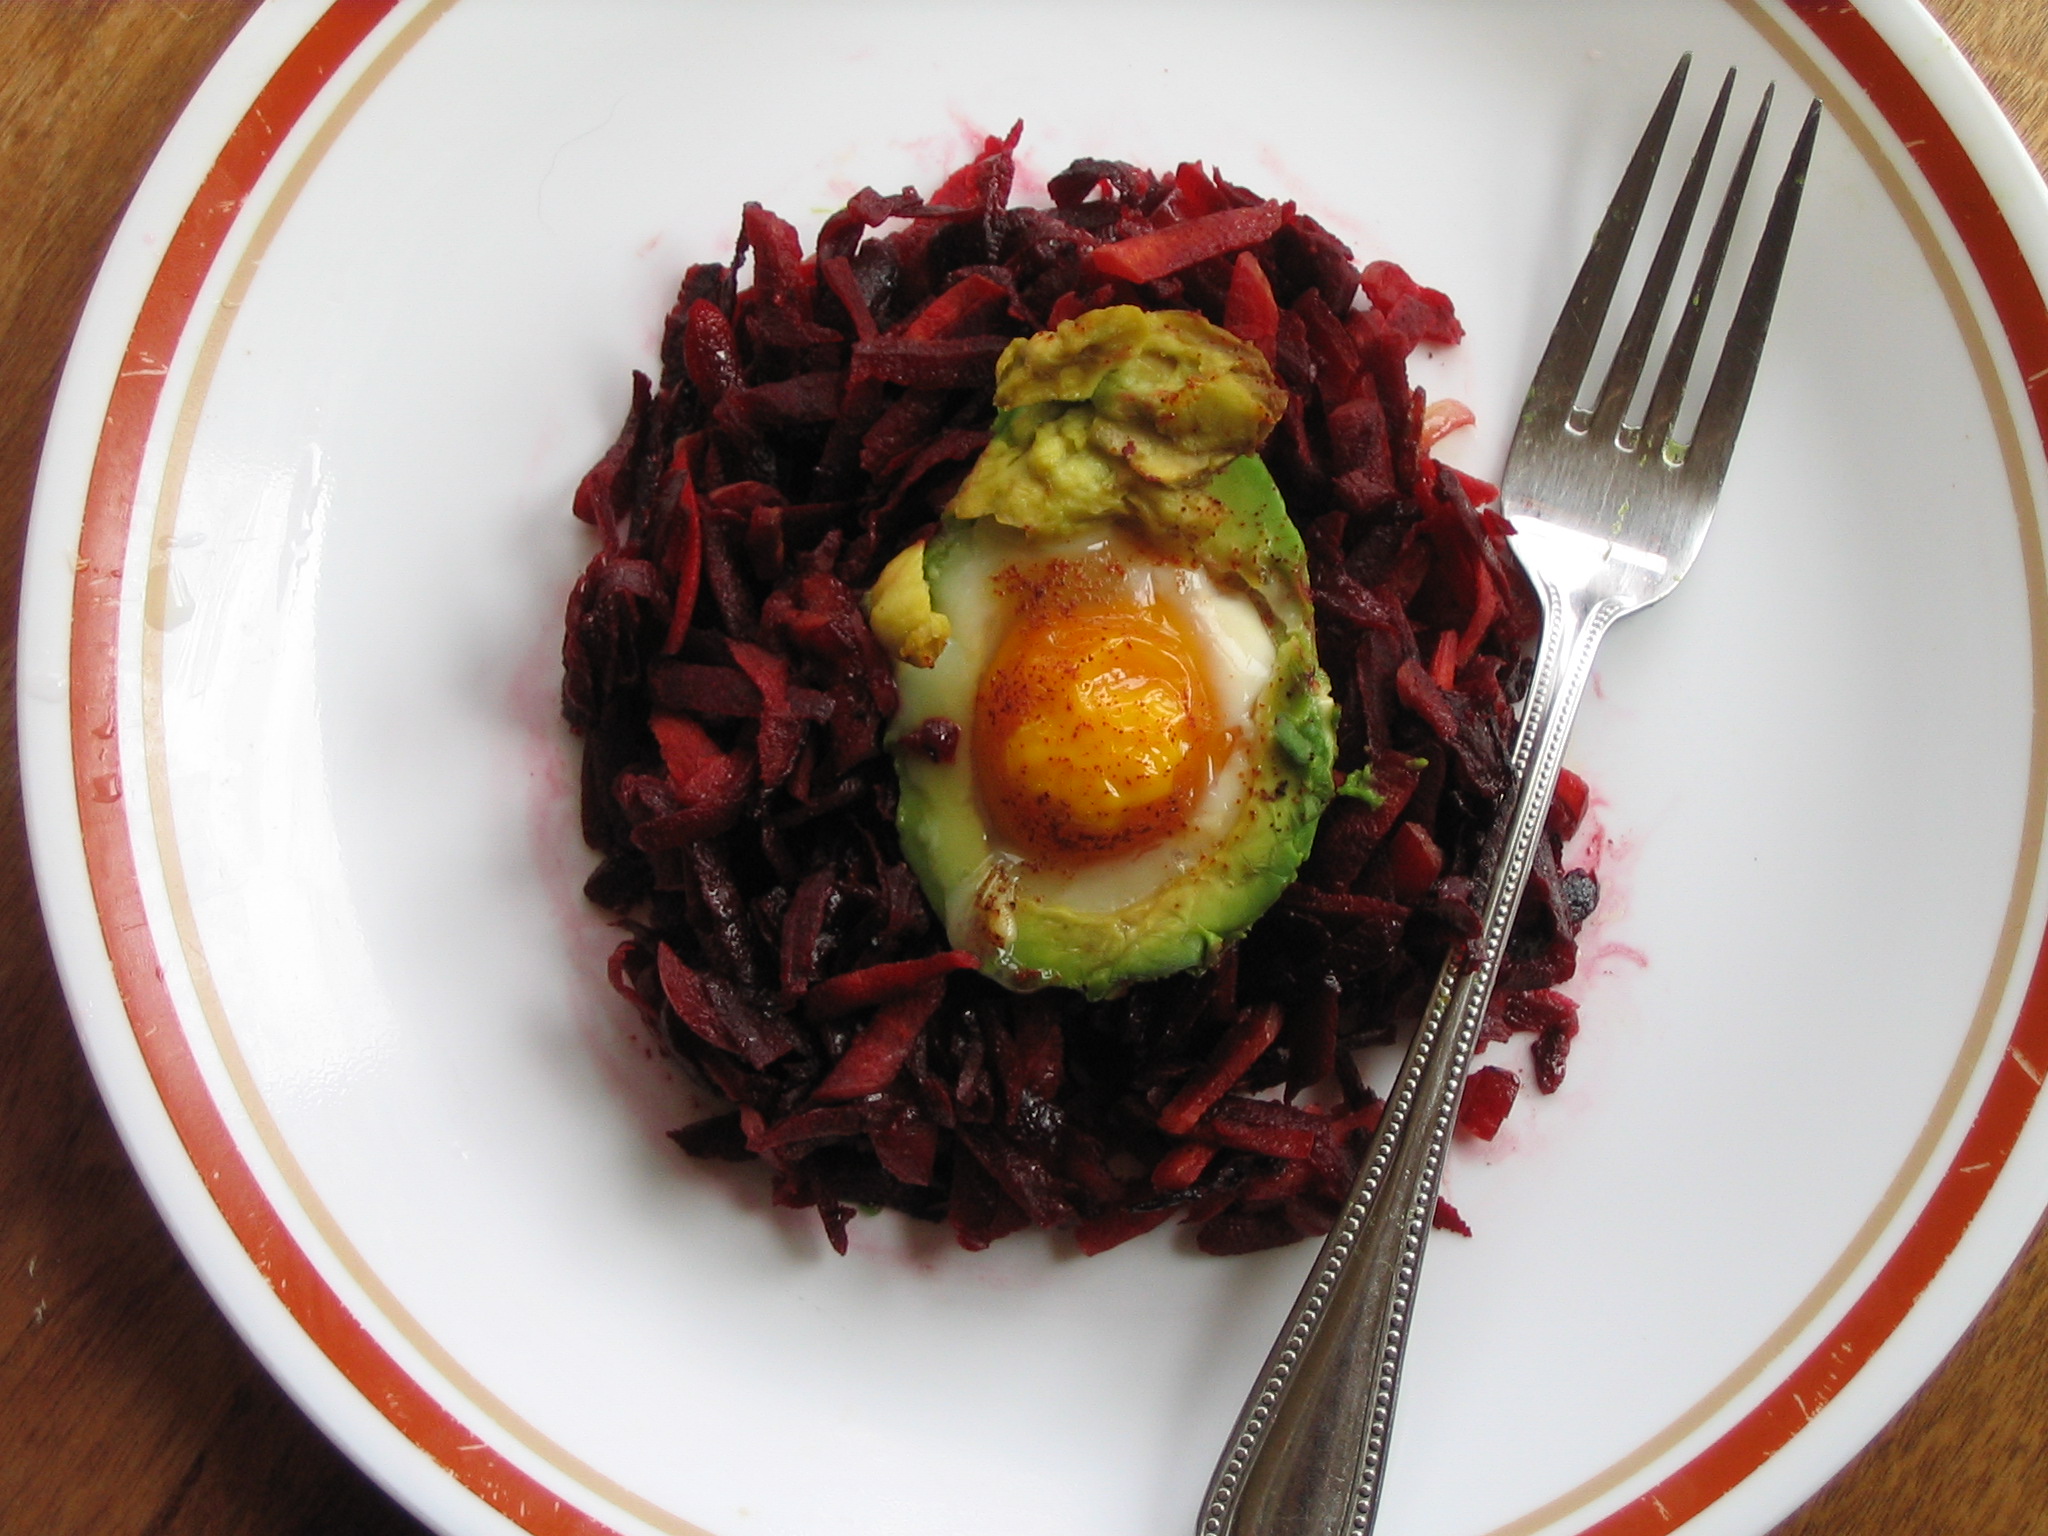
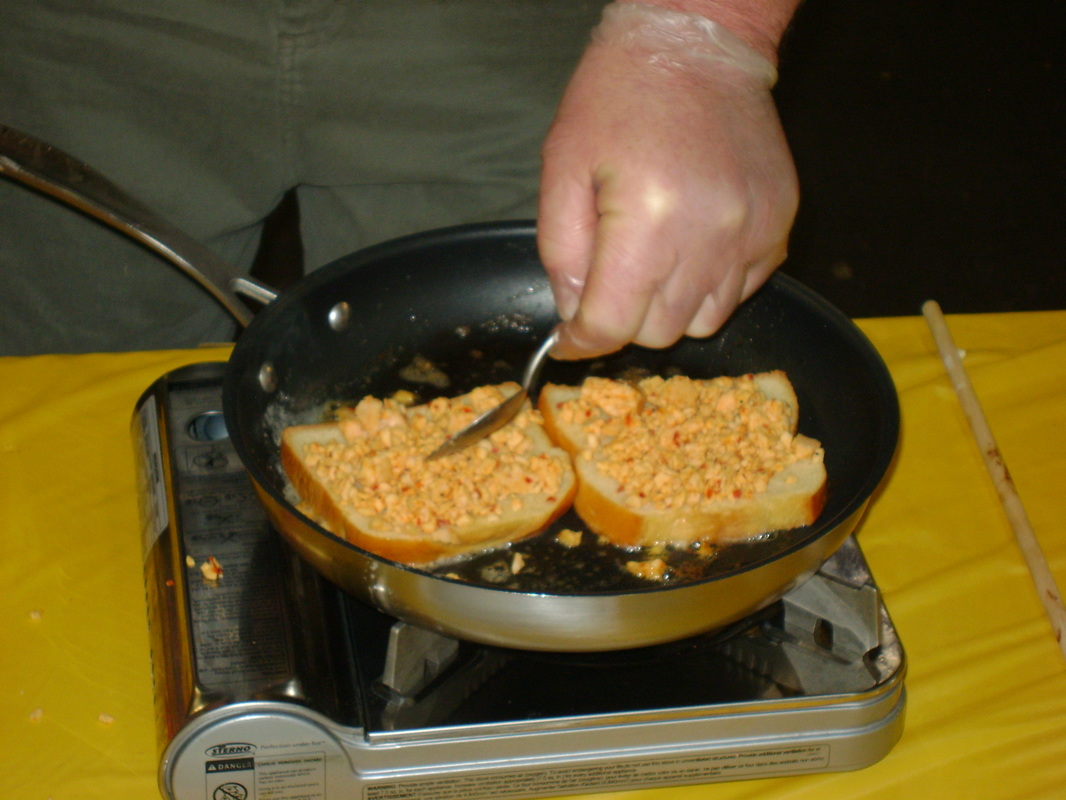
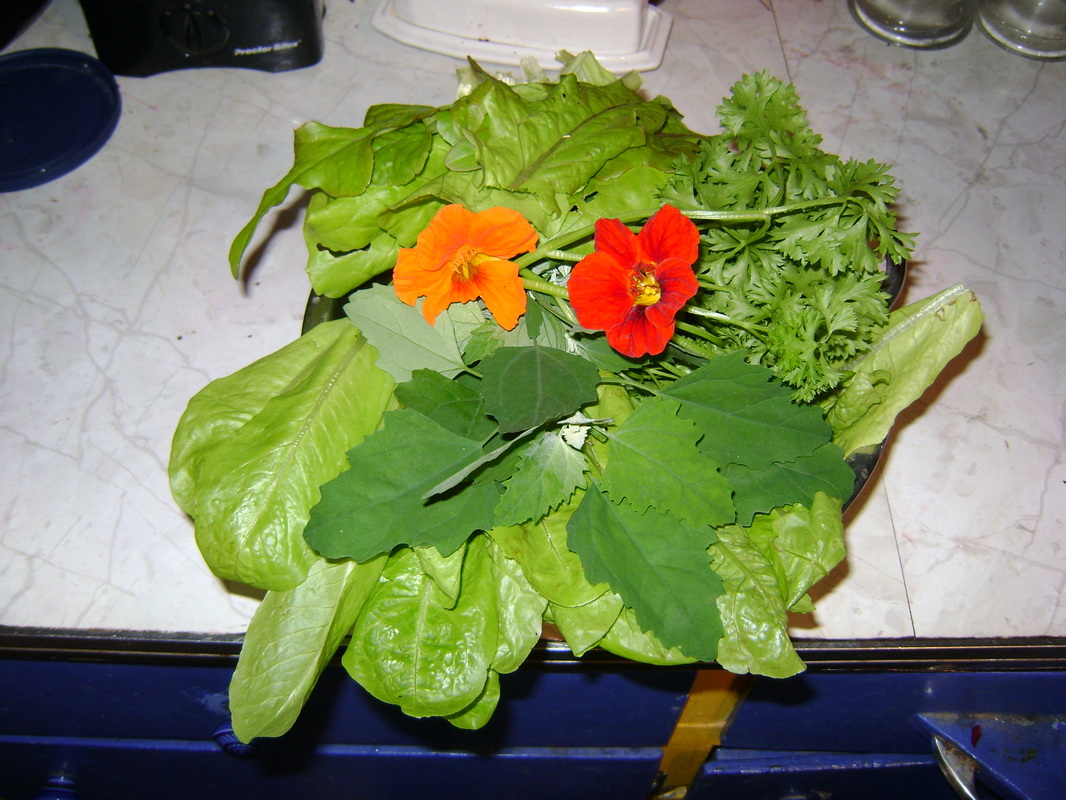
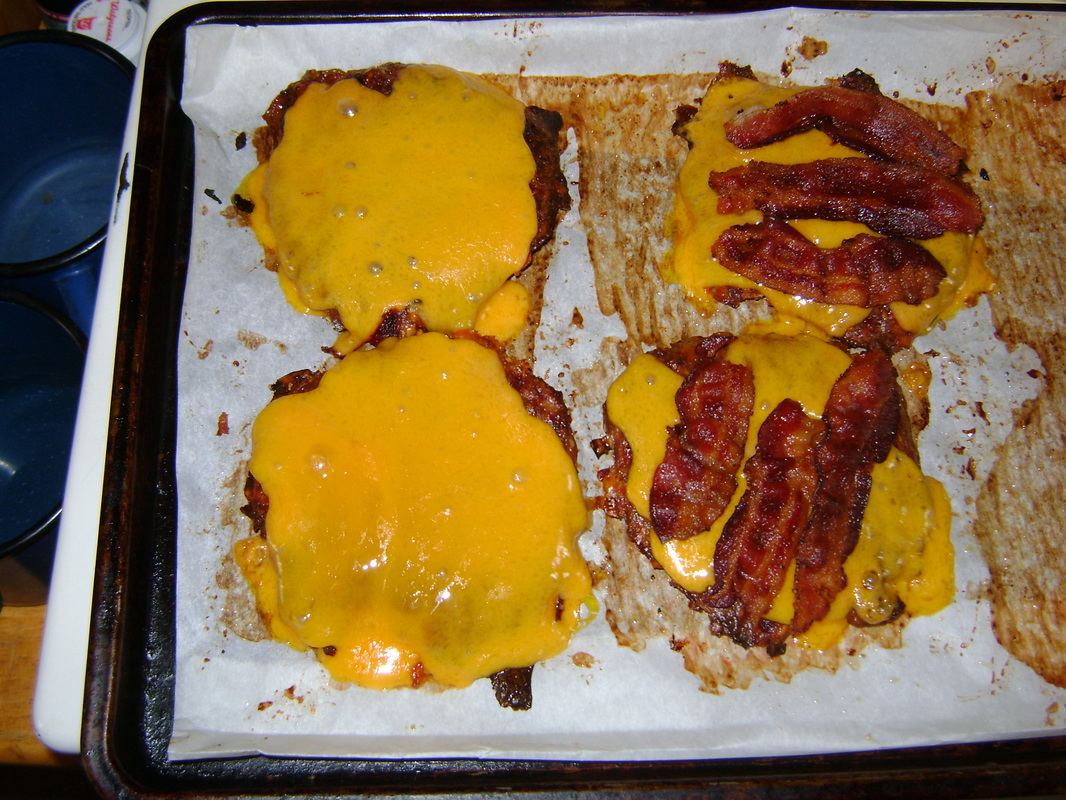
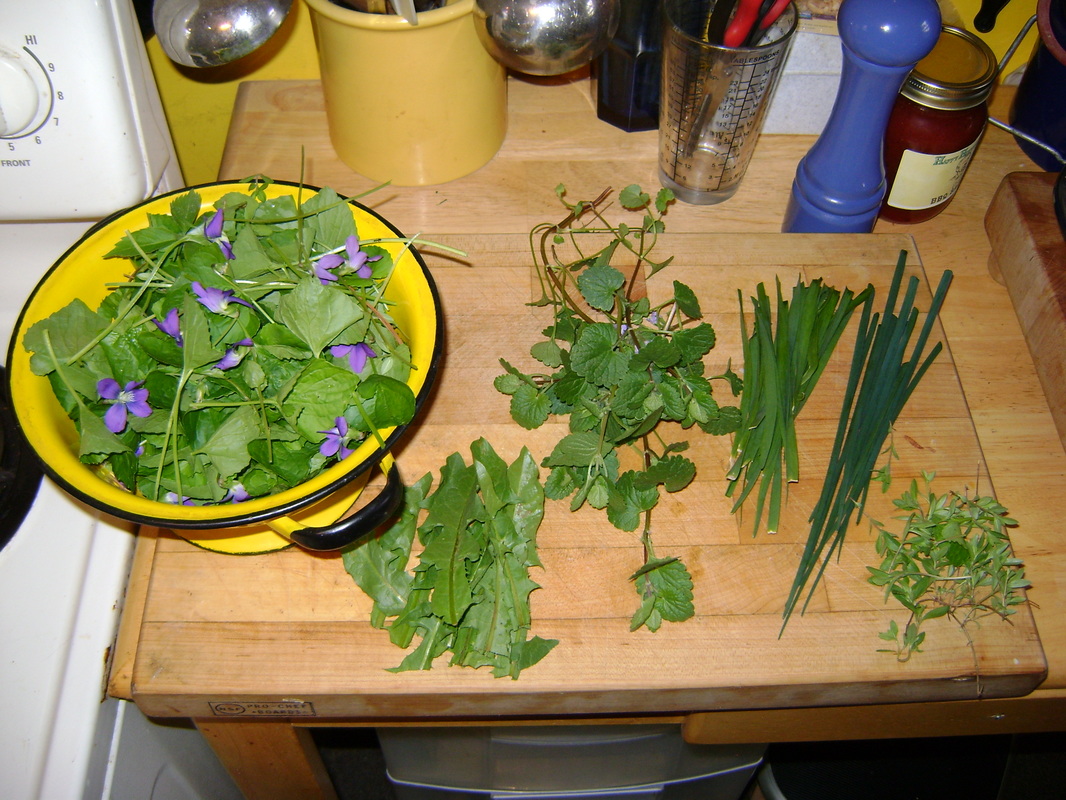
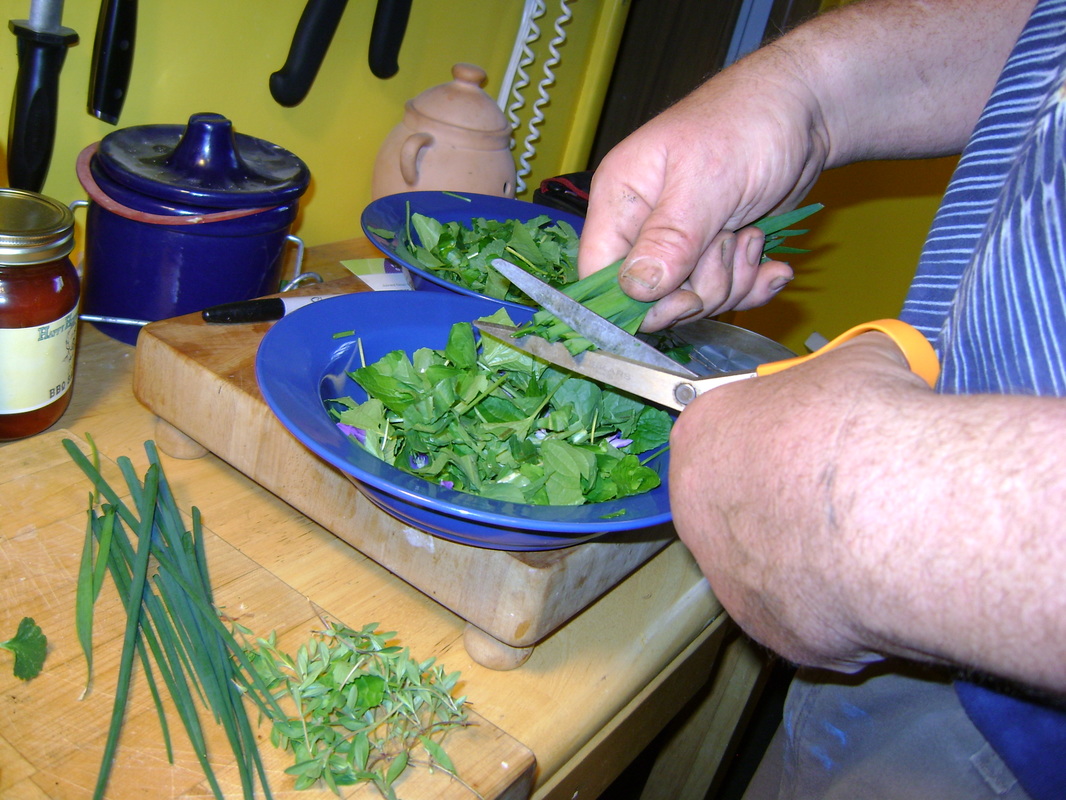
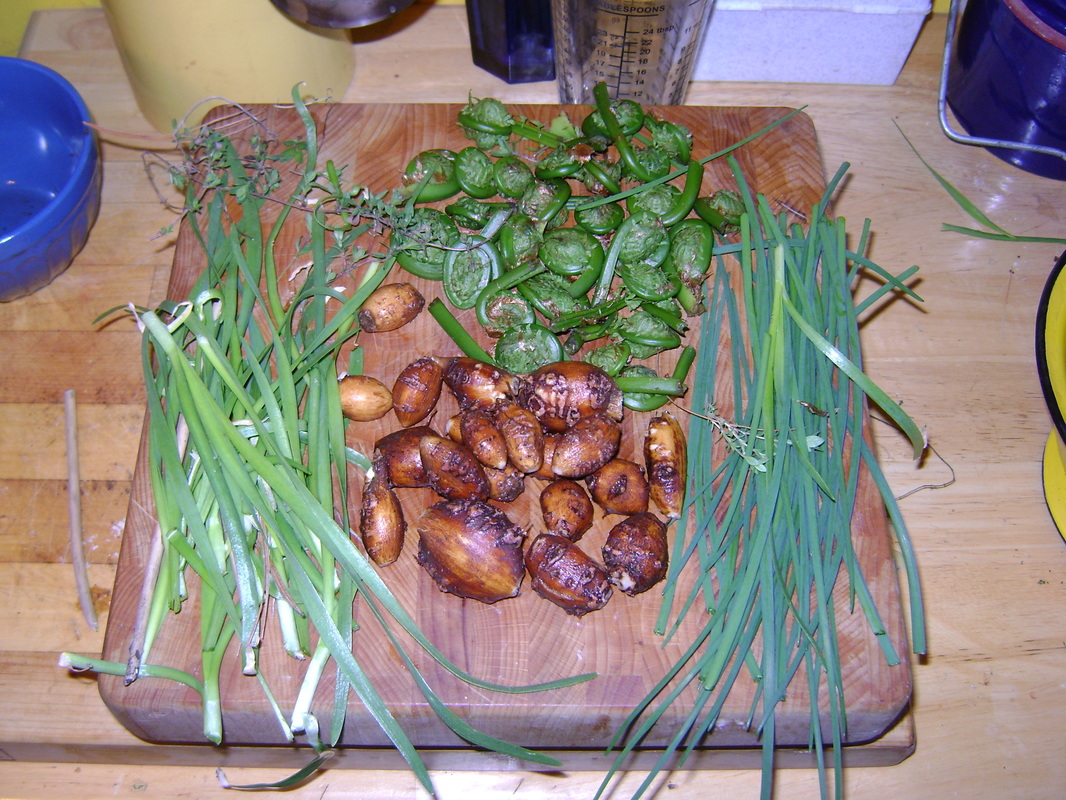
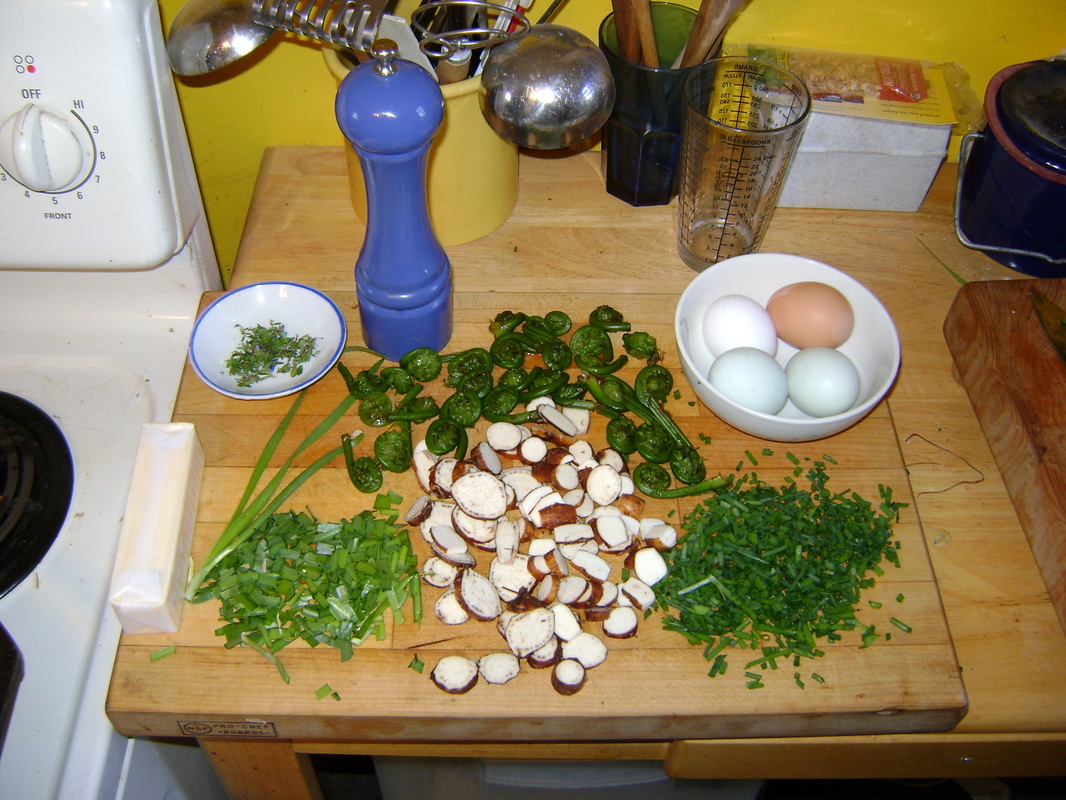
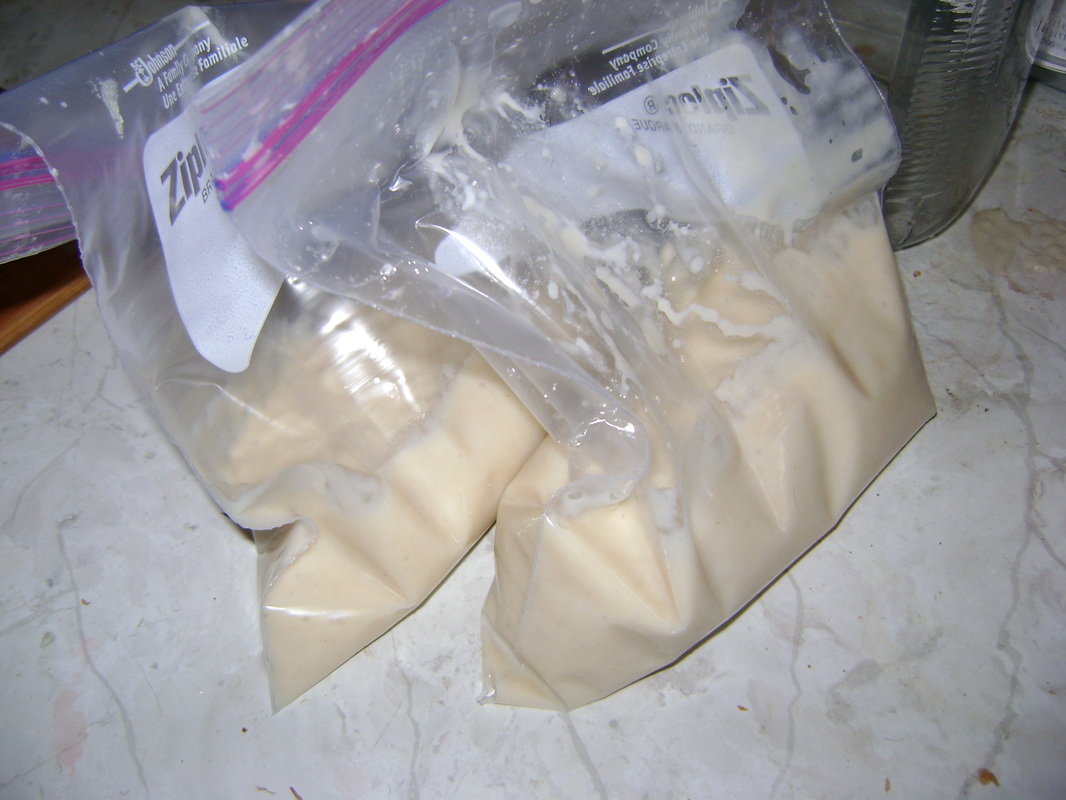
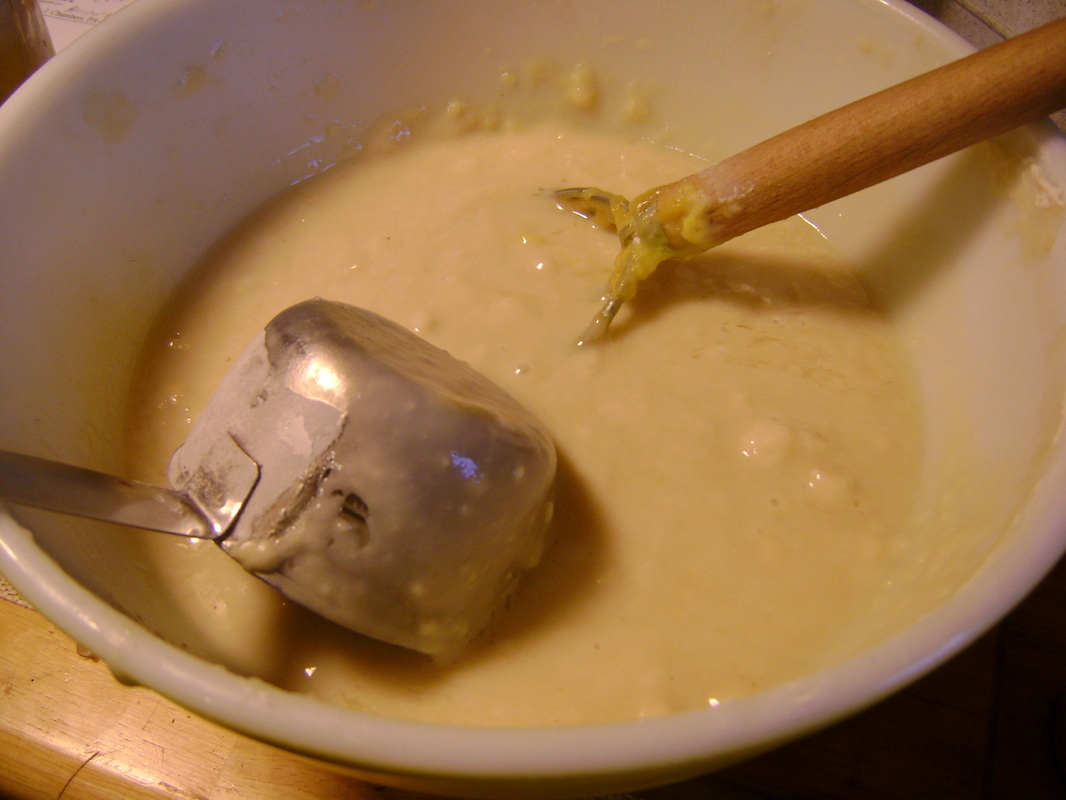
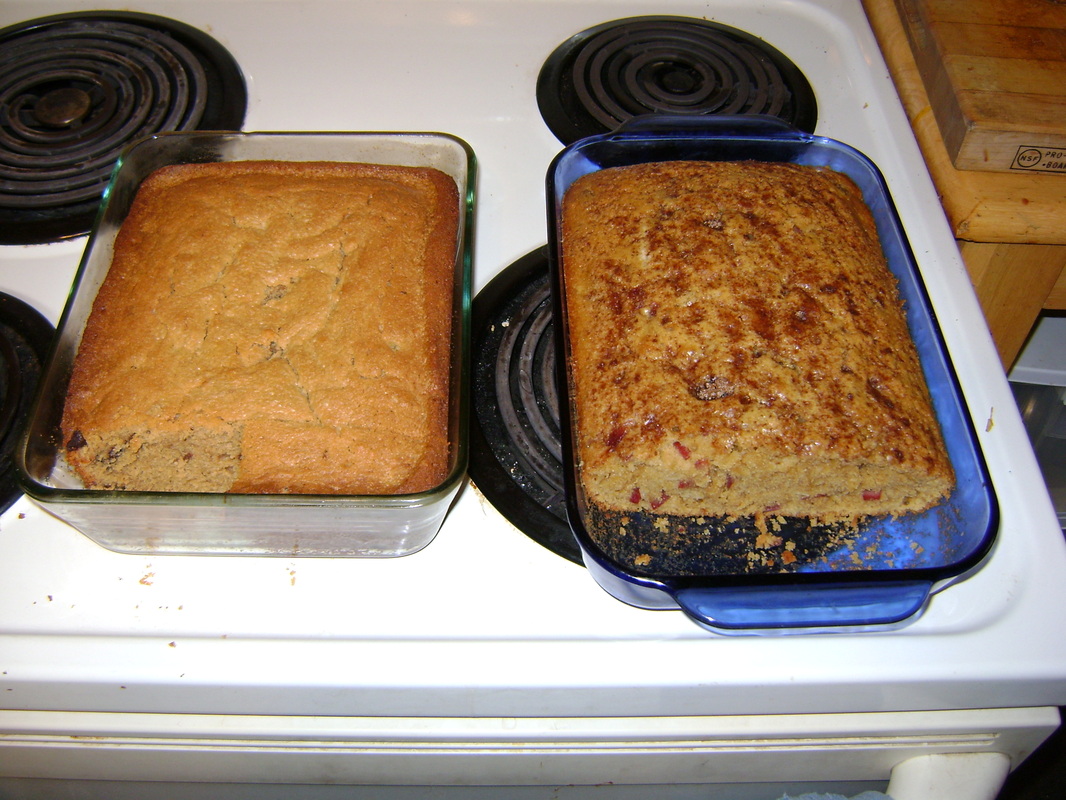
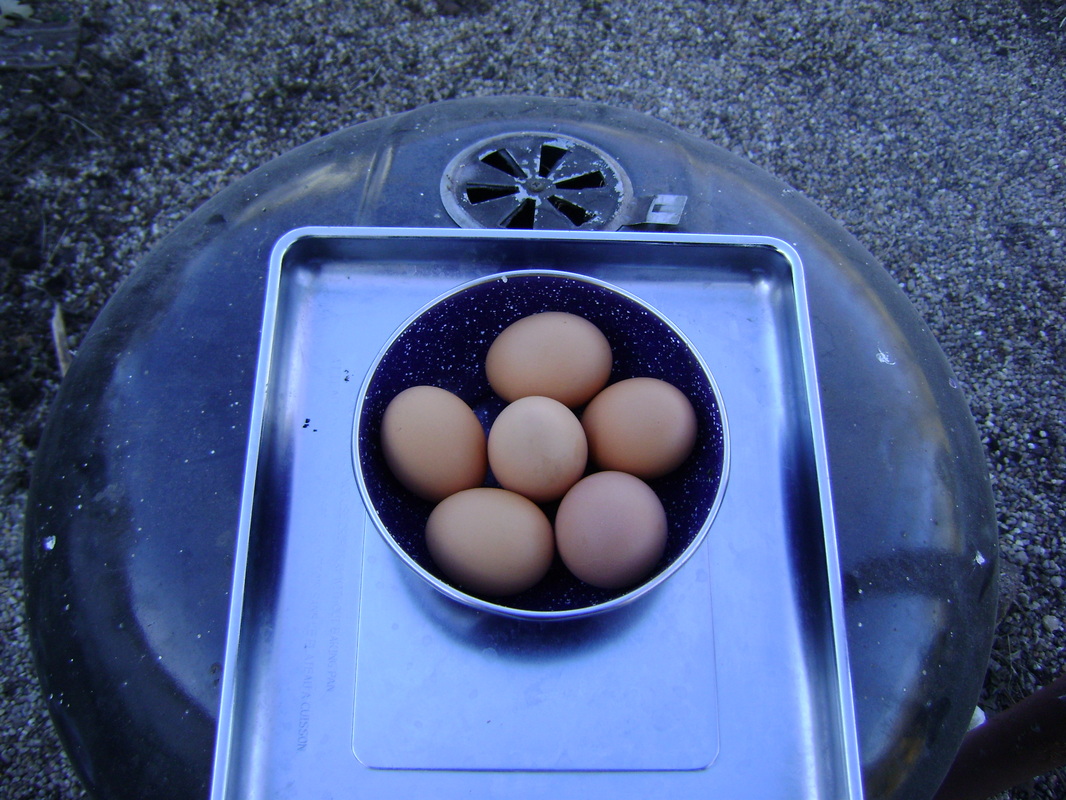
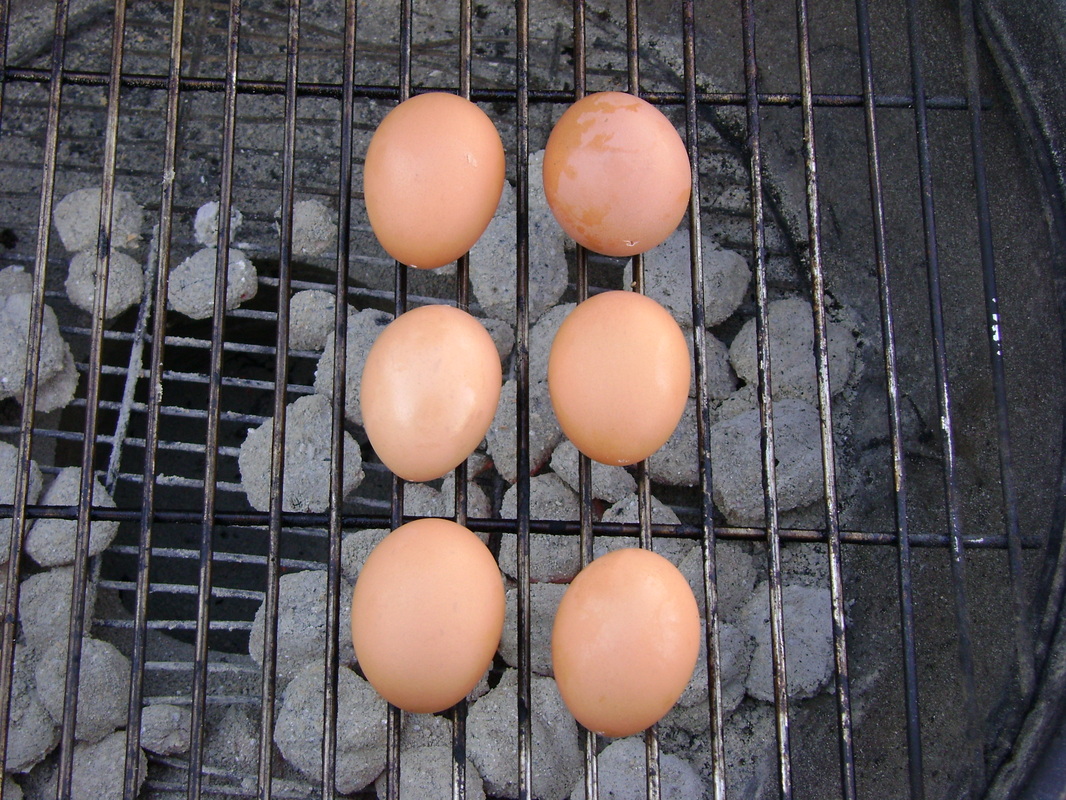
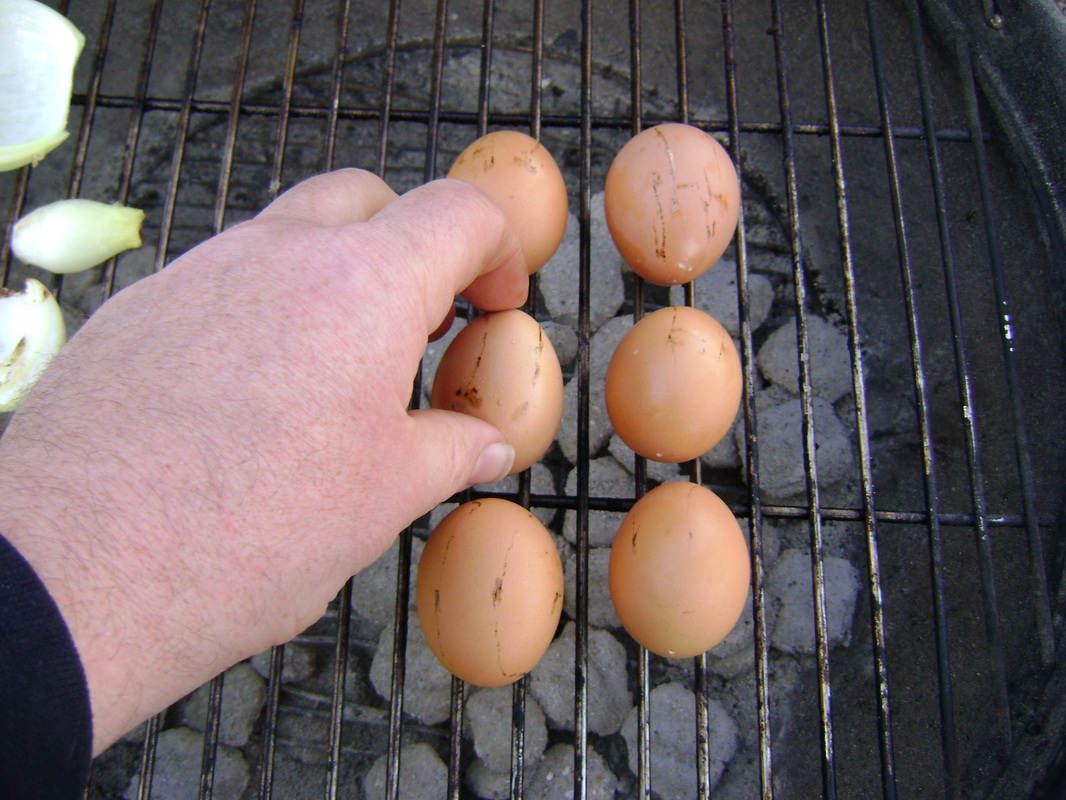
From in the house...
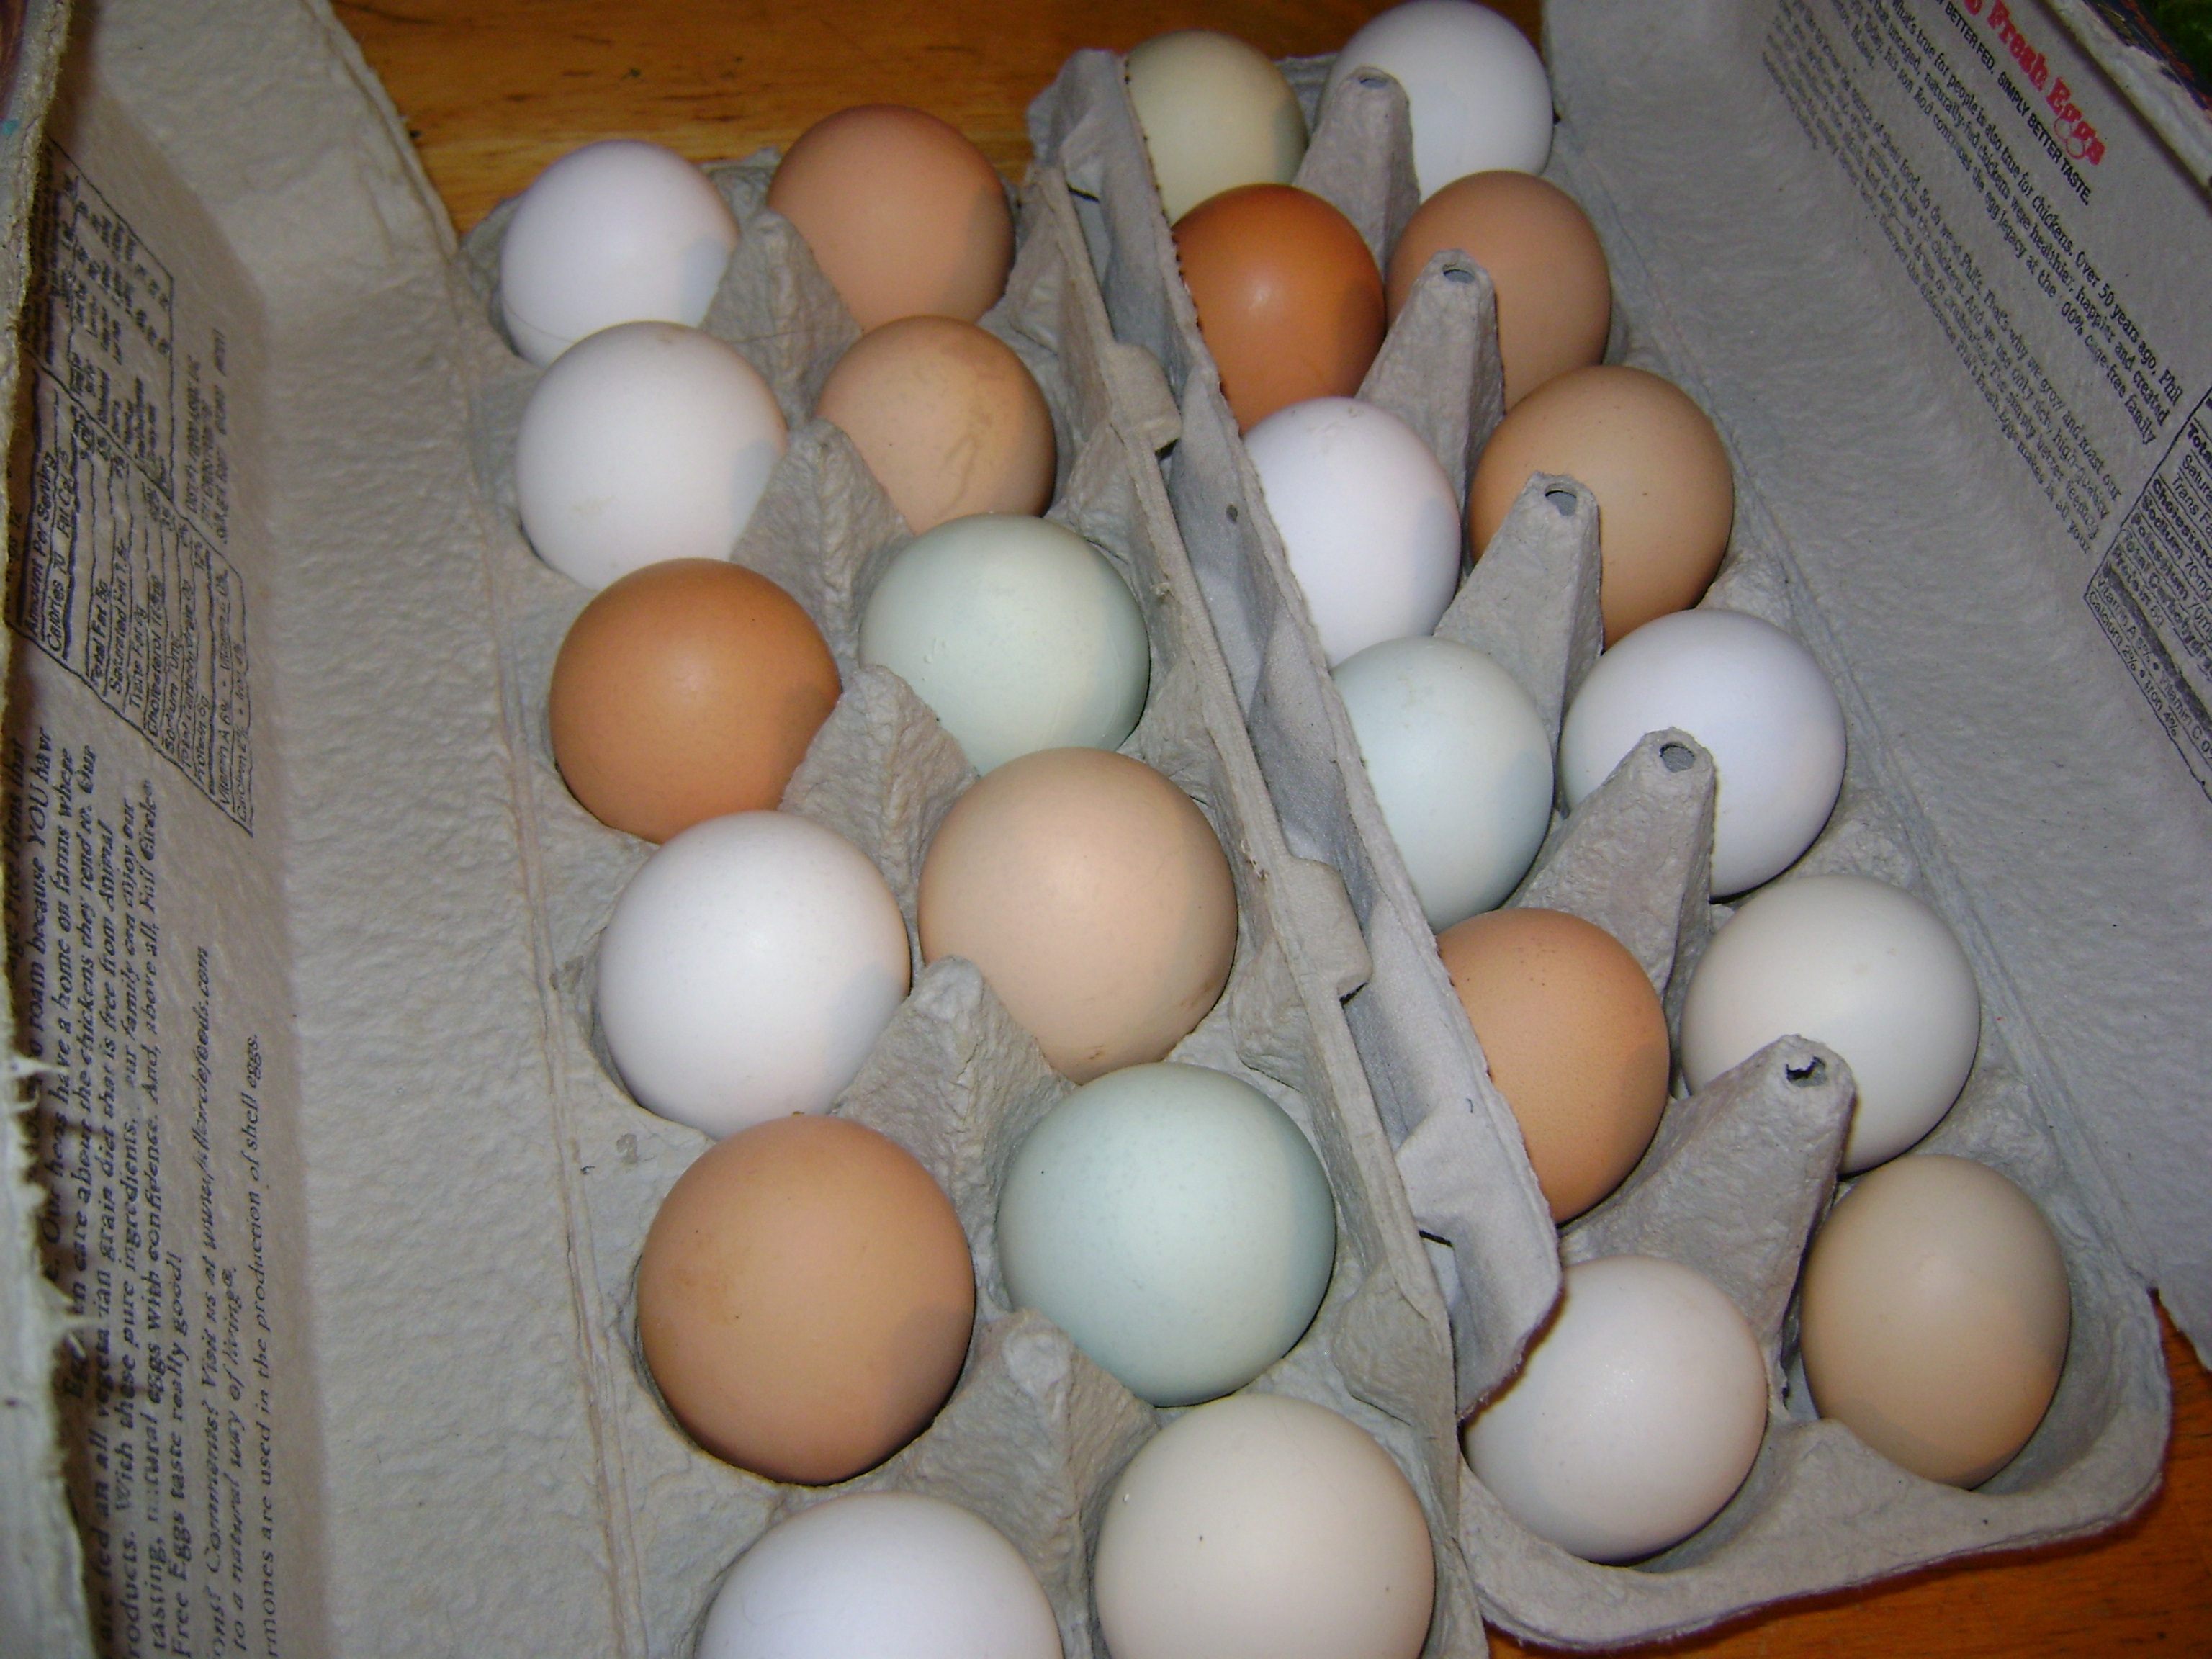
Picture
Fresh from the neighbor's chickens.
Picture
Gotta fuel the mind with new ideas. This one, beet burgers!
Picture
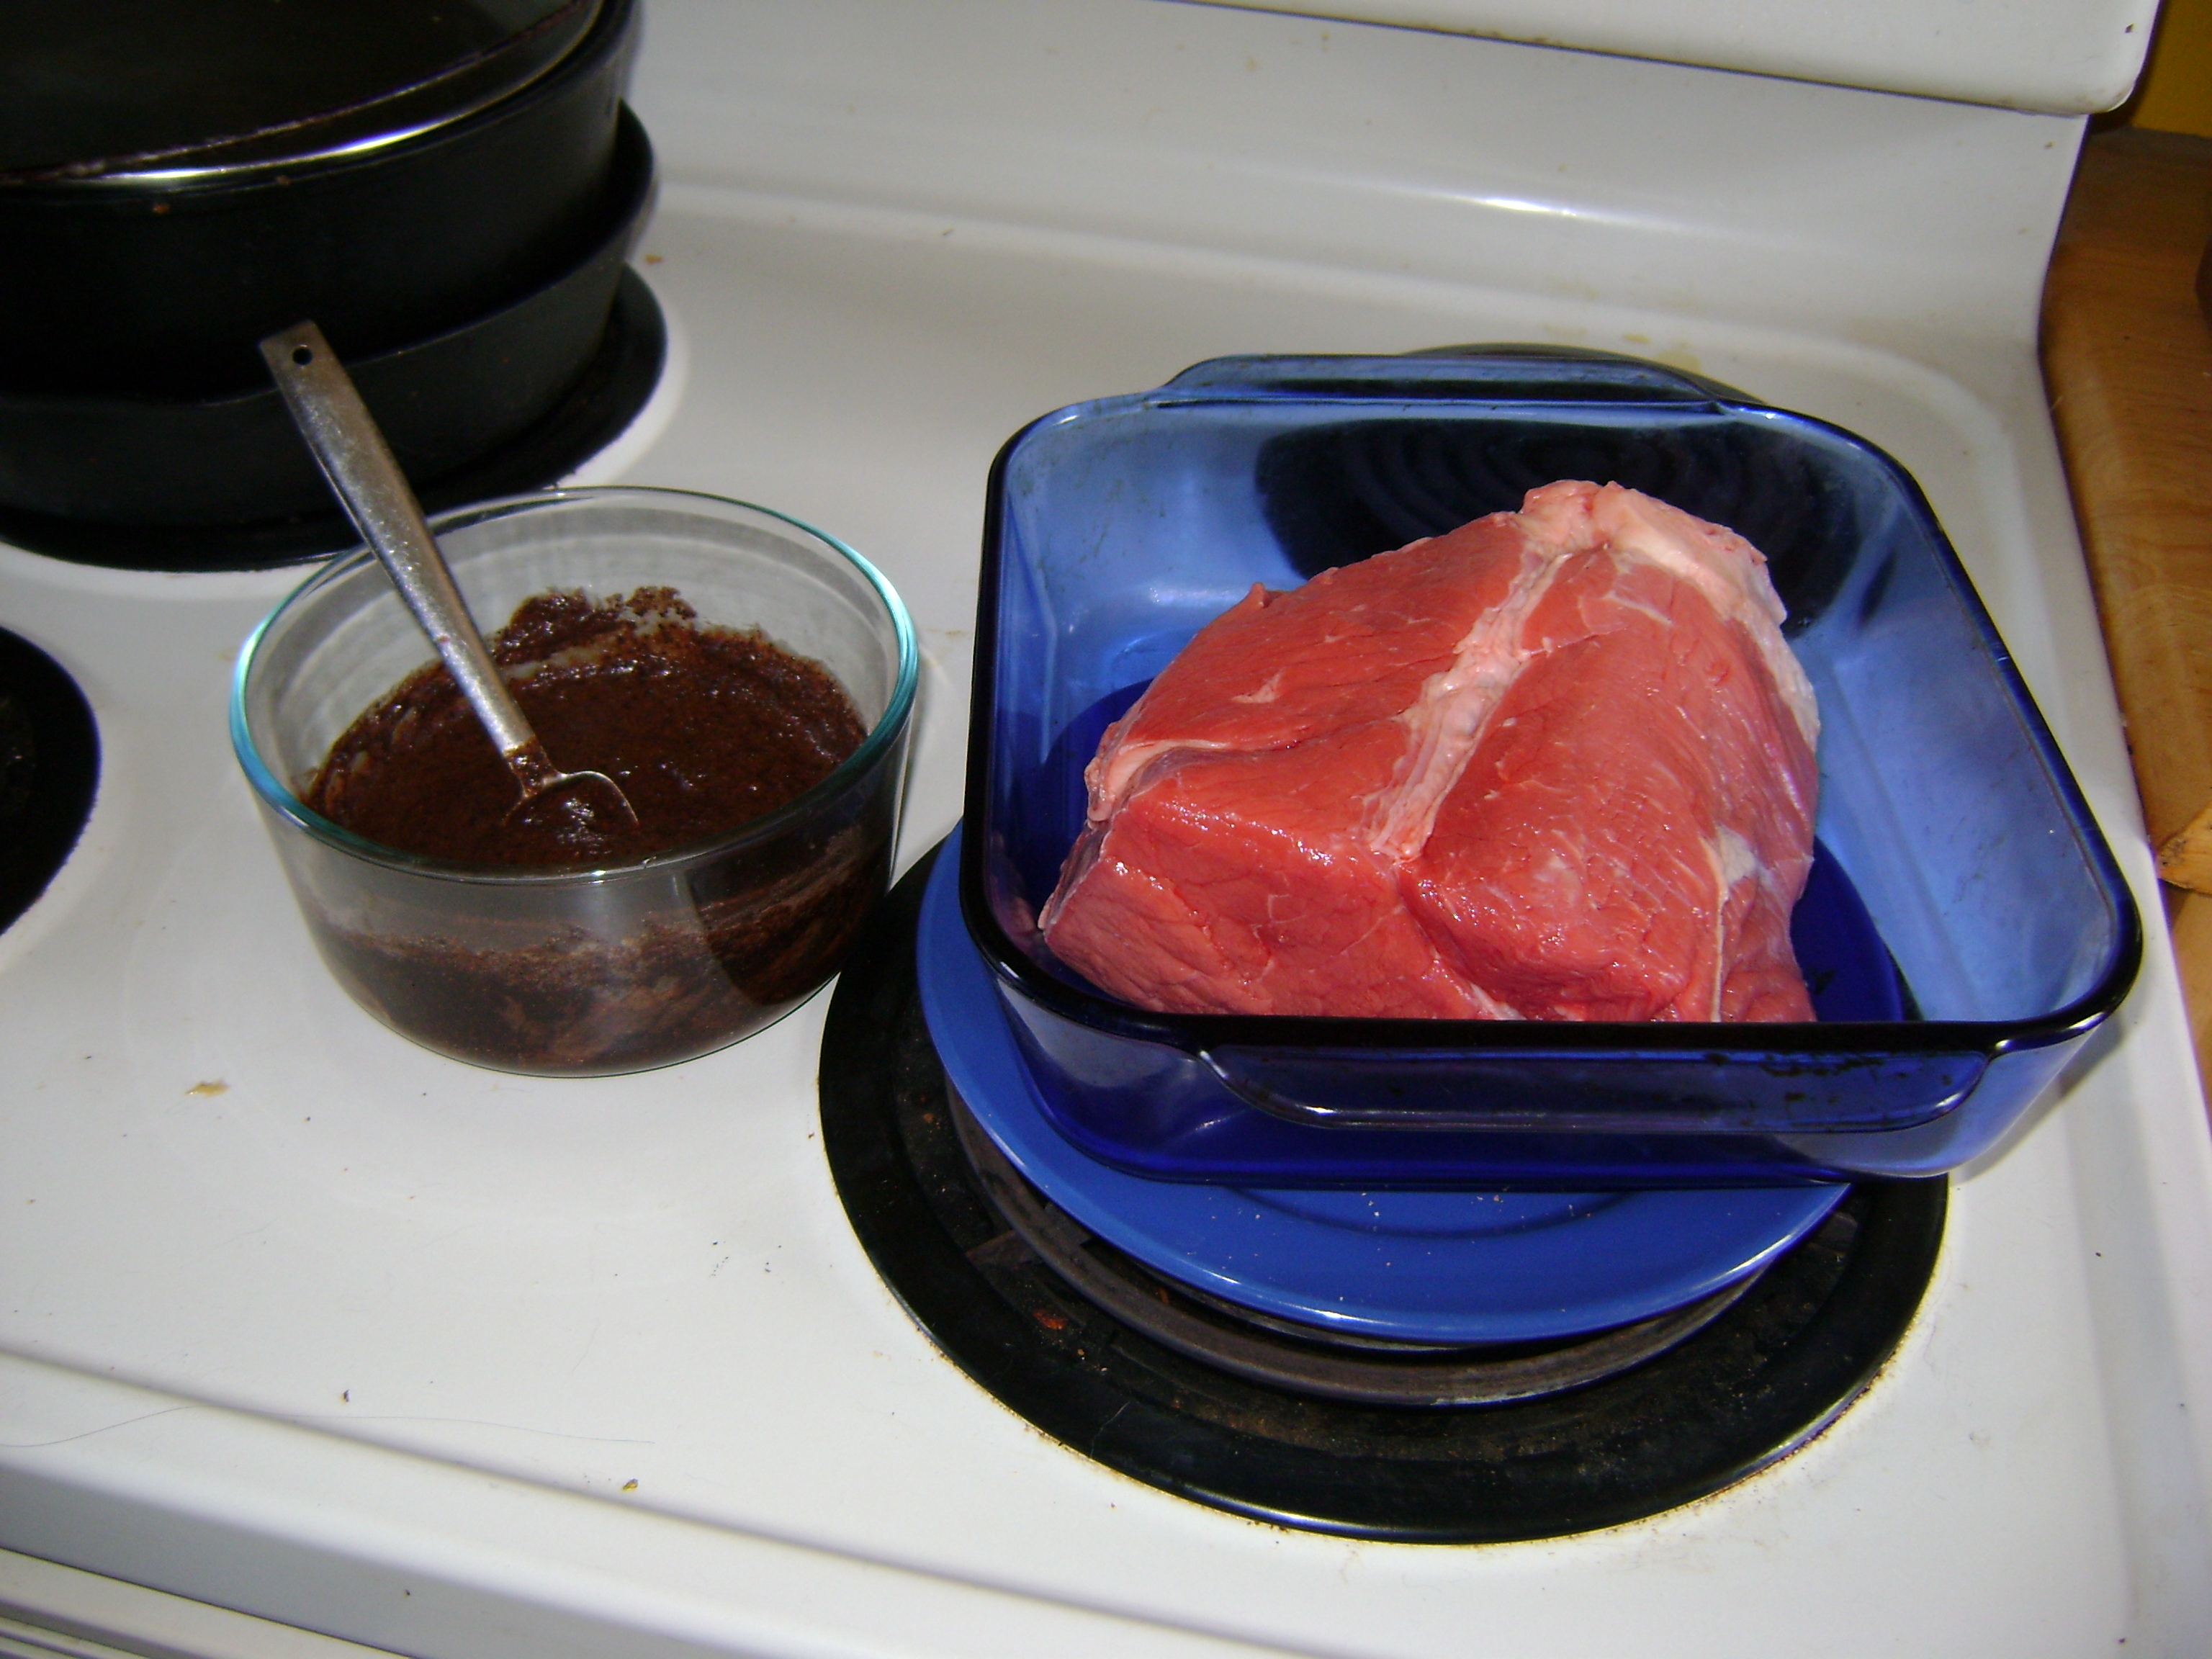
A rub for more flavor on the meat? I can do that!
Picture
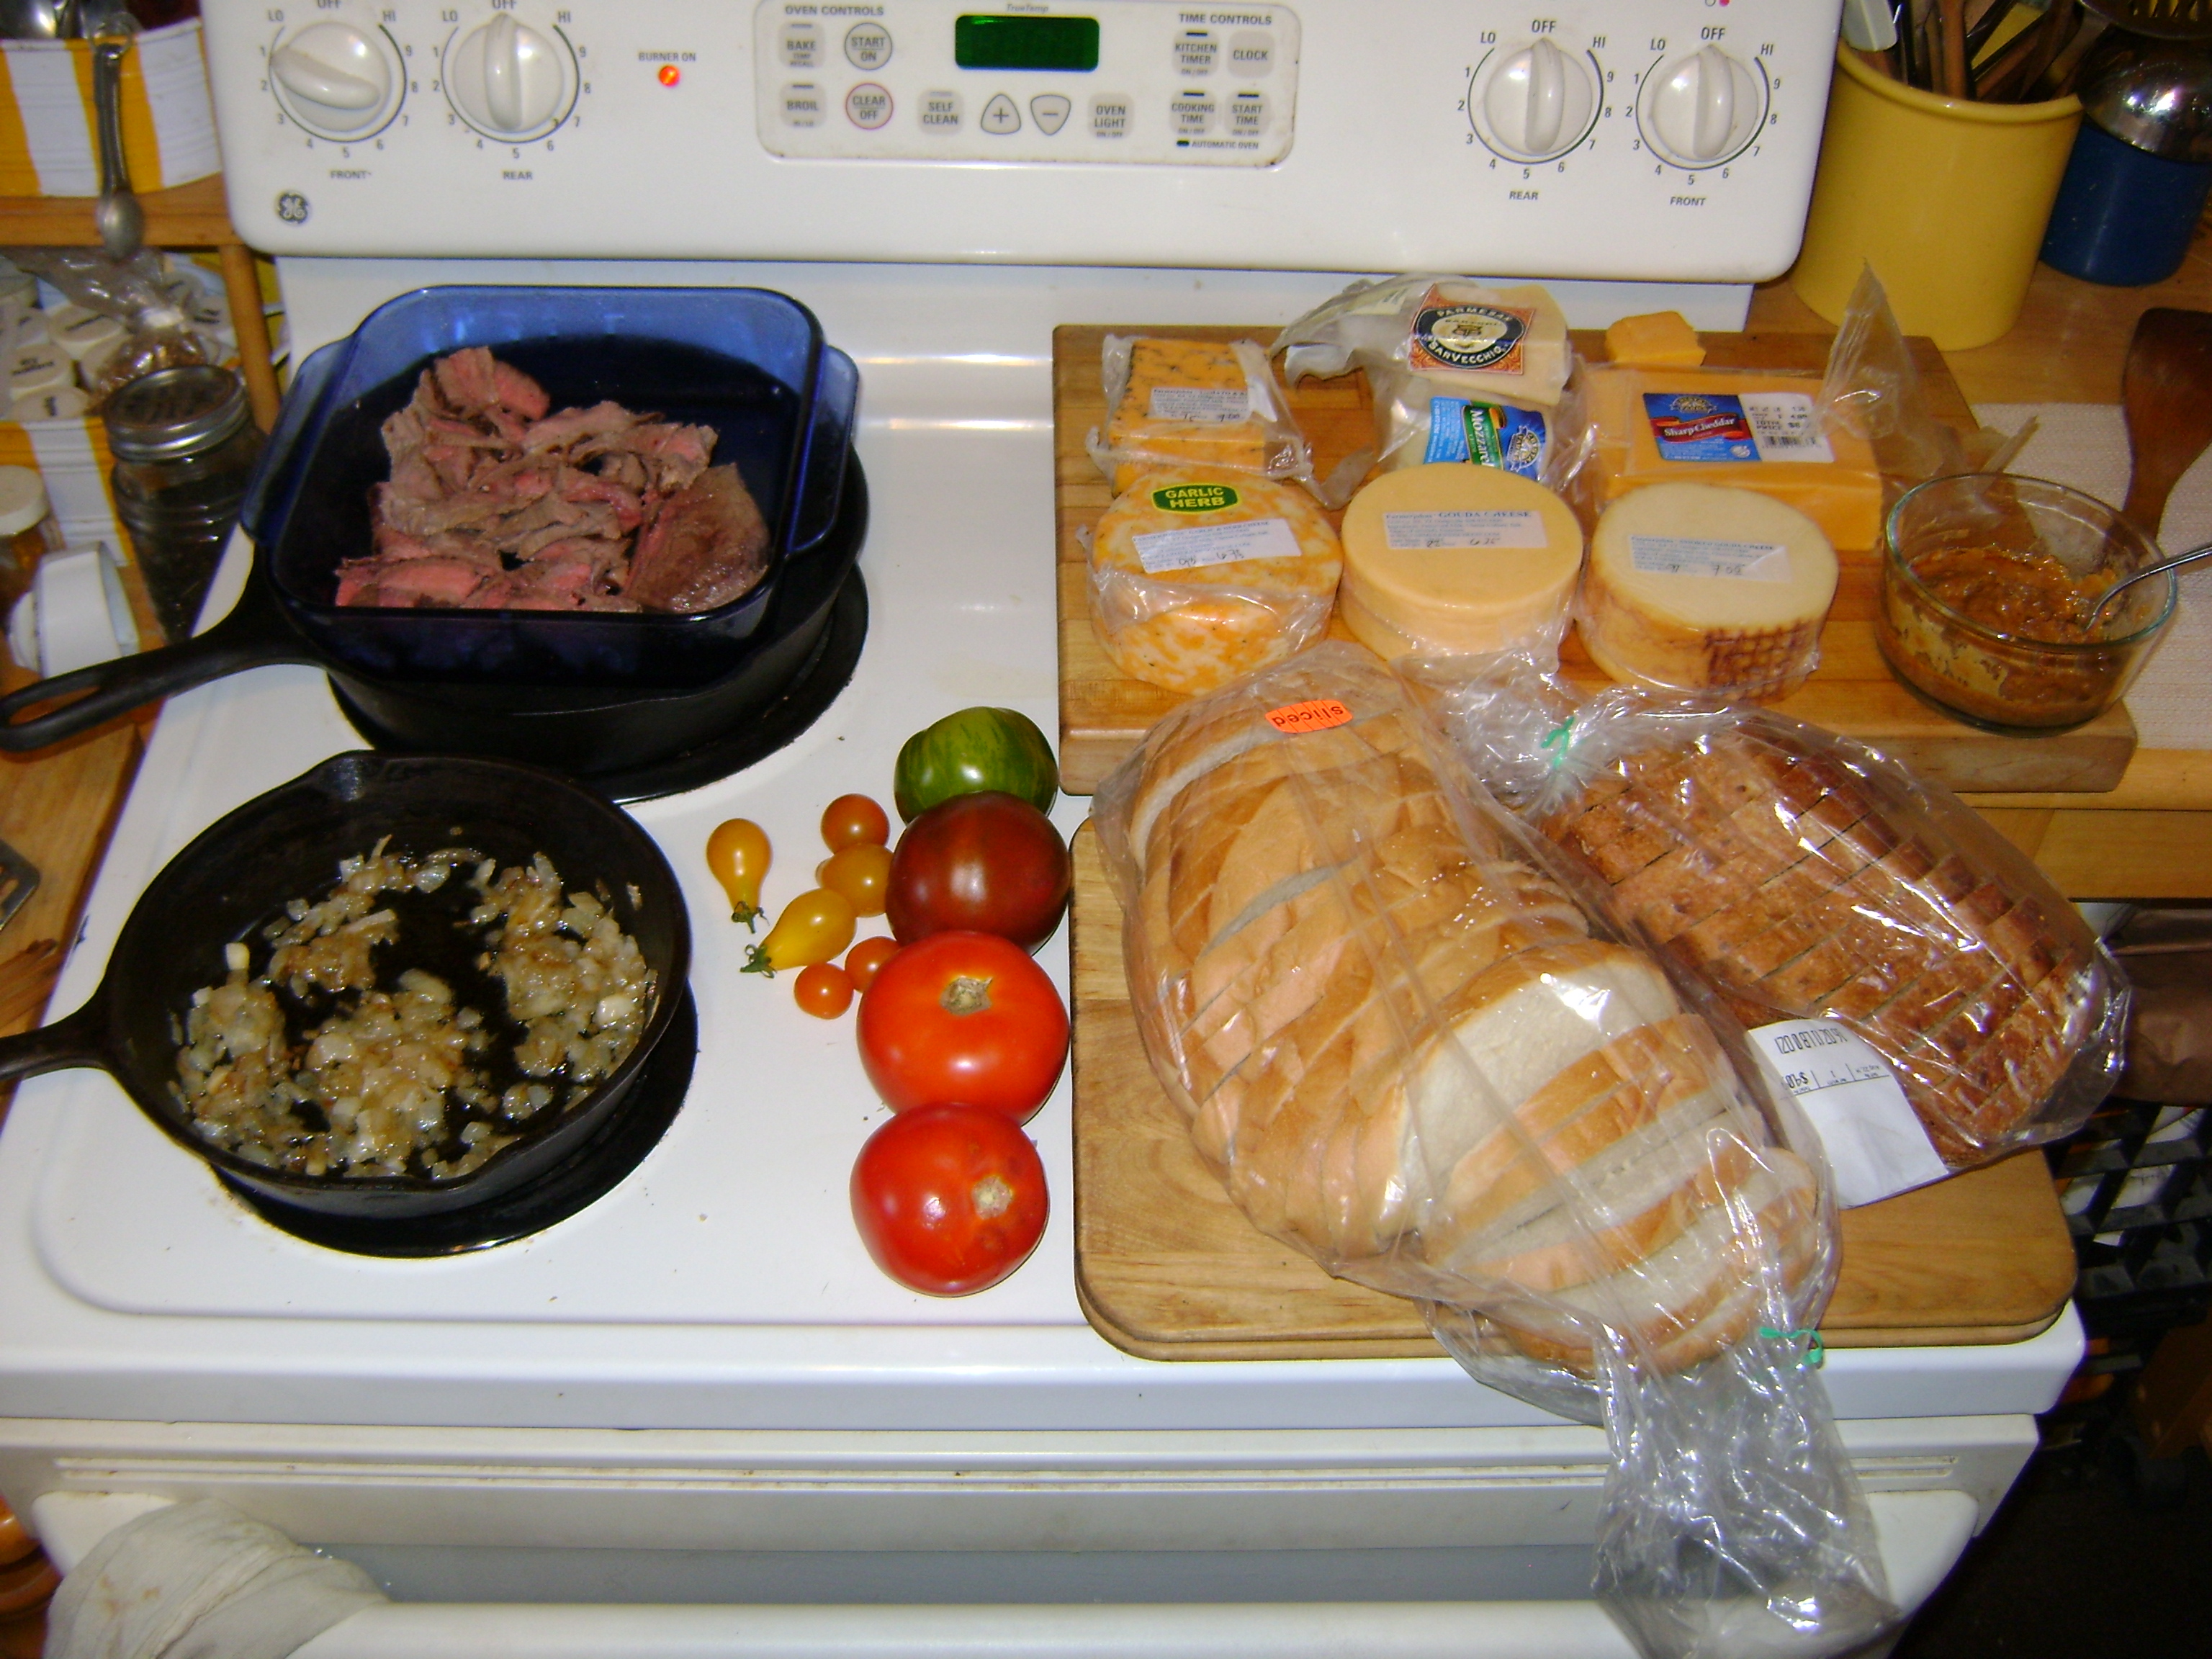
Use variety. How many different types of cheese sandwiches do you think I can make with these ingredients?
Picture
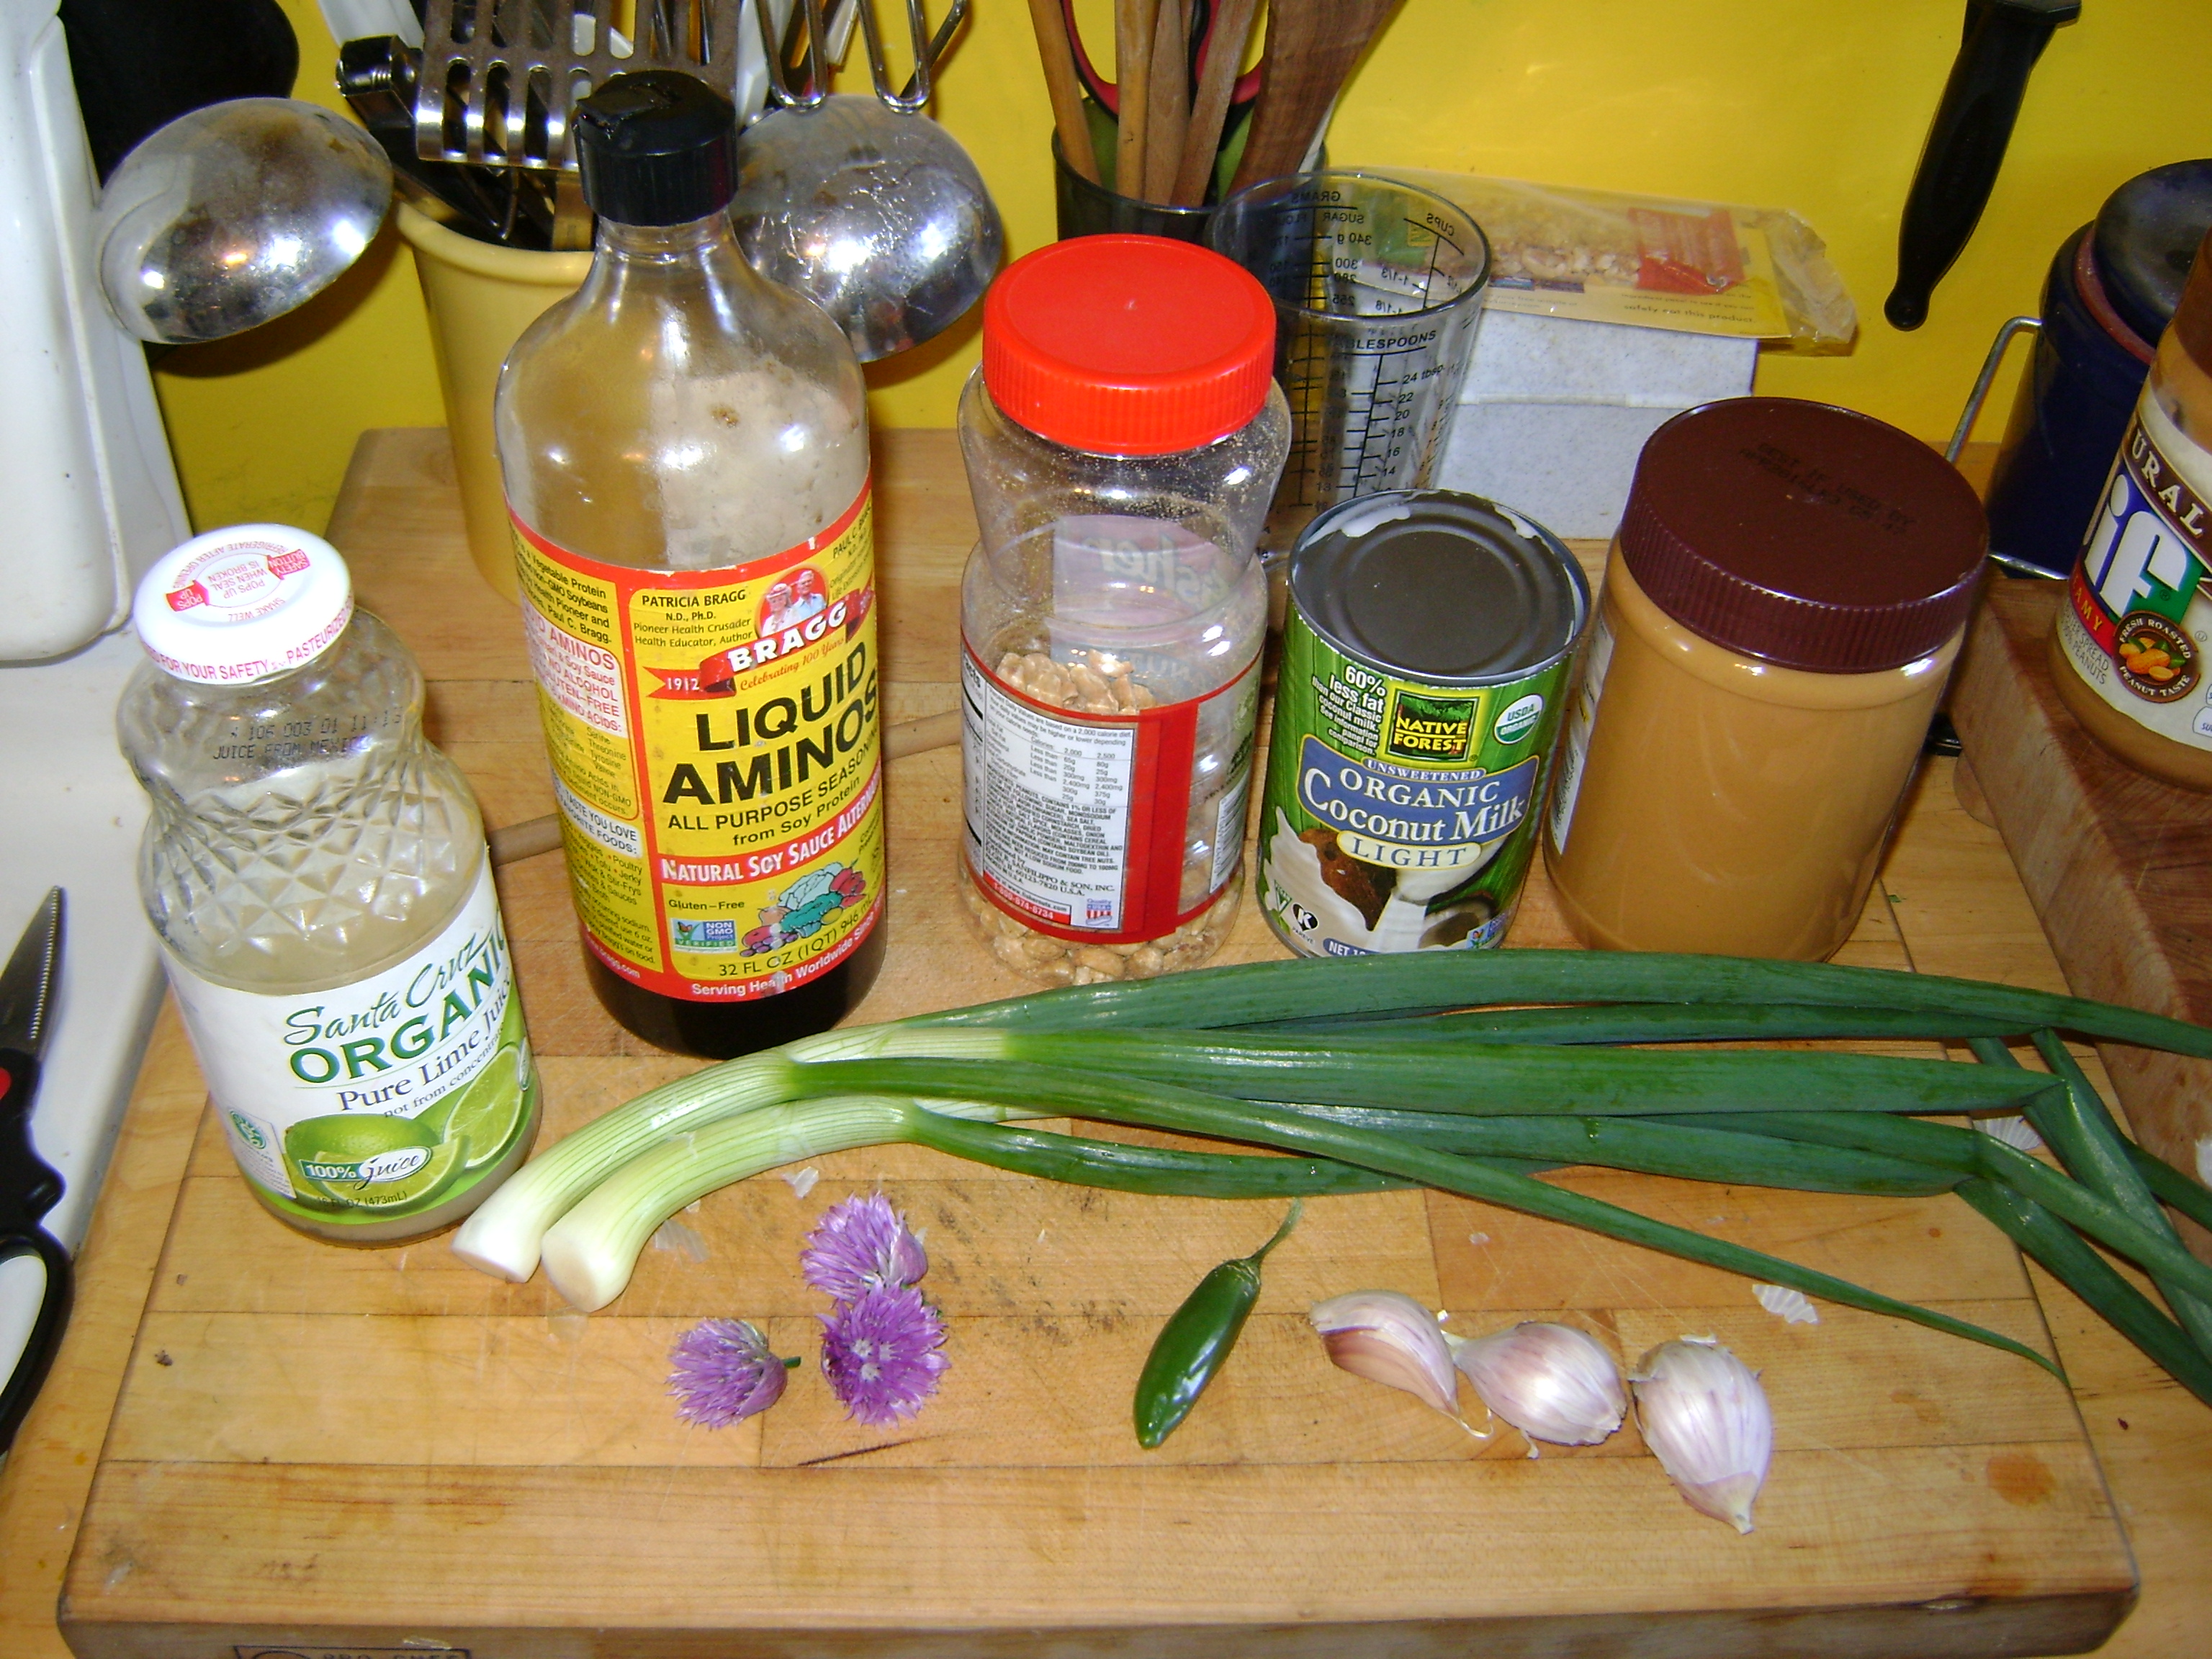
Fixings for peanut sauce, Mm Mm GOOD!
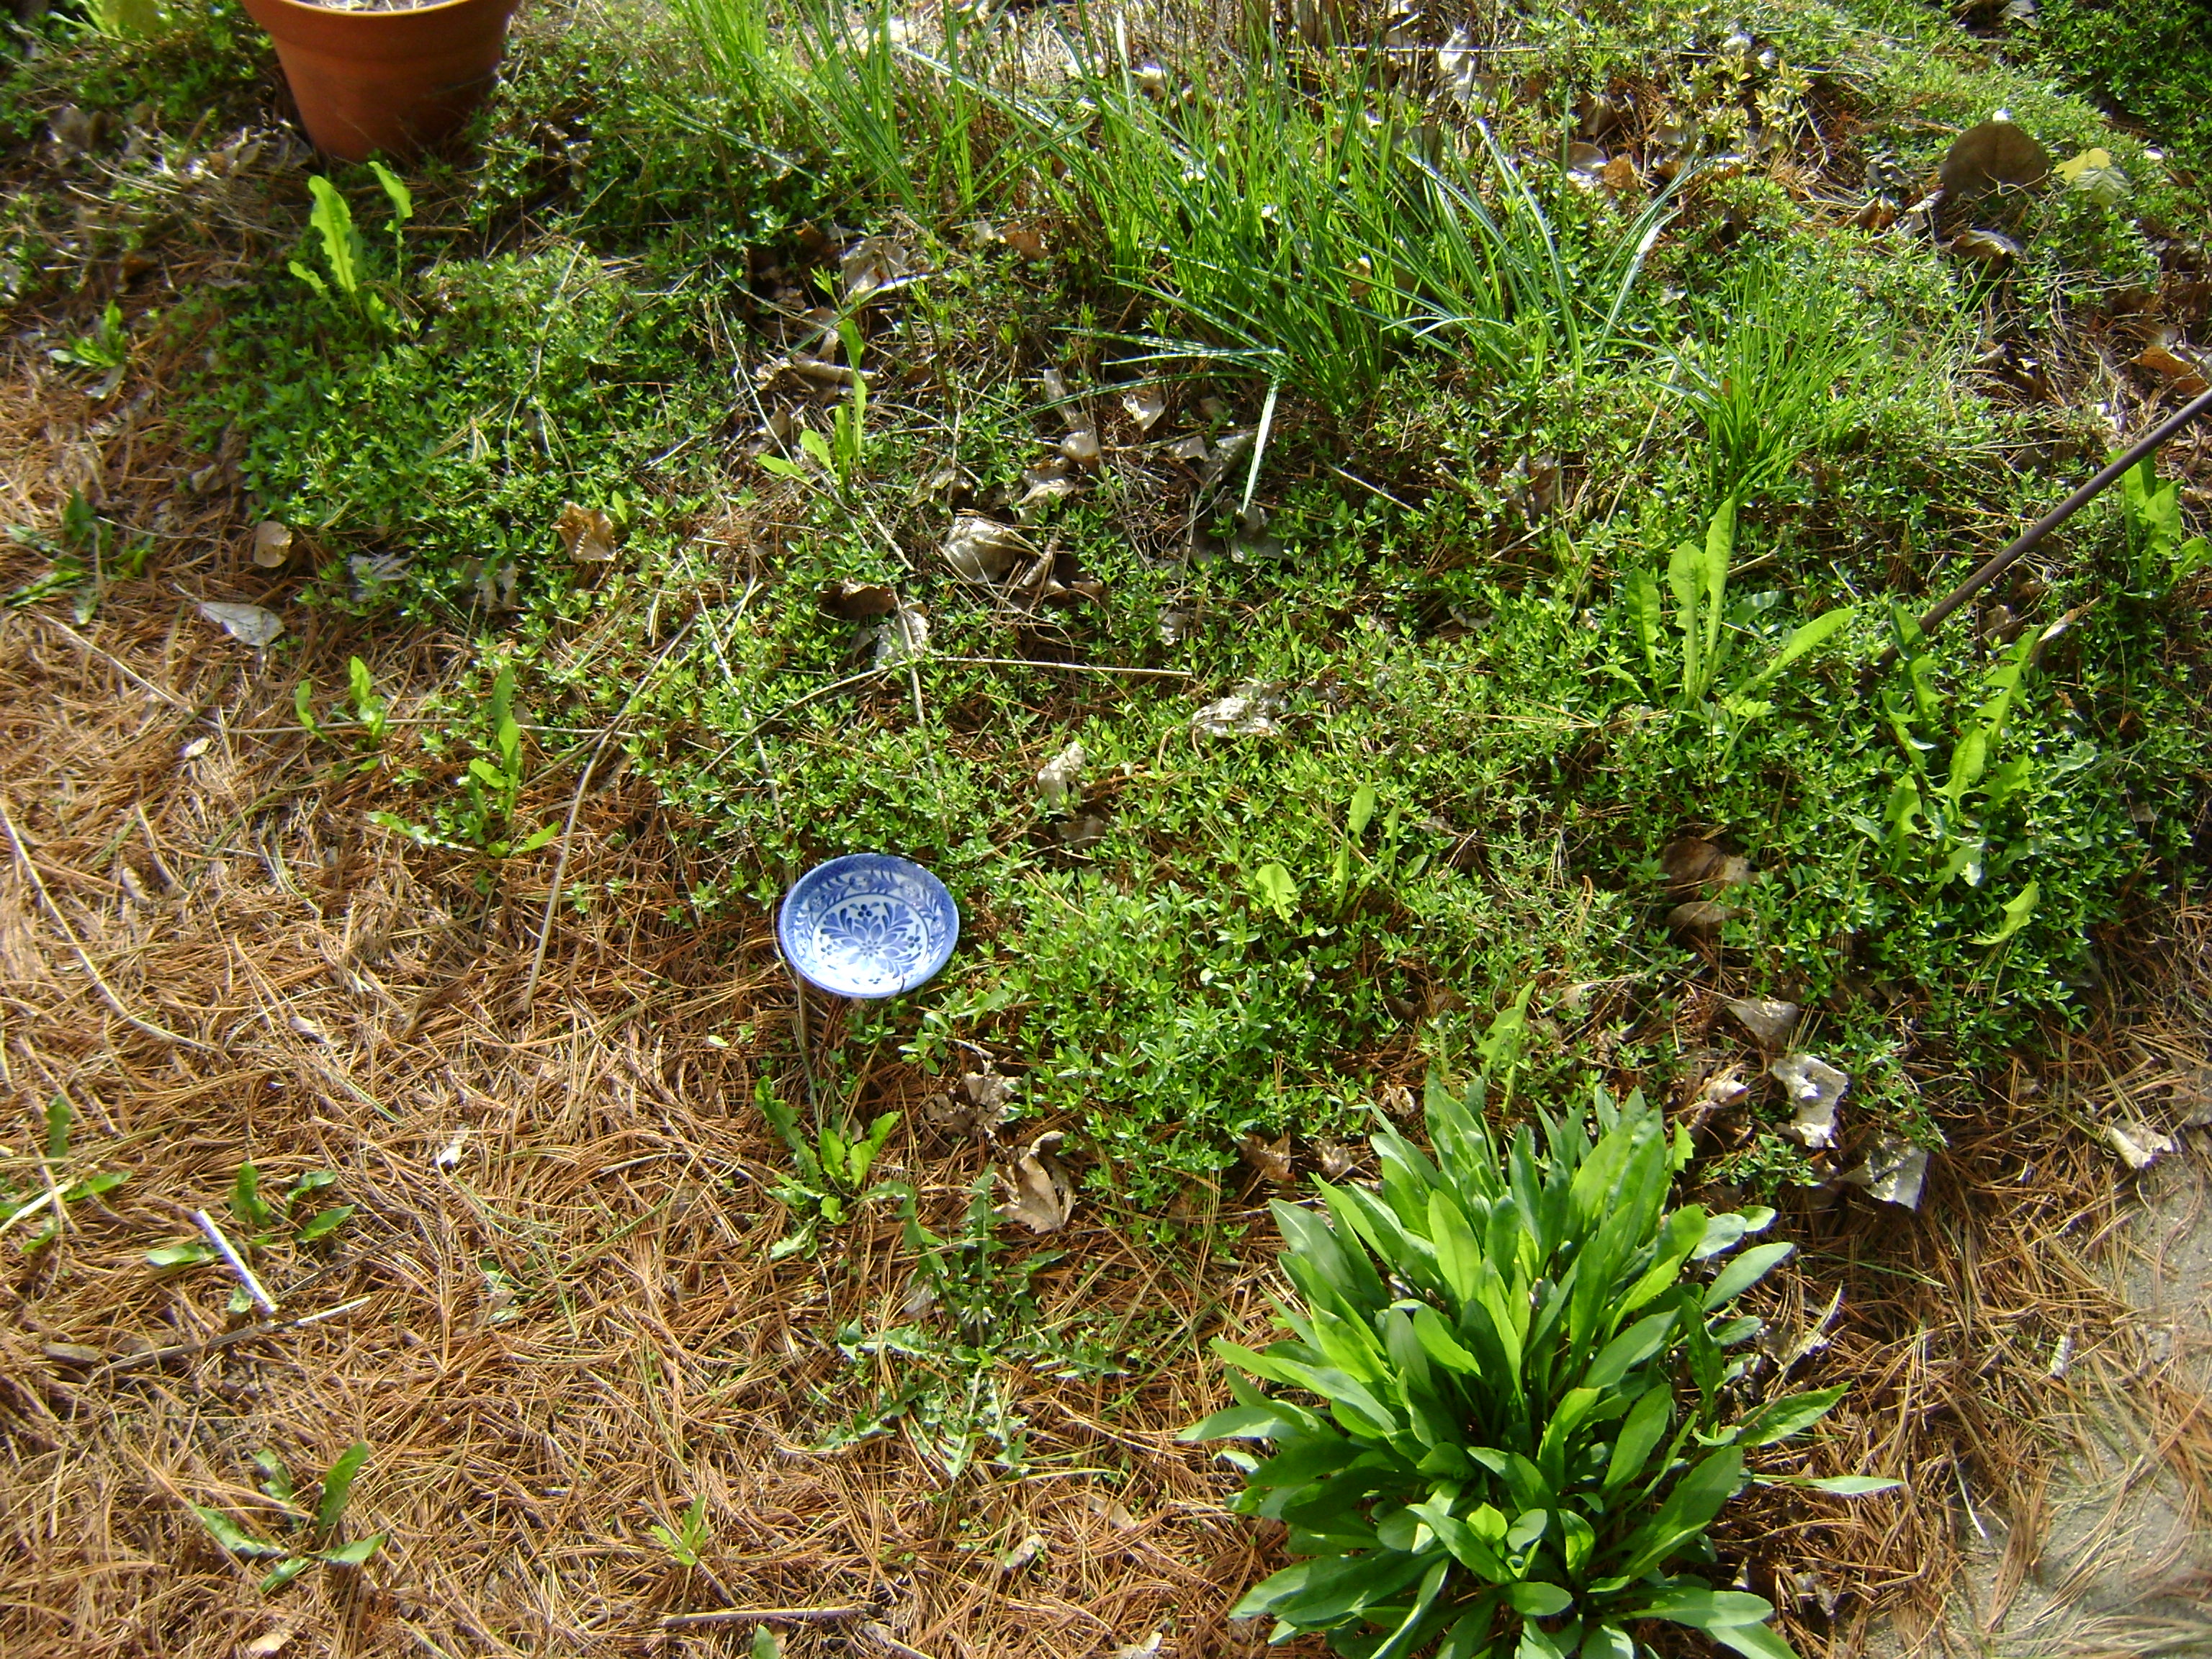
Picture
... to in the yard
Picture
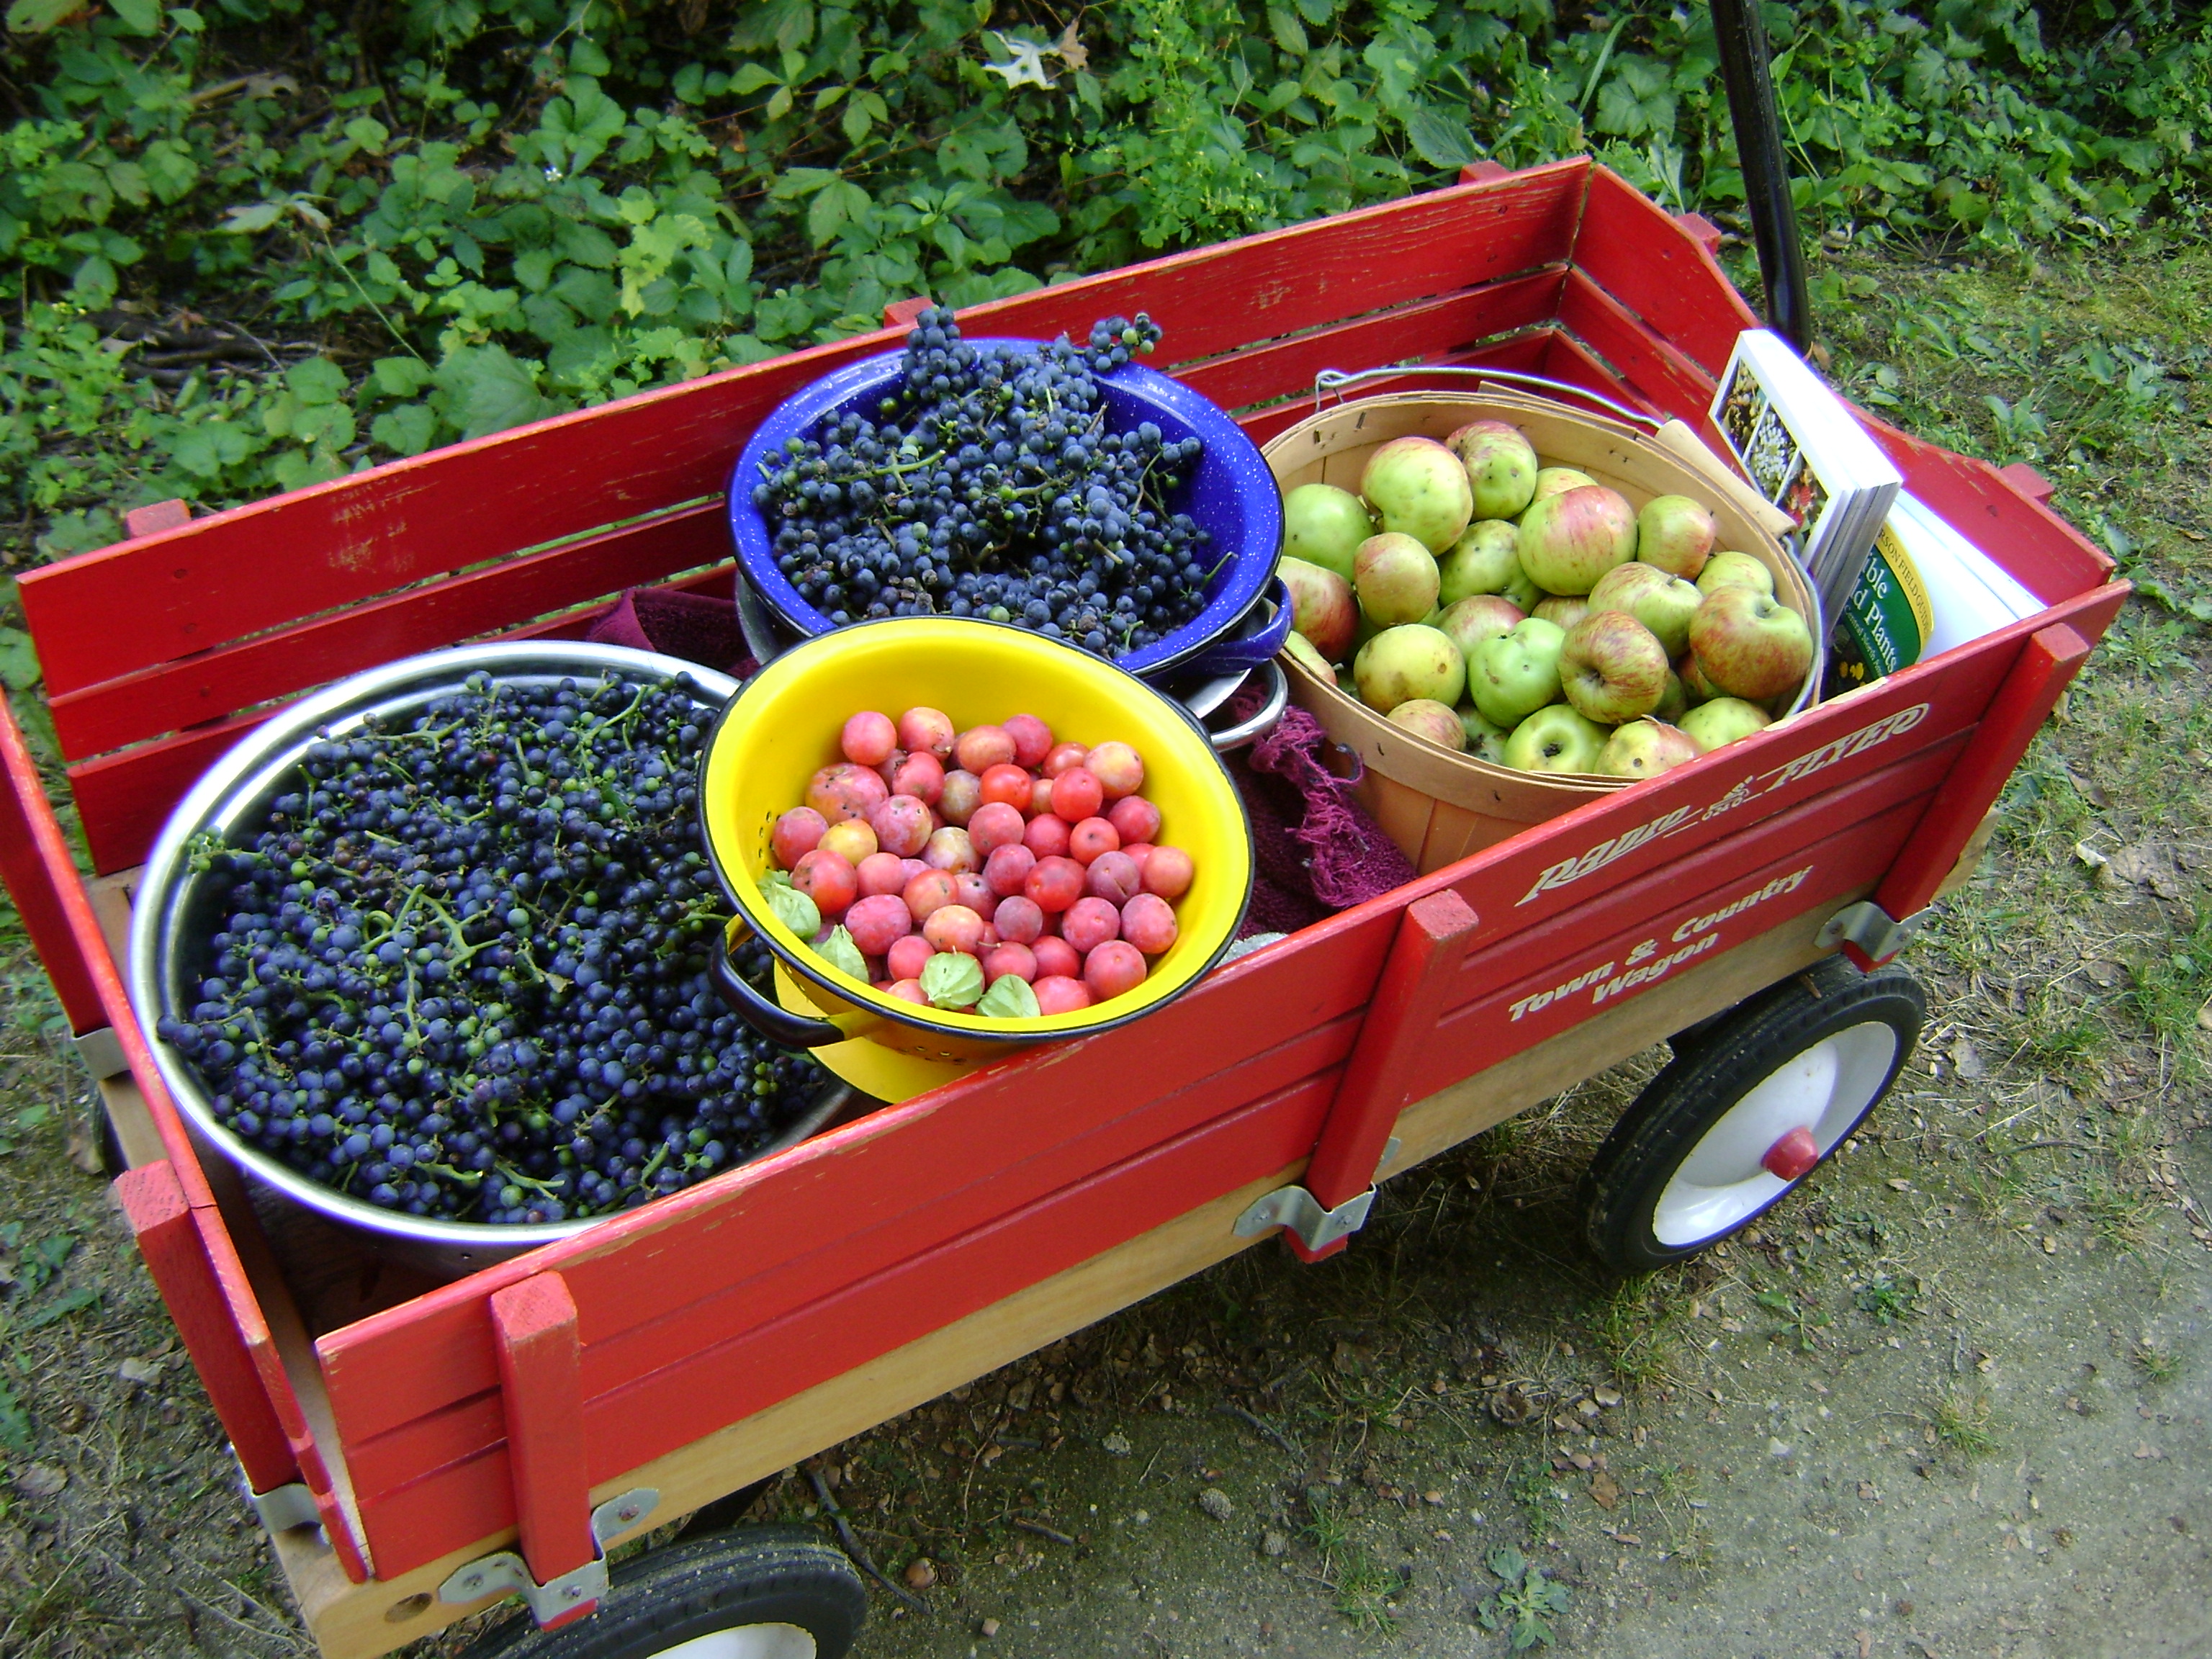
On the hunt in the wild.
Picture
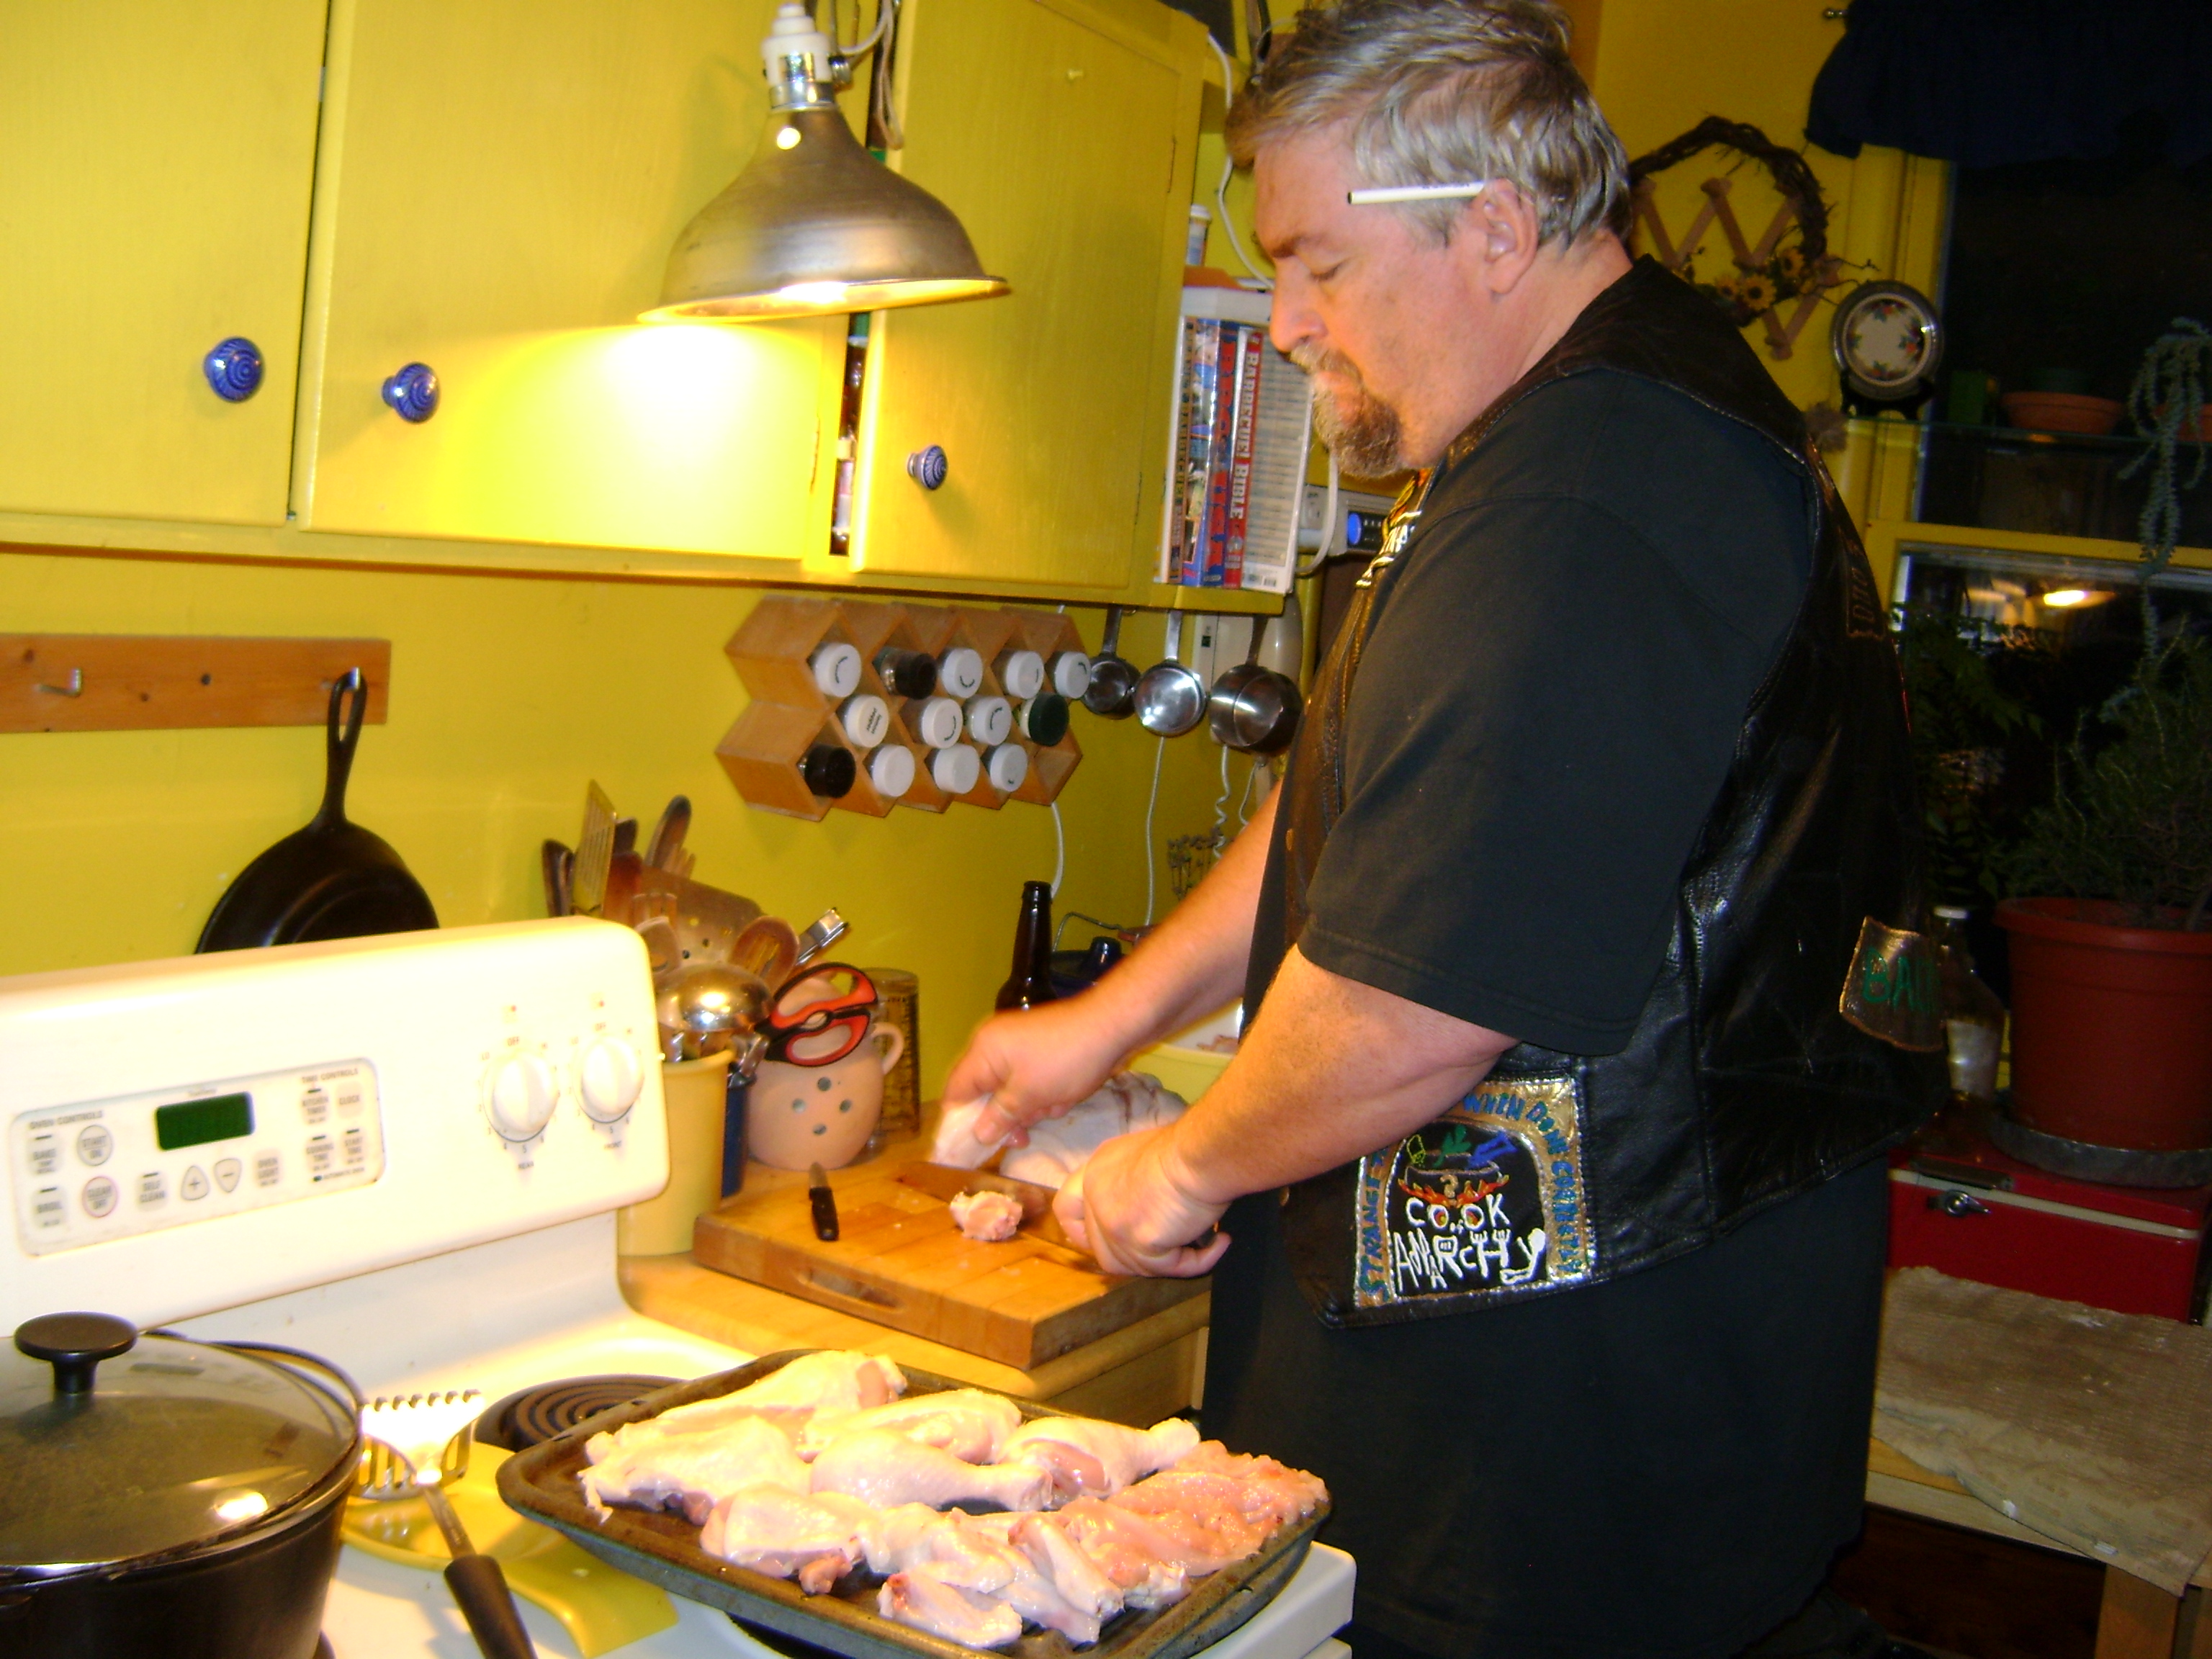
Saving money, because I know how to break down a chicken.
Picture
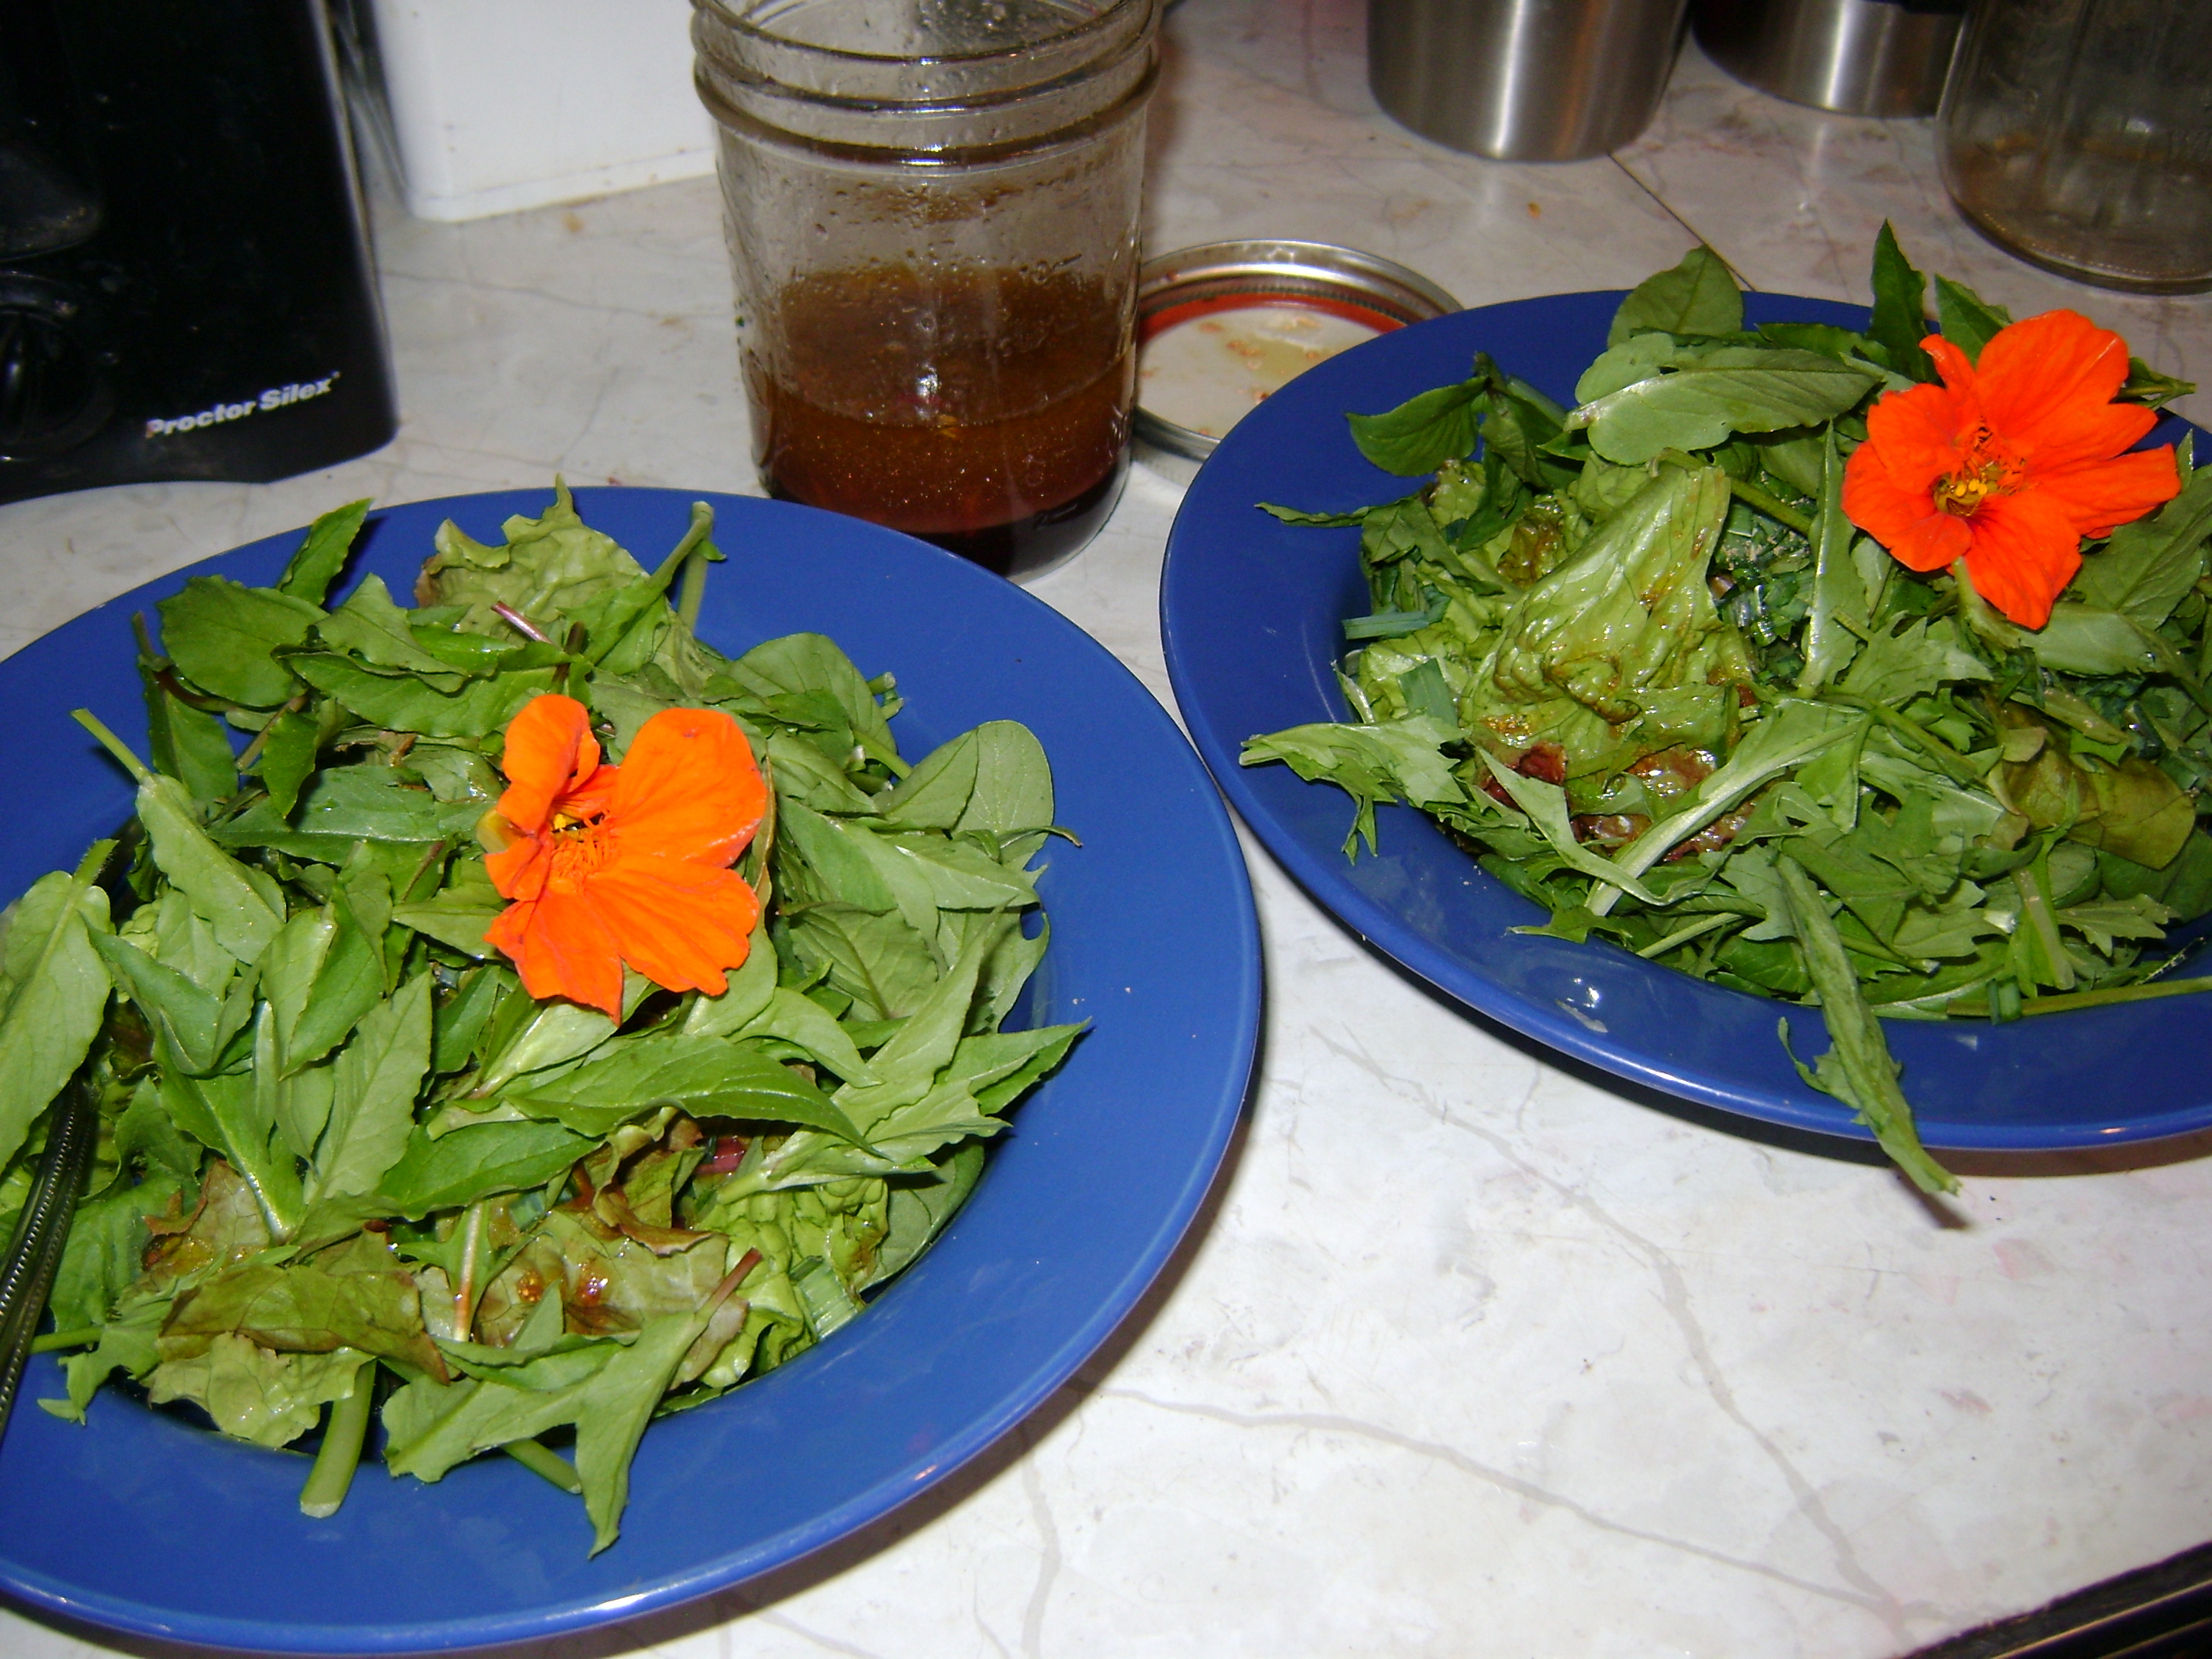
Awesome dressing for yard salad? The wife is better at that than I am, just sayen...
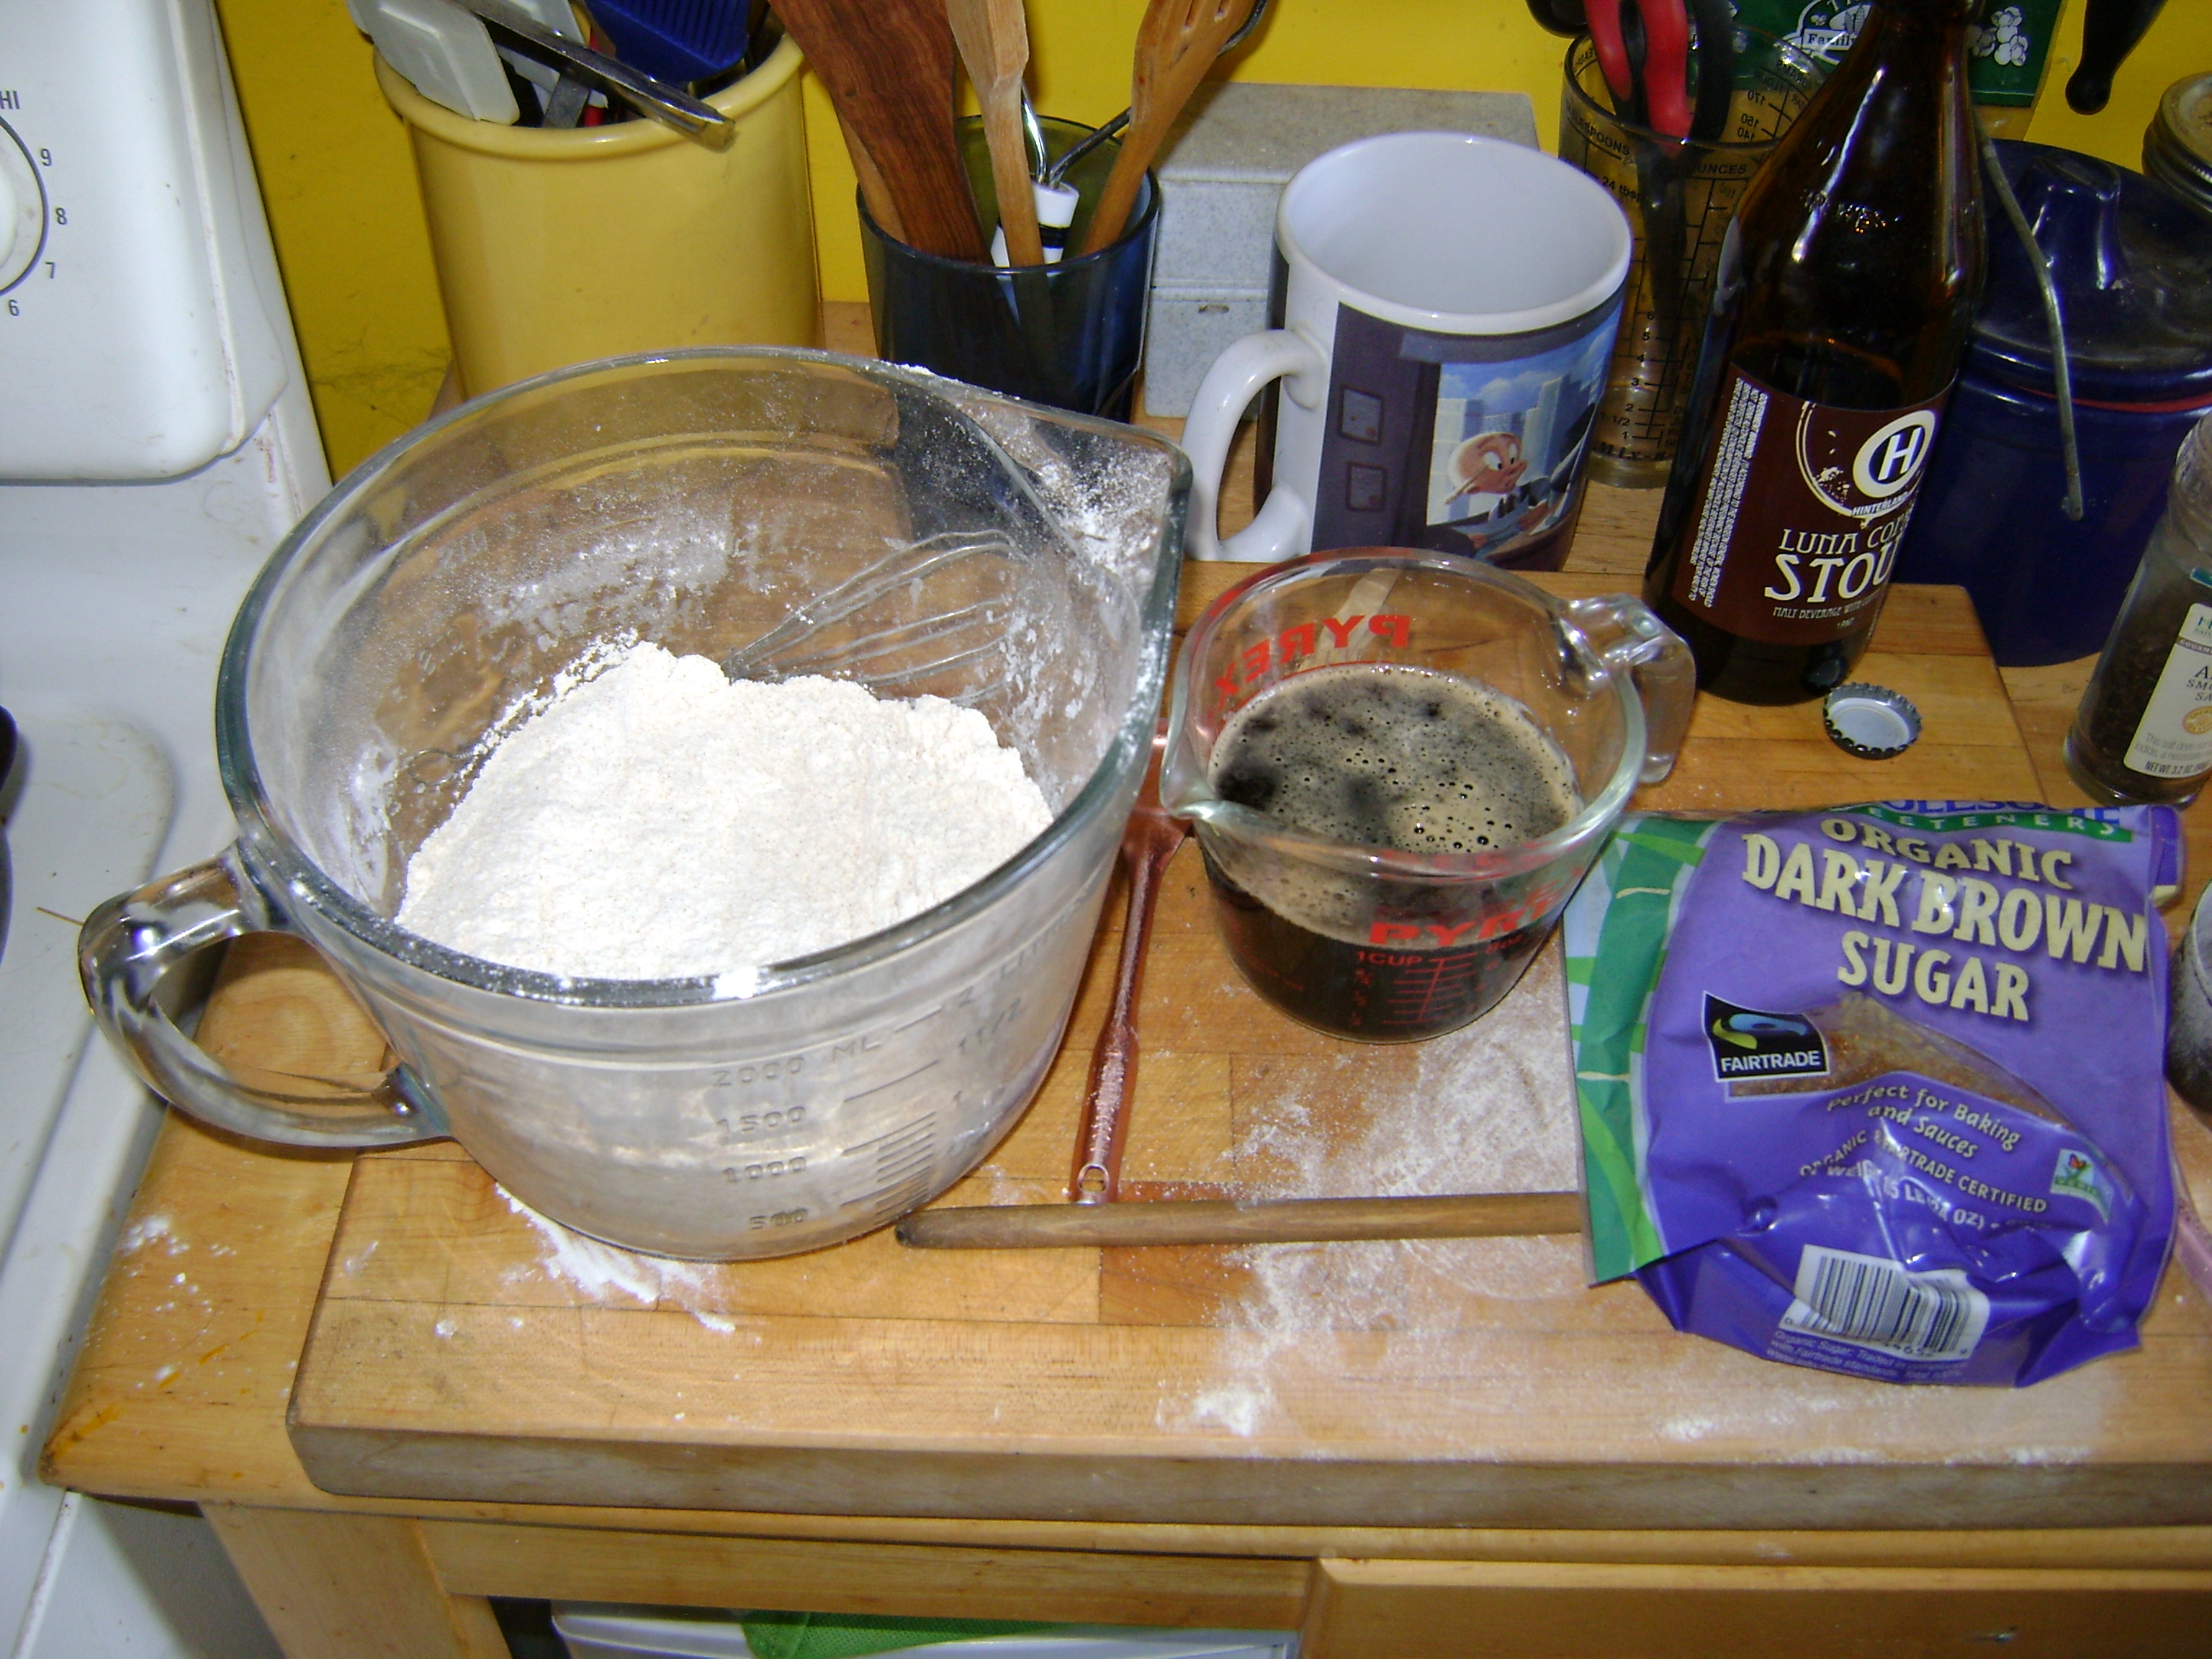
Picture
Beer bread, ready to mix and heat!
Picture
Fixings for... crap, I forgot. It does look cool, right?
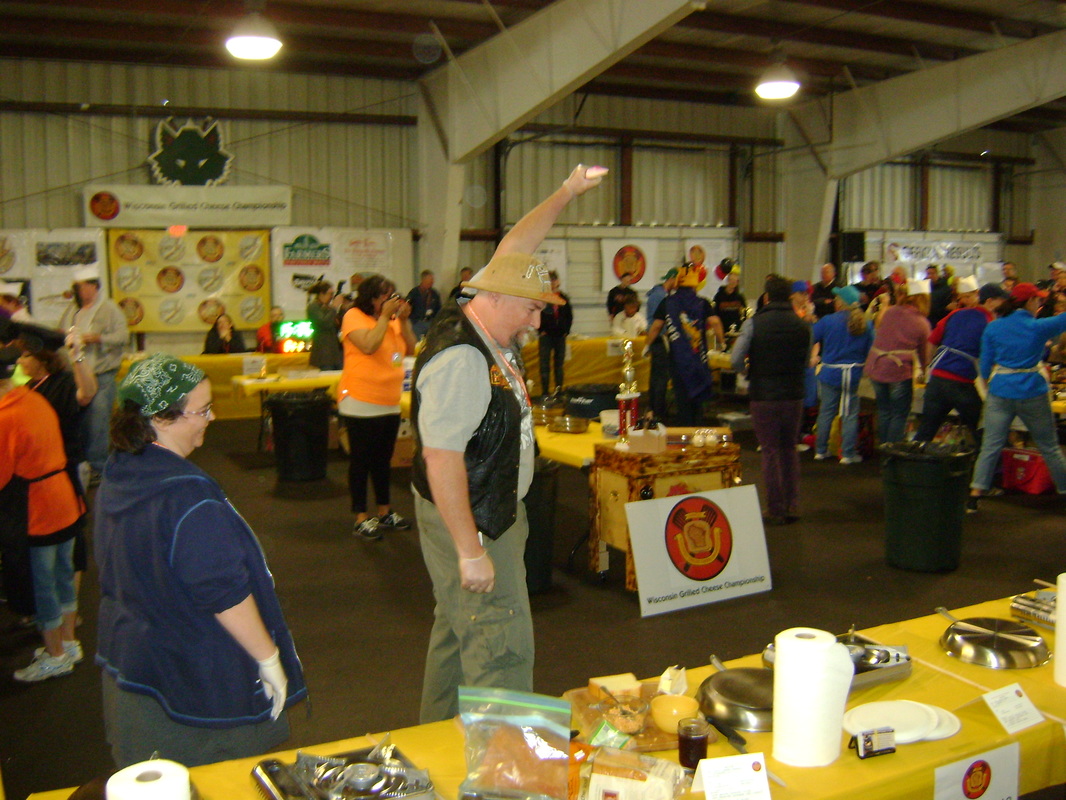
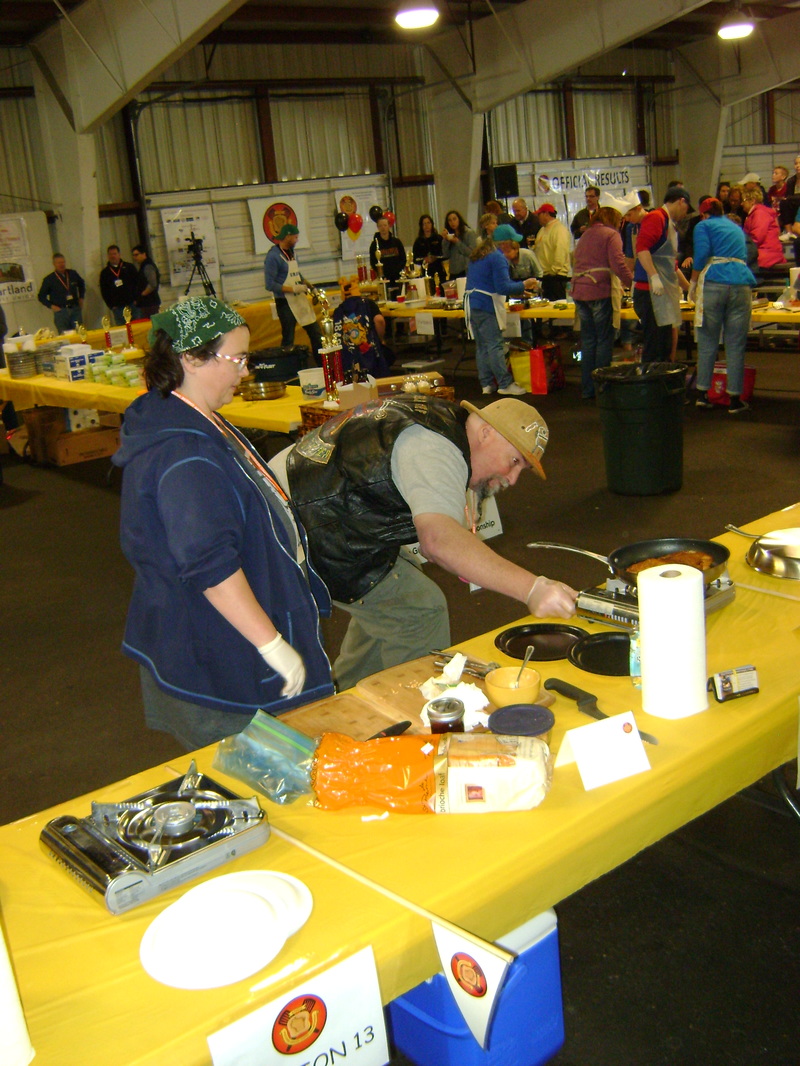
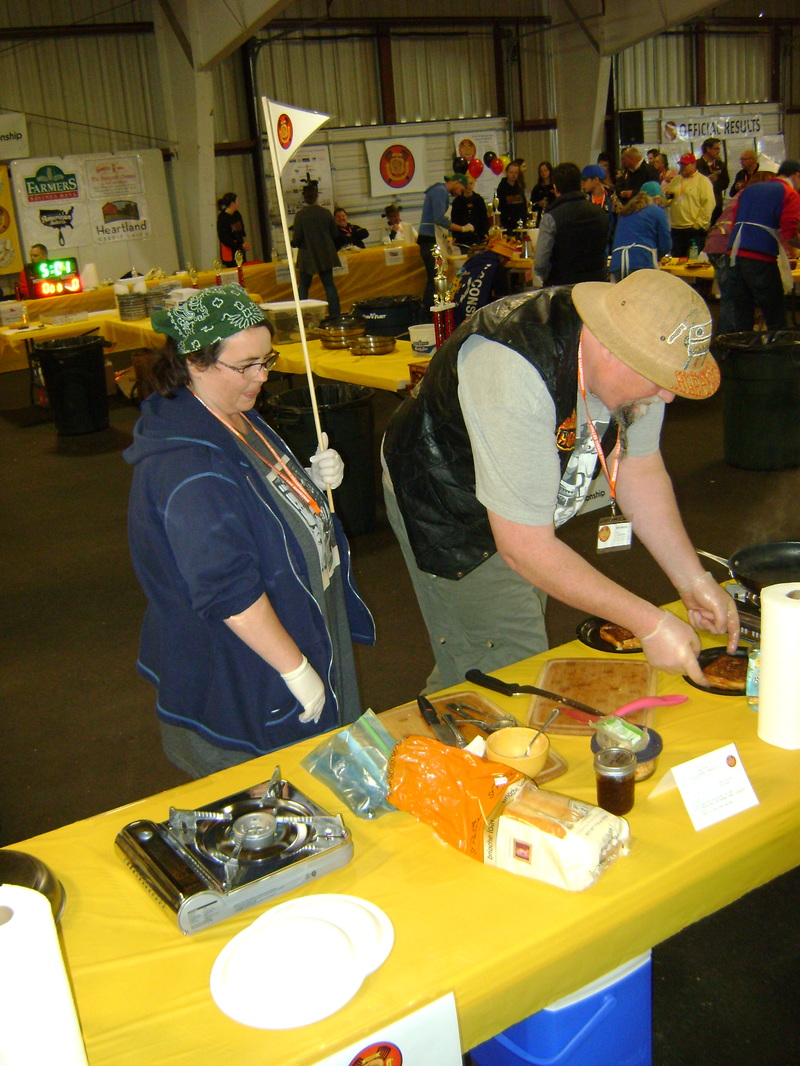
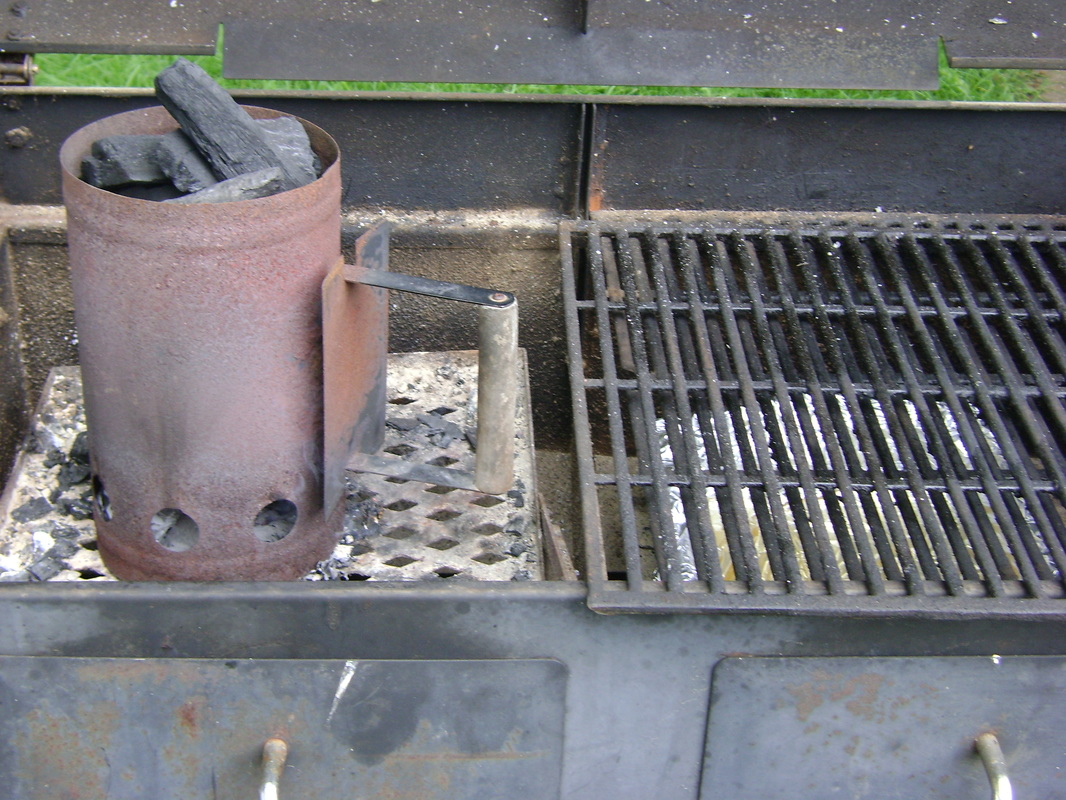
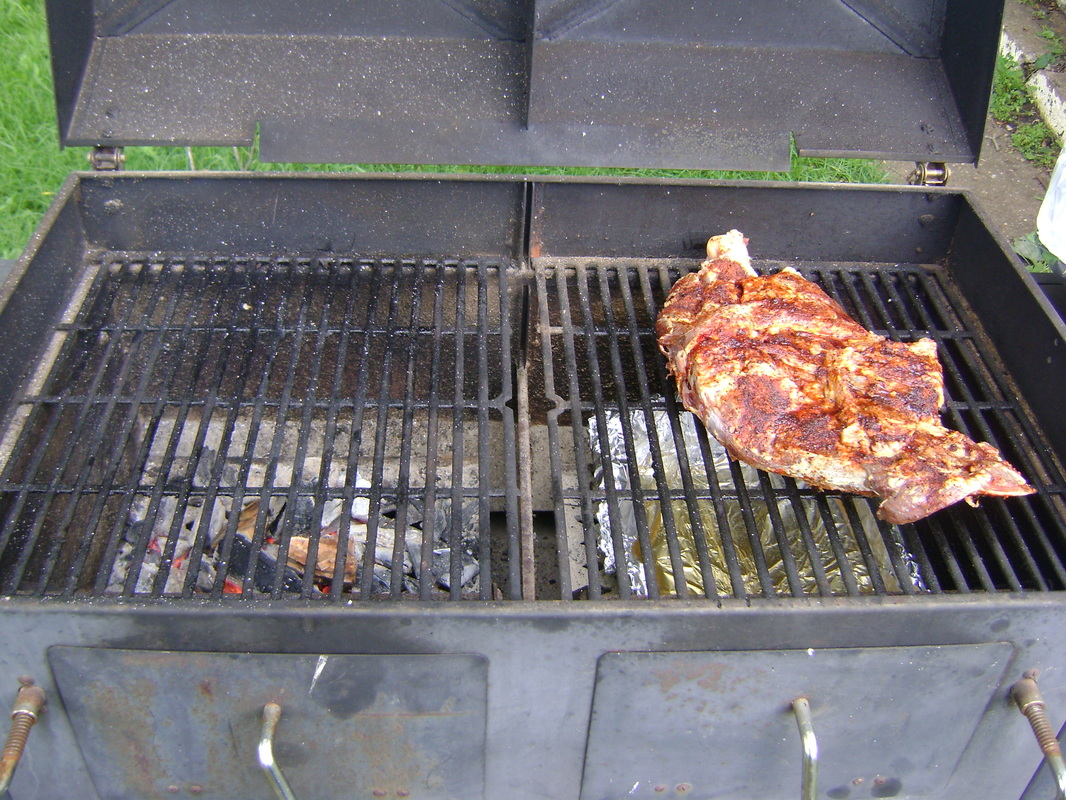
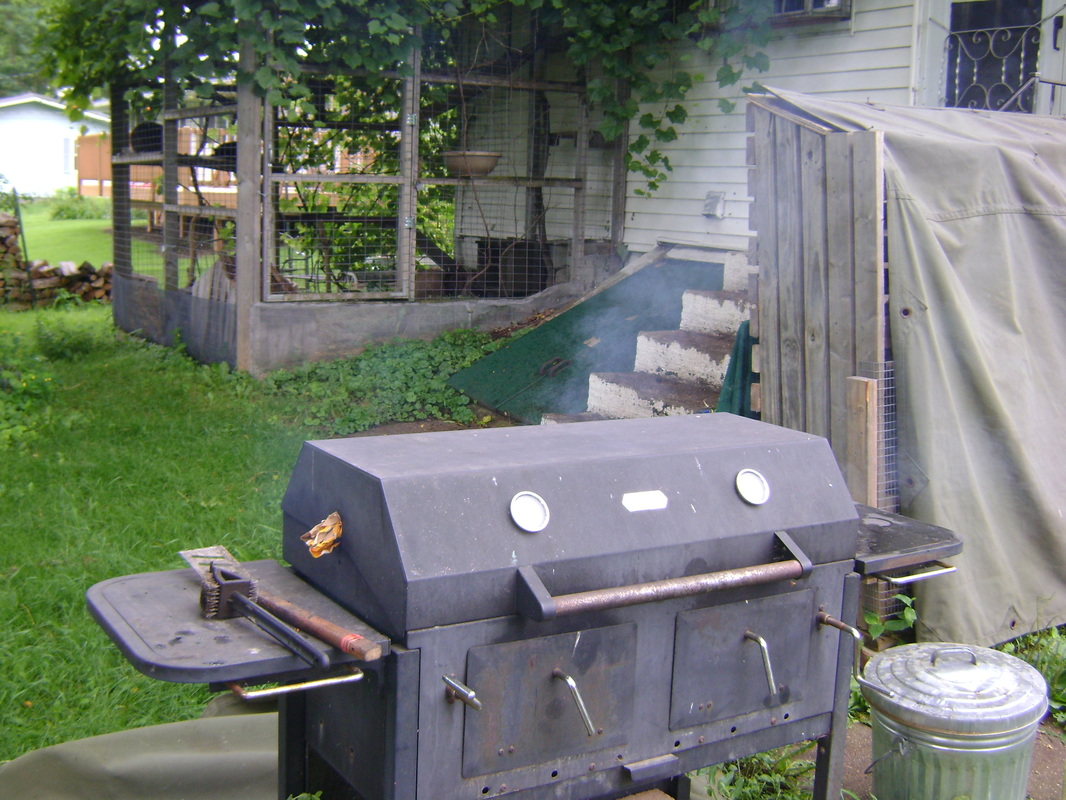
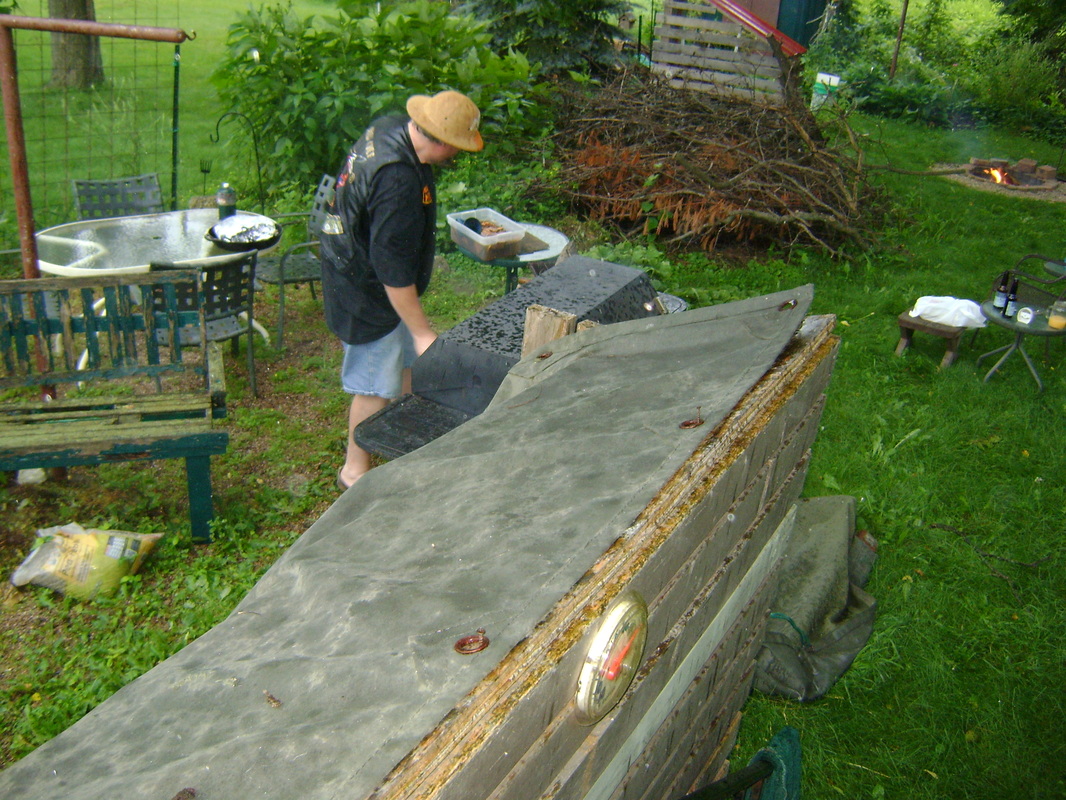
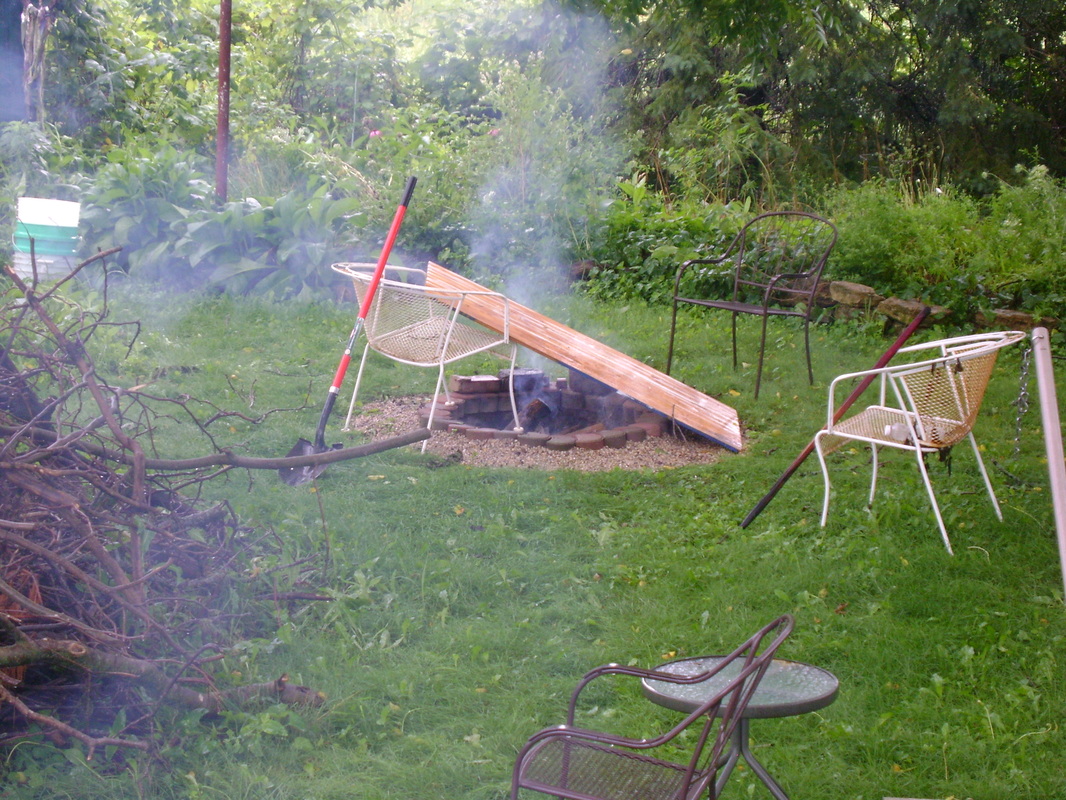
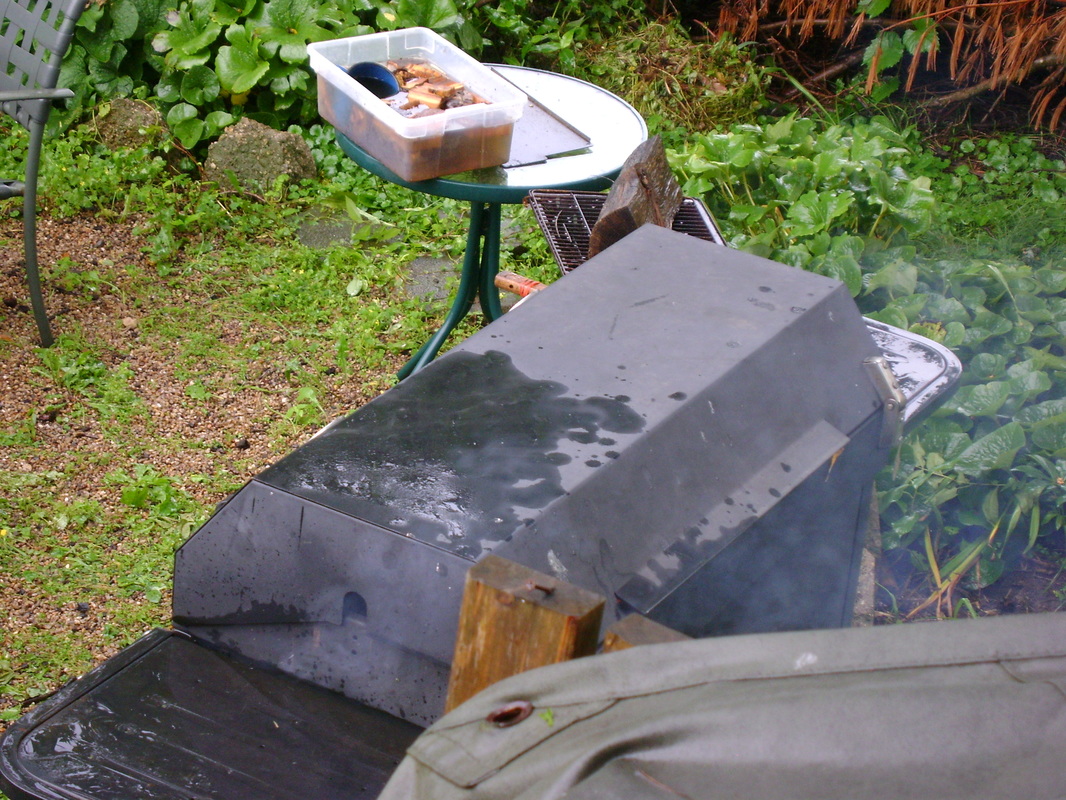
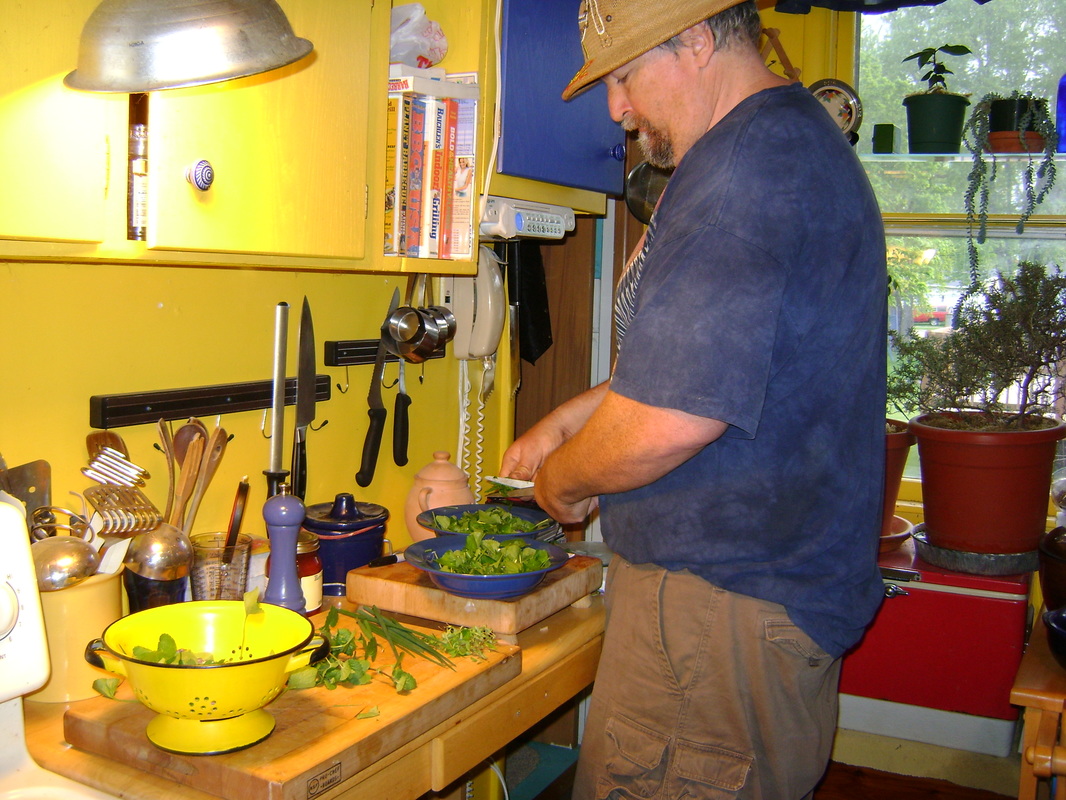
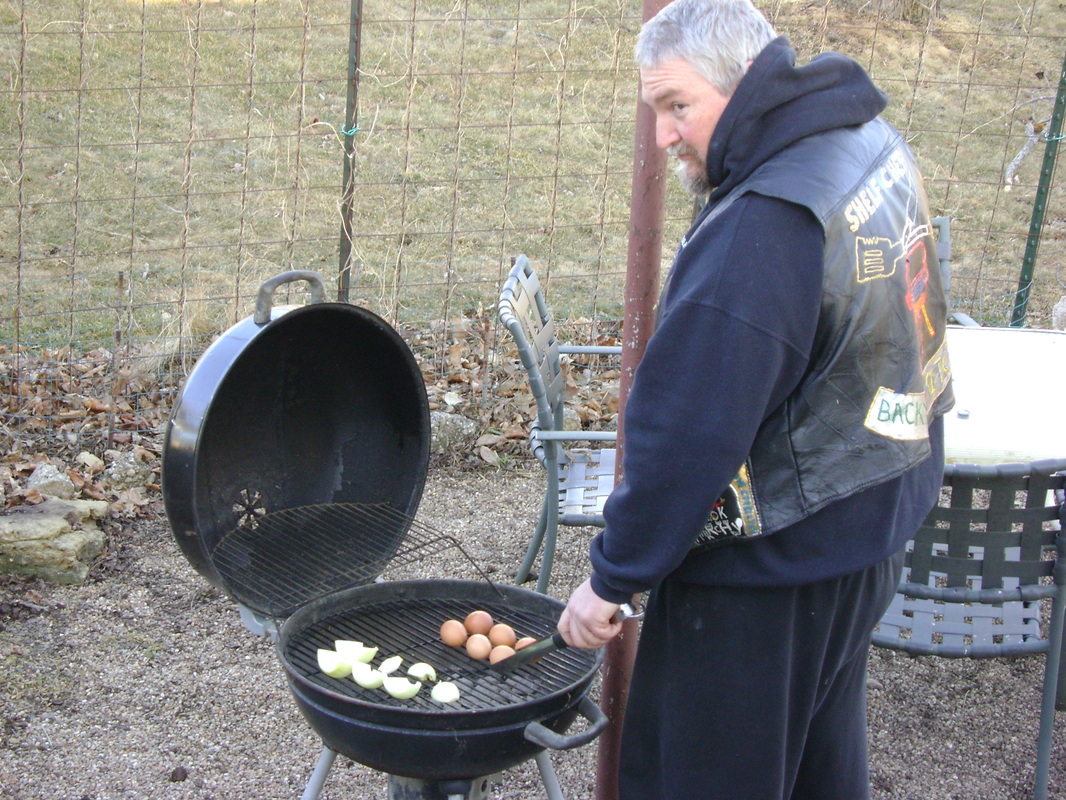
THE FIRE.... Here is what I use to test and improve my skills. Like the vest says, "Backyard 2 Kitchen" and a few other places.
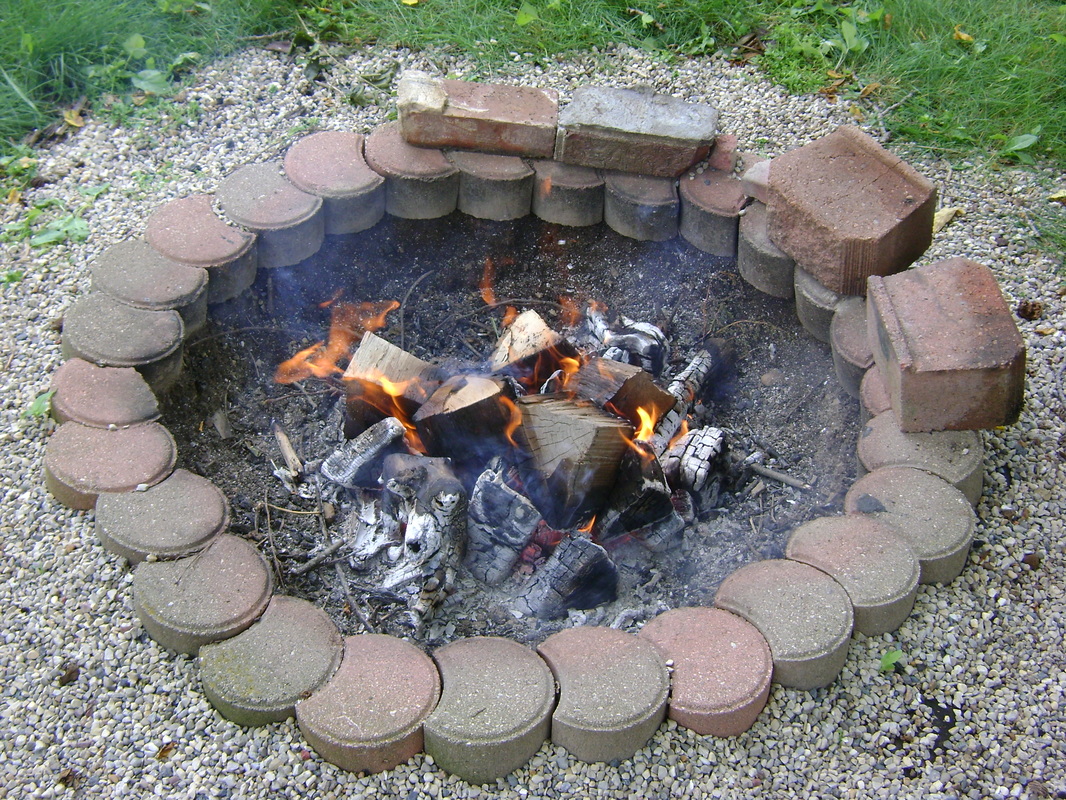
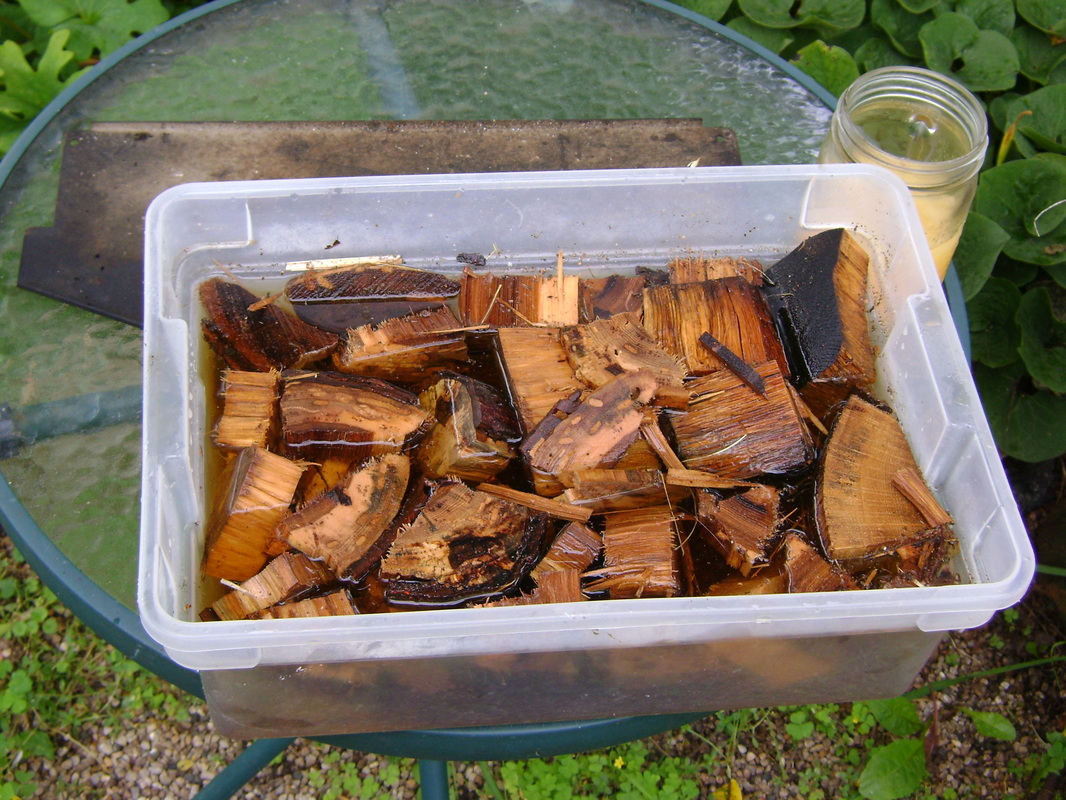
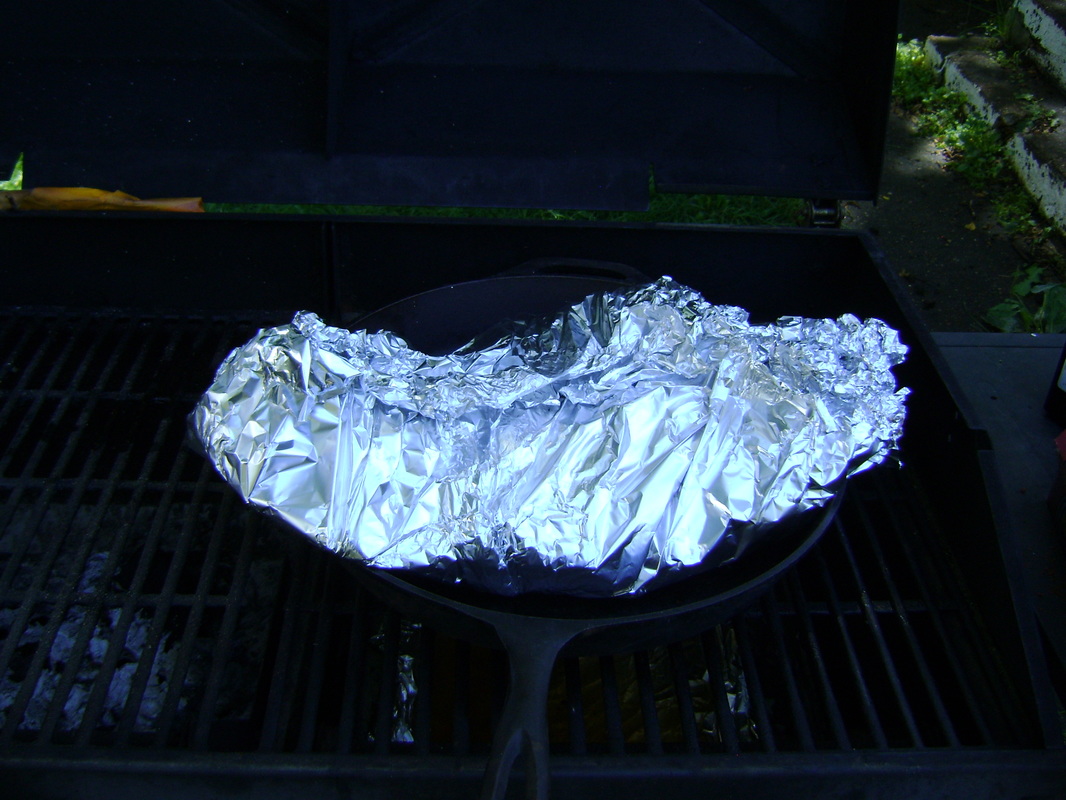
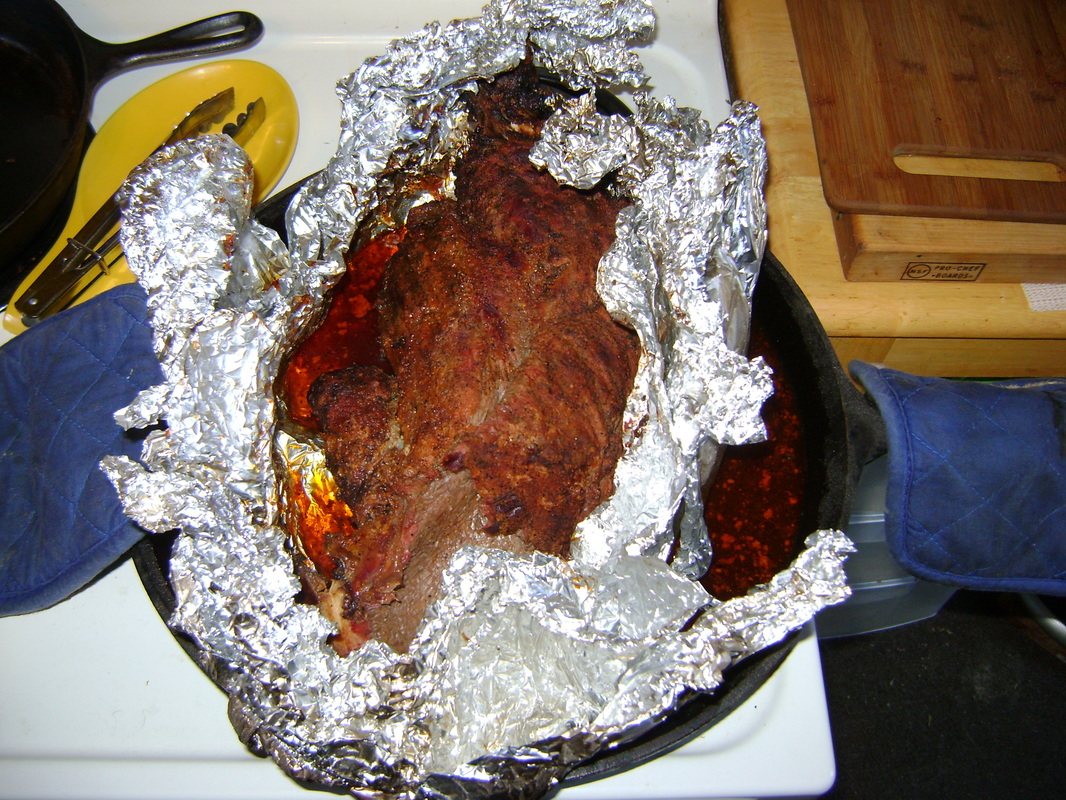
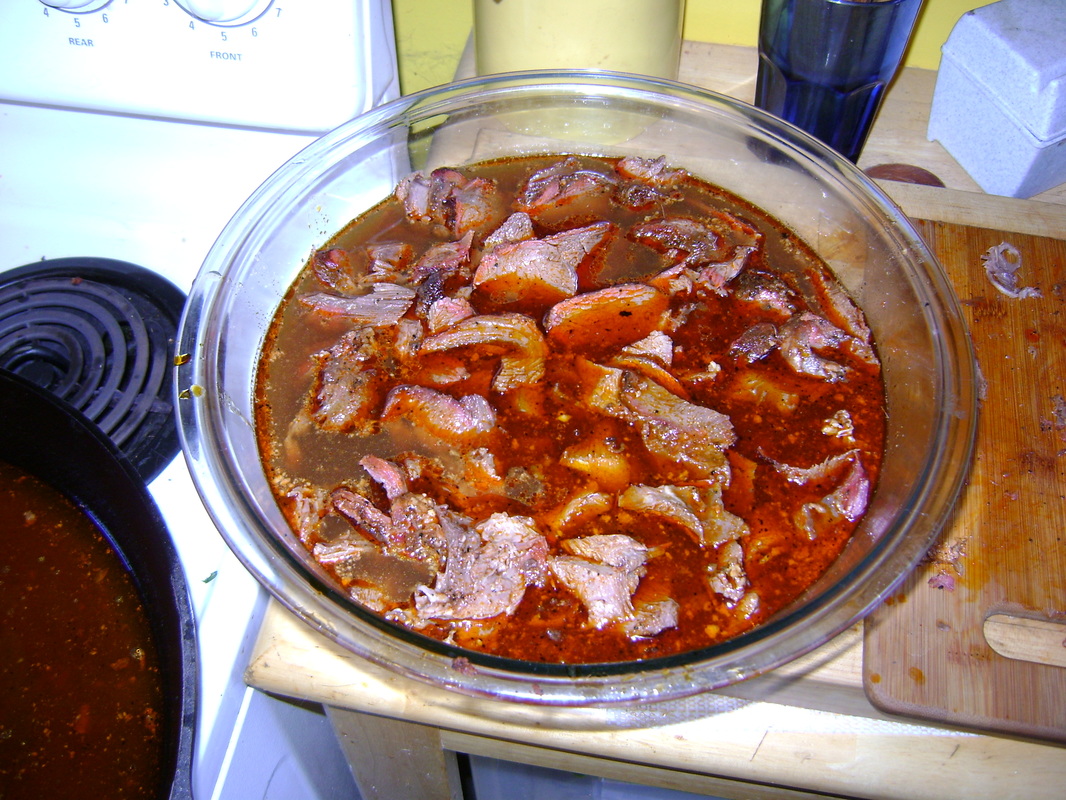
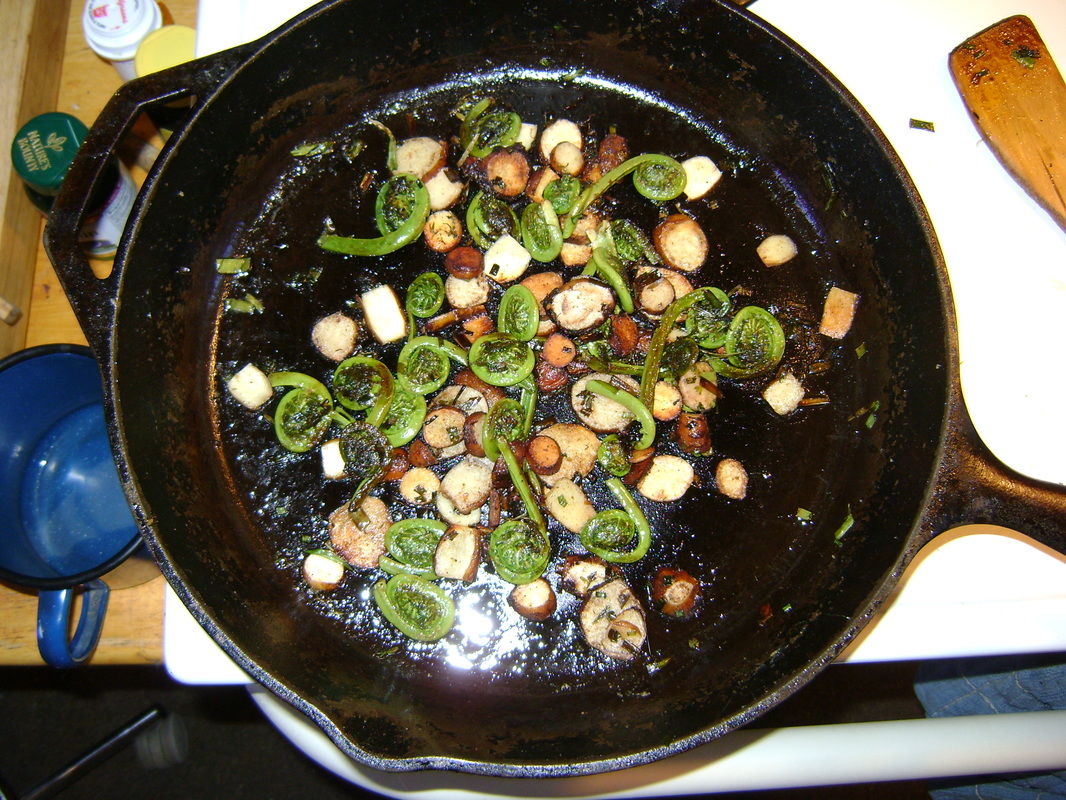
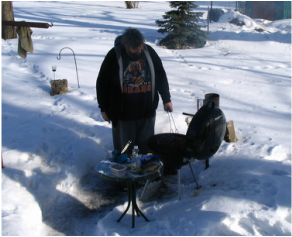
Picture
ANY TIME OF YEAR!
Picture
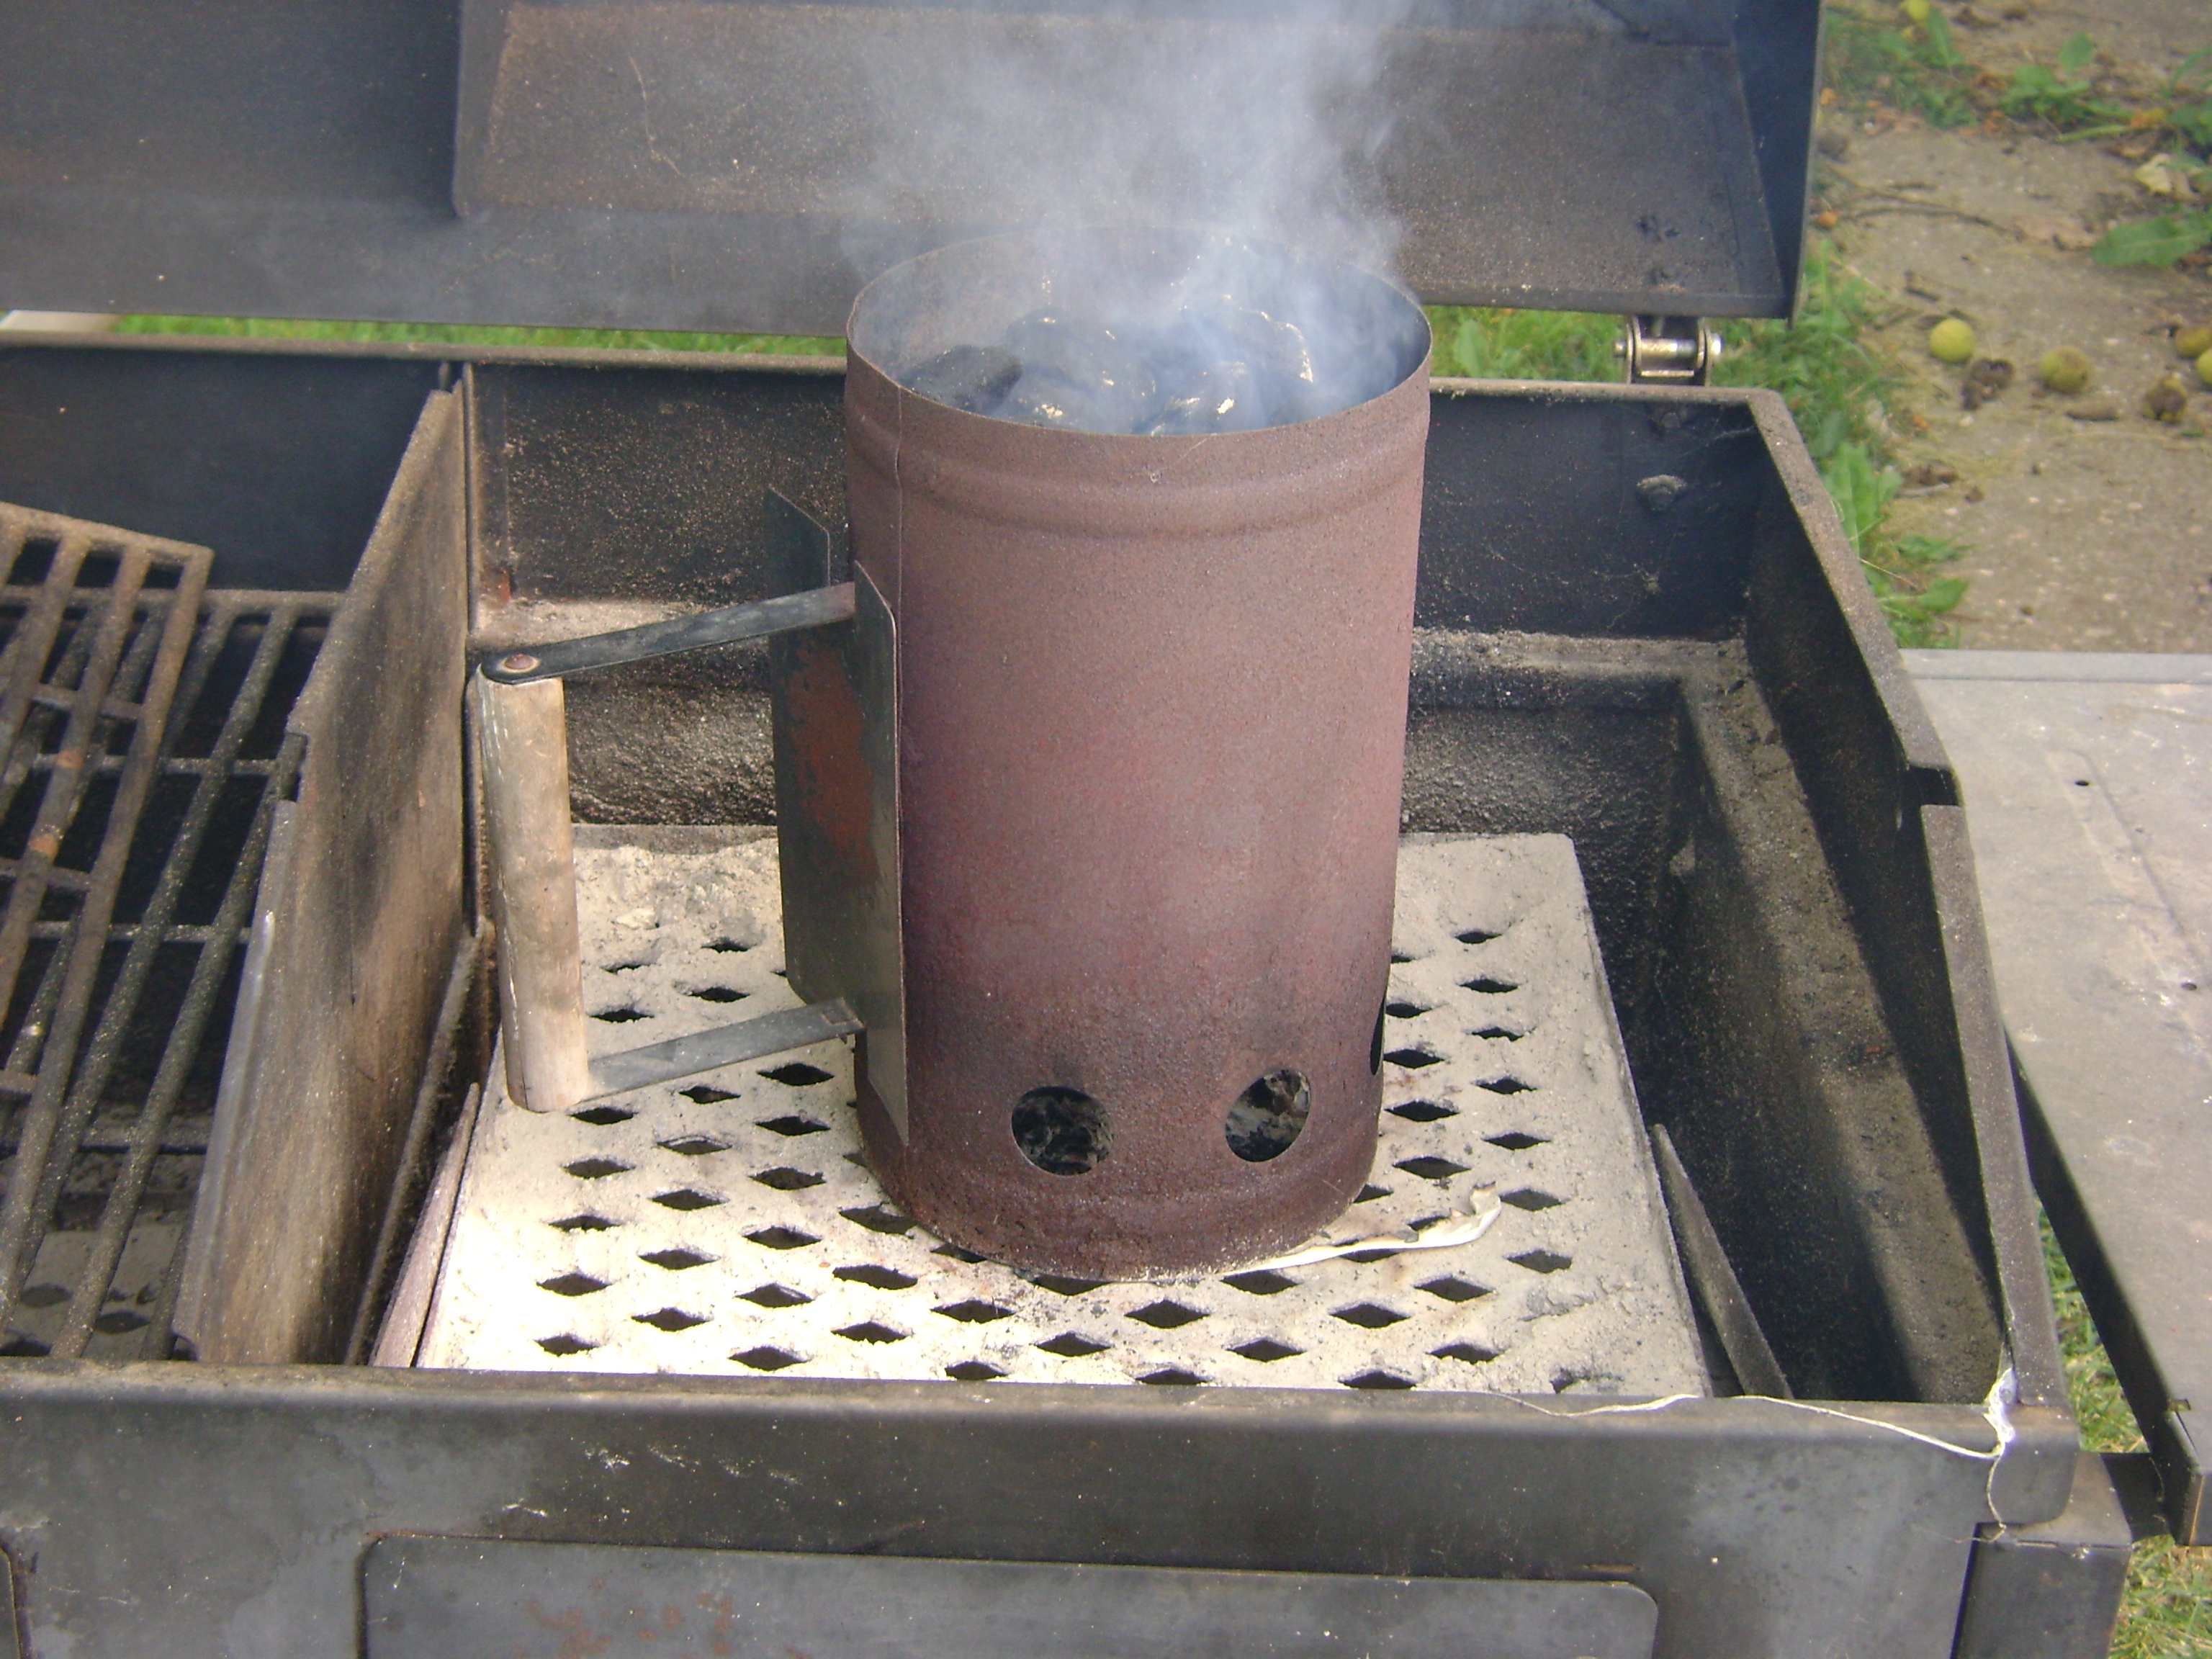
Getting the charcoal ready to work.
Picture
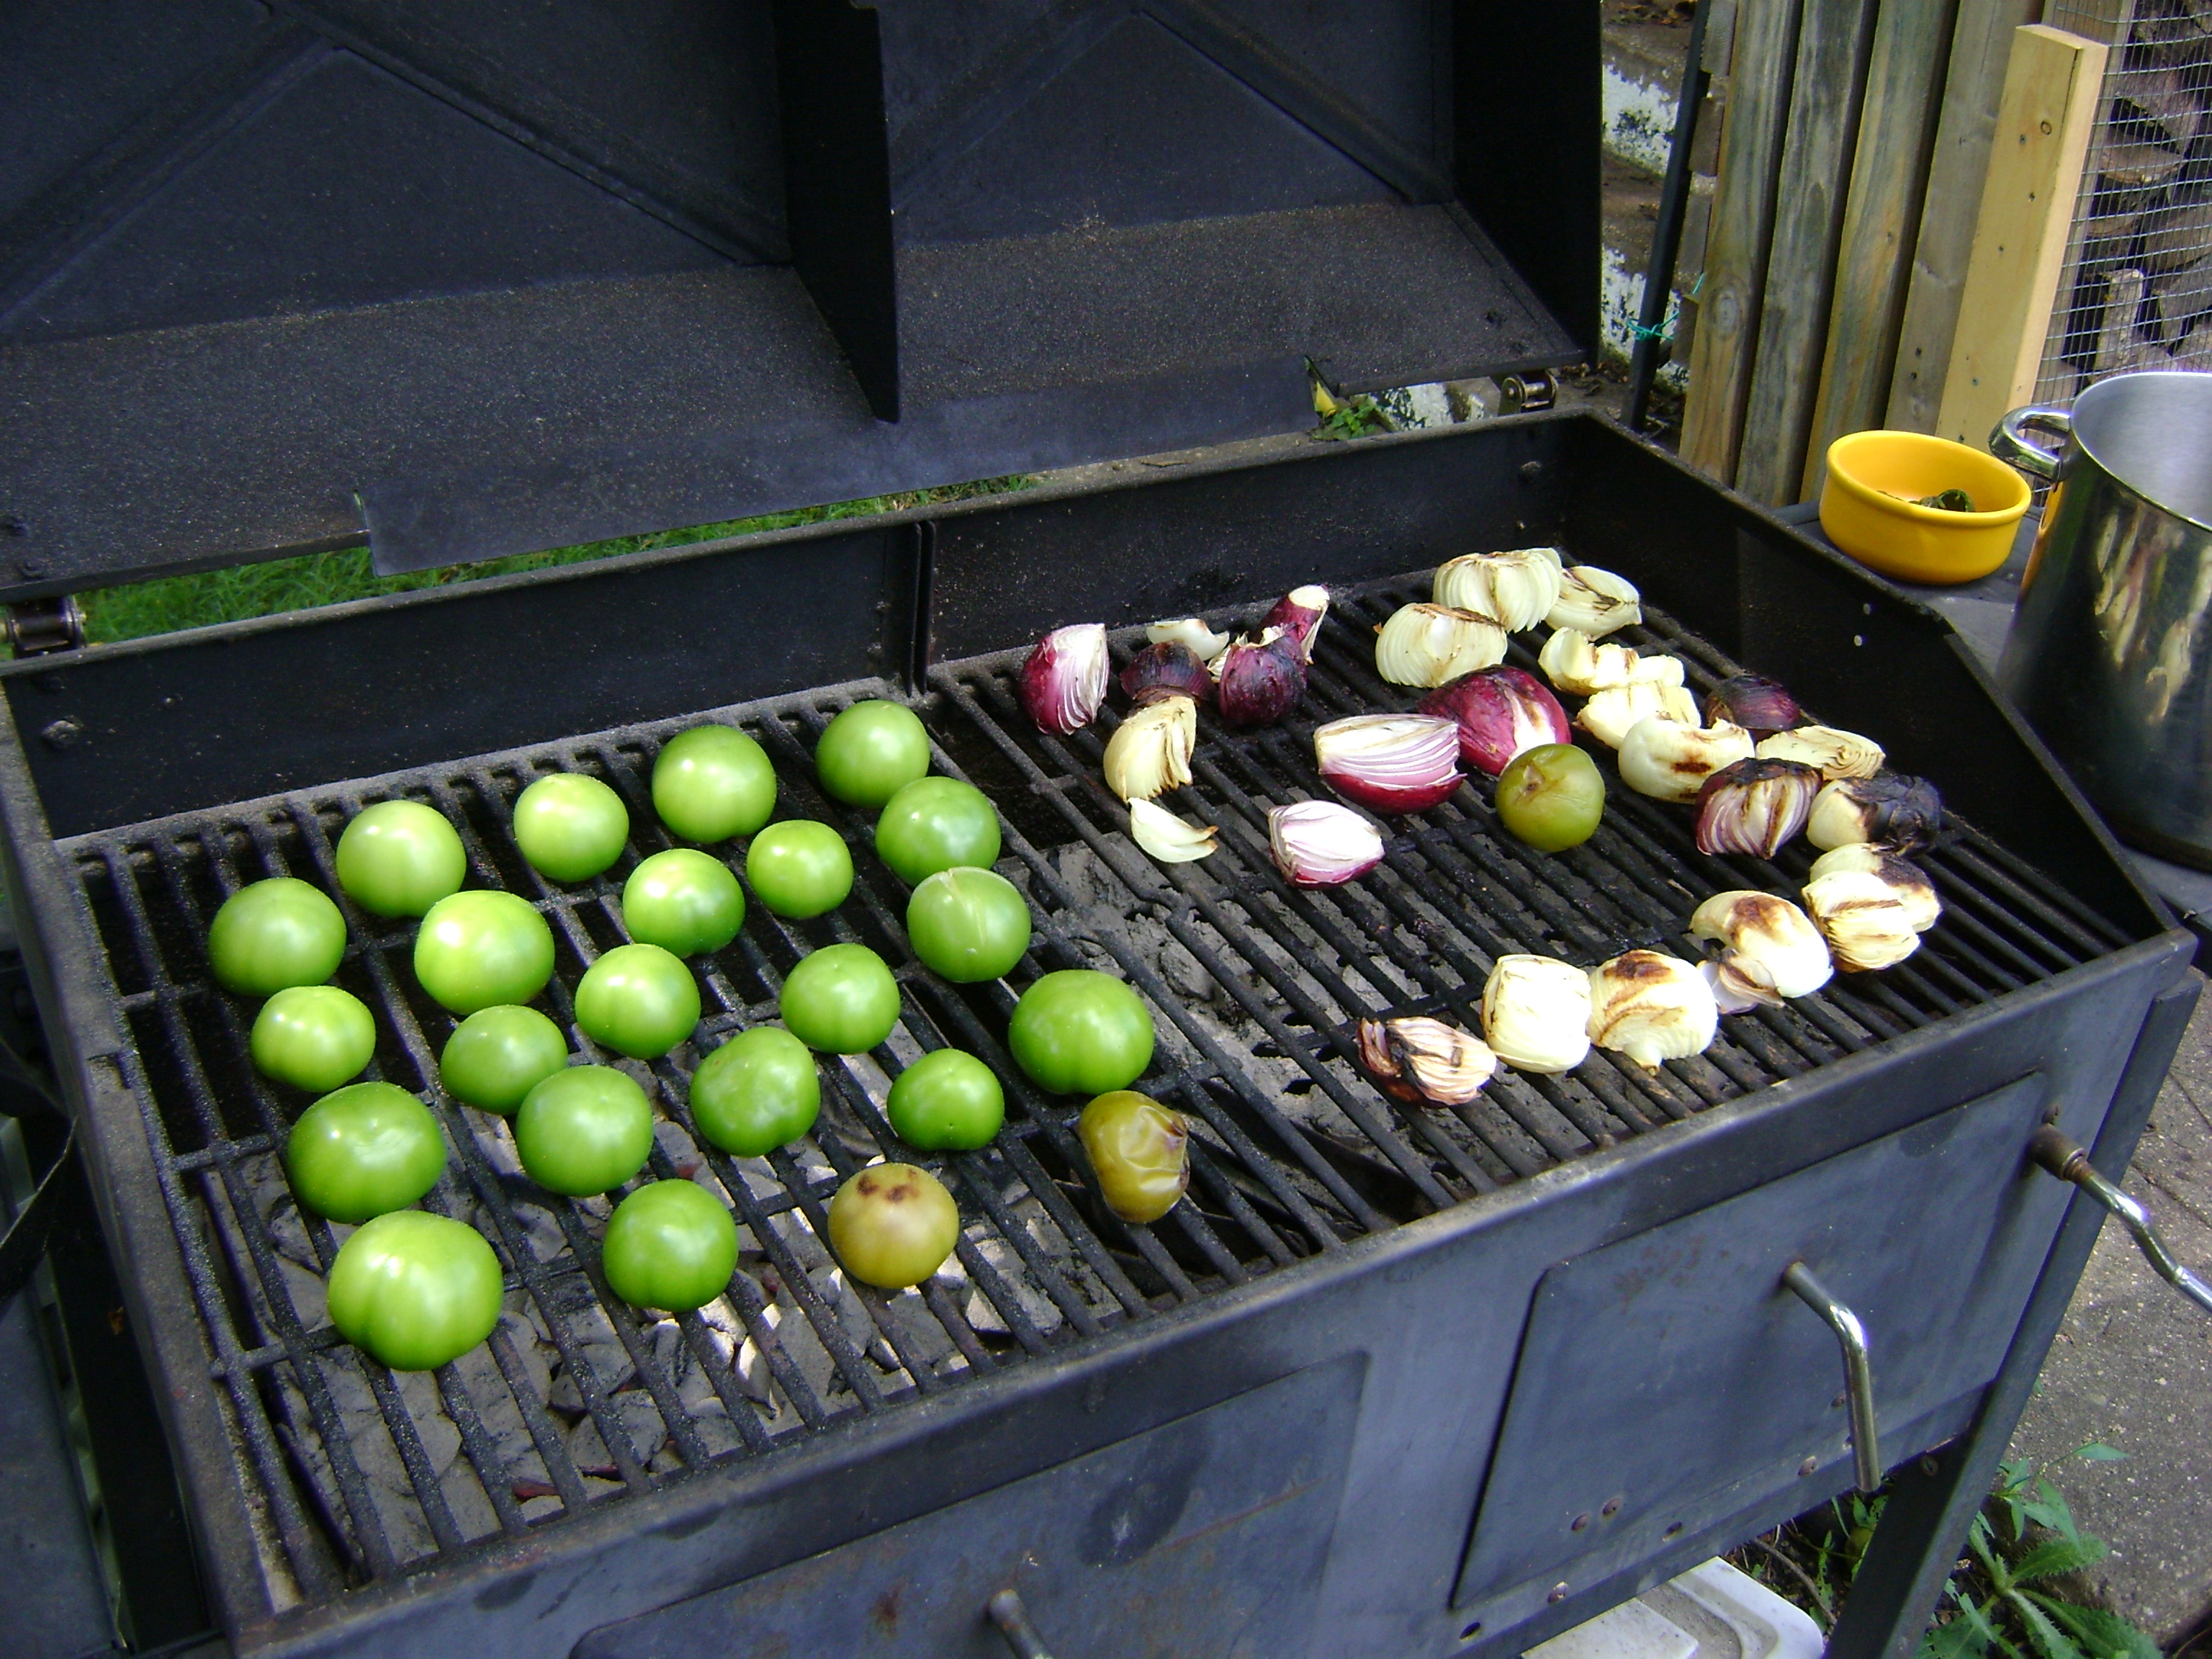
Backyard up high: Grilling veggies to add more flavor before turning them into salsa.
Picture
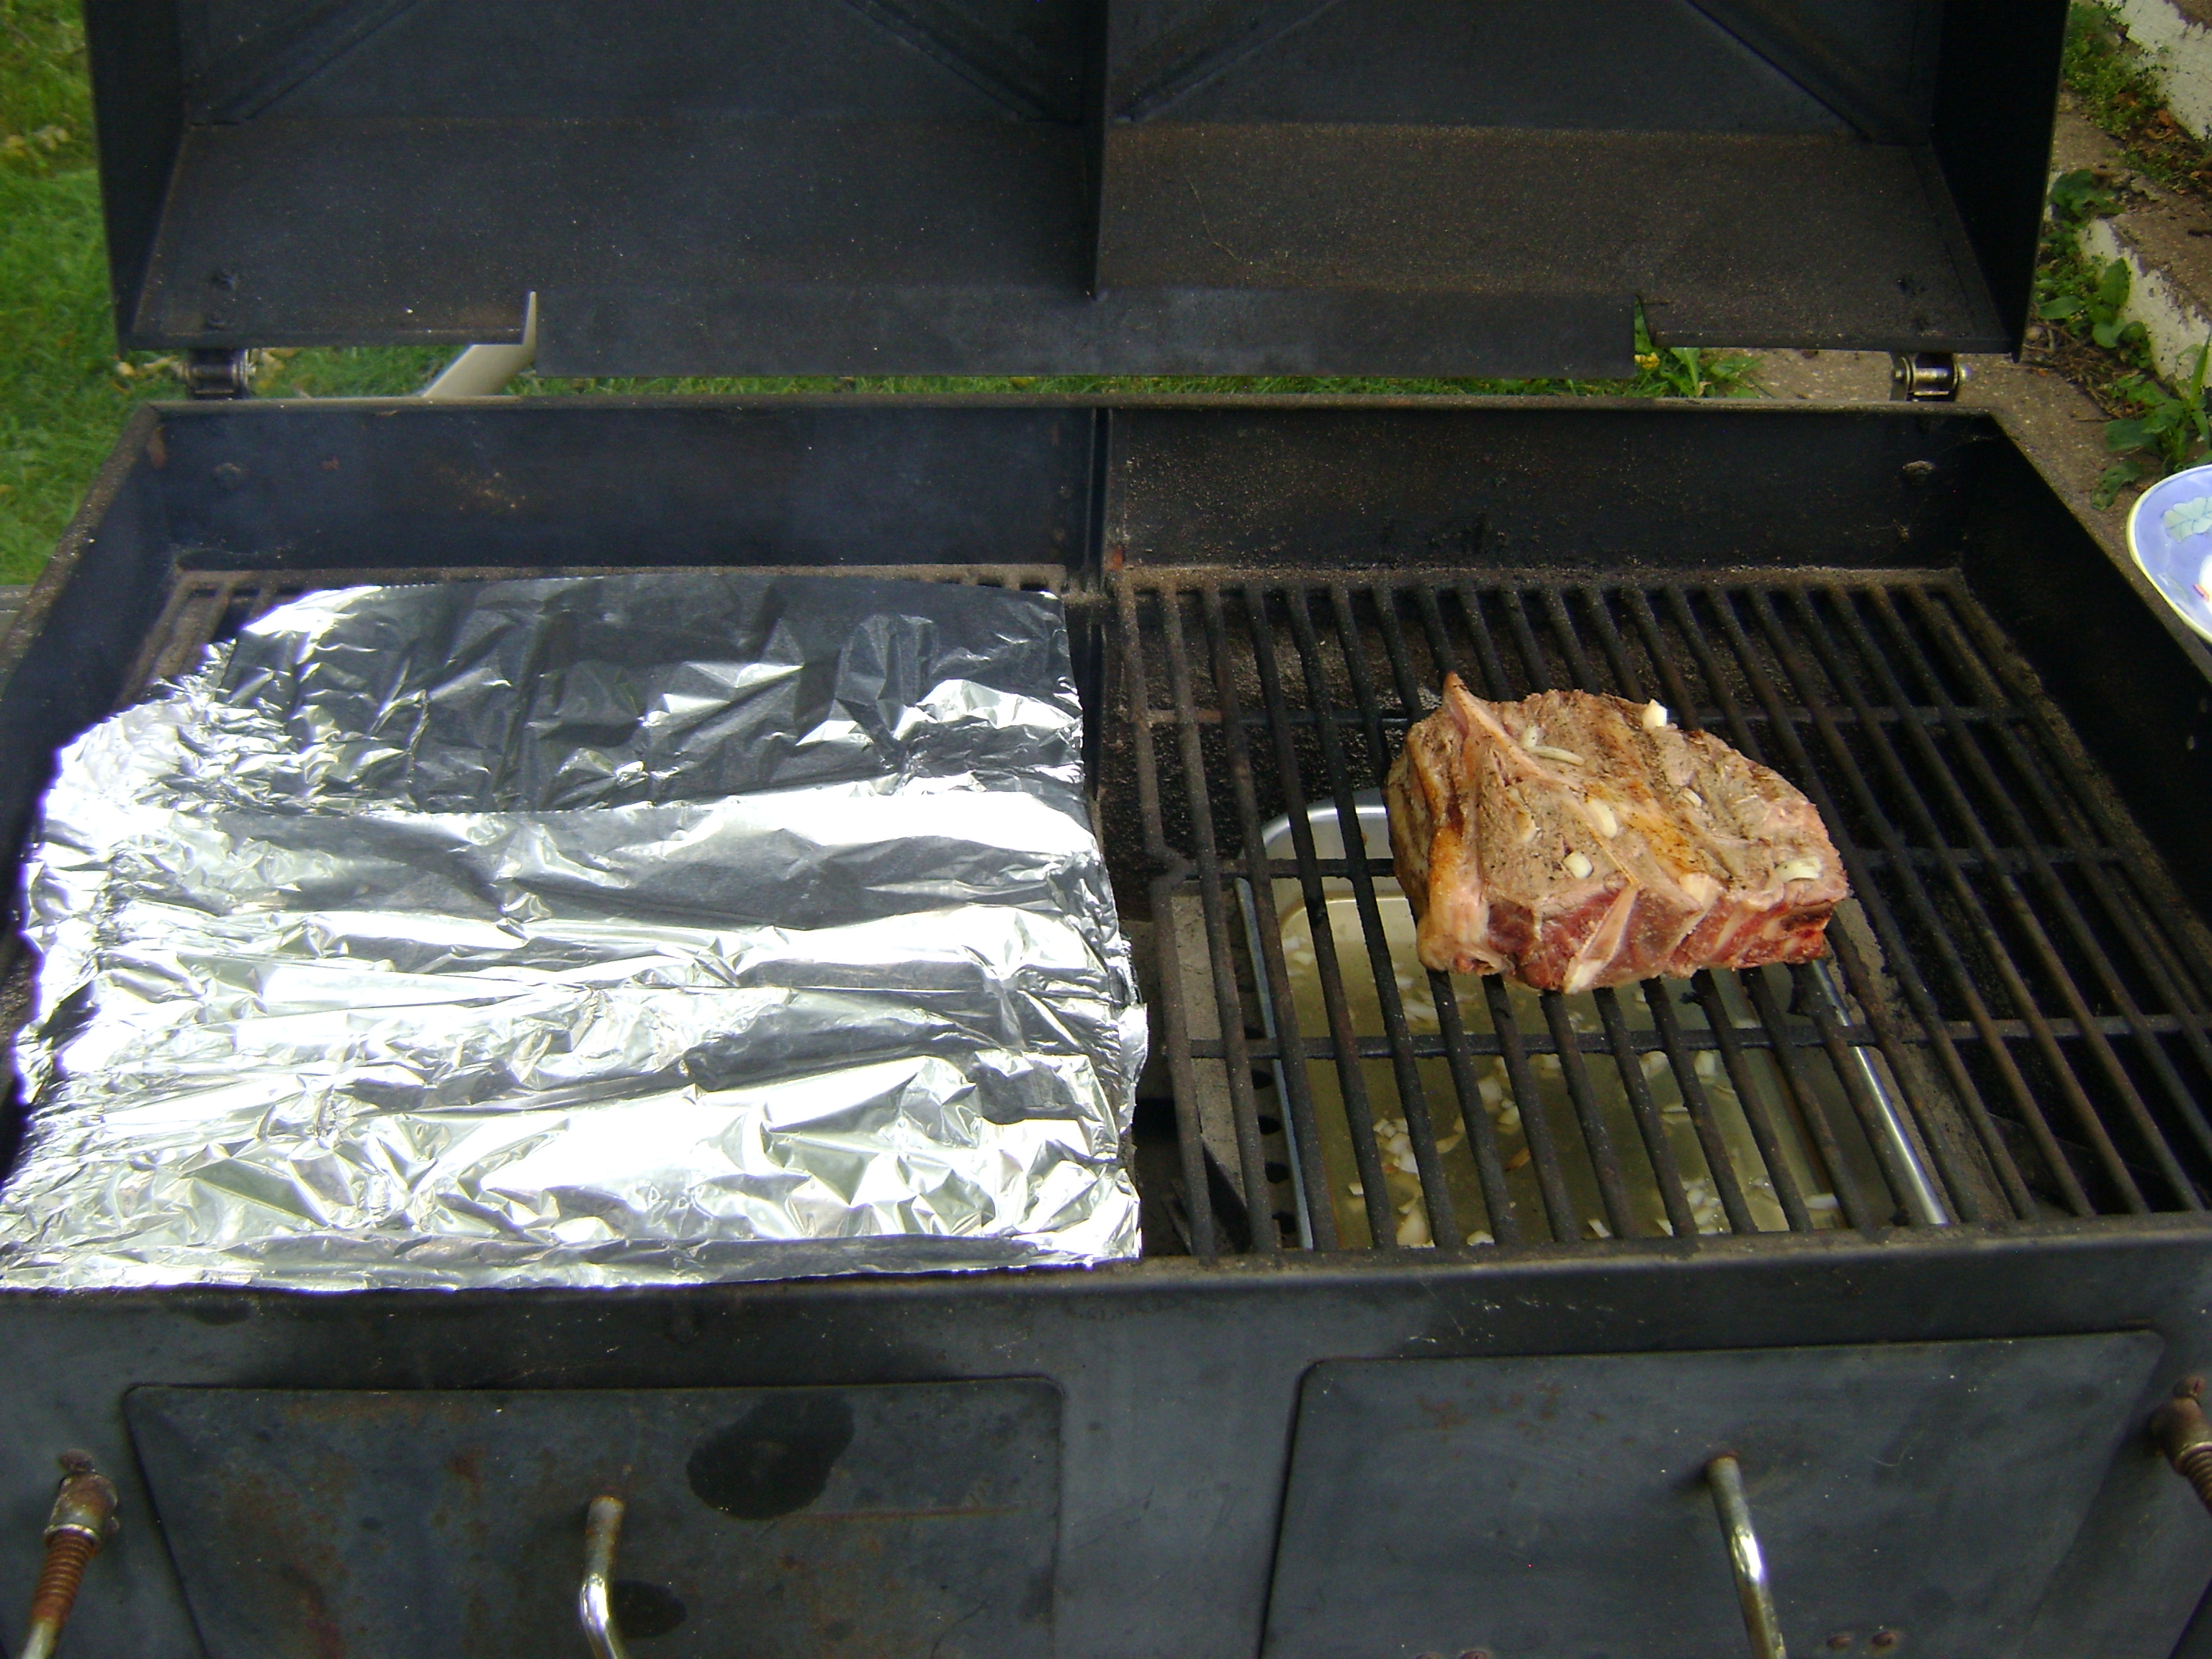
With know how and a little creativity...
Picture
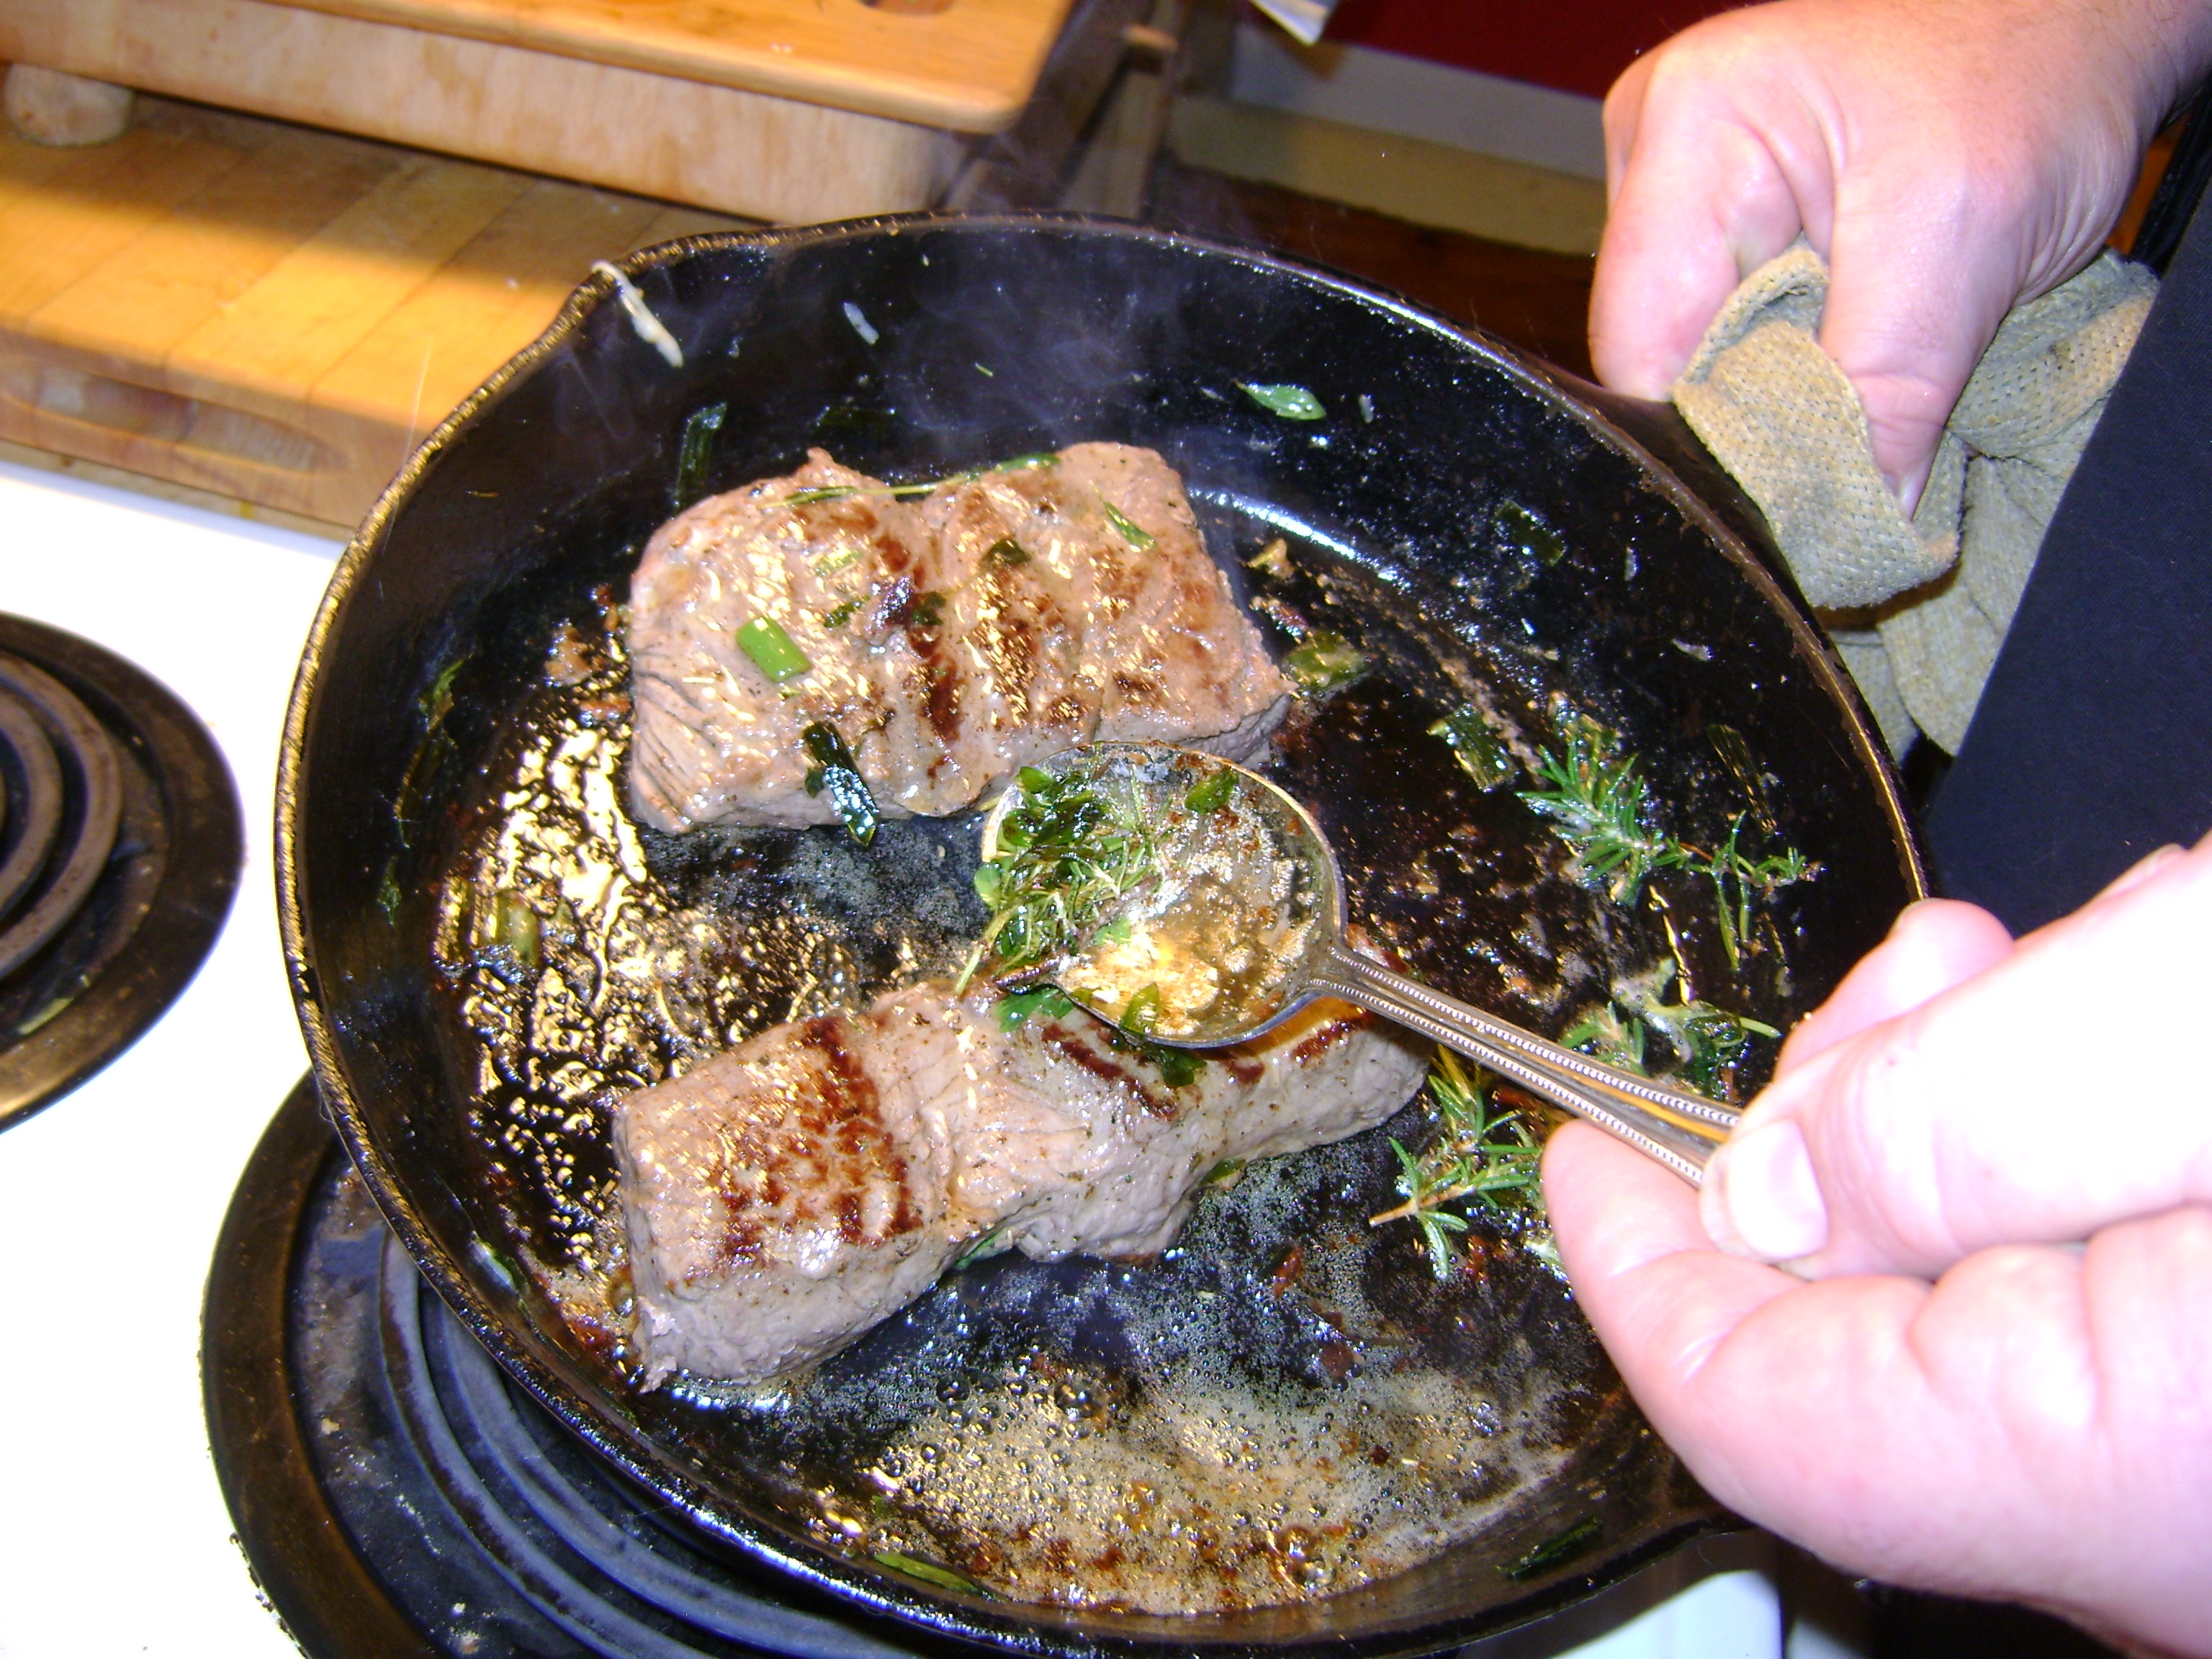
From the kitchen: On the stove.
Picture
Picture
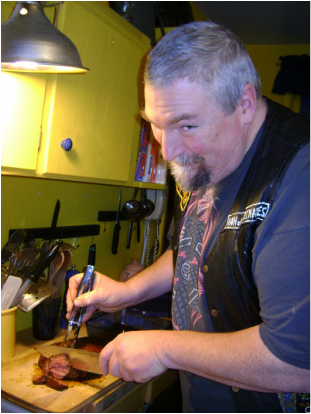
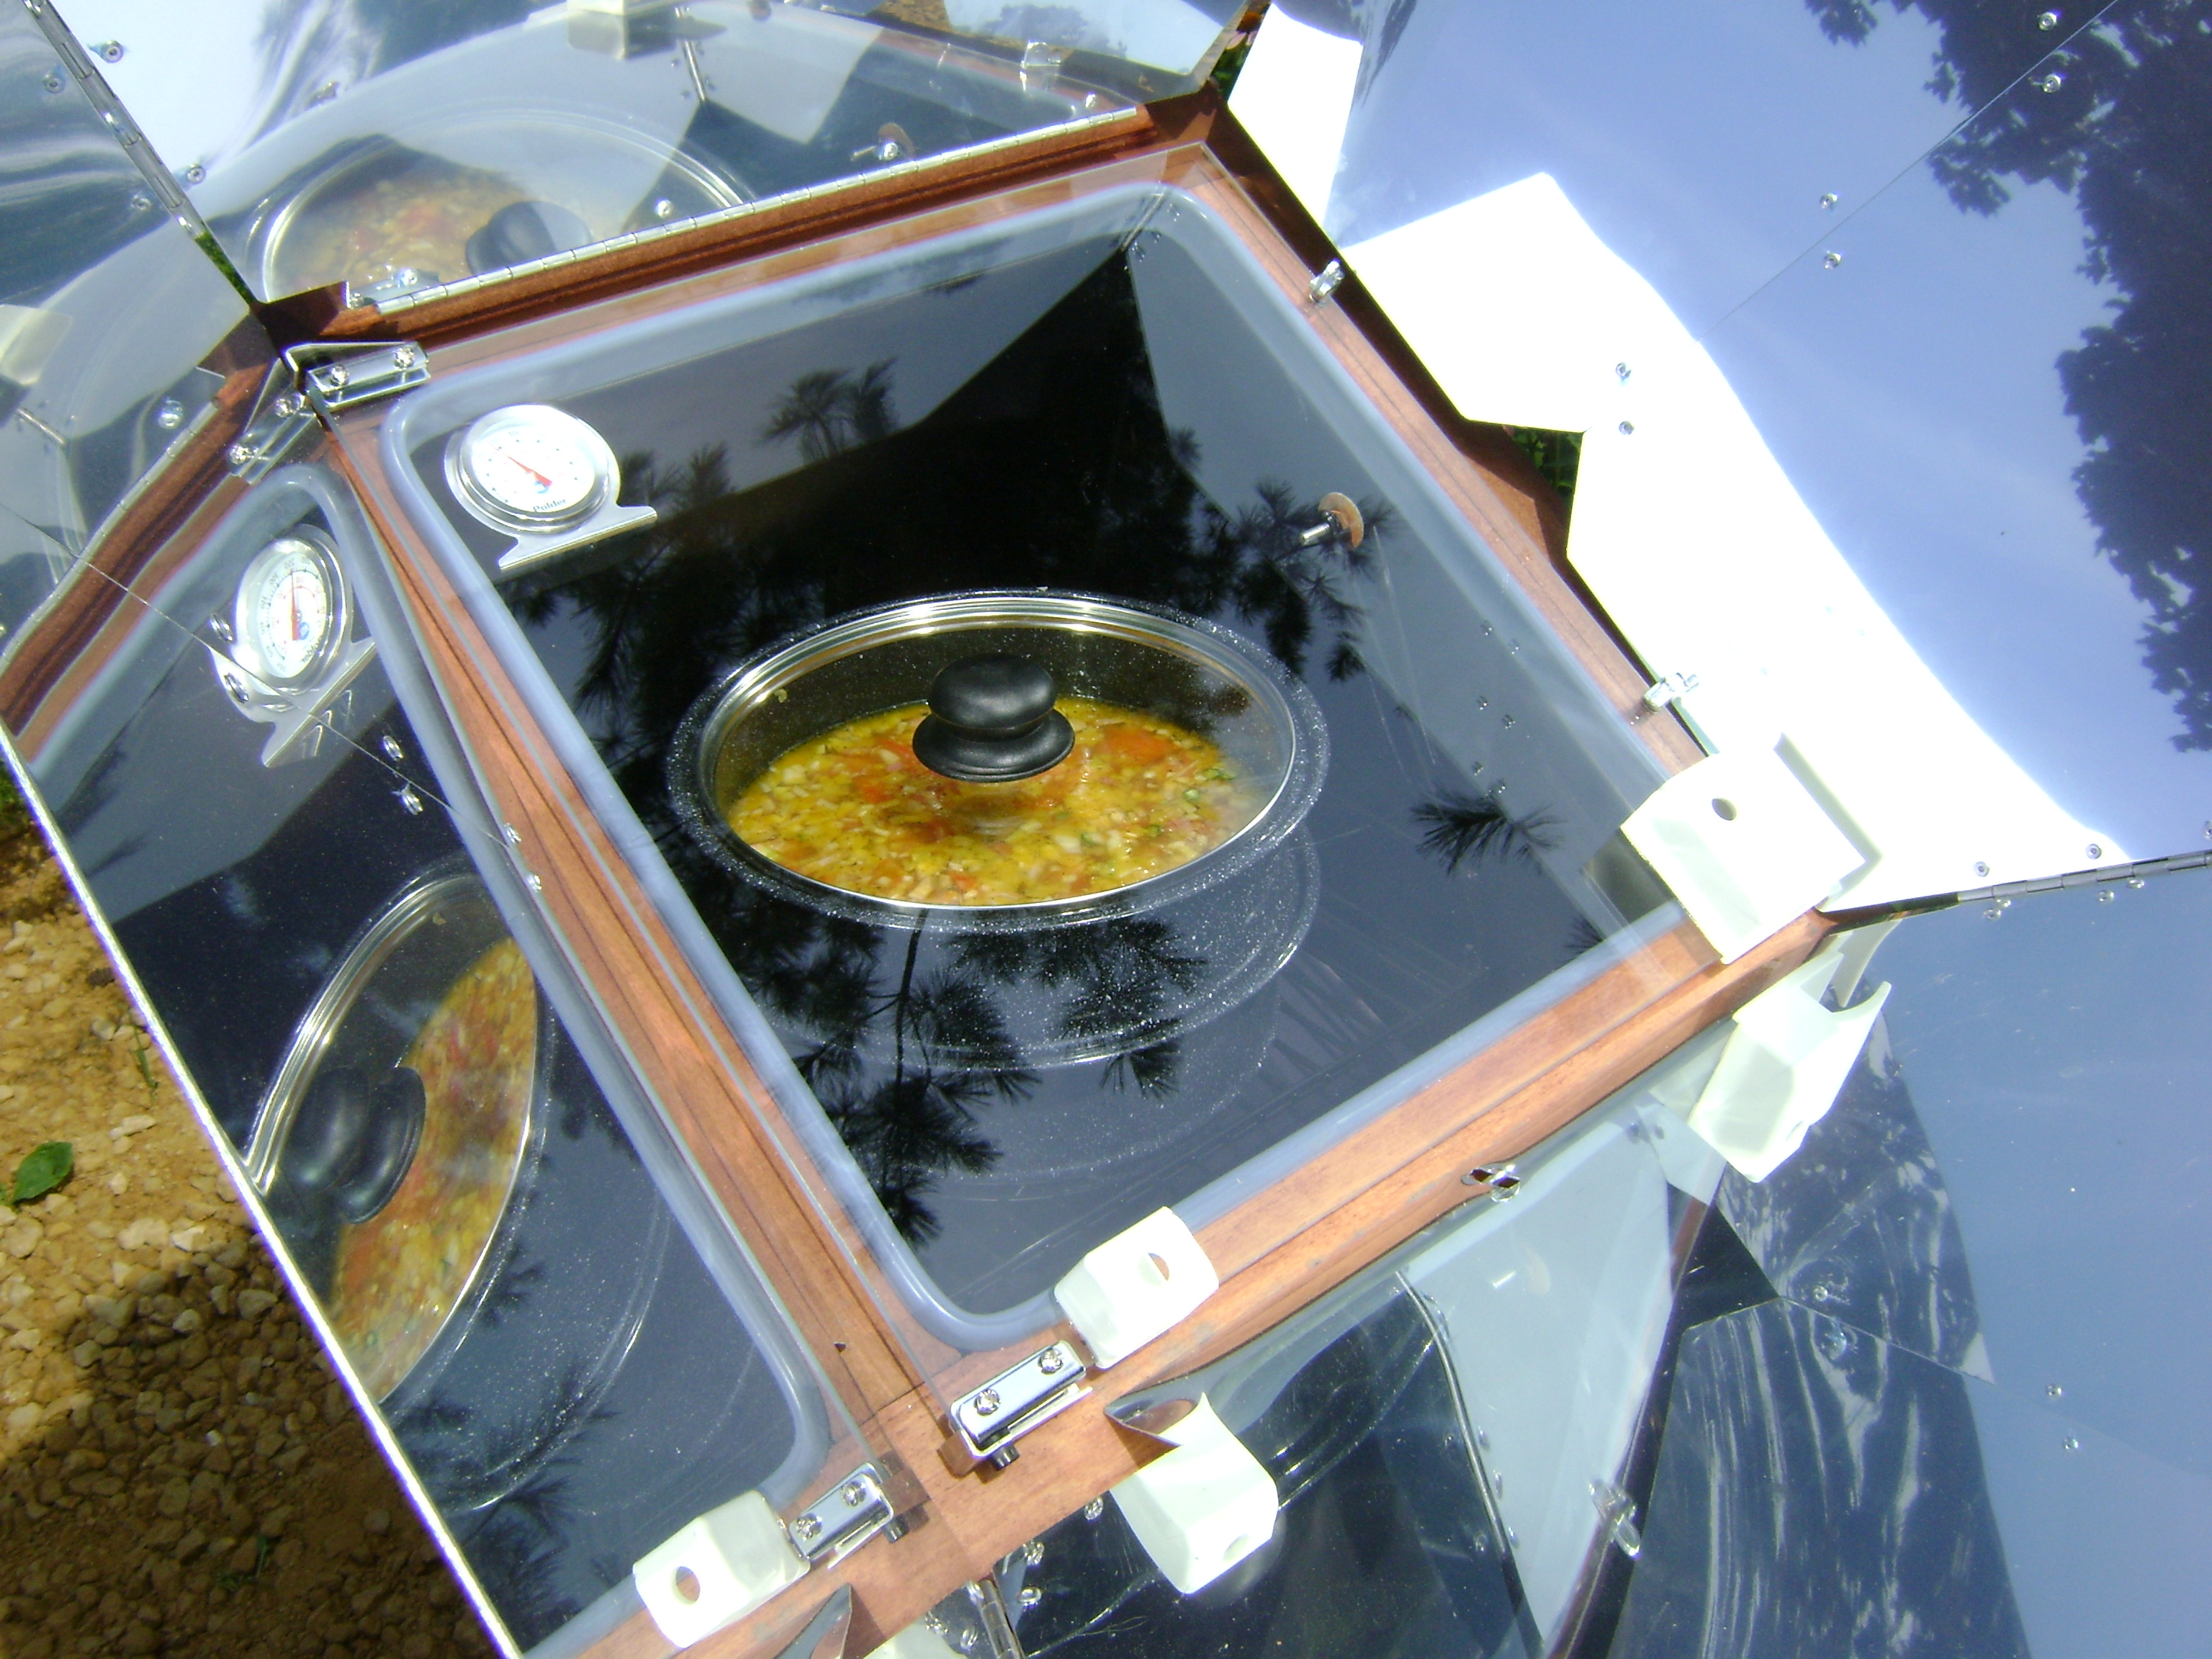
Use a solar oven outside any time on a clear day.
Picture
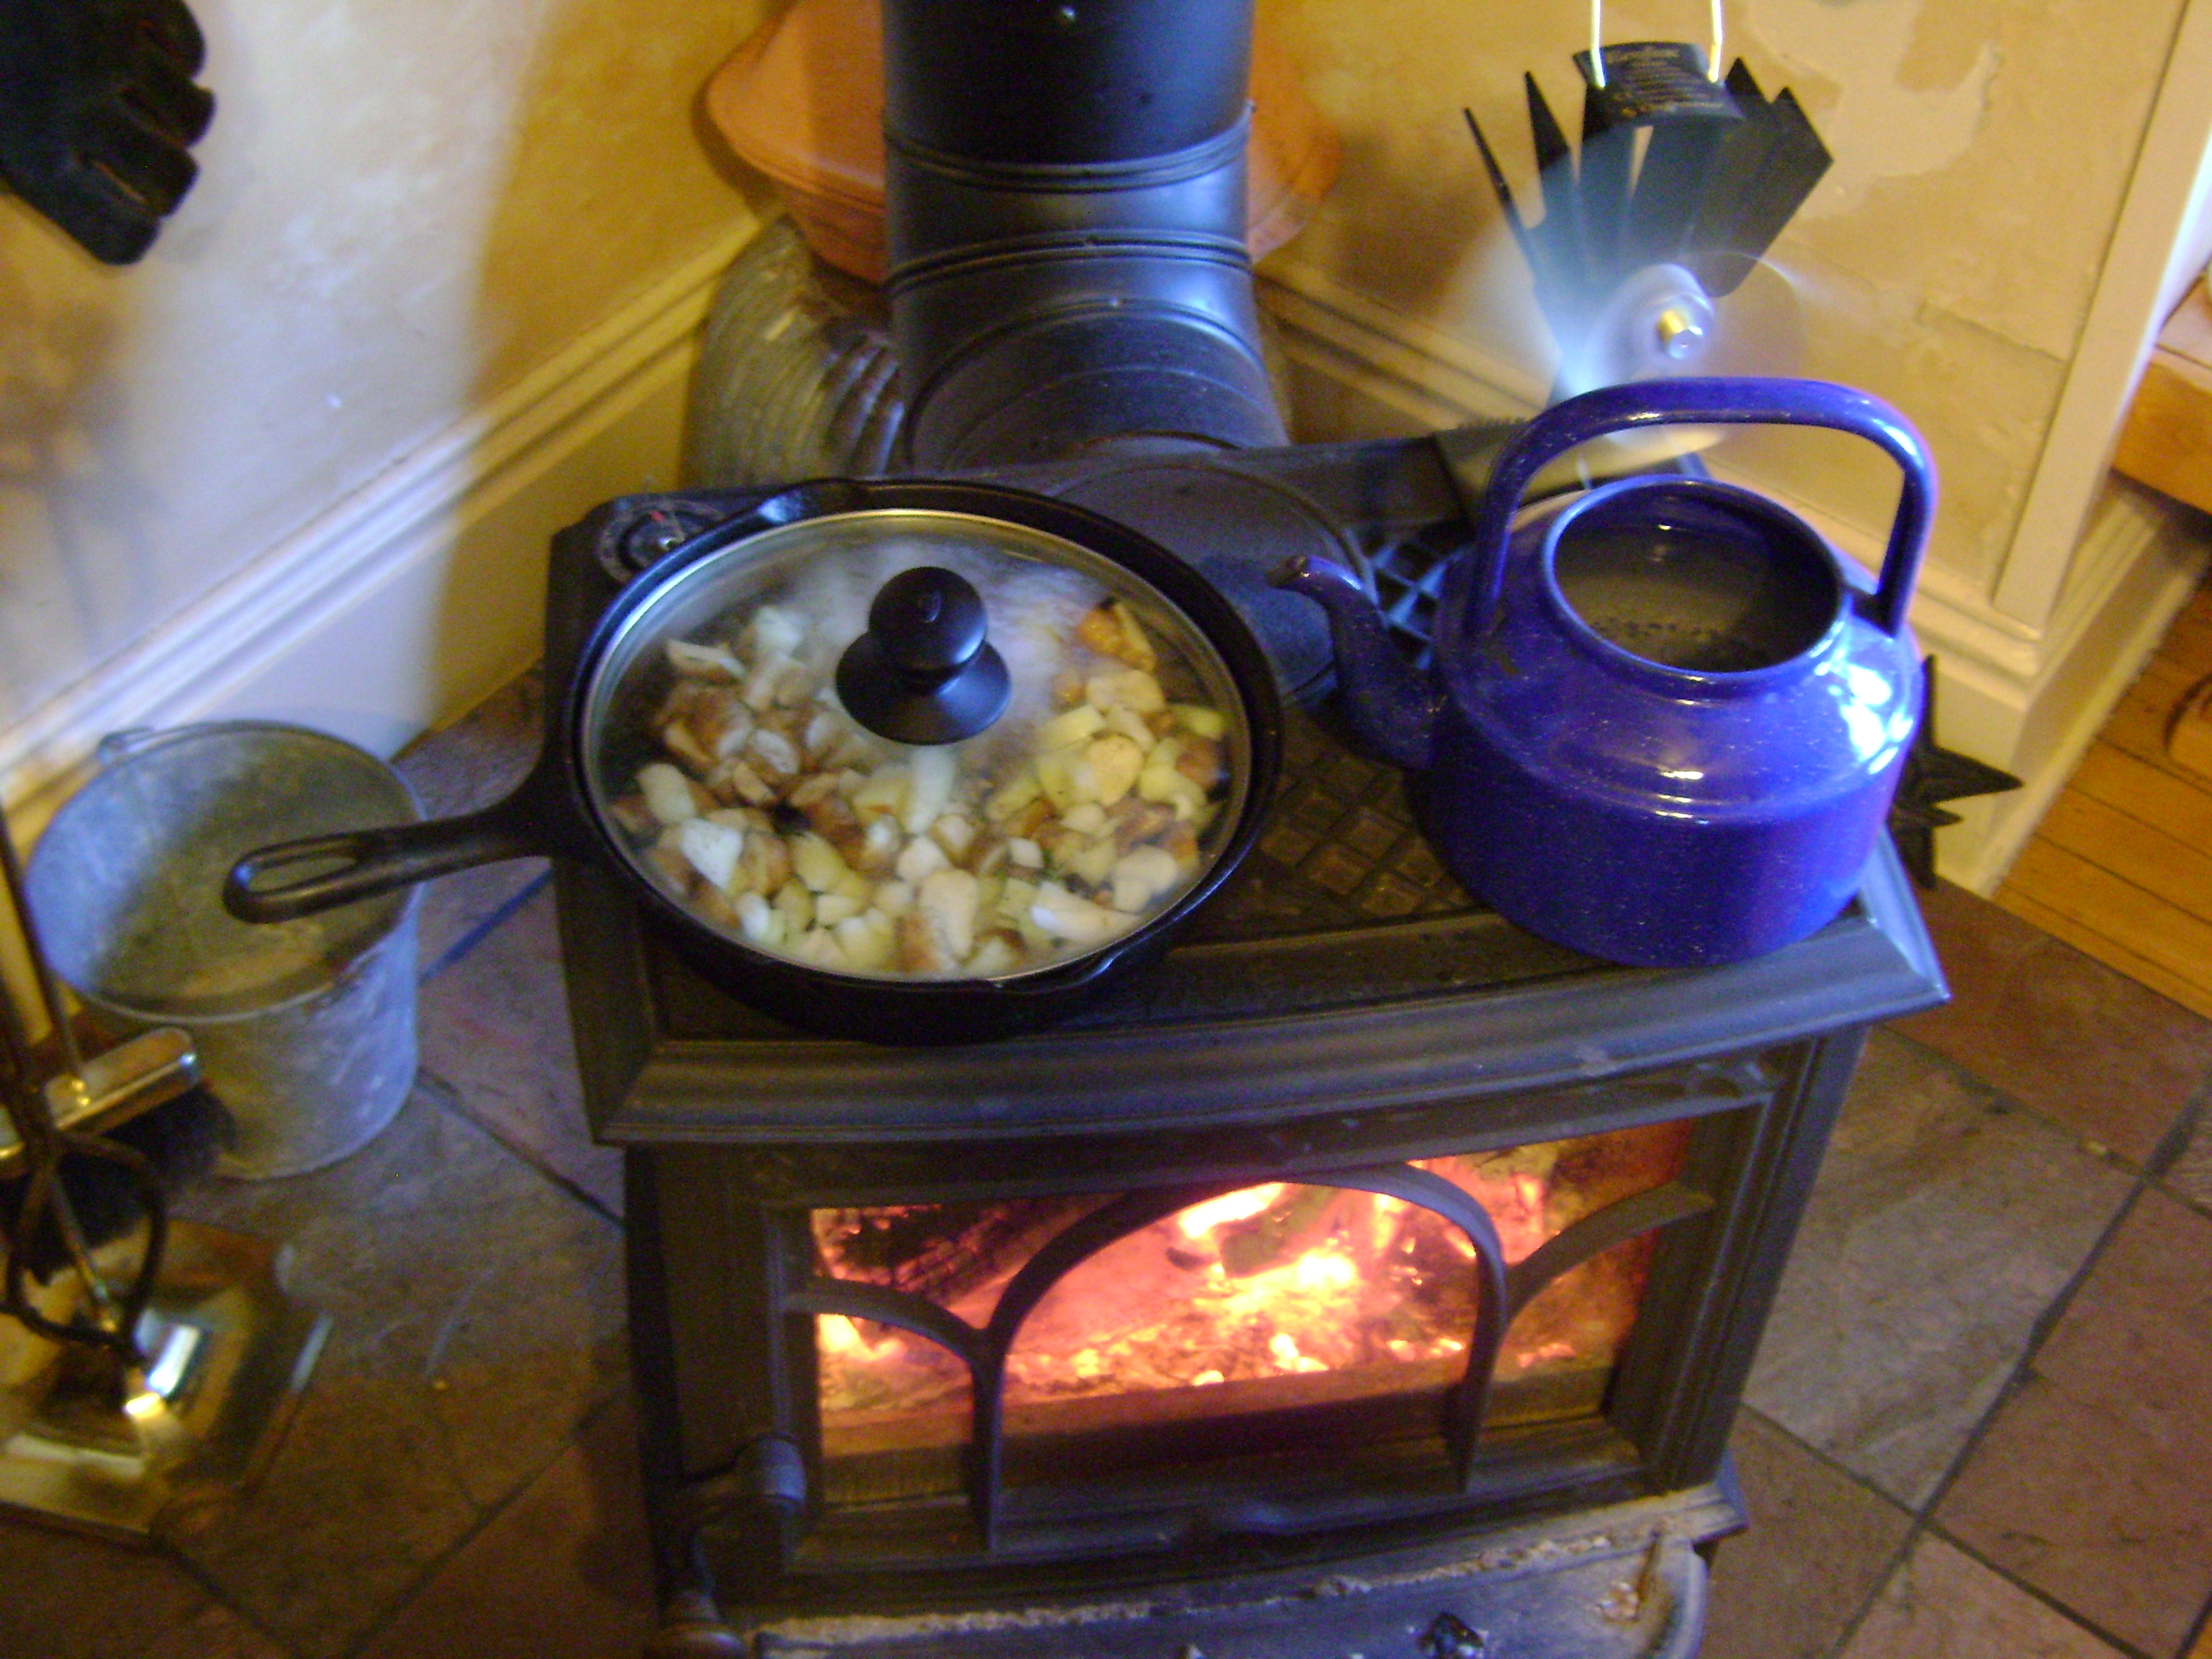
Did I mention cooking in the living room? On the wood burning stove!
Picture
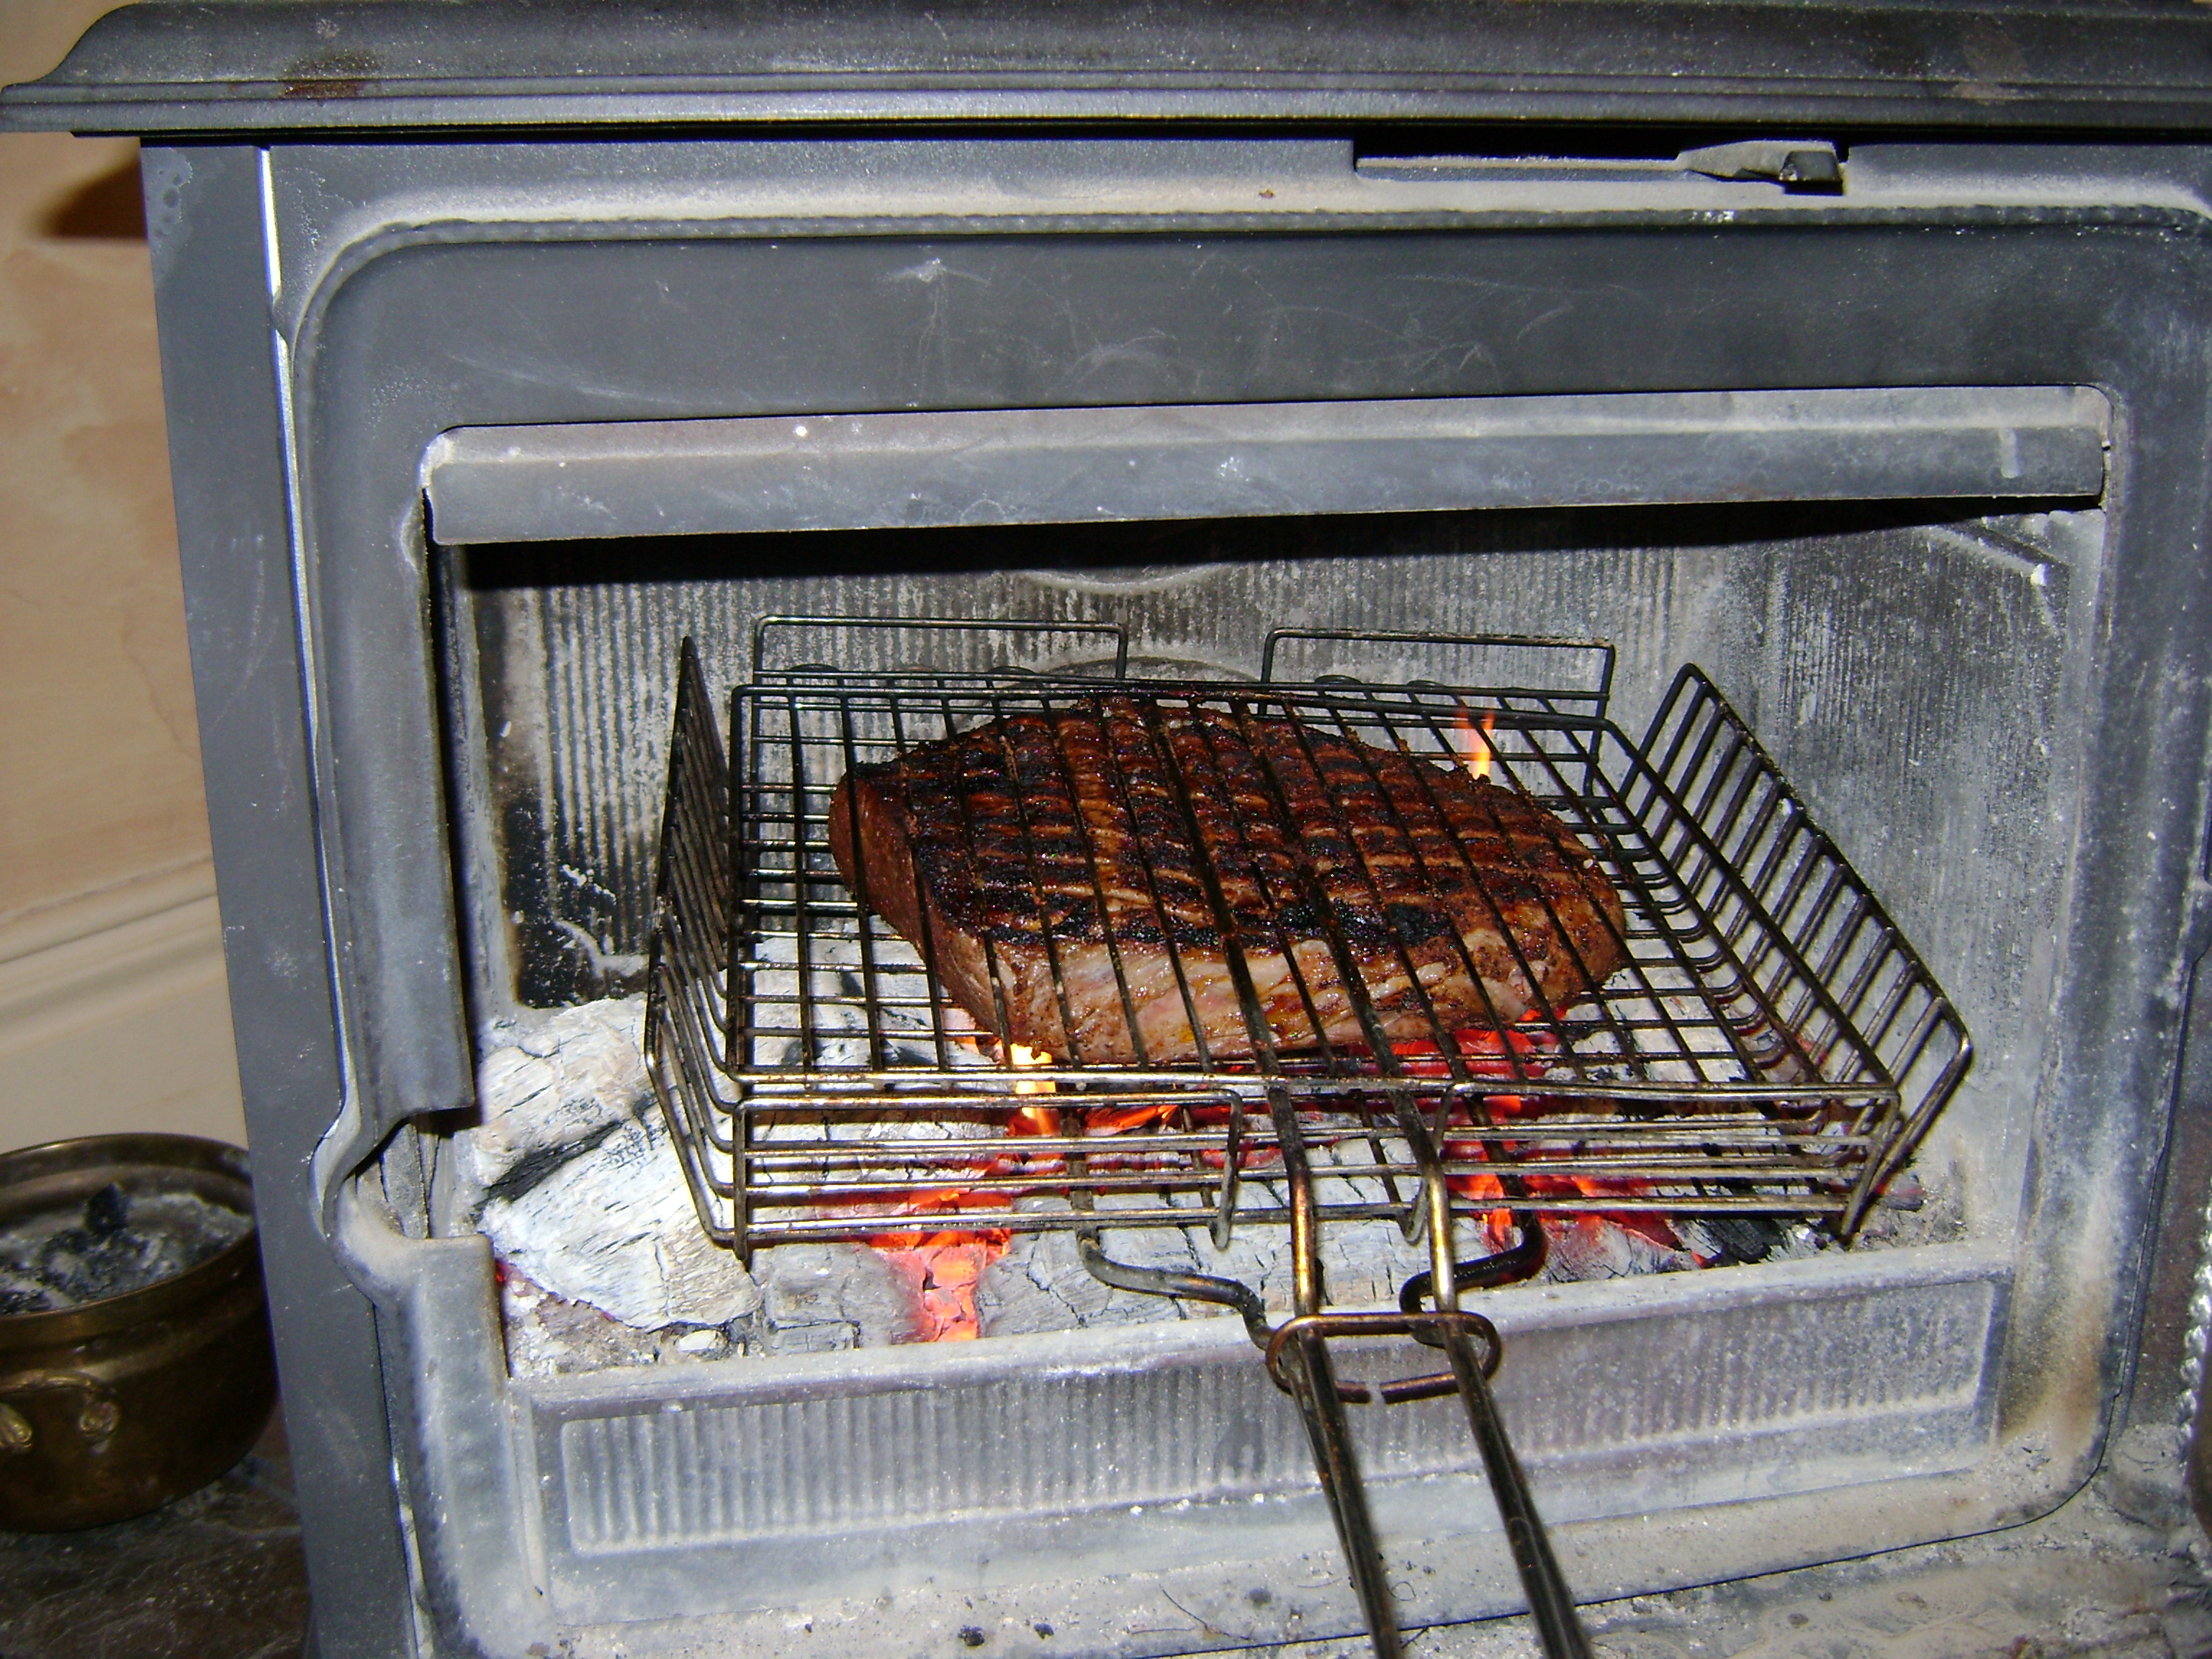
With a rack & a lid you can use inside and the top
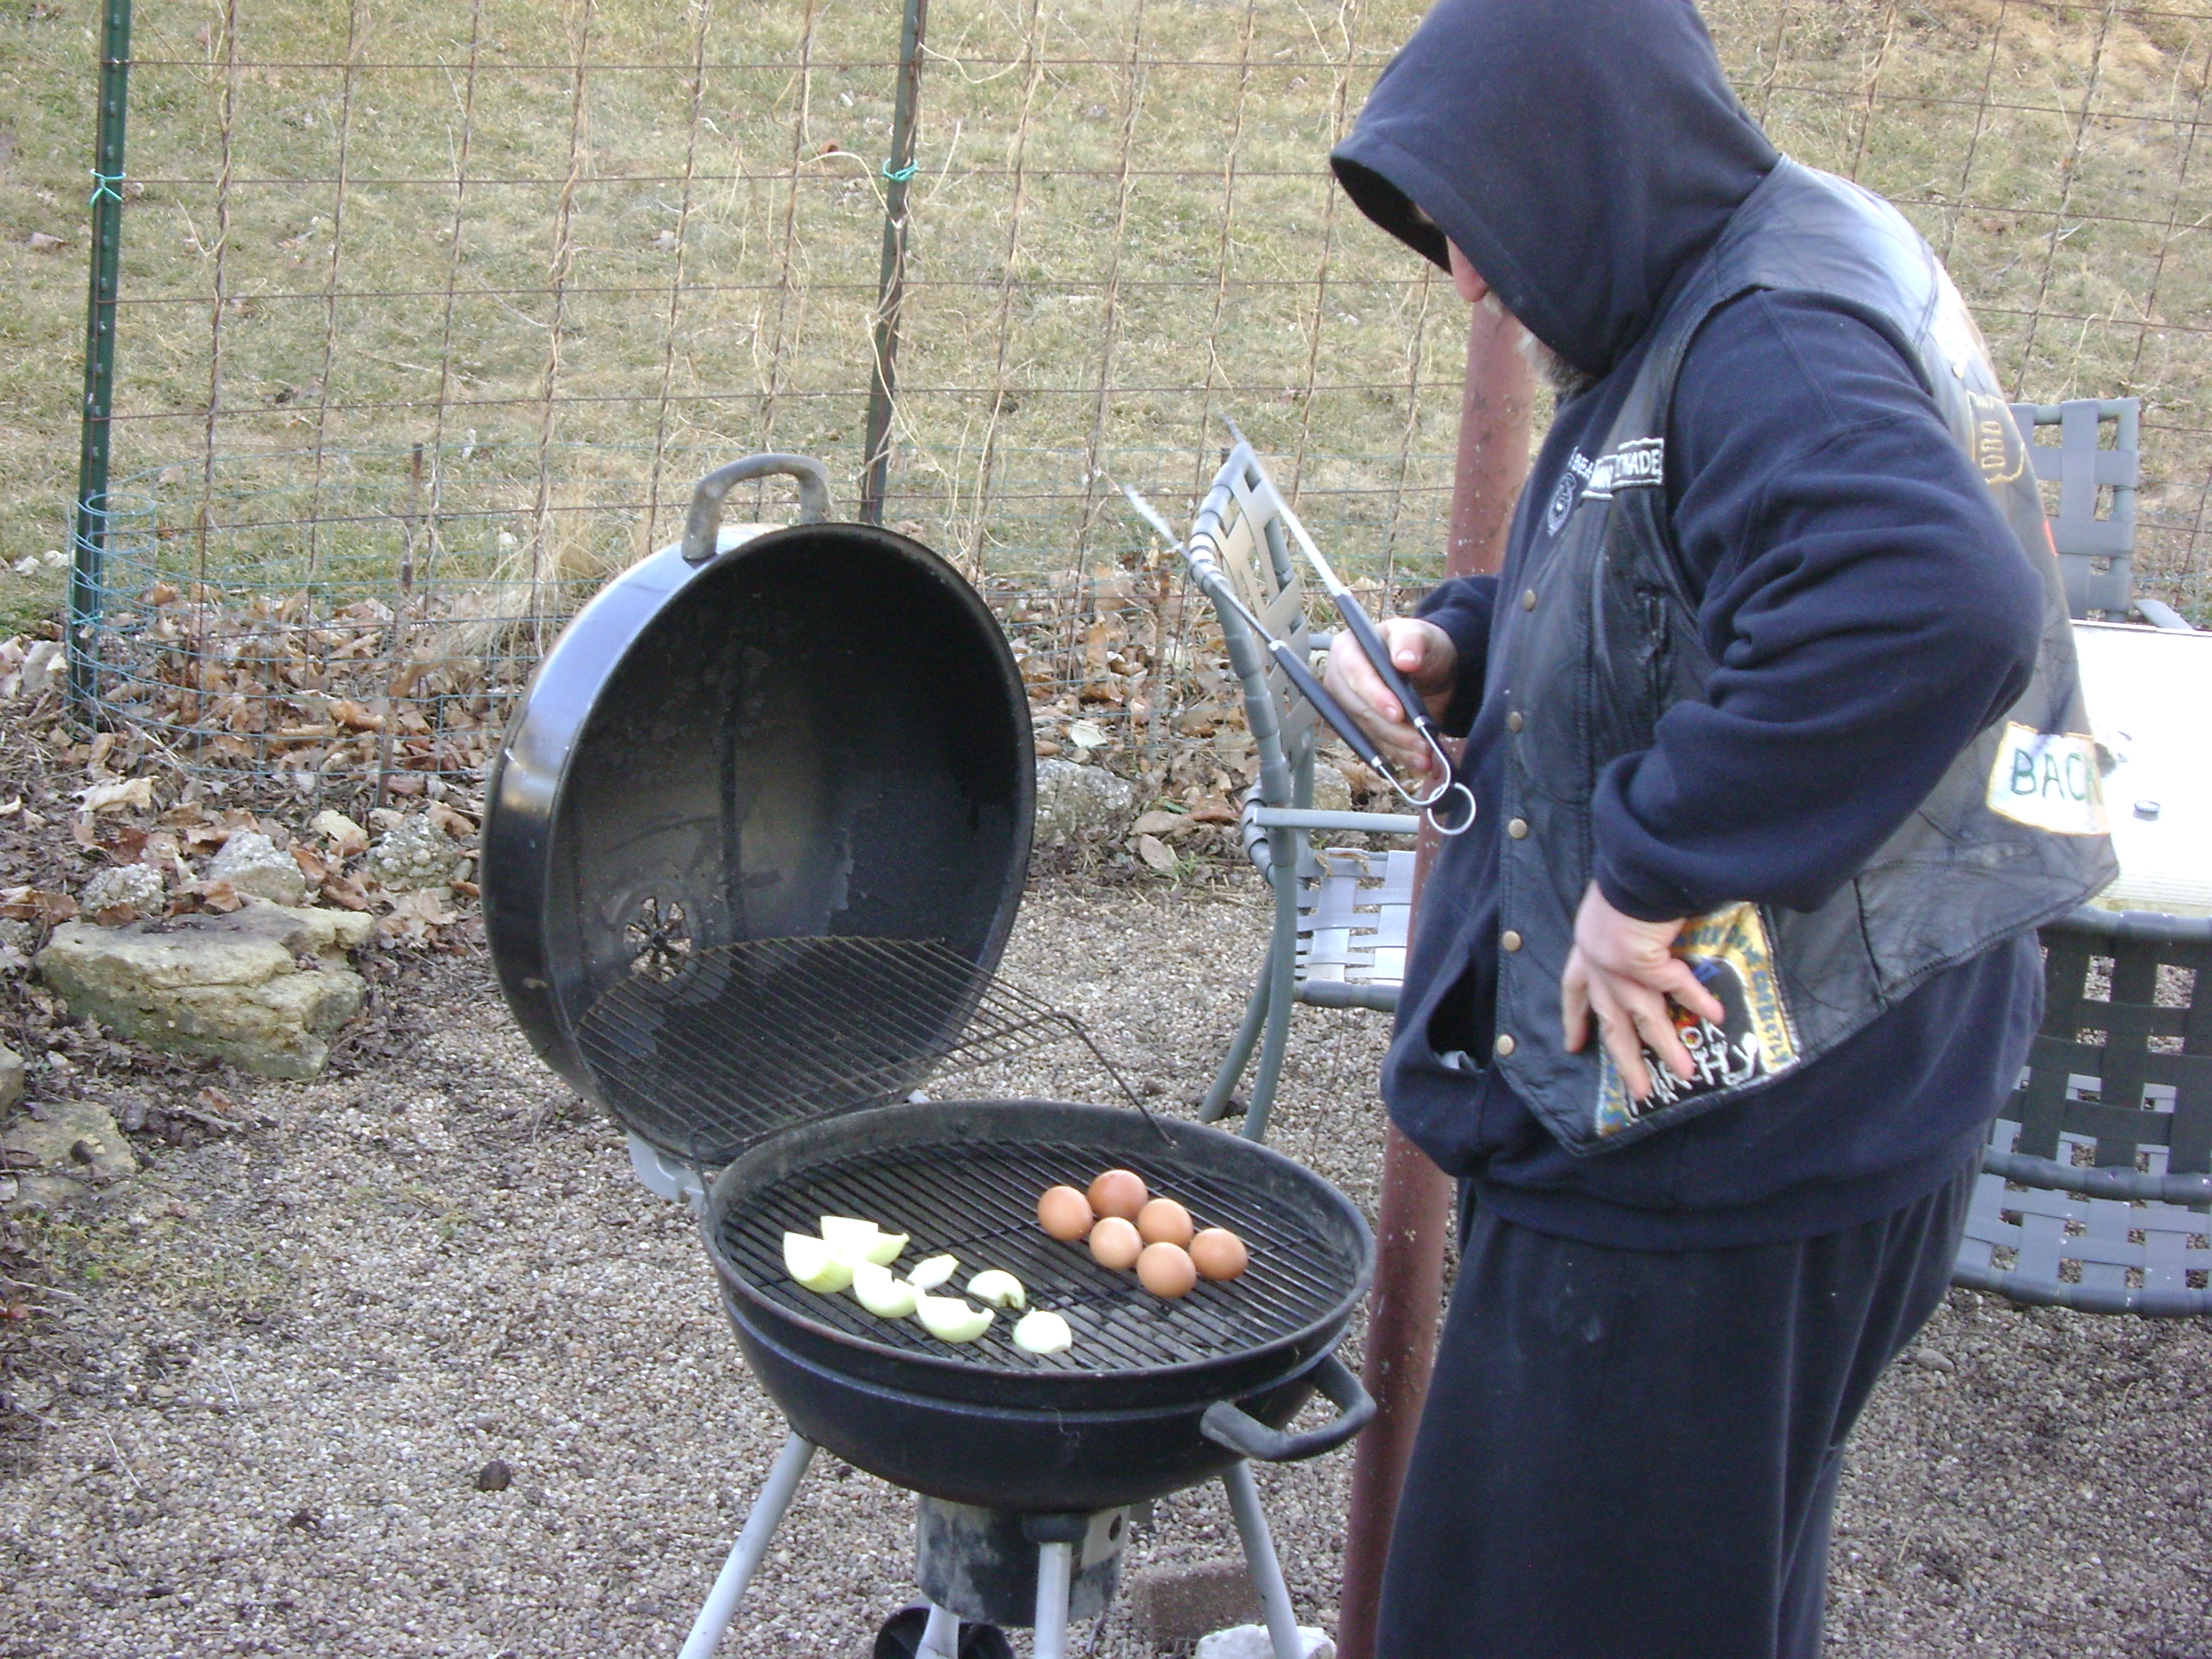
Picture
My beginner grill.
Picture
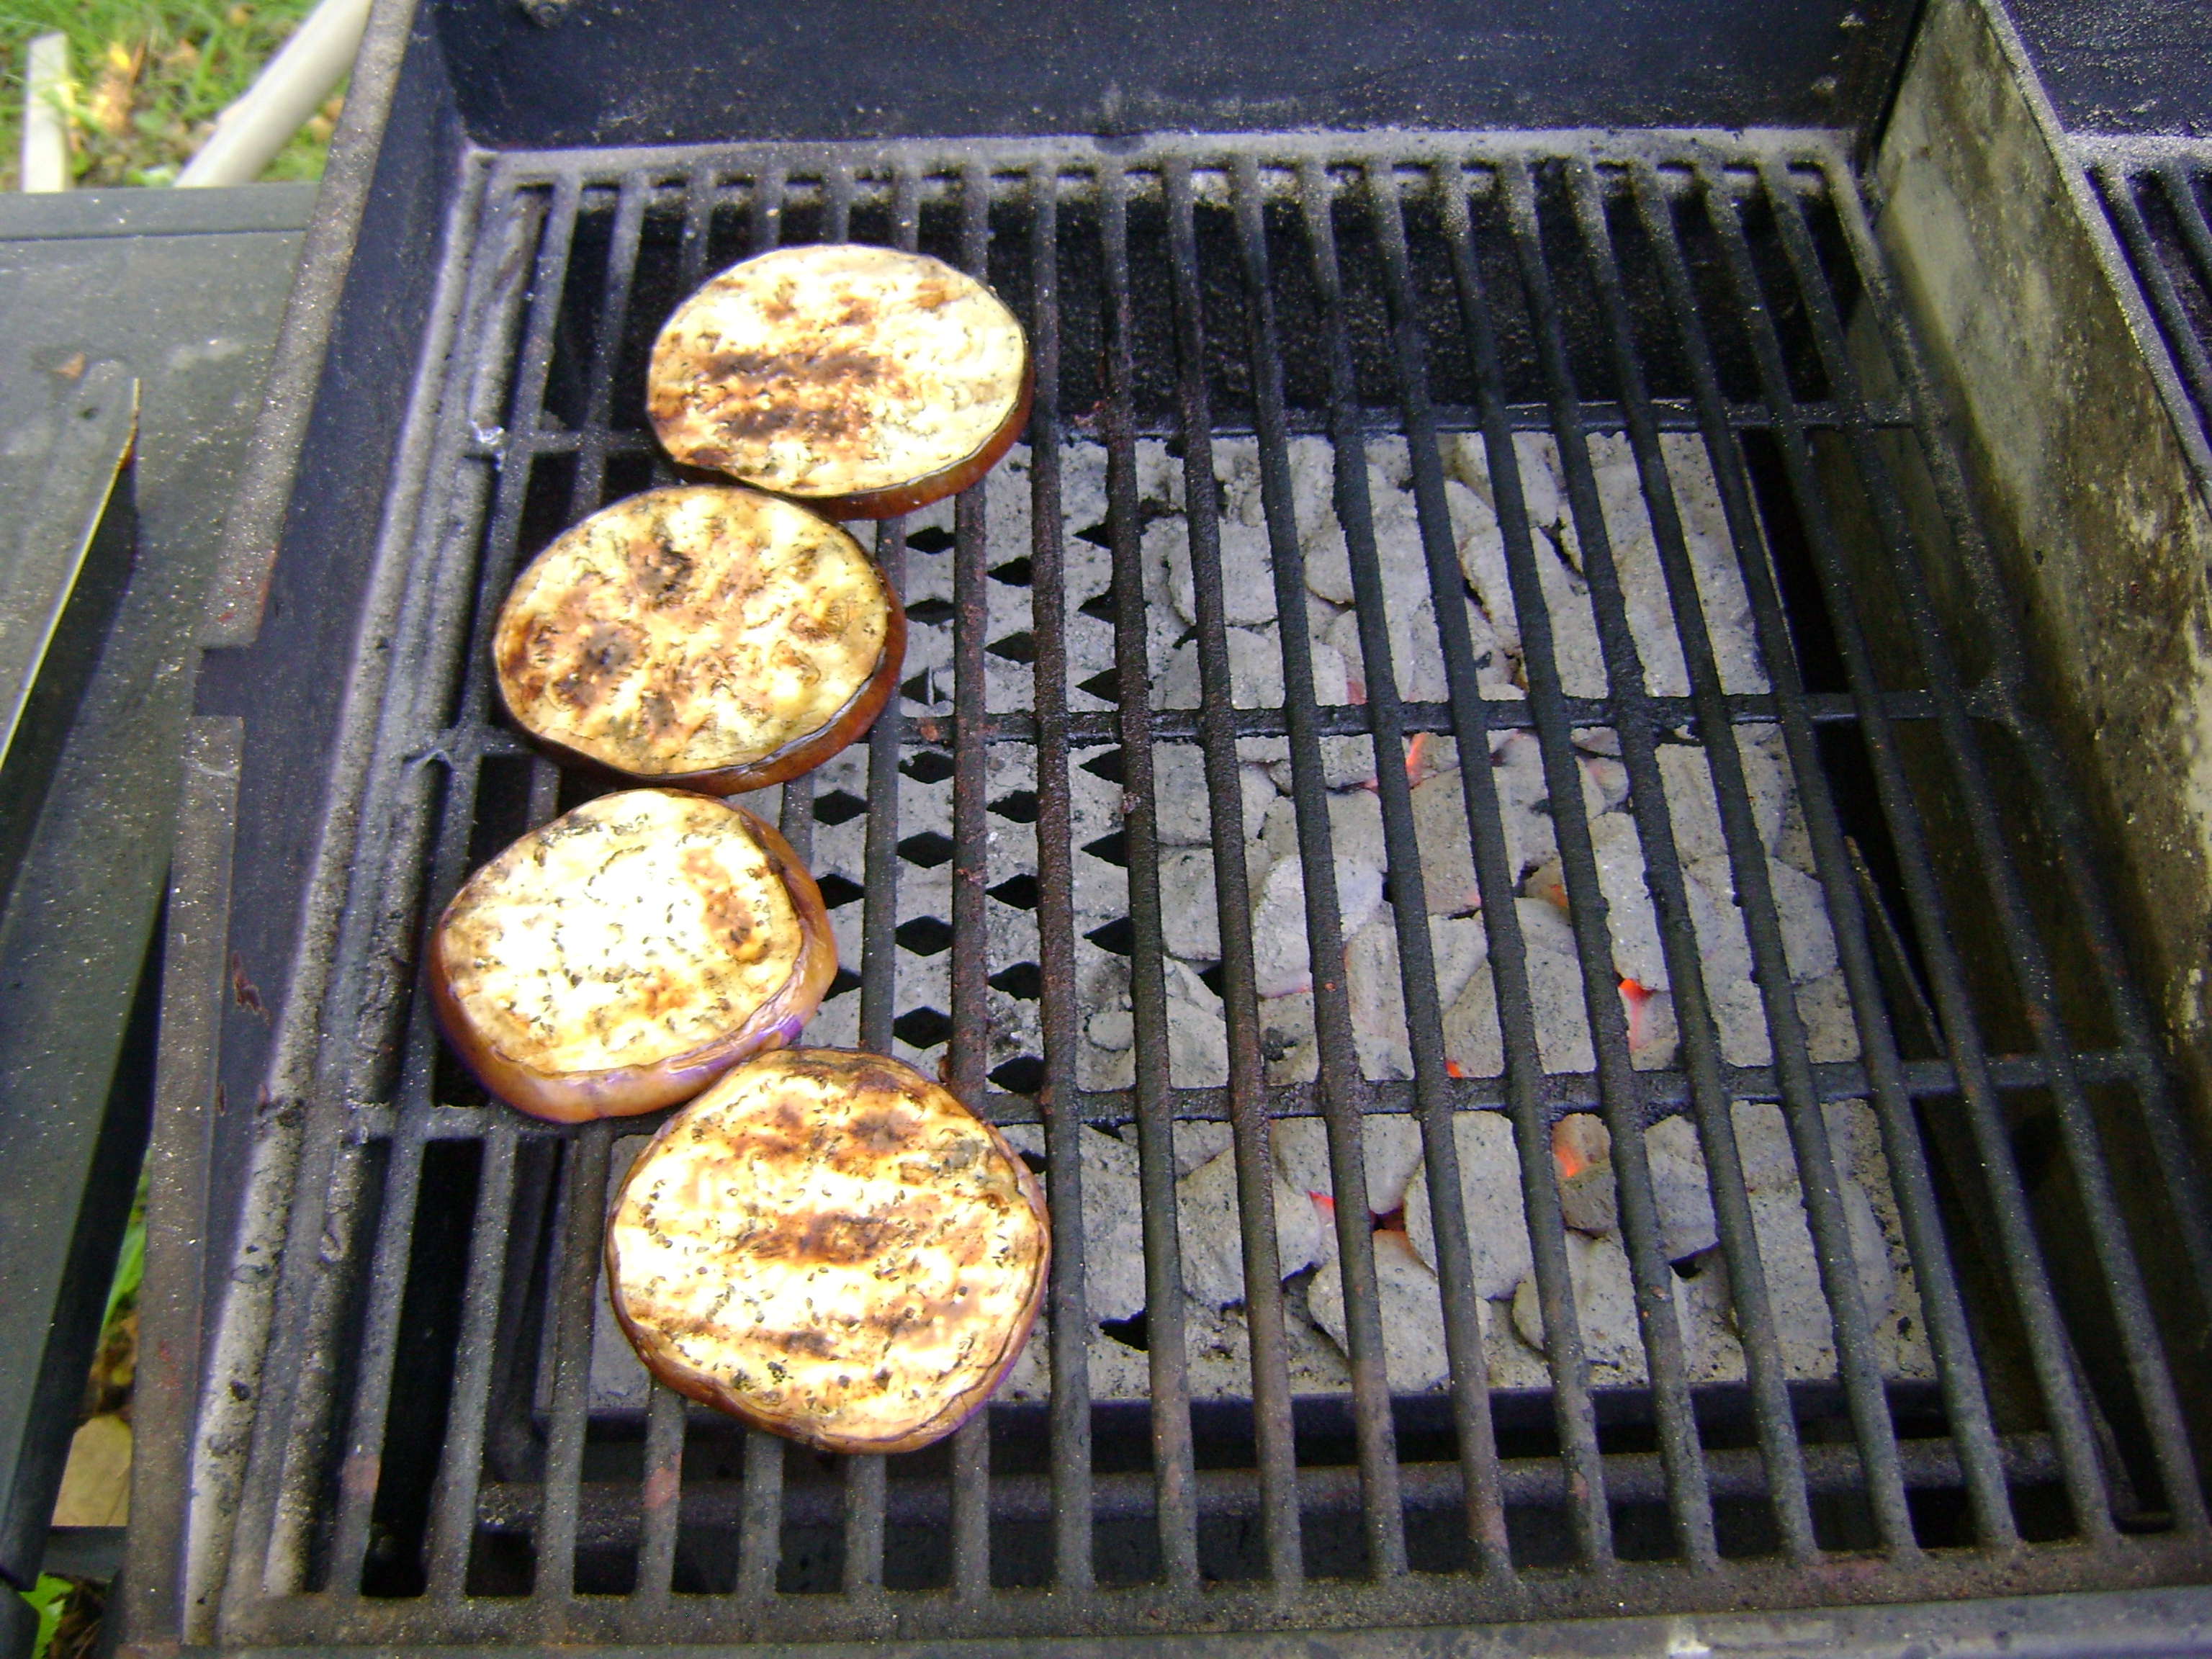
Benefits of working the coals.
Picture
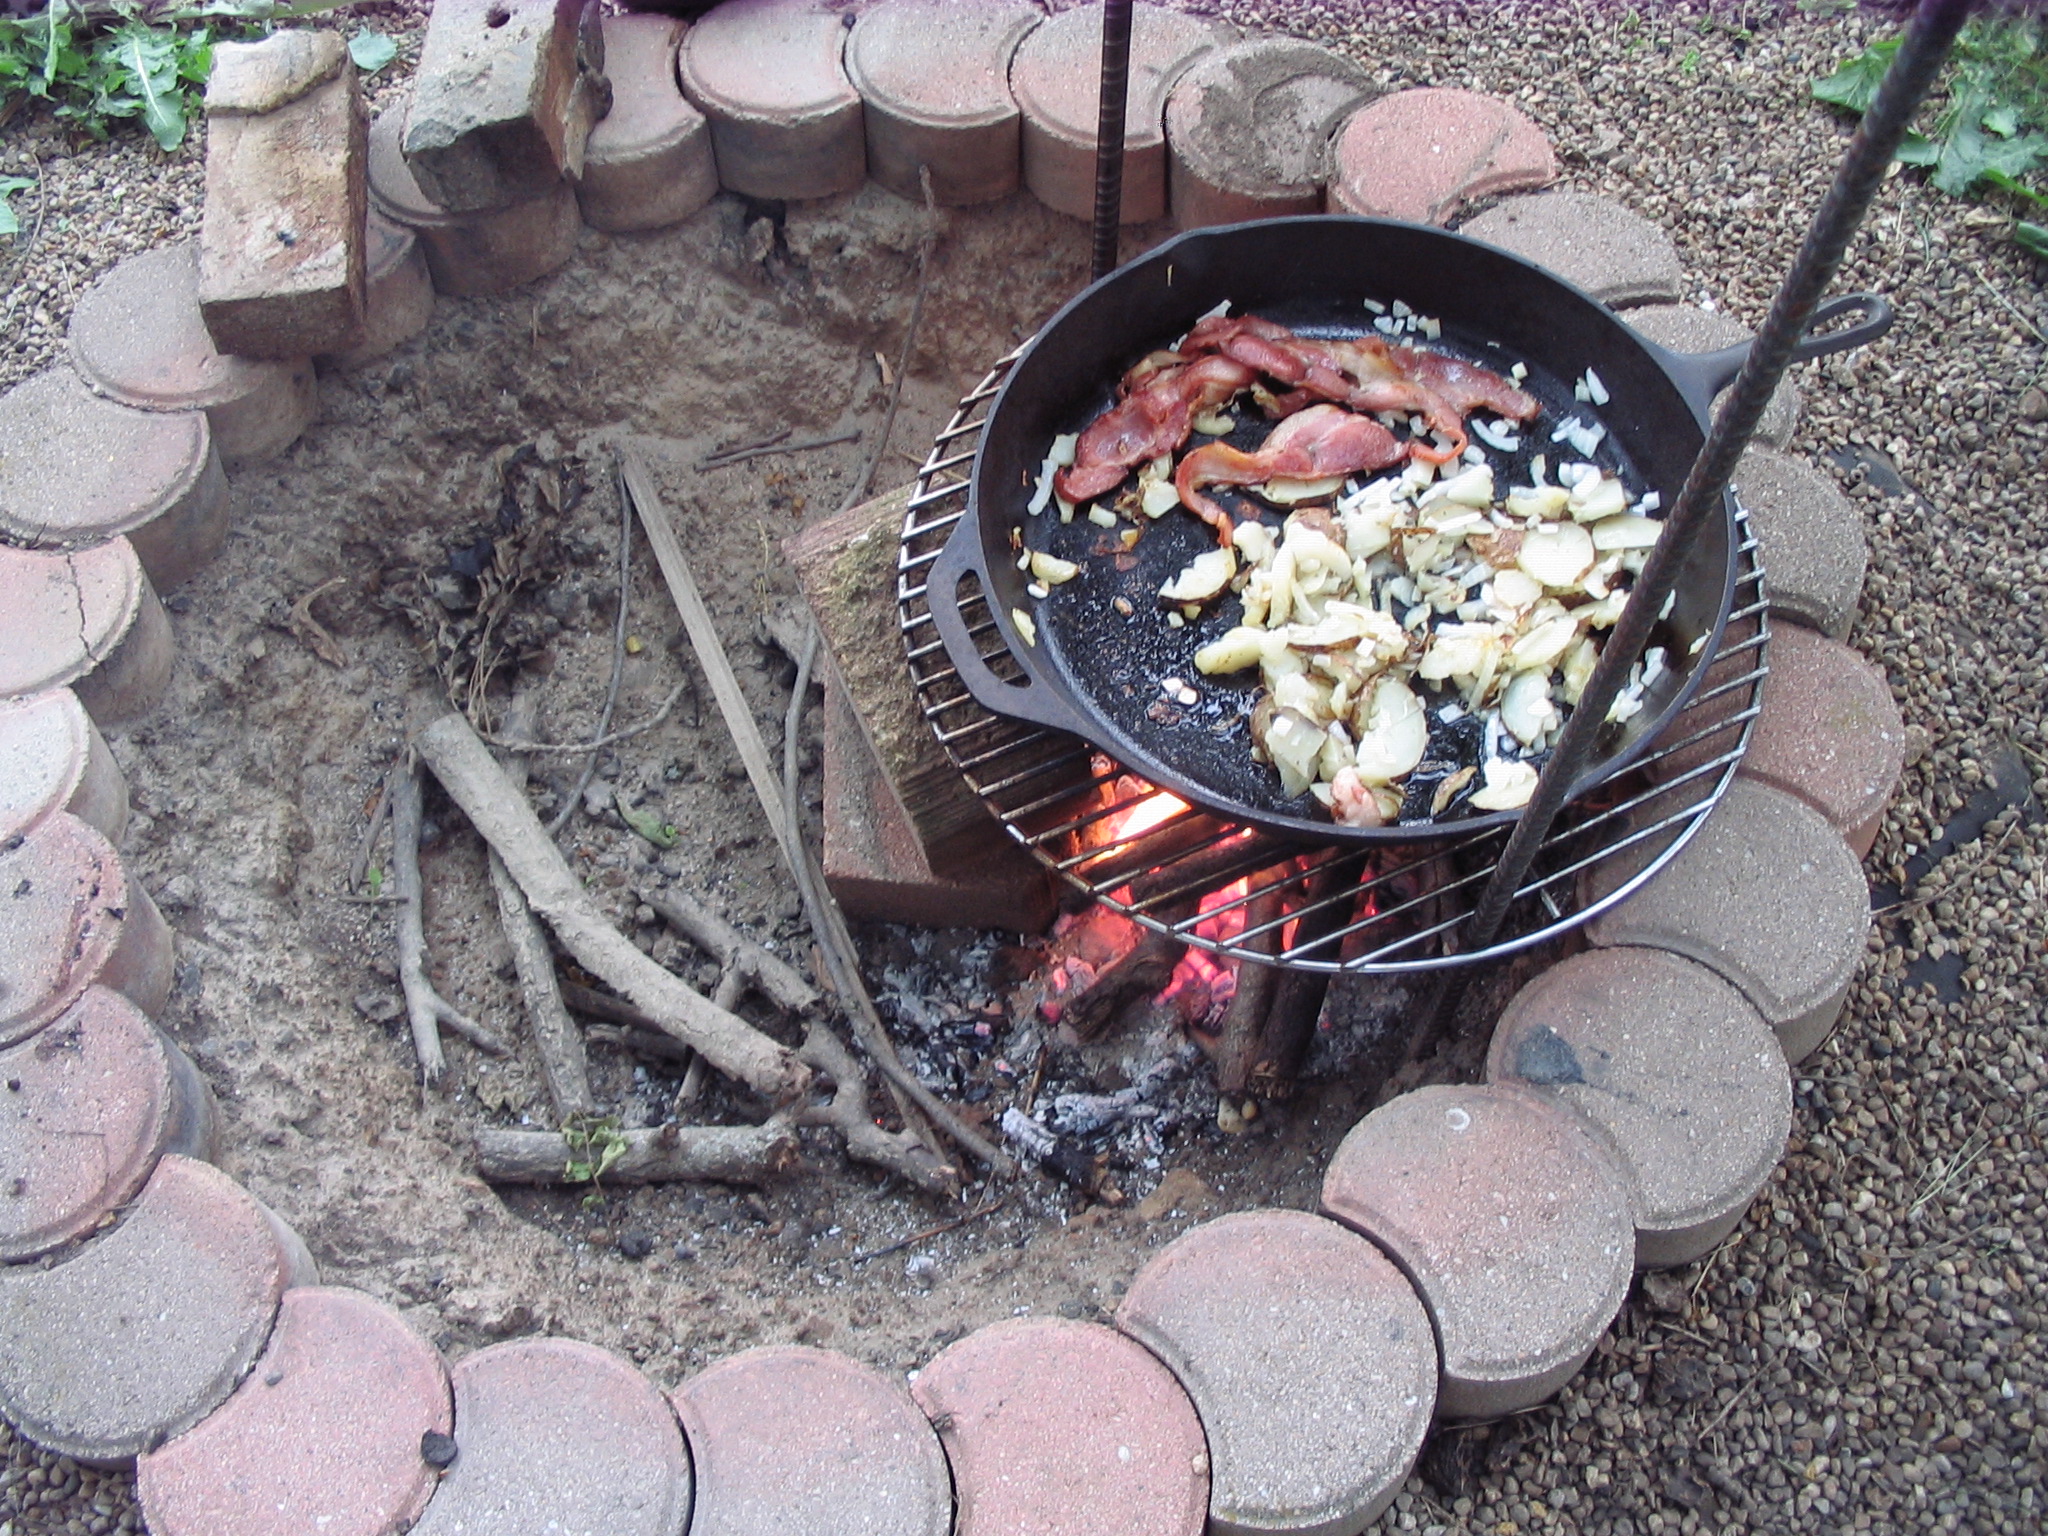
Backyard down low: Using our fire pit and largest skillet "aka Bubba" to make breakfast.
Picture
... a grill can become a smoker!
Picture
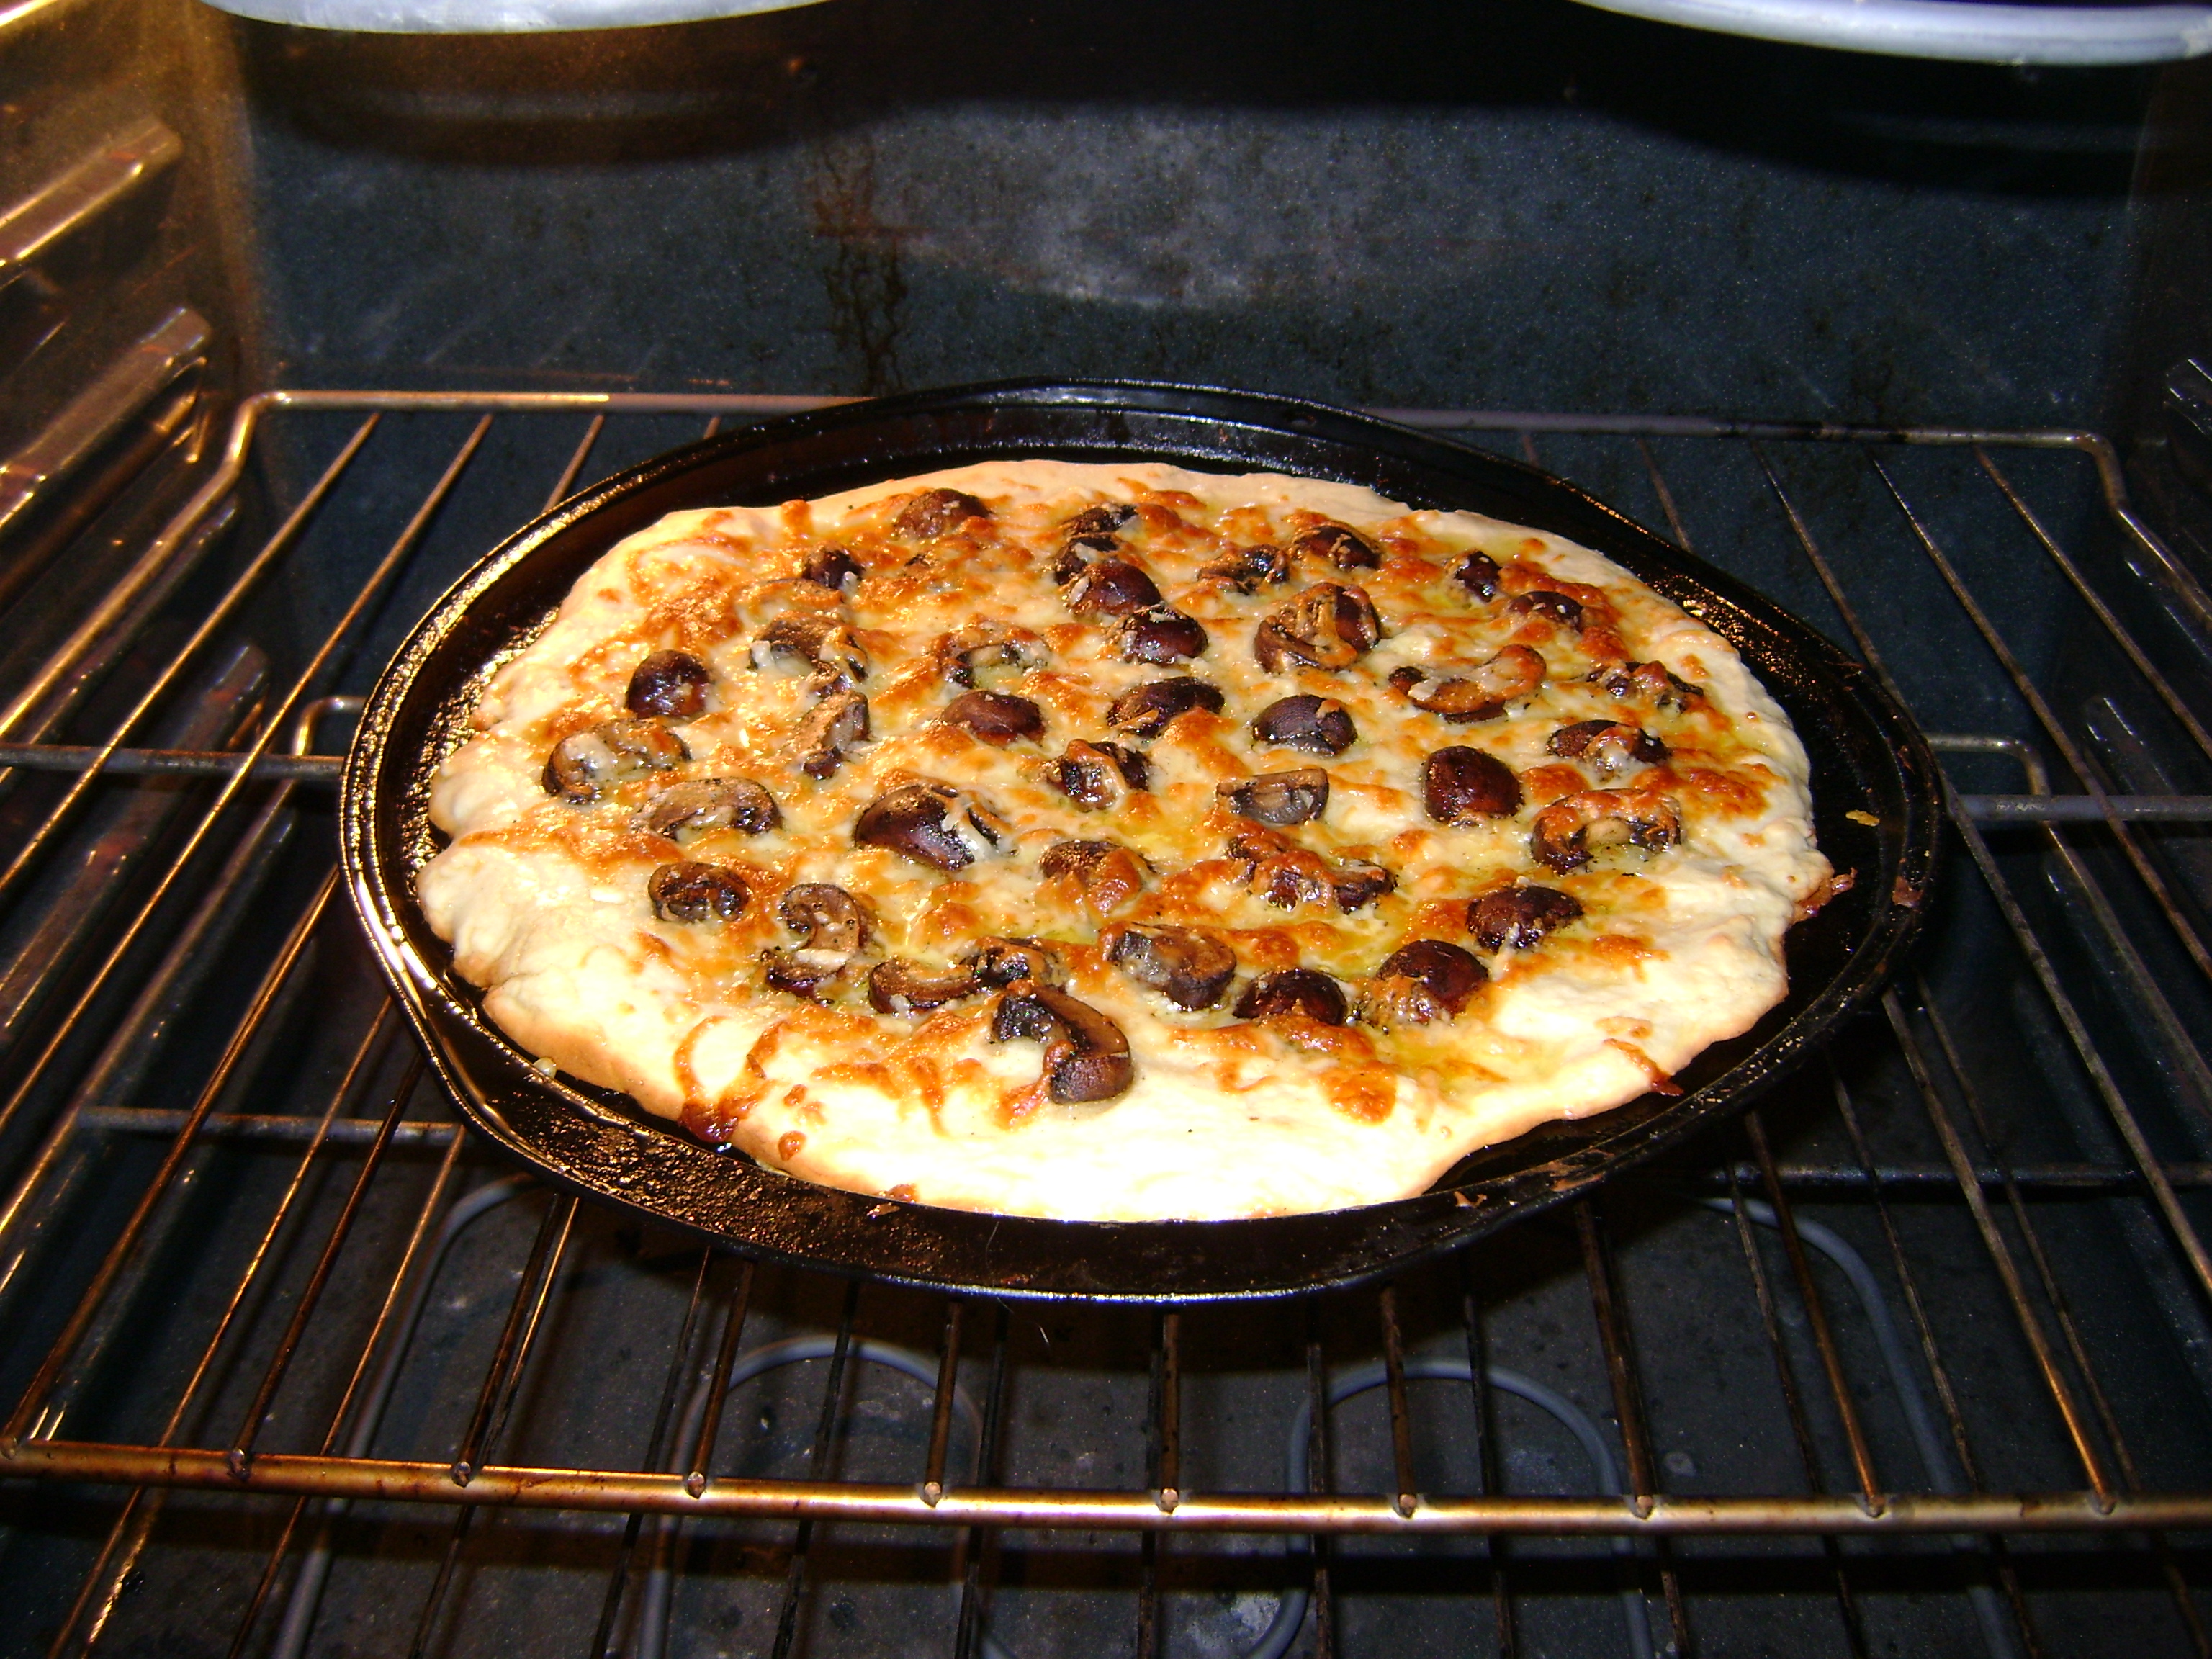
From the kitchen: In the stove.
Picture
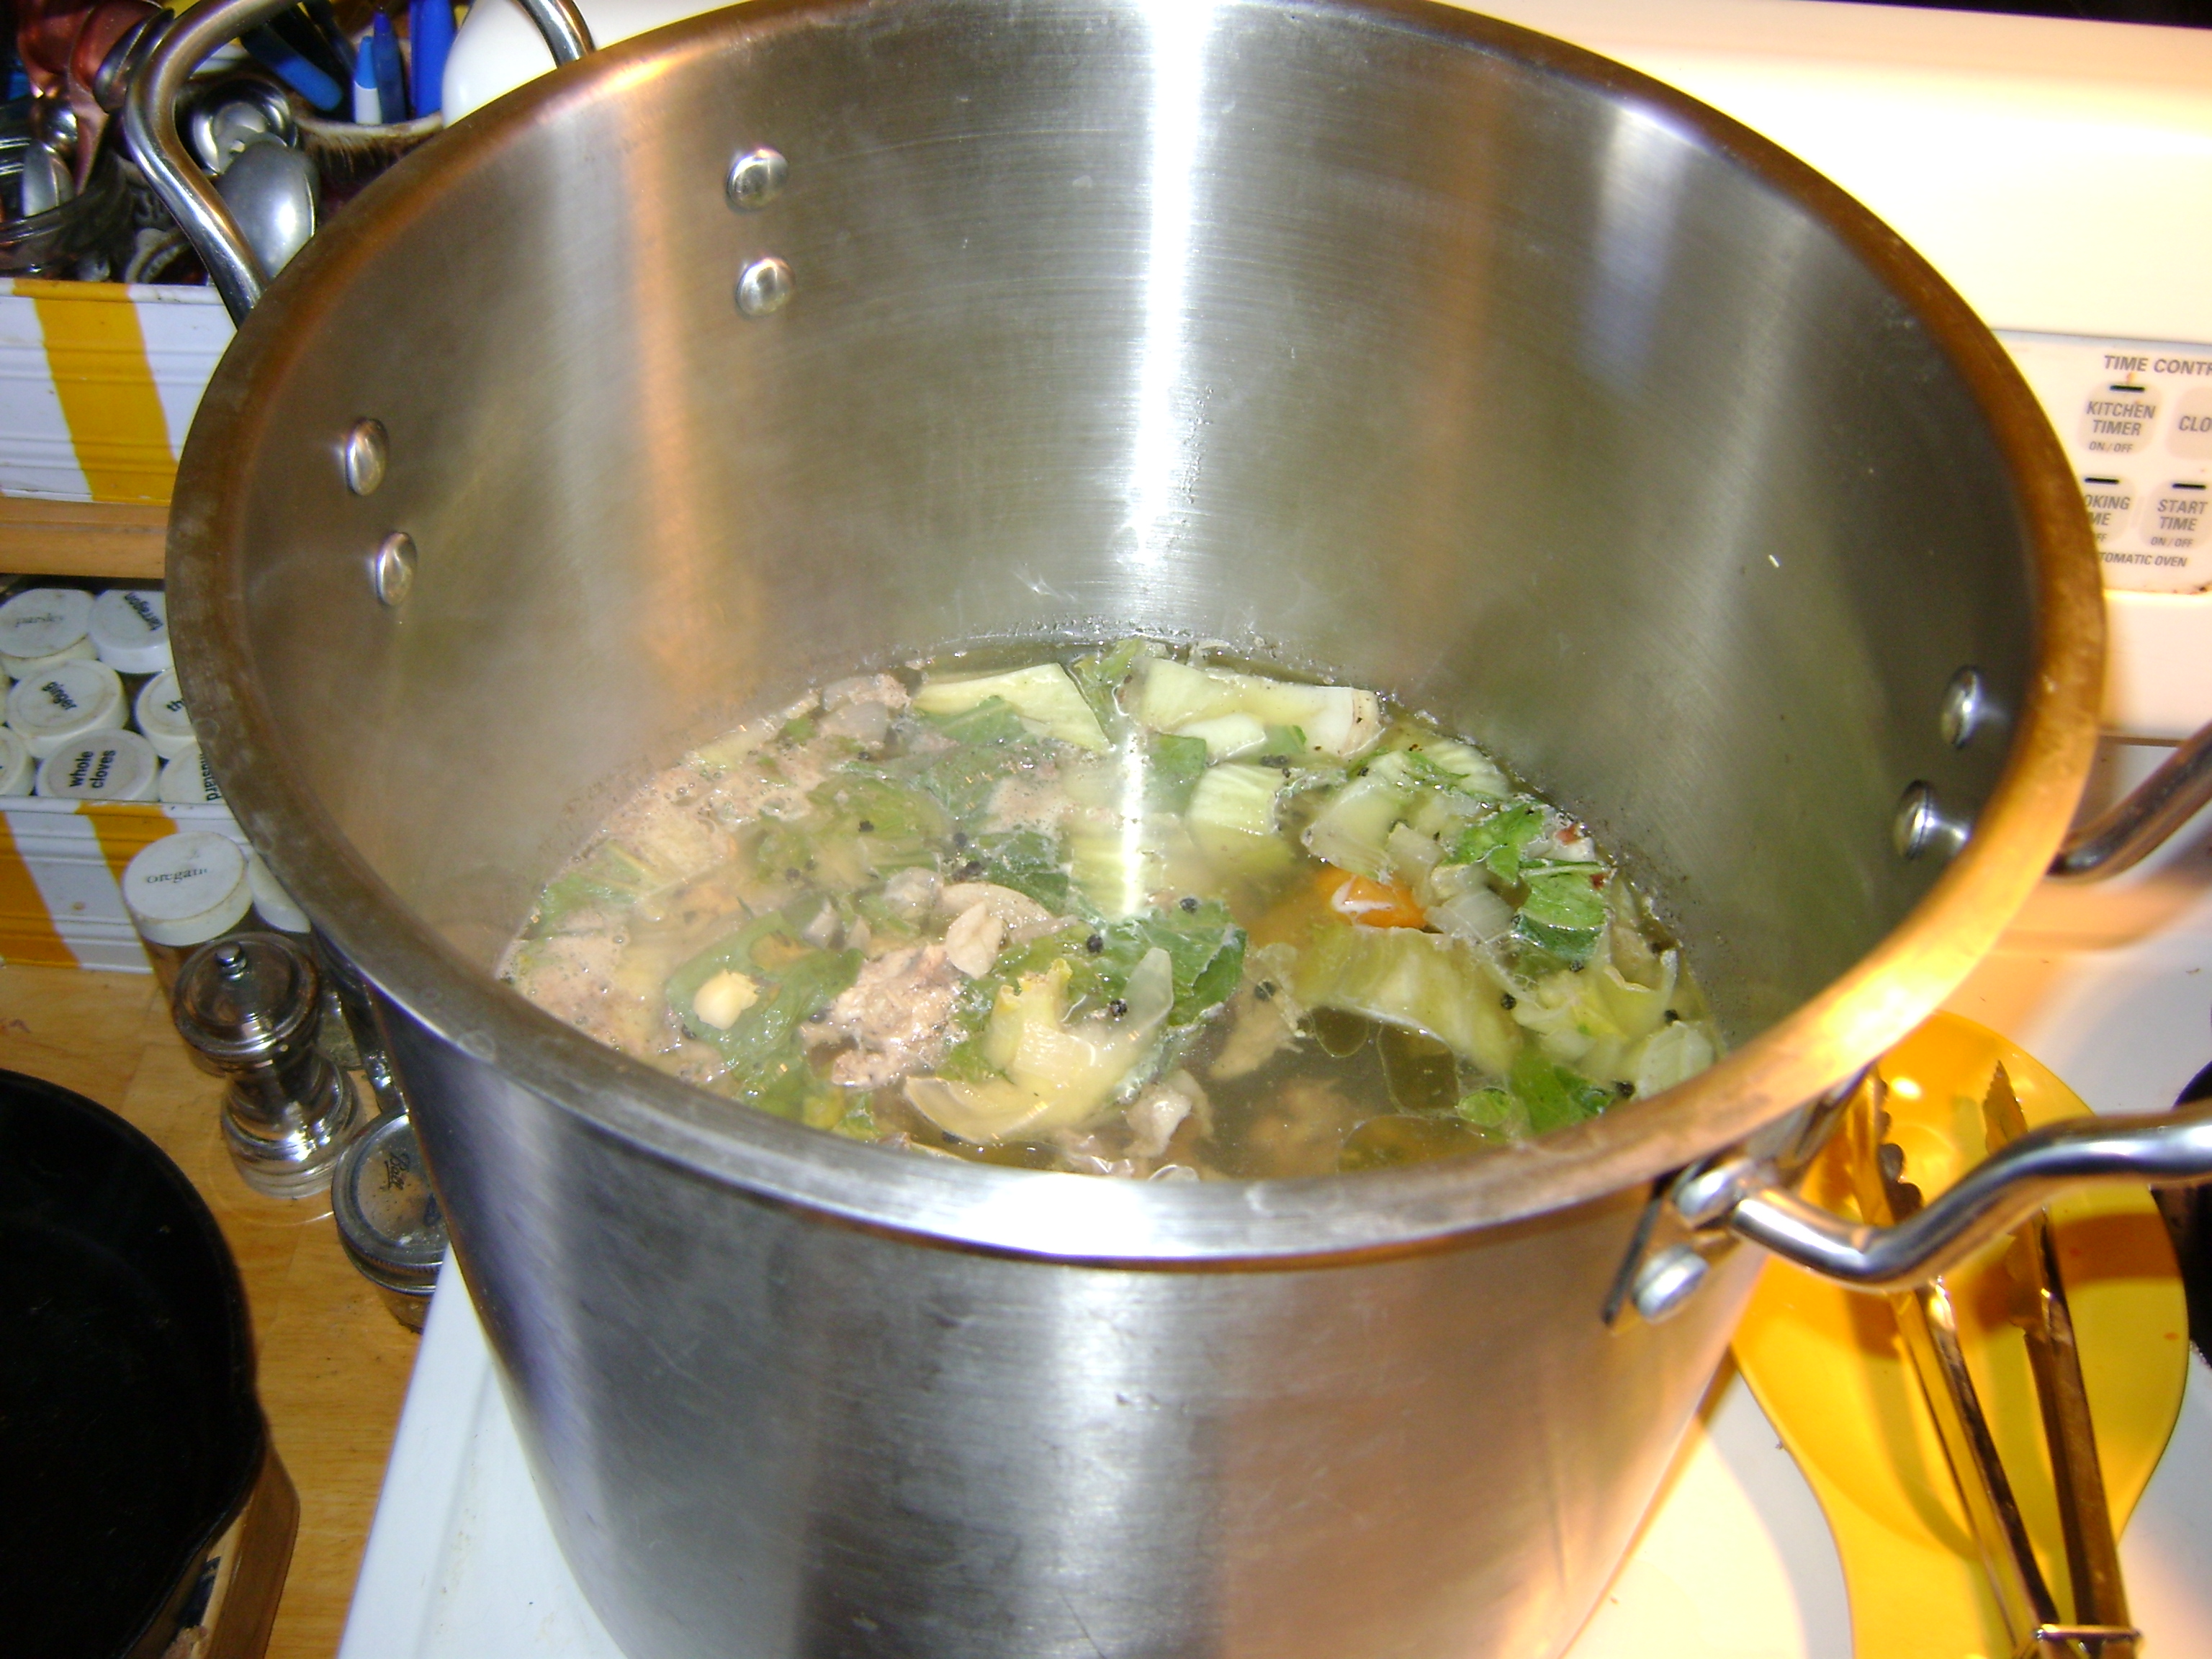
Above: Got scraps? In the kitchen you can use scraps and bones to make stock to freeze and use later in soups and stews.

Some foods can be frozen for months. You can eat now or plan for later.

Left: Who's the happy boy getting meat ready for dinner ASAP?
Picture
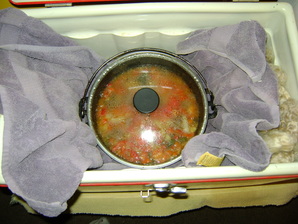
Lots of meals and a small stove? Use a hay box.
Picture
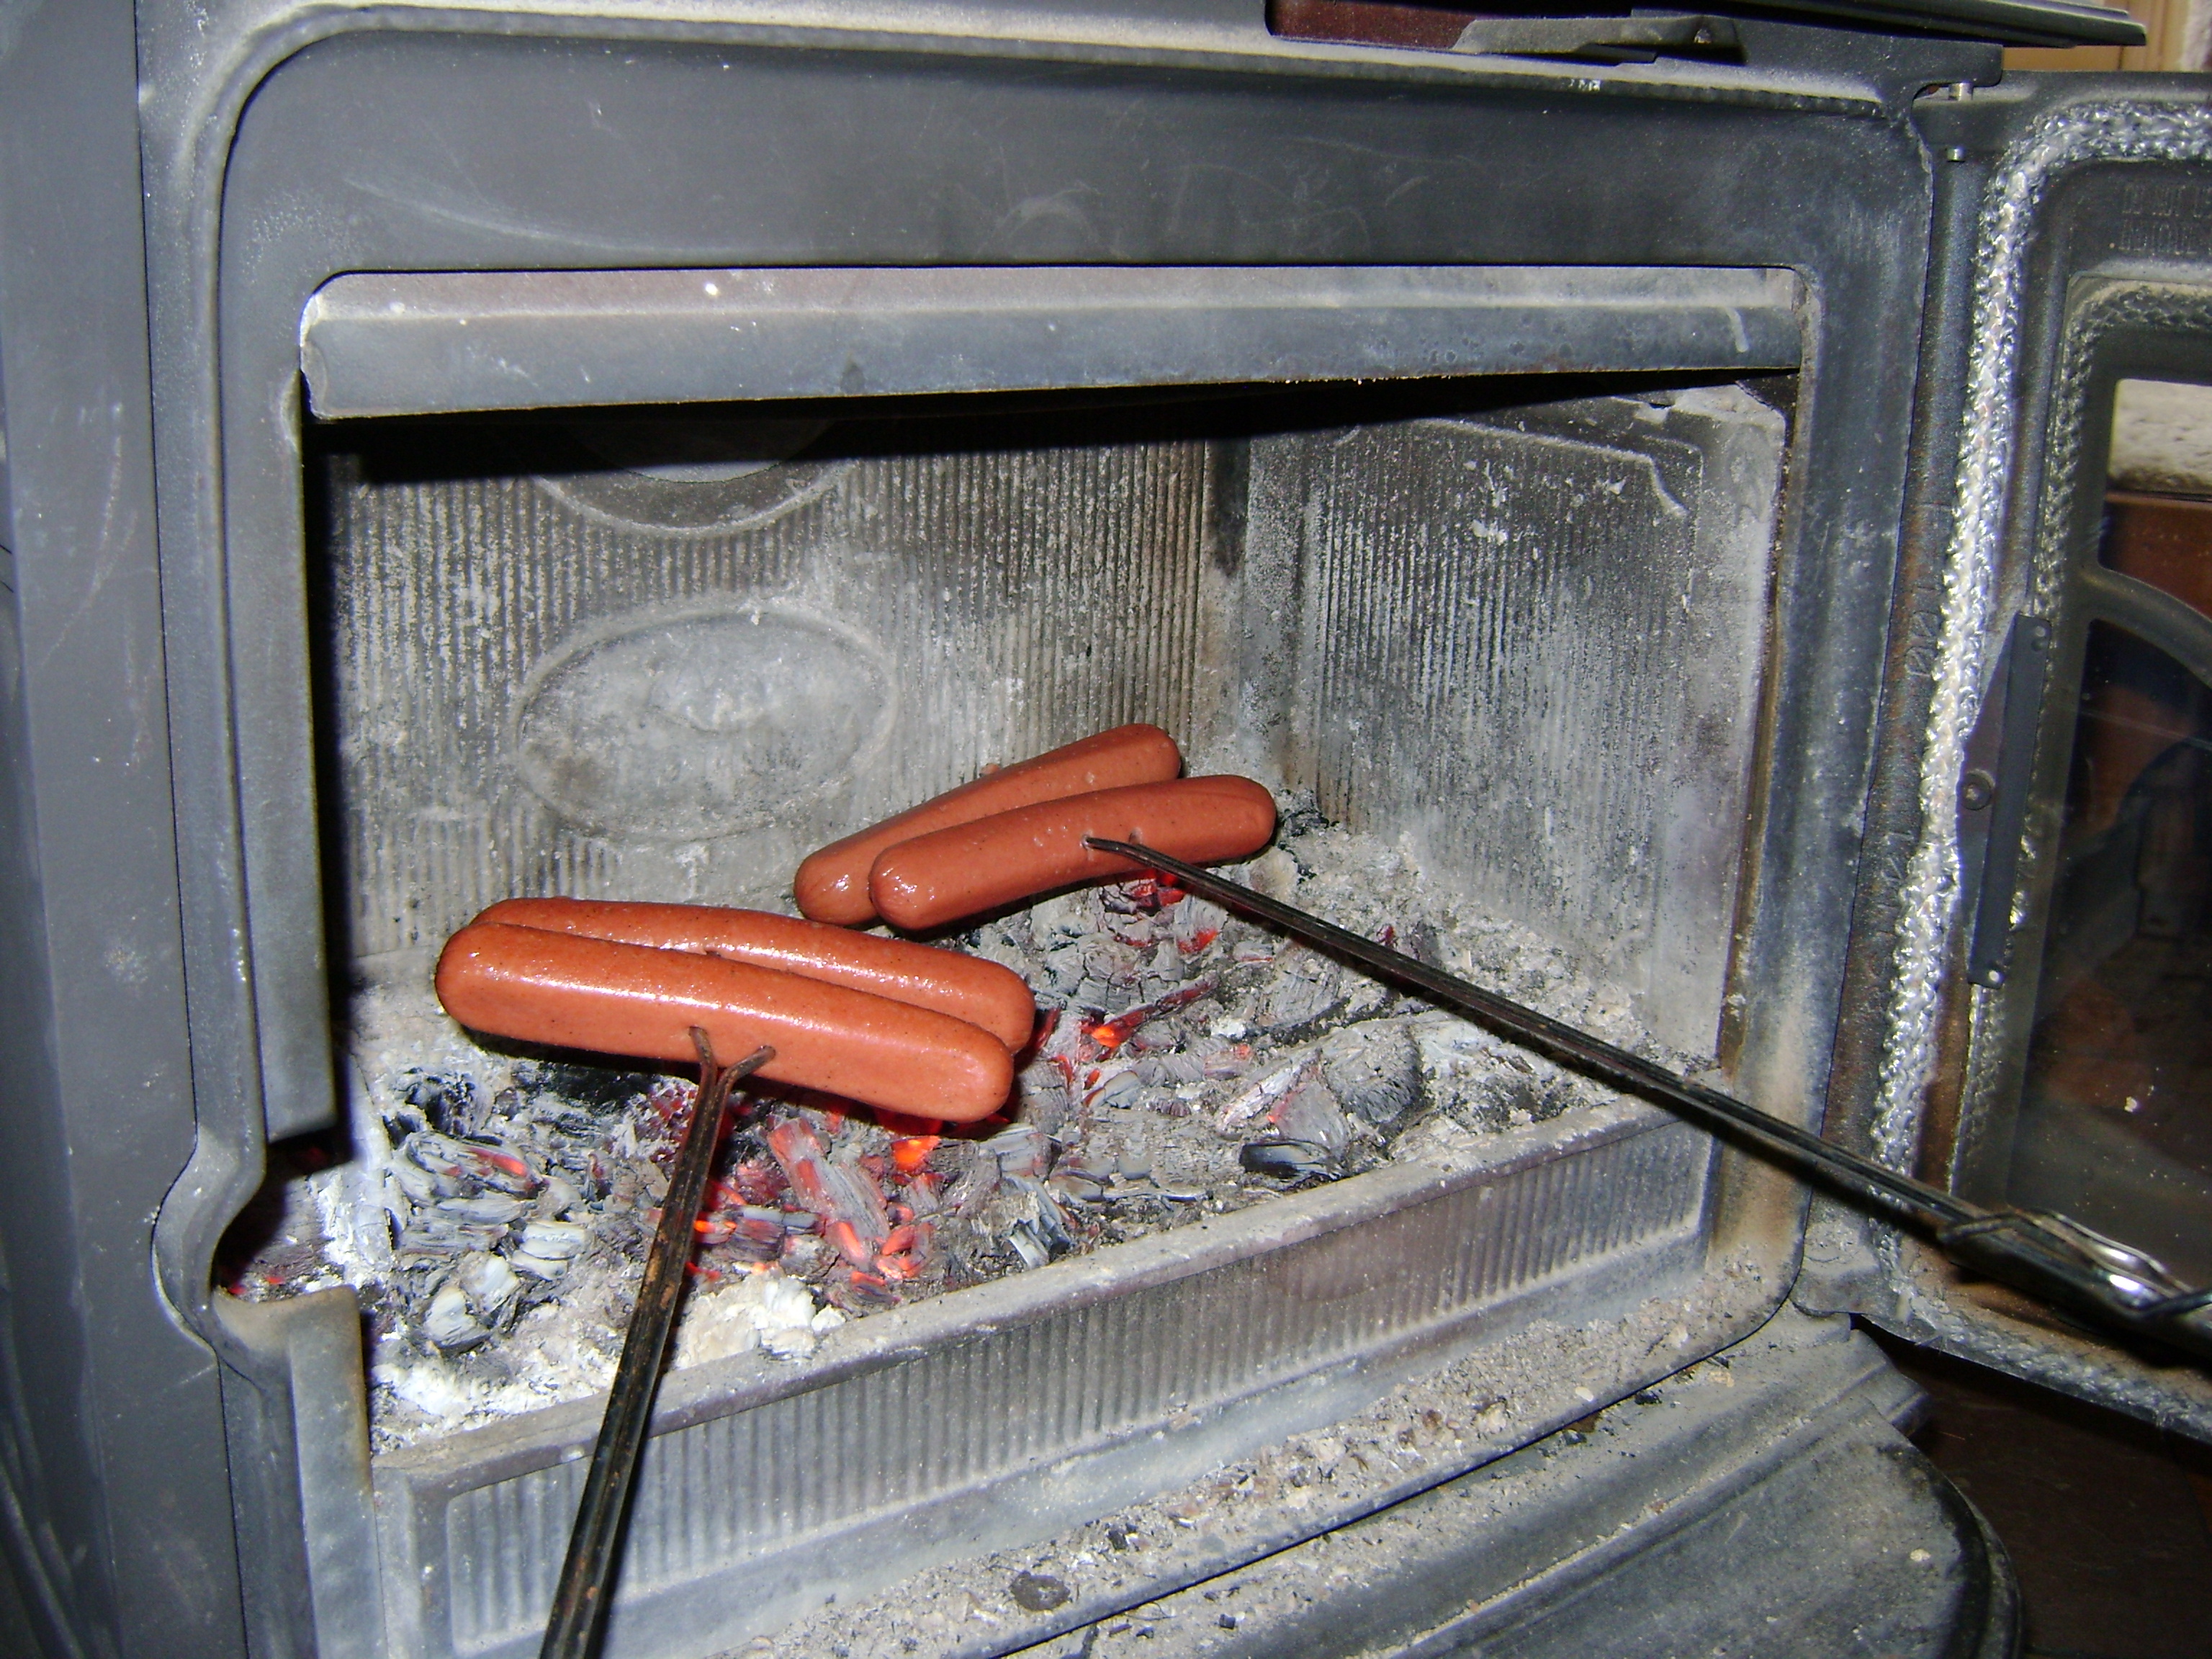
Do I need to mention the classic hot dogs over coals in the wood burning stove?
Picture
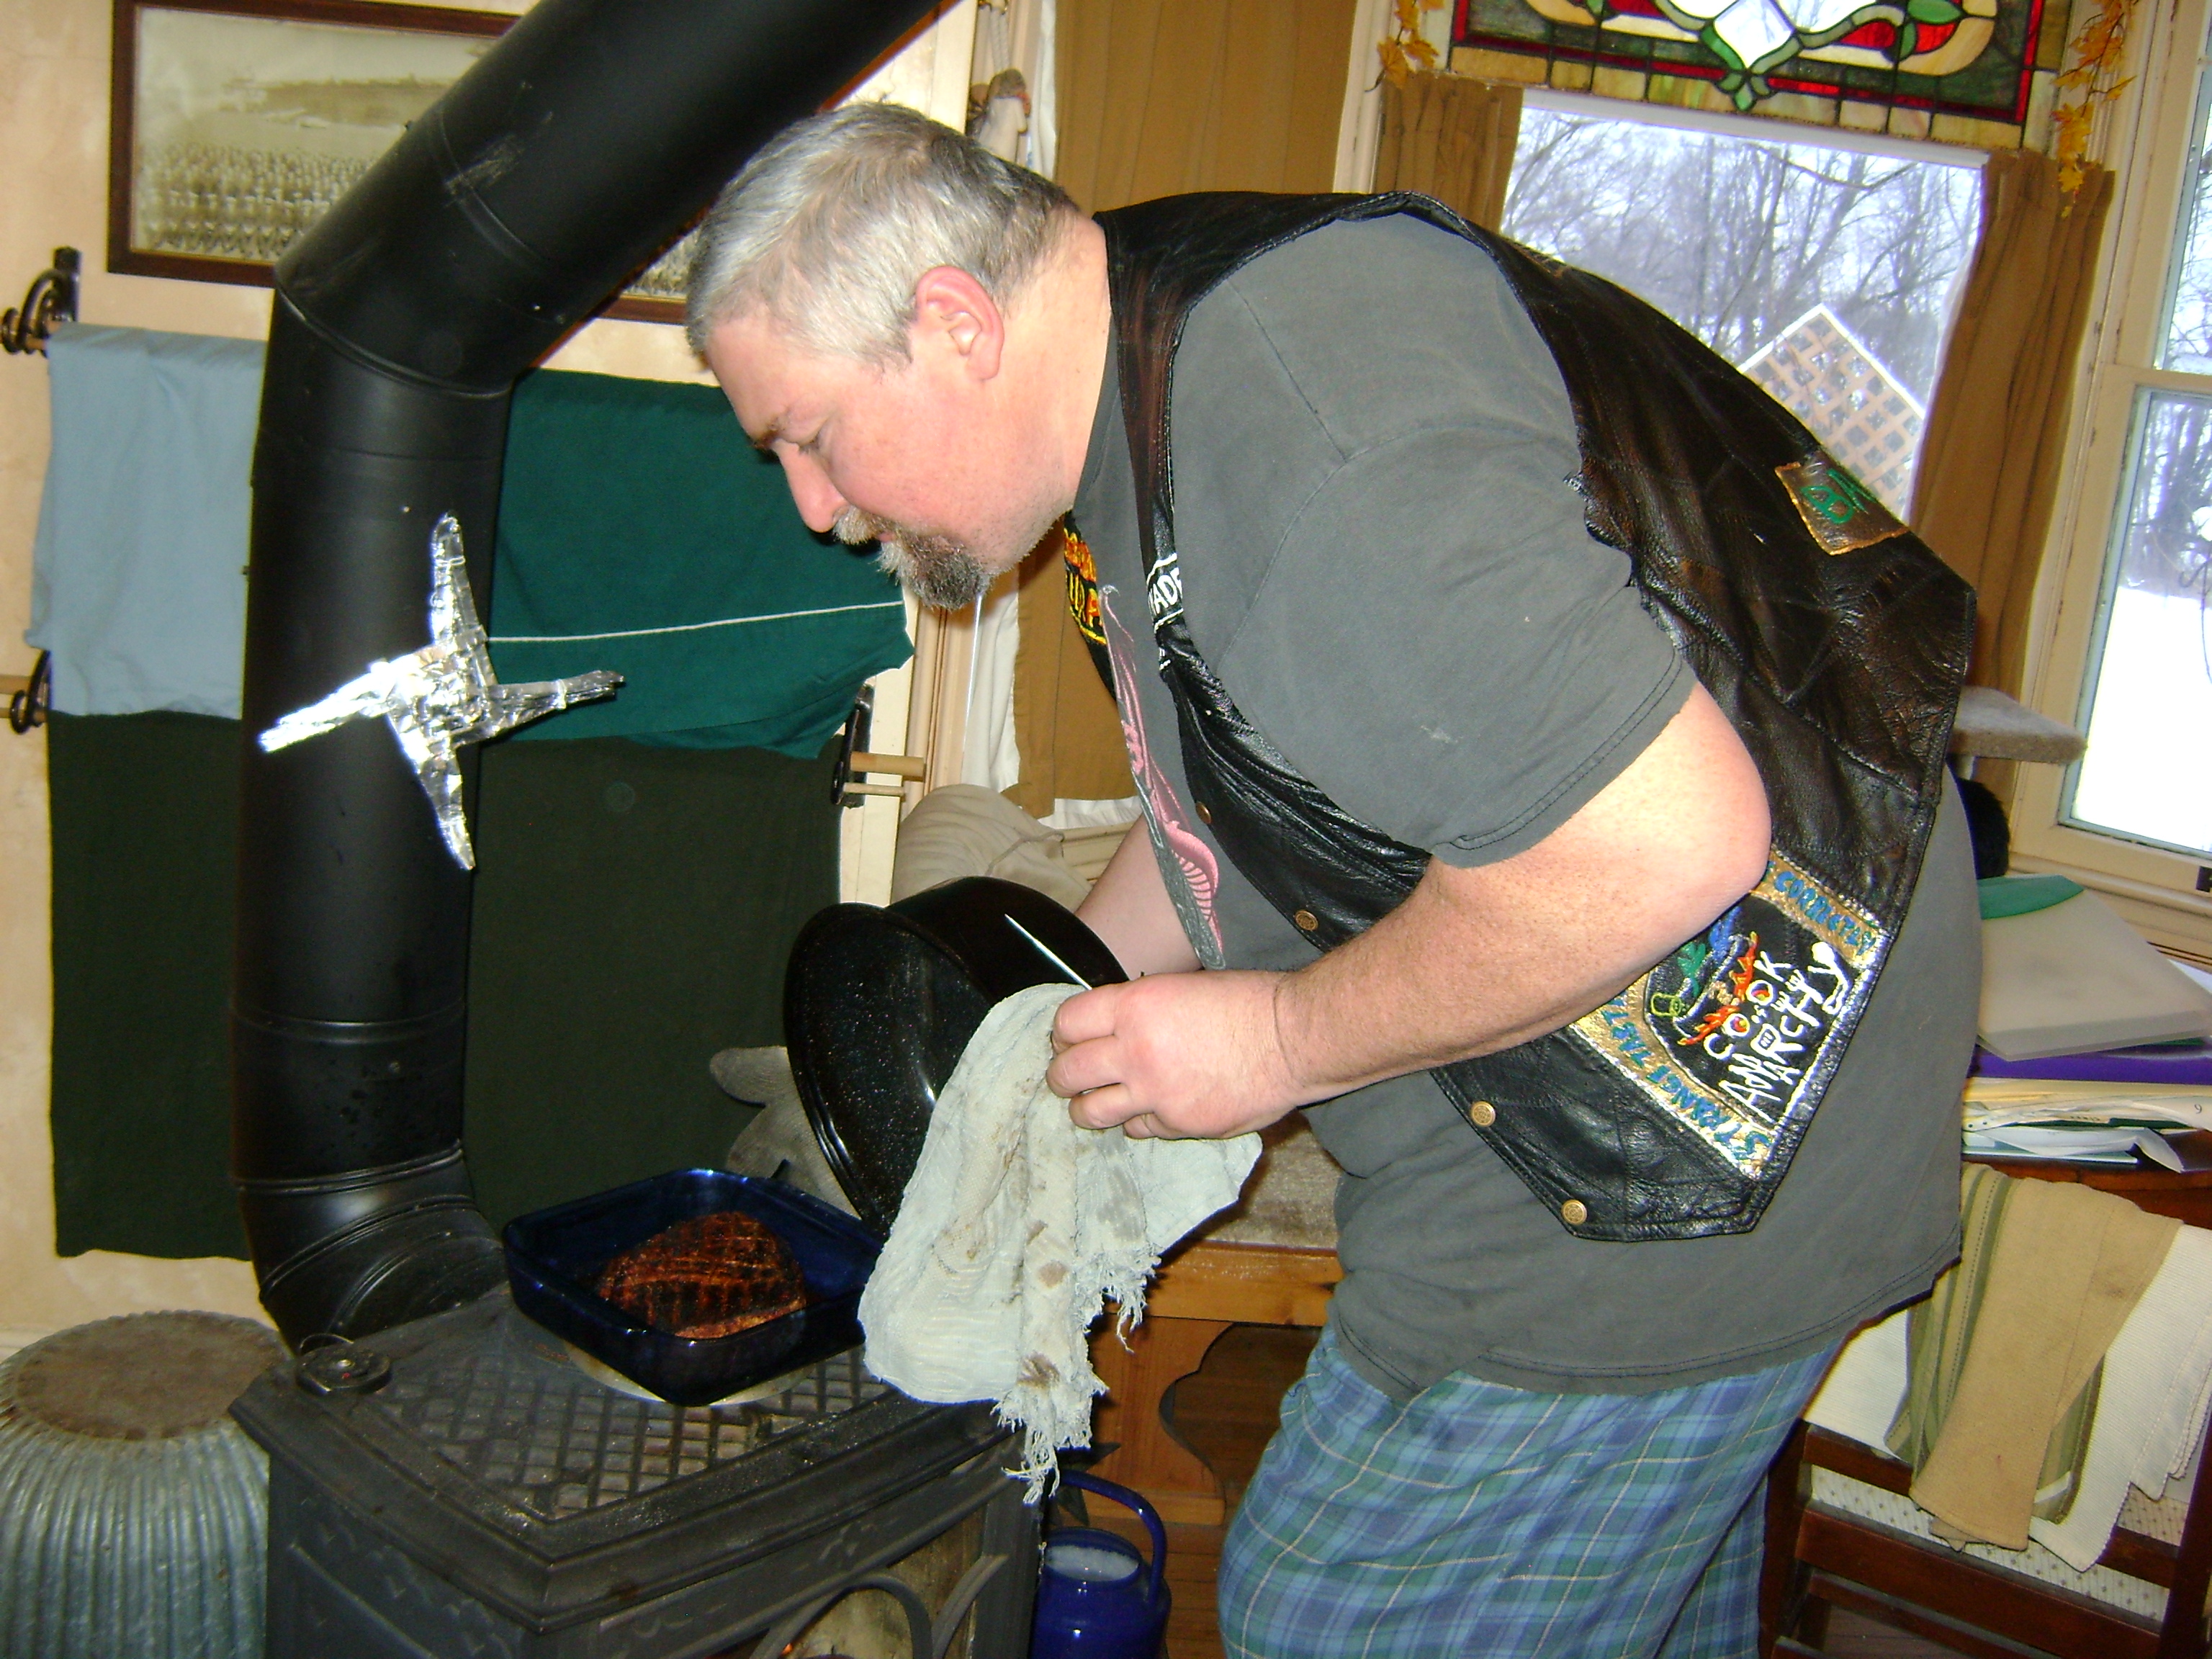
... of your wood burning stove to make pit beef.
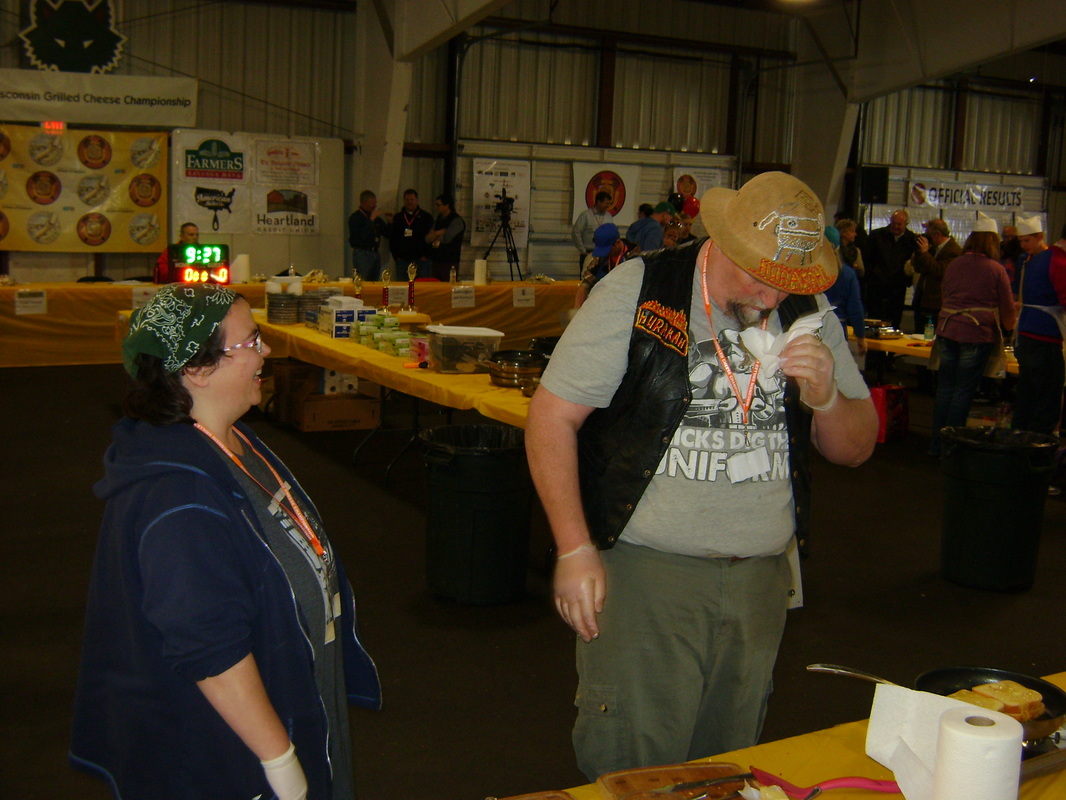
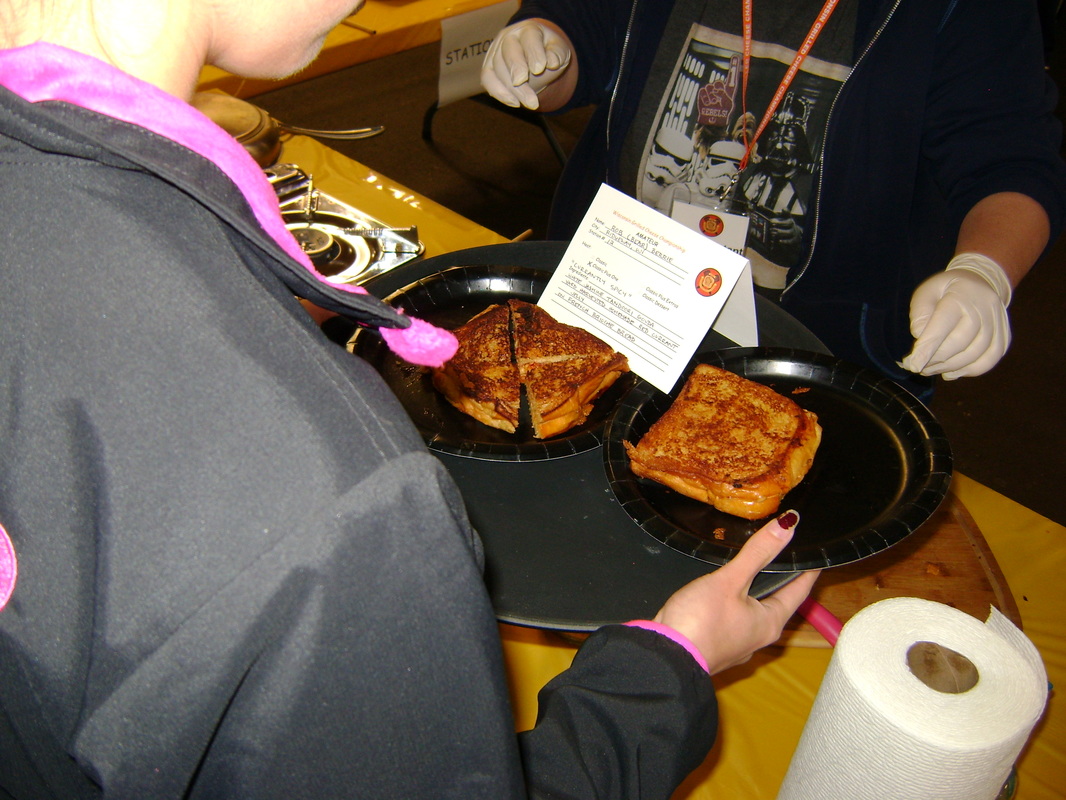
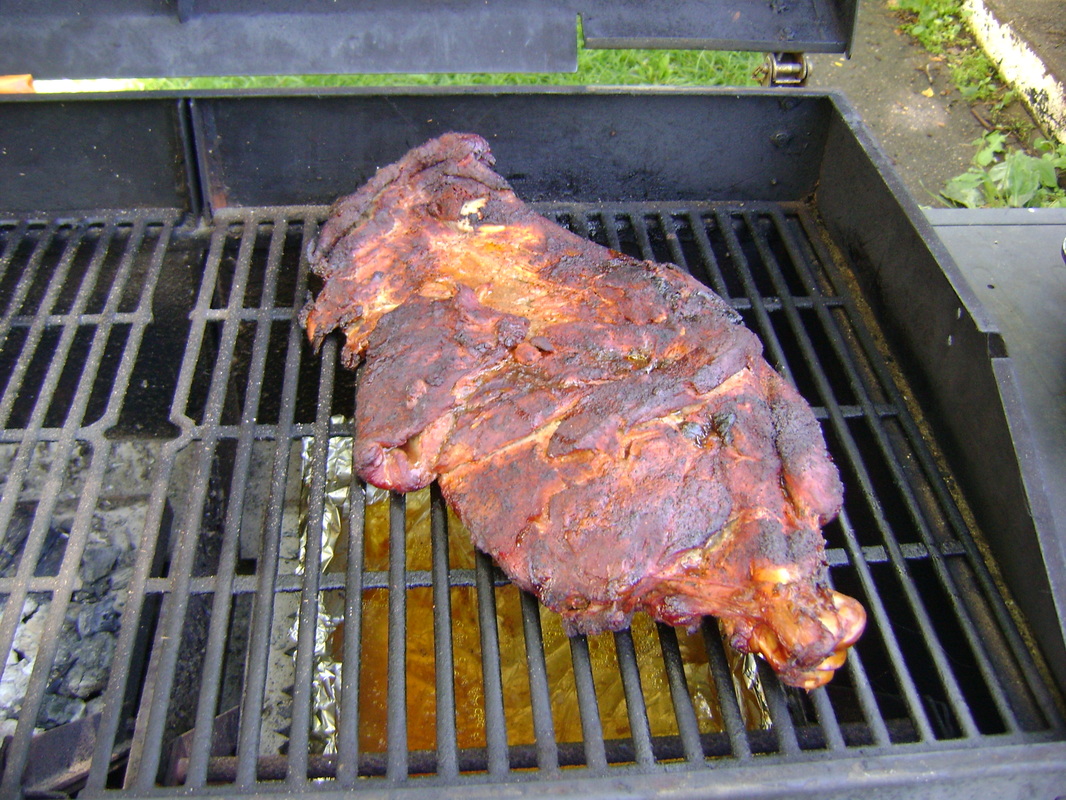
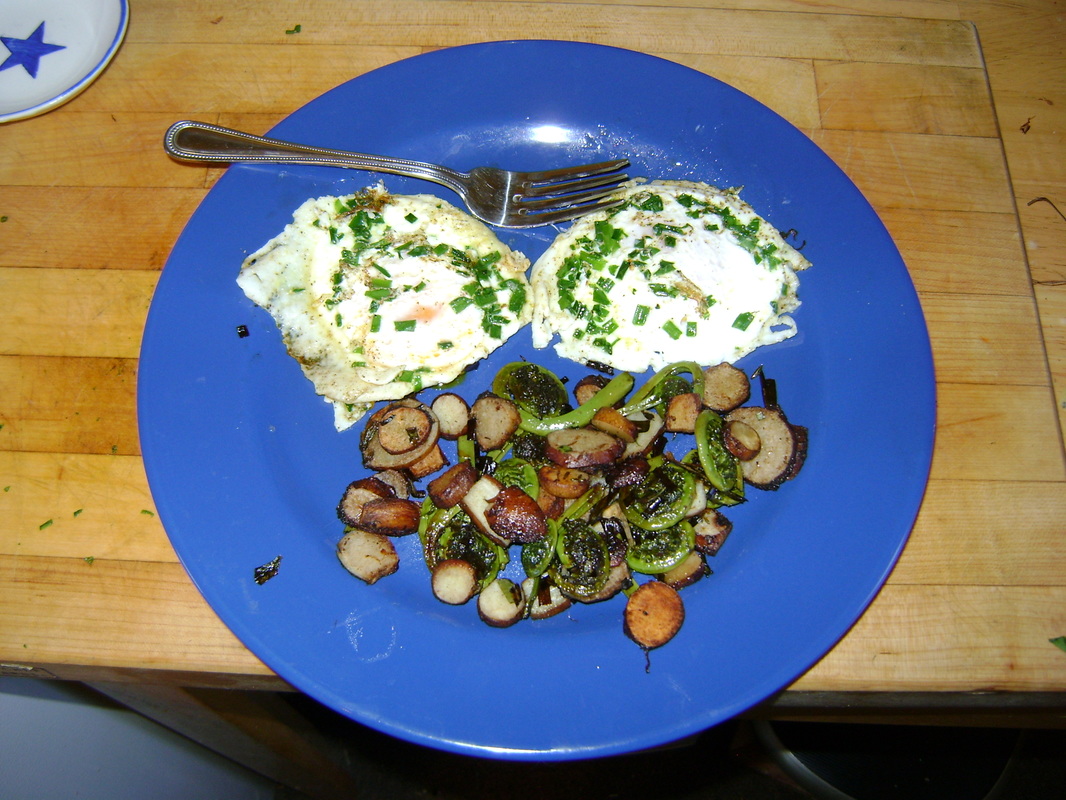
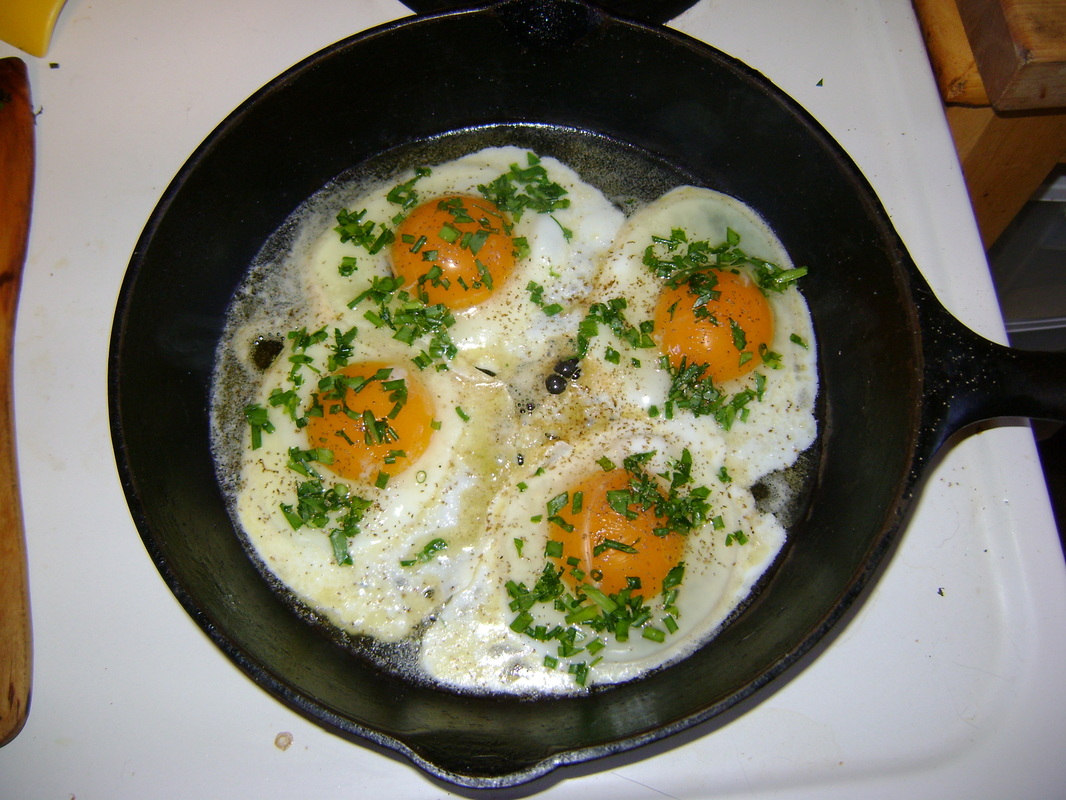
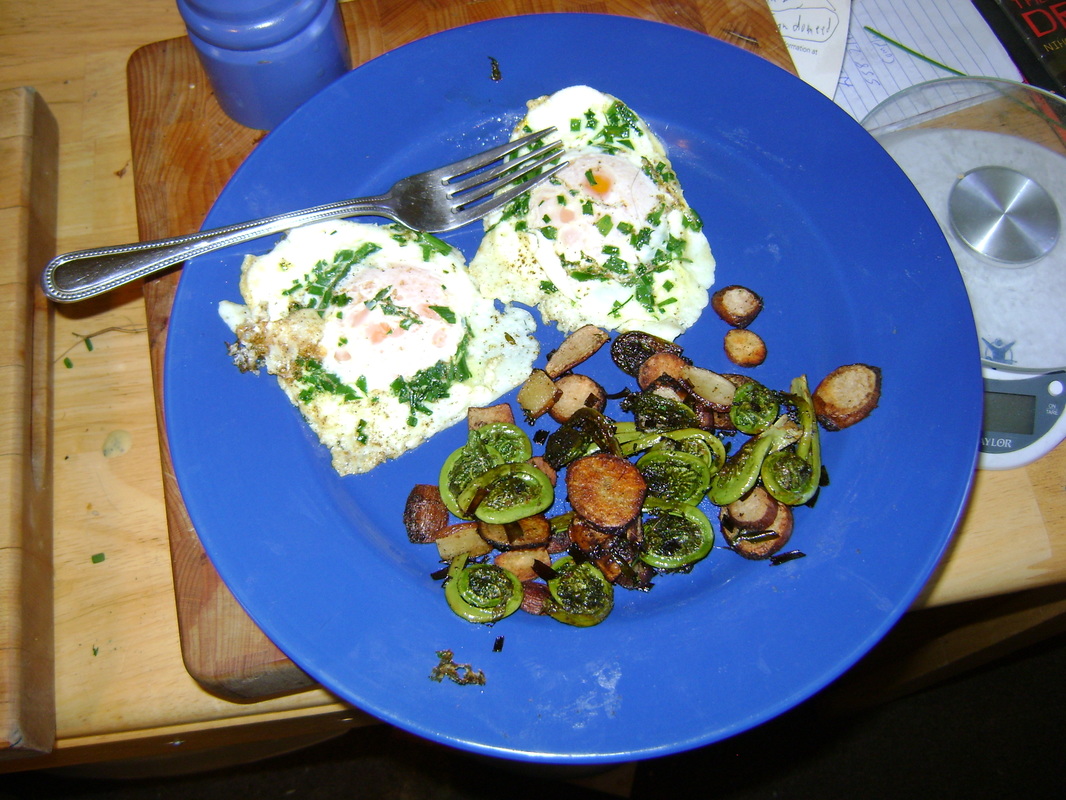
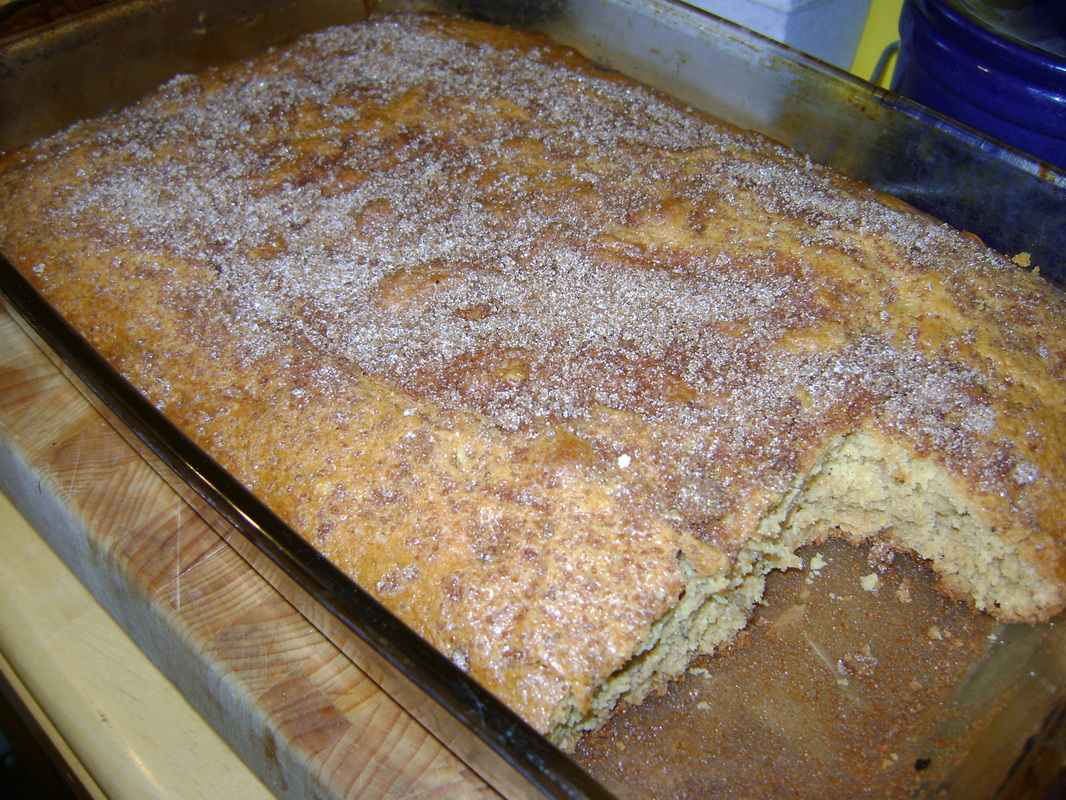
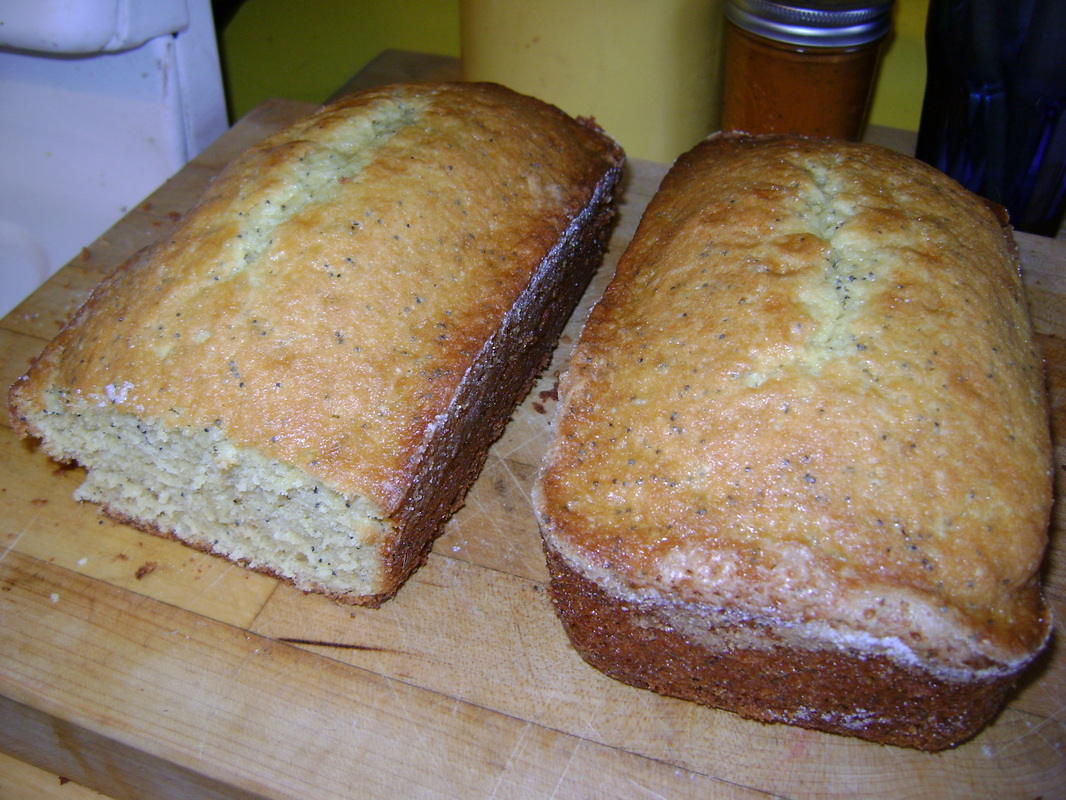
GIVING ME THAT WHICH I DESIRE... a great meal... when all goes well.
Picture
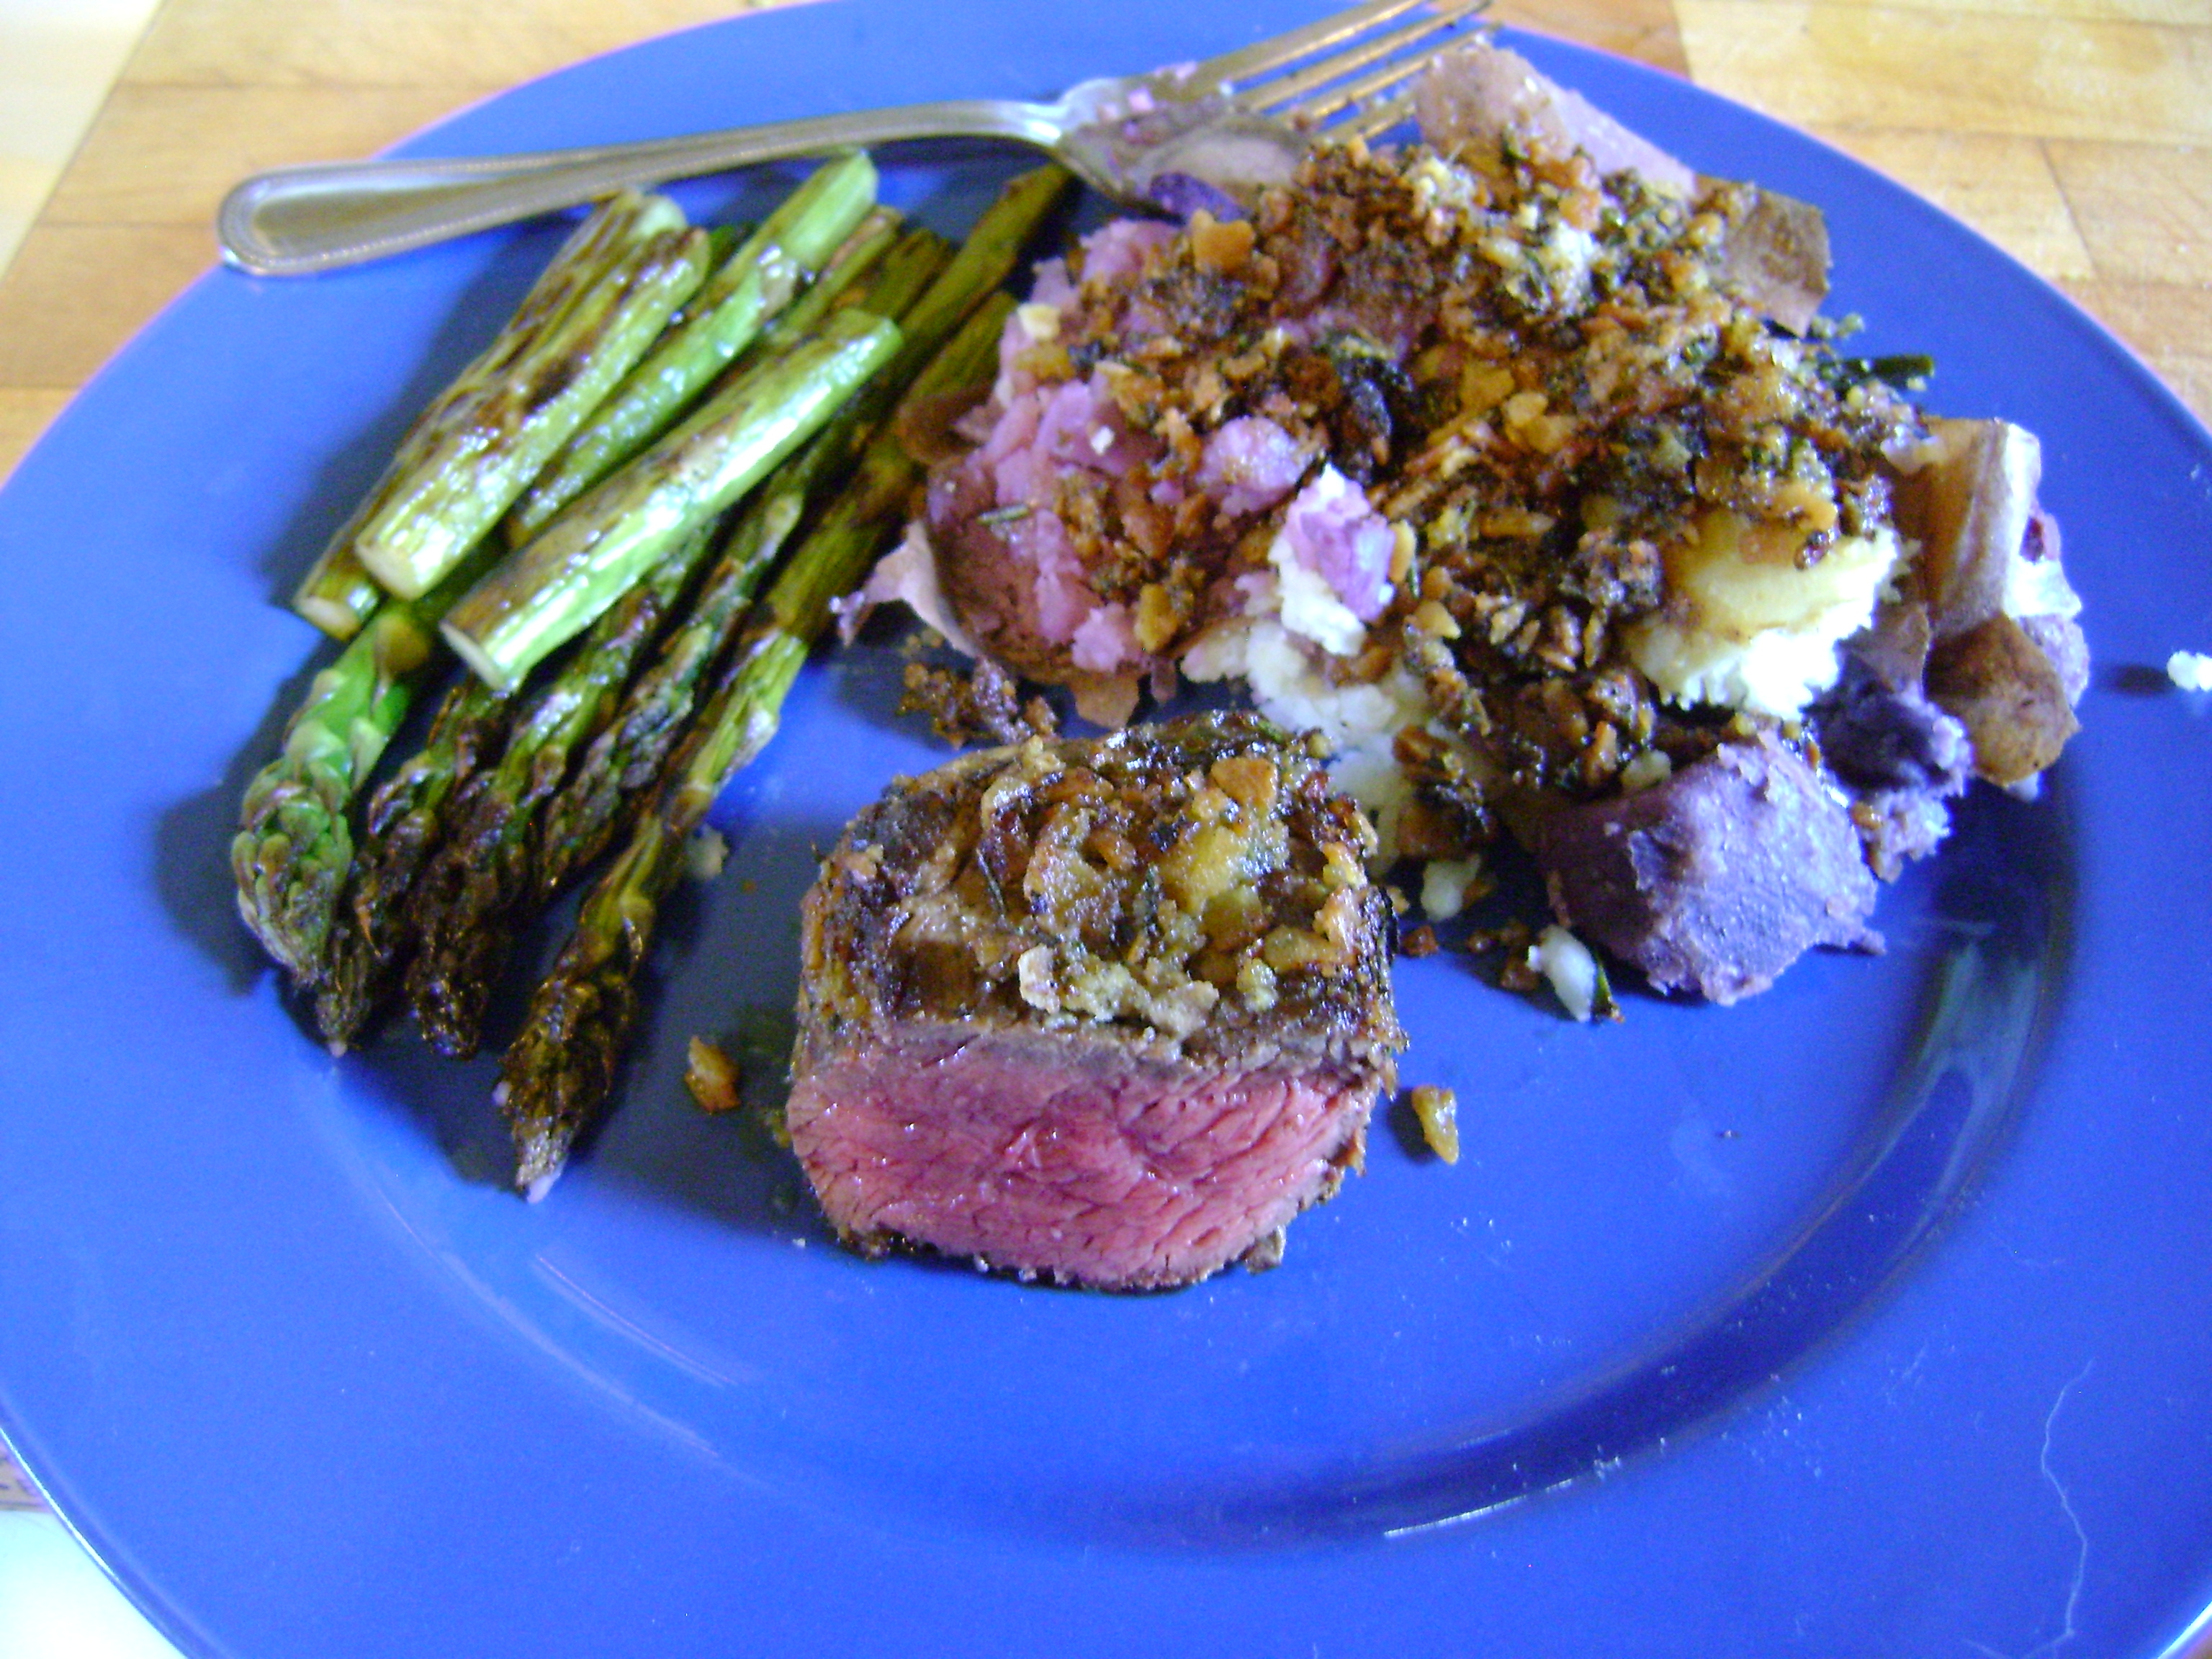
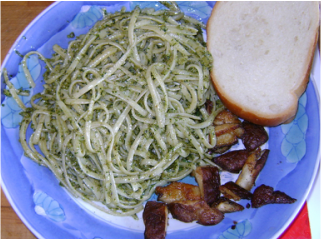
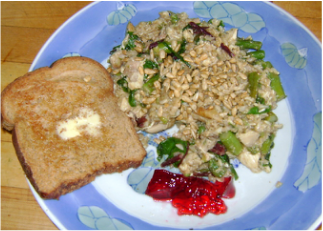
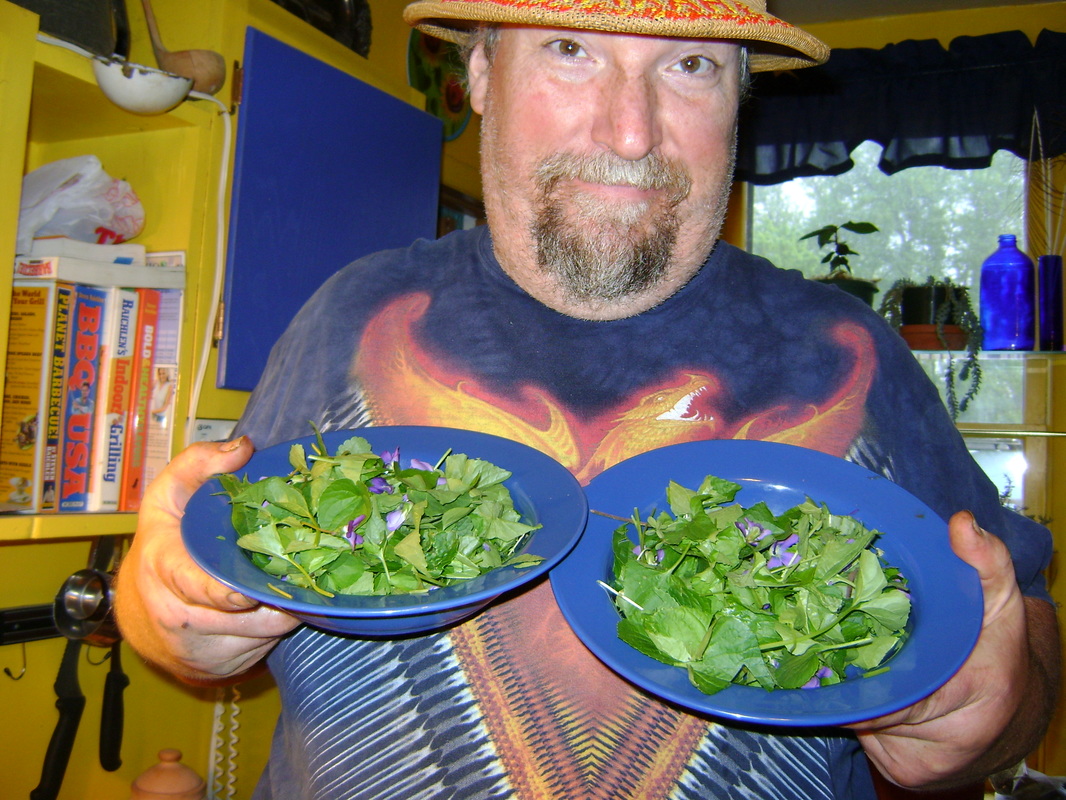
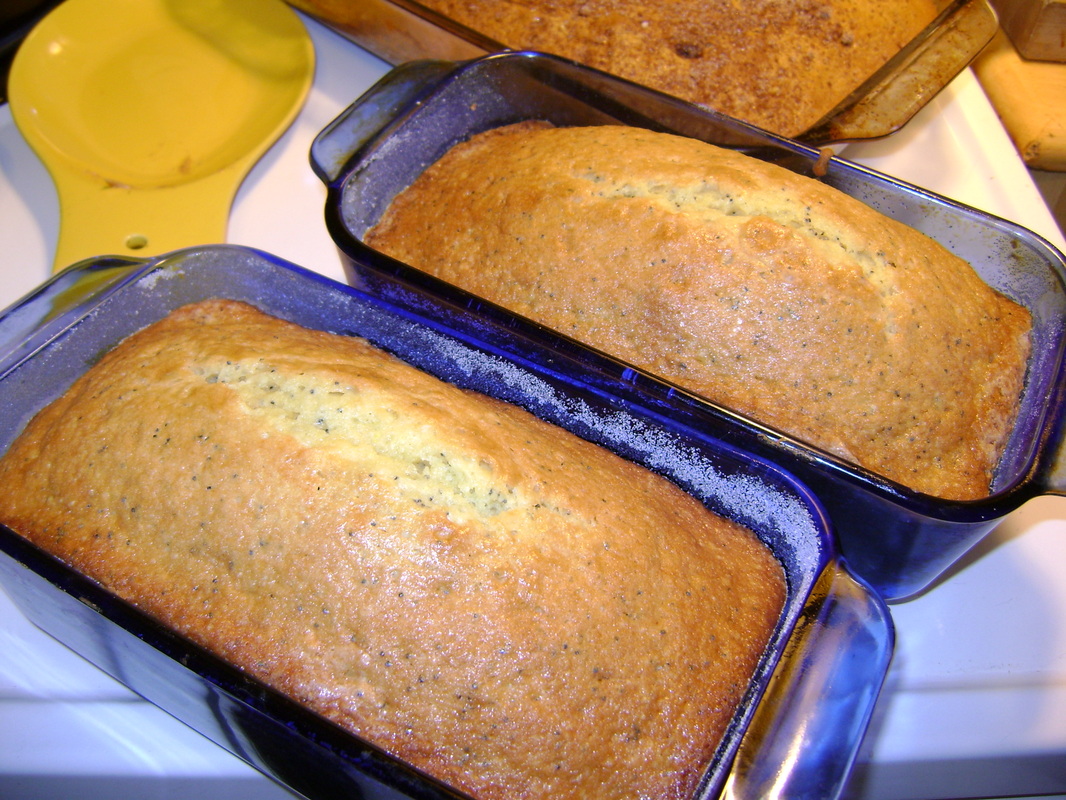
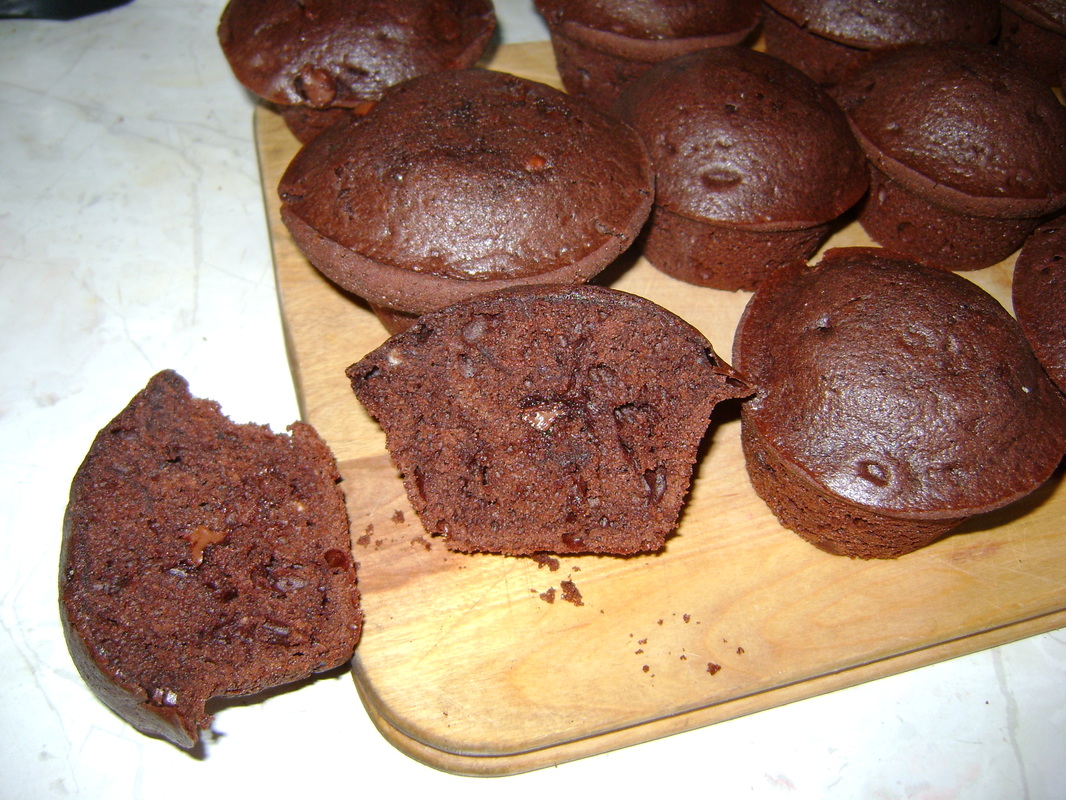
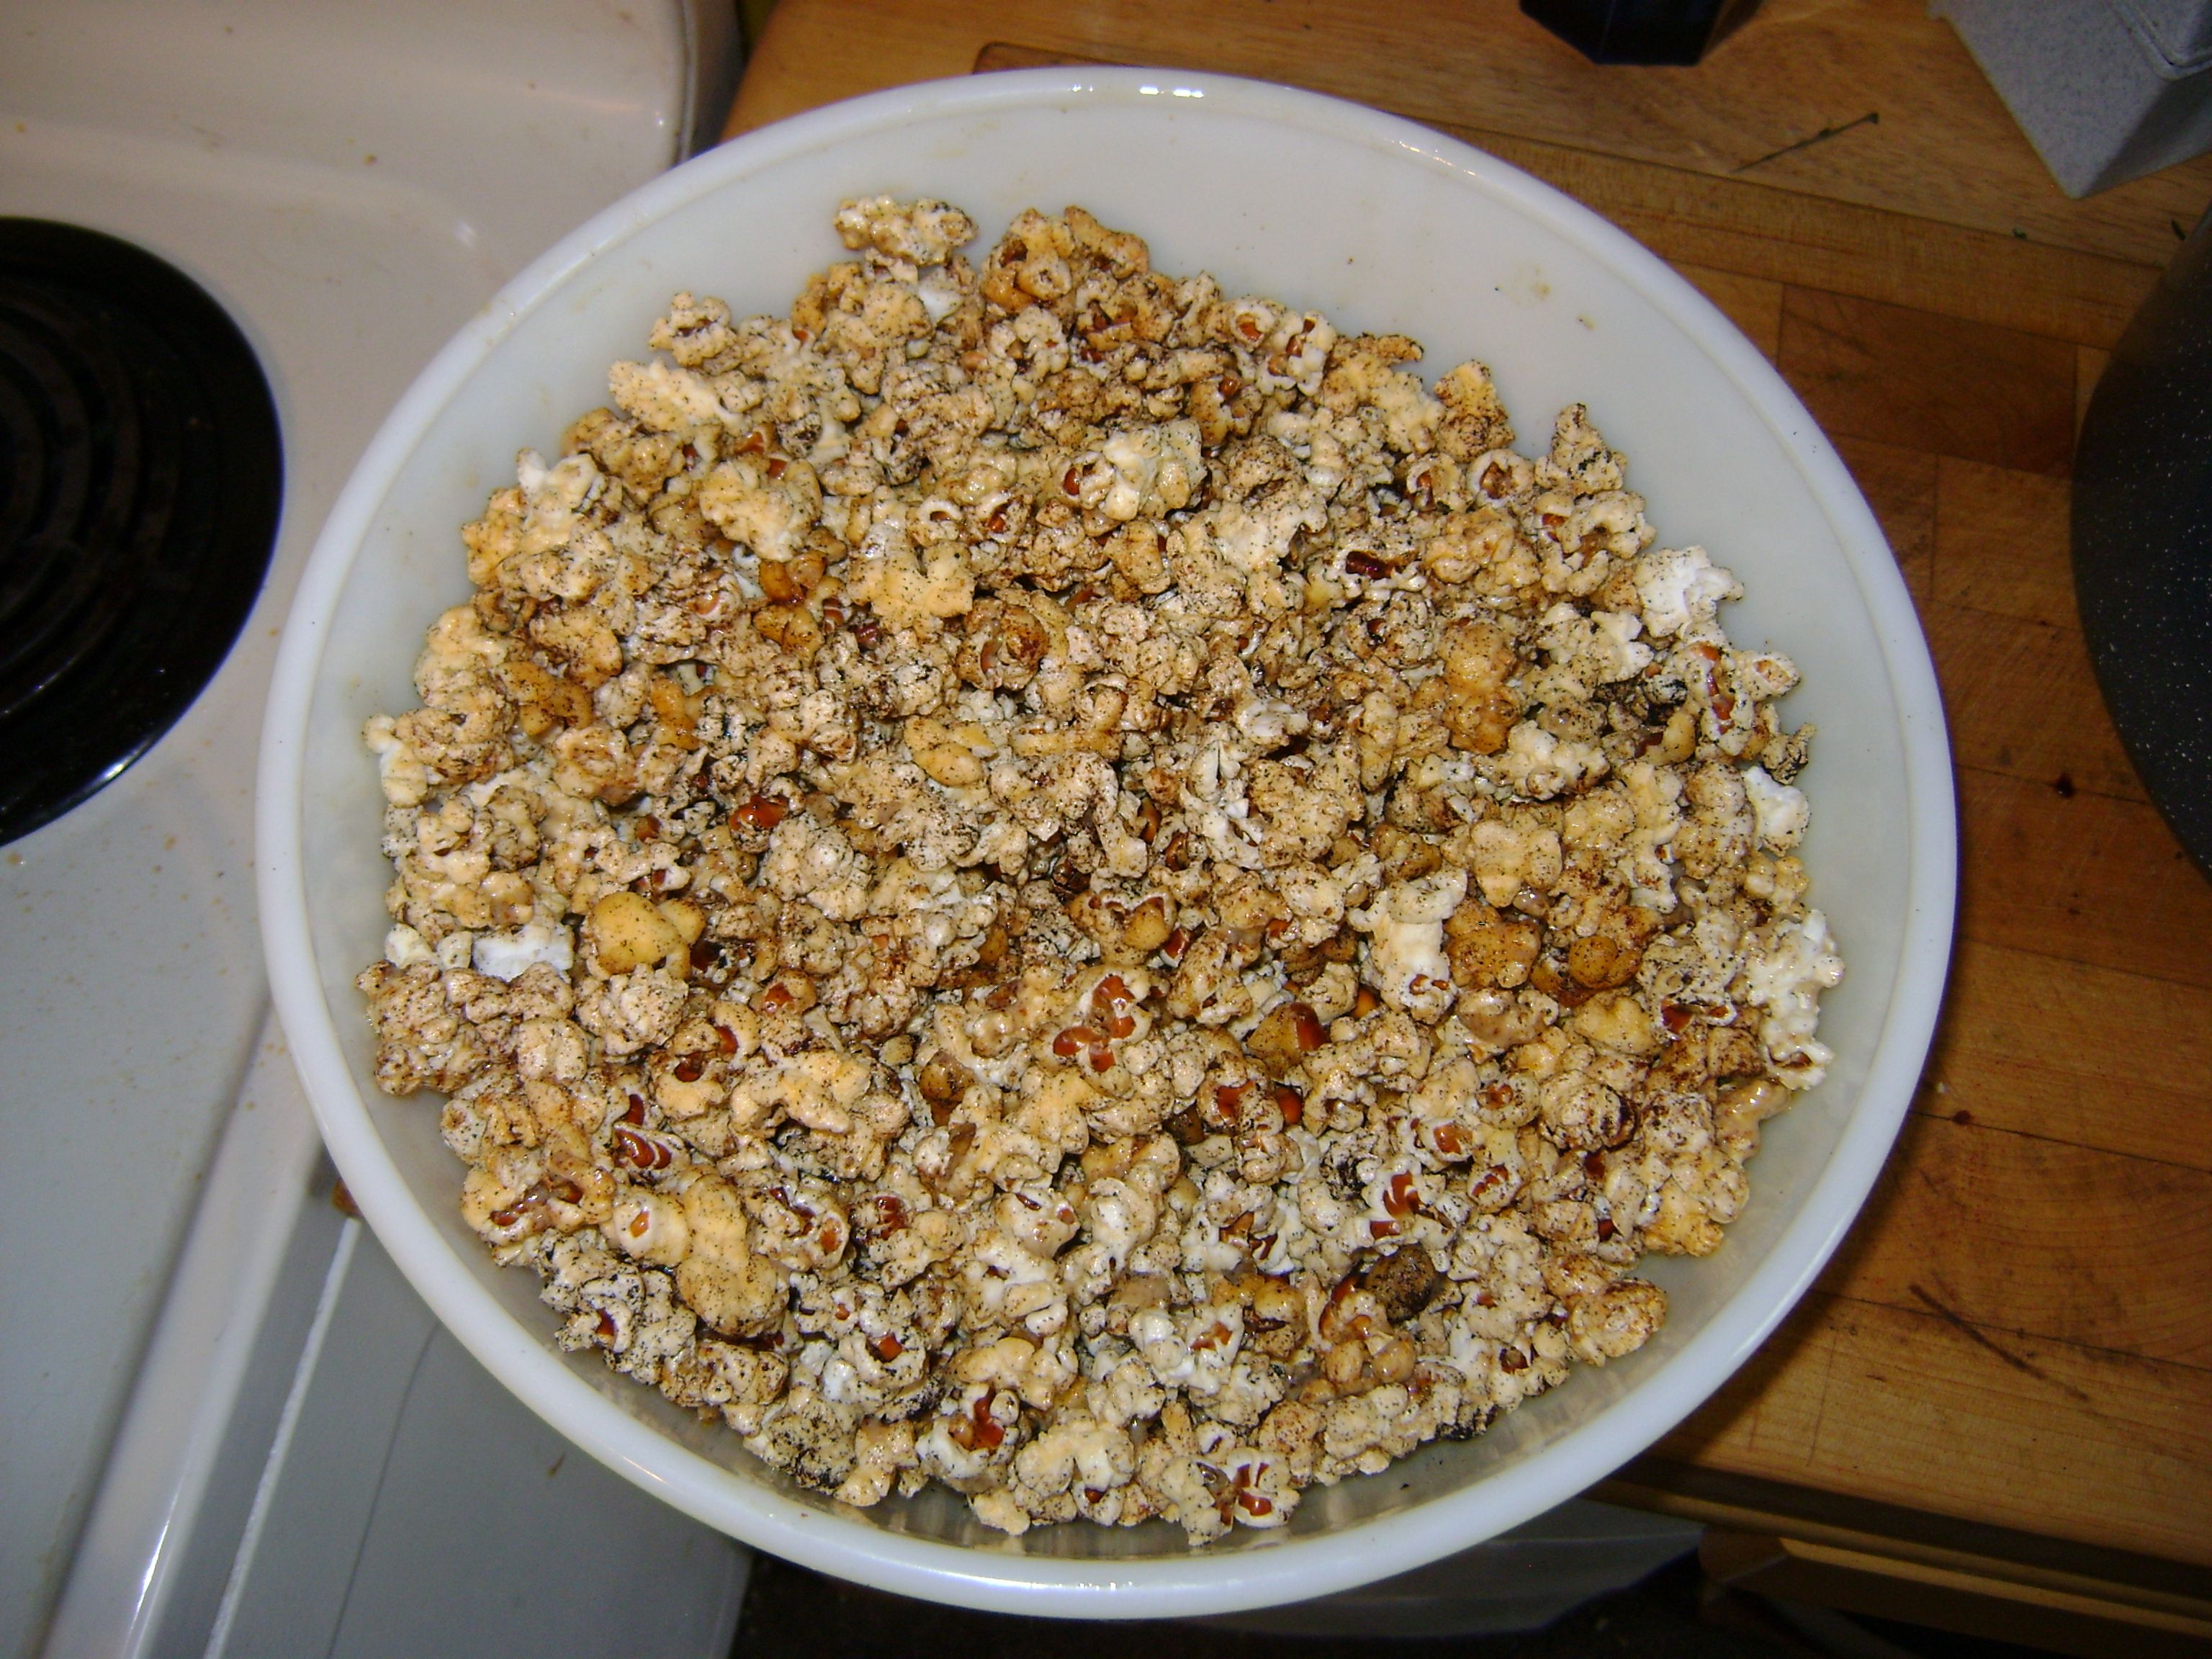
I admit to some failures. Like the popcorn with burnt spices in it. A guy has to learn the hard way sometimes.
Picture
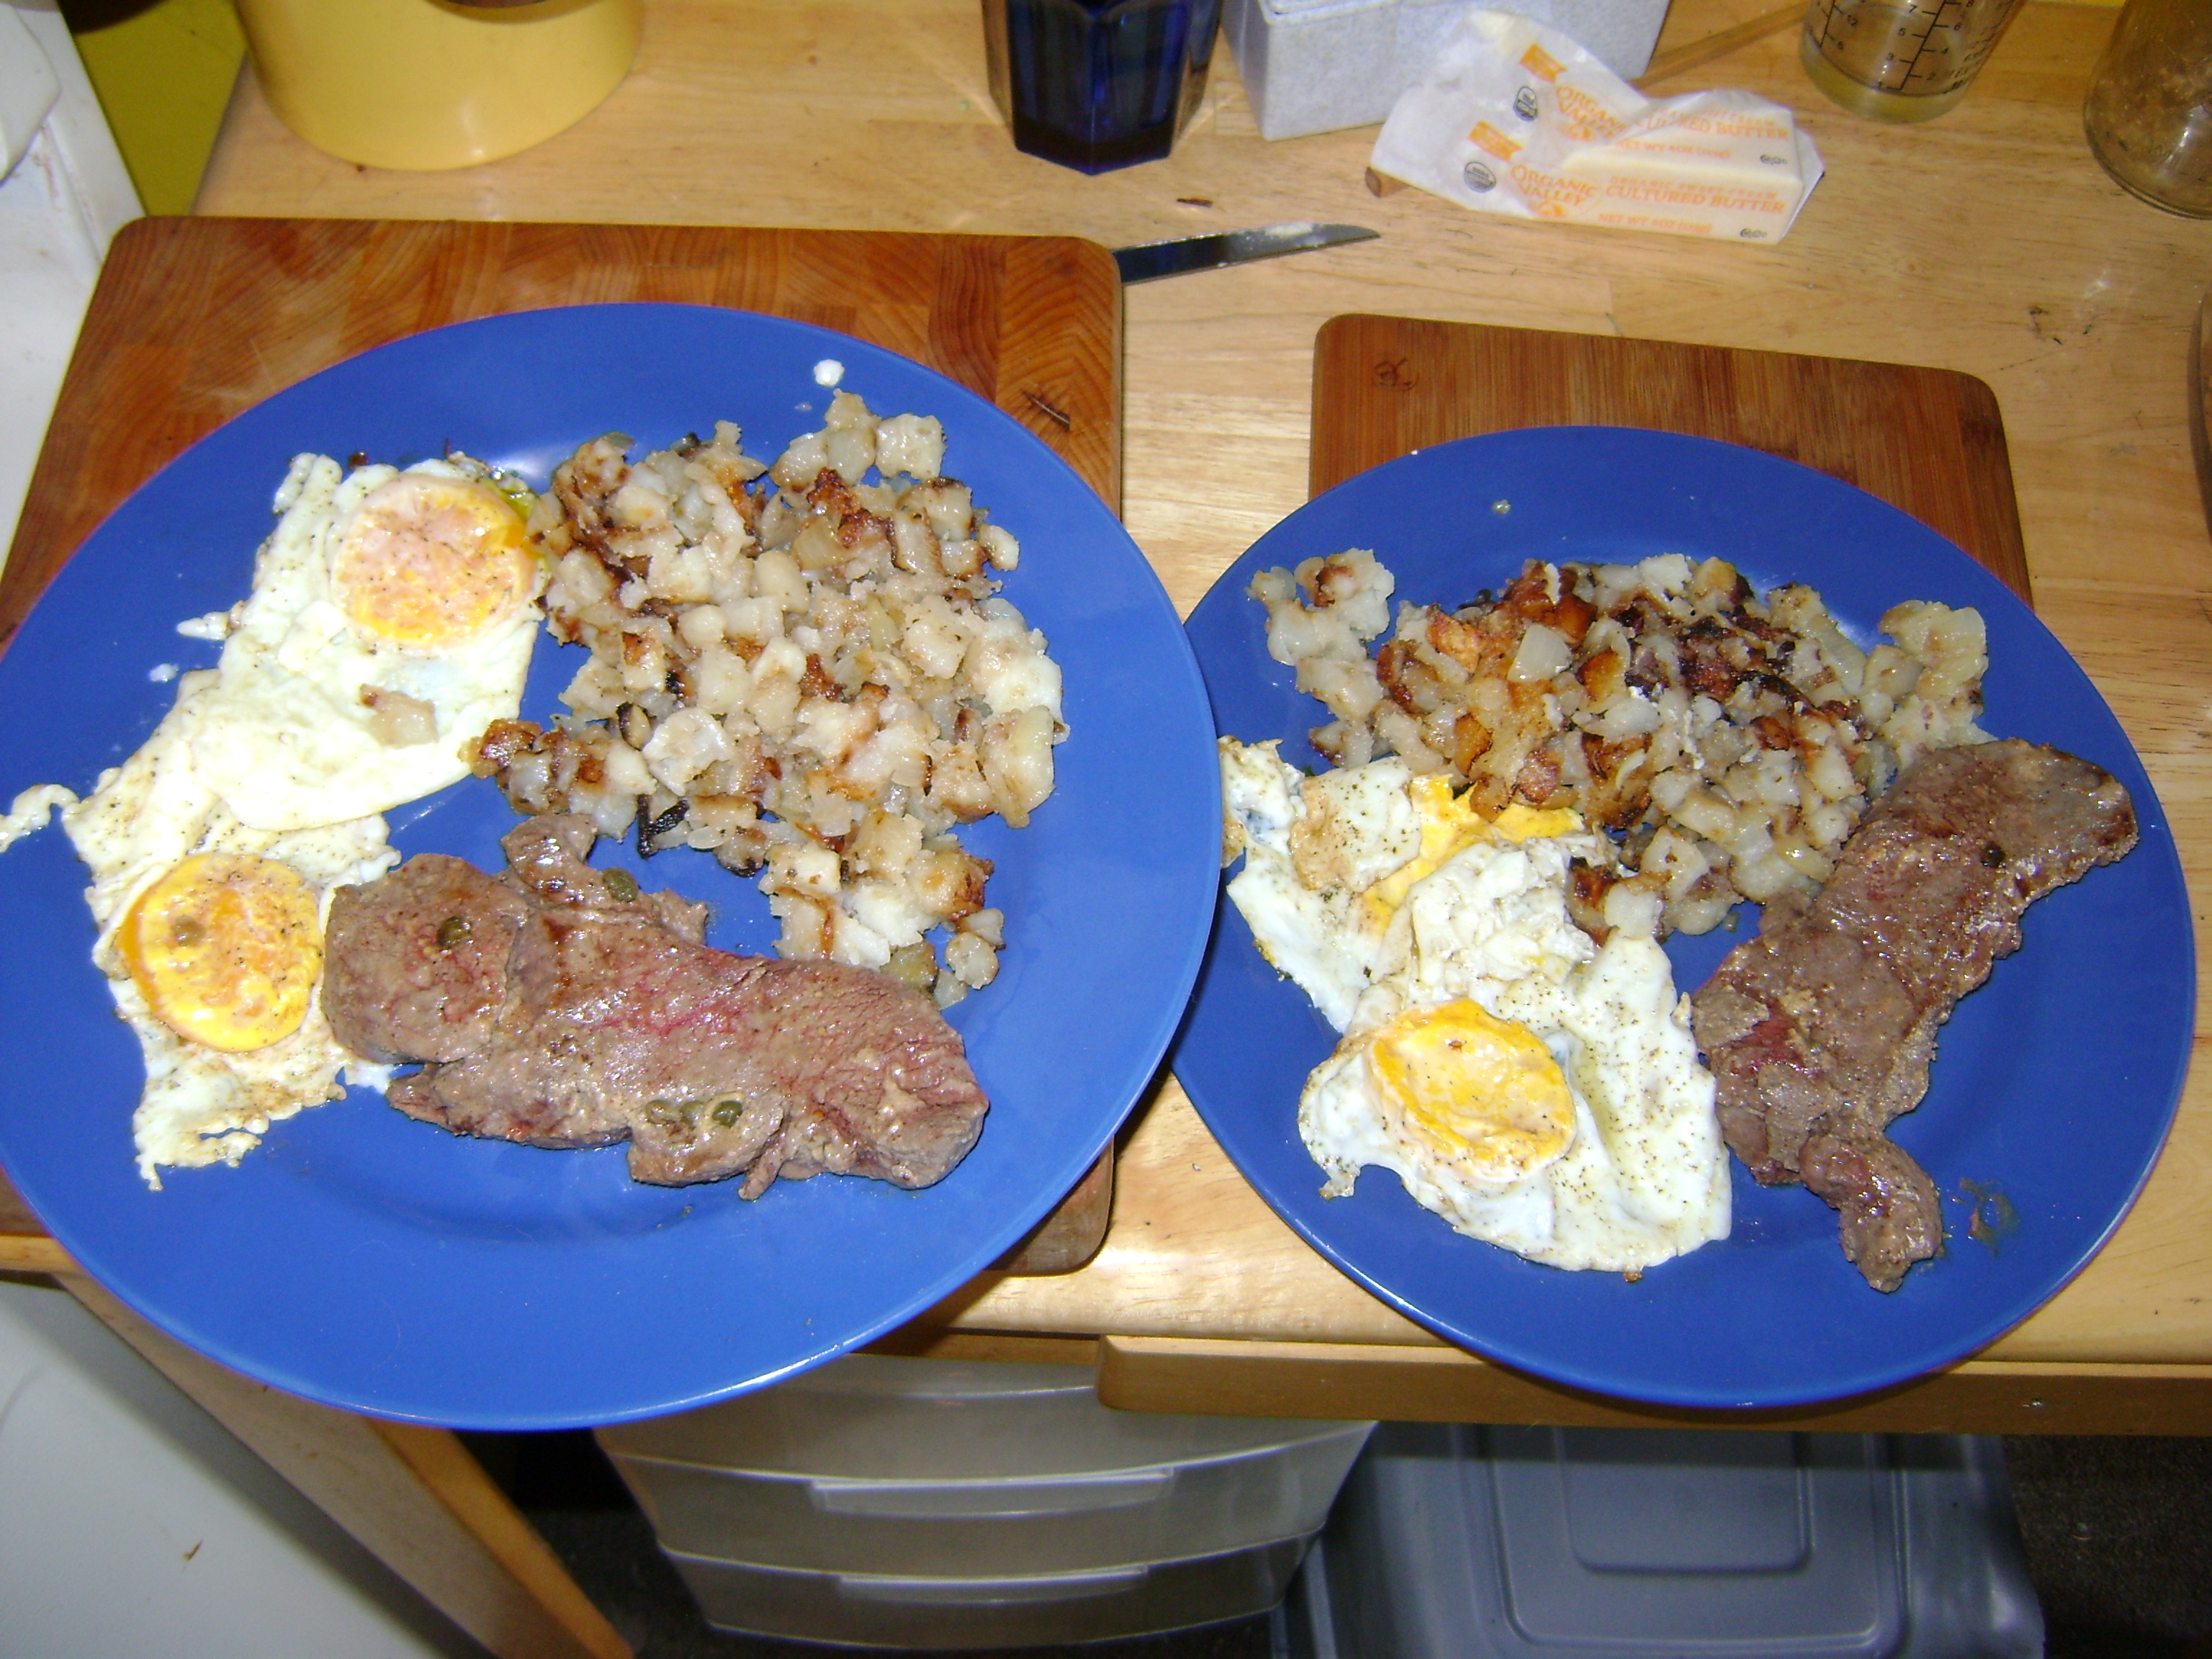
It don't have to look pretty to taste good...
Picture
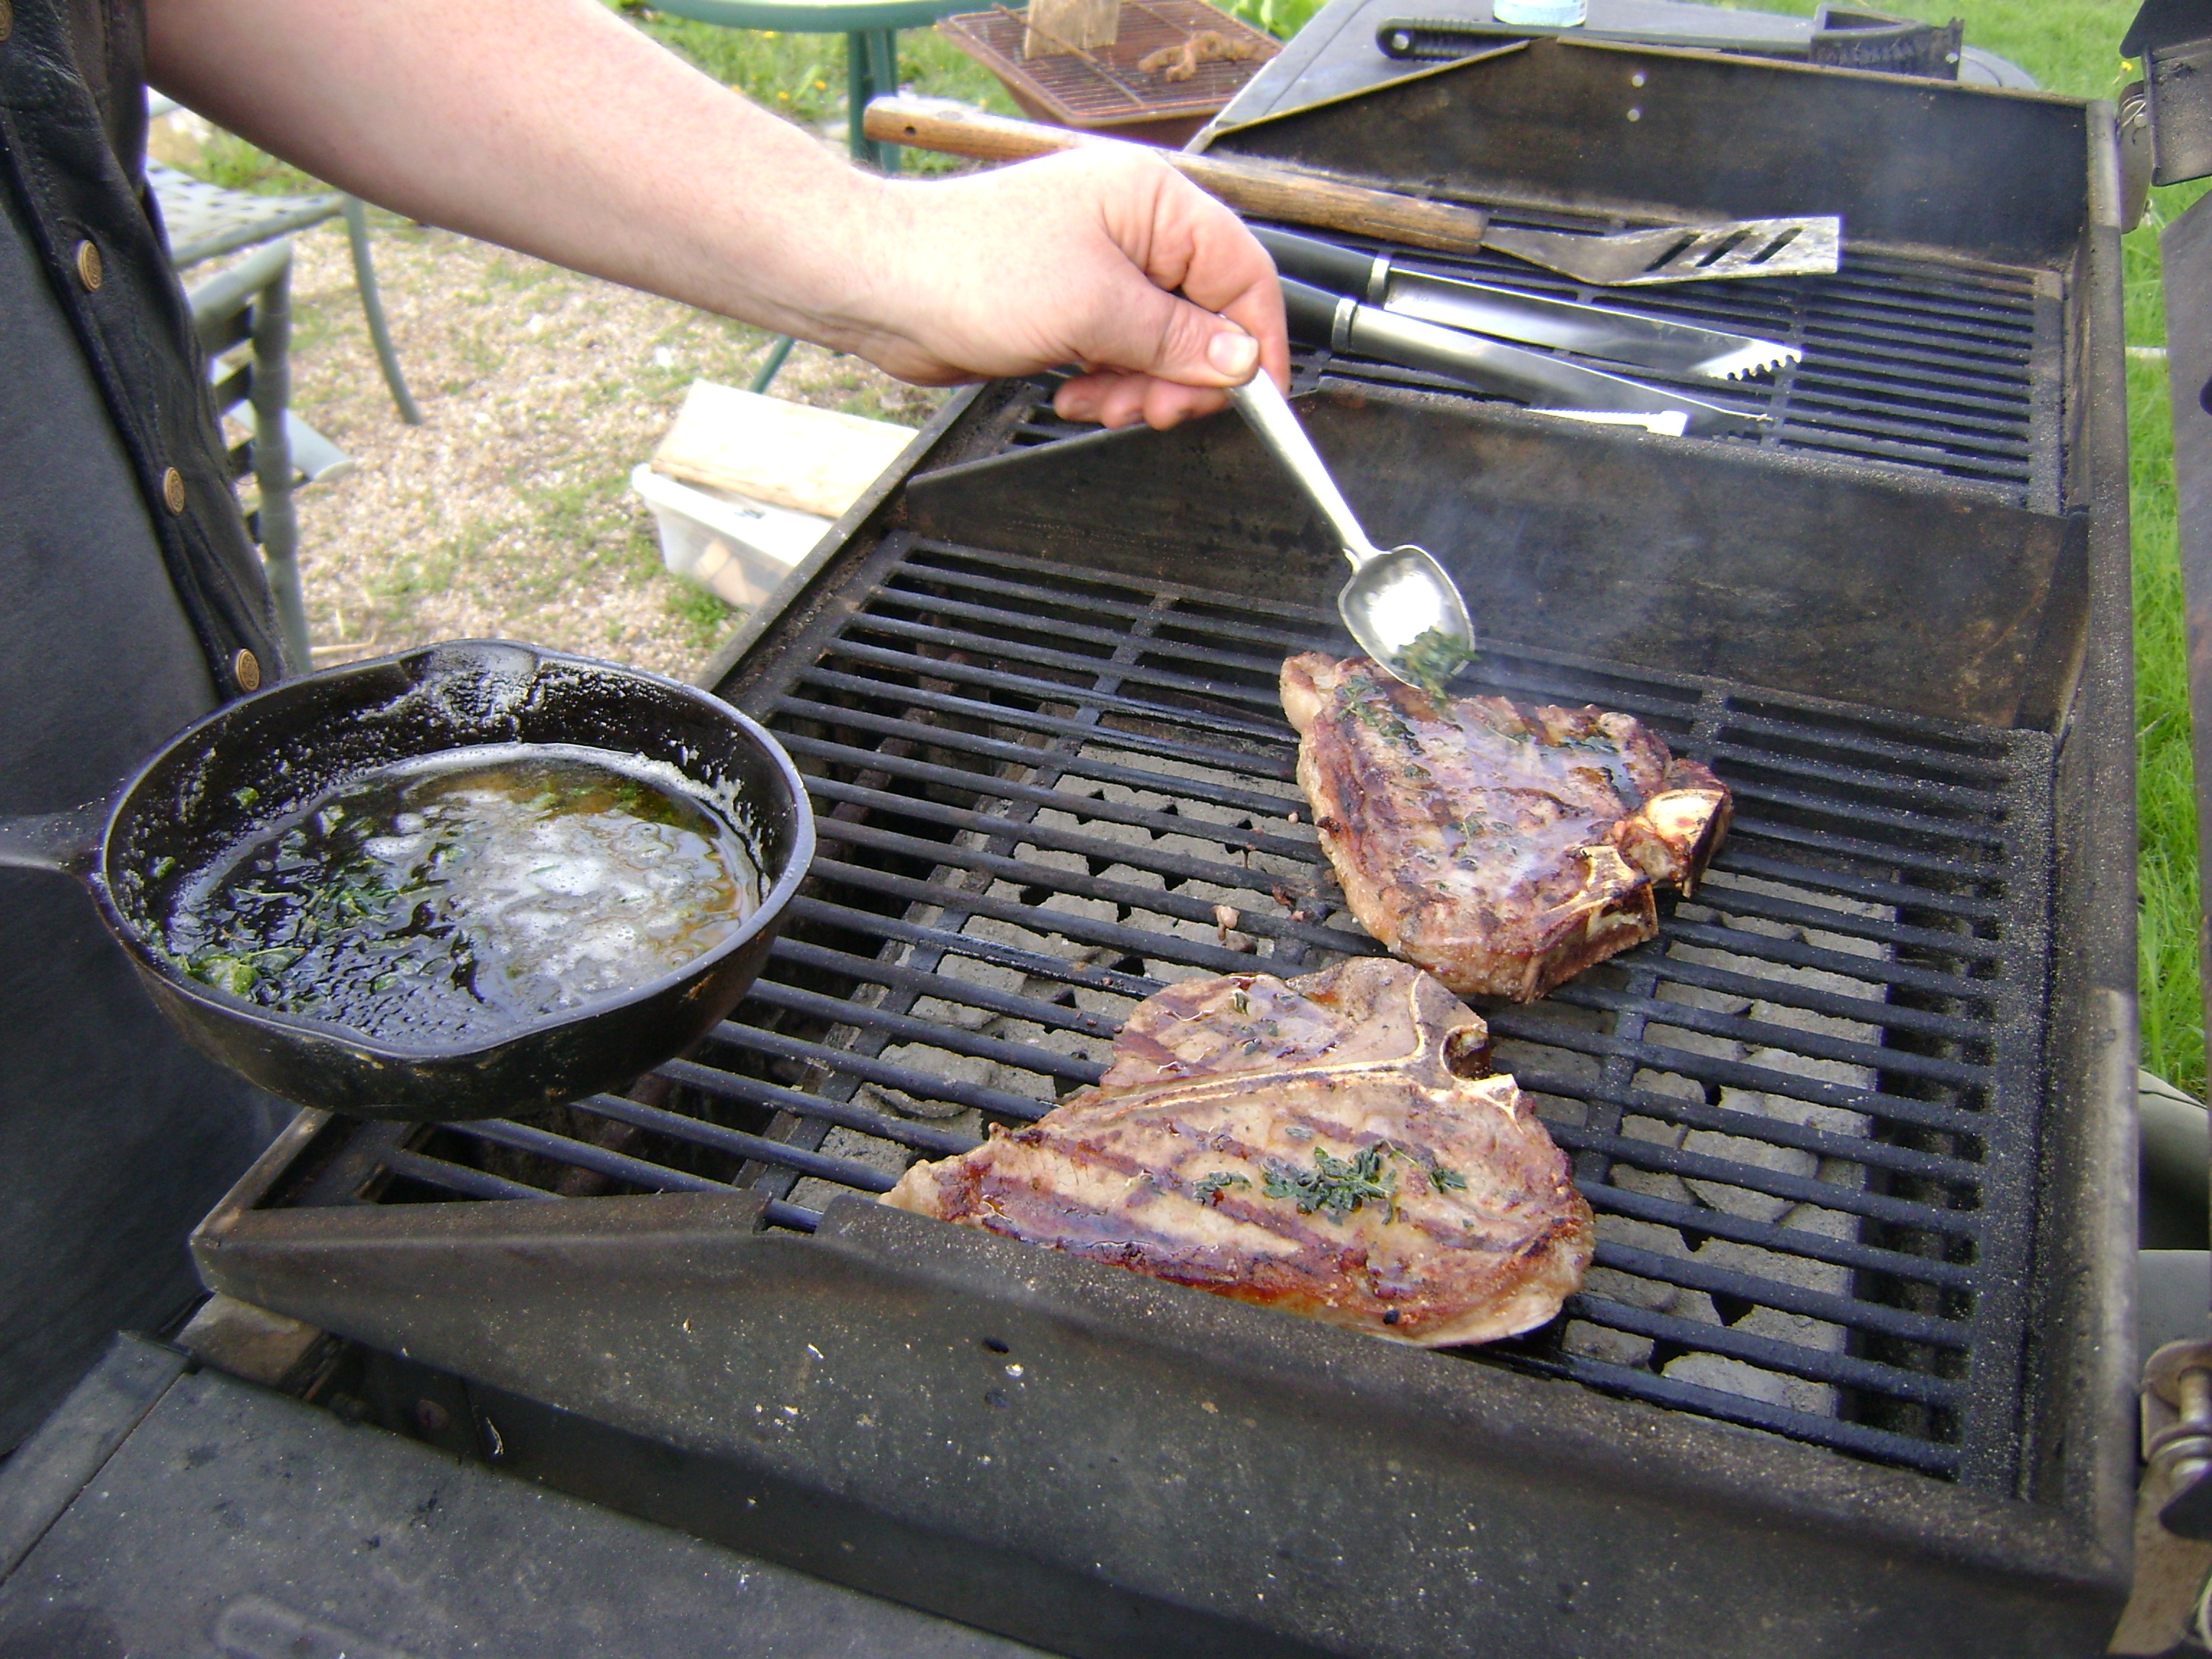
I desire good steaks!
Picture
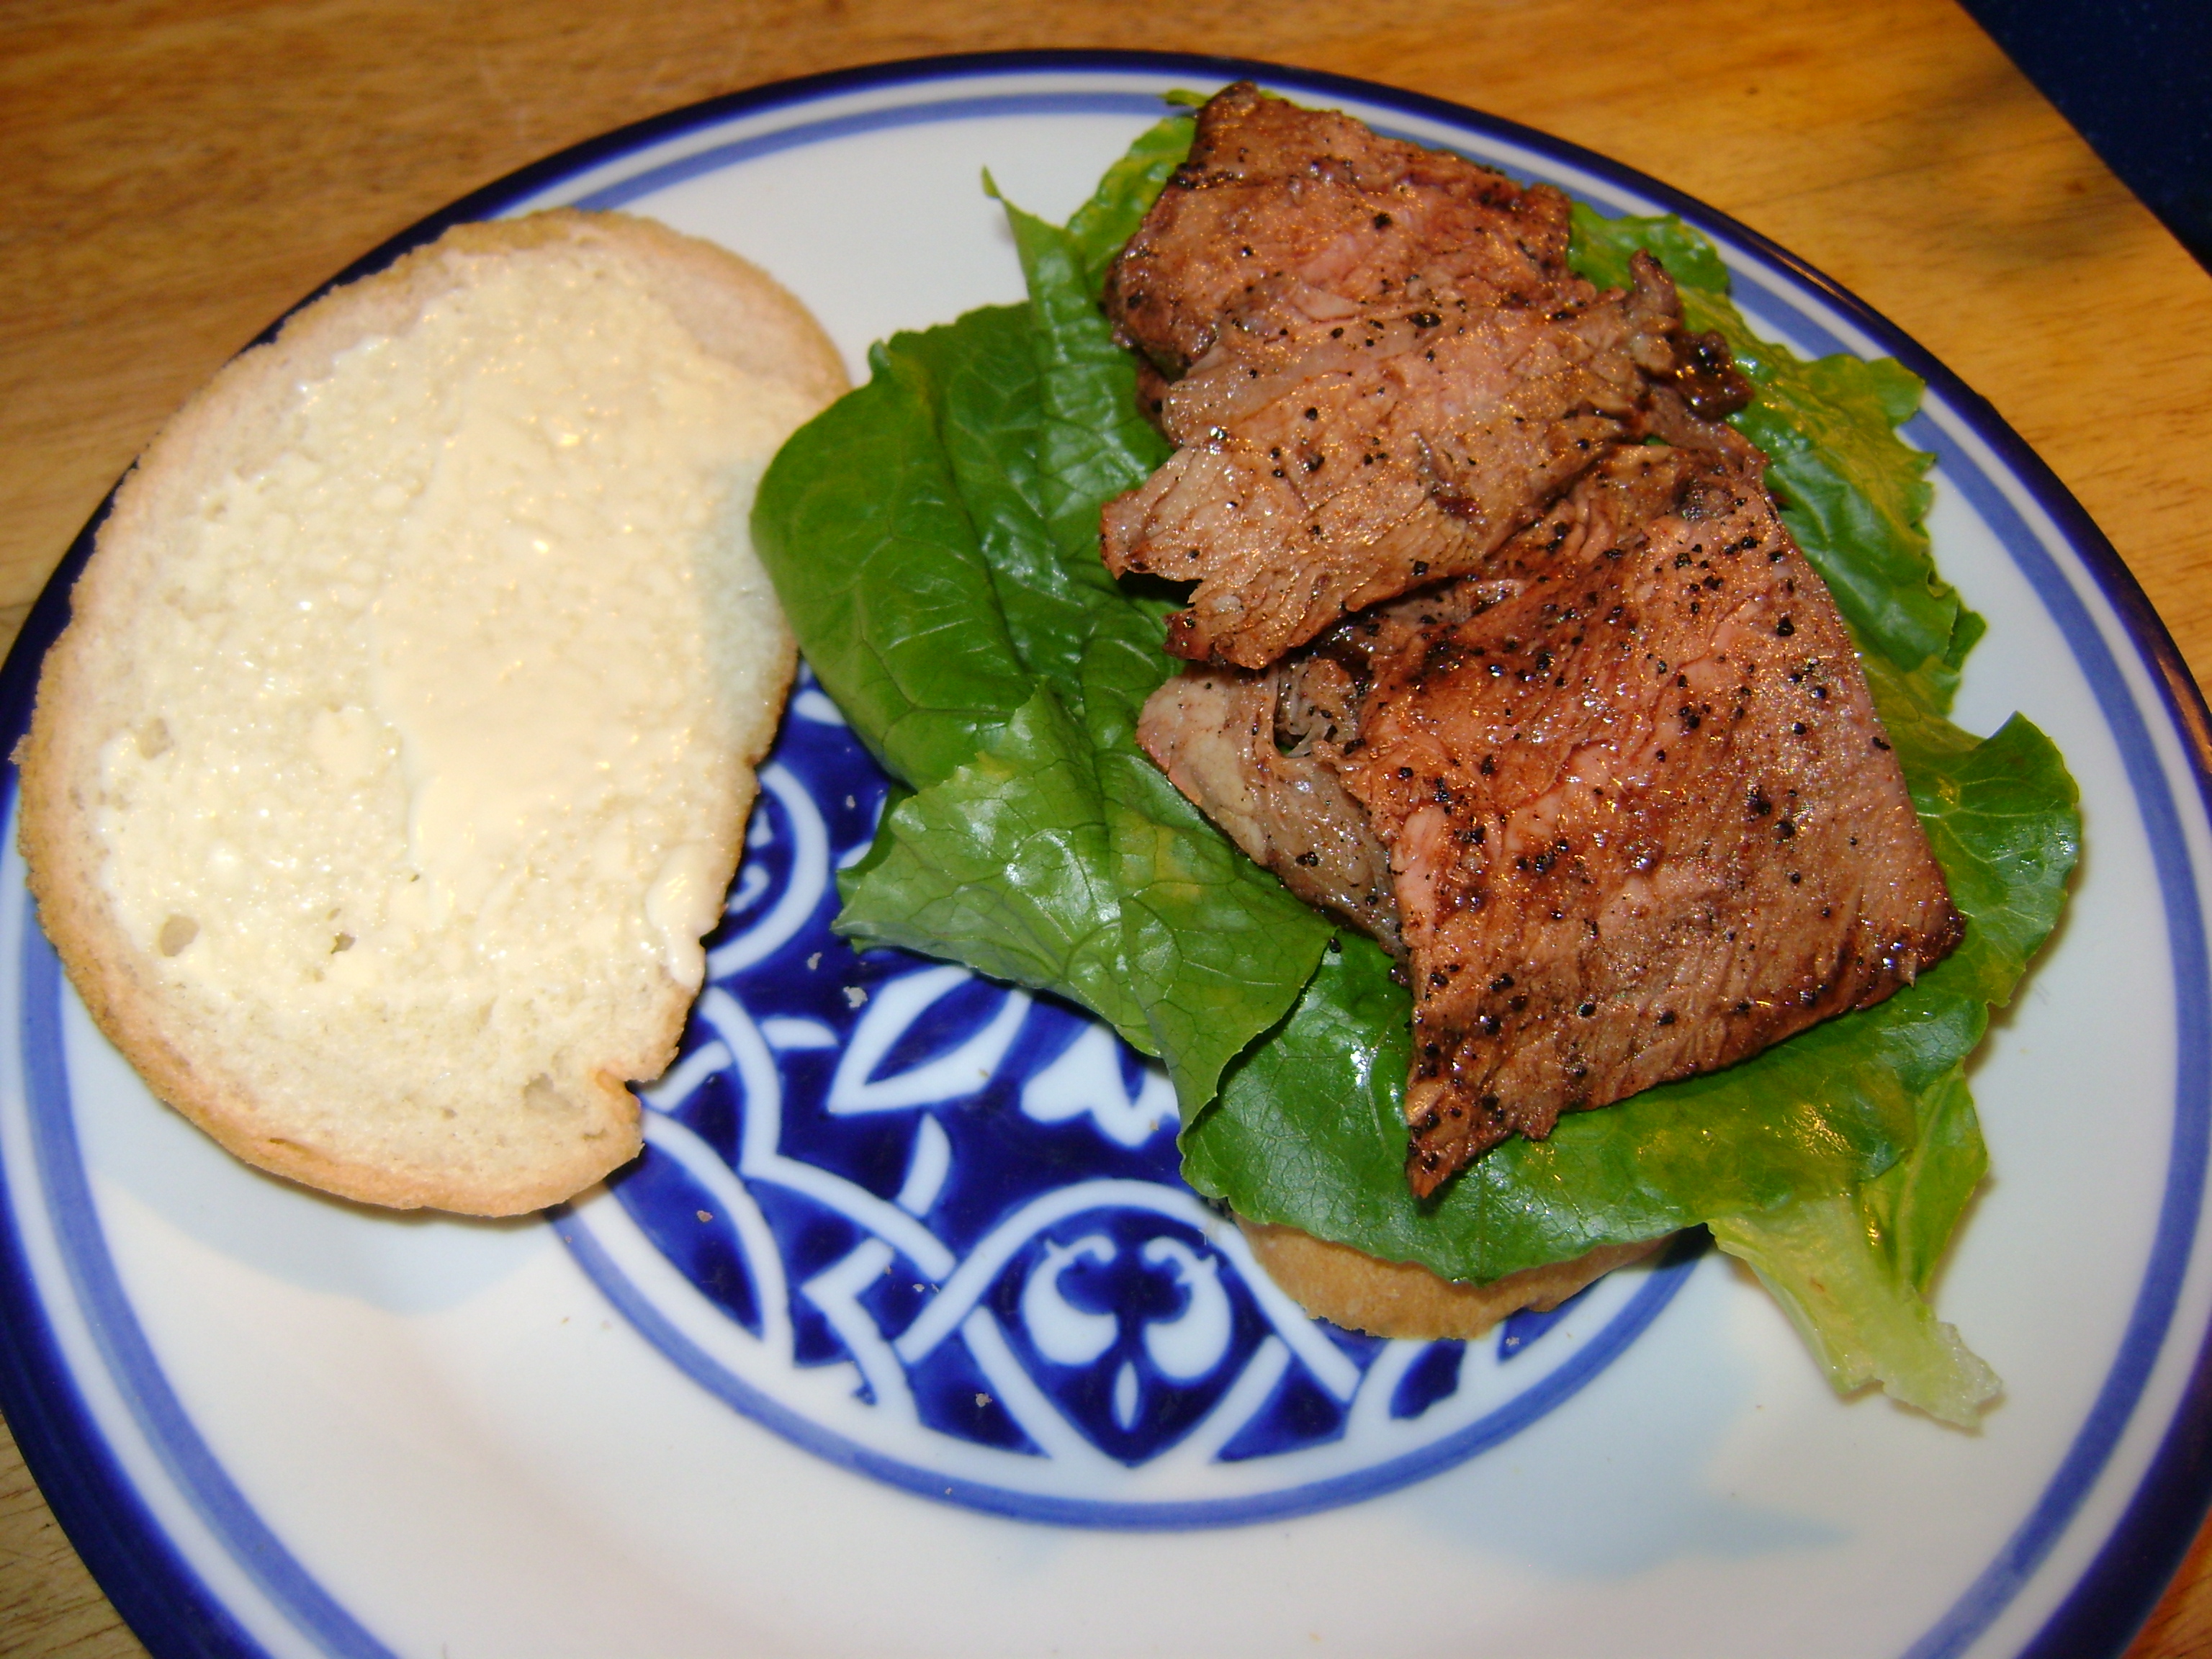
I desire good sandwiches!
Picture
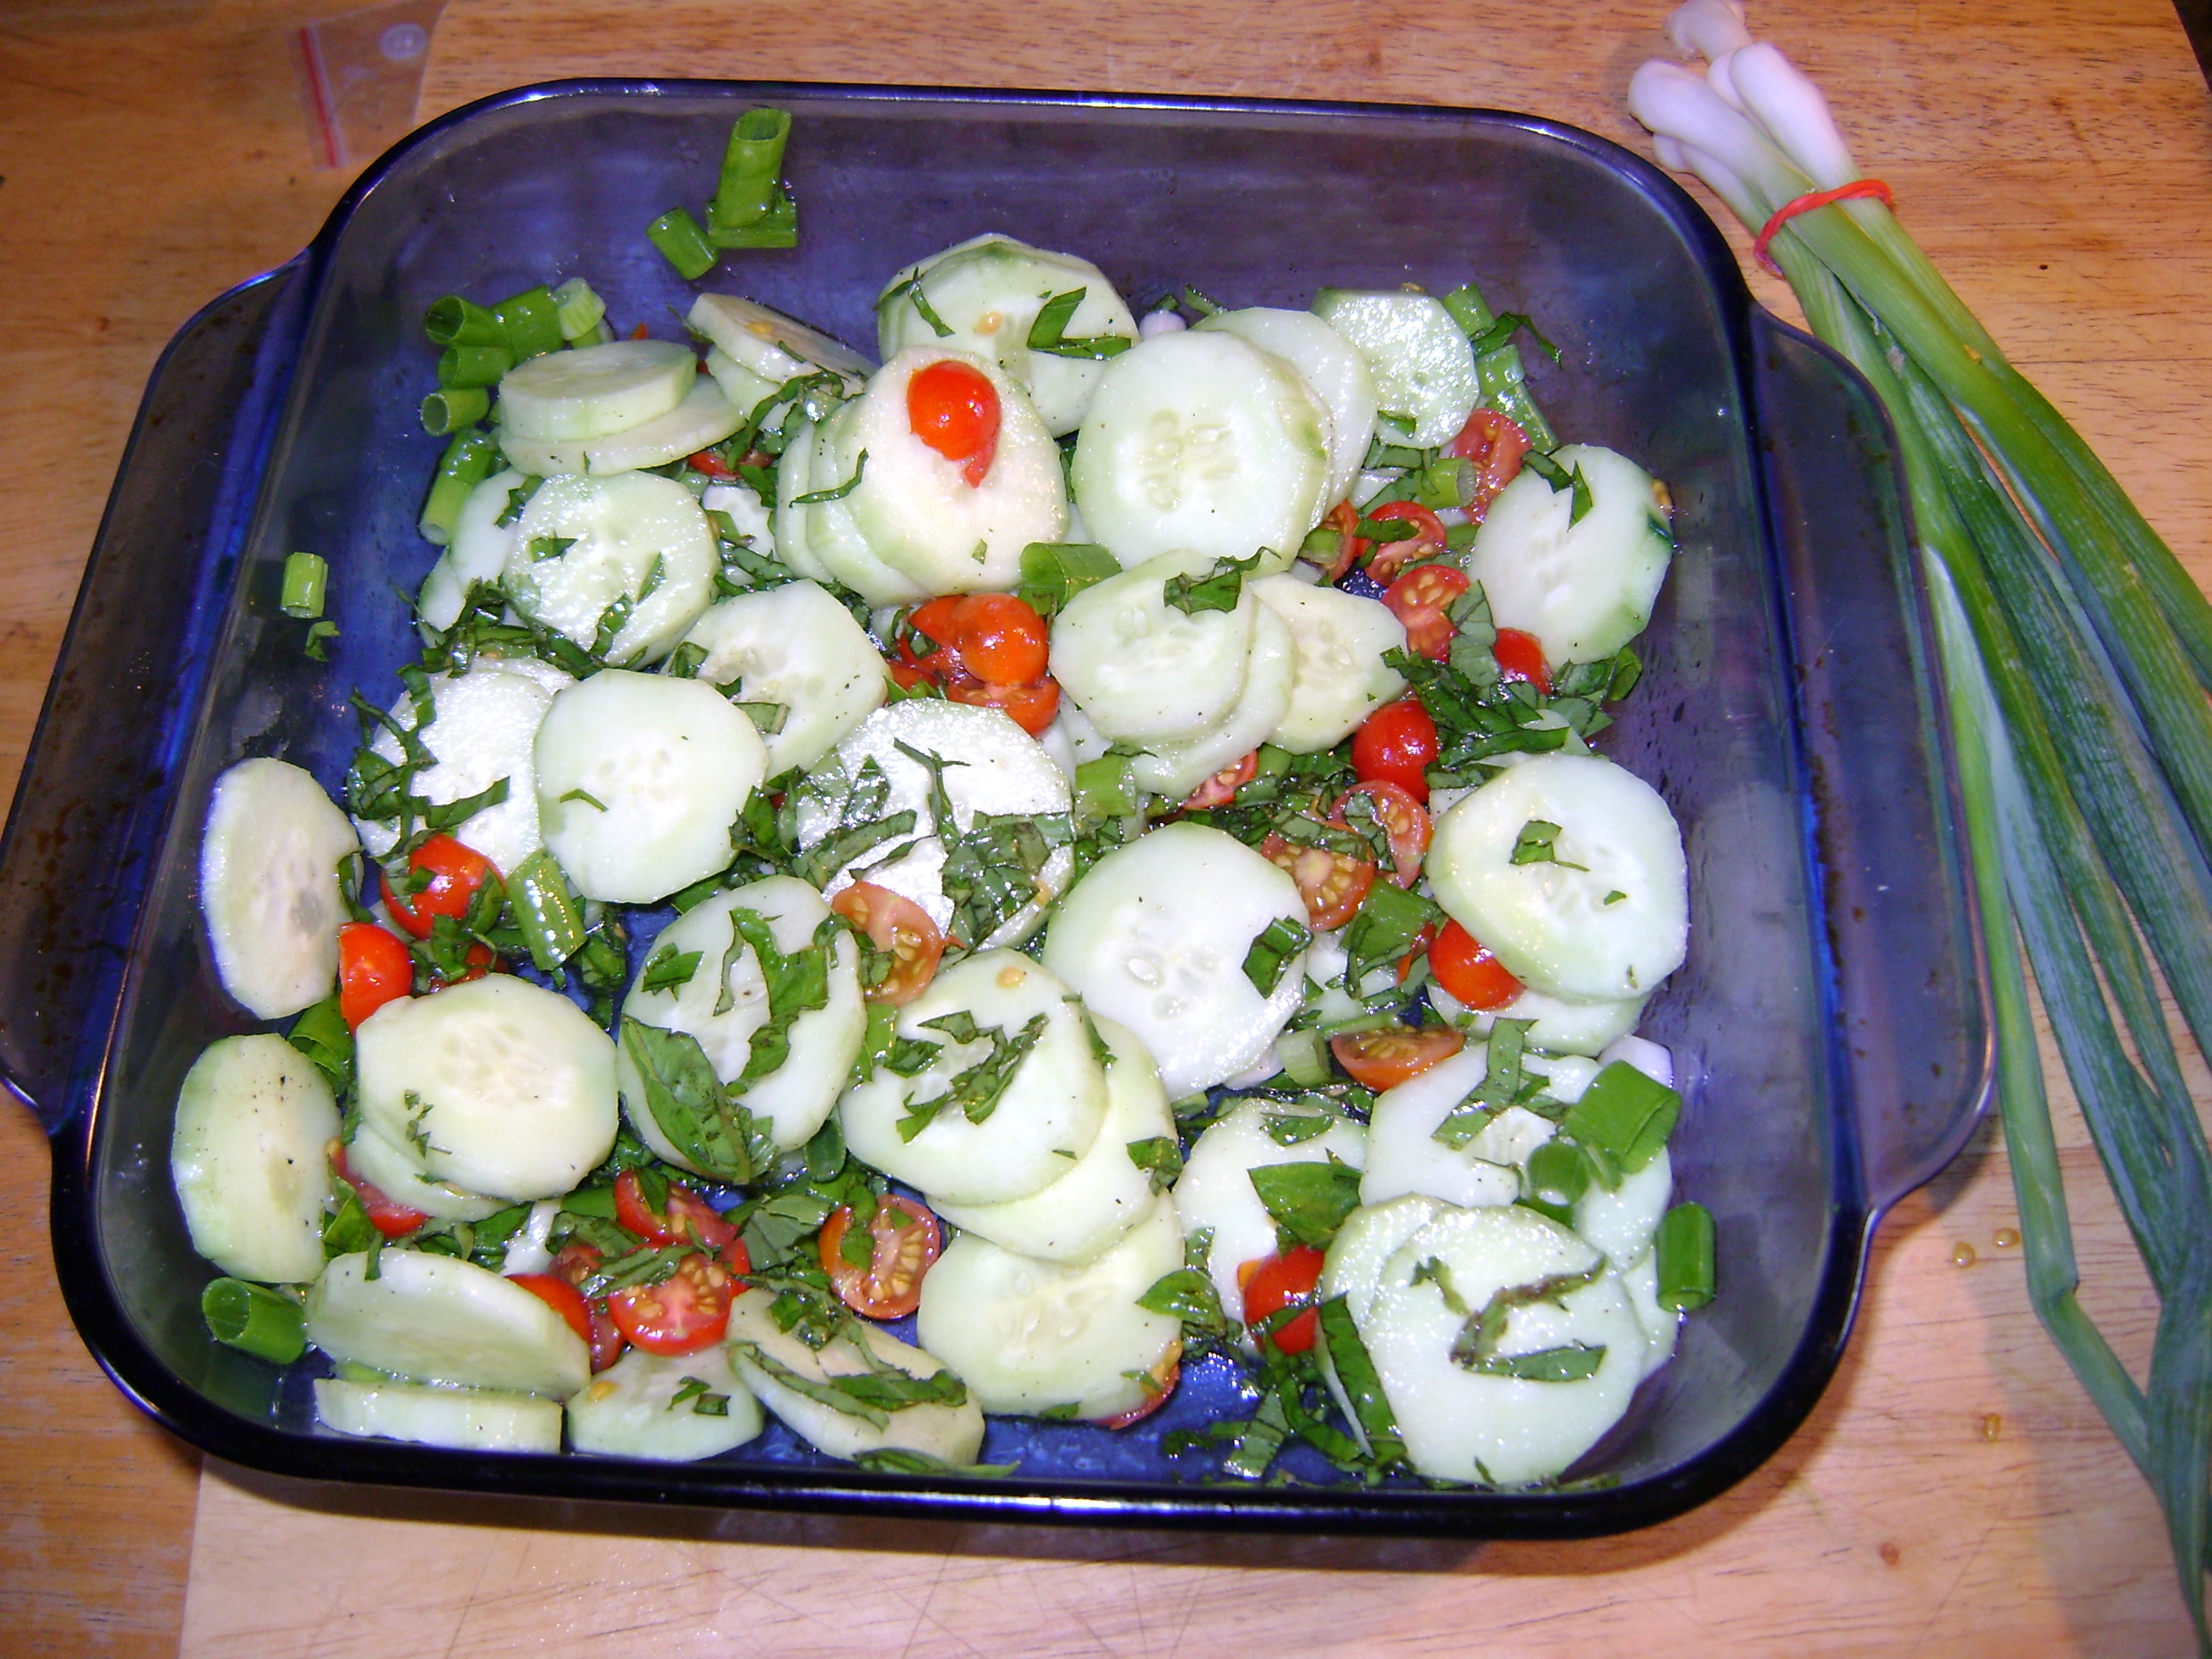
Yep, I desire salads from the yard, I also like...
Picture
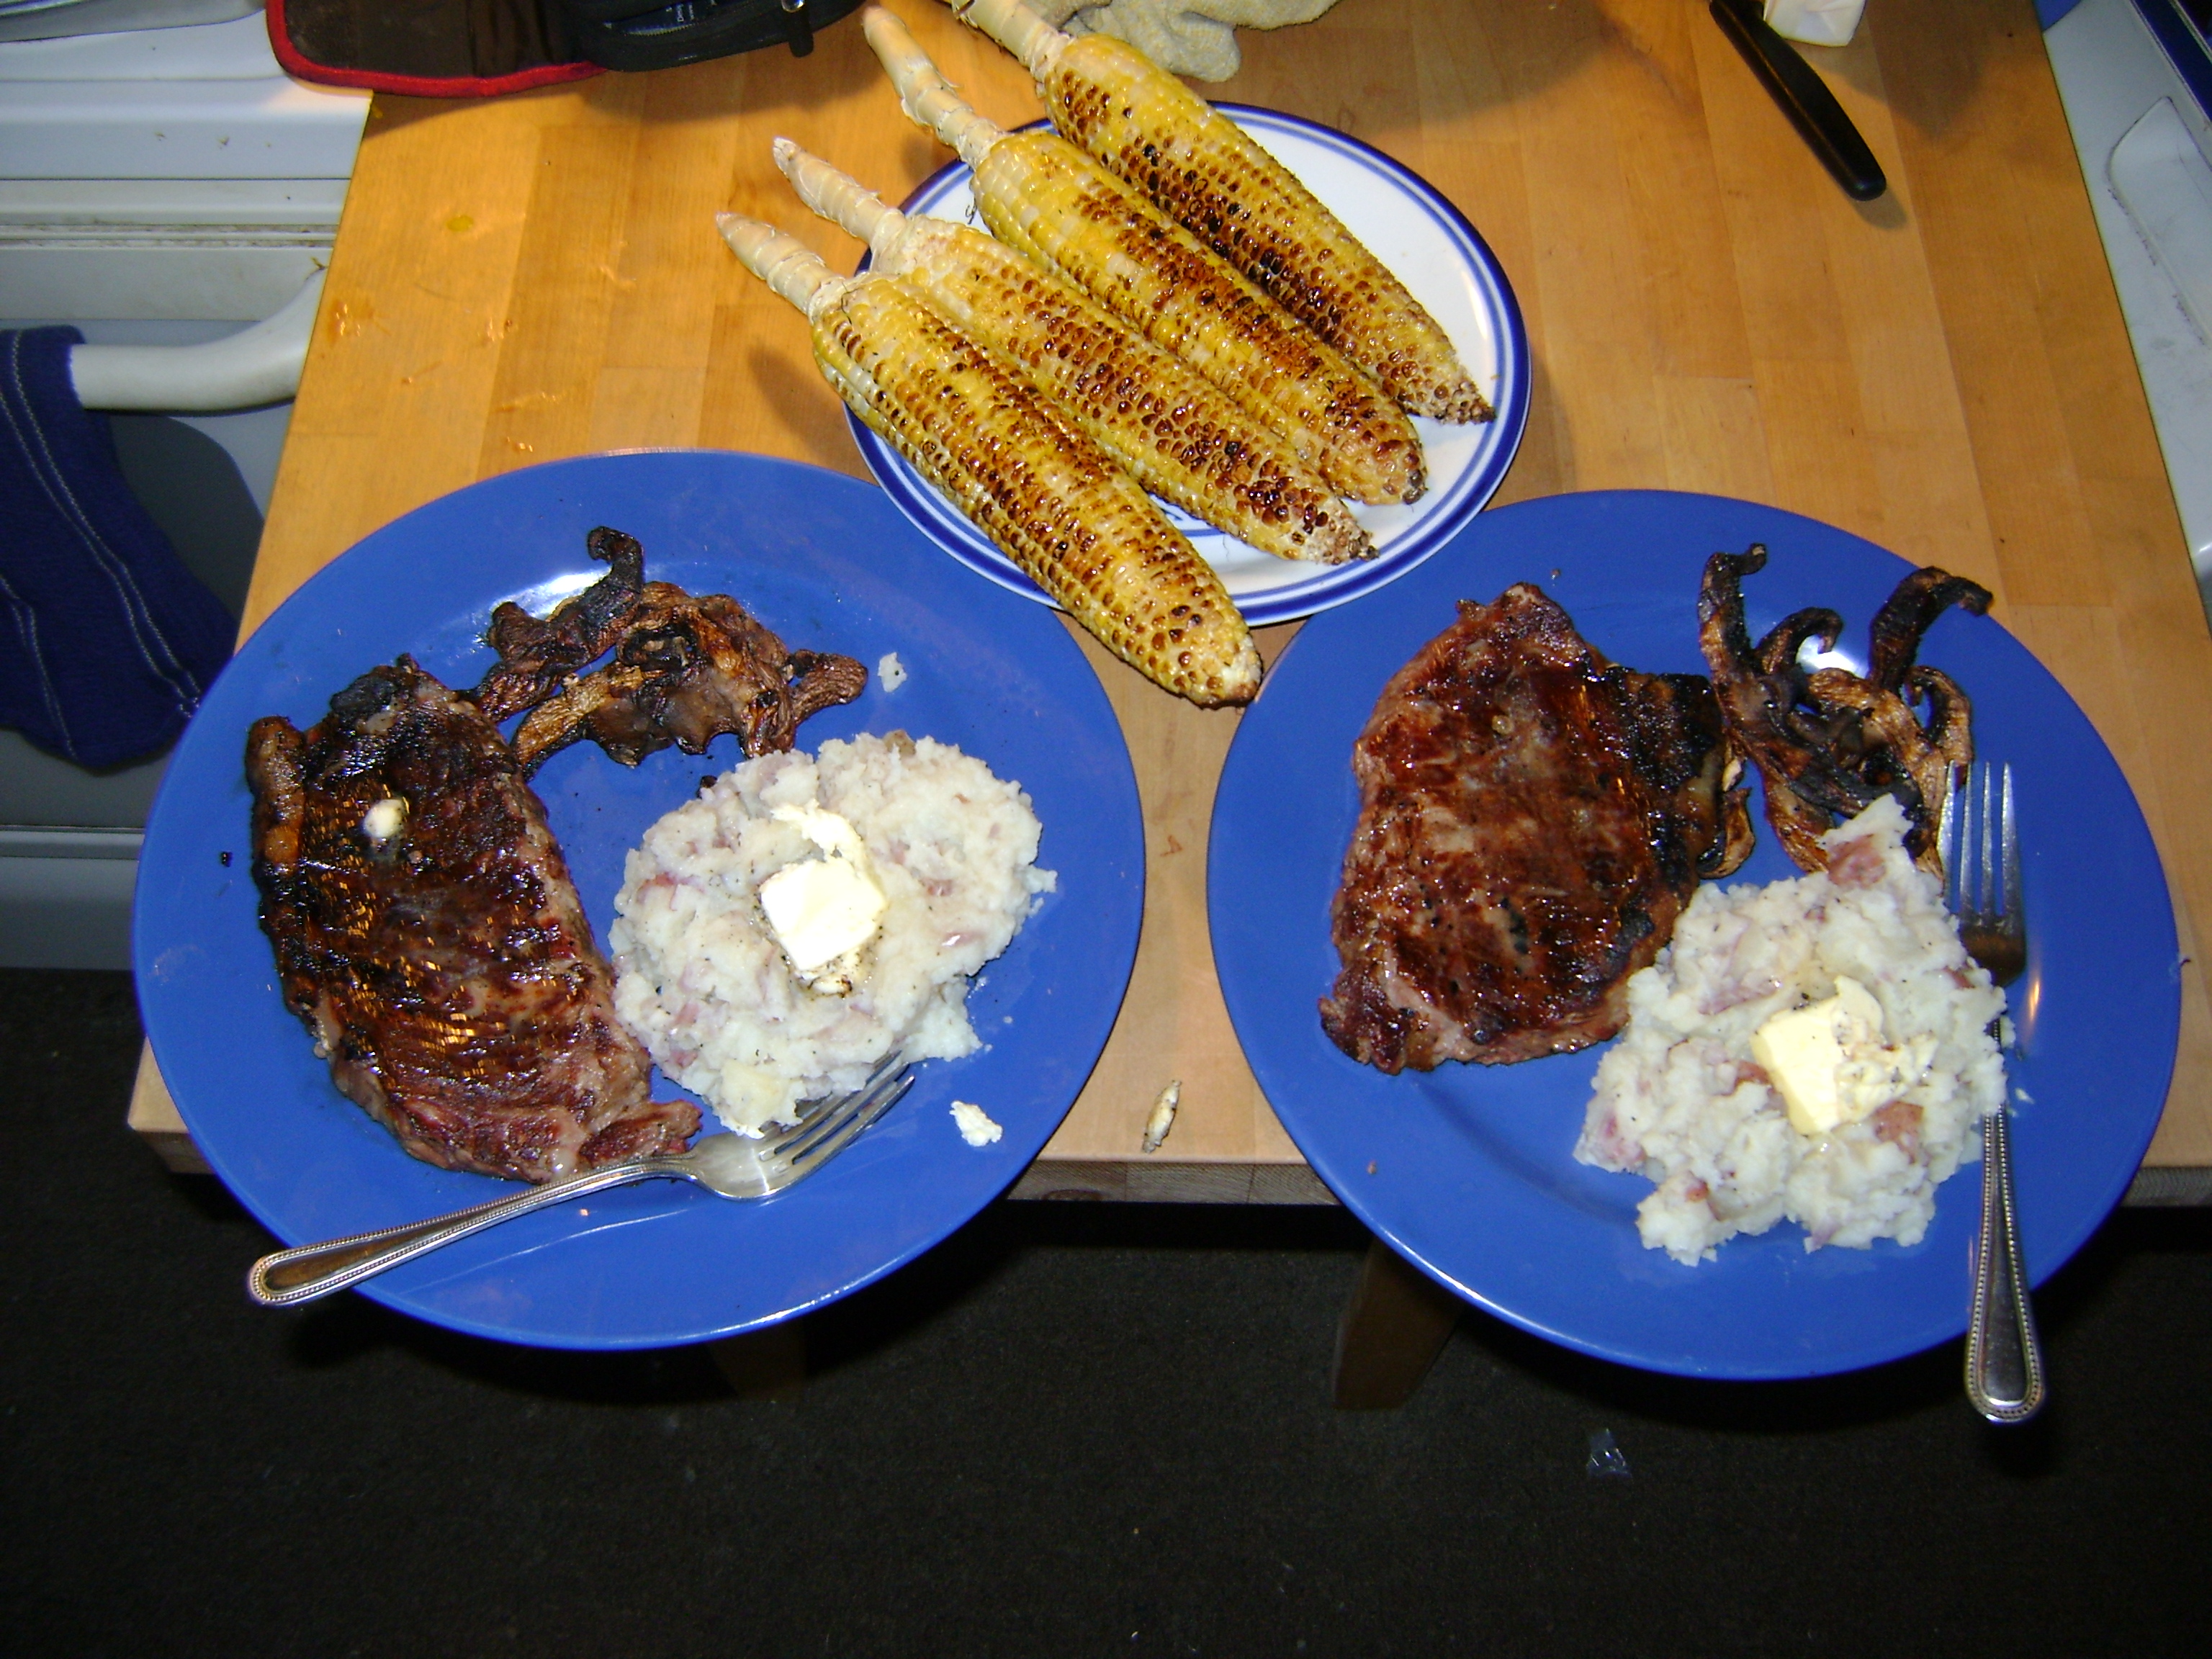
I desire the classics like grilled steak with garlic potatoes and grilled corn!
Picture
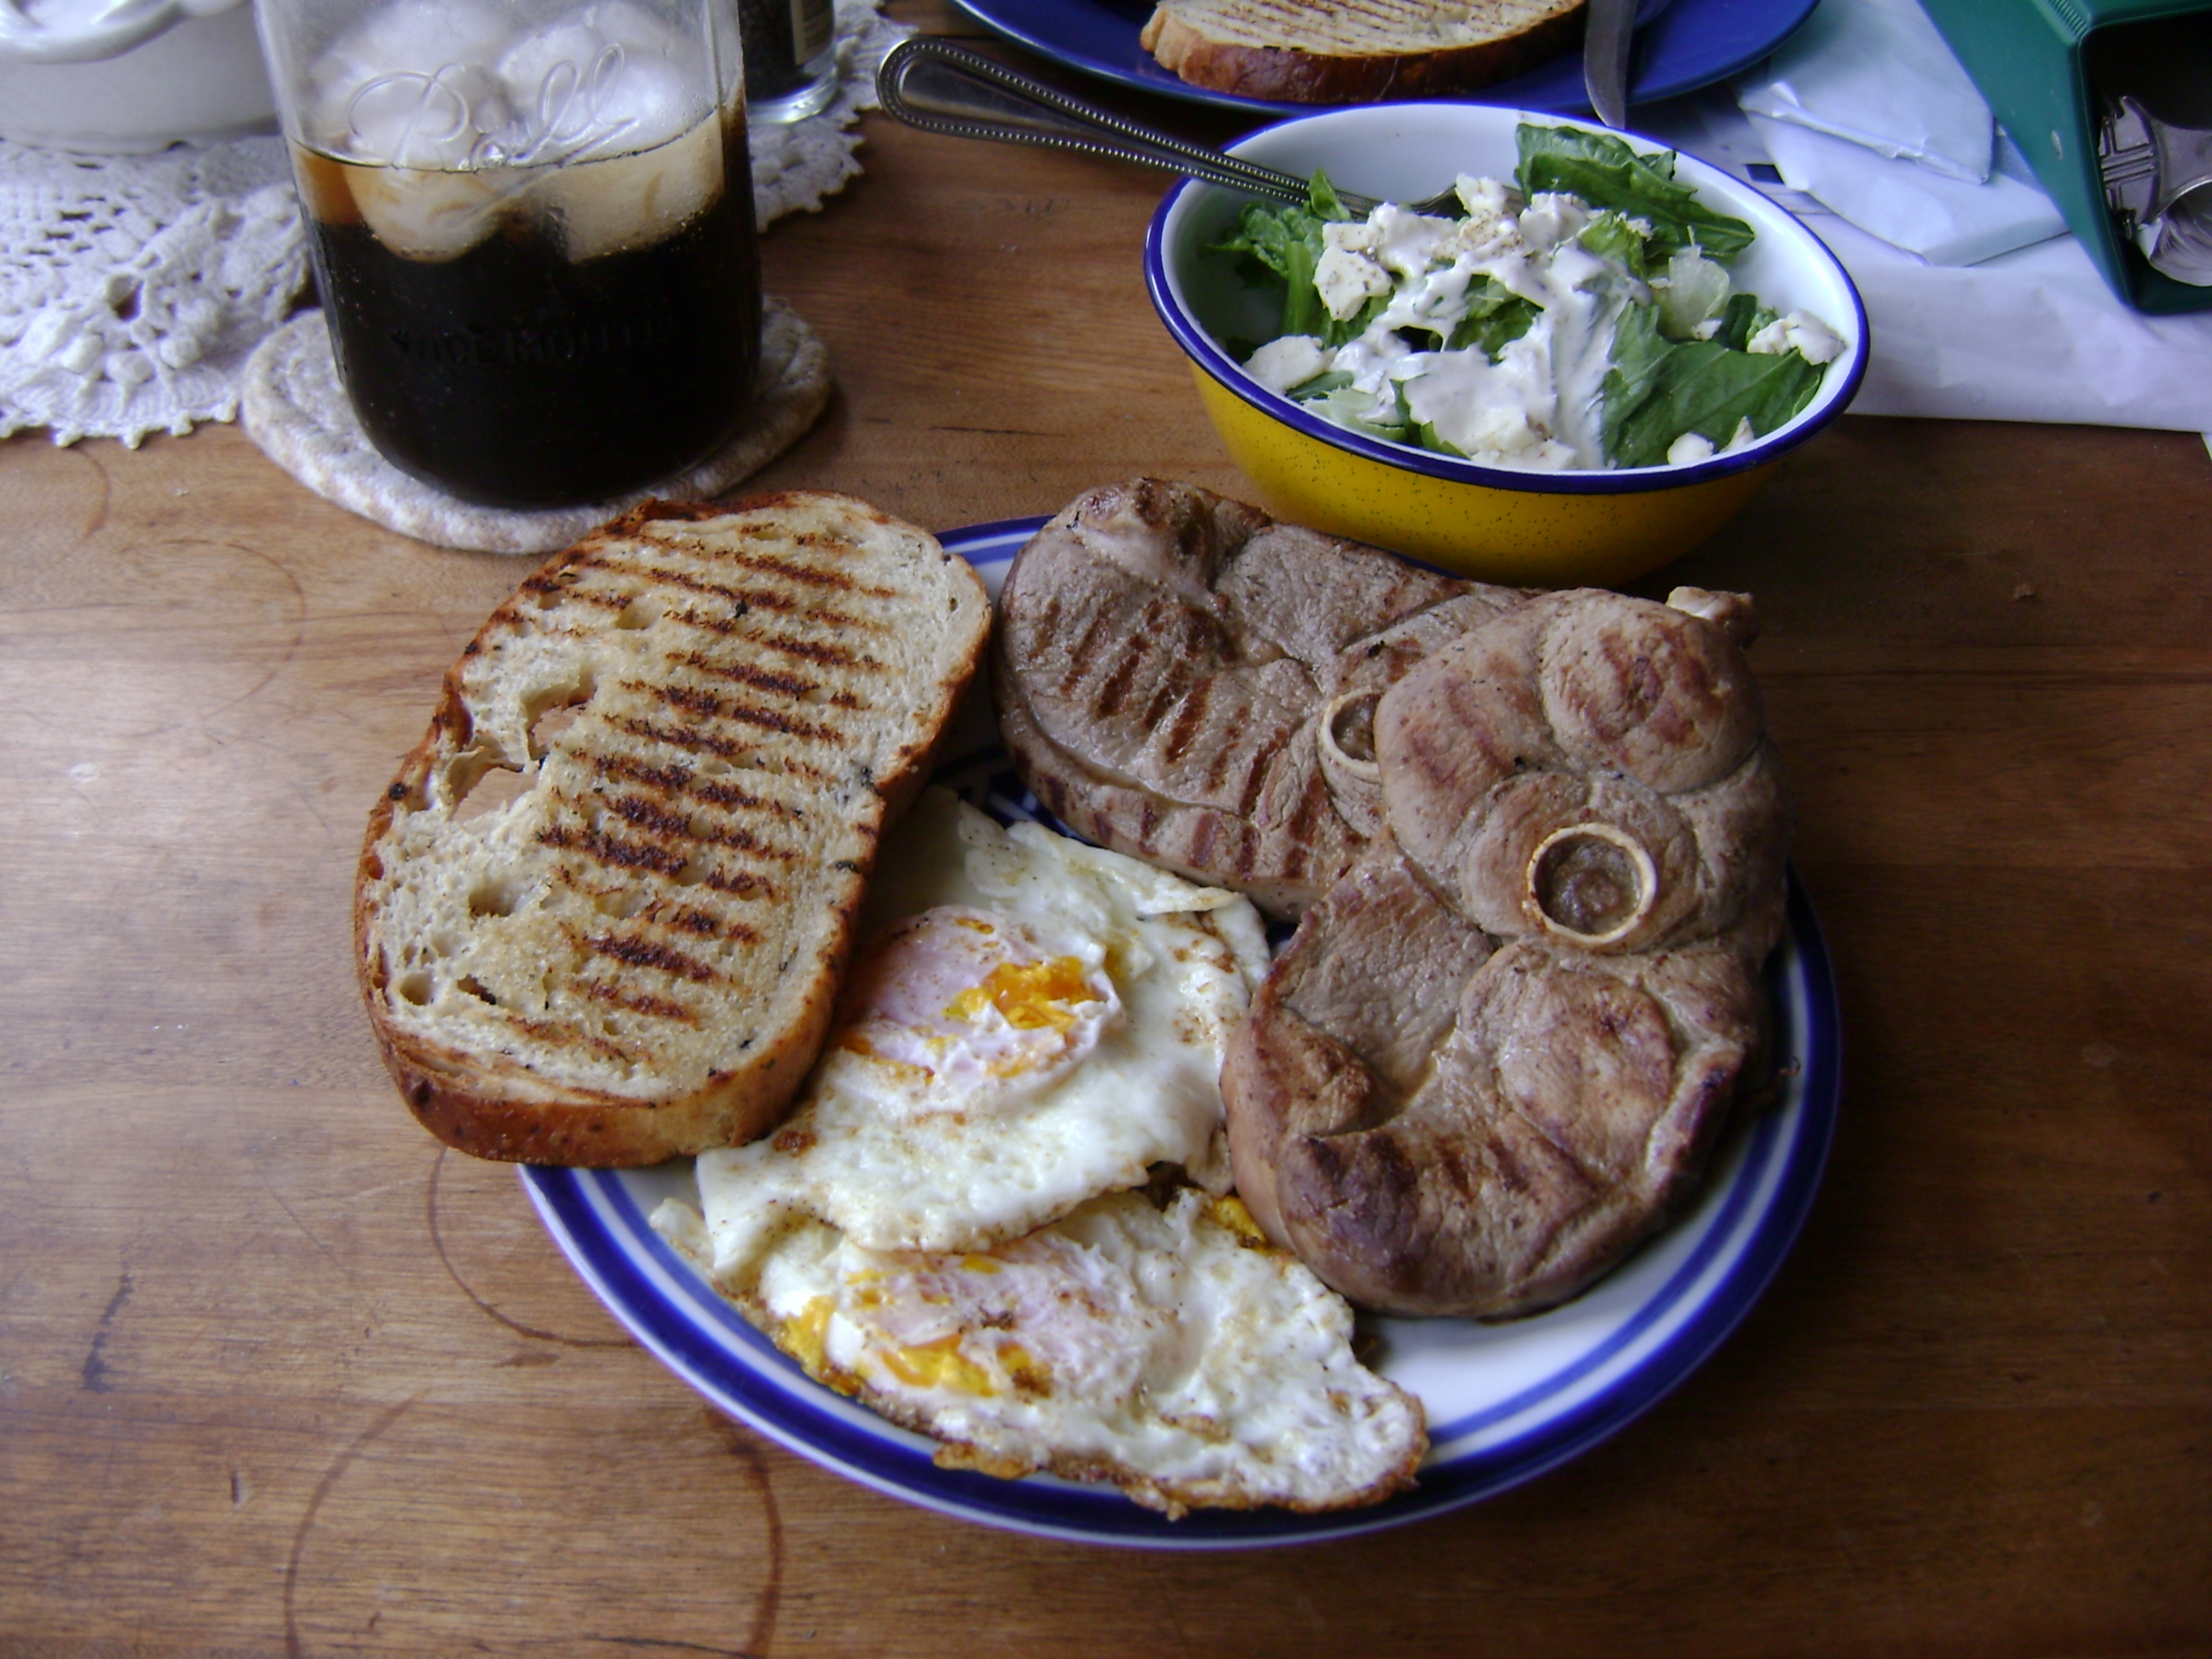
And I have learned... Breakfast with lamb steak and eggs with grilled toast and farmers market salad!
Picture
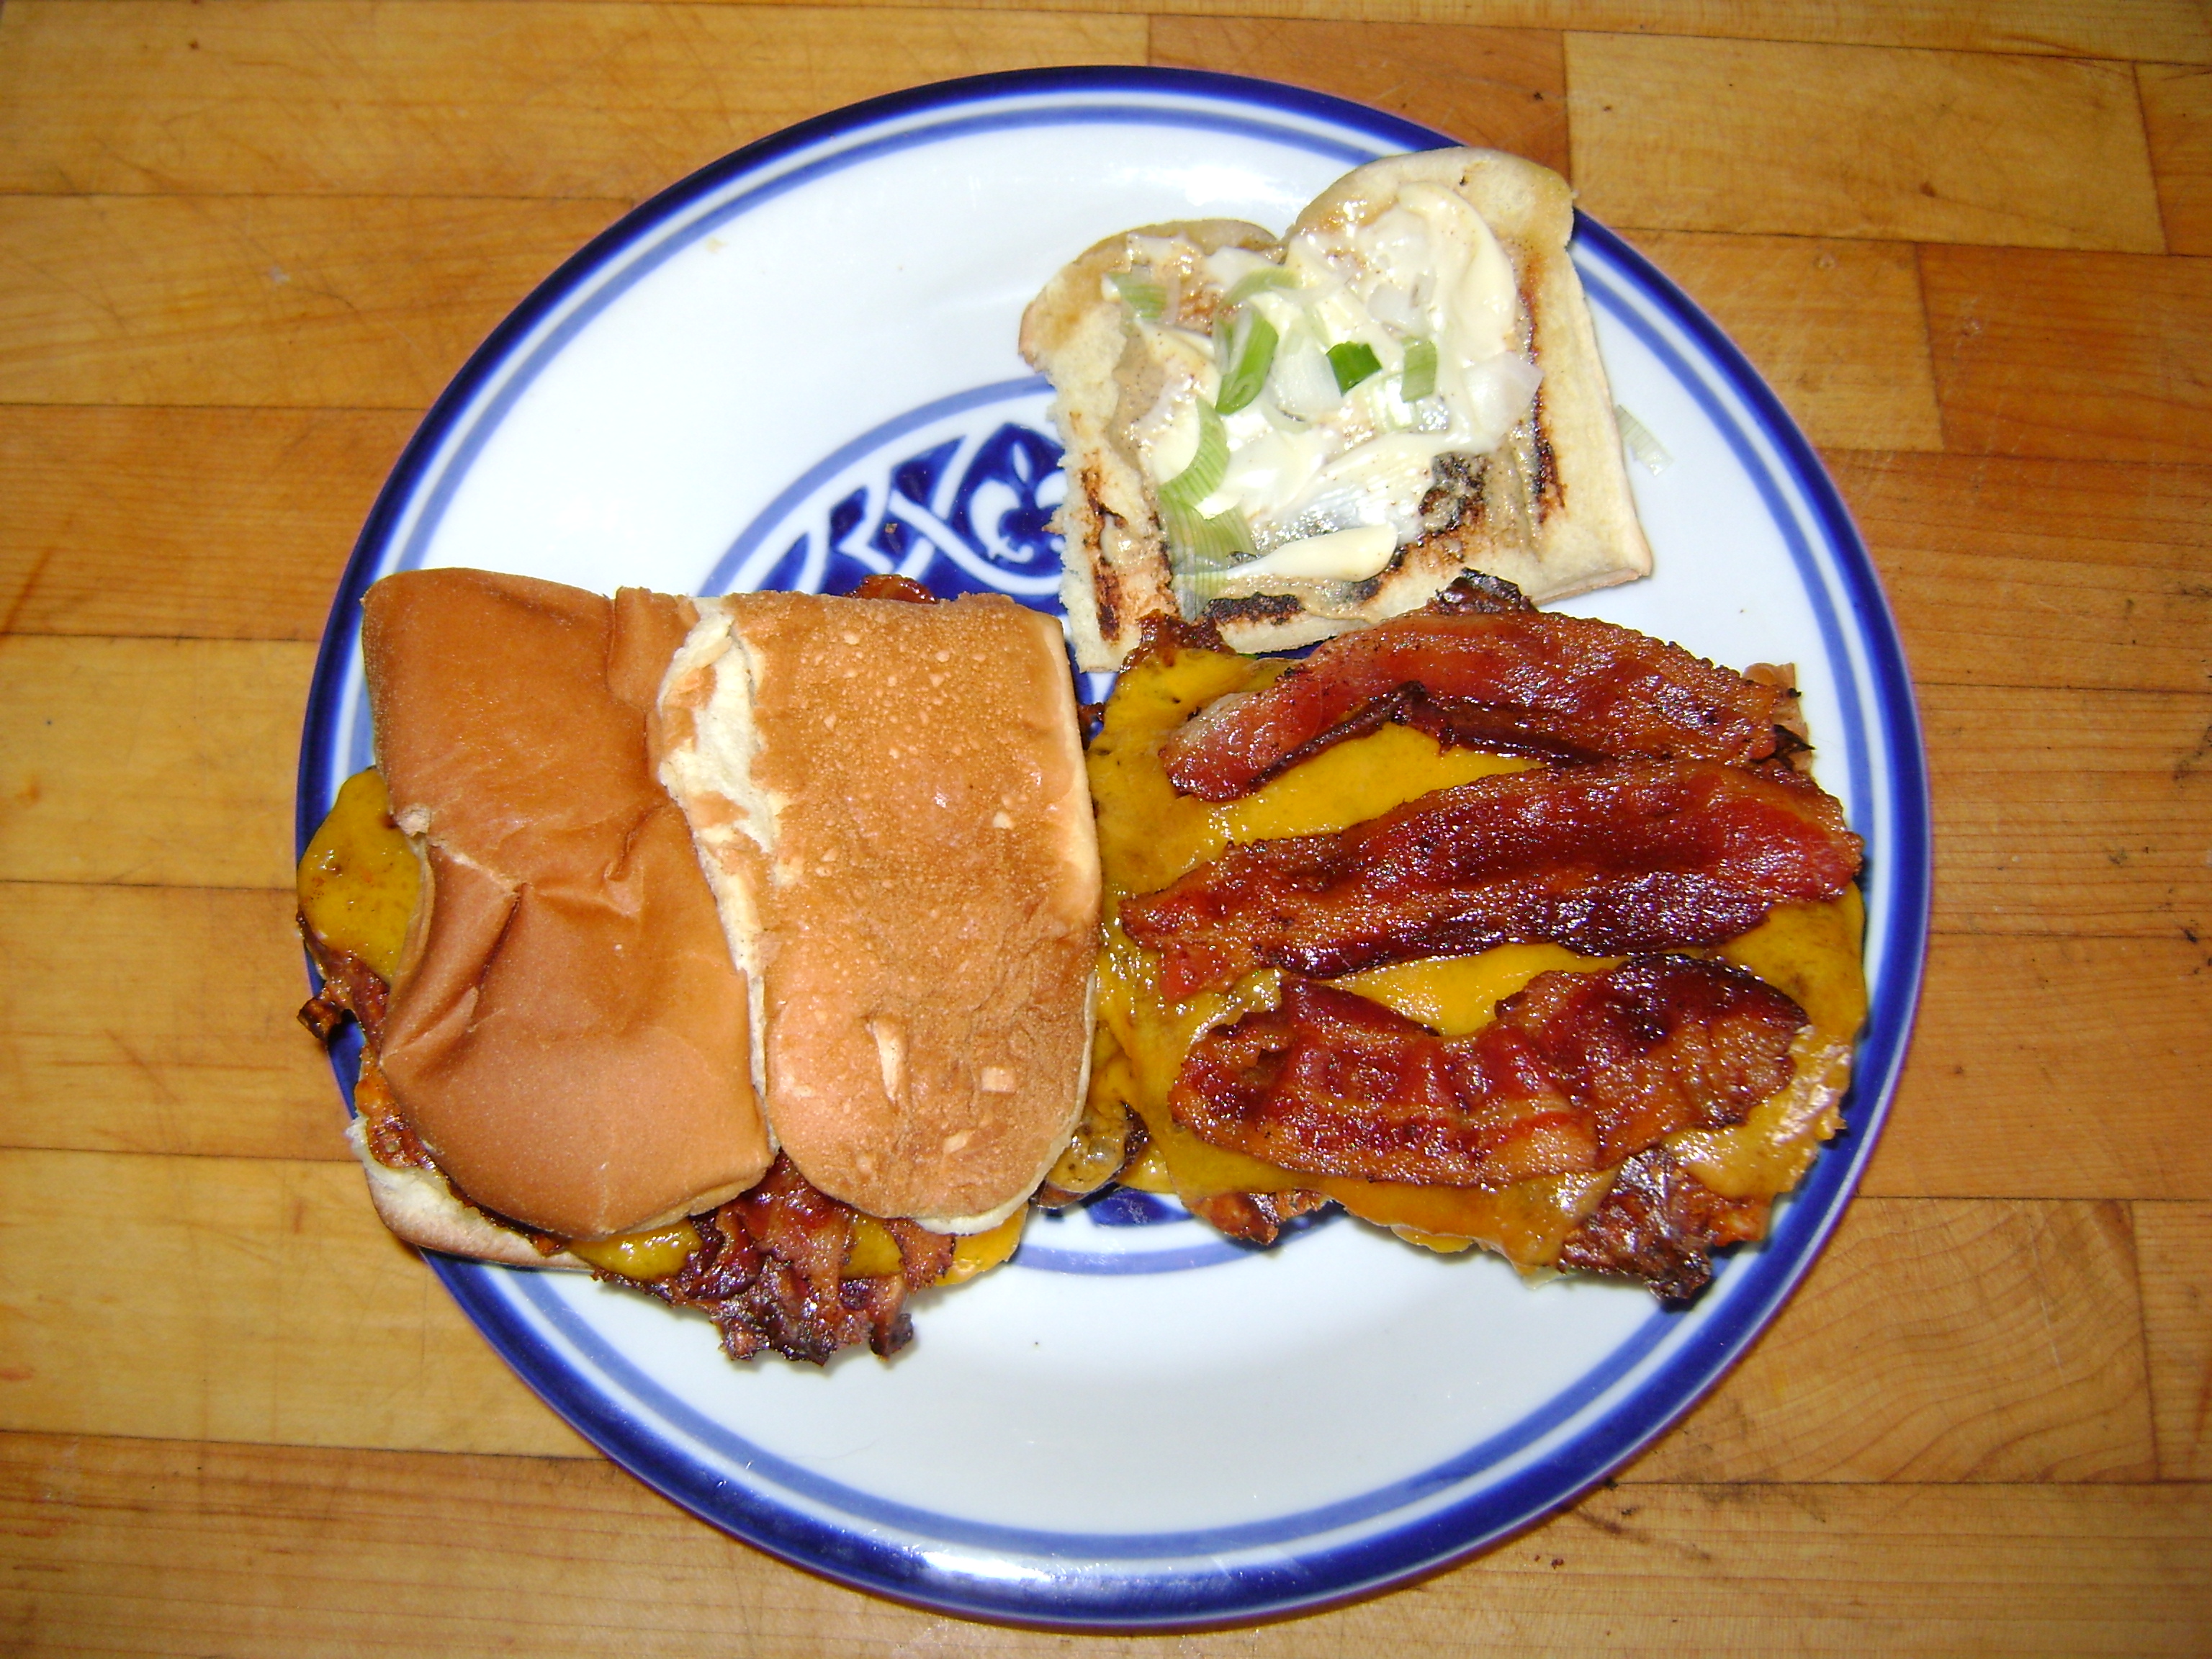
... Just using what I have!
Picture
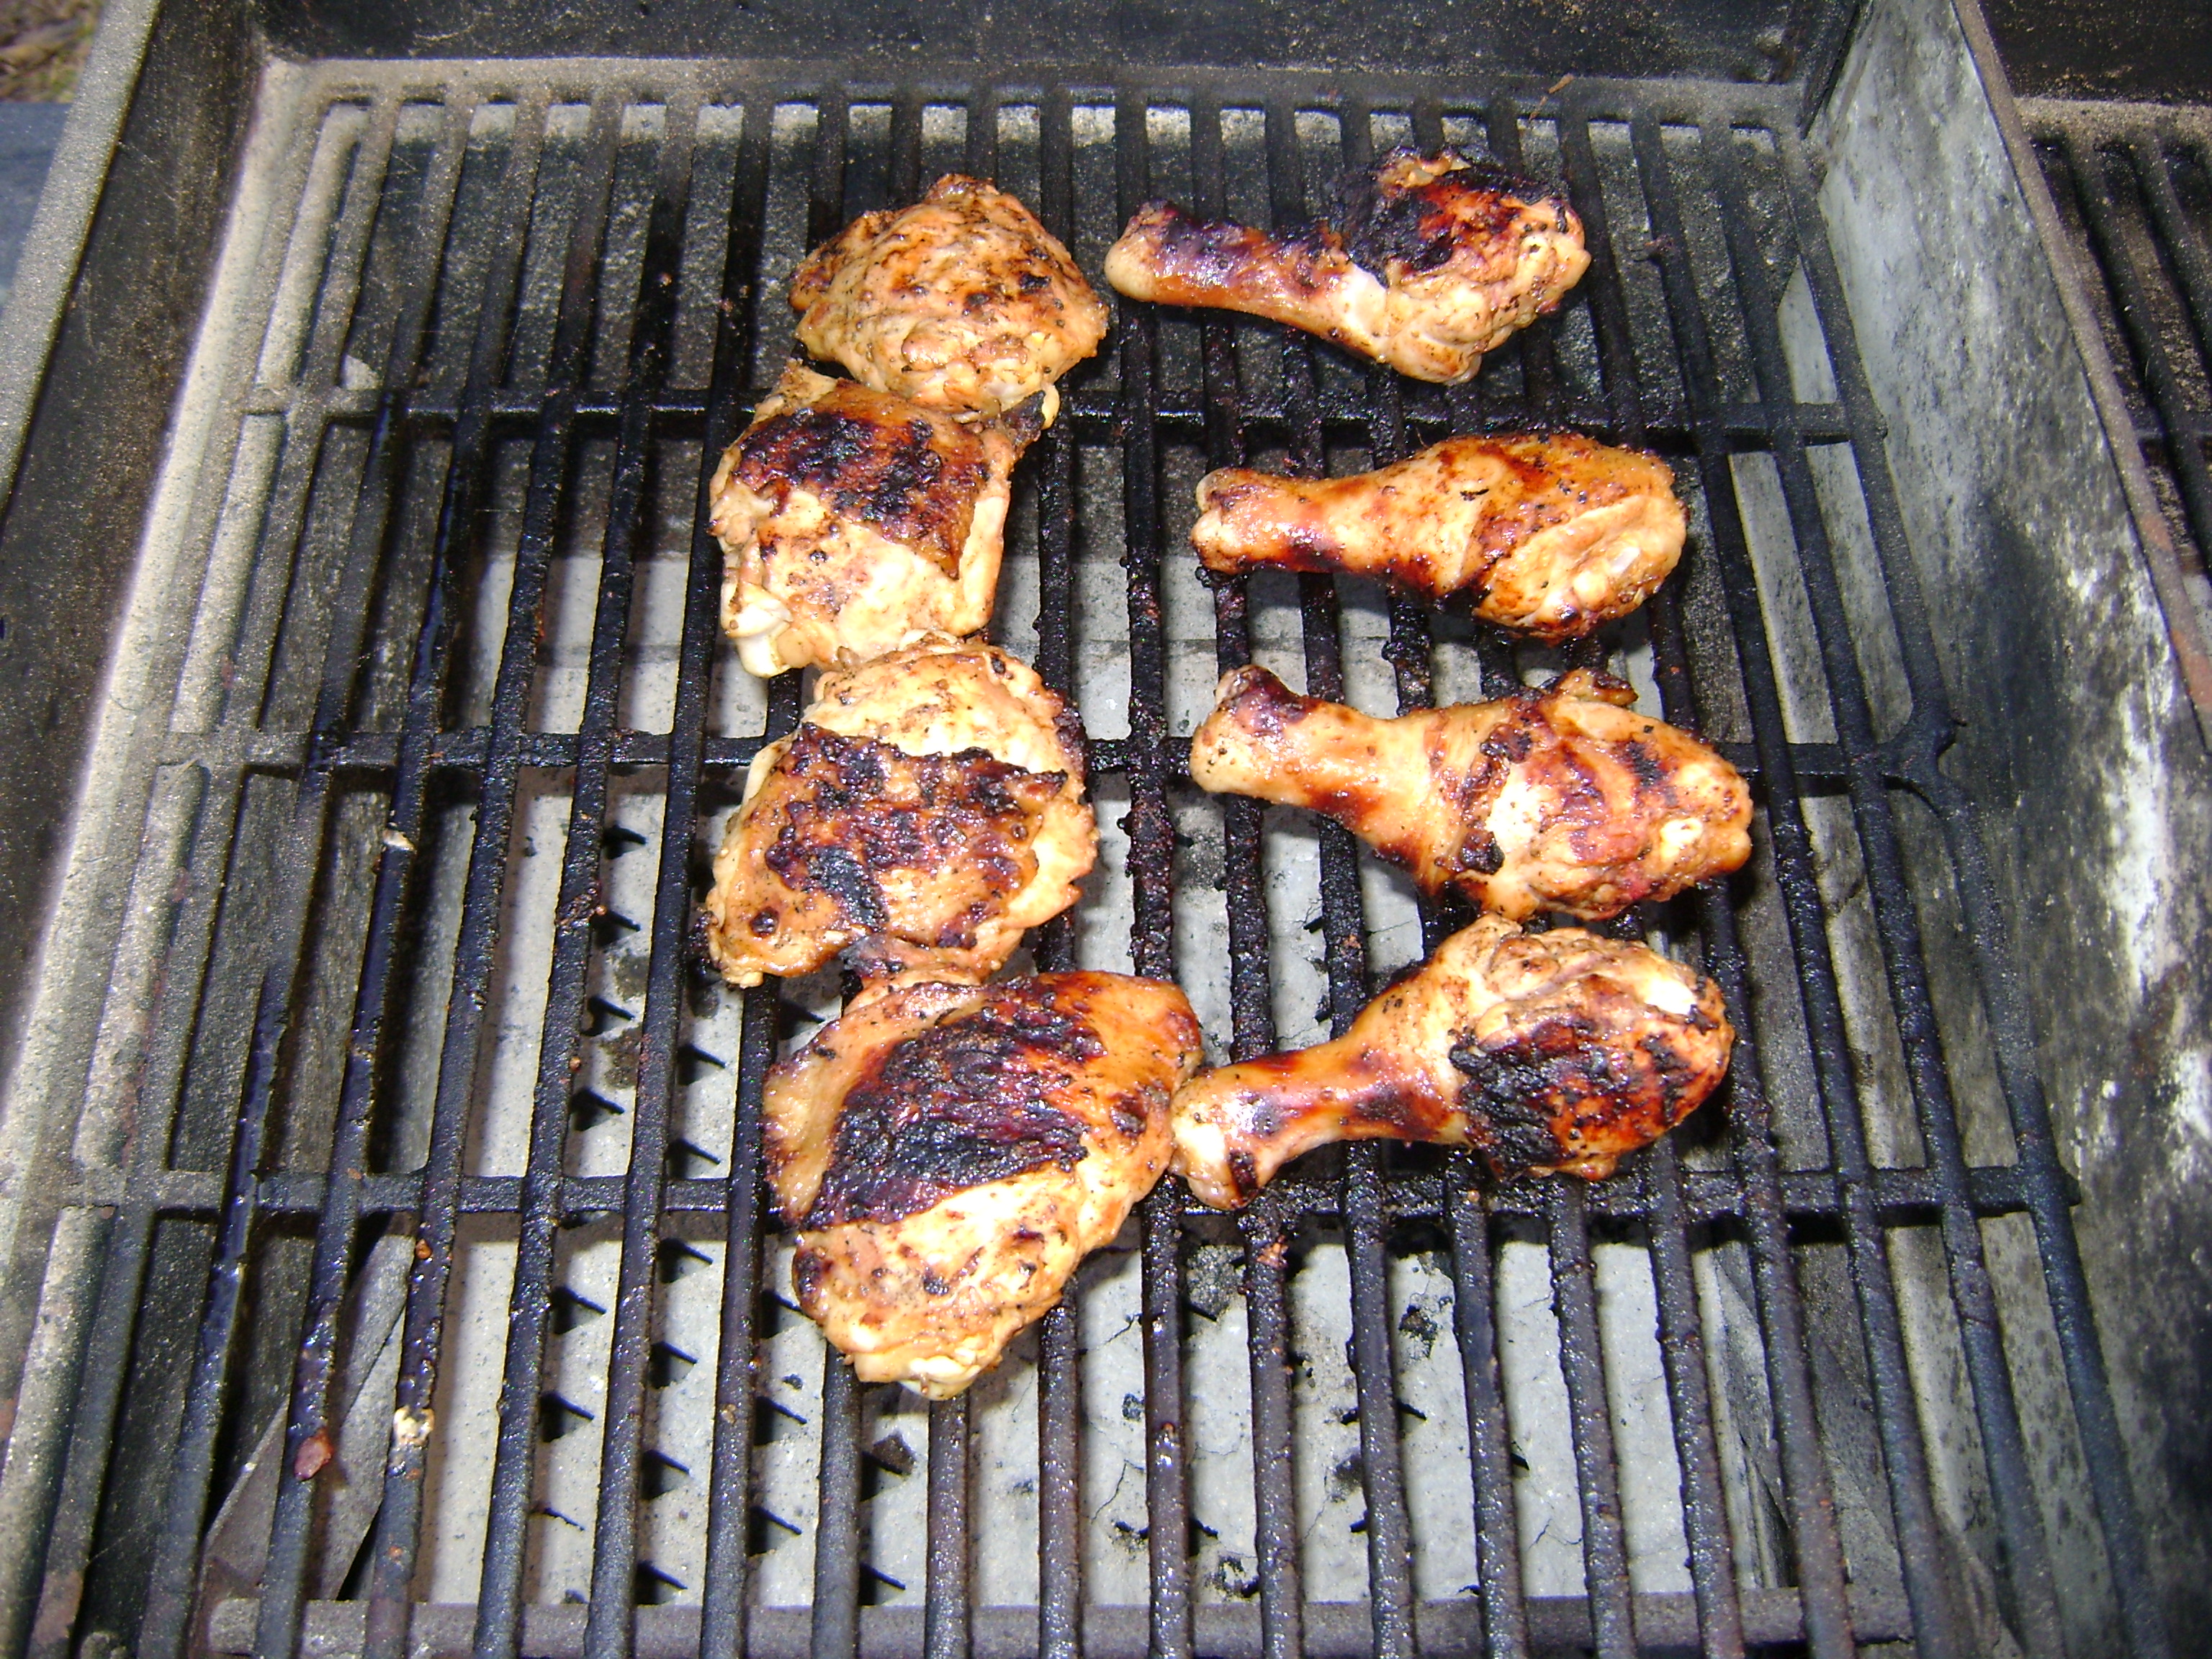
I desire good chicken!
Picture
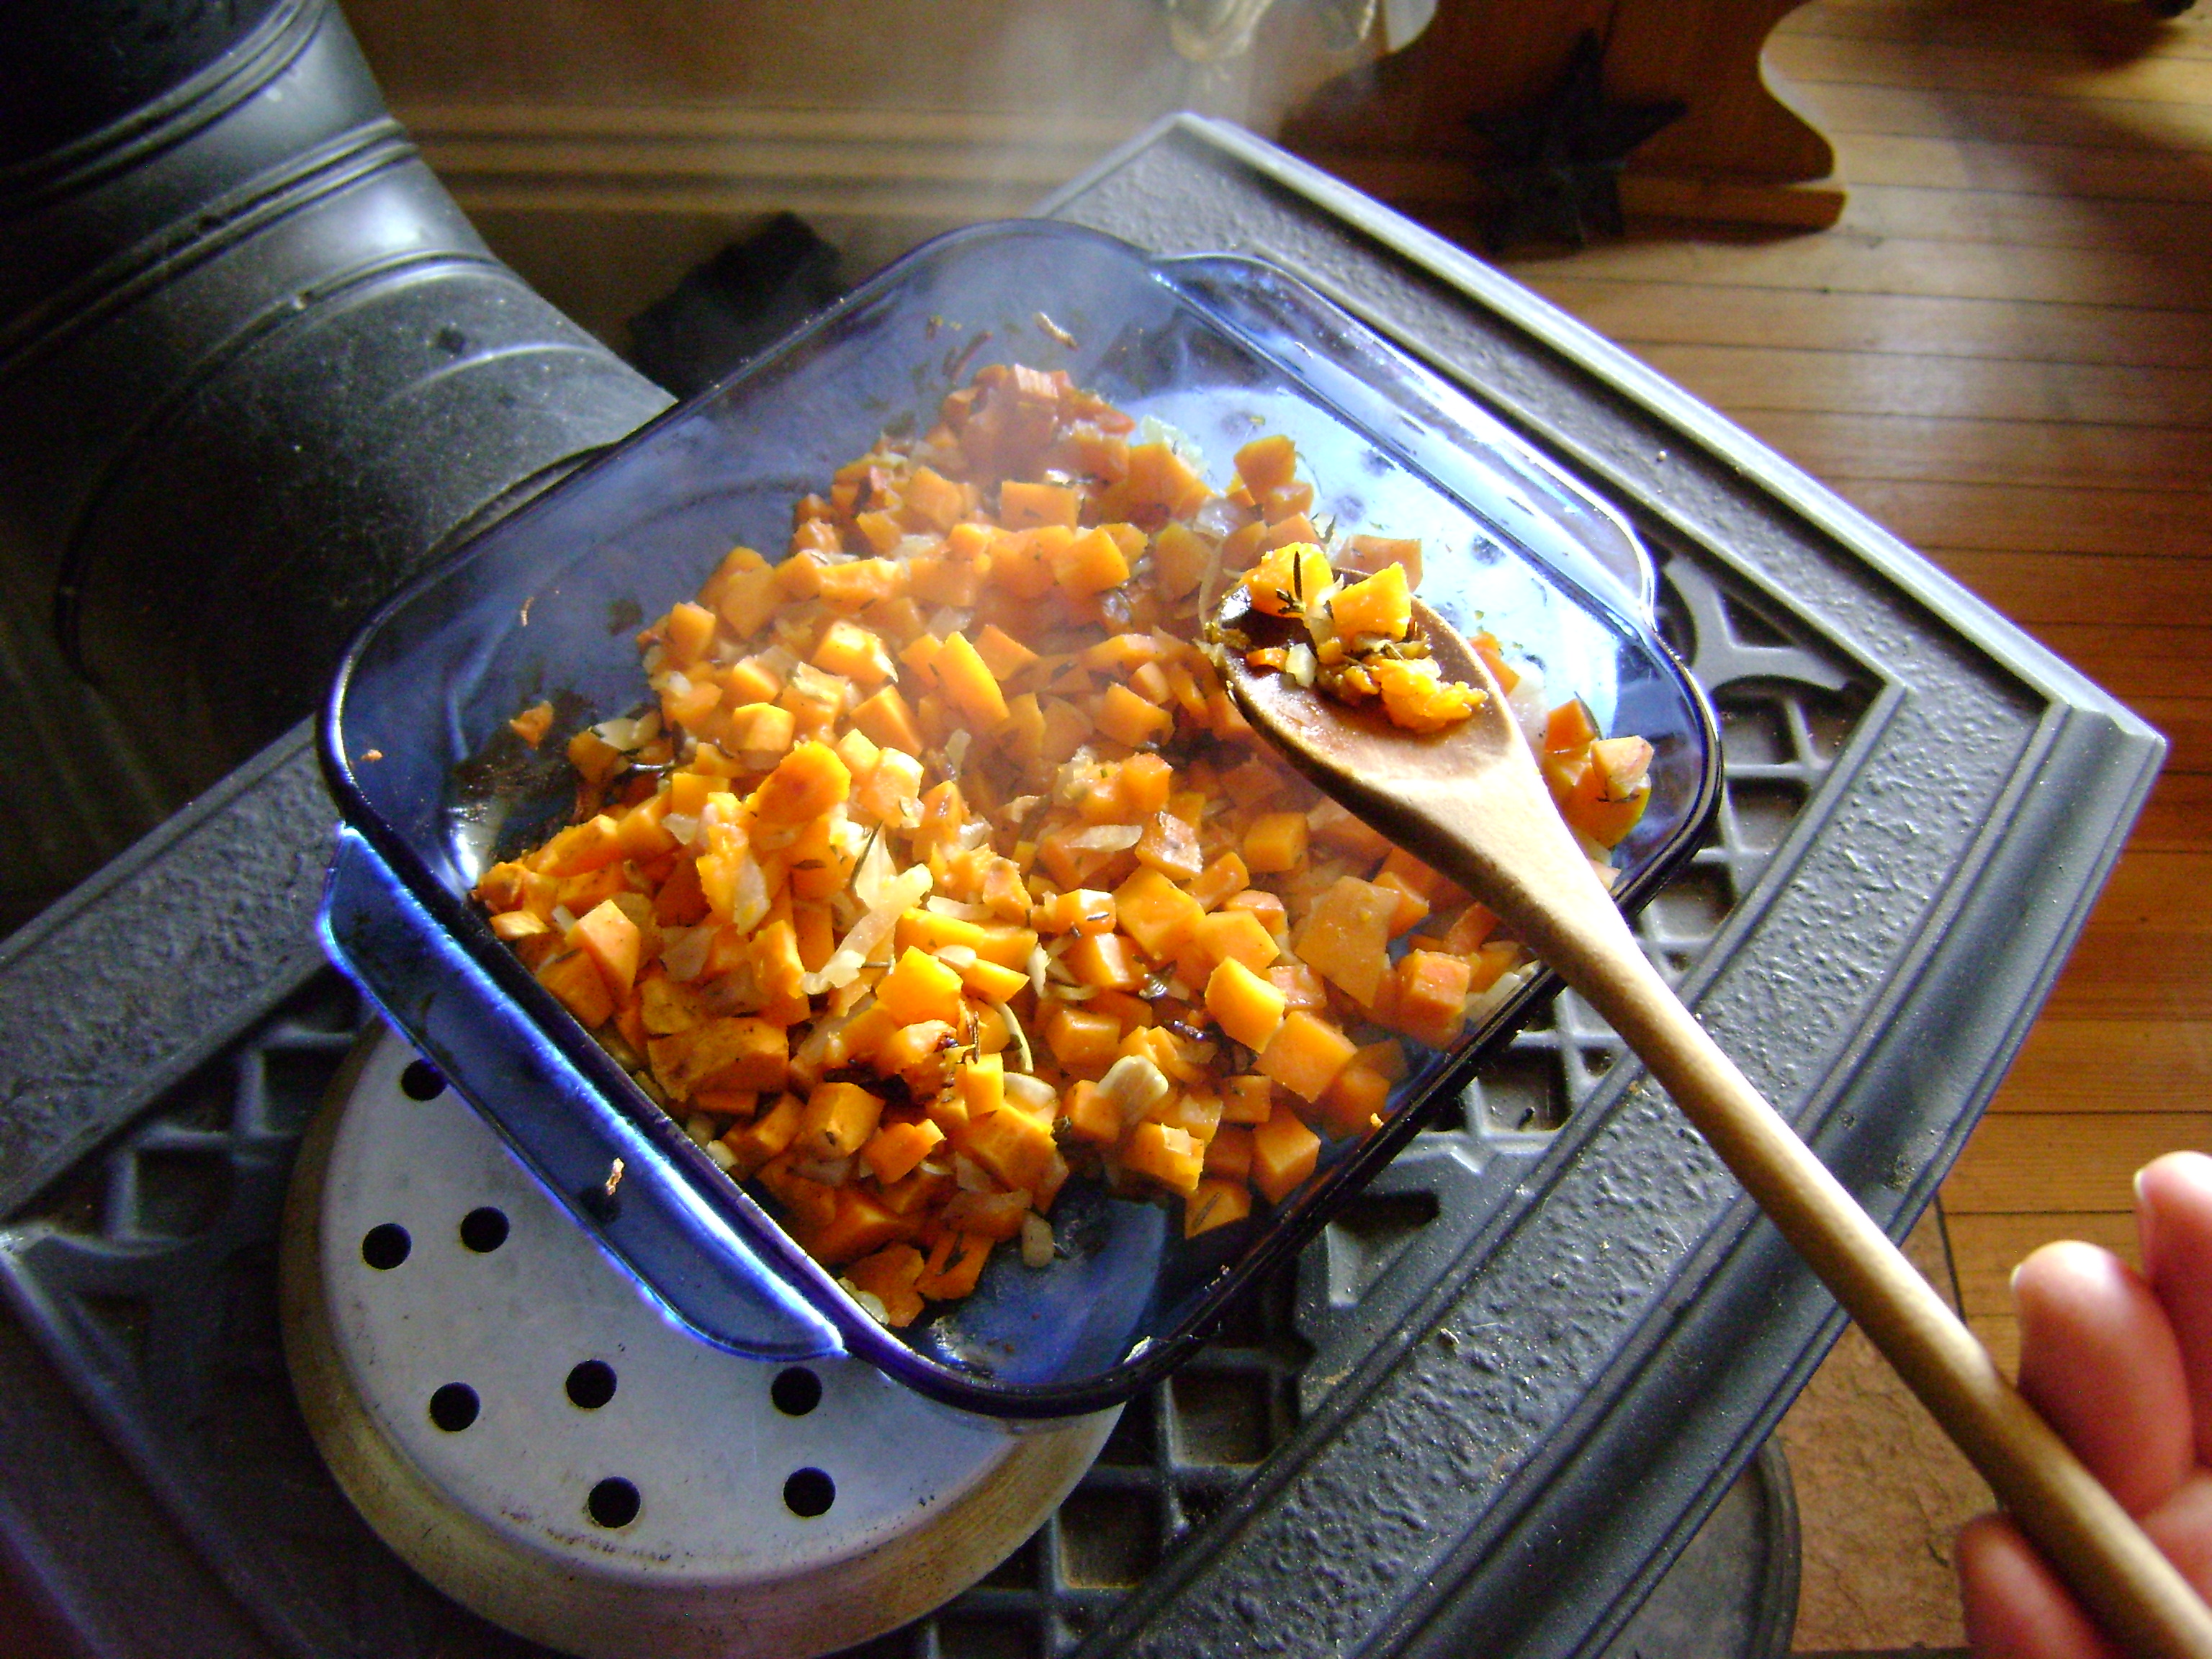
I desire good side dishes! (roasted sweet potatoes)
Picture
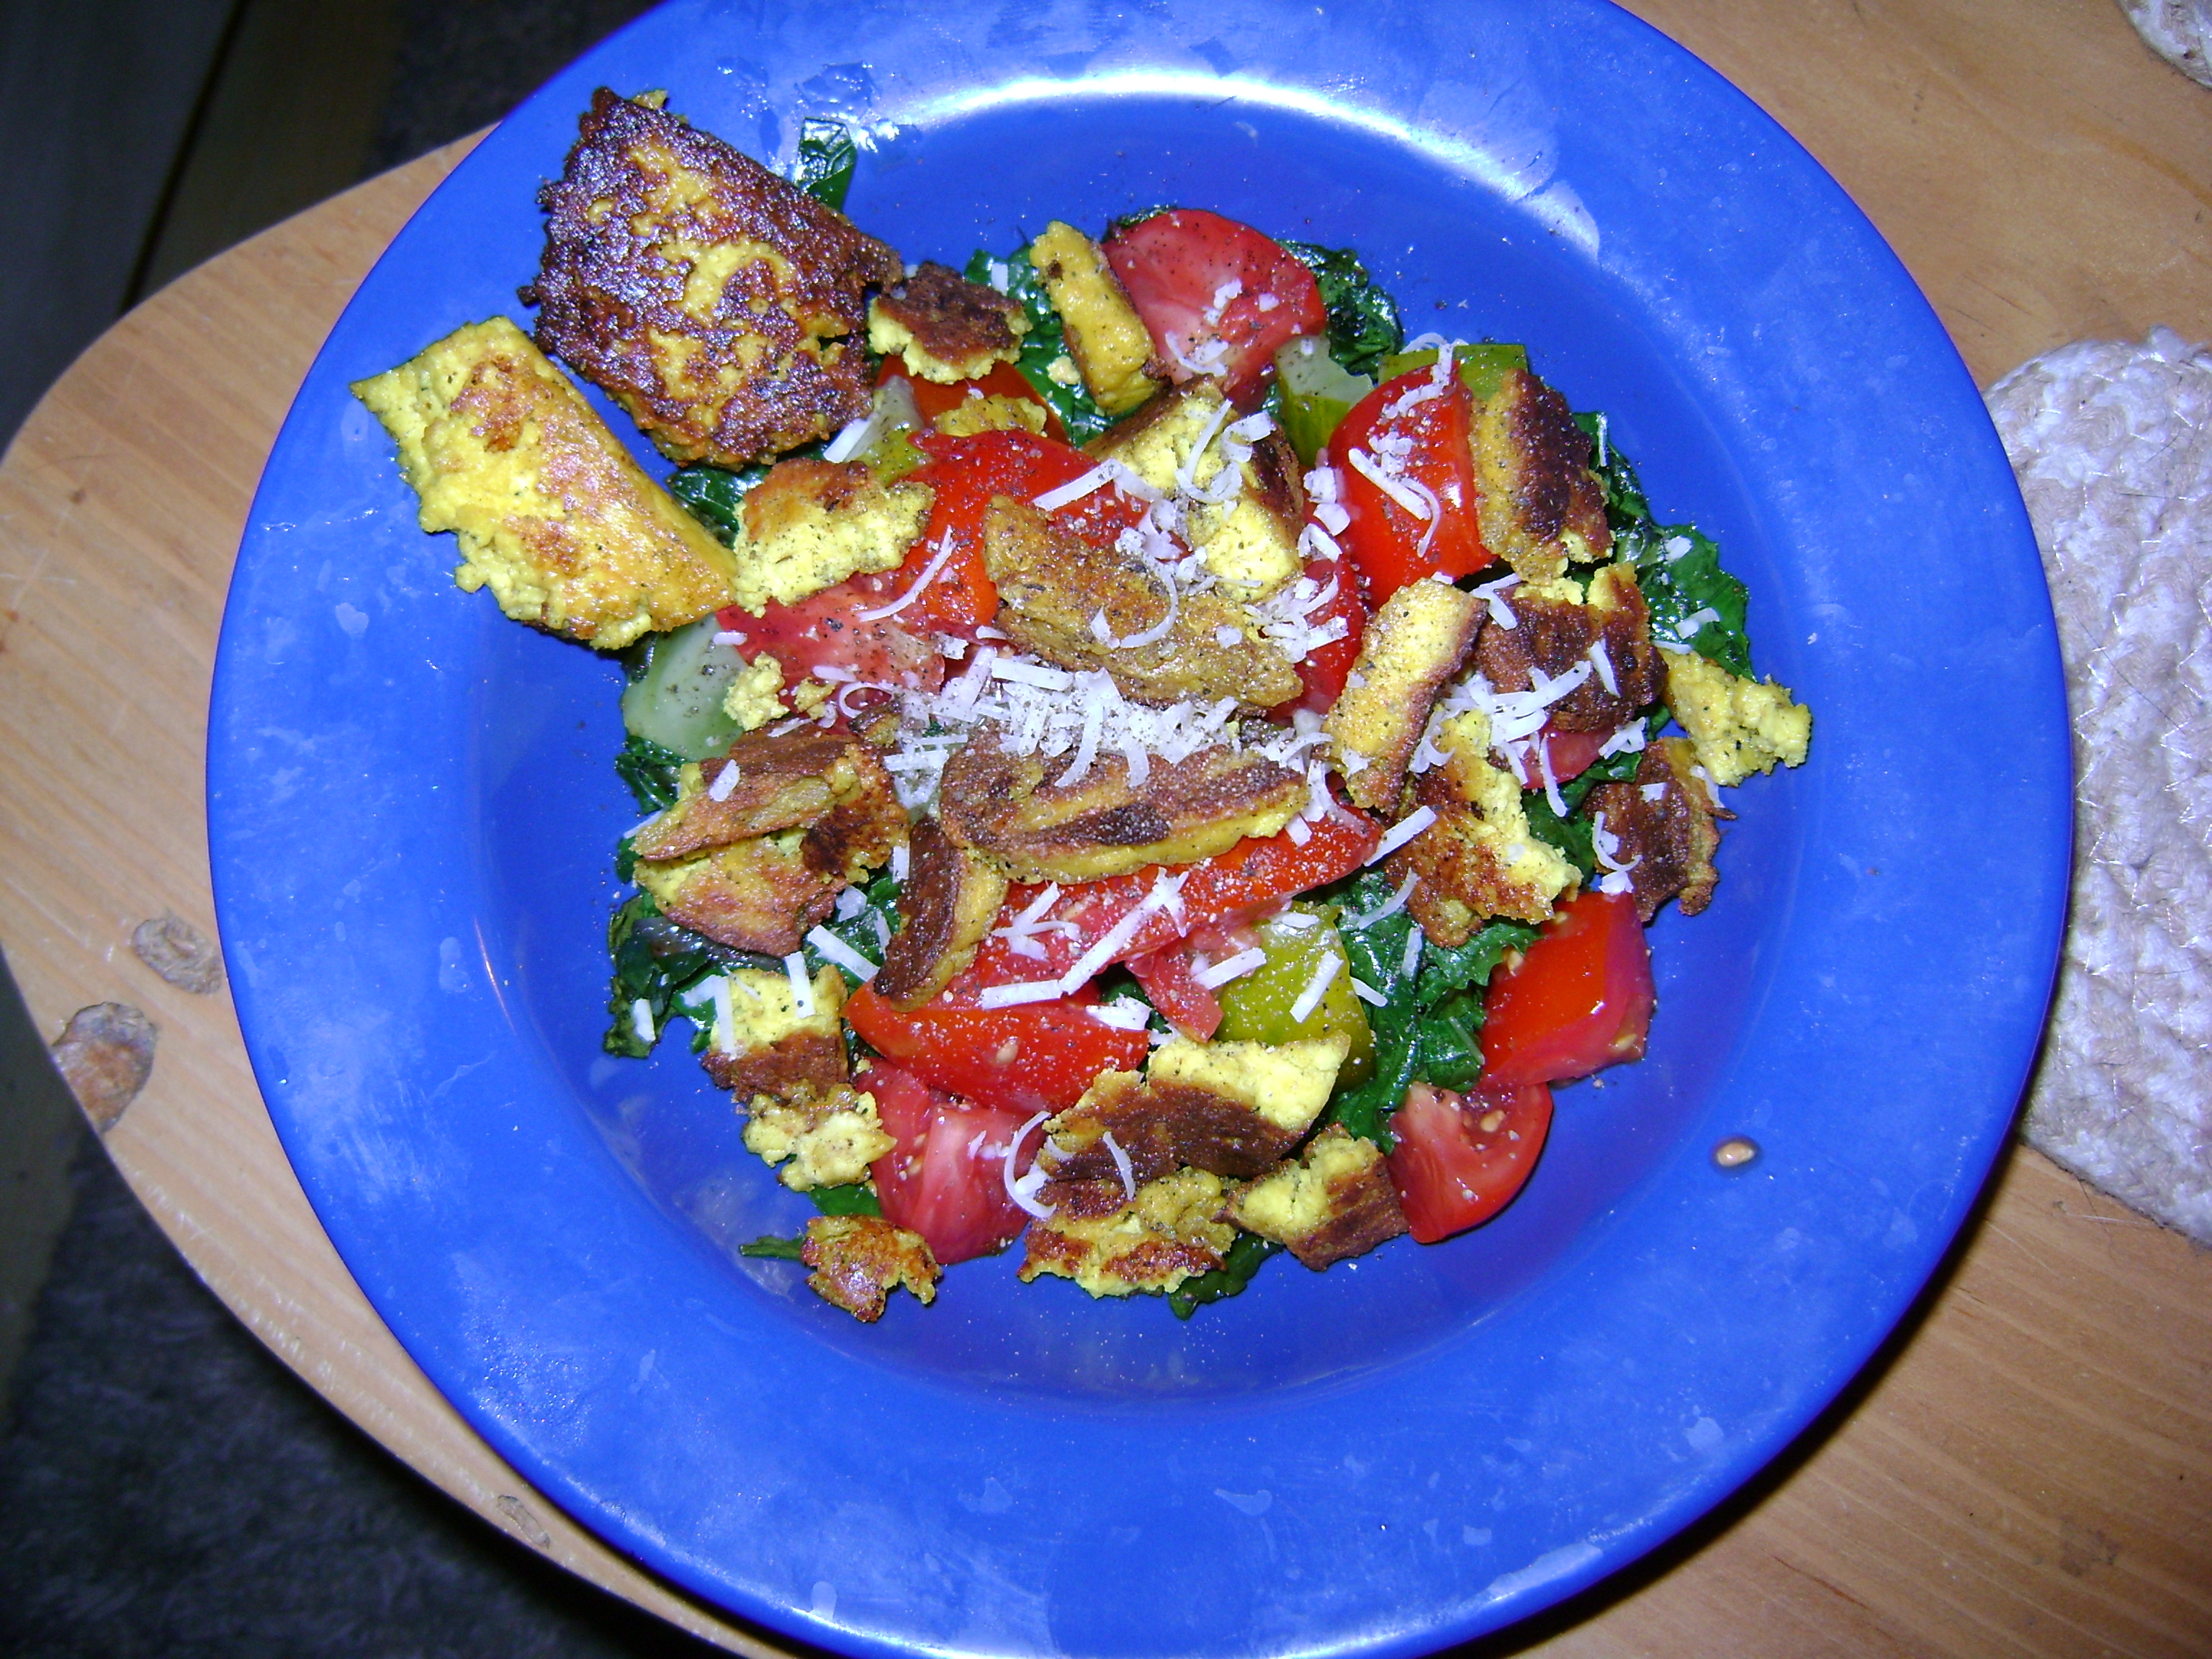
them made with homemade spiced paneer cheese!
Picture
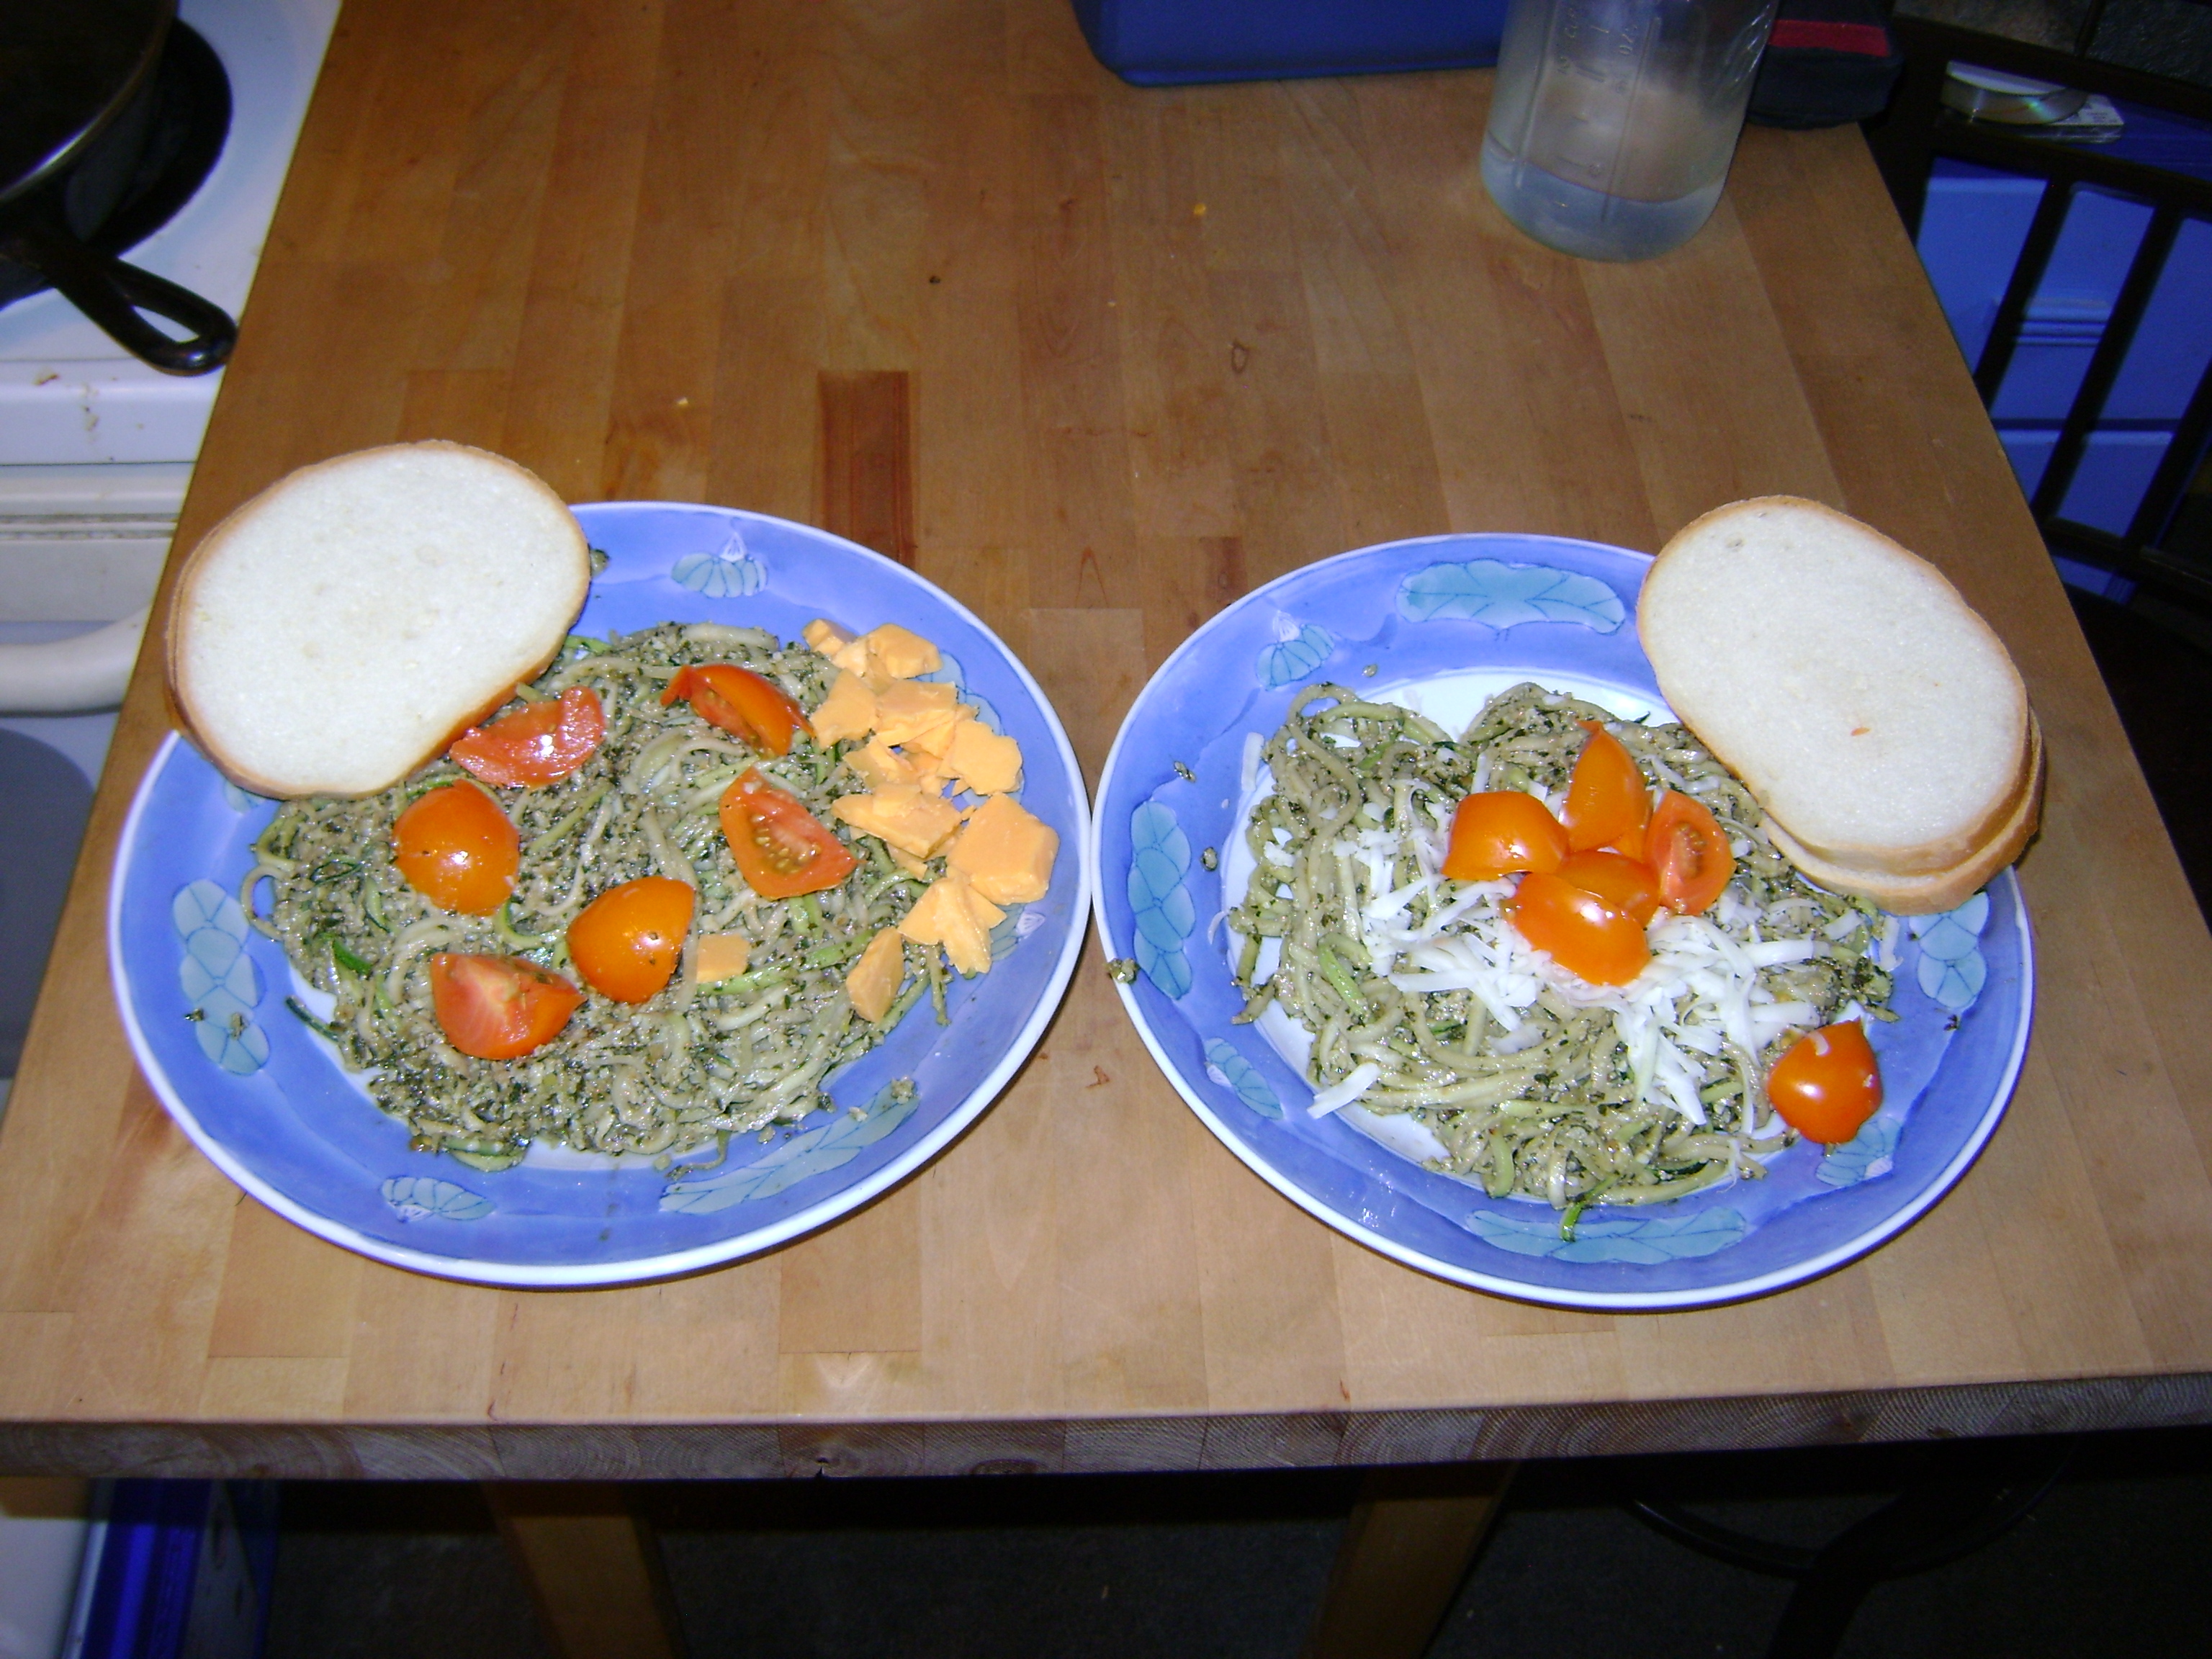
I desire new ideas like stringed zuccinni in home made pesto with sungold tomatoes on top!
Picture
All this desire makes a guy hungry, You know?
Picture
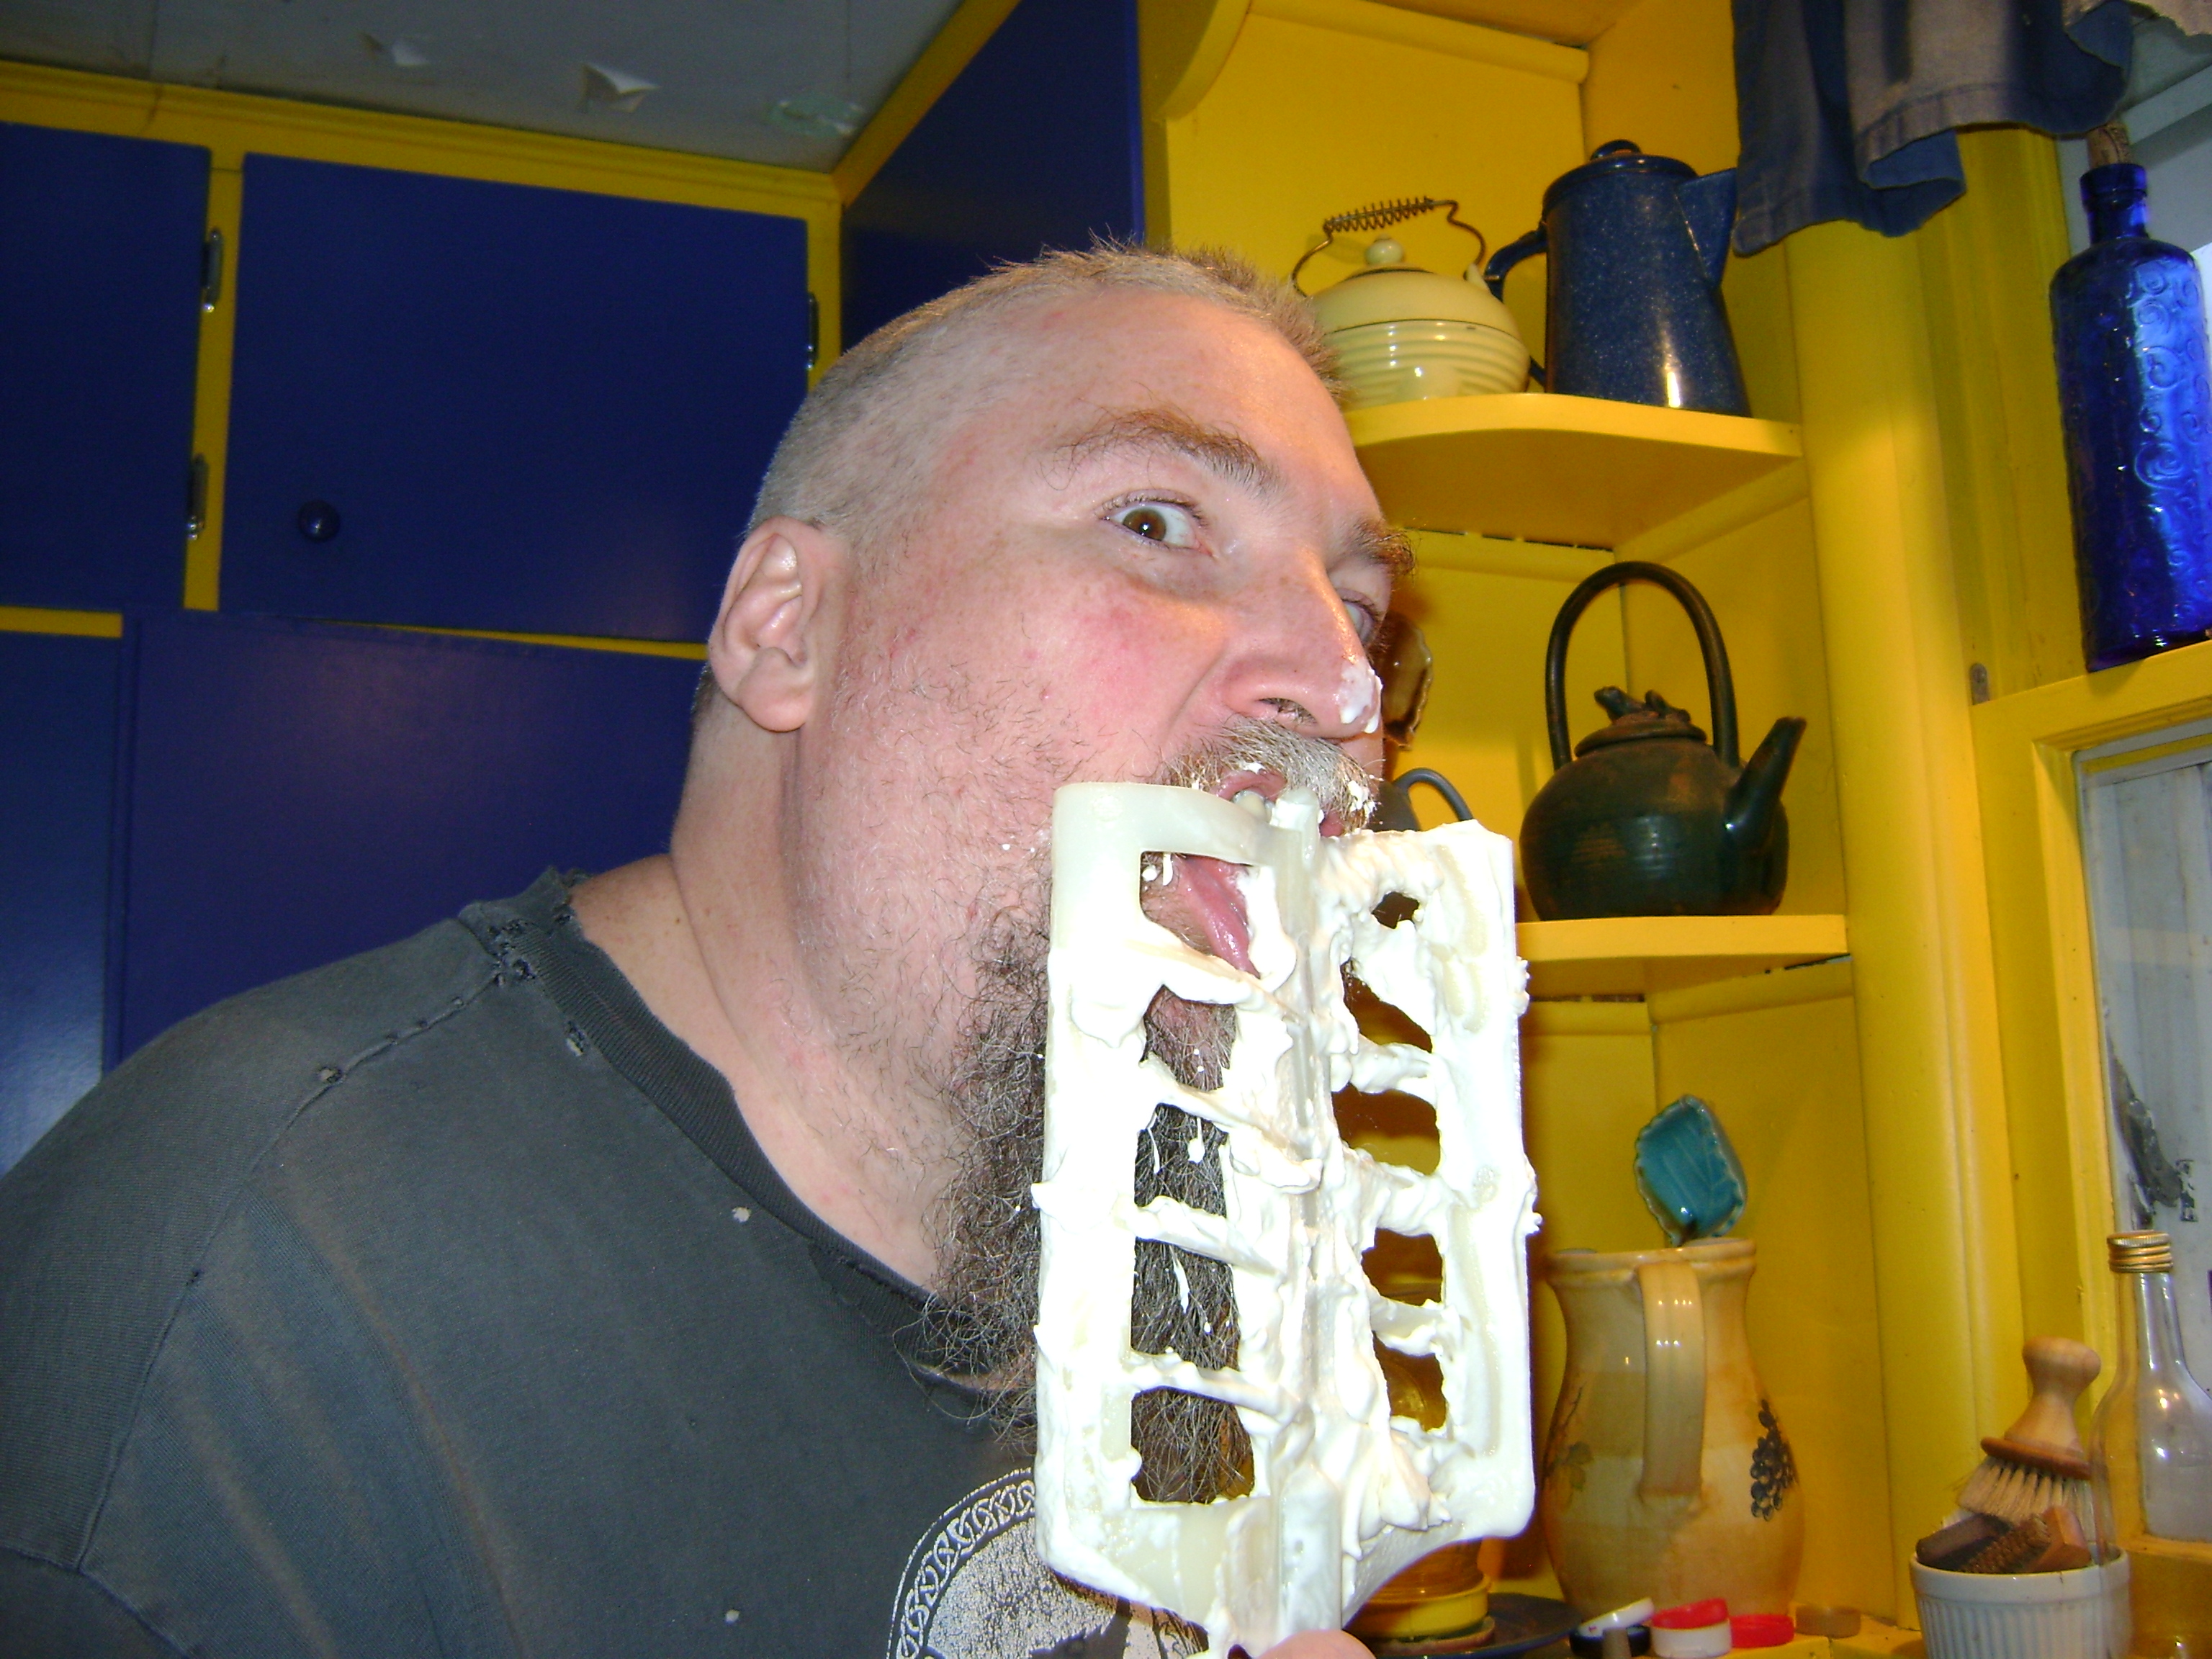
It's all about quality control... really... it is!
So, why do I like to cook when I don't have to? Look at what I can do when I try... Enough said.

​type at ya later...
Picture
Picture
Comments

Grilled Cheese Classic Championship

4/23/2016

Comments

 
Picture
Bear here... long time no type...
I hope people are still out there and interested....

I entered my first "Wisconsin Grilled Cheese Sandwich Championship"  (Left:  Got the T-shirt to prove it.)

(Also grabbing life by the horns, hope you all like the new hair do... it's a 10 point rack.)

With Theresa's help and the unleashing of my inner Cook of Anarchy... Here is what happened...​
We decided to do two of the four categories of sandwiches (the classic plus one ingredient and the classic plus extras/any ingredients). We went through a lot of different cheeses, breads, and toppings testing different combinations.  Many of the cheeses are still unopened in the refrigerator- I didn't even get around to tasting all of them.

Simple is my friend, so is bacon. I used White Jasmine Tandoori Gouda cheese and Roth Butterkase cheese, with pit smoked bacon and home made dill pickle relish for my extras sandwich. For the plus one I used Tandoori Gouda with our home grown and homemade red currant jelly (gotta love sweet with heat). Unfortunately, the judges were not showing me any love- my scores were low.  The VIPs, though, who paid extra to actually taste the sandwiches the competitors were making, were showing me a lot of love. I counted at least five different people who were waiting to sample my sandwiches and some of them came up to ask me about them. (People asking about, wanting, and liking my food... THAT is what makes me happy.)
Picture
Spatulas up! The big guy is ready to cook.
Picture
Tandoori gouda is really crumbly, the spoon really helps.
Picture
Hmmm... Wonder W.T.F. this was for?
Picture
Back at it. The burners were sensitive, at times I thought mine was on low but it was out.
Picture
As the assistant, Theresa gets to raise the flag to tell the judges when we are done.
Picture
Lookin good...Hope they like them.
Picture
Second round, time to pull more fixings out of my bag of tricks.
Picture
Yep, I am having fun... can't you tell?
We had a good time and got to meet a lot of cool people with a lot of ideas about cheese sandwiches. If you need some ideas for making your own championship sandwiches, see my Cook of Anarchy Grilled Cheese page.

Type at you later,
​Bear
Comments

Smokin' in the Rain

7/24/2015

Comments

 
Bear here.... Last weekend I had a good idea, and bad timing. I am a grill guy, I usually don't have the time or patience for BBQ. I have done some briskets and I was in the mood to try barbecuing venison. I thawed a venison shoulder for smoking/ BBQ. The shoulder was about 10 lbs. so would take around 8 to 10 hours, and I started around noon. (First mistake.) I decided to use bonfire wood to cook in my grill for better smoke and heat control. Did you know it takes around 1 1/2 hrs. to get coals? I relearned that fact. I also started with lump charcoal so I wouldn't be cooking in the dark.

The forecast on Thursday was for warm, muggy  weather on Saturday, no problem. (Second mistake, I should have looked Saturday morning and realized STORMS were coming to an area near me!) Everything was set up and rolling, I put the venison on the grill and before I could close the lid I heard thunder.  

... I can do this. Here are some pictures and commentary for that day.
Picture
Remember when I said I was a grill guy? This is my old grill rigged to smoke.
Picture
Here is our fire pit. I carried the coals I needed with a shovel to the grill.
Picture
Wasn't sure what I needed so I soaked most of my wood chunks and left them in the water until needed.
Picture
This is Ivy sayen "Dude, Get the meat on the fire already, I'm hungry."
Picture
This is when I heard the thunder.
Picture
We be smoken'. Light rain isn't going to stop me! (I think I hear laughter from the catio.)
Picture
This is when the tornado warning siren went off for our town. Only severe thunder storms, I'll be fine!
Picture
No problem. no heavy rain yet. 
Picture
Oh crap, heavy rain. Time to cover the pit and hope it doesn't last long.
Picture
Can you tell which side is 350 degrees and which is at 225?
Picture
Back at it. Smoked for 3 hours.
Picture
Time to add some liquids, wrap the meat and cook it low and slow until done. (Good thing I checked three hours later, the temp was 185.)
Picture
Hoping it is done right. Always best to have a pan to catch liquids, the foil almost always leaks.
Picture
Since some of the meat seemed dry I kept the braising liquids and put the meat in them after chopping it.
Overall... it was an interesting day and the meat turned out OK. It made great sandwiches. Soon I will be doing this again.

Type at ya later..
Comments

Friday Night Improv... Leftovers

7/3/2015

Comments

 
Bear here... Hi everybody! Remember the mushrooms we got out of our yard. We had them with homemade pesto (with basil from our garden) and pasta. (Right.)

Mmm, Mmm, good!


Picture
Next up, tonight's leftovers:

I  let the Cook of Anarchy loose on a refrigerator full of leftovers. Here's what I had to work with:
  • Older asparagus 
  • Beet stems and greens (aka beet leaves)
  • Leftover plain brown rice
  • Leftover roasted chicken (store bought)
  • Sunflower seeds (roasted)
  • Canned red currant jelly (homemade)
  • Pan with bacon fat in it (from Theresa's lunch)


Here is how I did it...
Picture
I steamed the asparagus and beet stems until soft (around 10 min.).

In a recent cooking class I learned about tempering as the key process in Indian cooking. Tempering involves heating oil to a high temp and then adding spices.  When the spices stop spitting, it's done, which usually takes less than 10 seconds. For this dish, I tempered the bacon fat and some olive oil with dried cumin and mustard powder. I used roughly 2 tblsp of oil and 1 tsp each of the spices.

Then I added the chopped up chicken and 1 1/2 cup of the rice. I mixed in the cooked asparagus and beet stems and kept stirring until it was all hot. Then I stirred in 2 tablespoons of coriander. I added the beet greens last and when they wilted it was done.

I felt the dish needed crunch so I put roasted sunflower seeds over the mix.  As a bonus Theresa and I recently canned red currant jelly. It is supposed to be good with savory dishes so we tried it on the side and the sweet-tartness really worked with the other flavors.

Time to go back to watching TV.     Type at ya later...
Comments

Beets, its whats for Dinner 

6/25/2015

Comments

 
Bear here...  I WANTED A BURGER... A BACON BURGER.  My last experiment with deer meat didn't work too well.  Time to go with something I KNOW will be good, the beet burger. Not so surprising that we have a book on that and we have had a a lot of beet burgers. ( I don't feel right telling you how to do it since the idea and the ingredients are not mine, sorry.) 
Picture
Finished "burgers" and the book.
Picture
The salad Theresa harvested from our yard.
Picture
Our idea, melt cheddar cheese and put bacon on them. (OK, the bacon is on mine.)
Picture
Top the beet burger like a regular one. (When there is no buns, improvise with the next best thing.) More good news... We freeze the left overs for later use.
Hmmm... Starting to drool... Type at ya later...
Comments

Biodiversity Salad -- Extreme Eat Your Yard

5/10/2015

Comments

 
Picture
Picture
Picture
Picture
Bear here... Ever wanted a big salad and been out of salad fixings? That kinda sucks. It sucks less if you have weeds in the yard instead of grass.  Yep... everything on the cutting board (above) is "weeds" from our yard.
WE HAVE
(above, from left to right)
  • Violets for the base. Use the leaves and flowers. The stems are soft so I used them too.
  • Dandelion greens for a little bitter taste.
  • Creeping Charley for some mint flavoring (Yes, you can eat it, although Theresa says it has a strong flavor, so don't use too much).
  • Garlic chives and onion chives, yum.
  • Thyme, because I like it.
  • I forgot Theresa cut Lambs Quarters earlier in the day or they would have been in the salad too.
Notes: 
  • Make sure you pull out all the plant matter you don't want before cutting. (We found a couple pine needles.... oops.)
  • Use scissors to cut the plants rough or fine as you like.
  • If you harvest a lot of plants put the leftovers in a big bowl in the refrigerator. Easy pickings for your next salad.
  • Crunchy toppings that could be added from our yard include sliced sunchokes, walnuts, or ground nuts. I used pita chips (Not from the yard, but they were too good to resist)
  • Here's the link for our homemade salad dressings.
  • Here's the link for our other pages on how to Eat Your Yard.
There you have it. Anybody think grass is the only thing that should be grown in a yard? Heh... look up.

Type at you later.
Comments

Over/Under Hash and Eggs for Breakfast

4/26/2015

Comments

 
Bear here..  COOK OF ANARCHY UNLEASHED. Time for another breakfast that is strange and mostly from our yard. Hash made from our perennial plants and eggs from the neighbors. The hash uses ground nuts (Apios americana) and fiddle heads (baby ostrich ferns.) 
The Over/ Under name comes from cutting down the fiddle heads and herbs (they're over the ground) while digging up the ground nuts (from under the ground). I was thinking of calling this Fiddle-Dee-Nut Hash. Let us know which name you like best, or if you have another suggestion. 
Picture
I am betting this ain't normal... But it is good.
Here are the basics. More details on how to make the hash will end up on another page on our website.
Picture
Collect: Ground nuts (brown), fiddle heads (in the middle back), thyme, garlic chives (left), onion chives (right)... the garlic chives have flat stems and the onion have rounded stems).
Picture
Saute the brown ground nuts for five minutes then add the green fiddle heads and chopped herbs. Saute for another ten minutes. (I used two pats of butter)
Picture
Mise-en-Plase: Get everything cleaned and cut before you turn the stove on to medium heat. (Notice the neighbor's eggs are white, brown, and light blue? So cool....)
Picture
Fry the eggs in a separate pan, over easy, and sprinkle with the left over chives. Now you are good to go.
Picture
I repeat... good... to... go.
Type at ya later...
Comments

Amish Friendship Bread

3/29/2015

Comments

 
Picture
Two bags of starter on day 1.
Picture
Lemon poppy seed bread made with 10 day old starter.
From Bear:

Ever get a chain letter that you "need" to send on or bad things will happen? Those are annoying. We got a fermented bread starter chain, that you can use and pass on to your friends. It is known as Amish Friendship Bread. Our neighbors received some and thought we would use it, so gave us two bags. On the 6th day you feed the starter, on the 10th day you bake it and prep some starter to give to others or... not. Definitely NOT annoying. 

Wikipedia says the original Amish Friendship Bread was sent to the sick and needy in the community. If anyone knows more about the origins of this, please let us know.
What you get is...
A bag of starter and directions for use. We think it is like a sour dough bread starter- live yeast with food for the yeast. The directions say to share the starter, the bread, and recipes with friends so here you go... 

We experimented with different flavors and made breads and muffins. Our experiments will follow the main directions.
Amish Friendship Bread Directions

Help the starter grow:
Days 1-5:  Mush the bag (or stir) each day.
Day 6:  Add 1 cup flour, 1 cup sugar, and 1 cup milk to feed the starter. Mush bag.
Days 7-9: Open bag to let out air each day (the fermentation will make the bag expand). Close bag and mush.
Picture
Day 10- creating starter to share.
Day 10: Create starter to share with others:
Pour contents of bag into a large bowl. Add:
  • 1 1/2 cup flour
  • 1 1/2 cup sugar
  • 1 1/2 cup milk
Stir together.
Picture
Using 4 ziplock bags, put 1 cup of mixture into each bag. Label each bag Day 1 and date it. You can give these four starter bags away to friends with a copy of the instructions. Keep one for yourself if you want to keep making bread.

(We started with two starter bags, so had extra. We made lots of breads, and passed the remaining 5 starter bags shown to the left onto others.)
Day 10: Bake Bread

Preheat oven: to 325 degrees F

Mix batter:
To the remaining mixture (should be 1 cup of starter left), add:
  • 1 cup oil
  • 3 eggs
  • 1/2 cup milk
  • 1 tsp vanilla
  • 1 cup sugar
  • 2 cups flour
  • 1/2 tsp baking soda
  • 1/2 tsp baking powder
  • 1/2 tsp salt (we skipped the salt)
Use all the above ingredients. Add the below ingredients to make the basic cinnamon vanilla bread, or substitute others to create your own flavors (see our experiments below):
  • 1 large box of vanilla pudding
  • 2 tsp cinnamon
  • 1 cup chopped nuts

Optional topping:
Mix 1/2 cup sugar and 1  1/2 tsp cinnamon. Sprinkle half of mixture on sides and bottoms of your buttered pans. Sprinkle other half on top of batter after you've poured it into your pans.

Bake:
Grease two regular sized bread loaf pans or a bundt pan. Pour batter into pans. Top with remaining sugar mixture if using. Bake at 325 degrees for 1 hour. Insert a fork into the top. If it comes out dry, the bread is done. 

You can also use the batter in muffin tins or brownie pans.  These sizes worked well for us (in inches): 13x8x2 and 11x7x1.5  These won't take an hour to bake. Put them in the oven for 20 minutes, then check every 10 minutes until done. (Lessens the chance of over baking the bread.)

Note that some directions we saw online say that it's very important to use only glass or plastic utensils and bowls and don't use any metal (but didn't say why).  We didn't see these instructions until after we made all our breads, though, and they seemed to be fine.
Picture
Theresa's Experiments:

#1: Banana Nut Bread
Substitute banana pudding and add 1 cup of chopped walnuts. Make a topping of brown and white sugar.

(This one happened by accident because our neighborhood grocery store had banana pudding instead of vanilla. But it turned out to be our favorite flavor.)
Picture
#2 Lemon Poppyseed
Substitute lemon pudding and stir in 1 tablespoon poppy seeds 

(This suggestion came with our directions. It was very good.)
Picture
#3 Chocolate Chocolate Chip Muffins

Substitute 1/2 cup cocoa powder, add 1 small bag of chocolate chips (6 ounces).

(This was also a suggestion that came with the directions.  We only used 1/2 bag of chips, and they weren't chocolaty or creamy enough for us. So try using a full bag instead.)
Picture
The maple-bacon is in the blue 11x7x1.5 pan. The peanut butter pan was smaller and deeper so it took longer to finish and was more crusty around the edges.
Bear's Experiments:

#1: Peanut Butter & Chocolate:
Stir 1 1/2 cups of peanut butter in with the oil before adding to mixture. Add one 6 oz. bag of chocolate chips.
#2: Maple & Bacon:

Add:
  • 1/4 cup of maple sugar powder (or try maple syrup)
  • 1/2 cup of brown sugar
  • 10 pieces of precooked, chopped turkey bacon
  • Use the salt called for in the recipe and add an extra teaspoon            
  • Sprinkle the top with brown sugar

This makes a good breakfast bread. Next time I plan to brown sausage for the meat.
Let your inner cook of anarchy loose in the kitchen to see what you can come up with!
Our breads seemed more like cakes to me. I have read that here are different ways to bake bread to change the texture. If I can change ingredients, I can experiment with different oven temps and see what happens.
Don't forget to share with your friends!
 We each took some into our respective work places so we could spread around the calories:
Picture
Comments

Celebrate Spring Equinox- Grill Eggs!

3/20/2015

Comments

 
Ever heard of putting all your eggs in one basket? Well, my basket is the grill. Onions optional...
Picture
From Bear:

At our house, we celebrate Spring Equinox with eggs, because this is the time when chickens start laying more eggs. It's also the time we get Spring fever, so I go outside to grill. This year I combined the two, and grilled eggs. 

I learned how to do this from Steven Raichlen's Barbecue Bible. If you want to boil eggs but don't have any water, here's how:


Picture
1. Eggs on the barbee... First step, light your grill and get your coals to medium heat.
Picture
2. Poke a hole in each end of your raw eggs so they don't explode when heating (I used a thumbtack).
Picture
3. The eggs take about 15 minutes. I turn them every 3 minutes to cook them evenly. 
Picture
4. First flip is end over end, then roll, so you know you're getting all four sides for roughly the same amount of time. 
5. If your fire is hotter, turn the eggs more often, and cook for only 10 minutes. 
Don't worry if the shells start browning.
Picture
Theresa noticed I even got grill marks!
(Next I have to work on the diamond pattern.)
What can you do with these eggs?  Use them like any other boiled egg. 
Theresa posted a great deviled egg recipe on our site.

If you're interested in learning more about eggs and the equinox, 
also see our Celebrate Early Spring page.
Picture
Picture
Look at what the Spring rabbit laid- purty blue eggs.
(See how to use cabbage to make dye on our Celebrate Spring page- link above).
EQUINOX 
12 and 12,
Tomorrow day is longer than night,
Winter is about planning for Spring
Equinox starts the time to act on those plans,
Thank the people who share their chicken's bounty,
More eggs coming soon.
Thank a chicken.

- Bear
Comments

    Theresa & Bear's Blog

    We prefer quality to quantity! 

    Theresa will be posting notifications of the new pages we add to the website and Bear likes to share inspirational posts about our homesteading experiences. 

    If you'd like to follow our blog:
    • ​subscribe via email (below)
    • like us on Facebook (see the "f" link at the top right of the page)

    Note that if we include a link to a product in our blog, it means we have used and authentically recommend it. Though it doesn't cost you any extra, we may receive a small commission if you click on the link or buy the product. Some day it may be enough to help support our work so we can do more of it. We gratefully thank you.

    Archives

    November 2020
    October 2020
    April 2020
    March 2020
    February 2020
    December 2019
    November 2019
    October 2019
    July 2019
    June 2019
    February 2019
    December 2018
    October 2018
    September 2018
    June 2018
    May 2018
    April 2018
    February 2018
    December 2017
    November 2017
    October 2017
    September 2017
    August 2017
    July 2017
    June 2017
    May 2017
    April 2017
    March 2017
    February 2017
    January 2017
    November 2016
    October 2016
    September 2016
    August 2016
    July 2016
    June 2016
    May 2016
    April 2016
    February 2016
    January 2016
    December 2015
    October 2015
    August 2015
    July 2015
    June 2015
    May 2015
    April 2015
    March 2015
    February 2015
    January 2015
    December 2014
    November 2014
    October 2014
    September 2014
    August 2014
    July 2014
    June 2014
    May 2014
    April 2014
    March 2014
    February 2014
    January 2014

    Categories

    All
    Buy Nothing
    Buy Nothing
    Buy Nothing
    Cooking
    Cook Of Anarchy
    Fall
    Foraging
    Gardening
    Green Cleaning
    Grilling
    Misc.
    Pantry
    Renovation
    Shelf Chef
    Spring
    Summer
    Weight Control
    Wildlife
    Winter
    Wood Stove

    Subscribe:

    Enter your email address:

    Delivered by FeedBurner

    RSS Feed

Home    Inside   Outside   Shelf Chefing   Cooking   Pantry   Celebrate   Our Books   Blog   About   Resources   Contact
Be the change you wish to see in the world.  ~Gandhi
Want to know when we add new content to our website?  Subscribe to our Blog.

These pages may contain affiliate links that allow us to share products we authentically recommend.
Clicking the links results in no extra cost to you, but we may receive a small commission that may someday help fund this work.

Copyright 2020 by Theresa & Rob Berrie