Mom's Deviled Eggs- from Theresa
My mom made great deviled eggs and taught me to love them even when I was a kid. This is mostly her recipe, which she probably got from her mom. I make these only on special occasions- for Thanksgiving and for Spring Equinox every year. They are also very popular as appetizers at parties, except you can't make them the night before. You can boil and peel the eggs in advance and keep them refrigerated, but you can't make the filling or stuff the eggs until the day you're going to eat them. Once they are made, they should be eaten within a couple hours (but usually don't last that long) or the filling is likely to become runny and unappetizing.
|
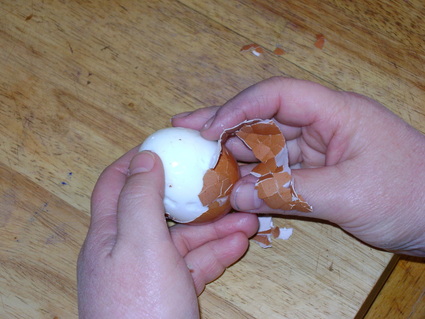
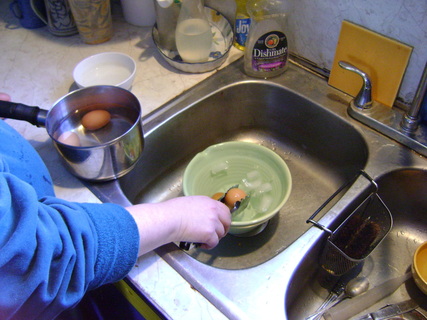
1. You know the saying, "She can't even boil an egg?" I never thought this was a fair saying- it's just not obvious how long you need to boil an egg for it to be done. Unfortunately, I never learned this part from my mom, but have since found instructions elsewhere. To hardboil eggs, put them in a pot in a single layer and cover them with water (this recipe uses 6 eggs). Bring the water to a rolling boil. Then turn off the heat, cover, and let it sit for 12 minutes. The eggs should be done.

3. Hit the egg gently against your cutting board or other hard surface until the entire surface is covered with cracks. There's usually an air pocket on one end of the egg. Pull off some of the shell there, then you can get your finger under the shell and start peeling down and around the egg. I think of this as a fun challenge- how many eggs can I peel without pulling off any large parts of egg white?
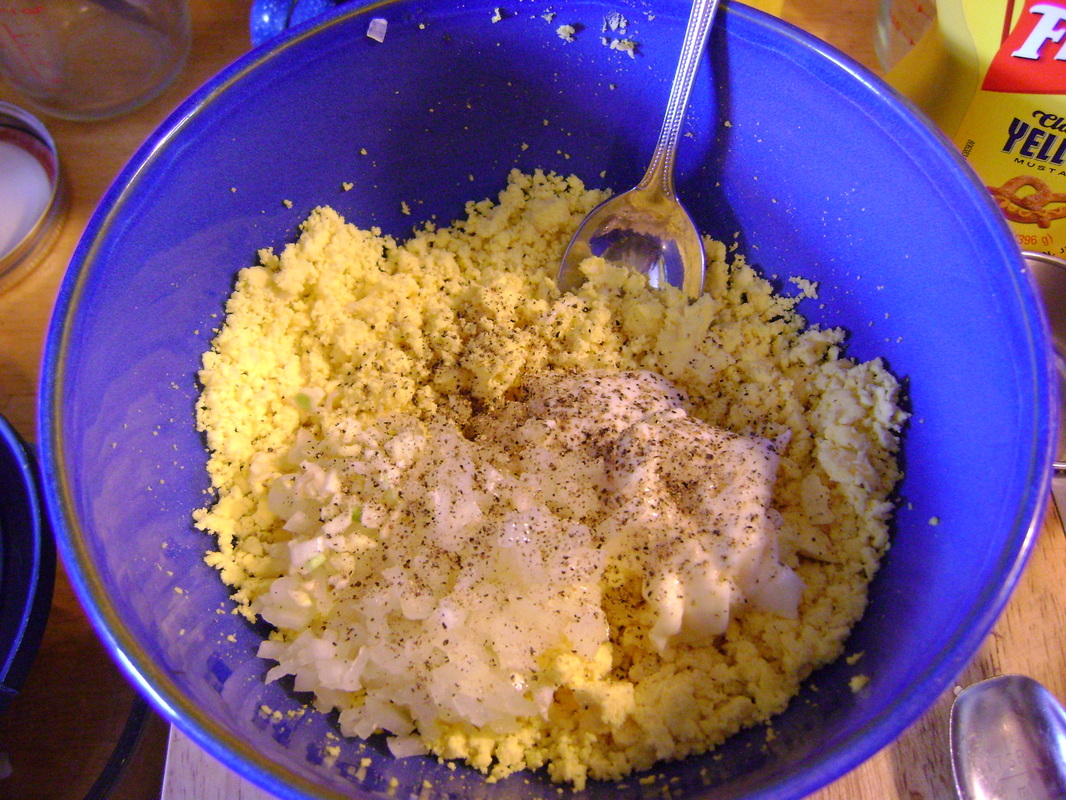
5. Gather your ingredients. I usually make these eggs without measuring, but have added amounts here for the 6 eggs (cut into 12 halves) that my plate holds.
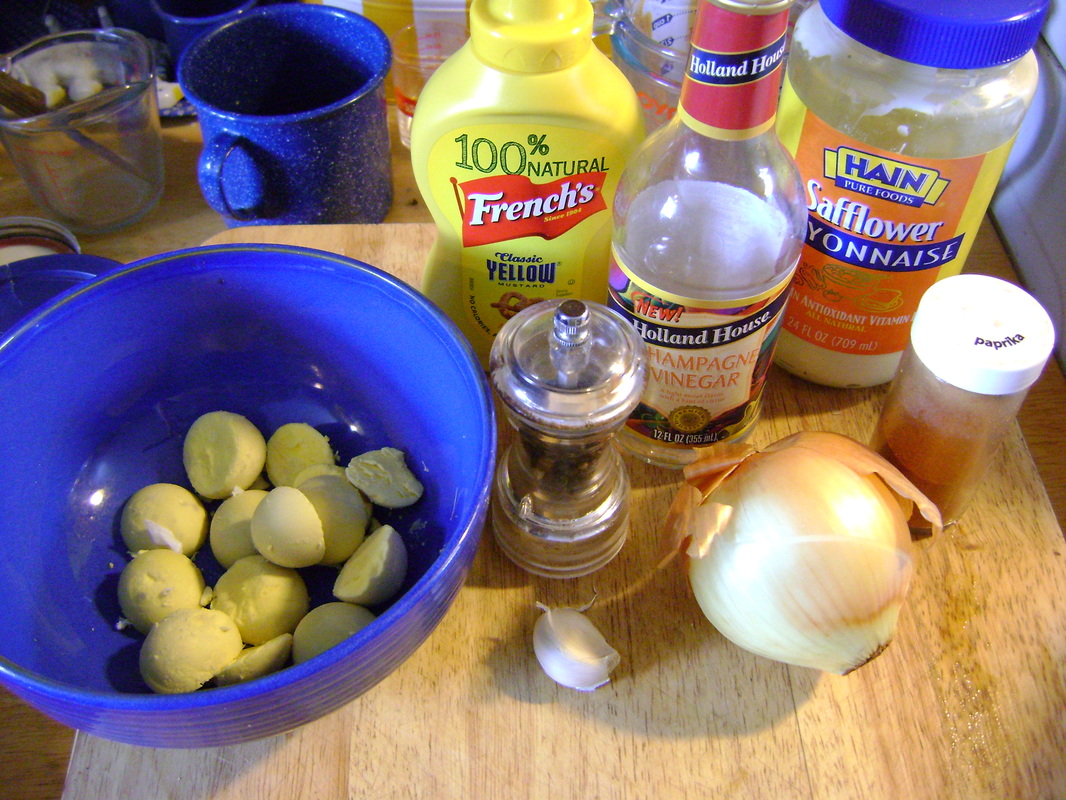
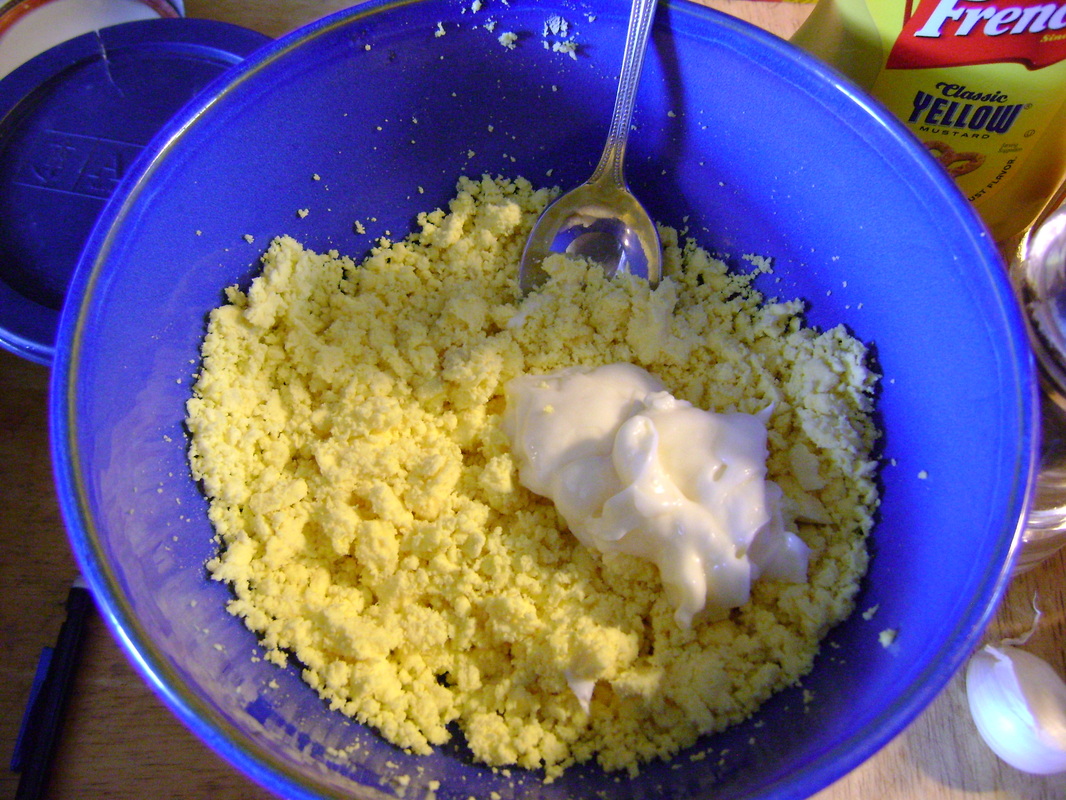
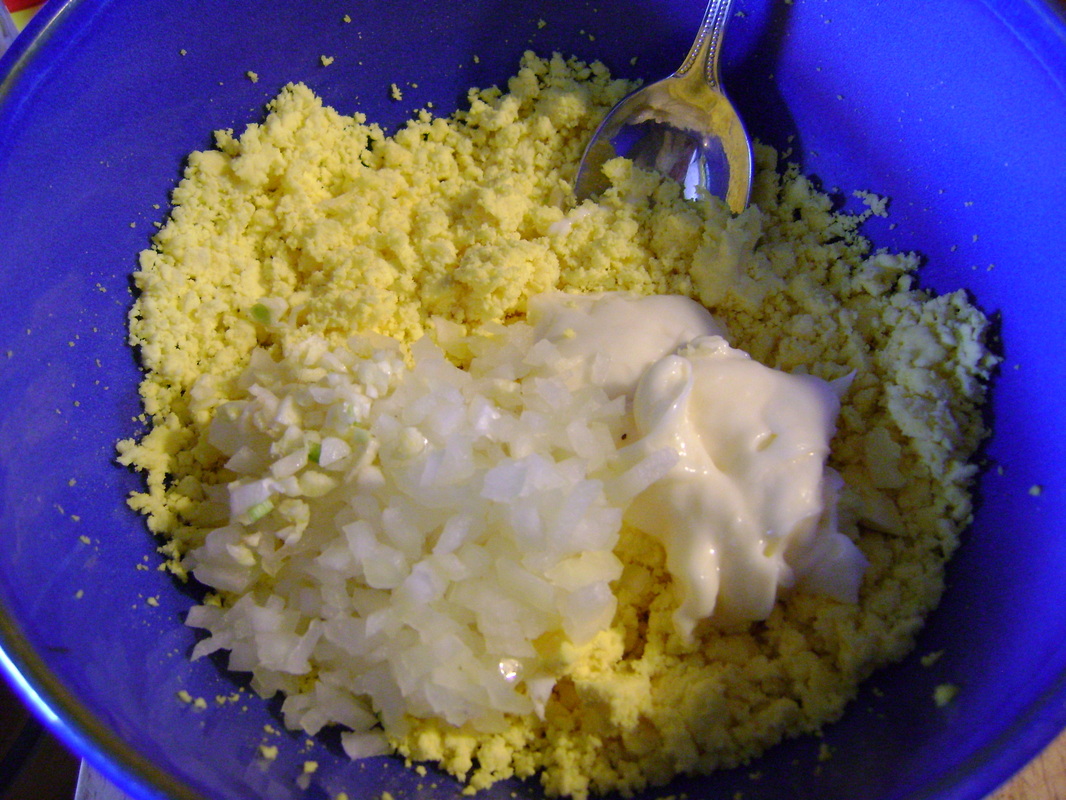
7. Add 3 tbsp mayo (we like safflower mayonnaise).
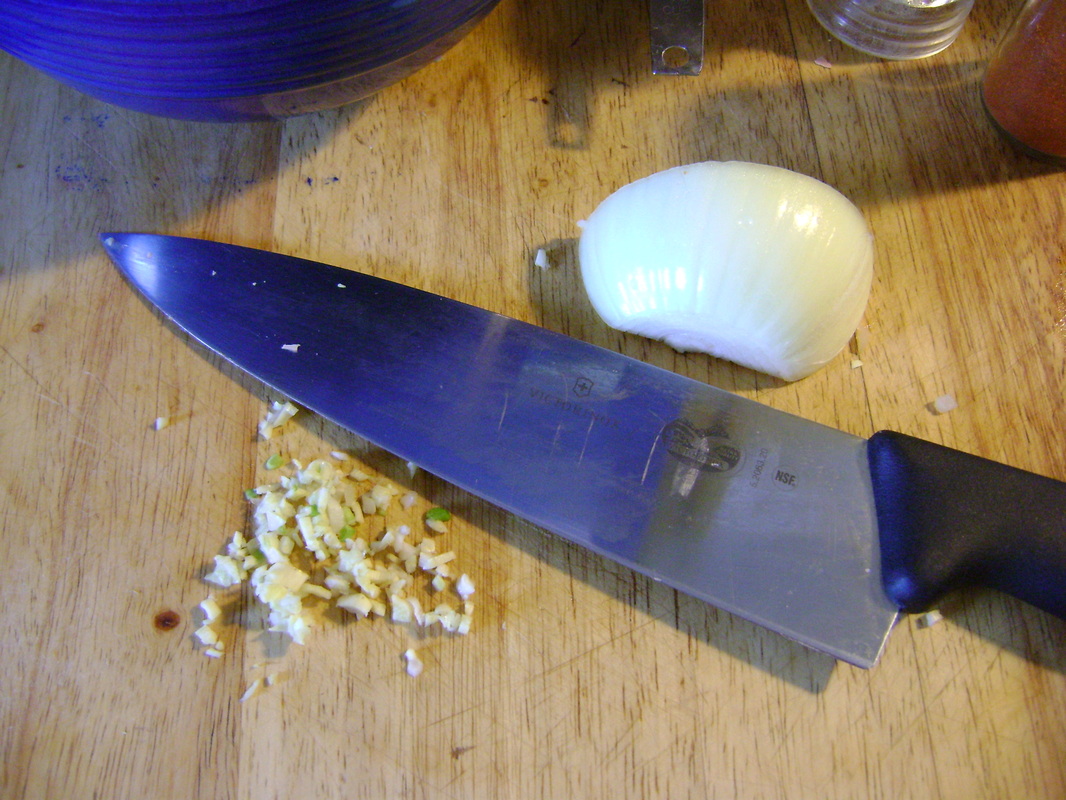
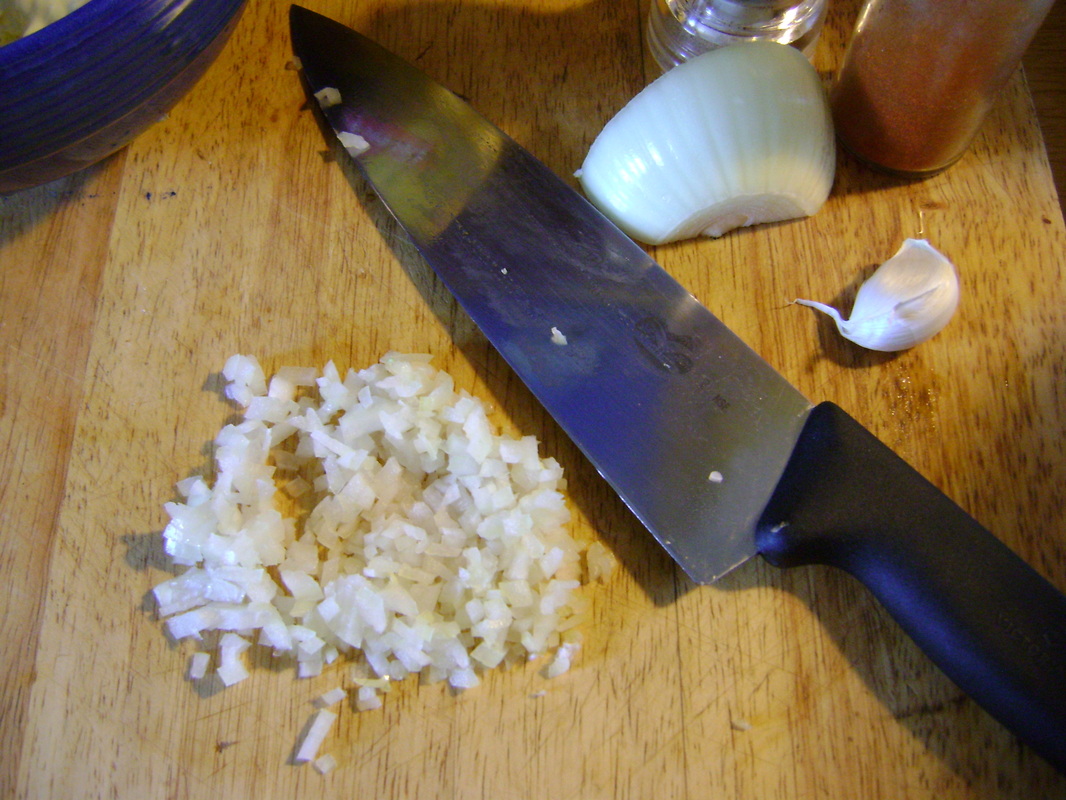
9. Mince a small glove of garlic as finely as you can, and add to the yolks.
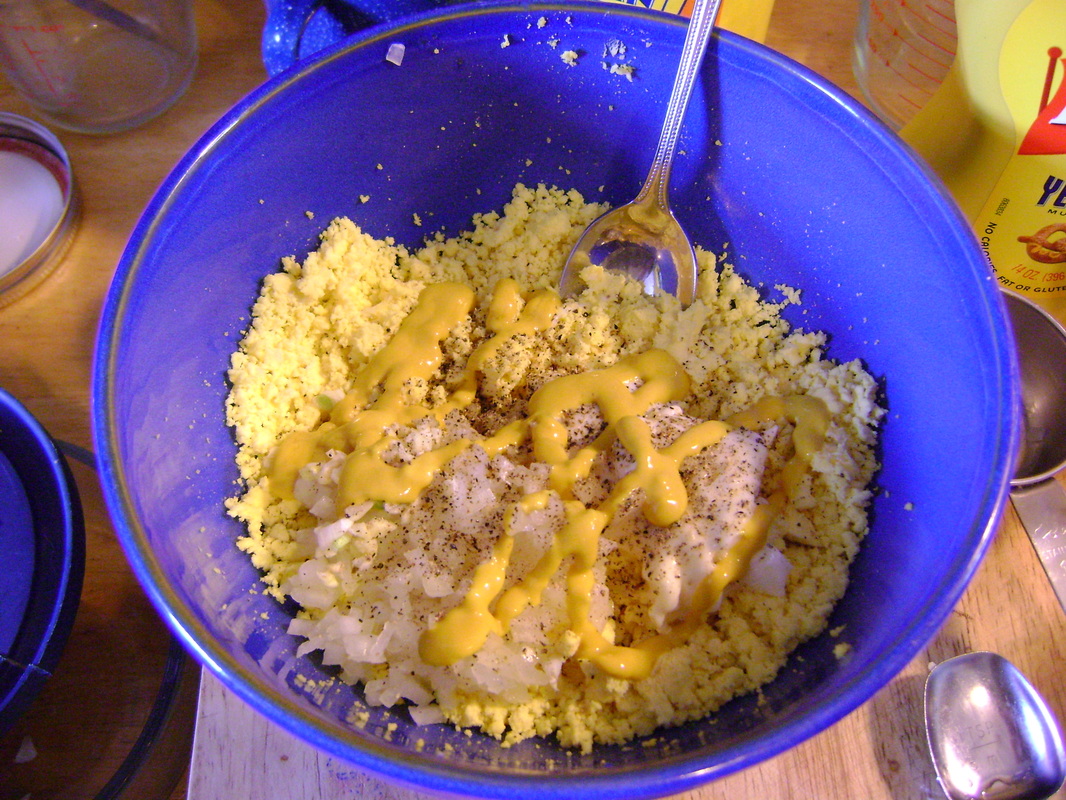
11. Add lots of freshly ground pepper.
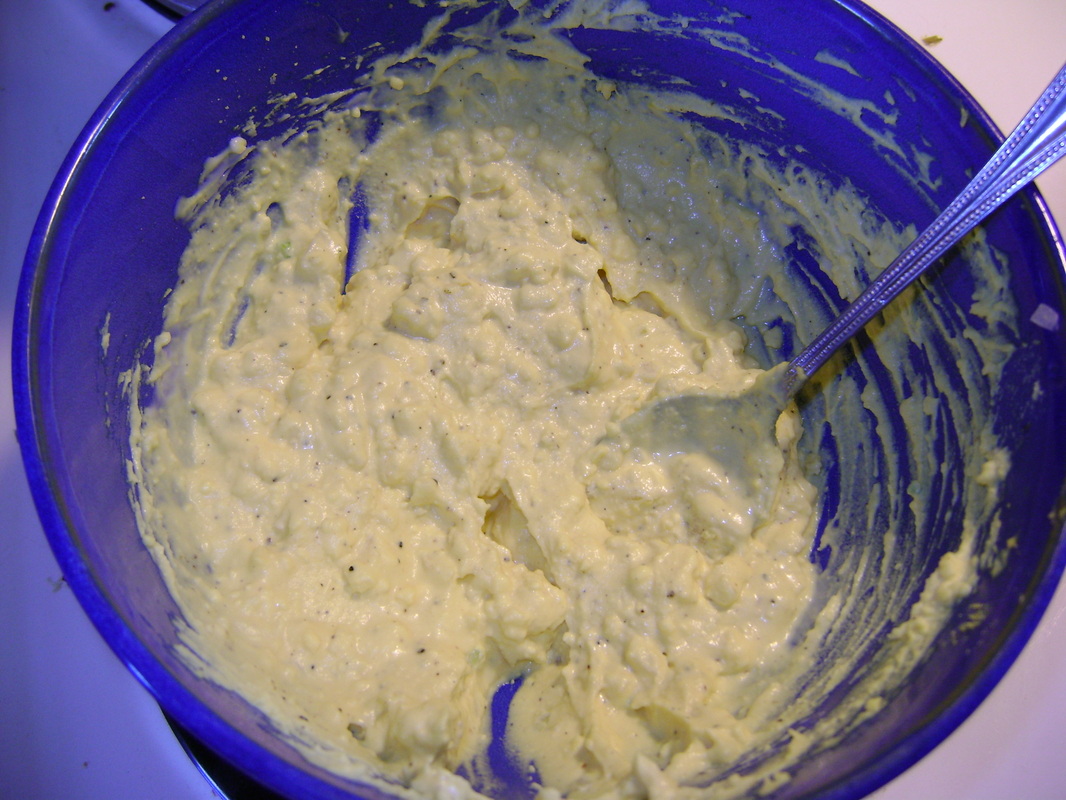
13. Mix, taste, and adjust flavors. The mixture should not be runny, so be careful what you add.
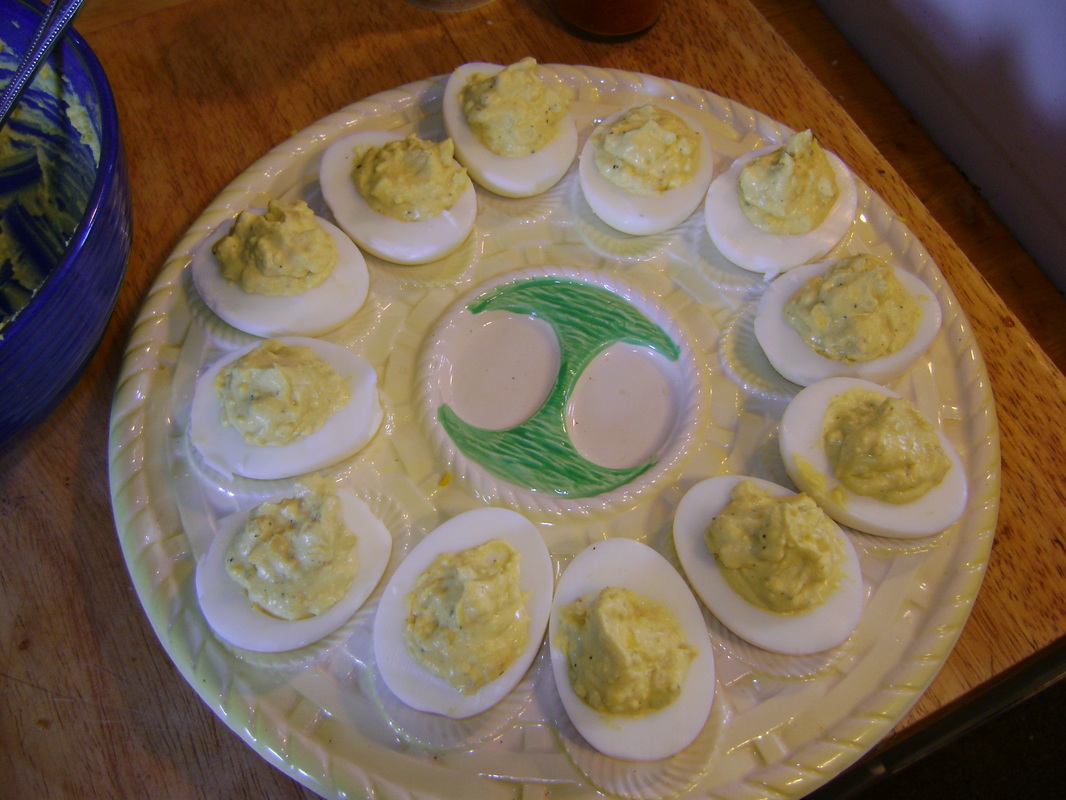
15. After the eggs are all filled, sprinkle a little paprika over the top of each for color (shown in next photo). Don't mistake chili powder for paprika- it won't taste good.
|
2. Peeling the eggs can be the hardest part of making deviled eggs. I've read many tips on making it easier. Here's the one that seems to work for me. As soon as your eggs have sat for their 12 minutes, put them into a bowl of ice water. This helps separate the membrane that's just inside the shell from the egg white, making it easier to remove the shell.
4. Cut the eggs in half and gently remove the yolks, putting them in a bowl. Put the eggs slices on a normal plate, or use a decorative plate made specifically for deviled eggs.
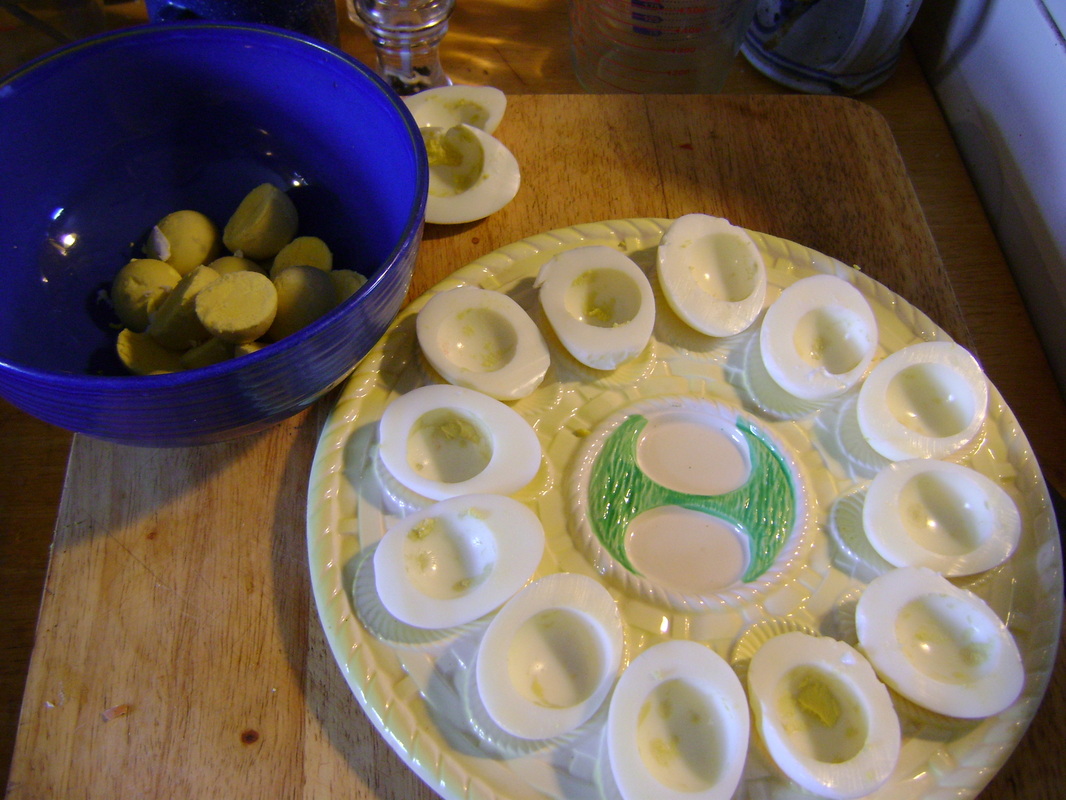
6. Mash the eggs yolks with a fork until they are in small bits (this bowl is only partly done).

8. Mince 1/4 cup onion as small as you can and add to the yolks.
10. Add 1 tsp or less of a sweet vinegar, like champagne, or zingy homemade chive vinegar if you have it. Too much vinegar will make the filling runny.
12. Shake the container of yellow mustard so it's not runny and squirt over your mixture. Note, if you can get it, use Singing Pig Garlic Mustard instead, and omit the garlic in step 9. Singing Pig is full of small bits of garlic that give the eggs a unique flavor that is a hit at parties. It's available at the Mustard Museum, which used to be near us in Mt. Horeb, but since it moved away, we don't get there very often, so I started adding my own garlic instead.
14. Spoon filling into egg halves. I begin by filling each egg with a little yolk mixture, so they all get some, then pile on additional filling with whatever's left.

16. I served the eggs and only a little while later realized I hadn't taken a photo with the paprika sprinkled on them. You can see how quickly they get eaten.

|