
|
MAKING FLAVORED VINEGARS
|
Chive Blossom Vinegar
This vinegar has a tangy onion flavor that I use in my homemade coleslaw, deviled eggs, or chicken salad.
|
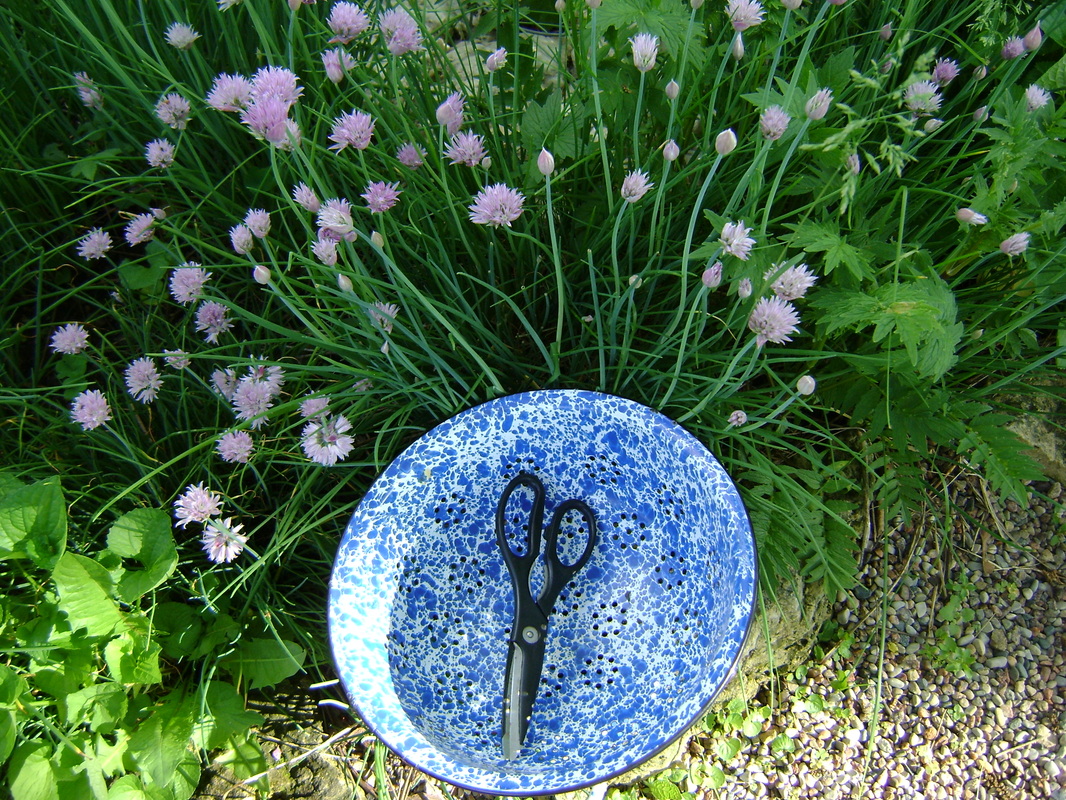
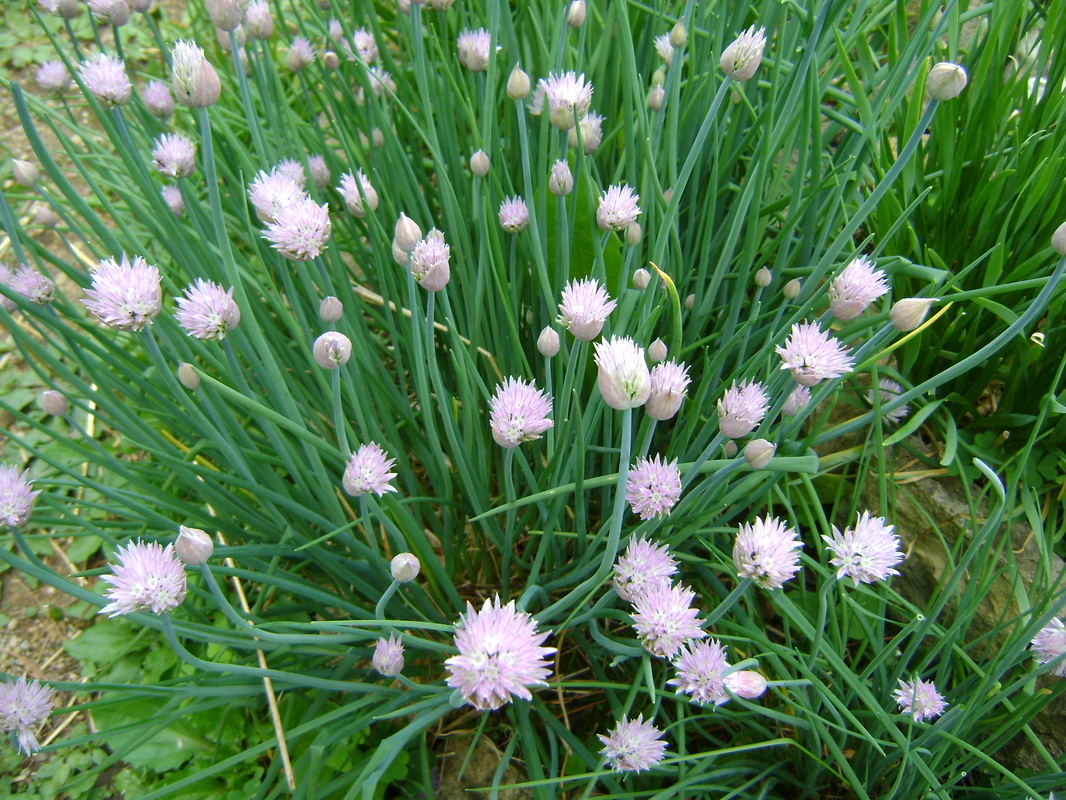
1. Use a pair of scissors to cut chive blossoms off their stems. It's best to do this in early morning before the sun gets too hot, but late enough that any dew has evaporated so that the blossoms are dry. After collecting, let the chive blossoms sit outside for a bit to give any bugs that were on them time to crawl away.
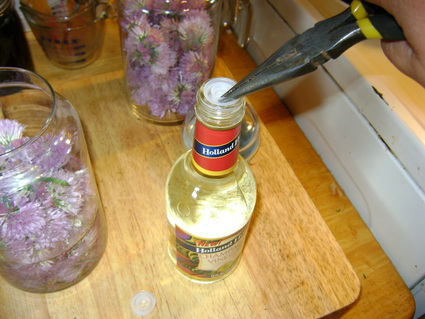
3. Open your vinegar of choice and pour it over the chive blossoms. I use champagne vinegar if I can find it, or white wine vinegar if not. Use needle nose pliers if needed to remove the plastic gizmo that only lets you shake a little vinegar at a time out of the bottle. Pour the vinegar as close to the top of the jar as you can so there is less air space above the chives.
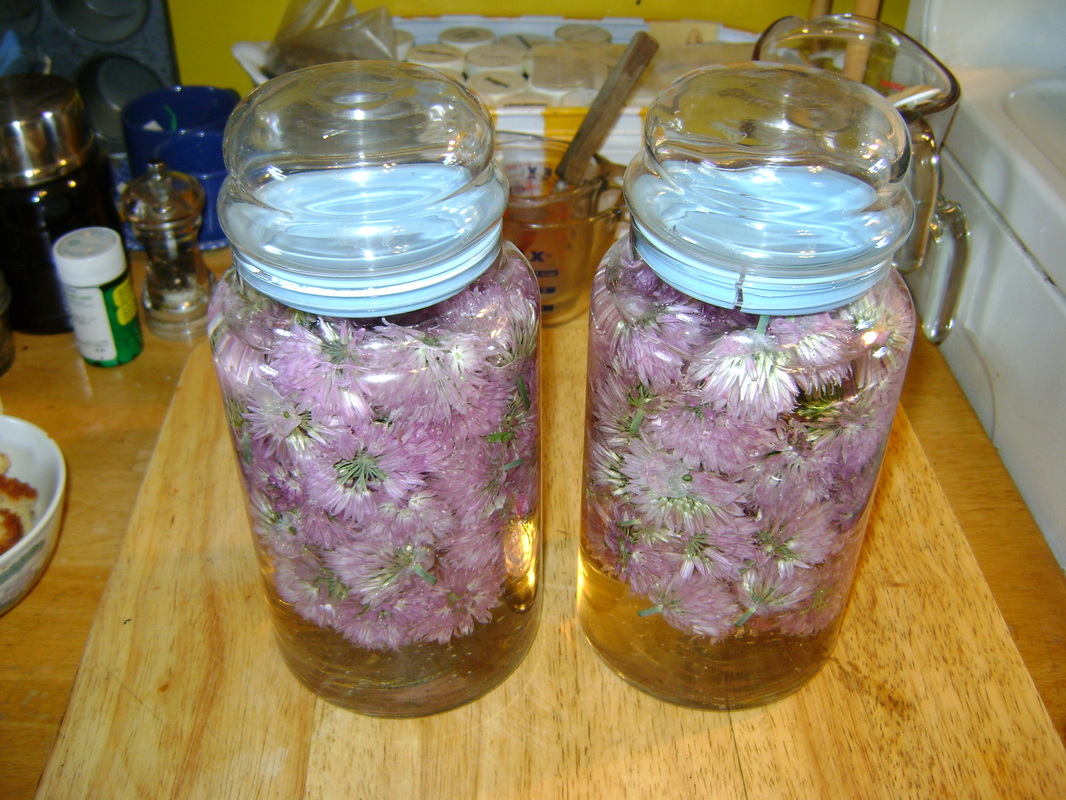
5. Cap the bottles. Check them the next day. The blossoms will have absorbed some of the vinegar (or as I was taught, the fairies come and drink their share the first night), so you might want to add a bit more vinegar the next day.
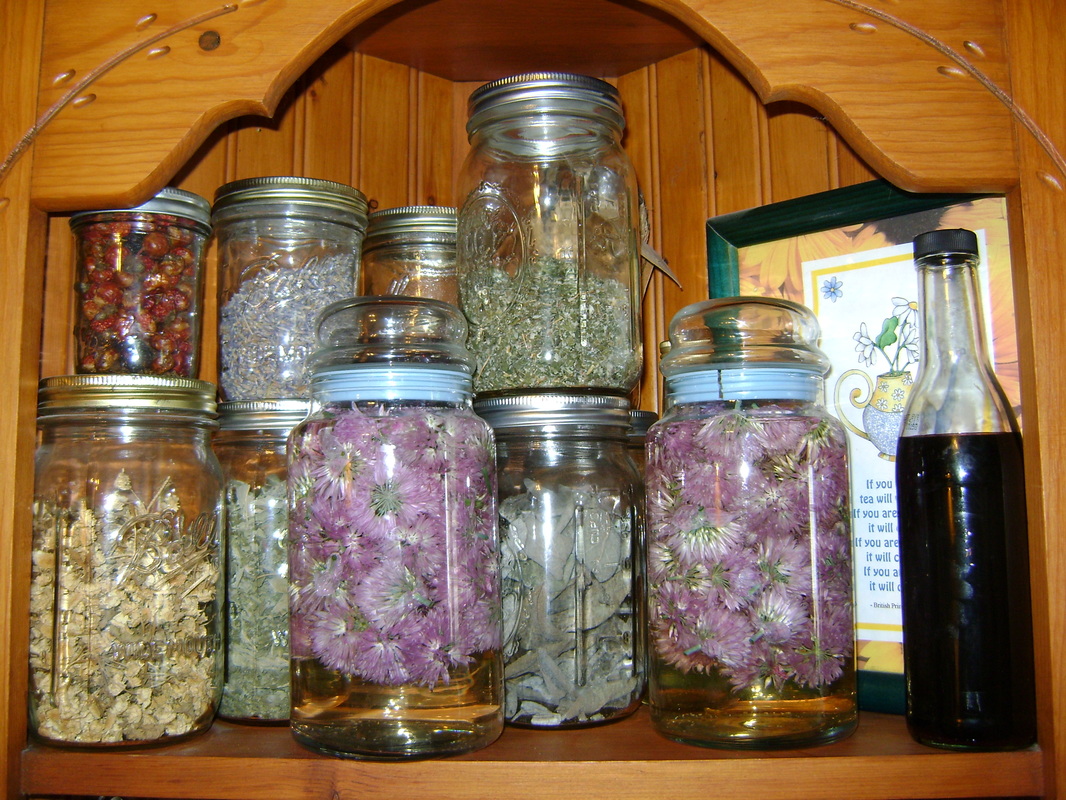
6. Store the vinegar out of direct sunlight. Some people like to shake or stir it periodically.
|
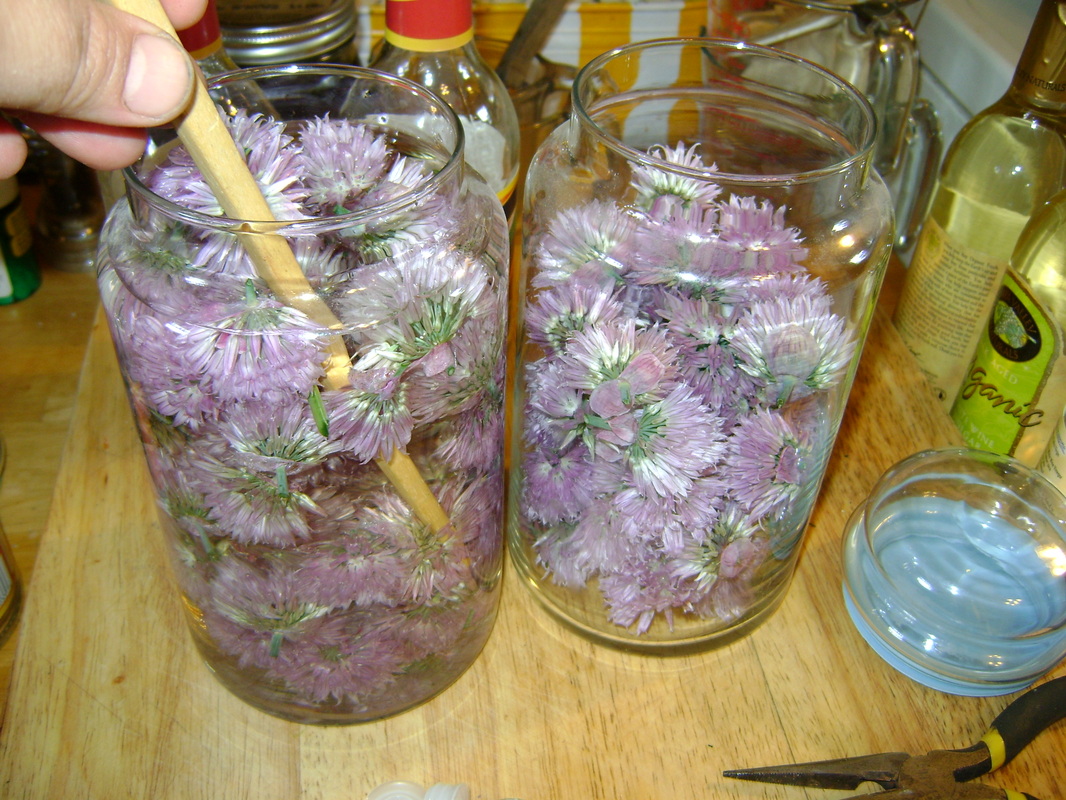
2. Put the blossoms into a clean glass jar that doesn't have a metallic lid. If you use a metal lid, the vinegar will interact with it and it will start to corrode. If you only have metal lids, you can put a piece of plastic wrap on top of the jar then screw the metal lid on over it.

4. Stir the vinegar gently with a chopstick or other wooden implement to let air bubbles escape (air space at the top of the jar and air bubbles can encourage spoilage).
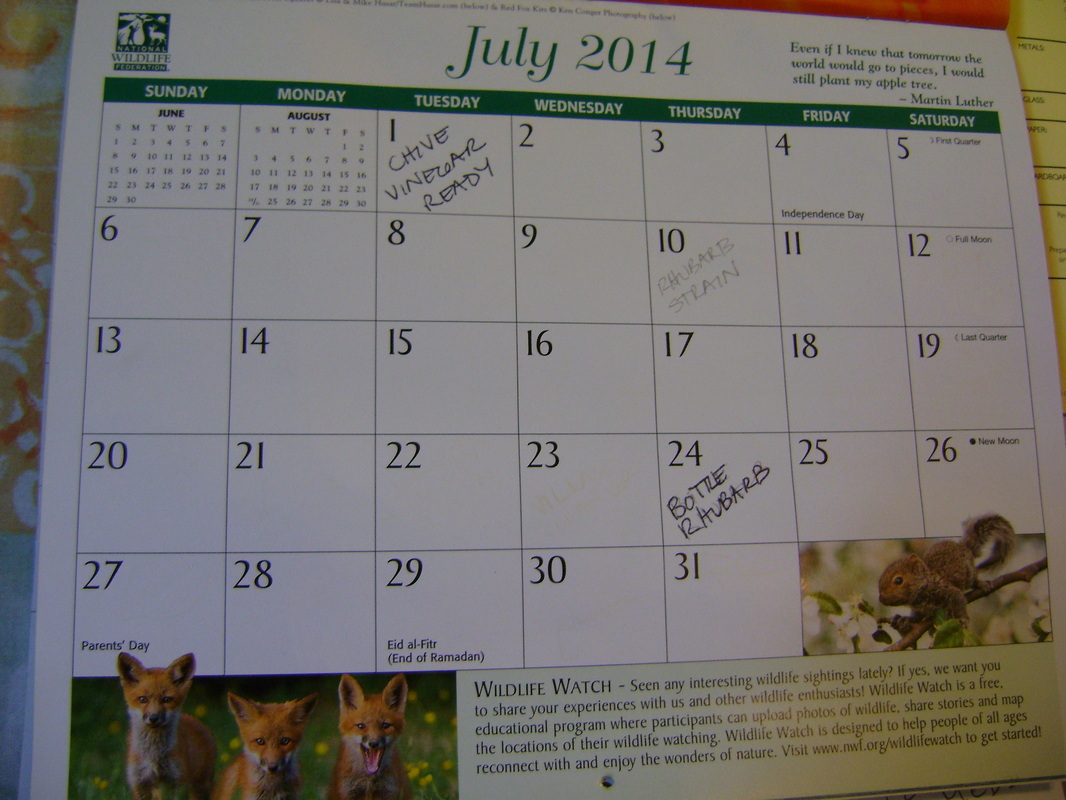
7. Mark your calendar to remind yourself when it will be ready. I normally let it sit for 4 weeks to let the vinegar absorb the chive flavor. Some people like to let it sit through an entire lunar cycle.
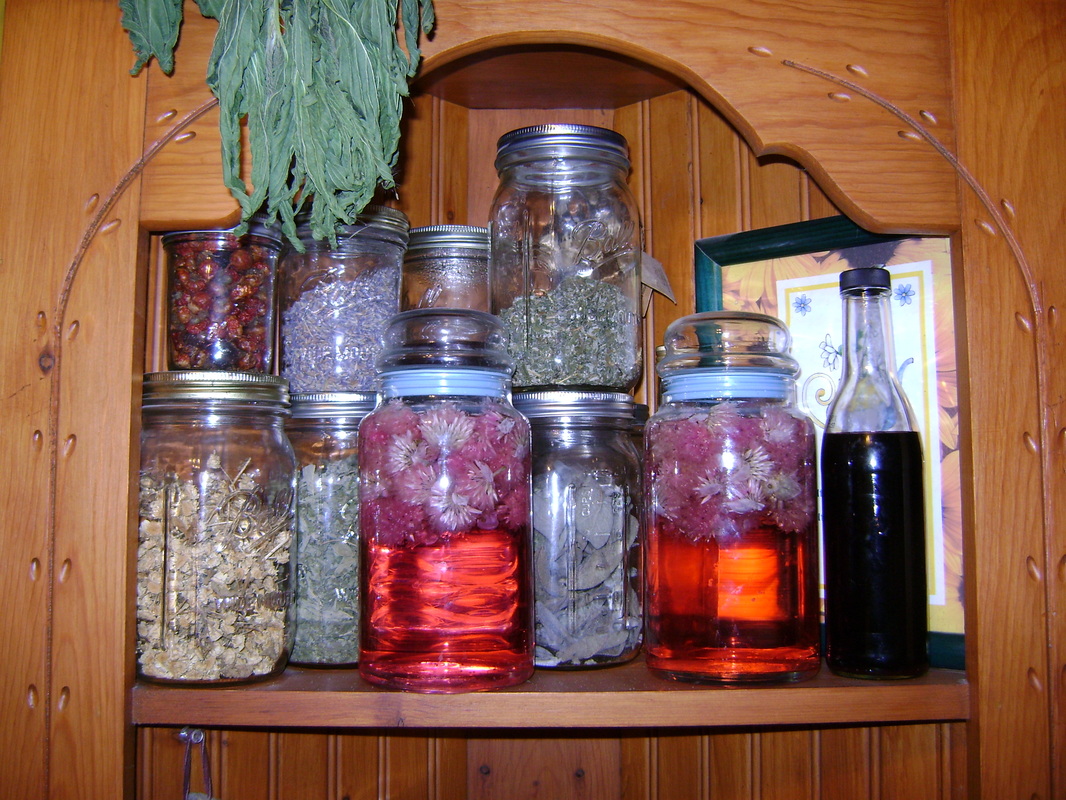
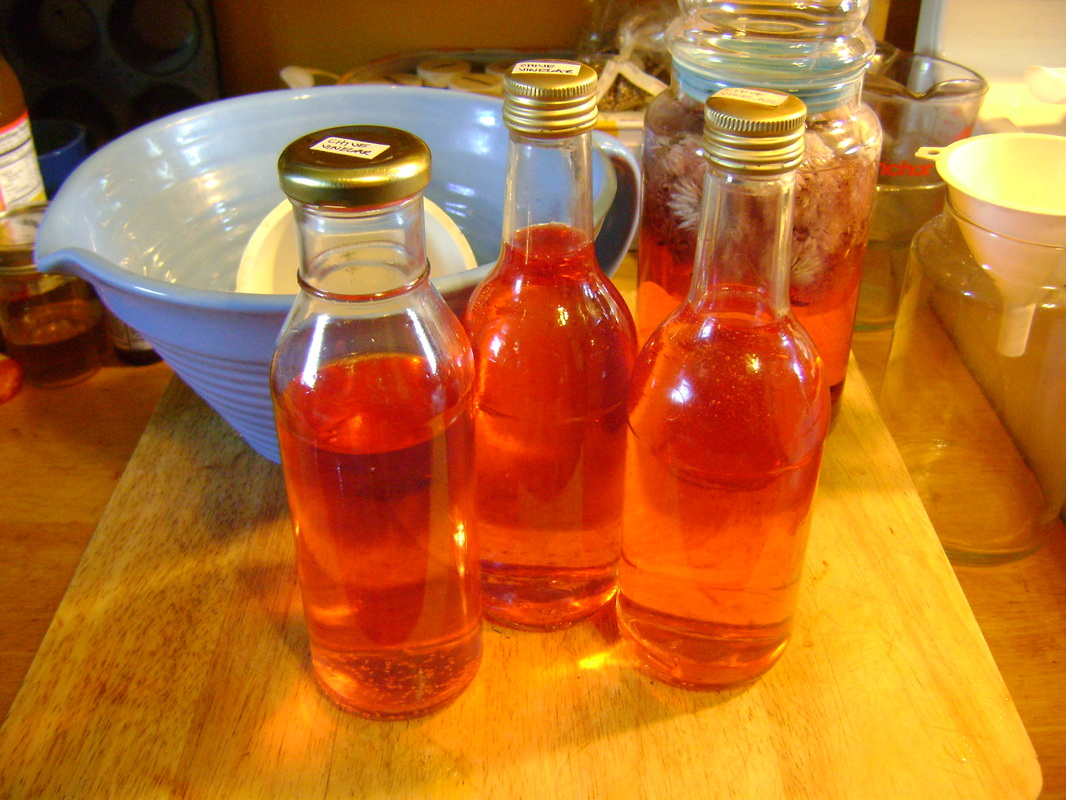
8. In a couple days it will turn a lovely shade of light pink.
|
|
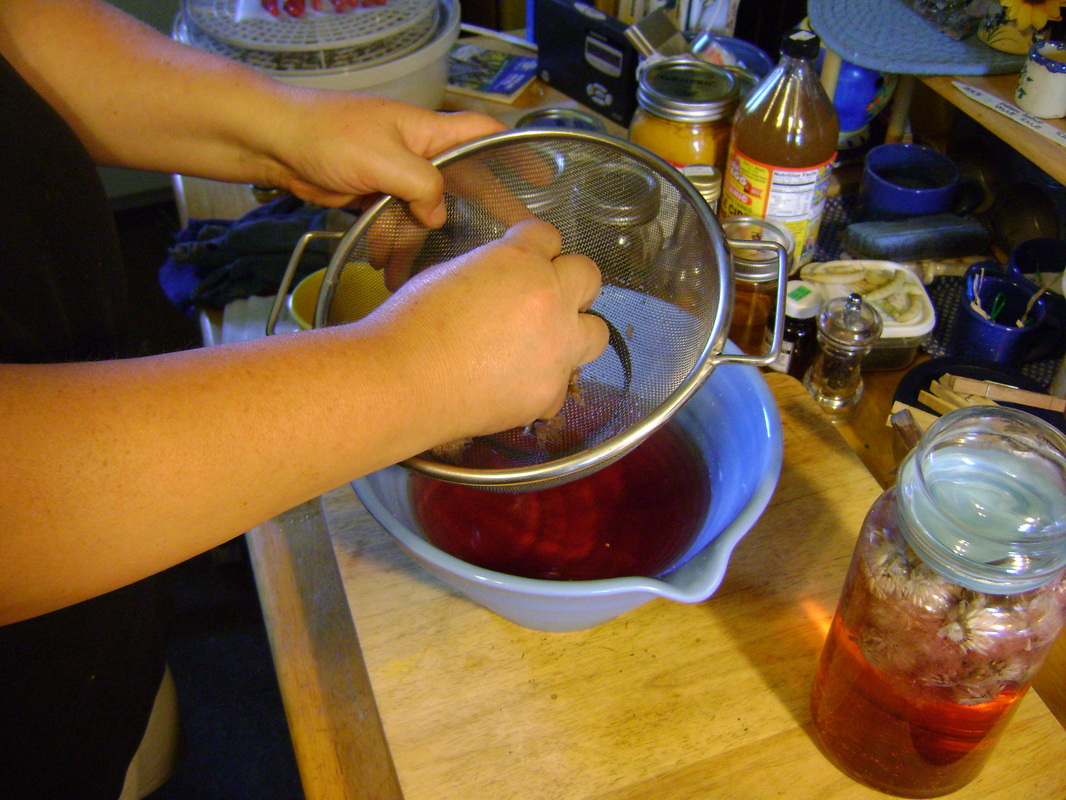
9. When the vinegar is adequately flavored, strain out the chive blossoms.
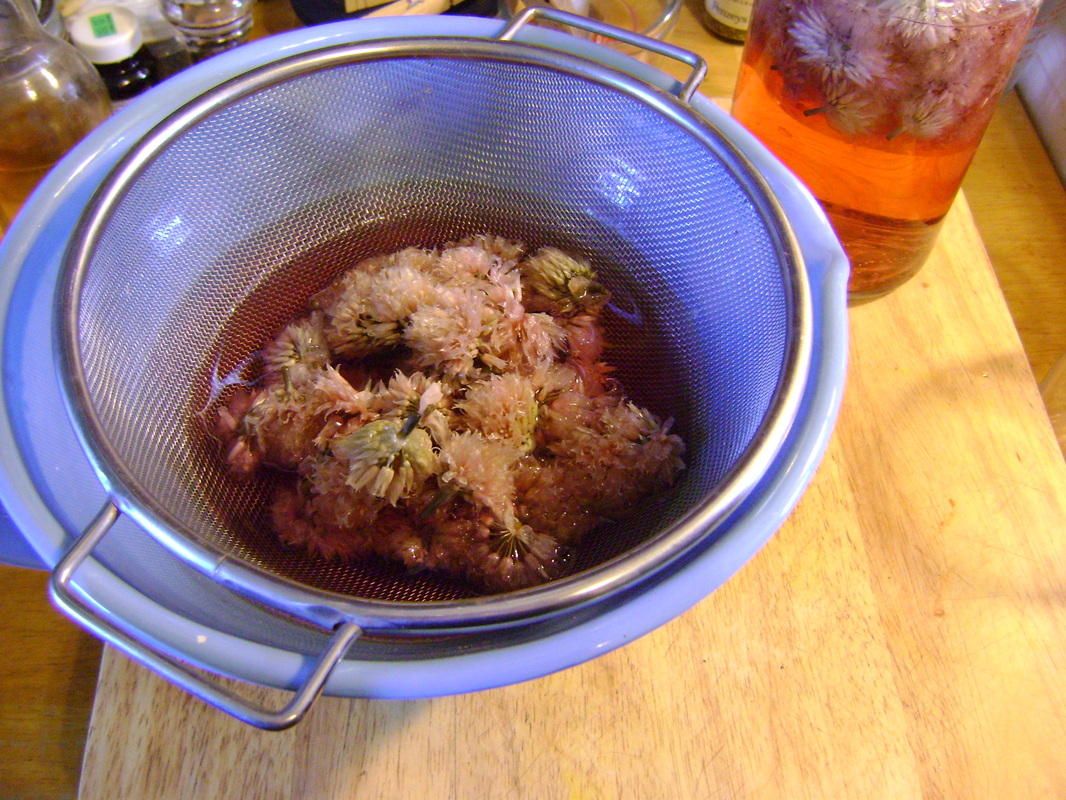
11. This nifty blue bowl has a handle and spout that makes it easy to pour the vinegar into storage jars via a funnel. Use jars that have a narrow neck and a non-metallic lid (or at least no metal on the inside). The narrow neck will reduce exposure to air, which will help keep the vinegar from spoiling longer.

|
10. Squeeze the blossoms to release all the vinegar.
12. I store mine back in the bottles that the vinegar came in originally. I soak the bottles in hot soapy water, remove the labels and glue with a plastic scraper, and run them through the high heat, sanitize setting in my dishwasher. Store the finished vinegar away from direct sunlight. It should last a very long time.
|
|
Gardening with Chives:
|
Raspberry Vinegar
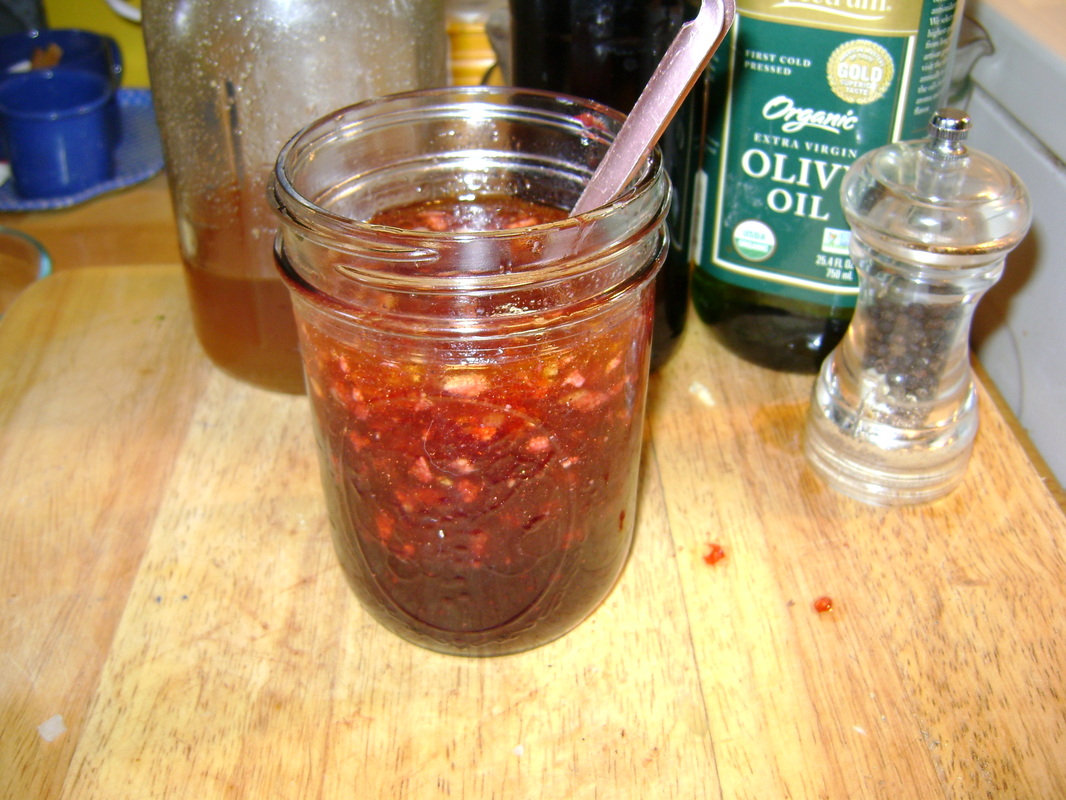
Homemade raspberry vinaigrette.
|
There is a corner of our yard that has a wild raspberry bramble, the fruit from which is usually ready to eat sometime in July. I use some of the berries to make vinegar, by following the same technique outlined above for the chive blossoms, using the fresh raspberries in either champagne or white wine vinegar.
Raspberry vinegar is a beautiful red color and tastes so good I like taking a sip of it straight. I use it in my red raspberry vinaigrette salad dressing. |