| Bear here... The weather cooperated and we got to spend the whole day of Summer Solstice outside. In celebration of the Sun, we thought it would be fun to see if we could rig up a solar oven. Theresa had some gardening time and a reminder she sometimes gets a sunburn easily. I goofed off and cooked in my kilt over the fire. We had friends over for dinner. Here are some pictures and more details... | 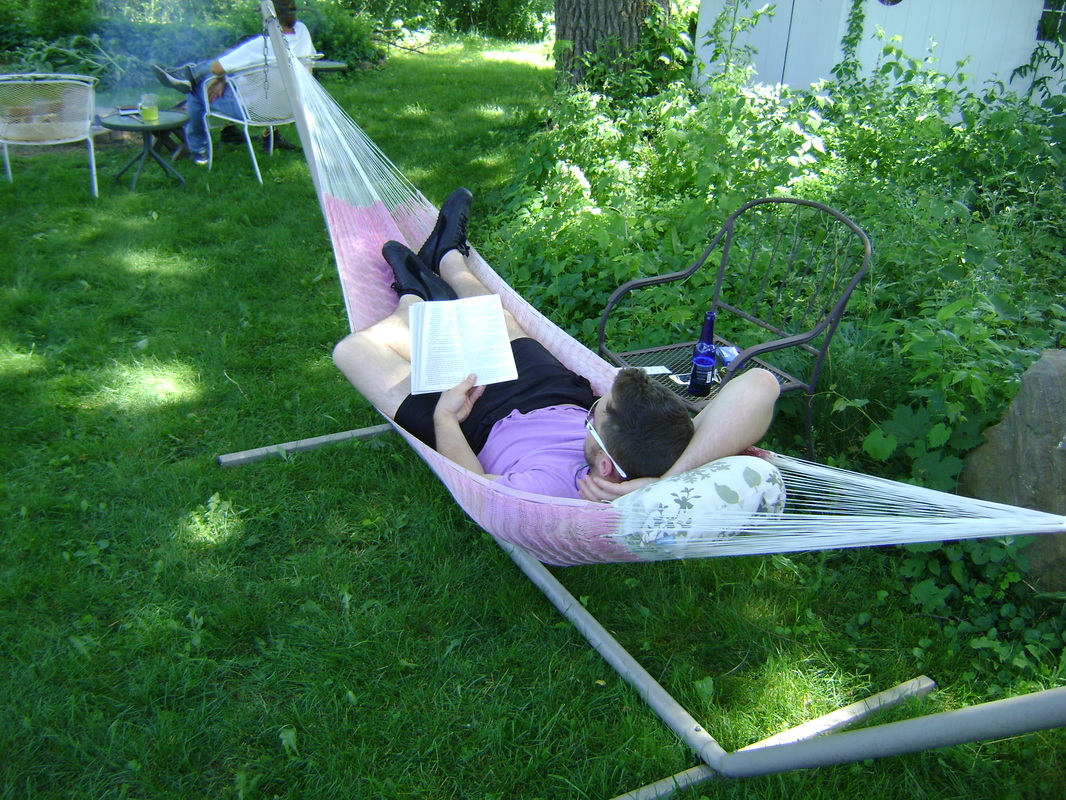 Our nephew Jeremy gets to enjoy the hammock that Theresa vacated when she went to work in the garden. |
IMPROVISING A SOLAR OVEN:
I like to experiment with cooking in different ways and Theresa is always looking for ways to save energy, so in honor of the Sun on the Solstice, she suggested we build a solar oven. Simply put, a solar oven is a tilted box with a glass lid that you point towards the Sun so it will heat up enough inside to cook food. Theresa has instructions on how to build a more permanent one that we hope to try, but today we wanted to improvise with the items we had and see what would happen.
 First thing you need is the big heater. Yep... sunshine. Find a place in your yard that will be in full Sun most of the day. We used our driveway. | 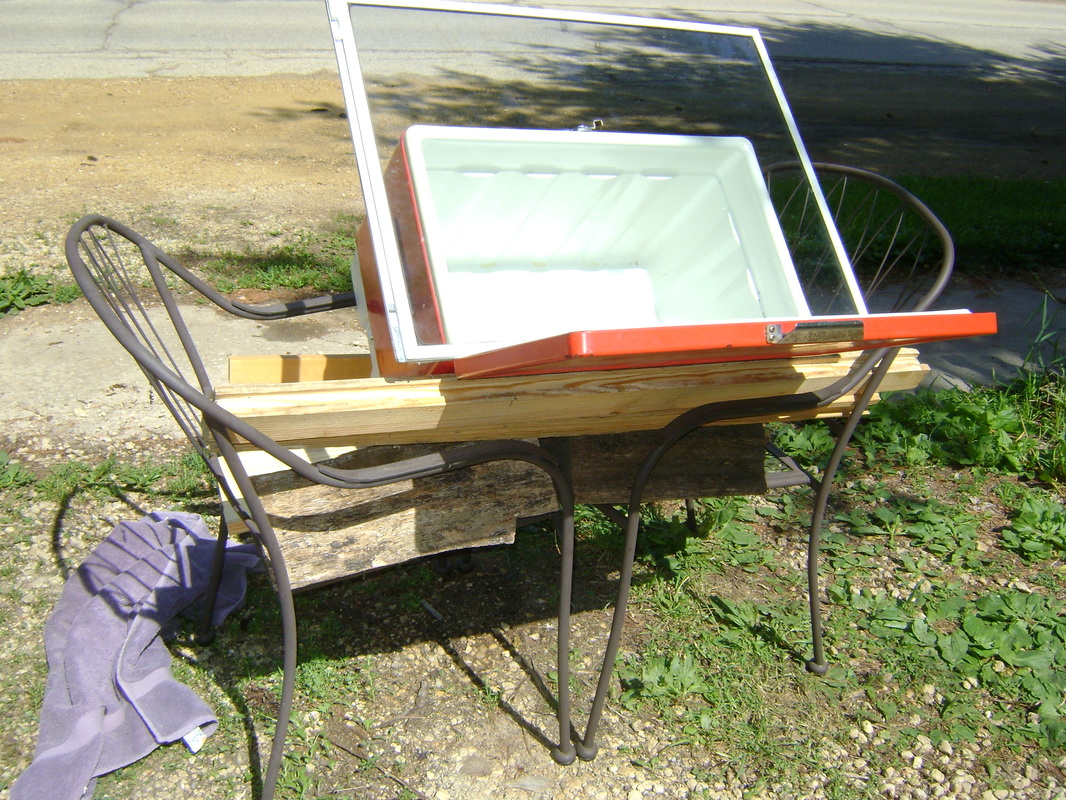 Here's what we used:
|
 The tricky part is that you want the box tilted so that you have the least amount of shade in the box. To keep it at the right angle, you'll also need to be able to move the oven as the Sun moves across the sky. We checked every hour and adjusted. | 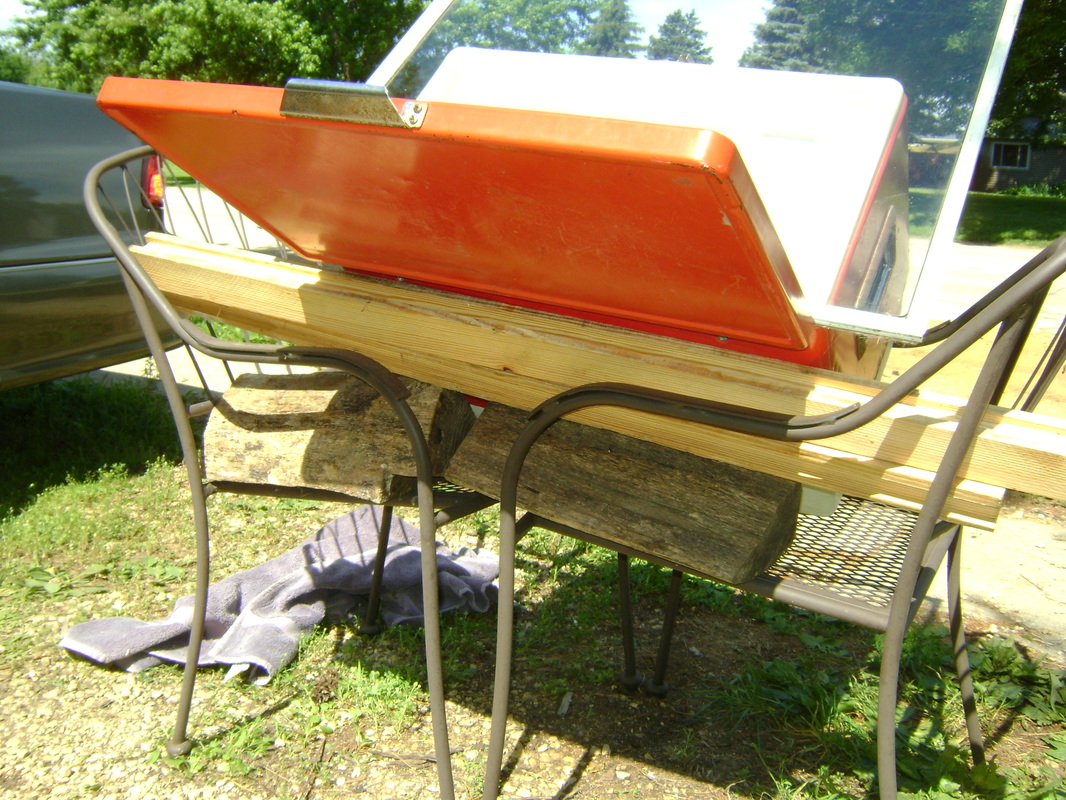 We both had ideas on how to improvise the set-up. Theresa says she had it just right and then I came along and changed it. Each of our "I know what I am doing" attitudes made this part take a while (40 min.). |
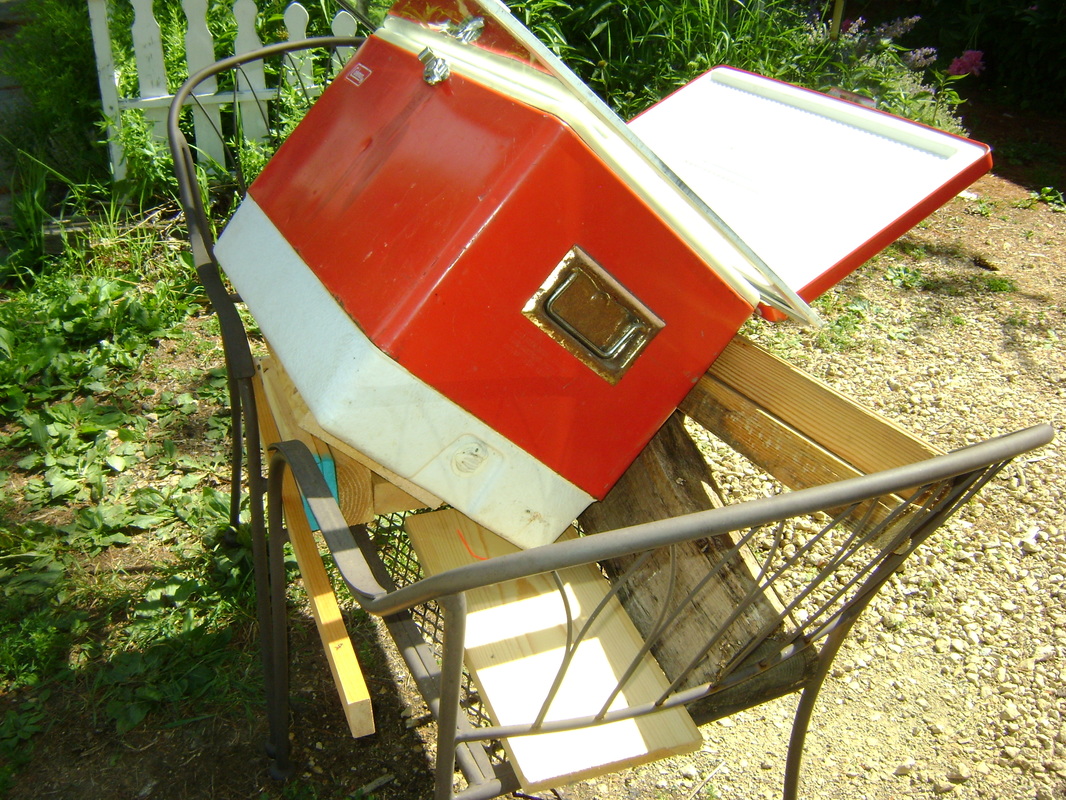
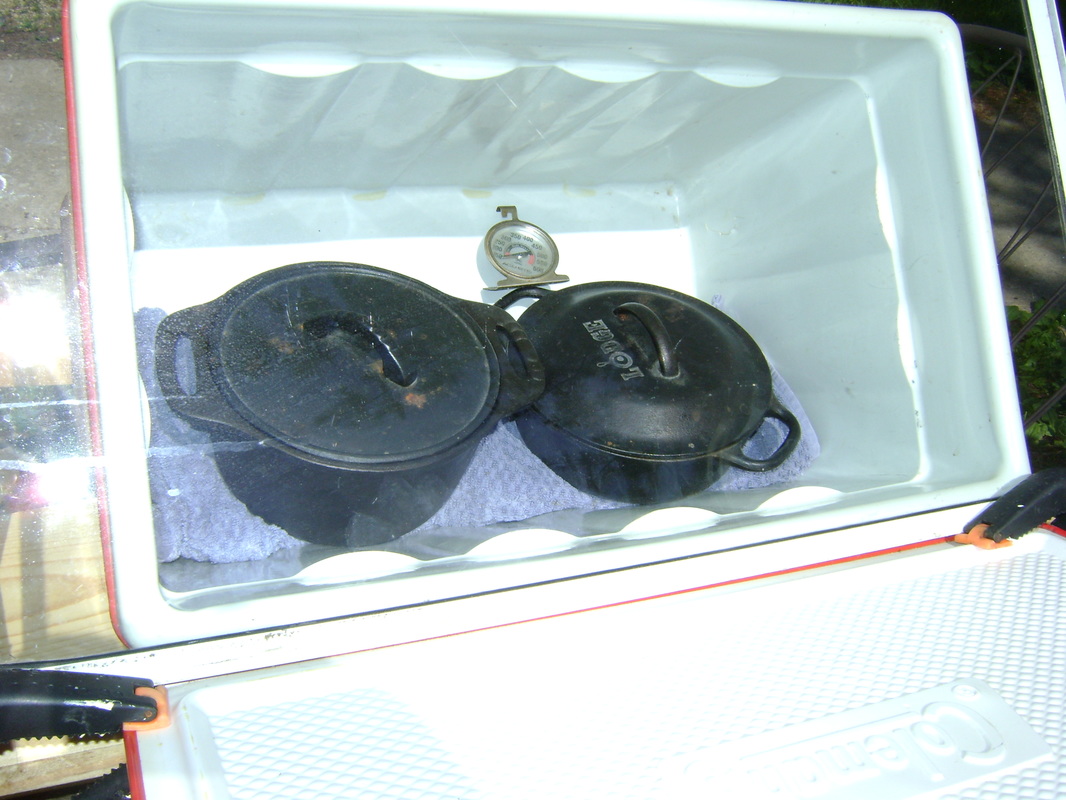 In spite of disagreements, we got the oven working and it topped out at 200 degrees F. We tried cooking rice (1 c. rice to 2 c. water) in two different ways. One pot we did hay box style (boiled the rice & water on the electric stove for 10 minutes, then put in the solar oven to finish cooking). It was done in 1 hour. The second pot we just filled with hot water from the tap. It took around 4 to 5 hours before we noticed it was finished. | 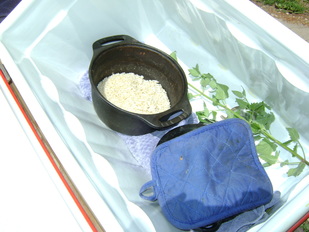 We balanced both pots on a folded dish towel, since the bottom of the cooler was tilted. Above is the first pot of finished rice. Don't be fooled- you need hot pads to touch these dishes. Theresa also realized that the temperature was right for drying herbs. This catnip dried really quickly, so now she's devising plans to build a solar dehydrator (if we ever find the time). |
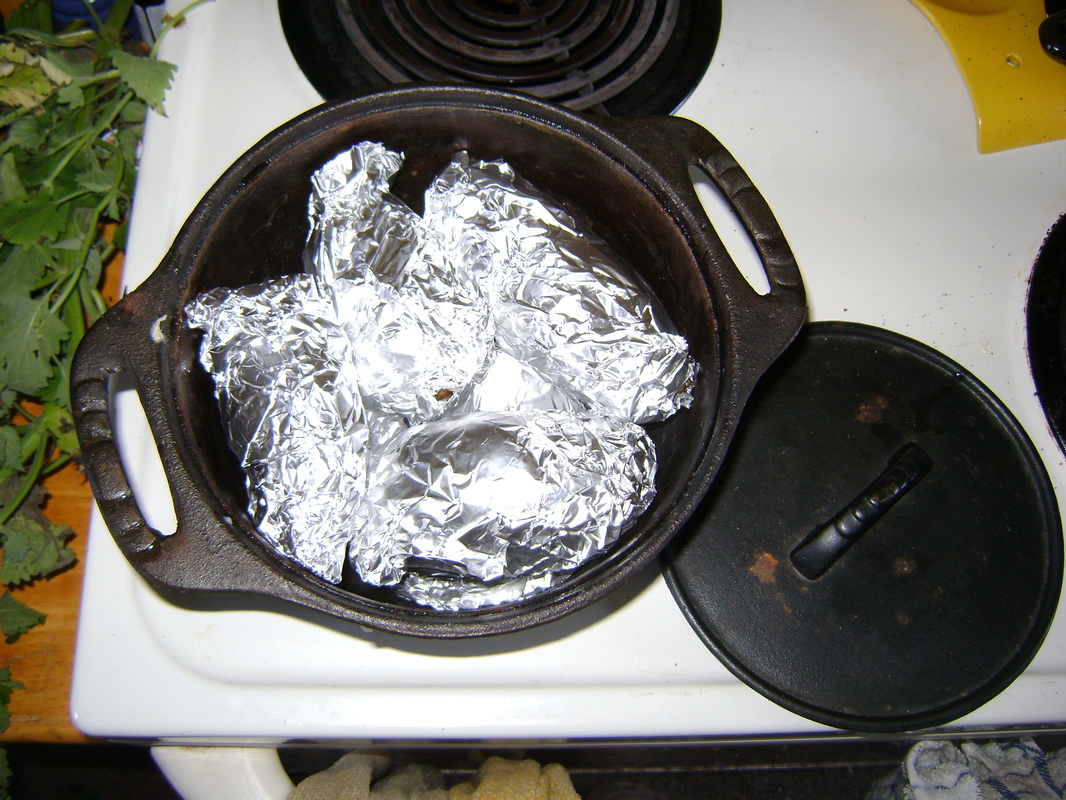 I tried to bake whole potatoes in the solar oven, but there wasn't enough heat or time. Next time I'm going to try lining the cooler with aluminum foil to create more reflective heat. | 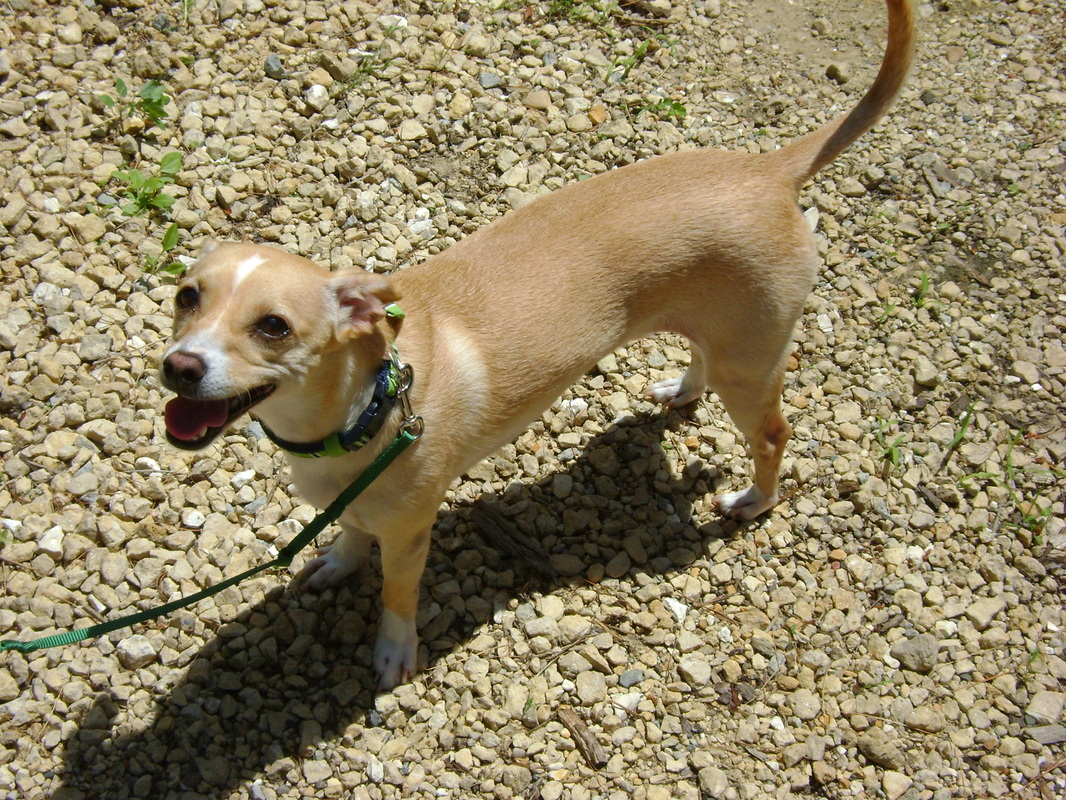 Archie the visiting dog thinks we are strange but cool. (Ivy the cat thinks Archie is OK, for a dog, but our other cats did not appreciate the visitor.) |
HOMEMADE ICE CREAM AND COBBLER IN A DUTCH OVEN:
| Theresa and I figured that home made ice cream would be great to make for the longest (hottest?) day. We decided to make it while our guests were here instead of the day before, because Theresa thinks it tastes best straight out of the ice cream machine, right after it's done and still soft. I like it when it has been in the freezer and is more firm. I am not going to argue with her, though, because either way, as the ice cream maker I get to "clean off" the paddle (aka lick all the ice cream I can get from the thing.) |  |
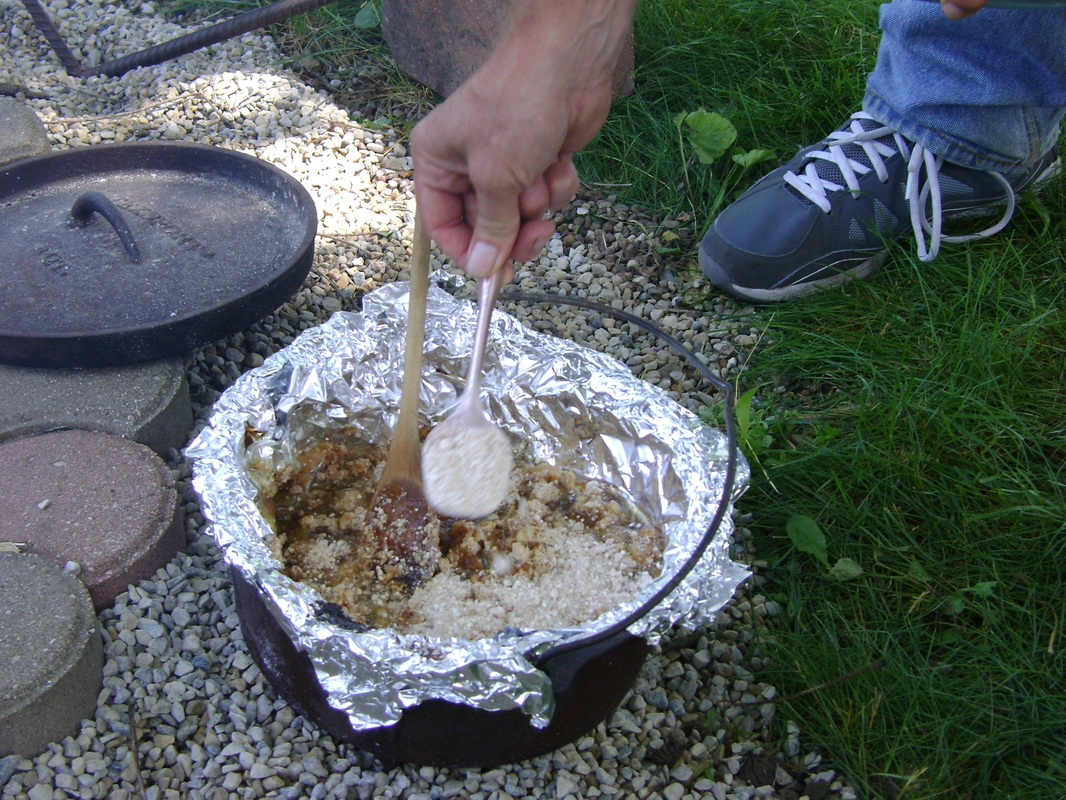
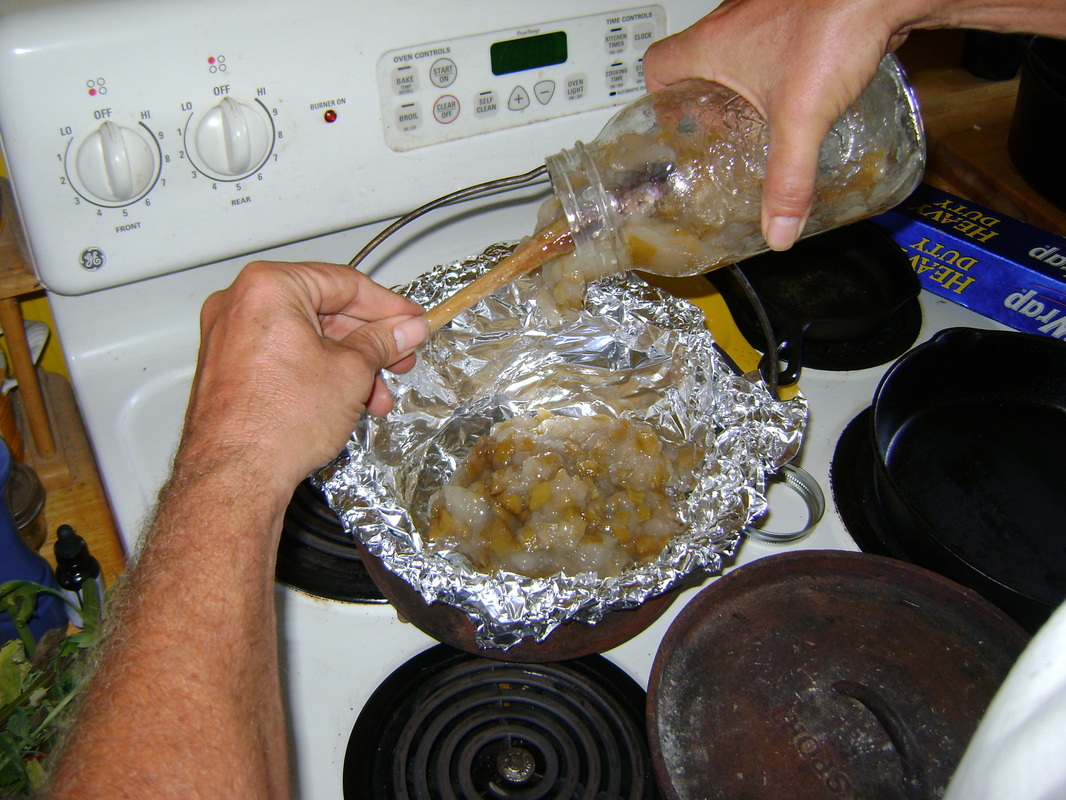 Our friend Reed reminded us that we have his canned pie filling in our basement and suggested we cook some cobbler in his dutch oven to go with the ice cream. First he lined the pot with foil, then dumped in one quart of pie filling. You can also use chopped fresh apples or peaches. We used a rhubarb pie filling he canned last year. | 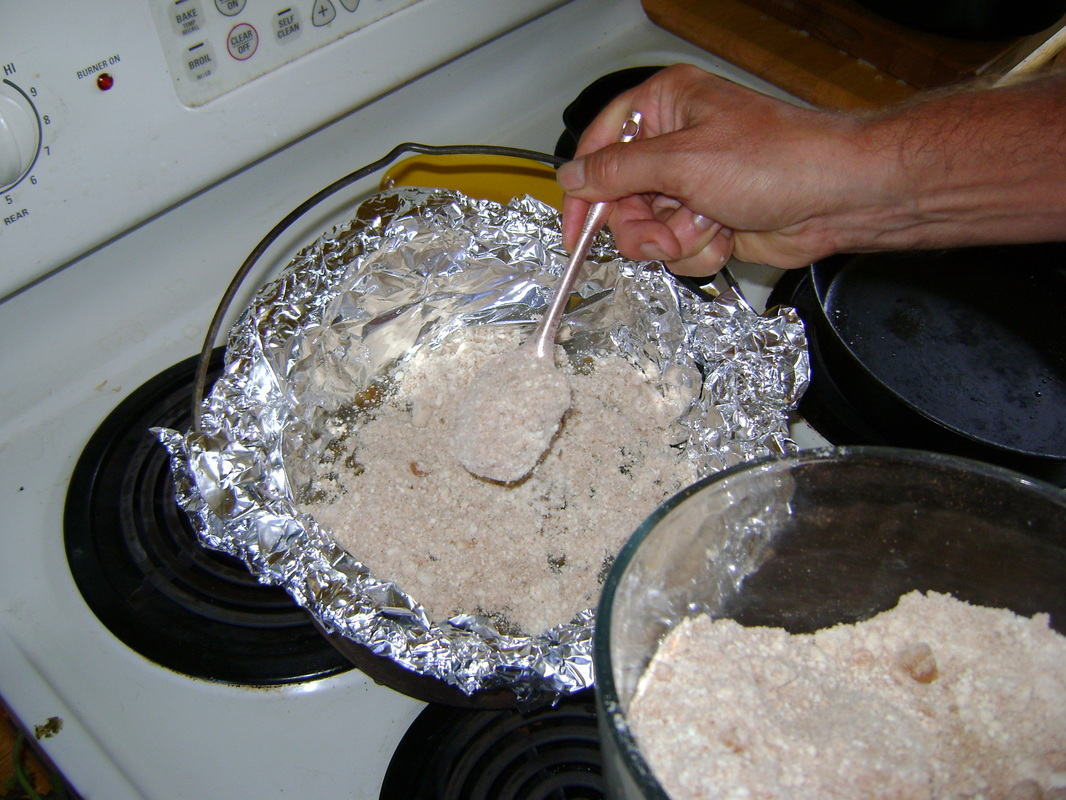 The topping is 2 c. biscuit mix with butter or Crisco cut into it, with sweeteners added in to taste (such as a couple tablespoons of brown sugar and some cinnamon). |
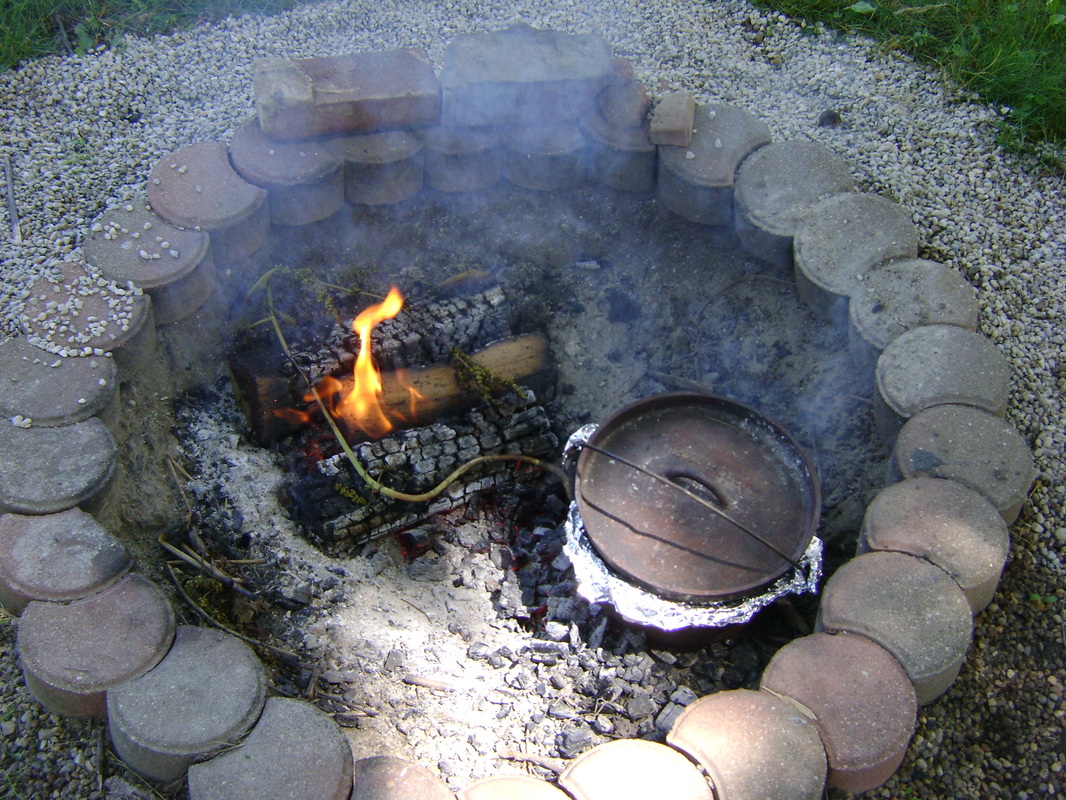 Then place the dutch oven in the fire pit over coals. The trick is to get the heat even on all sides. If you know one side is hotter, you will have to turn it periodically. Reed told me dutch oven cooking is more of an art form than a science. | 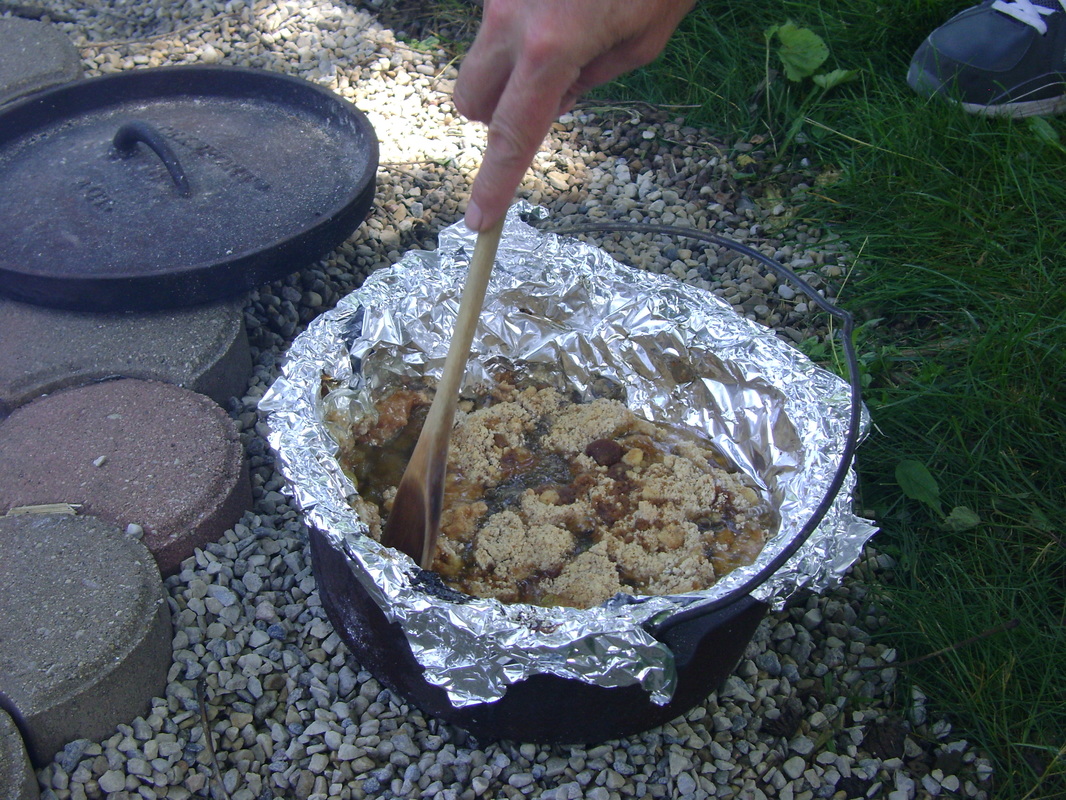 How long? Don't know. Depends on the coals. Thus an art form. (I am guessing around 1/2 hr.) When the top was bubbling he pushed it down with a spoon... |
 ... to mix better, then he added more topping and put it back on the coals. I noticed a lot of liquid, so I am guessing you let it cook until there is not much liquid. | 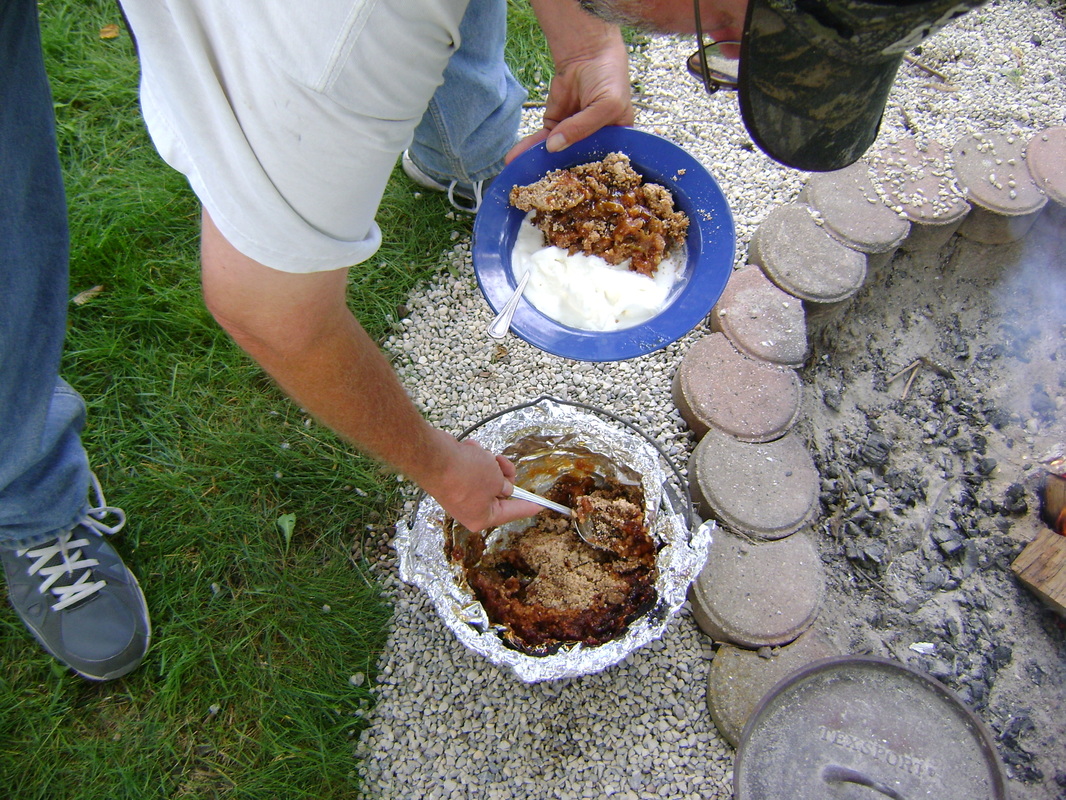 We didn't eat it right away so Reed took it out of the fire, but put some coals on top of the lid to keep it warm. It looked and tasted real good with the ice cream. |
FIRE PIT (GROUND) GRILLING, in a kilt:
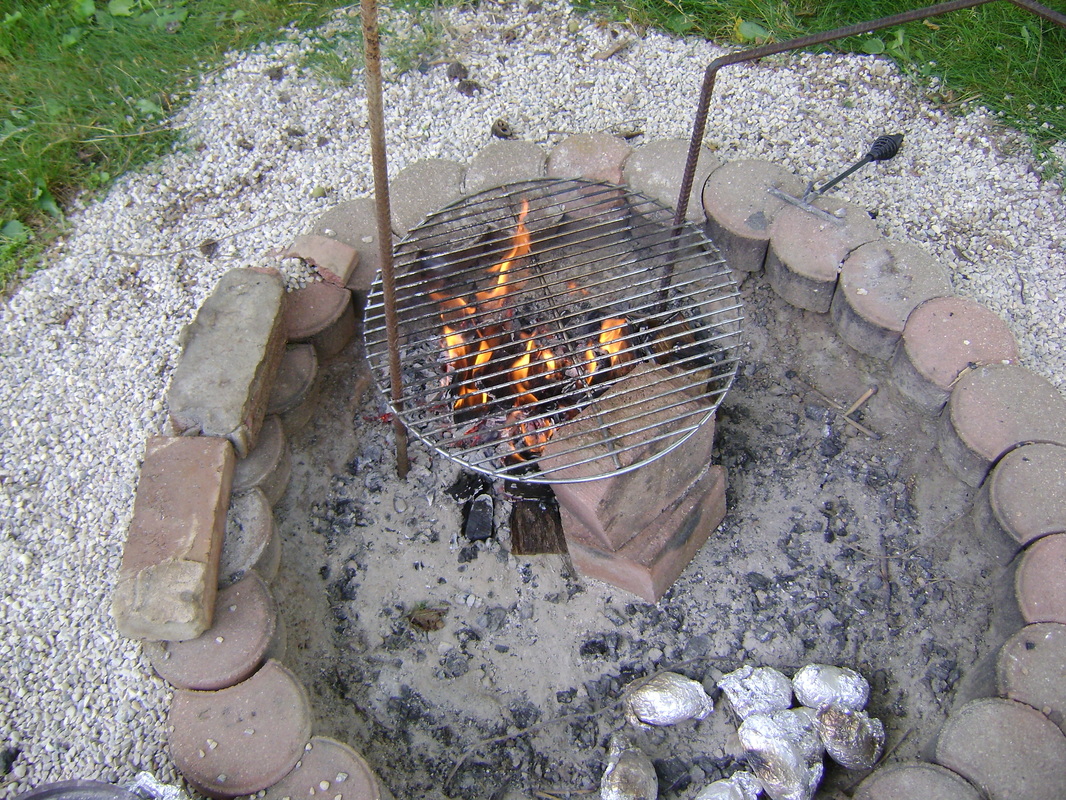 The set up is easy. You need an old usable grill grate (the bigger, the better), bricks to set in the fire area to prop up and level one side of the grate, and two metal poles stuck through the grate into the coals to hold the grate still while you cook. Other helpful tools include gloves for moving the bricks and something long handled (aka a fire stick) to move coals around with. Put the potatoes in first. Wrap them in foil and put them by the coals. I would turn them every 15 min. or so to keep the cooking even. They should be soft in an hour. | 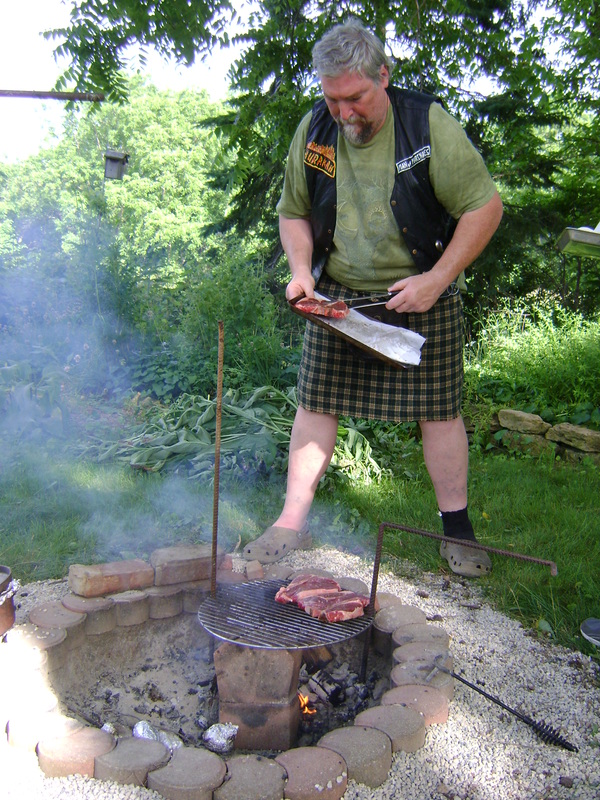 Then... bring on the meat! |
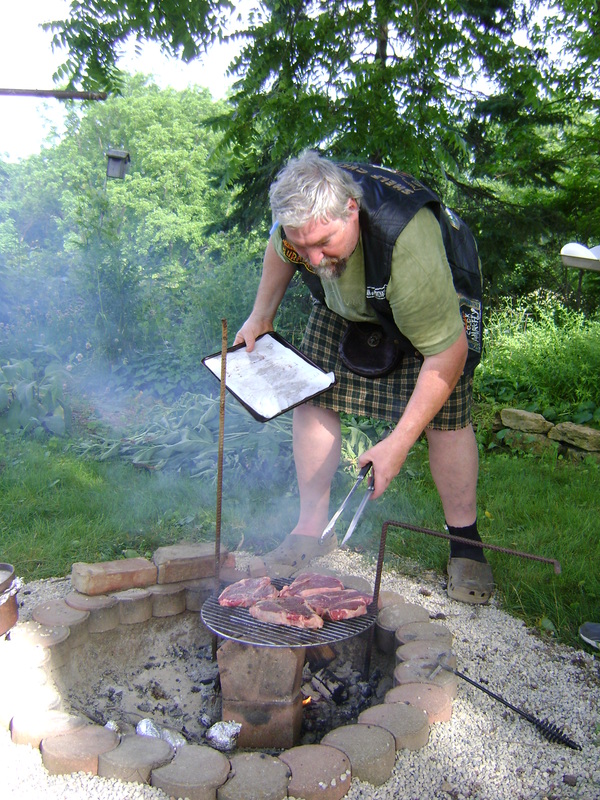 Proper food, fire, and attire... | 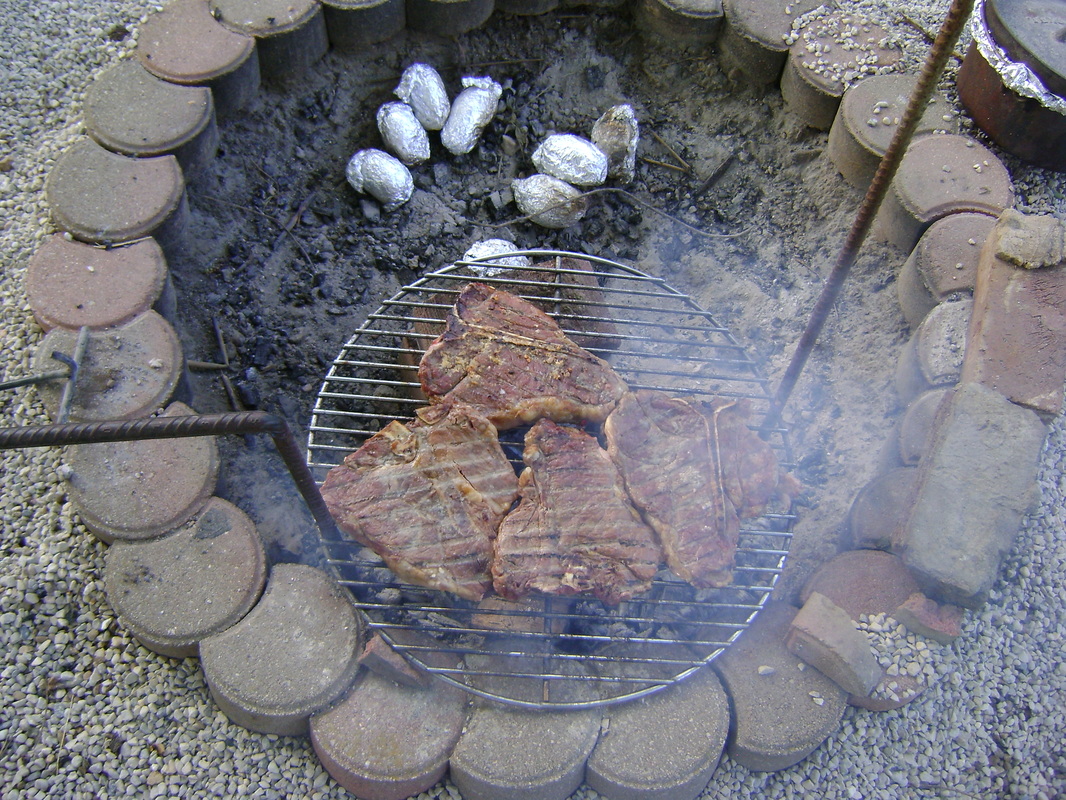 Just like on the grill, only lower. |
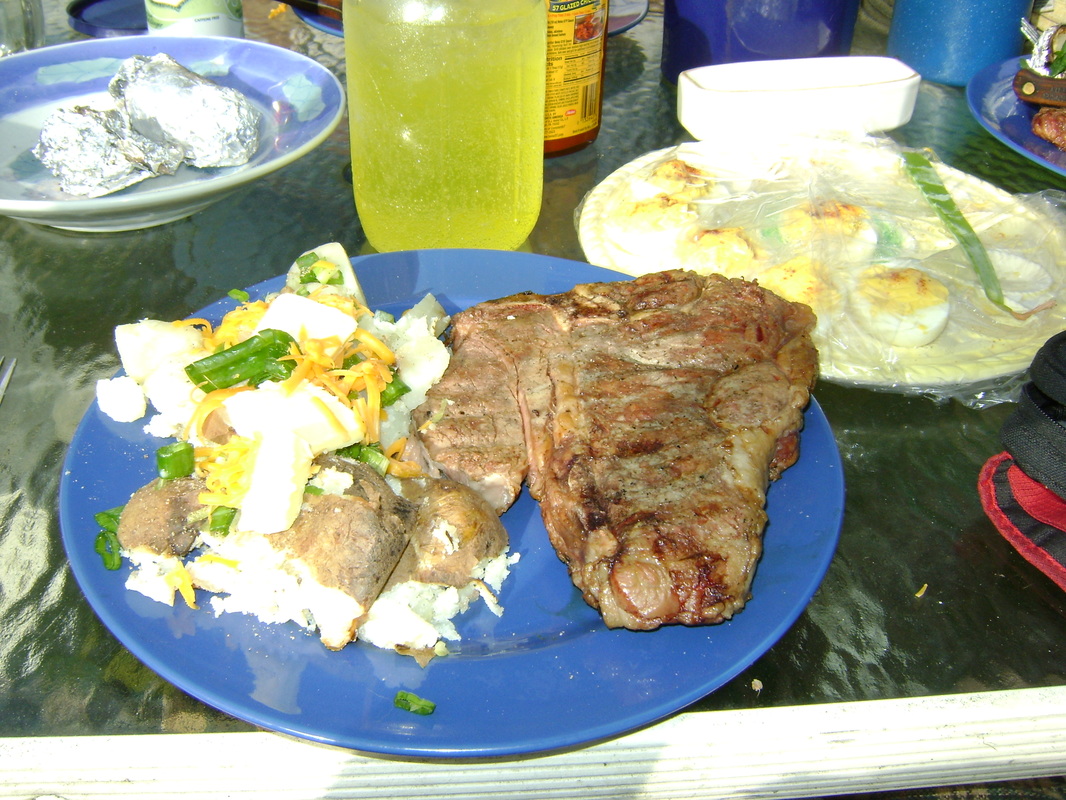 The fruit of my labors. | 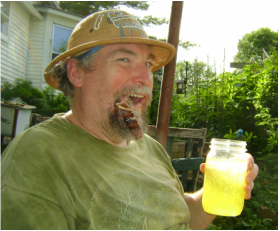 Enjoying the fruit of my labors (they say I don't leave enough meat on the bone for a dog to want it afterwards). |
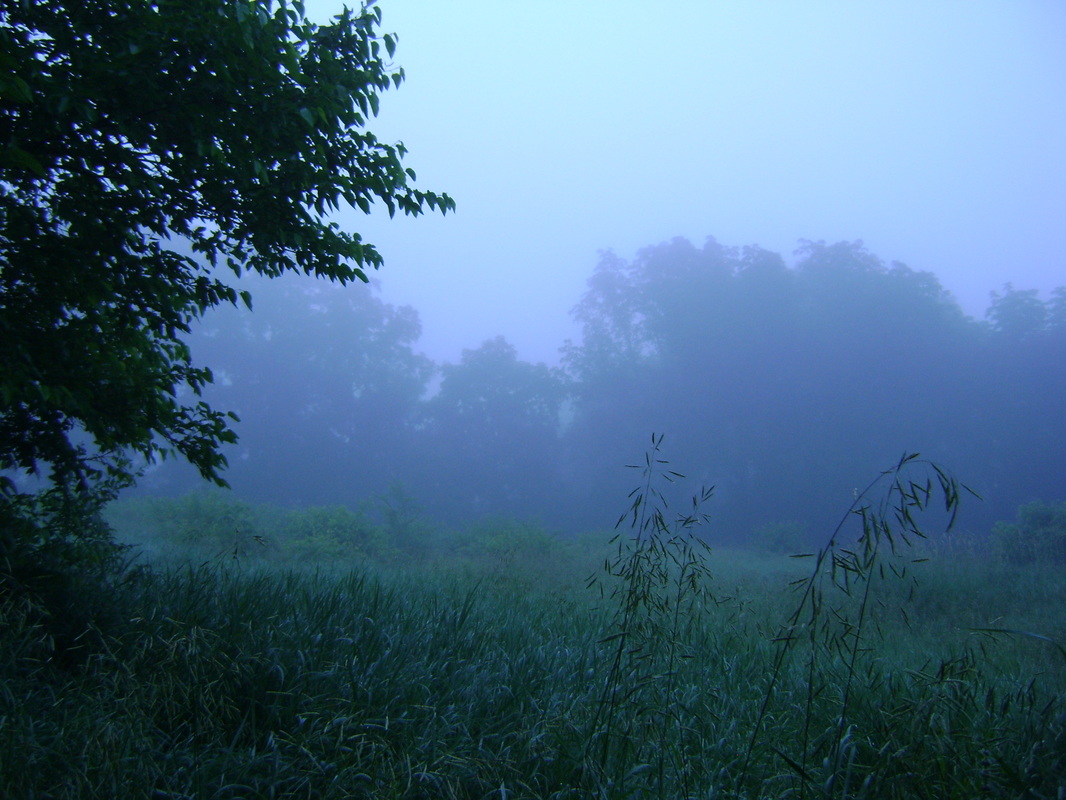
BEGINNING OF THE LONGEST DAY:
END OF THE LONGEST DAY:

The view from the bike path across the street. Good night Sunshine.
HAPPY SOLSTICE!
HAPPY SOLSTICE!
 RSS Feed