|
MAKING HOMEMADE
|

|
|
|
Our First Video!You're in for a treat- both for your taste buds and your funny bone:
|
Recipe for The World's Best Honey Vanilla
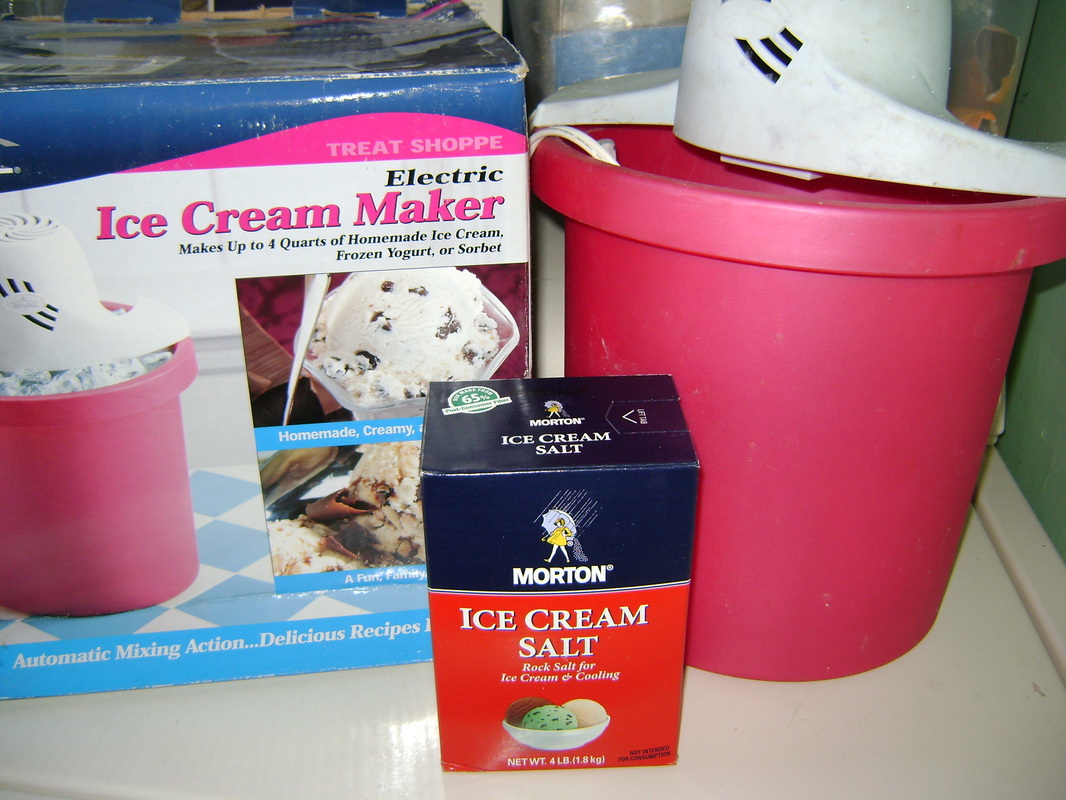
From Theresa: I have a few memories of making ice cream at my Aunt Barb's house when I was a little kid. She did all the preserving and making food from scratch that I'm trying to do now, and I loved helping her. However, I really hated the vanilla ice cream we made. I remember it being runny and tasting funny. Now that I'm older and my tastes have changed, I wanted to see if I liked homemade ice cream better. We bought a used and obnoxiously pink electric ice cream maker at a garage sale for $5. It came with a little booklet of recipes. I promptly modified one by exchanging honey for sugar, and accidently made the best ice cream I've ever tasted. Previously, my favorite was Ben and Jerry's World's Best Vanilla. Now it's this recipe:
|
World's Best Honey Vanilla
(For a 4 Quart Ice Cream Maker)
To use the ice cream machine, you'll also need:
|
The Day Before, Make and Chill the Cream:
|
1. Put 2 cups of whole milk in a saucepan and warm until it is steaming. Don't let it boil. Turn off the heat and remove the pan from the warm burner.

|
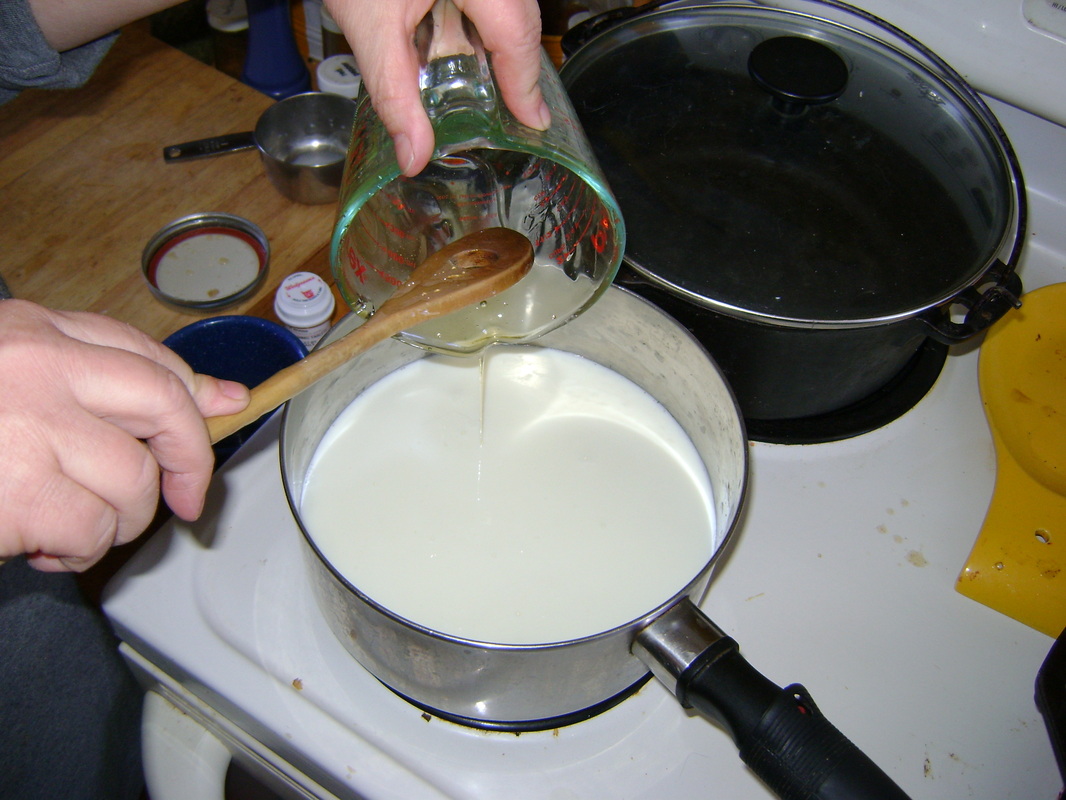
2. Pour in 2 cups of local honey.
|
|
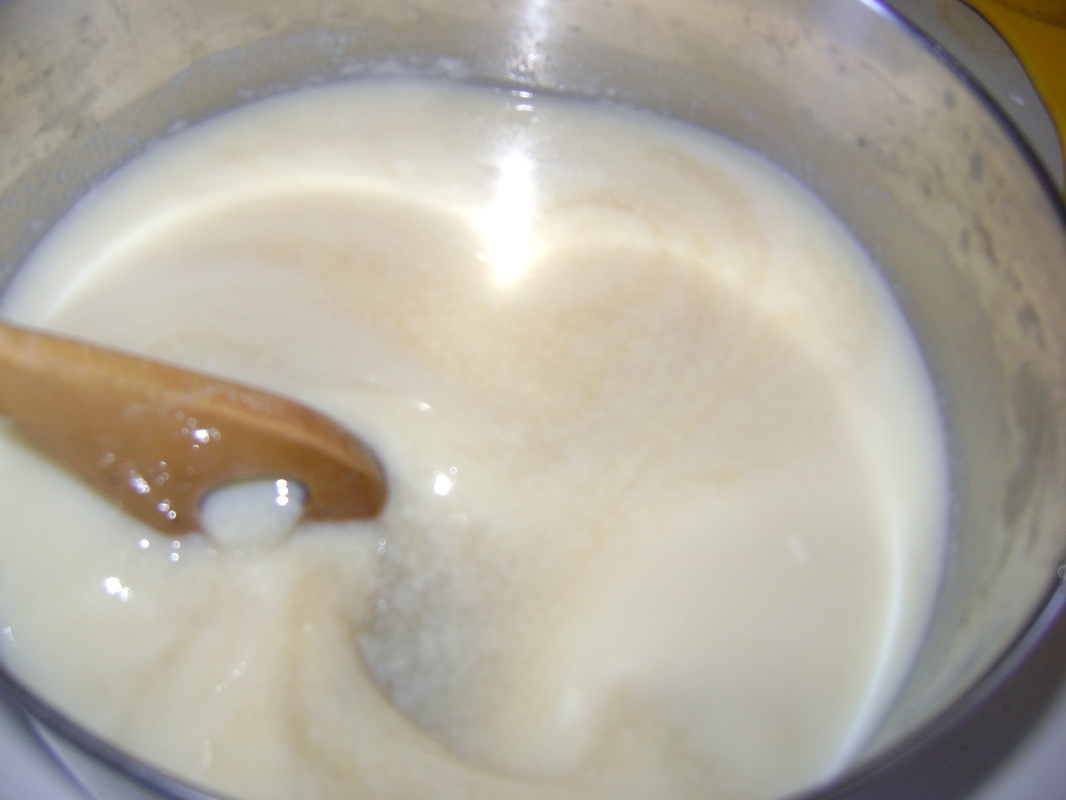
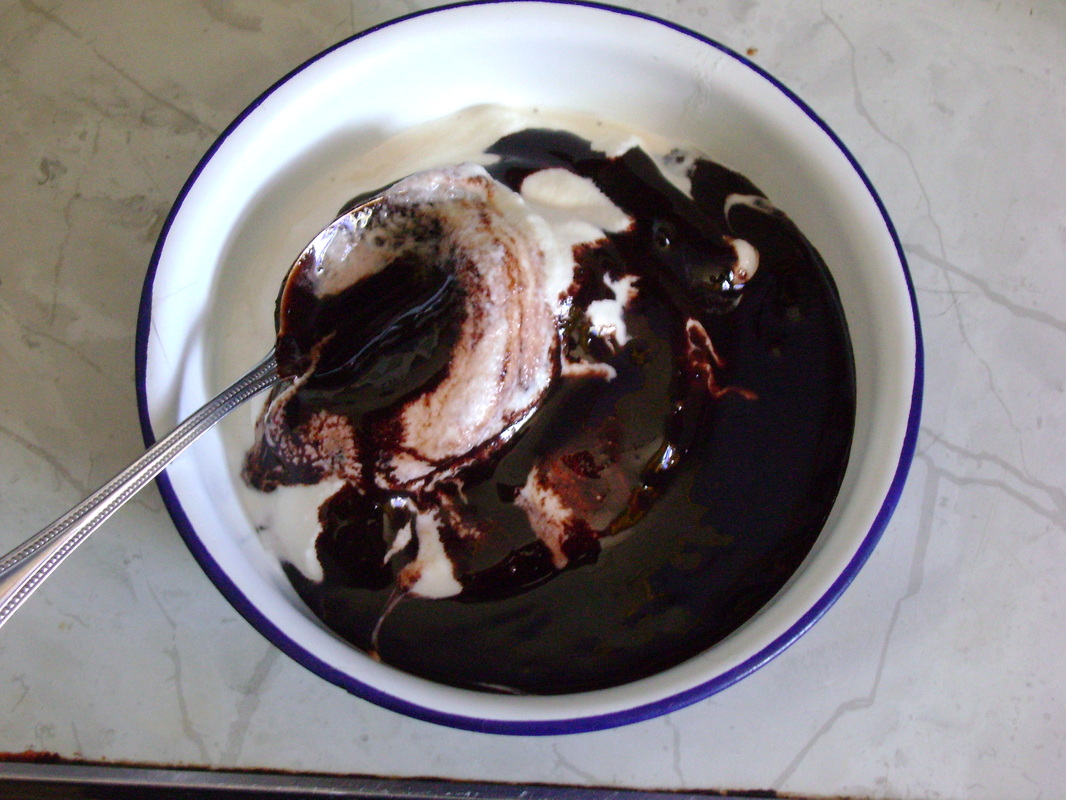
3. Stir in the honey, which will darken the milk.
|
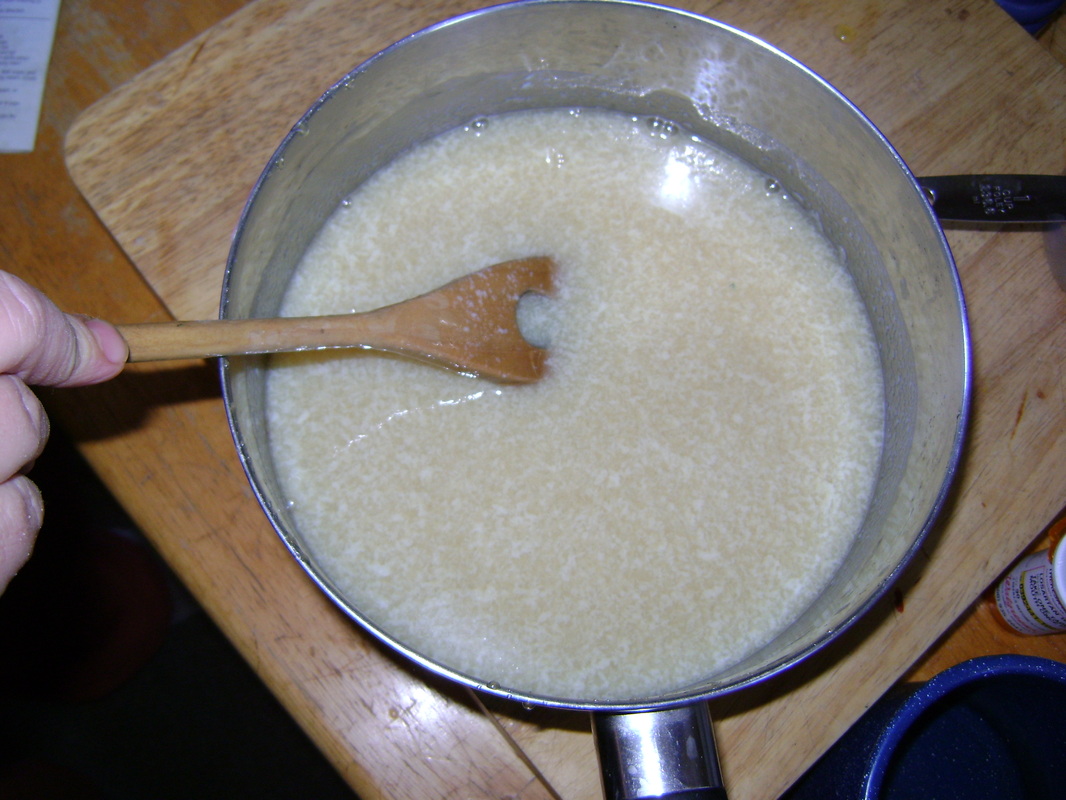
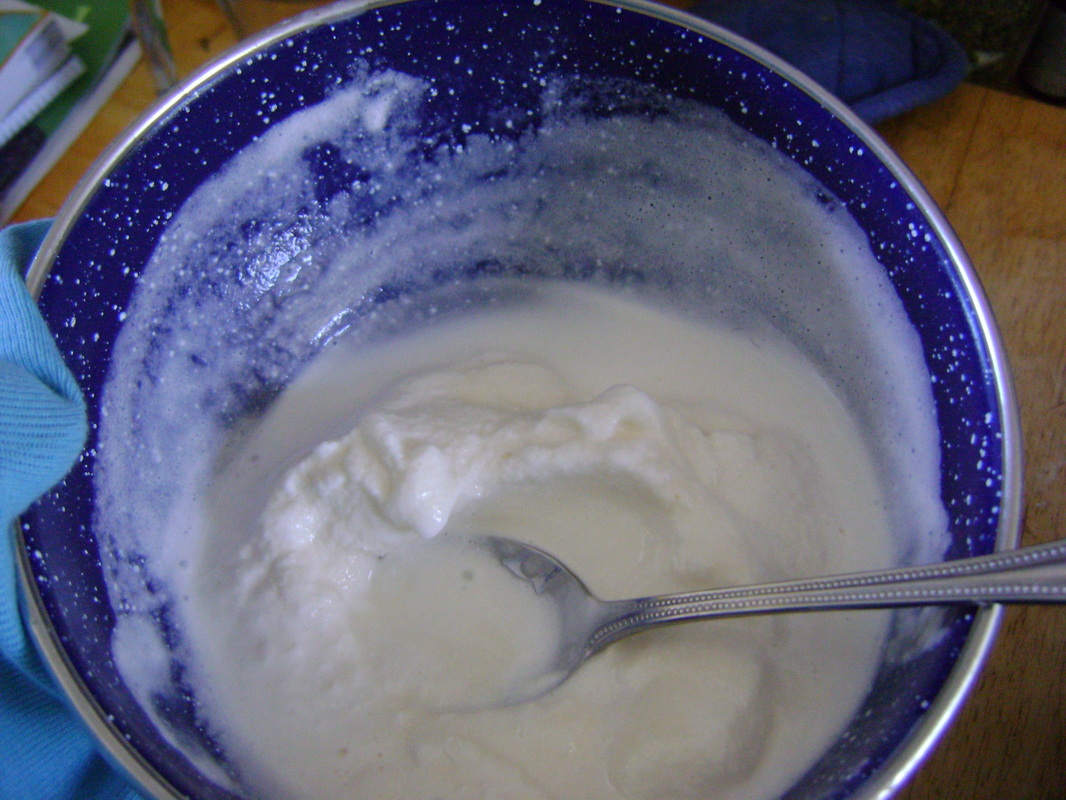
4. Sometimes the milk curdles a little. We haven't figured out why. But it doesn't make any difference to the taste! So keep going. Bear says: Think of it as creamy... in chunks.
|
|
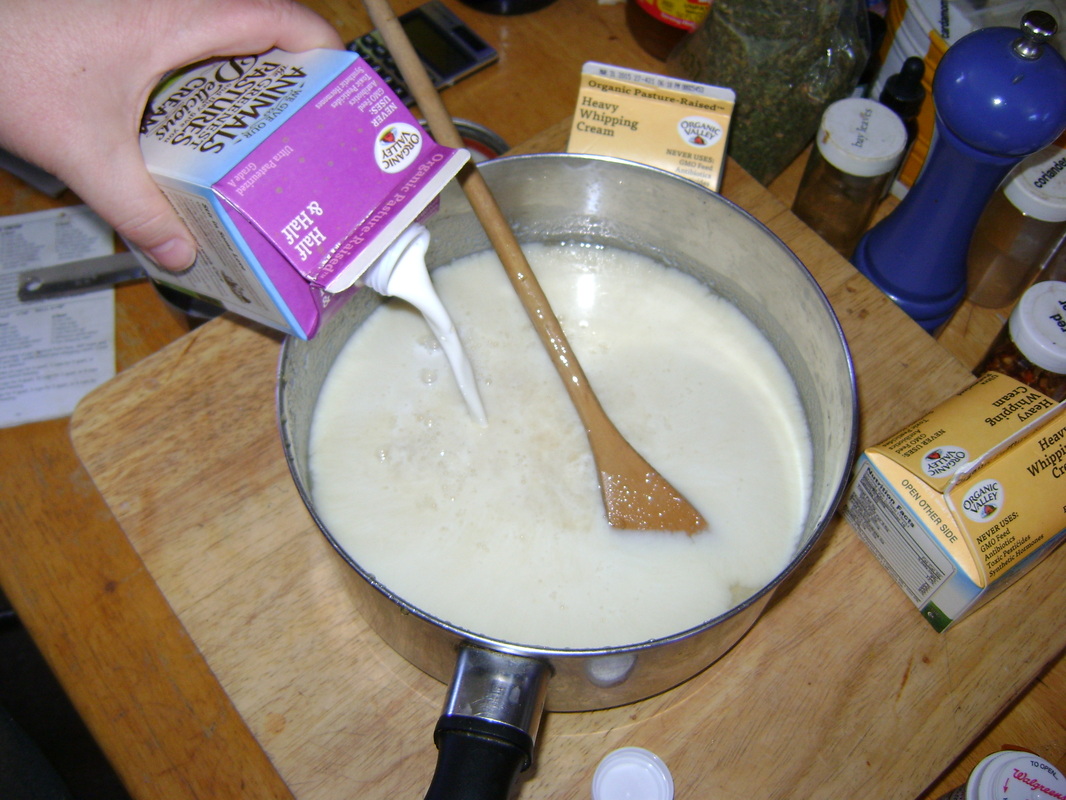
5. Stir in the rest of the ingredients: 2 cups half and half, 4 cups whipping cream, 1 1/2 tablespoons of vanilla.
|
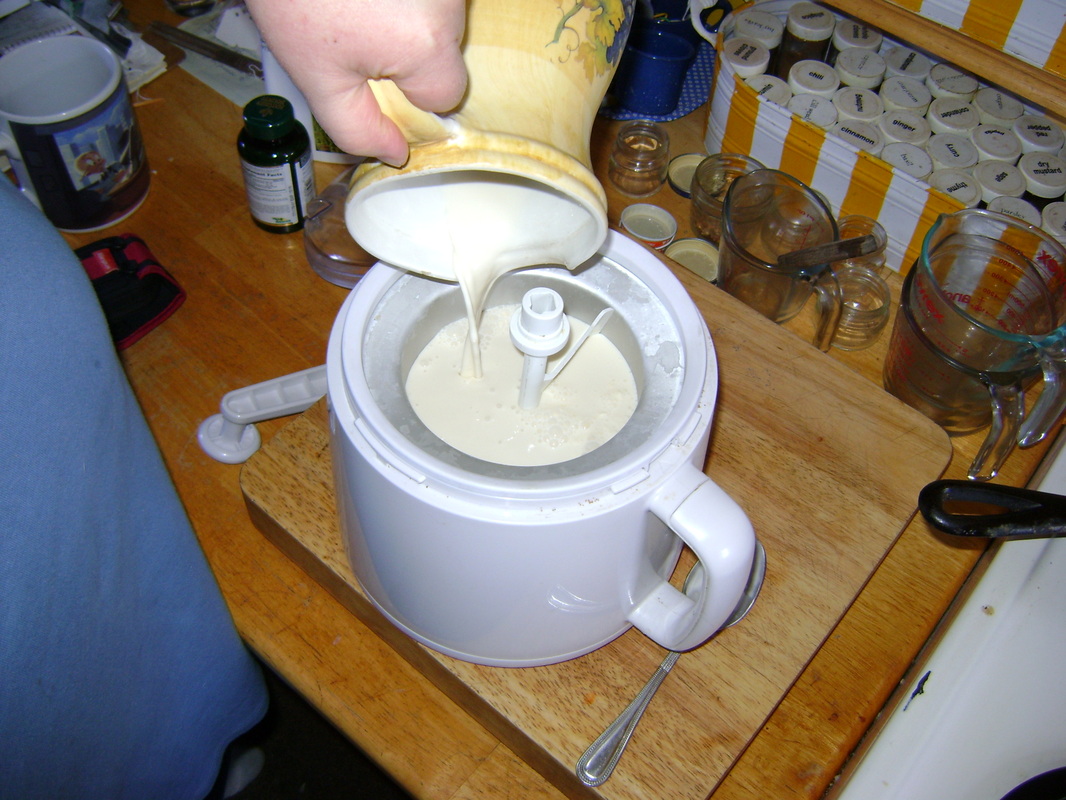
6. Transfer the mixture to the can that goes with your ice cream maker.
|
|
7. Don't forget to enjoy a taste test. Bear says, "Only one, Theresa, only one." Theresa ignores him.
|
8. Chill cream in refrigerator for as long as possible, preferably overnight.
|
|

|
The Next Day, Freeze the Cream to Make Ice Cream!
|
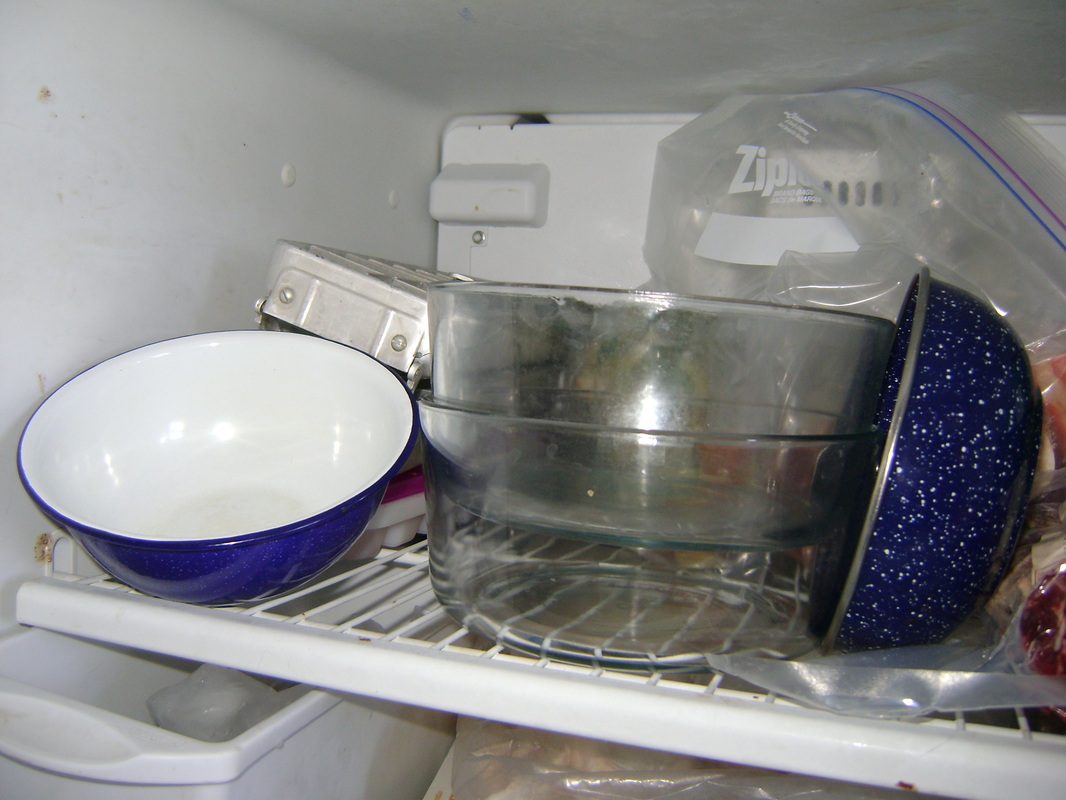
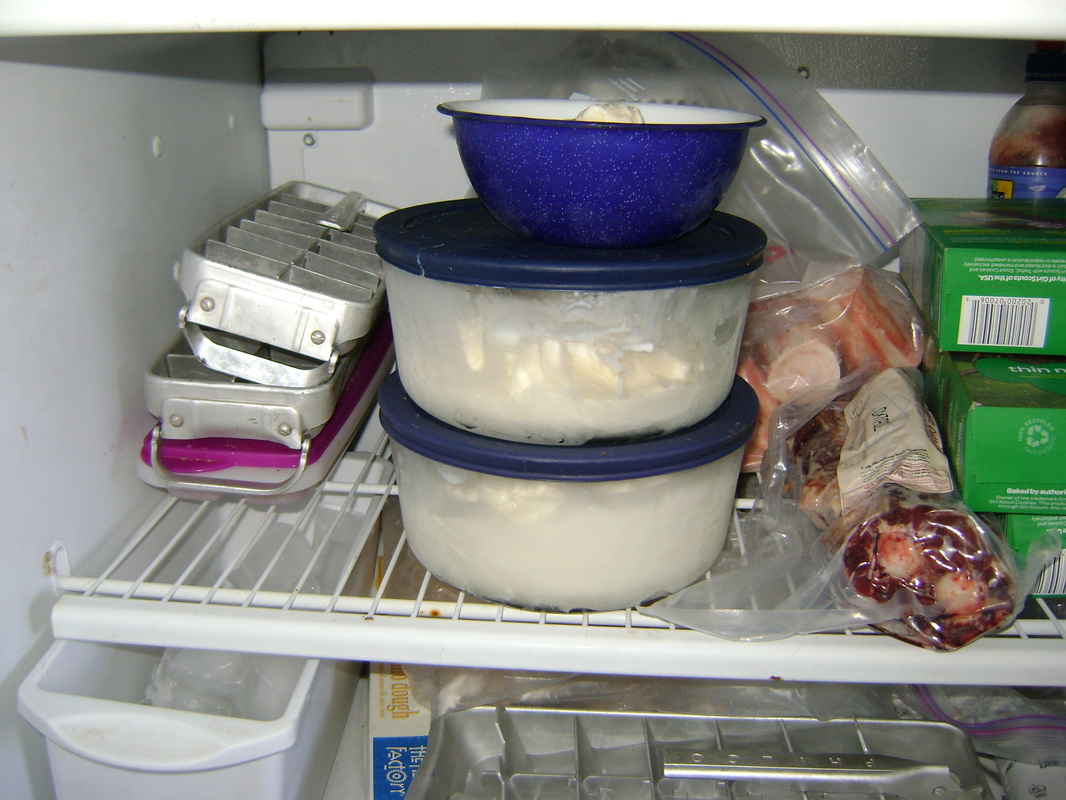
1. Bear likes to put the bowls we'll be using in the freezer when we start making the ice cream, so it doesn't melt any faster when we fill the bowls.
|
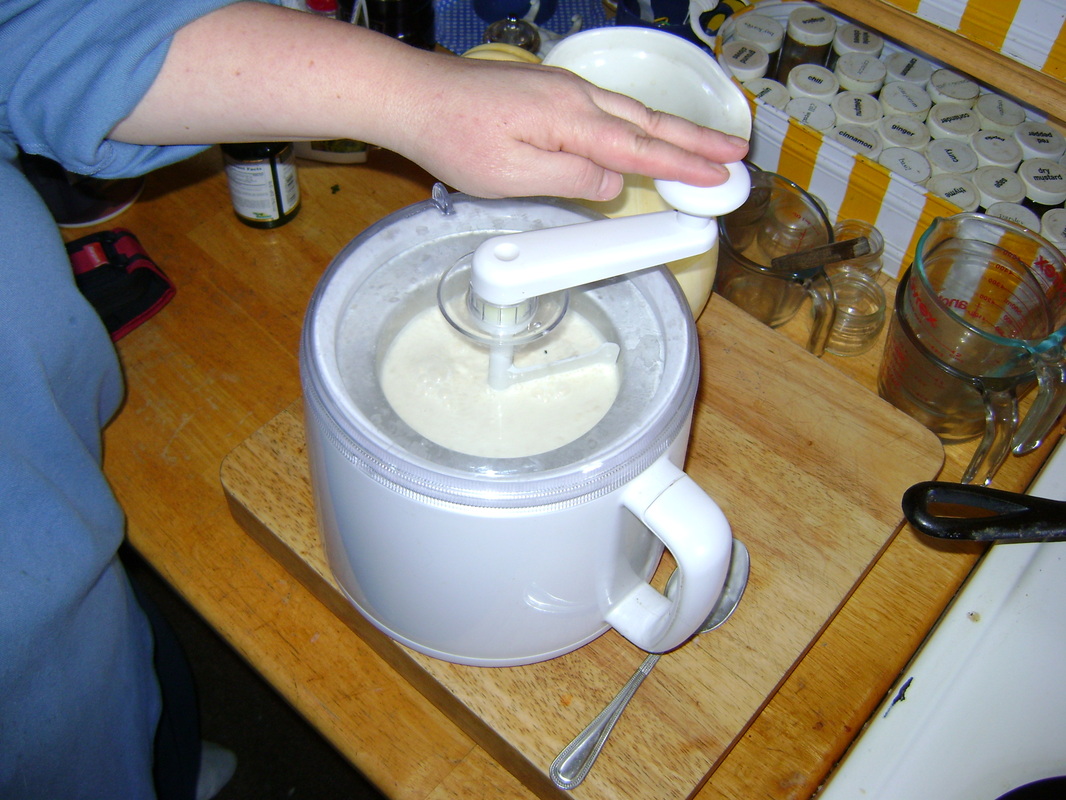
2. Gather your supplies. Here's our electric ice cream maker. If yours came with instructions, you should use them. Following is how we use ours to make the World's Best Honey Vanilla.
|
|
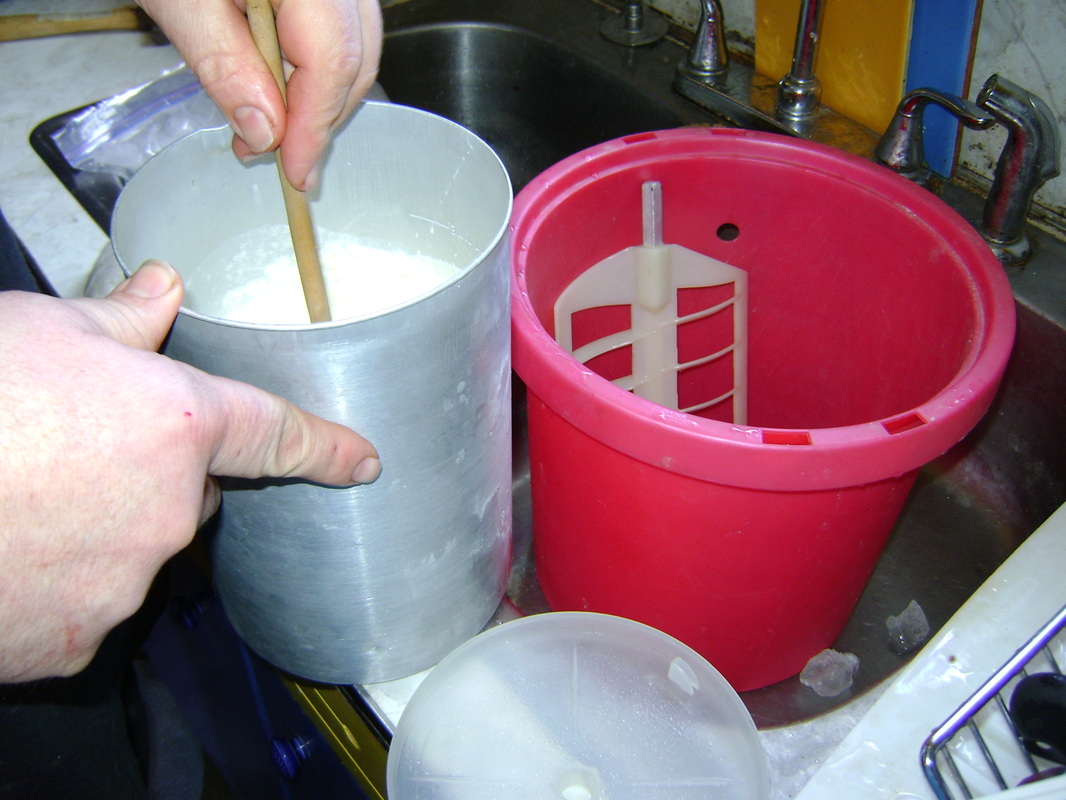
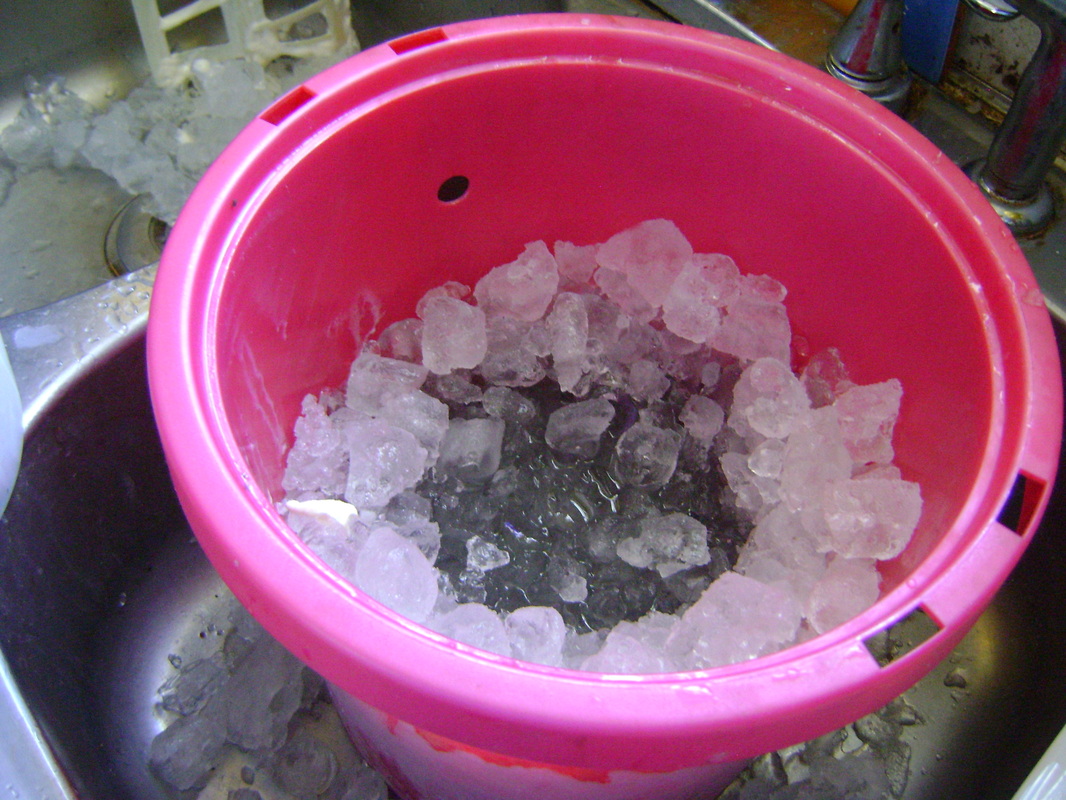
3. We set up the ice cream maker in our kitchen sink, because the ice will make a bit of a mess. You could also set up outside near an outlet. The white paddle inside the pink bucket is called the dasher. When we plug in the machine, the dasher will go around and around, churning the cream while it freezes.

|
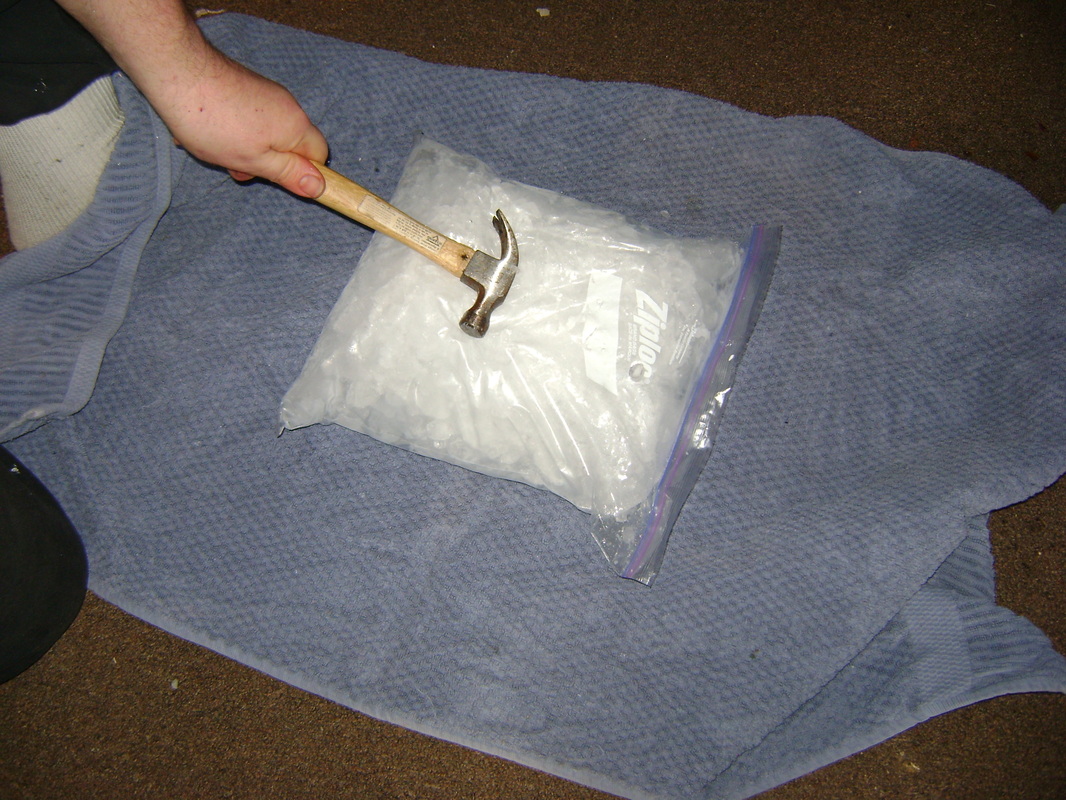
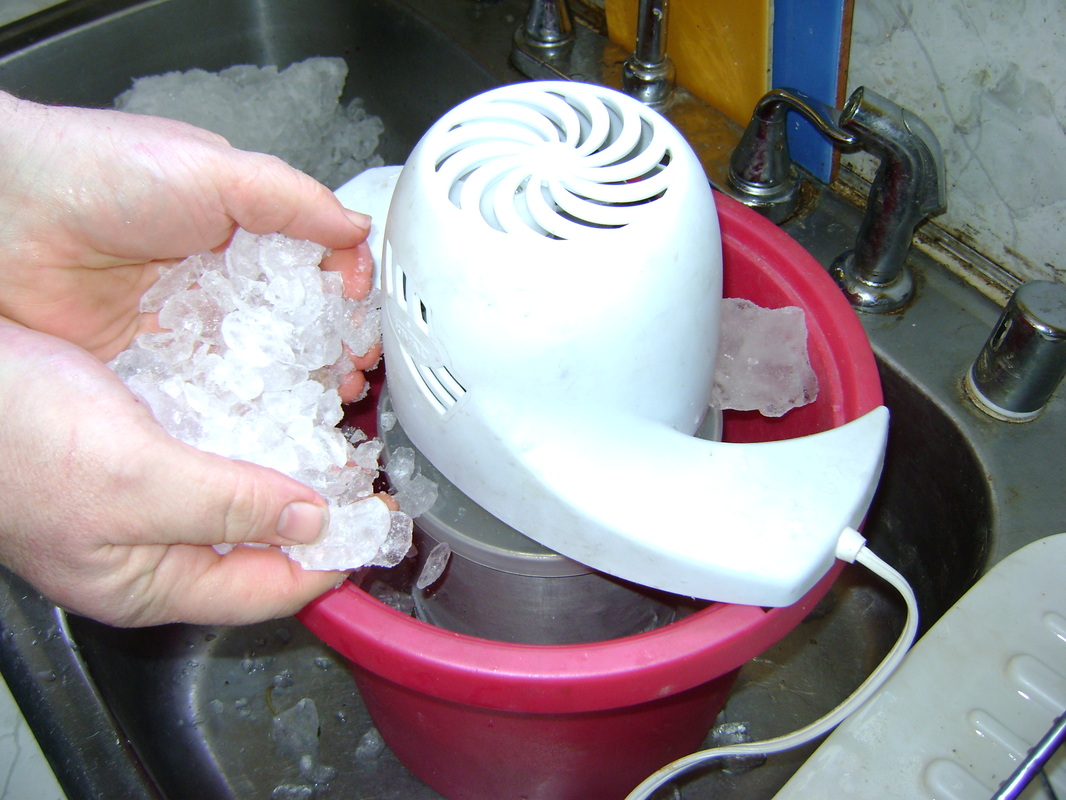
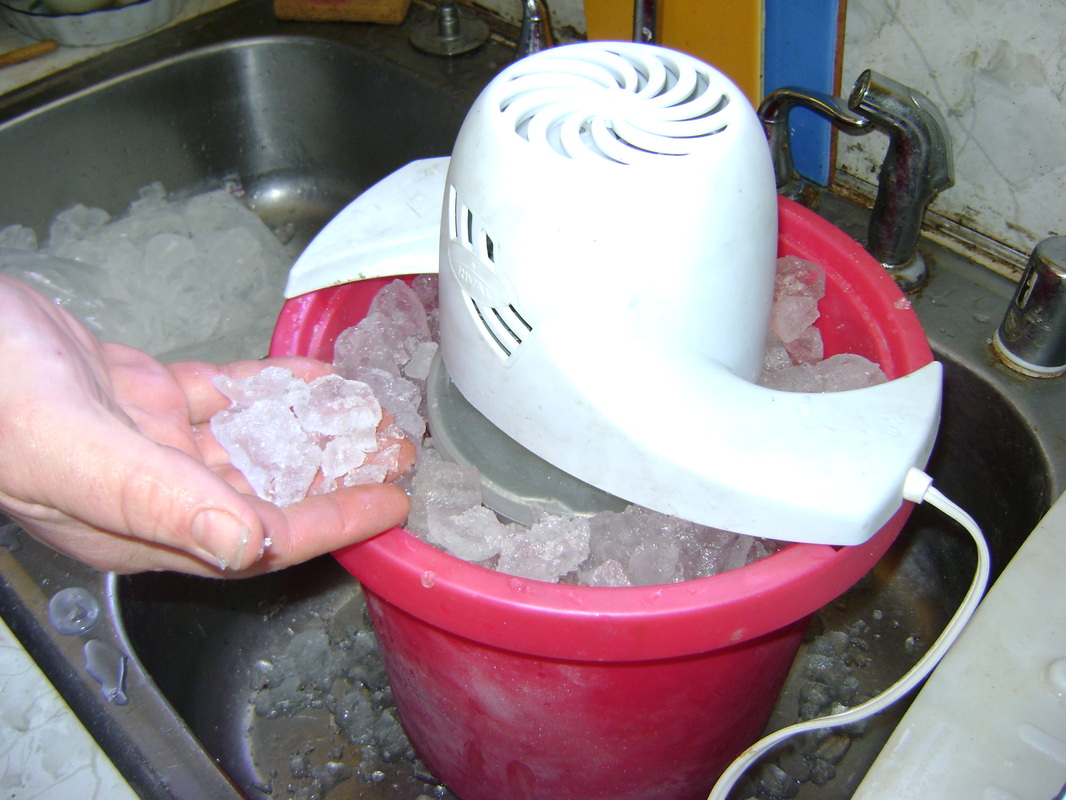
4. You'll need ice. We usually get it from the gas station: two smaller 7 lb. bags, or one of the larger ones should be enough. You may need to break it up into smaller chunks with a hammer so that it fits in the ice cream maker.
|
|
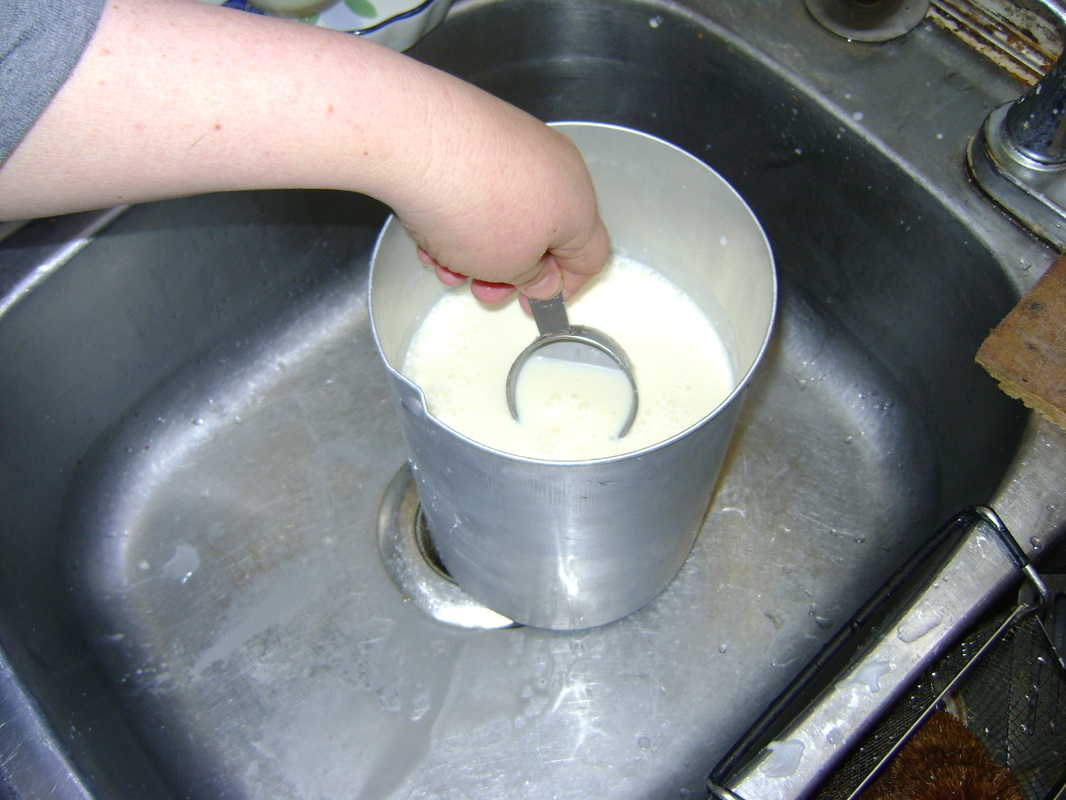
5. Take your cream out of the refrigerator. Bear likes to give it one more stir.
|
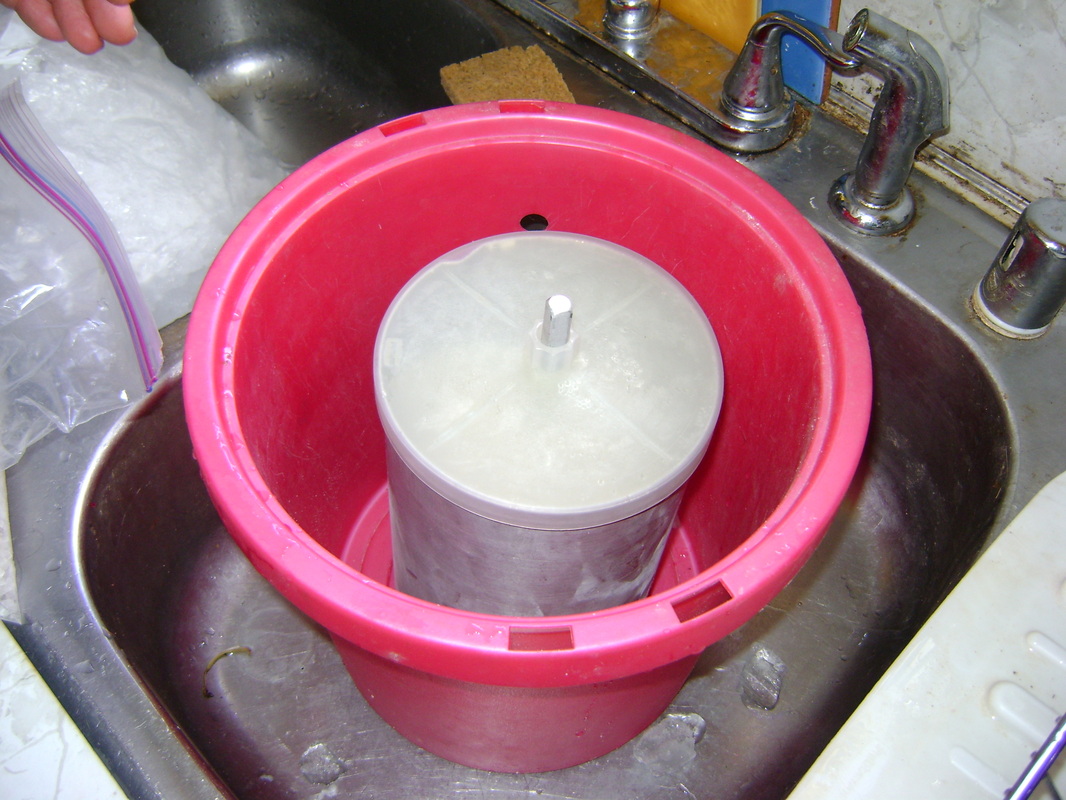
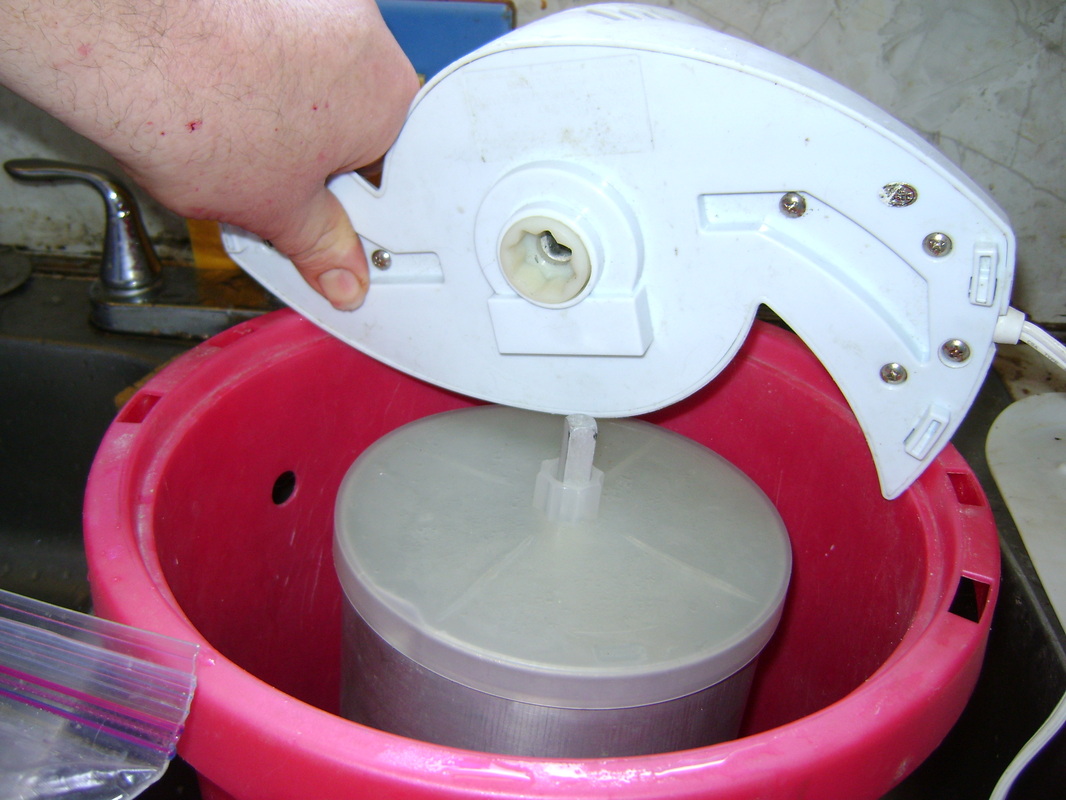
6. Insert the dasher/paddle into the metal can and put on the lid. The tip of the dasher sticks out above the lid.
|
|
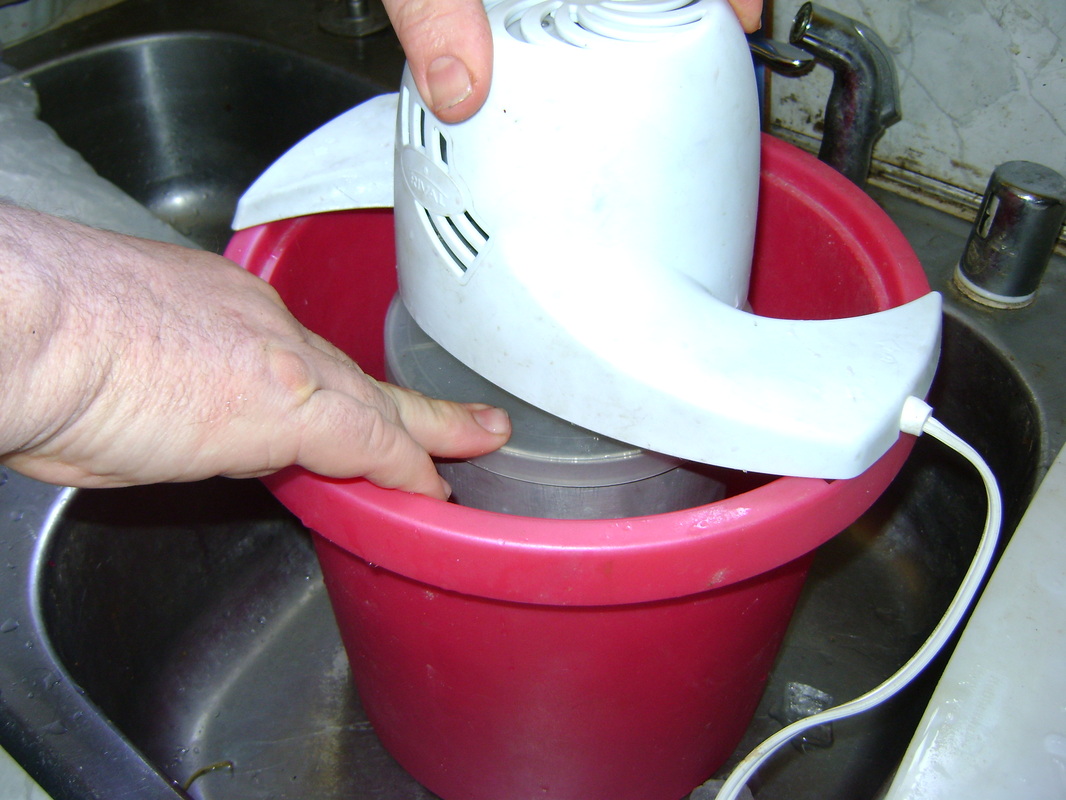
7. The tip of the dasher goes into the hole in the middle of the motor. Notice that on the edge of the white motor drive there are rectangles that slip into the holes on the edge of the pink bucket.
|
8. When you get the holes all aligned, plug in the motor and if everything is attached correctly, the metal can will go around and around.
|
|
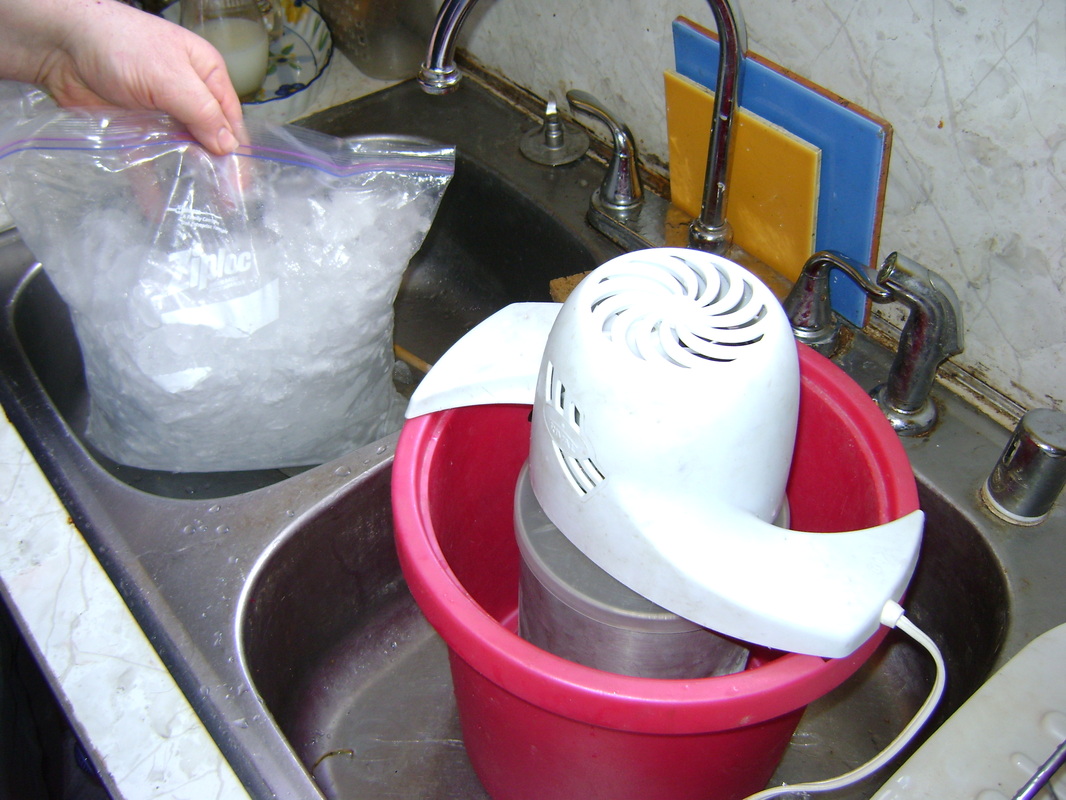
9. The bag of ice goes conveniently in the other sink.
|
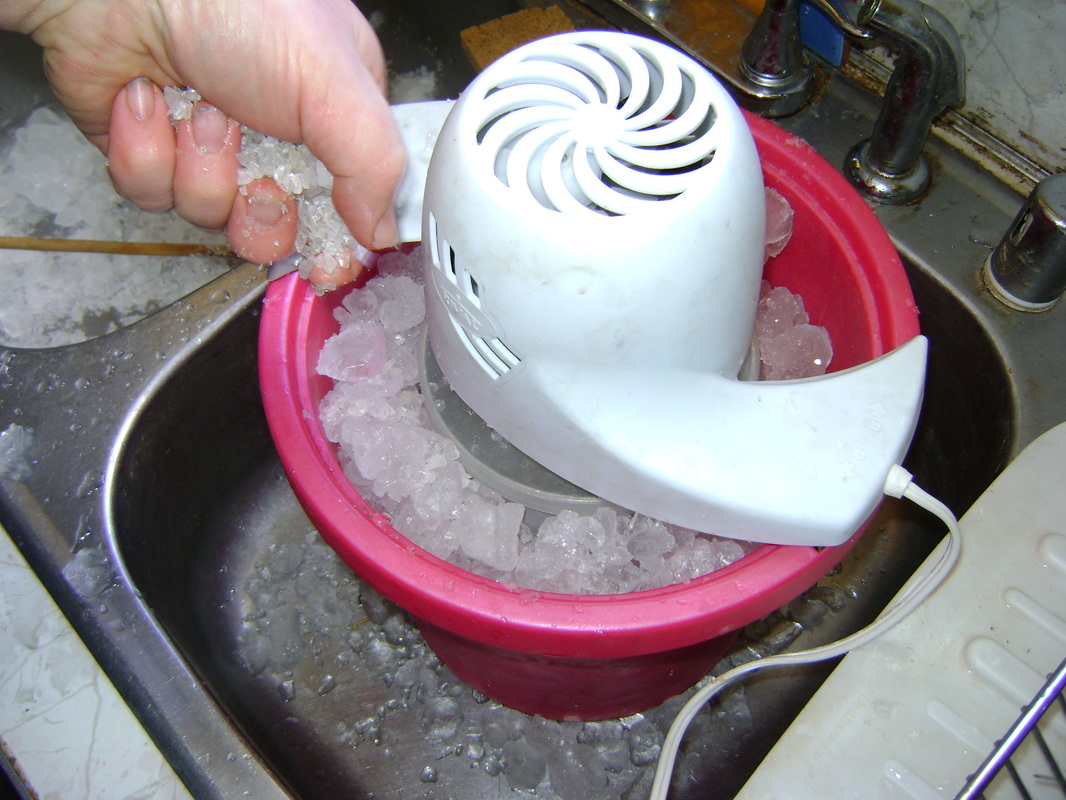
10. Put a layer of ice in the bottom of the pink tub.
|
|
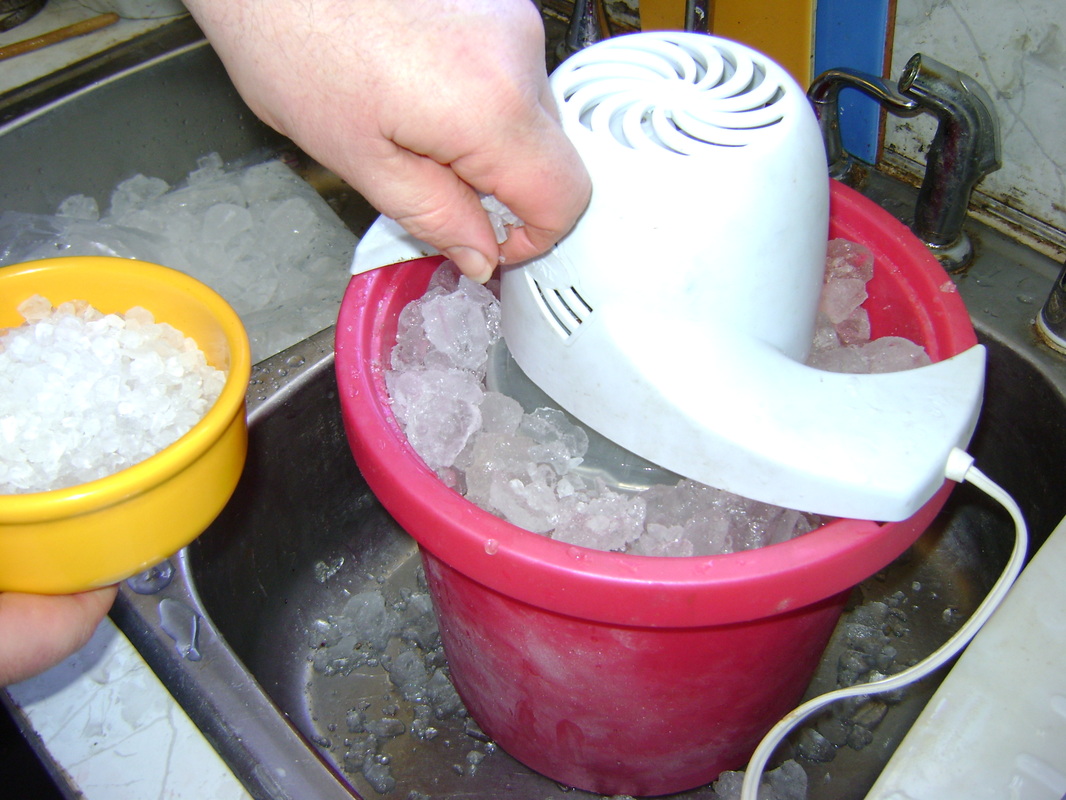
11. Then add a layer of rock salt.
|
12. Continue alternating layers of ice and salt until the tub is full.
|
|
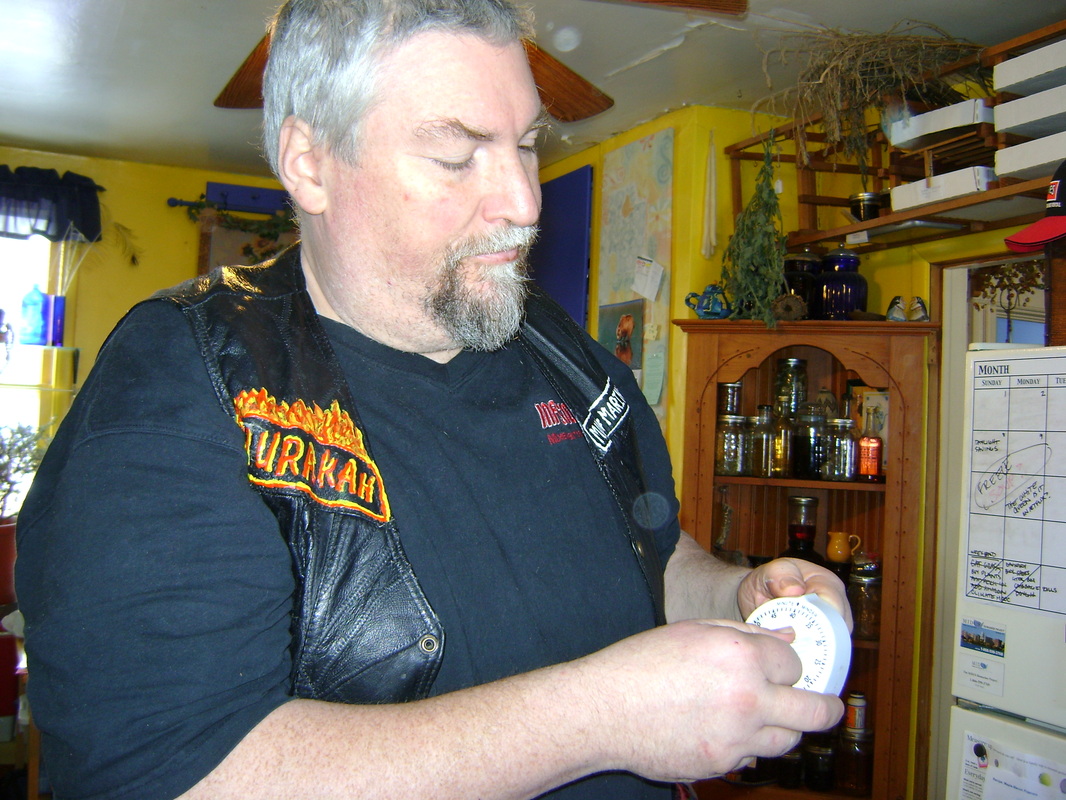
13. Set a timer. The ice cream is ready after 45 minutes or when the cream gets so thick that the can stops turning of its own accord.
|
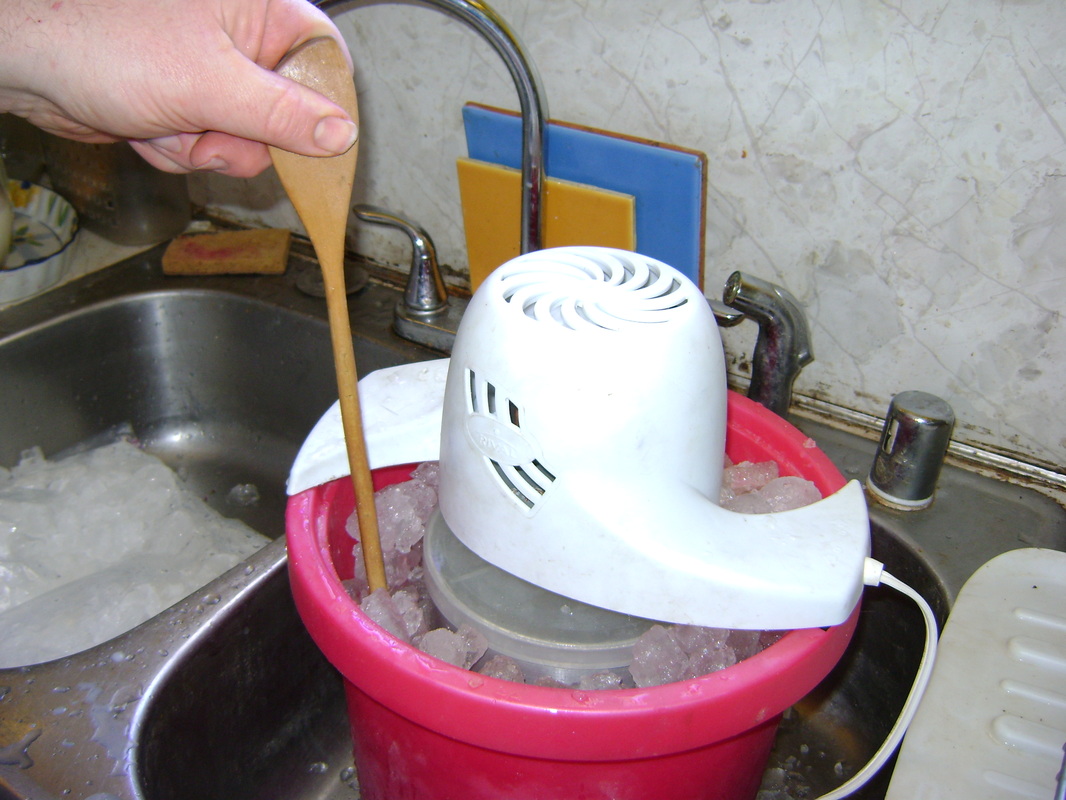
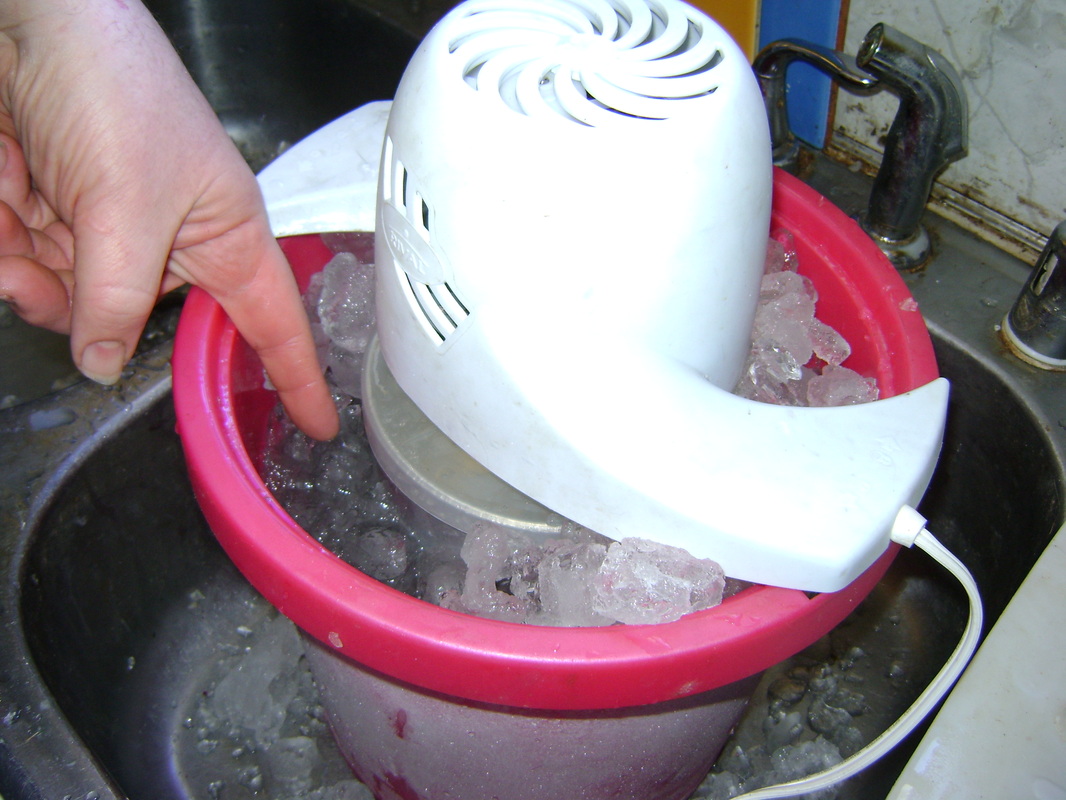
14. You have to stay with the ice cream, and keep adding layers of ice and salt as the ice melts. We use the handle of a wooden spoon to push the ice down into the tub so we can add more.
|
|
15. So keep adding ice...
|
16. ... and keep adding salt.
|
|
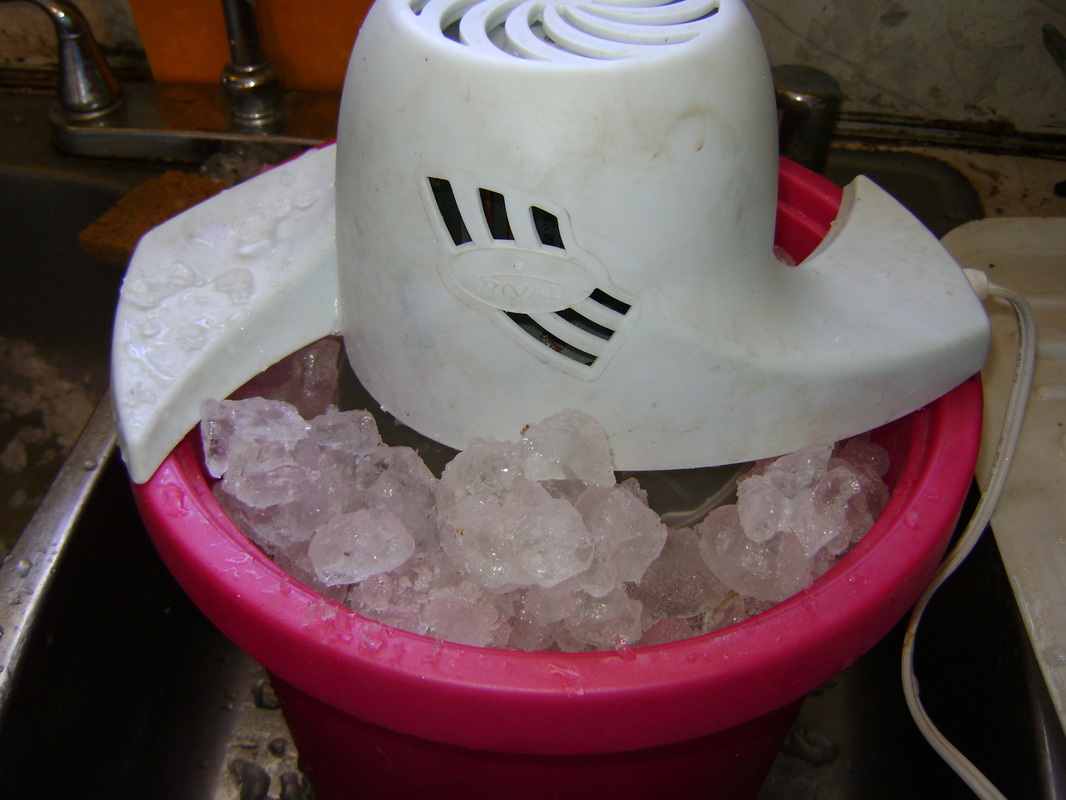
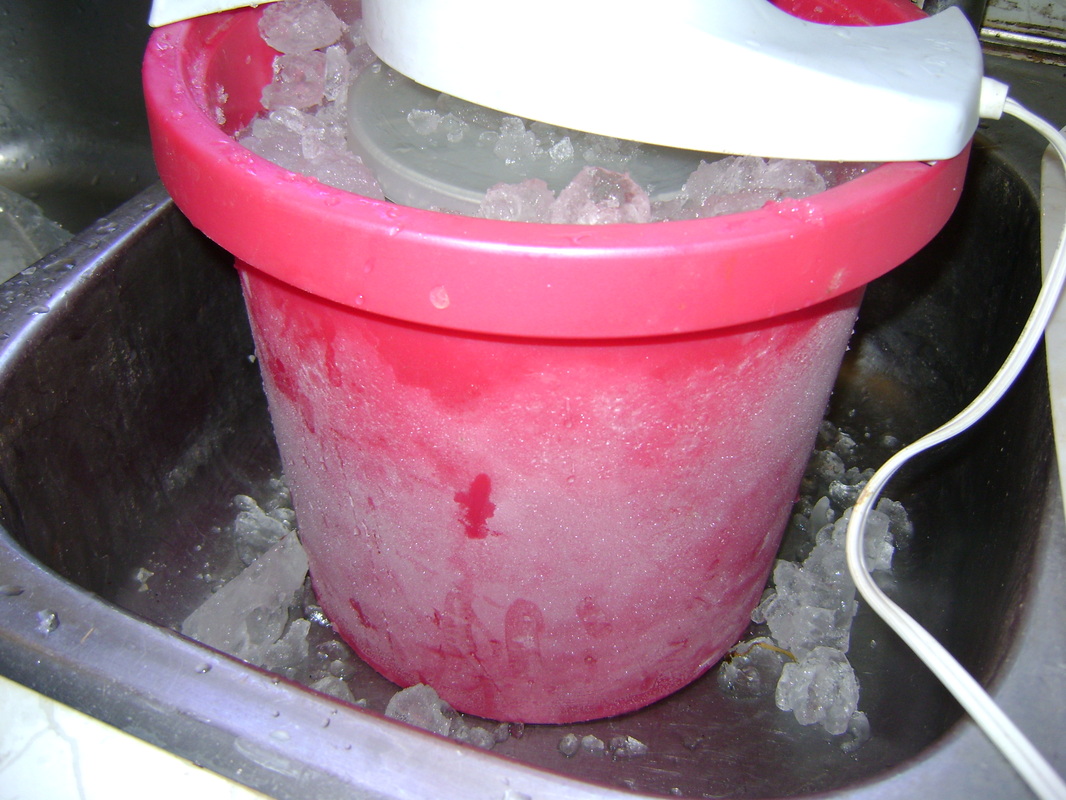
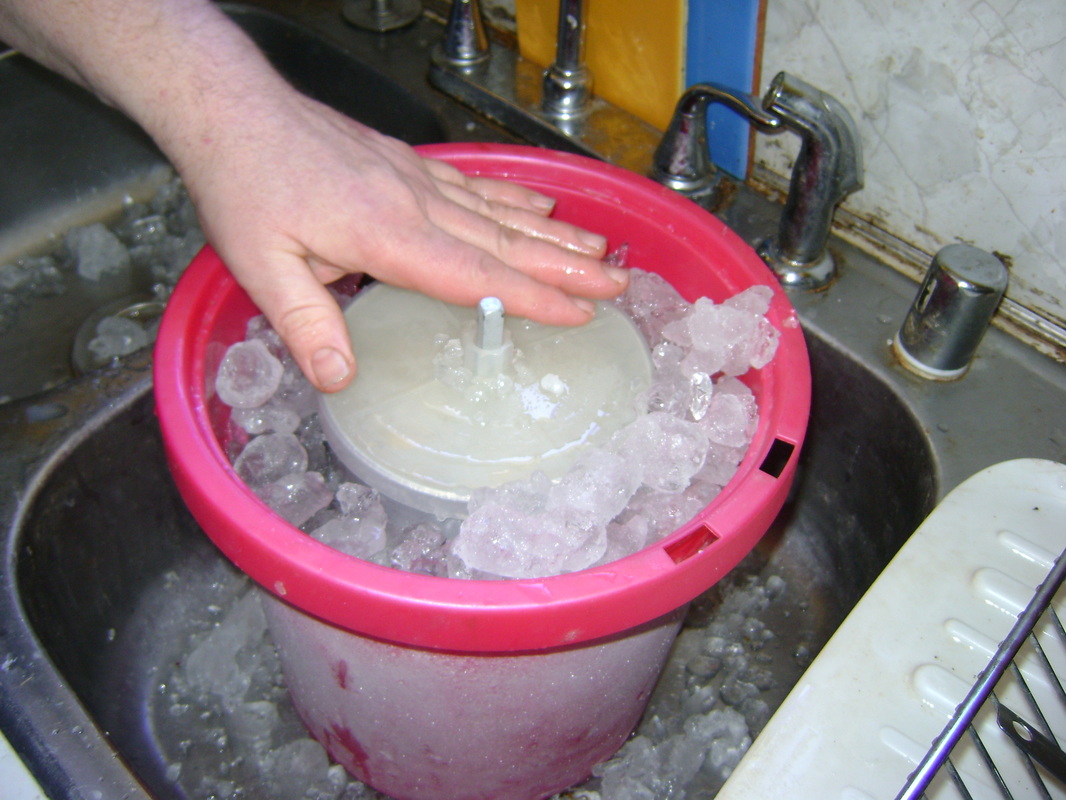
17. You'll know you're getting the cream cold enough if the outside of the tub gets frosted over.
|
18. At the end of the 45 minutes, or when the motor stops turning, unplug the machine. You'll probably have ice water almost to the top.
|
|
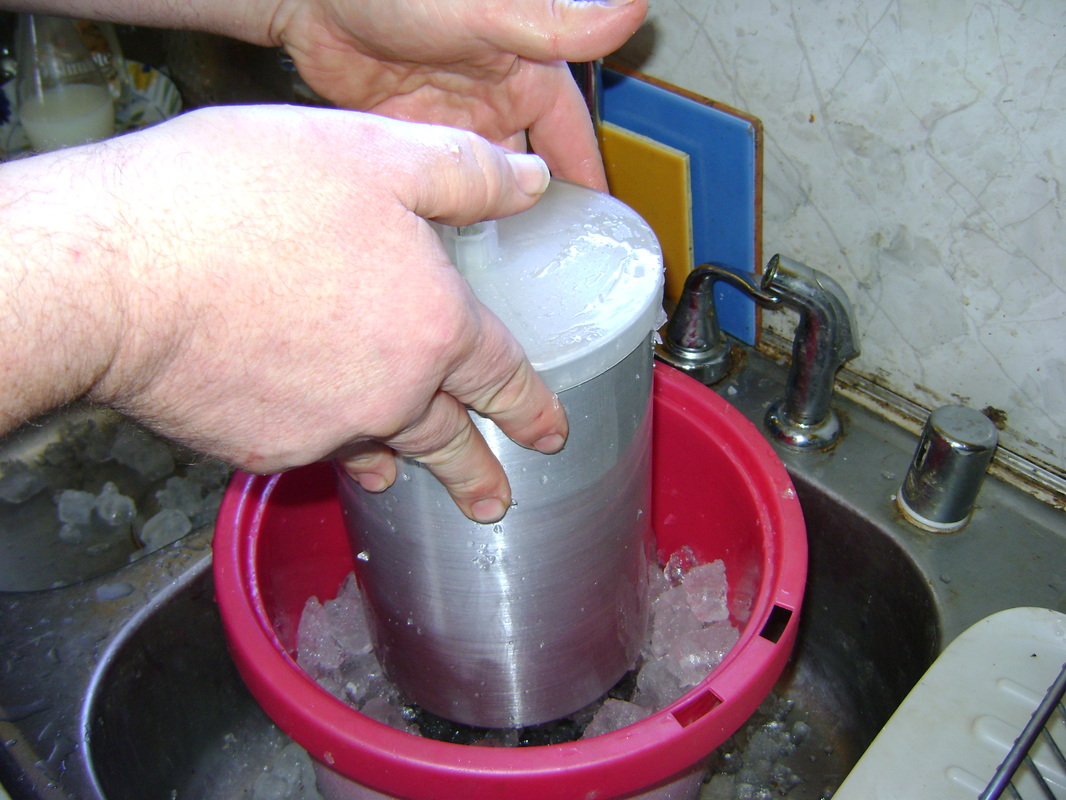
19. Remove the motor drive and brush any ice and salt off of the lid.
|
20. Remove the can of ice cream. Are you excited yet?
|
|
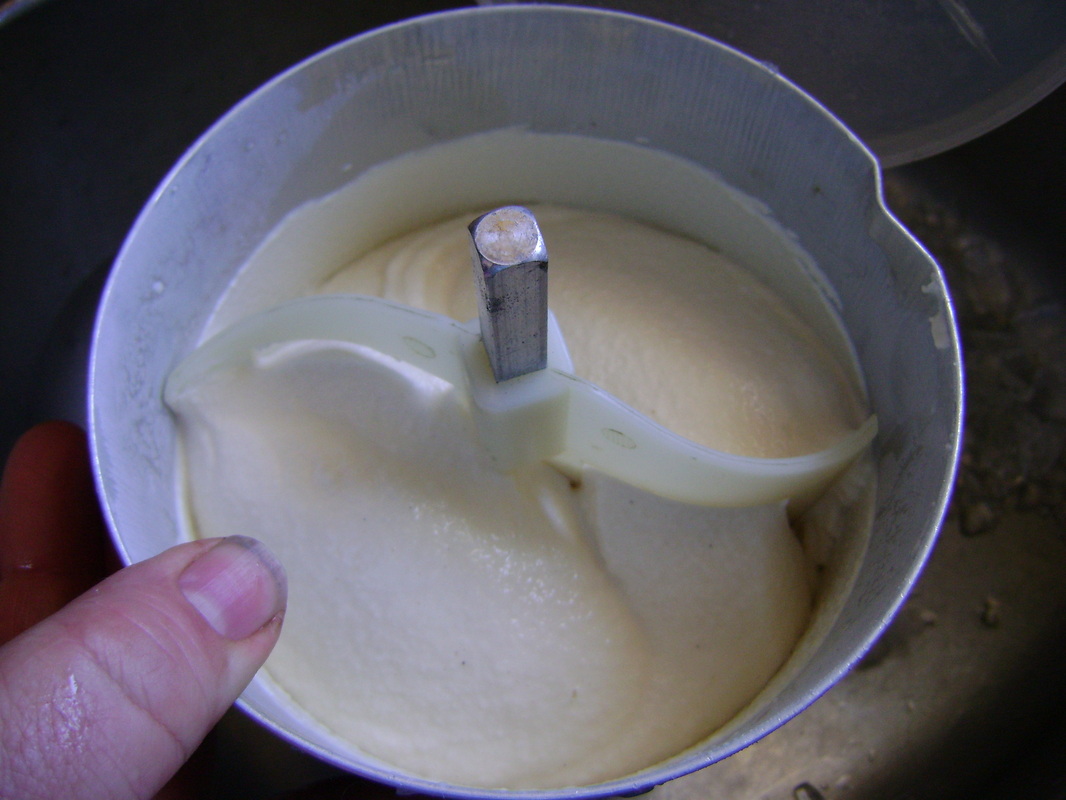
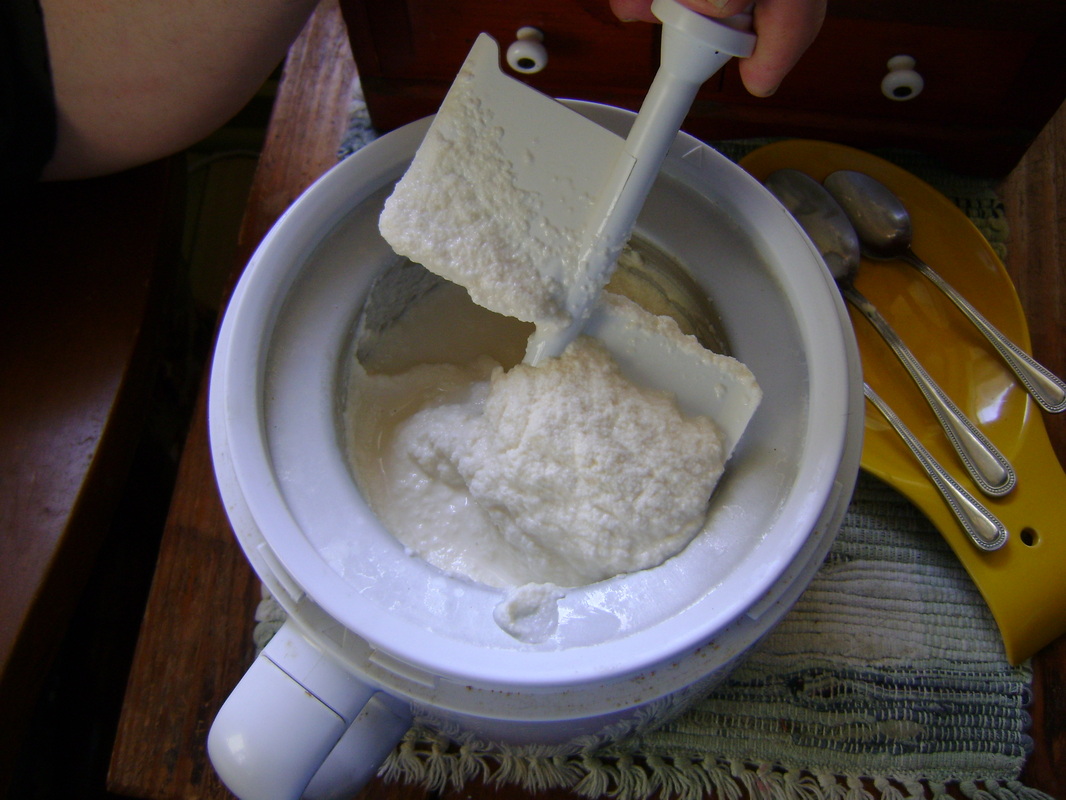
21. Ta da! Here's how delightful it looks:
|
22. Remove the dasher.
|
|
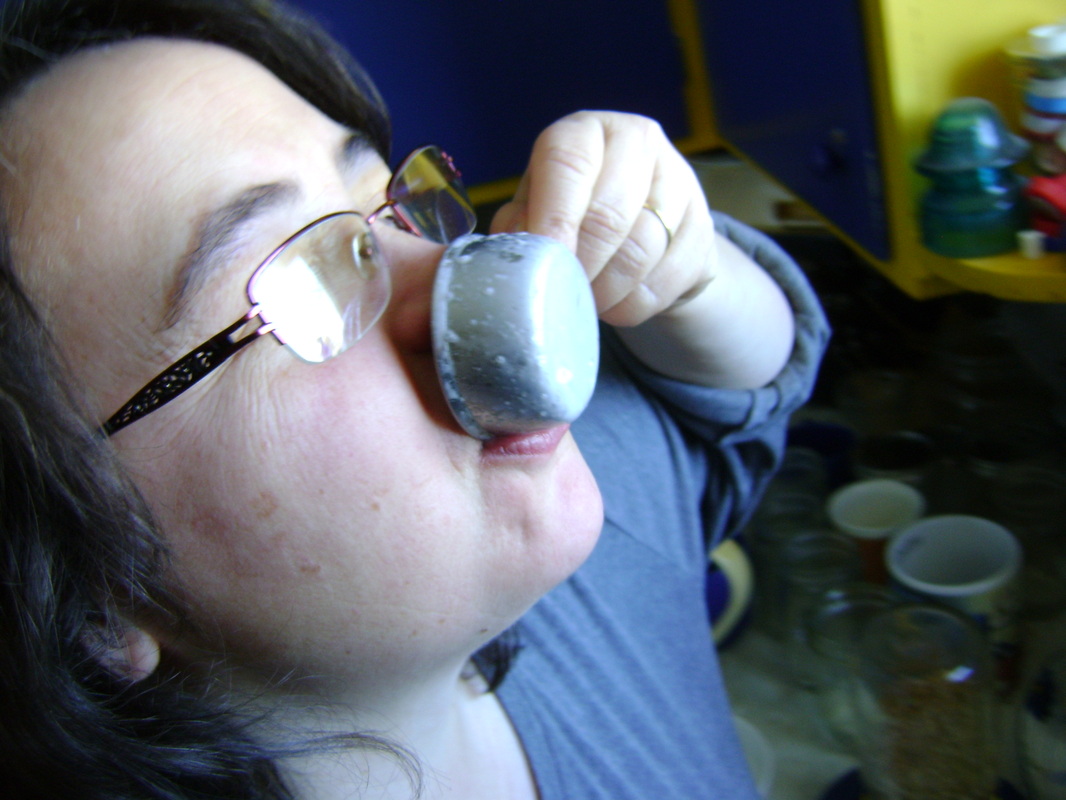
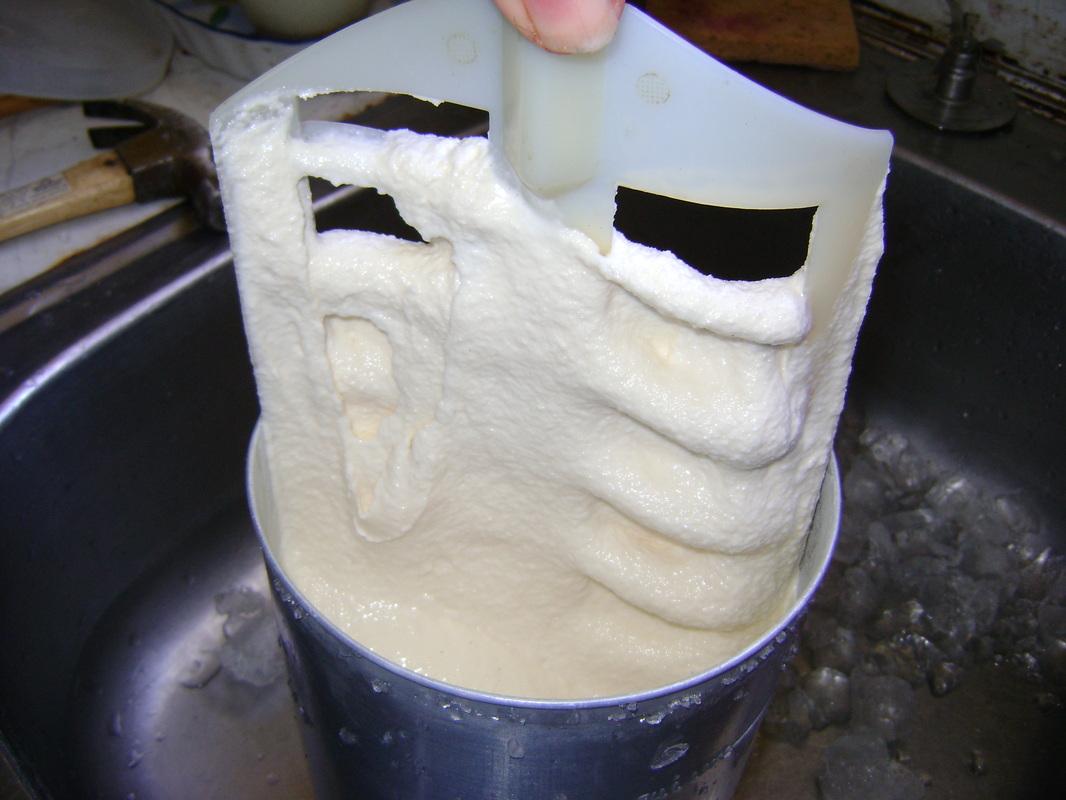
23. Lick off the dasher...
|
24. ...or eat a spoonful.

|
|
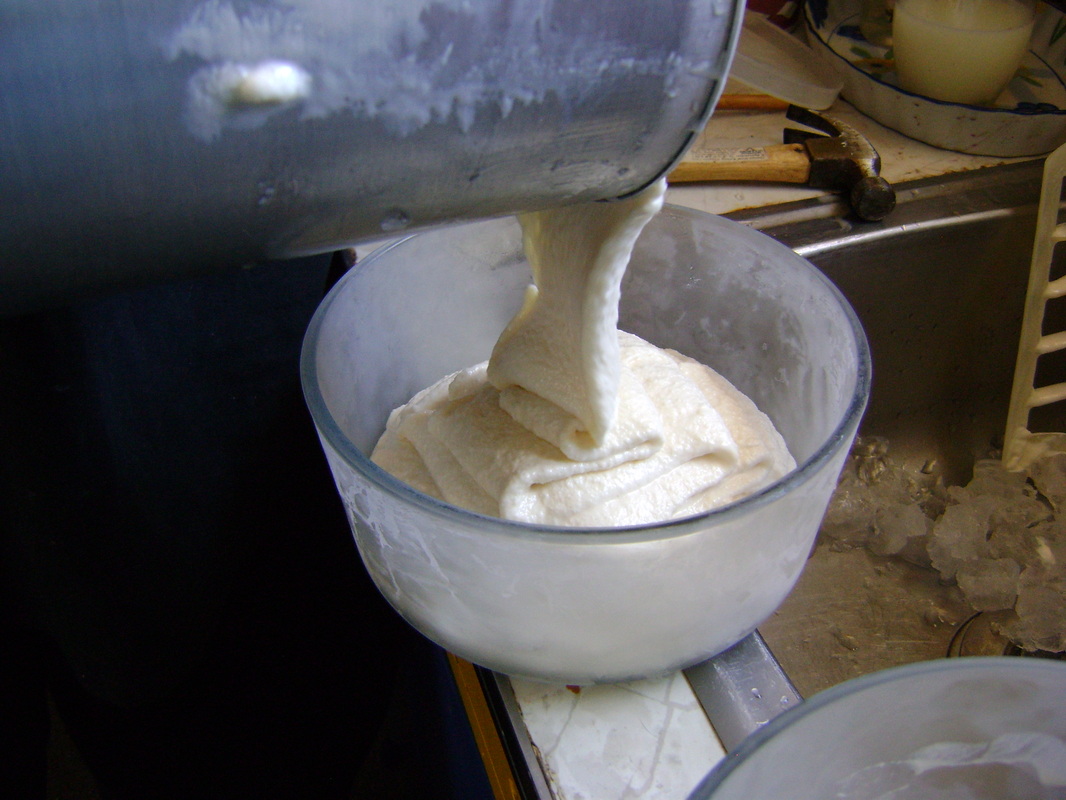
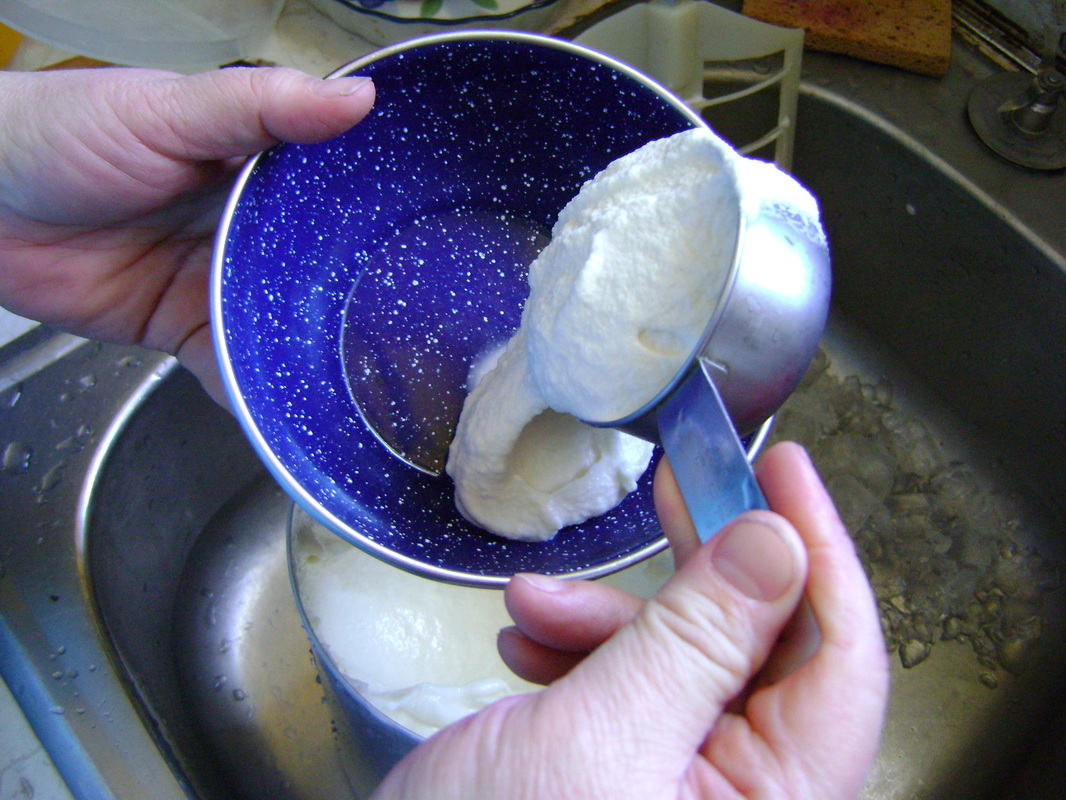
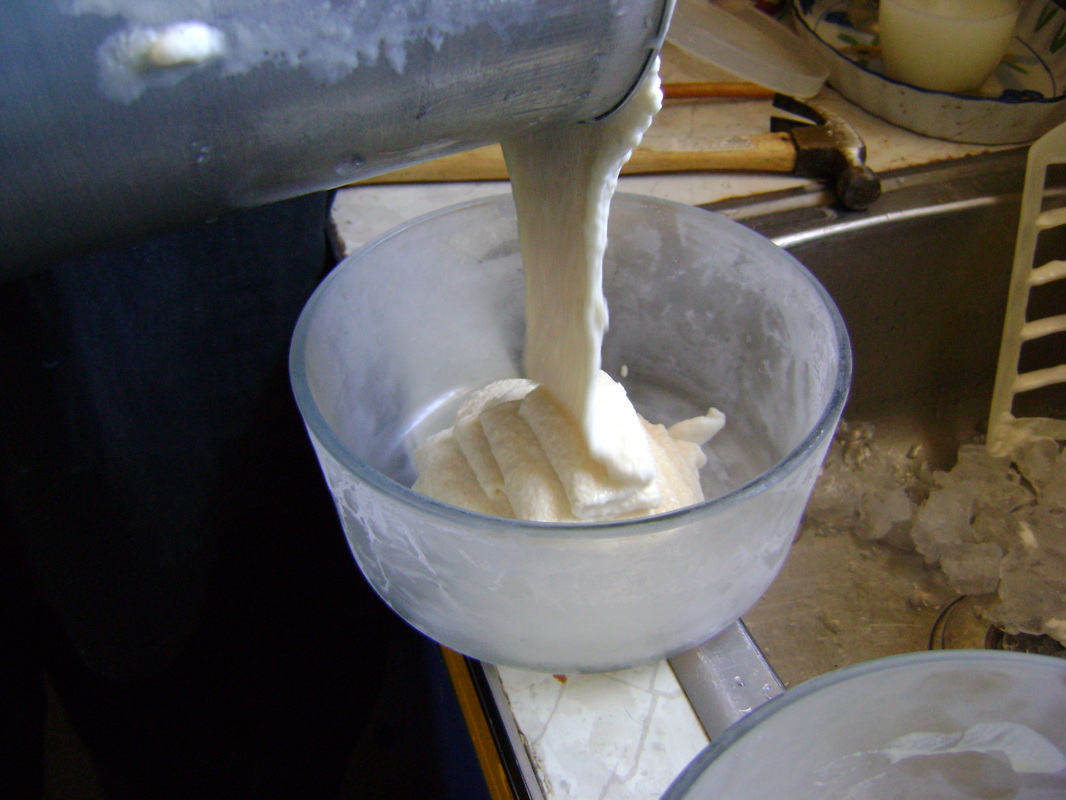
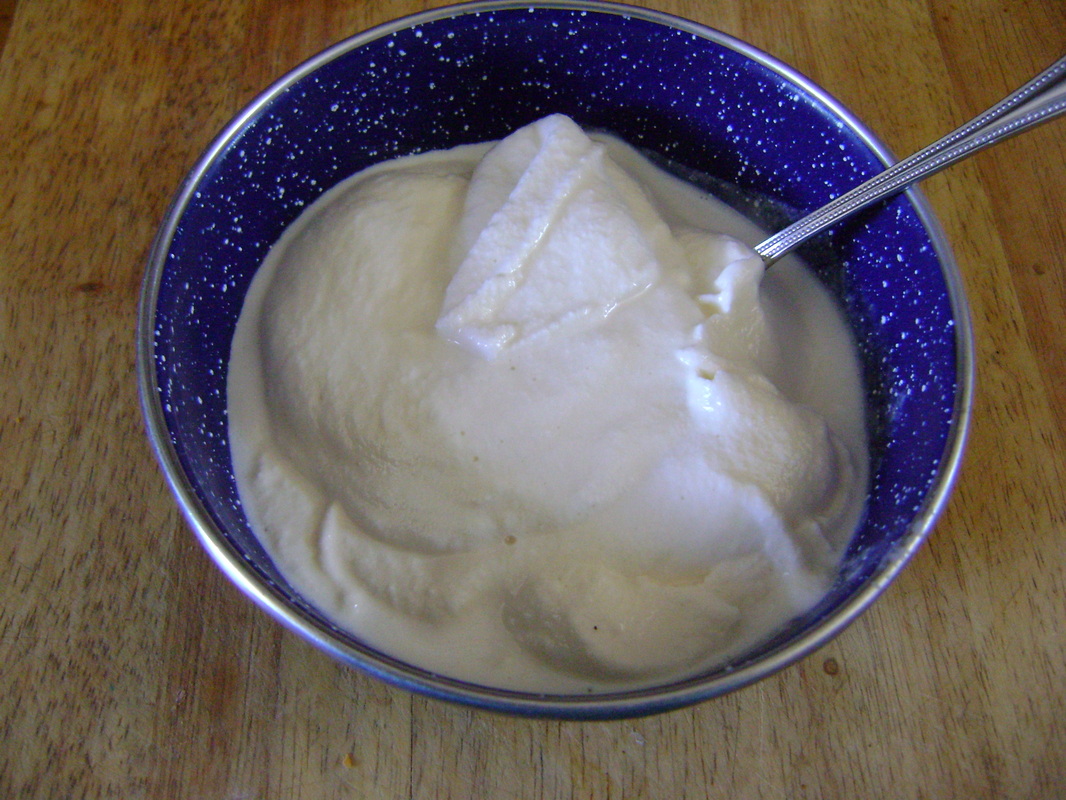
25. Fill the bowls you're planning to eat right away. (Theresa hated it when it was this runny when she was a kid, but now she think it tastes best this way).
|
26. Bear likes to store the rest of the ice cream in glass bowls, because he doesn't like the taste of the metal can. Theresa like it better in the metal can.
|
|
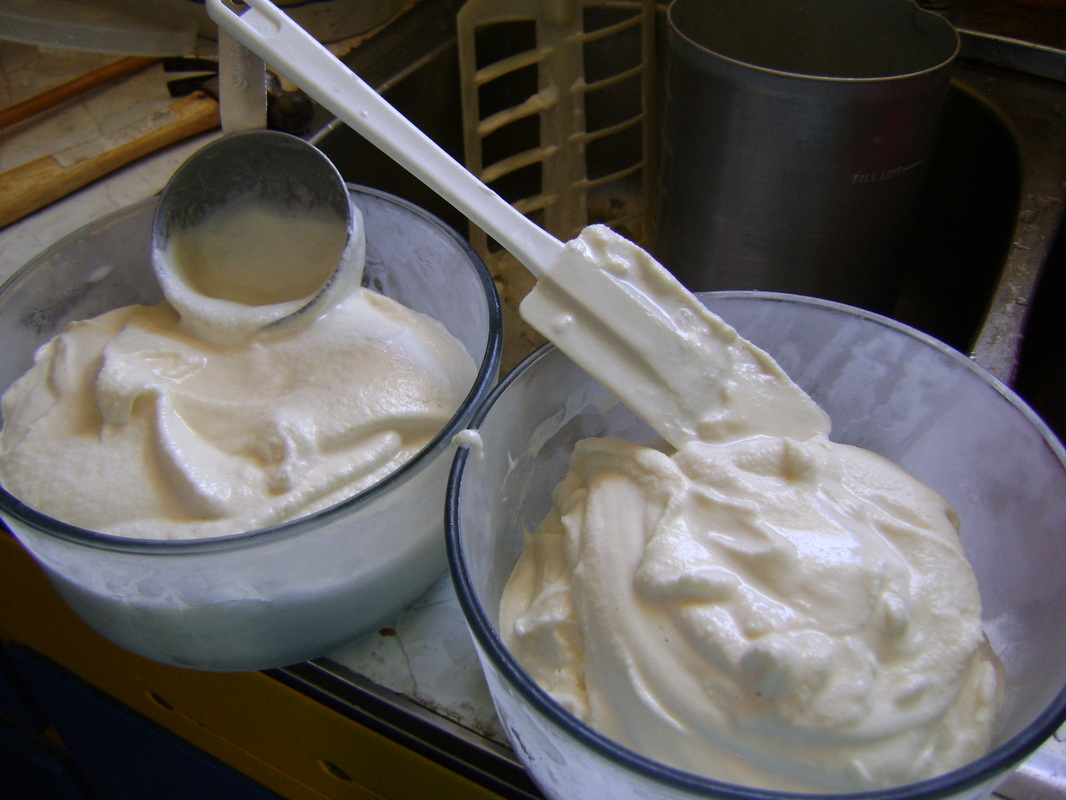
27. We got two bowls full. Bear thinks he is larger and should get the fuller bowl... Theresa is immune to this logic.
|
28. Put the extra in the fridge. It will harden more, and be more like the consistency of store bought ice cream.
|
|
29. You can leave the ice in the tub to melt, and the next day you can drain out the water and keep any rock salt that hasn't dissolved to use the next time you freeze ice cream.
|
|
|
31. Theresa is eating hers plain, because pure vanilla has always been her favorite flavor, and honey vanilla rocks.
|
32. This is the creamiest vanilla she's ever tasted. See how it leaves a coating on the edge of the bowl? It does the same thing in your mouth.
|
Enjoy!
You also might like our instructions for making walnut syrup ice cream with our hand crank ice cream maker,
near the end of our walnut syrup page:
near the end of our walnut syrup page:
|
|
|