HERB HARVESTING & STORAGE
from Theresa
1. Herbs- Medicinal or Culinary?
2. When to Harvest
3. Building a Drying Rack and Installing a Storage Cupboard
4. Hanging Herbs to Dry
5. Storing Herbal Oils
6. Dehydrating Spices
Harvesting herbs in addition to fruits and vegetables for use as food or medicine is relatively easy and very satisfying. It is another step in being self-reliant. Below I share information about harvesting and storing herbs, which is something that is often not covered in detail in books or classes. It can be useful to see exactly how someone finds the space for it in their own homes.
1. Herbs- Medicinal or Culinary?
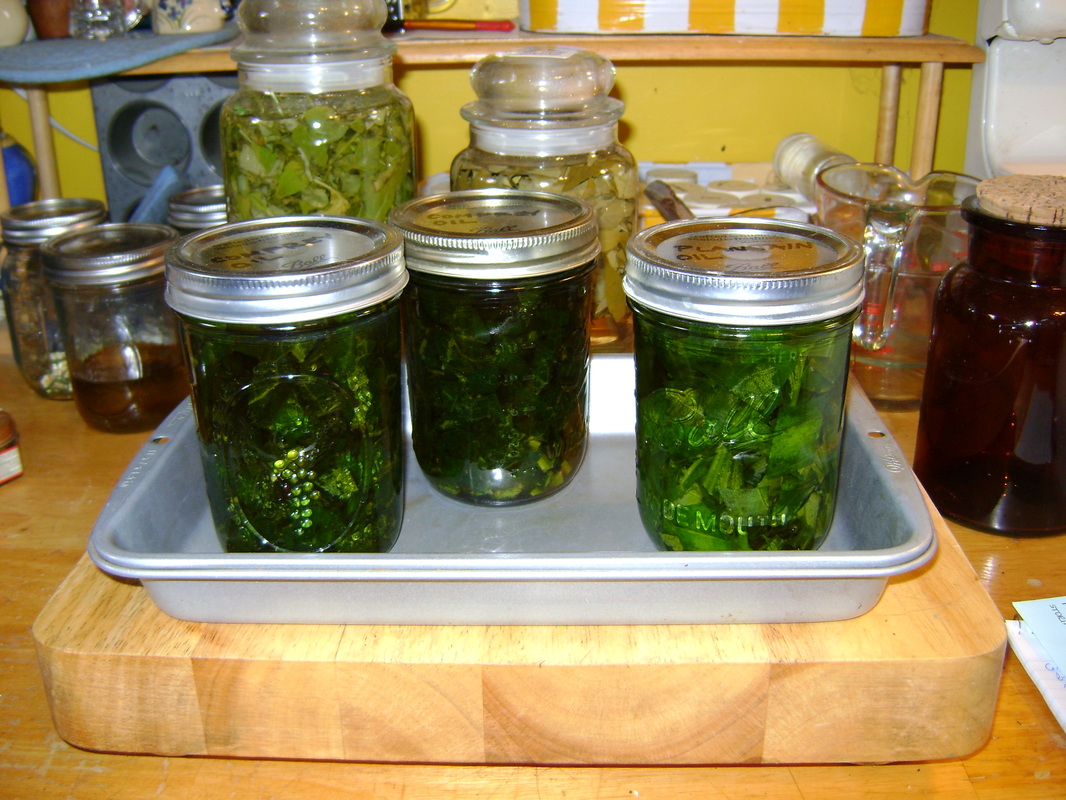
 Just prepared herbal vinegars and oils.
I follow the Wise Woman Herbal Tradition, which emphasizes using herbs to nourish yourself so that you don't get sick, rather than using medicine to cure an illness. In this tradition, nourishing herbs are considered to be food and included in the diet, so there isn't always a clear distinction in my mind between those herbs I harvest as medicine and those I harvest for food. They are all wonderful plants that support and nourish me.
Stick to the safe culinary herbs that everyone knows as food if you don't know about using medicinal herbs- such as mint for tea, catnip for your cats, and spices such marjoram and thyme.
To Learn About Medicinal Herbs:
If you want to use herbs medicinally, take the time to learn what you need to know so you can use them safely. Plants are wonderful allies in health, but some can be dangerous. Some herbs can interact with prescription medicines. Some are poisonous and deadly. Be absolutely sure you've identified the plant you're harvesting correctly, by using a reliable field guide. It's always best to look up any medicinal herbs in at least three trusted herbal books to make sure you find out about any possible side effects.
The Wise Woman Tradition is one in which everyone is their own best healer, and in which you create a relationship with the herbs you use so you can pay attention to the specific effects they have on your own body, rather than blindly following the advice of an expert. If you want to learn about the Wise Woman Tradition, I recommend starting with the book:
Healing Wise, by Susan S. Weed. The book summarizes the Wise Woman philosophy and gives you an in-depth introduction to several nourishing and common herbs. It also shows you how to make basic herbal preparations such as infusions and oils.
You can also take correspondence courses with Susan Weed through her website: herbshealing.com
If you live near Madison, WI, herb classes are often available through the Community Pharmacy and through Olbrich Gardens.
2. WHEN TO HARVEST
I harvest herbs whenever I have to cut something back because it's in the way. Otherwise, I do my first big harvest of plants from which I use the leaves around the Summer Solstice (June 21st). At this time the herbs are mature enough to harvest and the leaves are still green and without blemishes. Most plants are still putting their energy into producing leaves, and haven't yet started producing flowers. After the Solstice, the weather seems to turn hot in our area, and the herbs seem to diminish in quality. The lower leaves start to brown or the plant shows bug damage. It's better to pick the leaves before this, when they are green and perfect. Leave the lowest set of leaves on the stalk, and most plants will grow back. You might be able to get a second harvest later in the Summer.
If possible, plants should be harvested in the early morning before the hot Sun reaches them and they begin to wilt, but after the dew has dried from the leaves (harvested plants should be completely dry because water can promote spoilage). Overcast days also make ideal harvest days. Check each plant before you harvest it, looking under the leaves if you can, and try not to take any that have insect eggs on them (they might be your favorite butterfly) or remove any spiders that have built webs (they eat the "bad" bugs). Take off any leaves that are yellowed, brown, or otherwise blemished.
If possible, plants should be harvested in the early morning before the hot Sun reaches them and they begin to wilt, but after the dew has dried from the leaves (harvested plants should be completely dry because water can promote spoilage). Overcast days also make ideal harvest days. Check each plant before you harvest it, looking under the leaves if you can, and try not to take any that have insect eggs on them (they might be your favorite butterfly) or remove any spiders that have built webs (they eat the "bad" bugs). Take off any leaves that are yellowed, brown, or otherwise blemished.
3. BUILDING A DRYING RACK & INSTALLING AN HERB CABINET for STORAGE
|
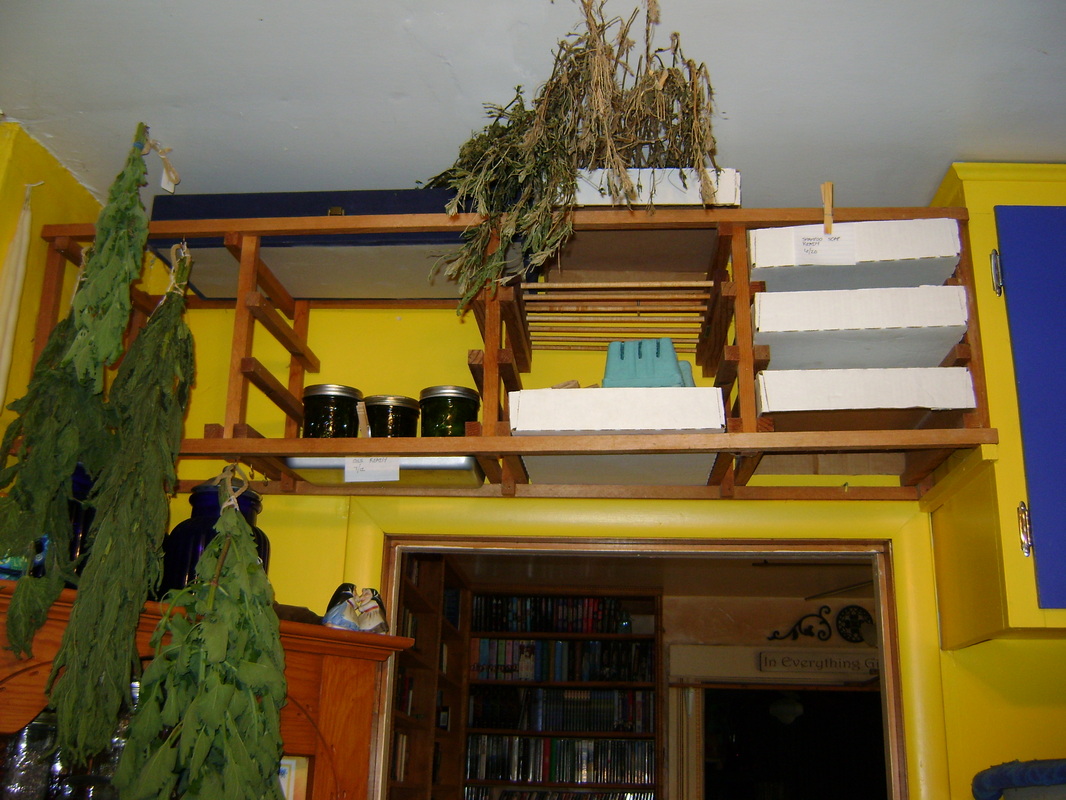
1. Herbs need to be kept away from direct light. They can be in a sunny room, but no rays of sunshine should fall directly upon them. Our house is very sunny and we didn't have any unused kitchen cabinet space for dark storage, so it was difficult to find an appropriate drying and storage location. I finally realized I could use the tiny area above and behind the door into our kitchen.
|
2. I had a display rack that a friend had given me when I was trying to sell my artwork at craft fairs. I turned it on its side and was very lucky that it fit exactly into the space above the door. I removed every other slat from the shelves, and rearranged a few of them to hold small cup hooks on the section that wasn't directly above the door (to the left).

|
|
3. I can slide trays onto the slats and hang herbs from the hooks. Everything gets enough air circulation to dry well. Since it's above our heads, it doesn't get in the way. Currently I use cardboard boxes as trays (on the right). These are from the cases of cat food we buy. They work great for drying things like soap, roots, or blossoms that can't be hung up. I store the boxes upside down on the rack when not in use so that they don't collect dust. Some day I hope to make mesh trays to go between the slats, which will provide even more air circulation for drying.
|
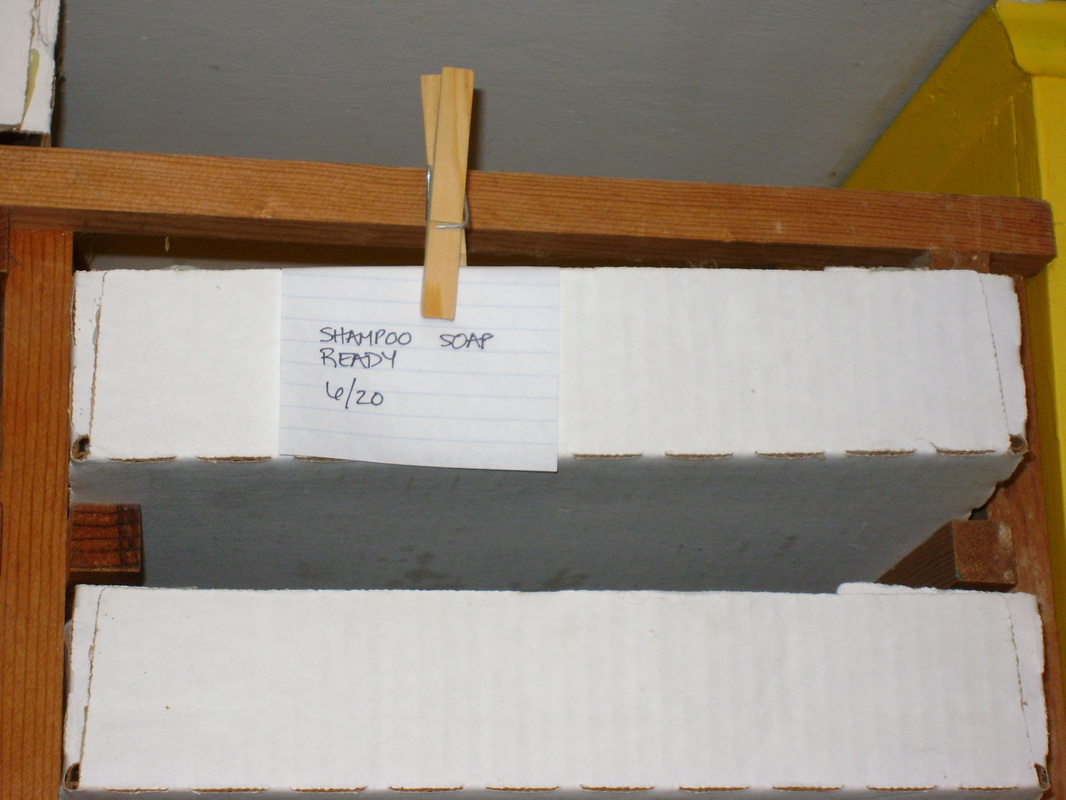
4. I use a clothespin to attach a piece of paper to the boxes indicating what's in it and when it will be ready. Since some things like the soap need to dry for a month, the labeling is essential so I don't forget what's up there. Since the rack is well above my head and I have to get the ladder out to reach it, I don't tend to look at what's drying unless my notes tell me it's time.
|
|
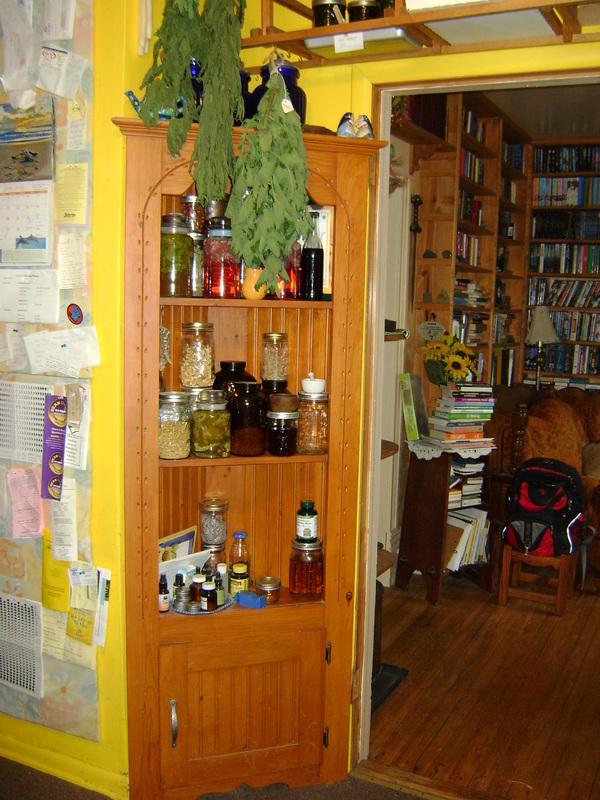
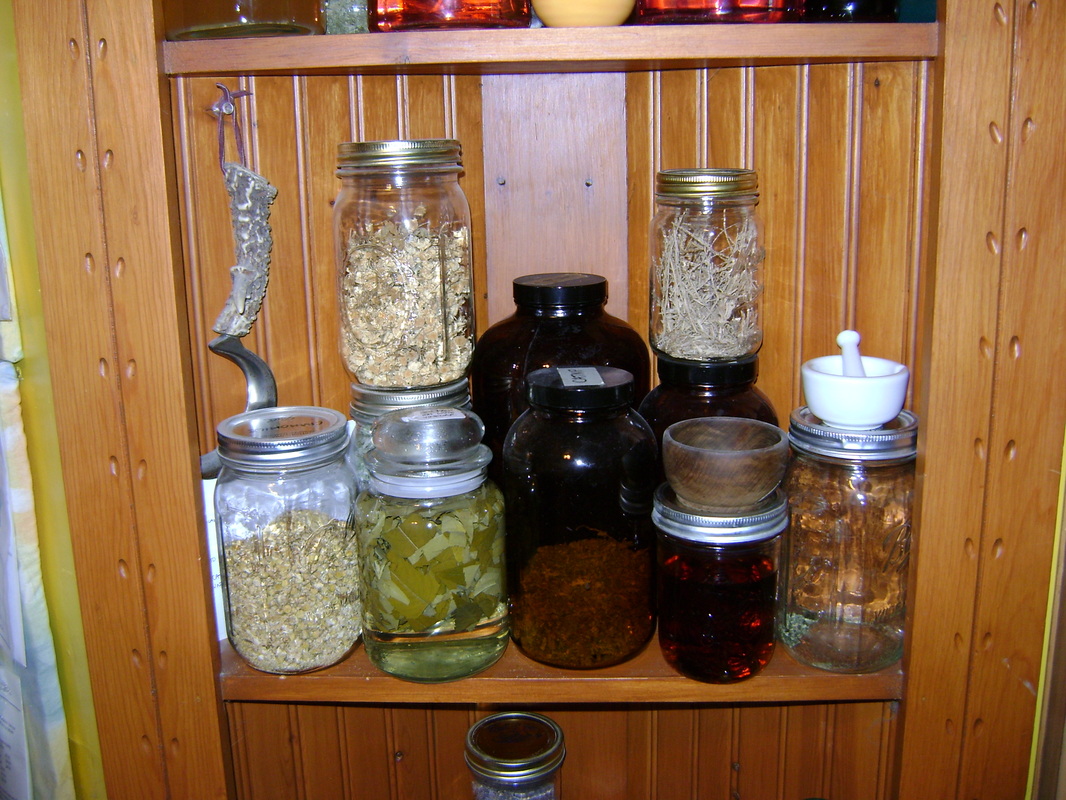
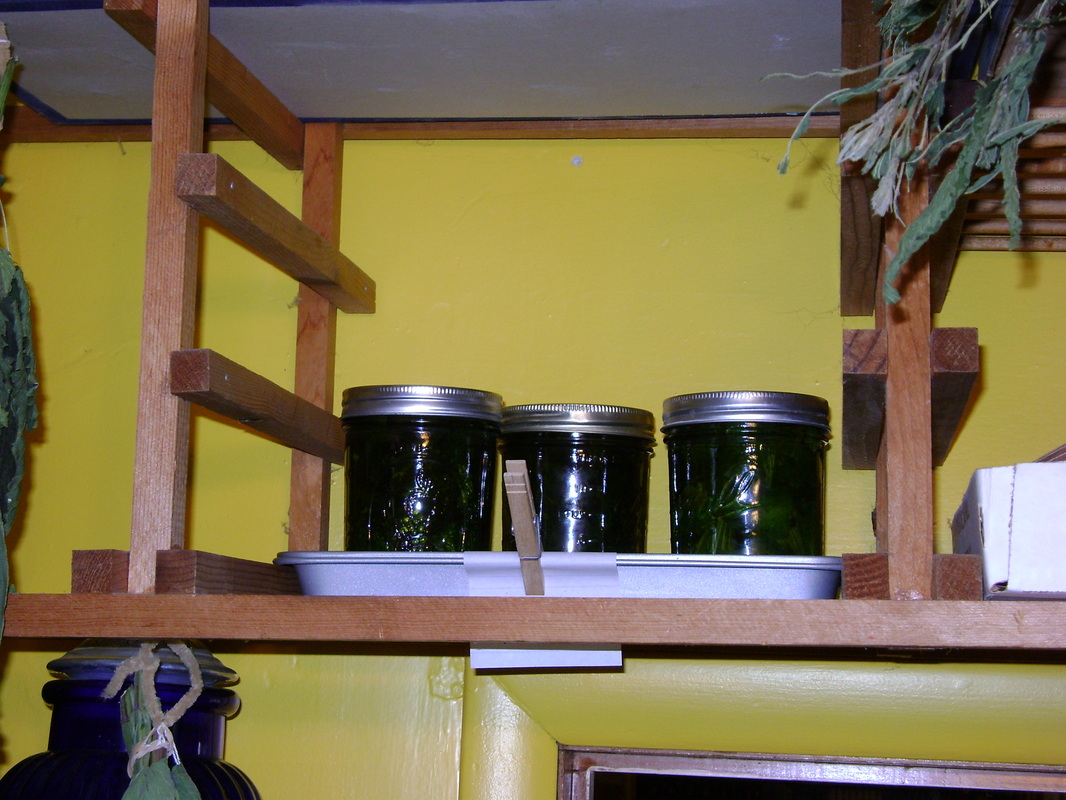
5. After the herbs are prepared for use, they should be stored in jars, also out of direct sunlight, otherwise the Sun will heat up the interior of the jars and the herbs will lose their flavor or medicinal qualities. We removed our kitchen door and installed this corner cupboard (found at a garage sale for $20) to hold my herb jars. We screwed the cupboard to the wall, since our floor isn't even there and it would be easy to tip over the heavy cupboard. Wide mouth canning jars are cheap and work great for storing herbs. They're stackable and look nice sitting on the shelf. You can see the herbs in them, and it reminds you to make a nourishing cup of tea. If you can afford brown glass jars, though, they provide the best protection from the Sun and your herbs may last longer.
|
4. HANGING HERBS TO DRY
|
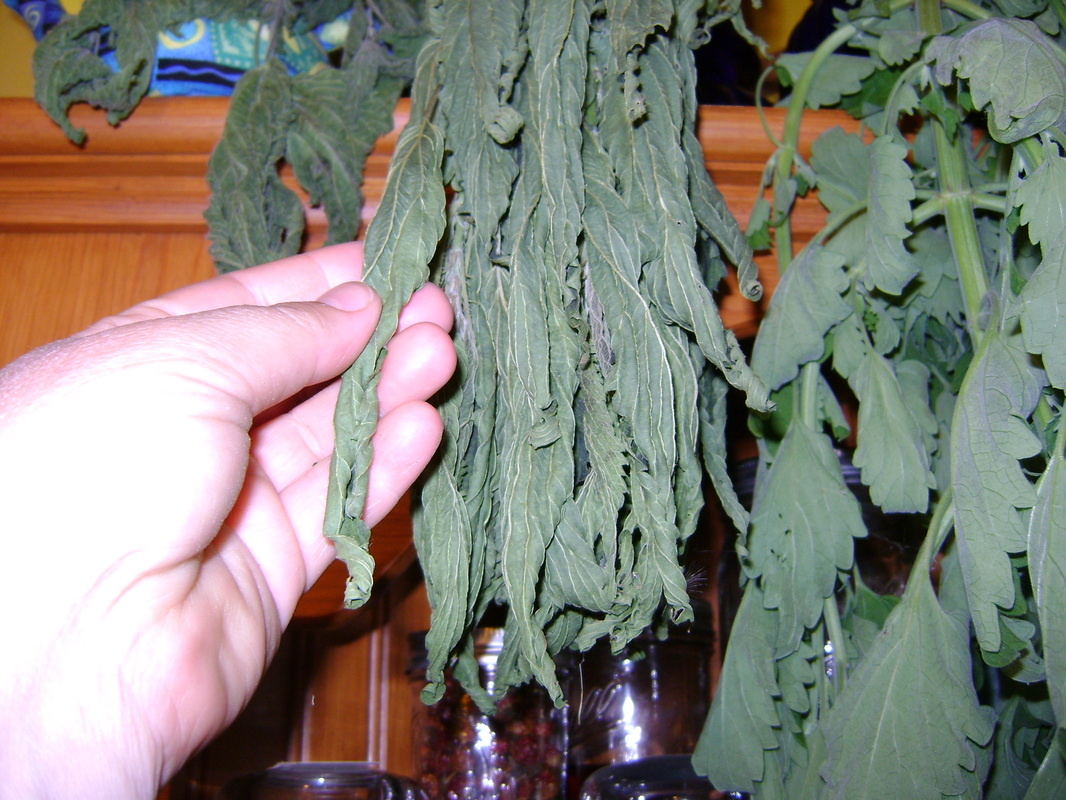
1. Plants with larger leaves can be hung to dry. Here are some of the herbs I do this with:
Catnip- a treat for our cats. Lovage- a spice used in soups and other foods that has a salty flavor. Mint- my favorite beverage tea. Also great for upset stomachs. Stinging Nettle- my favorite nourishing herb, full of vitamins and minerals. You'll probably want to use gloves when harvesting. The sting is removed as the plant dries. For more info on using nettle, see the Healing Wise book mentioned in #1 above. Below is nettle hanging to dry on the left and some shorter catnip on the right. 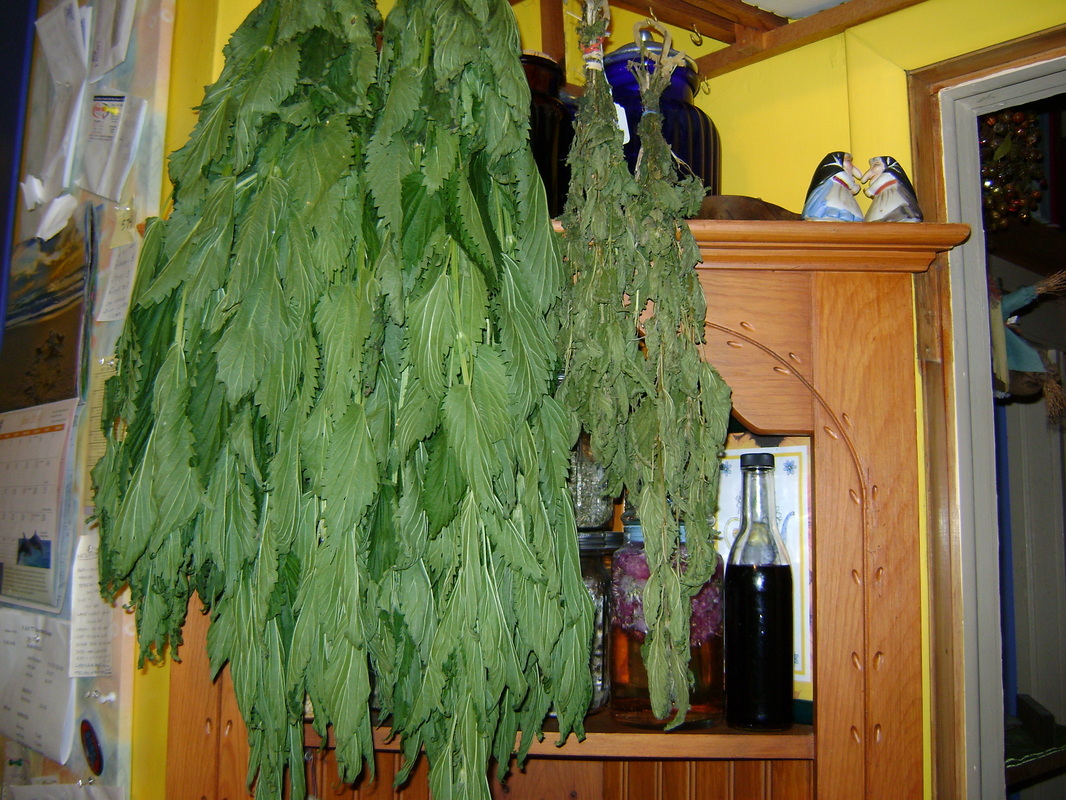
|
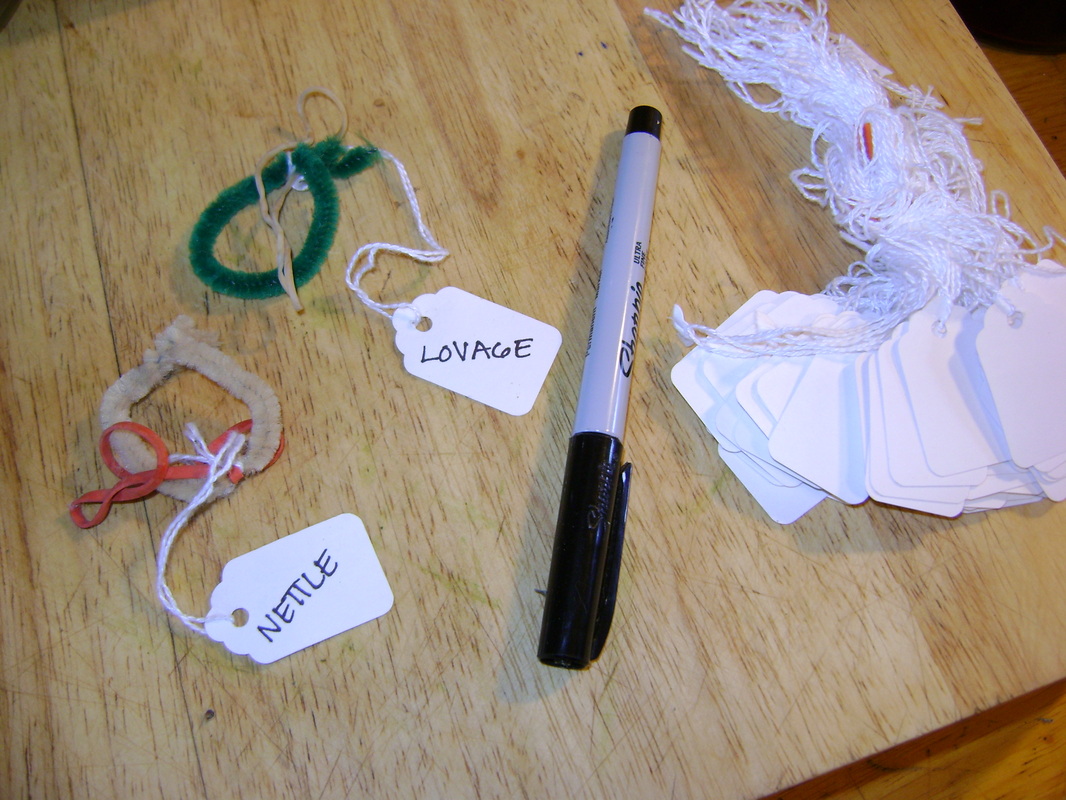
2. It's important to label your herbs, because they will look different after they've dried. I bought these small tags (on the right) at a garage sale years ago and they are great for labeling herbs. I attach the tag and a rubber band (red & beige below) to a bit of pipe cleaner (green & beige) that is closed into a small loop. The rubber band is looped around a bundle of herbs. As the herbs dry they will get smaller, and the rubber band will contract to keep them together in their bundle.
|
|
3. The loop of pipe cleaner is used to hang the herbs from a hook and the tag lets you know which herb it is. It may seem like you should be able to tell, but the leaves of different plants may look pretty similar once they have shriveled and dried. Labels save you the time of figuring out which bunch is what by smell or taste.

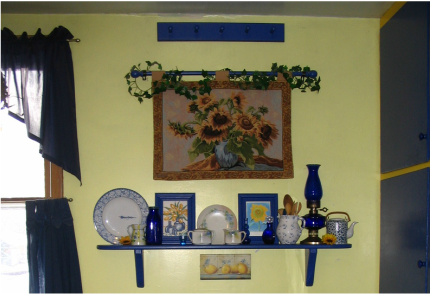
|
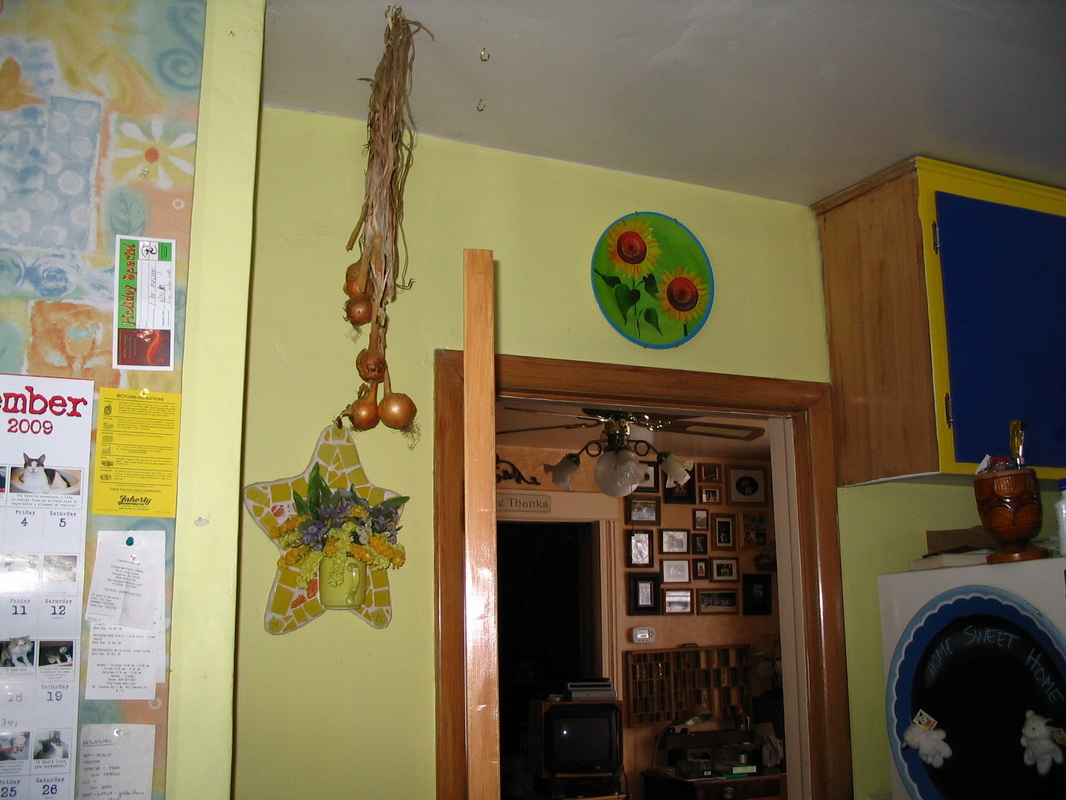
4. I usually need additional room for hanging herbs to dry, so we also installed the blue peg rack shown near the ceiling below. I remove the sunflower tapestry below it, and hang herbs from the peg rack. The rack is so high because the herbs are long and hang down quite a ways. This is another section of our kitchen that doesn't get direct sunlight.
|
|
5. When is it Ready? Test the leaves periodically. When they crunch easily between your fingers, it's time to take them down. Even though it looks good to have them hanging in your house, don't leave them up longer than necessary because they will dry out too much, lose their flavor or medicinal constituents, and get very dusty.
|
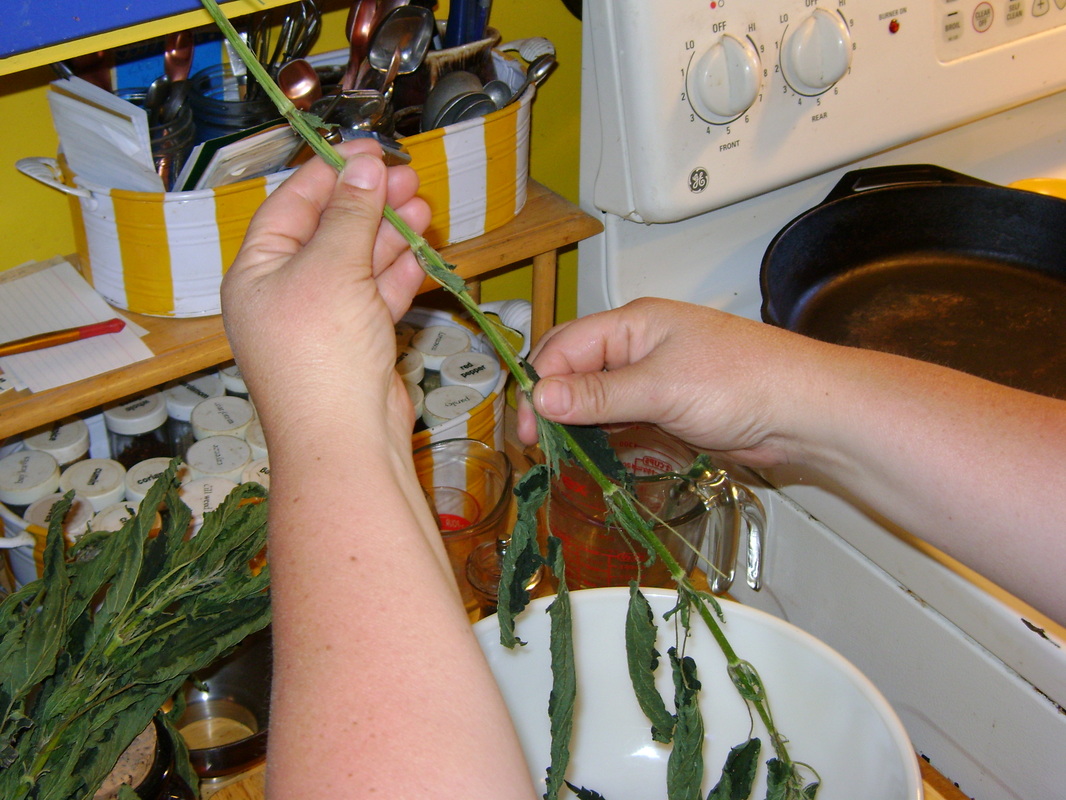
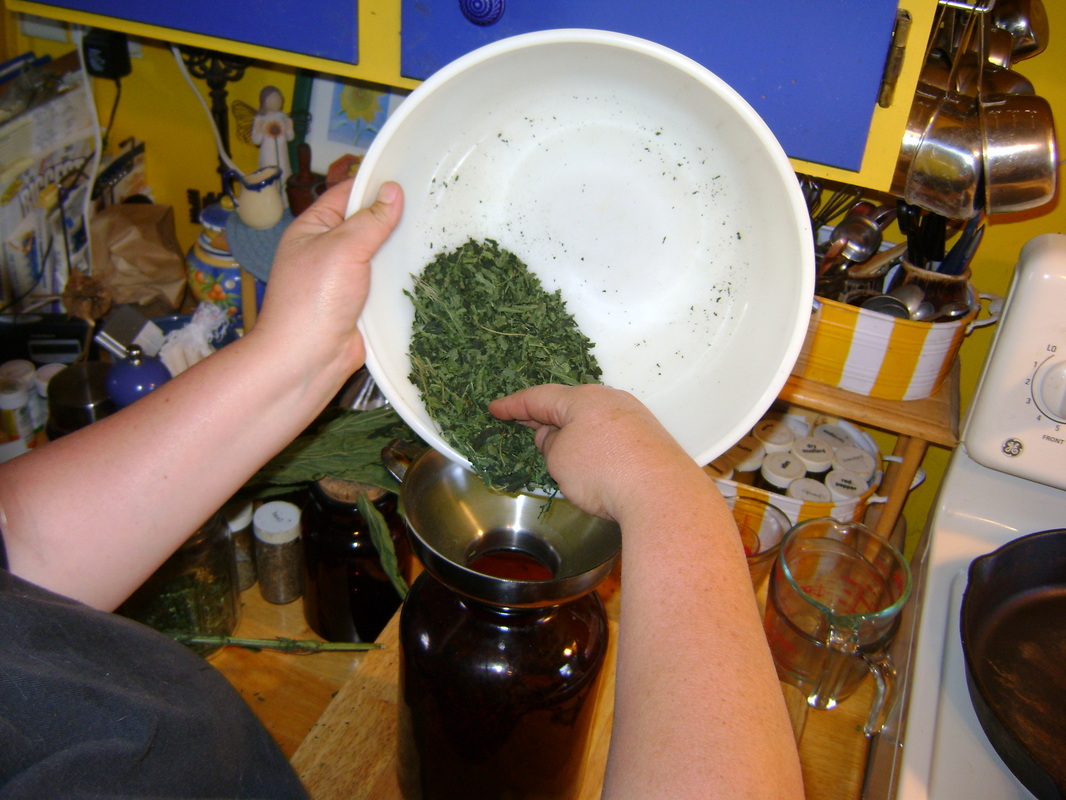
6. Strip the leaves off the stalk by holding the stem at one end, putting your thumb and index finger on either side of the stem, and running it down the stem. If you do this in the right direction, the leaves should easily strip off. I do this over a large bowl, because it gets messy. These pictures show me processing nettle.
|
|
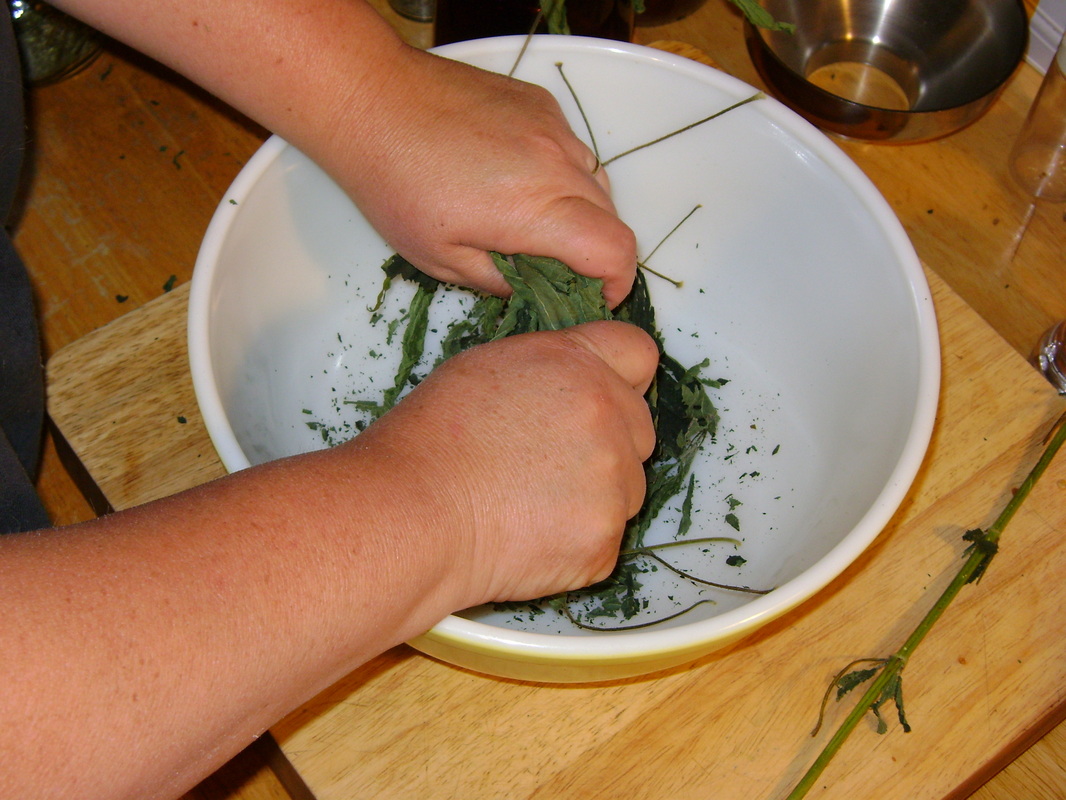
7. When I've stripped the leaves off the stems, I plunge my hands into the bowl and start crushing the dried herbs between my fingers to make them small enough to, for example, be used to make a cup of tea. This is a very satisfying, tactile part of the process, and smells wonderful.
|
8. Use a canning funnel to pour the herb from the bowl into a jar. Store the jar away from sunlight as outlined above.
|
5. STORING HERBAL OILS
|
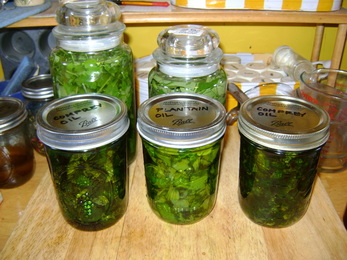
1. Herbal oils are very easy to make. Generally, you soak chopped herbs in olive oil for around a month. The jars will seep and leak a little oil during this time, so it's best to store them on something that will catch the seepage, such as this metal pan.
|
2. The pan is just the right size to fit on our drying rack. It's wide enough that it's not possible for it to get bumped and fall down.
|
|
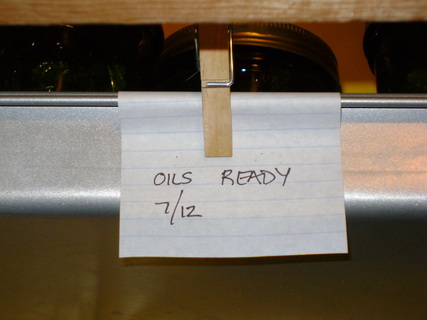
3. I also use a clothes pin to attach a slip of paper to the pan, to mark when the oils will be ready.
|
Herbal Oils I UseInfused oils for eating:
Try putting a few garlic cloves, cut in half, along with some basil if you have it, in a jar of olive oil. and let it sit for a month. Use it in salad dressing or for dipping bread. Very yummy. Medicinal oils are applied to the skin externally: Here are some I suggest you learn more about: 1. St. John's Wort Oil- the "chiropractor in a bottle," is great for back aches and pinched nerves. It releases cramped muscles so the spine can move back into place. (Learn about this possibly causing sun sensitivity if you want to use it.) 2. Comfrey Oil- I am experimenting with this for the tendonitis and arthritis in my joints. It's supposed to help heal muscles and broken bones. I'll be making it into a salve by adding melted beeswax, and rubbing the salve onto my skin. (Learn about possible problems with taking this internally before you use it.) 3. Plantain Oil- I make this into a salve that is good first aid for bug bites, cuts, and stings. |
6. DEHYDRATING SPICES
I've tried hanging culinary herbs, such as thyme and dill, to dry, but it didn't work. They turned brown and lost their flavor. I finally figured out that the smaller leaves usually need to dry faster in order to retain a good taste and color. I bought a $5 electric dehydrator at a garage sale to experiment with. I keep it out on my kitchen work table during the Summer. It doesn't hold much, so the first season I used it often to experiment with lots of small batches to see what I liked. I found that spices I dry myself are amazingly aromatic compared to what I buy in the store, even though I buy the non-irradiated bulk spices from our local food coop. Growing and dehydrating your own spices is definitely worth the little bit of time it takes. I do this as much as I can with basil, dill, marjoram, oregano, and thyme.
|
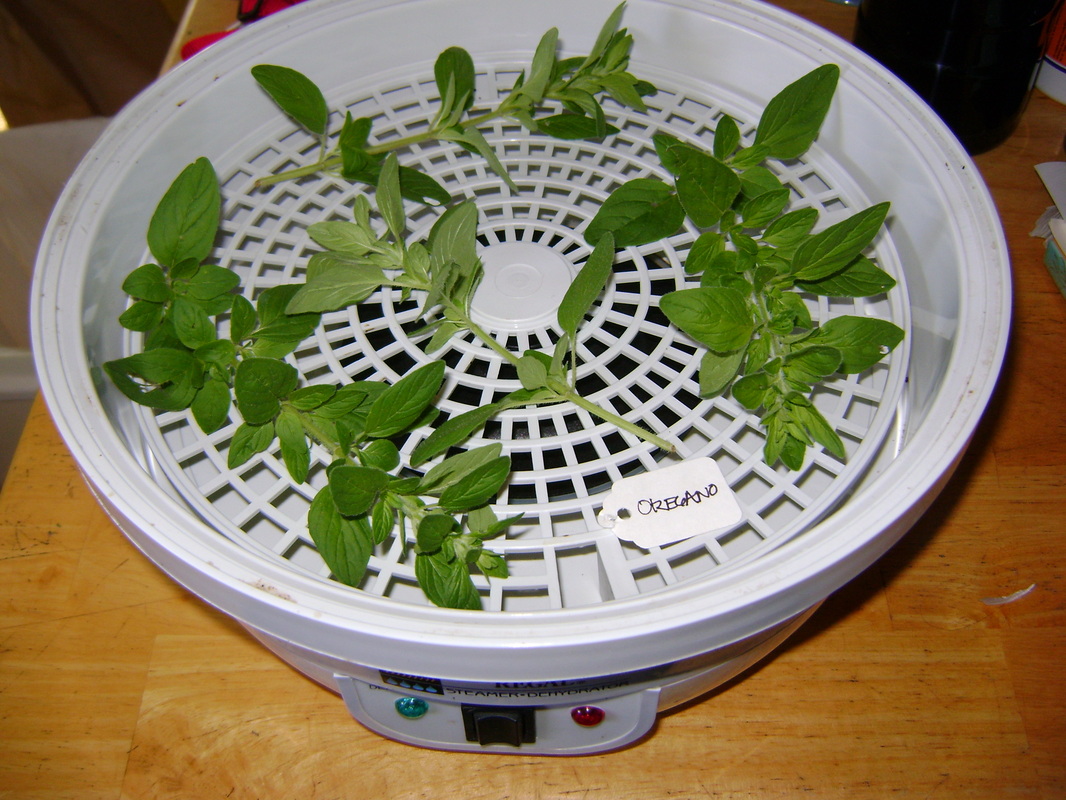
1. Dehydrators have several trays that can be layered. Here's the first tray in mine spread with freshly picked oregano.
|
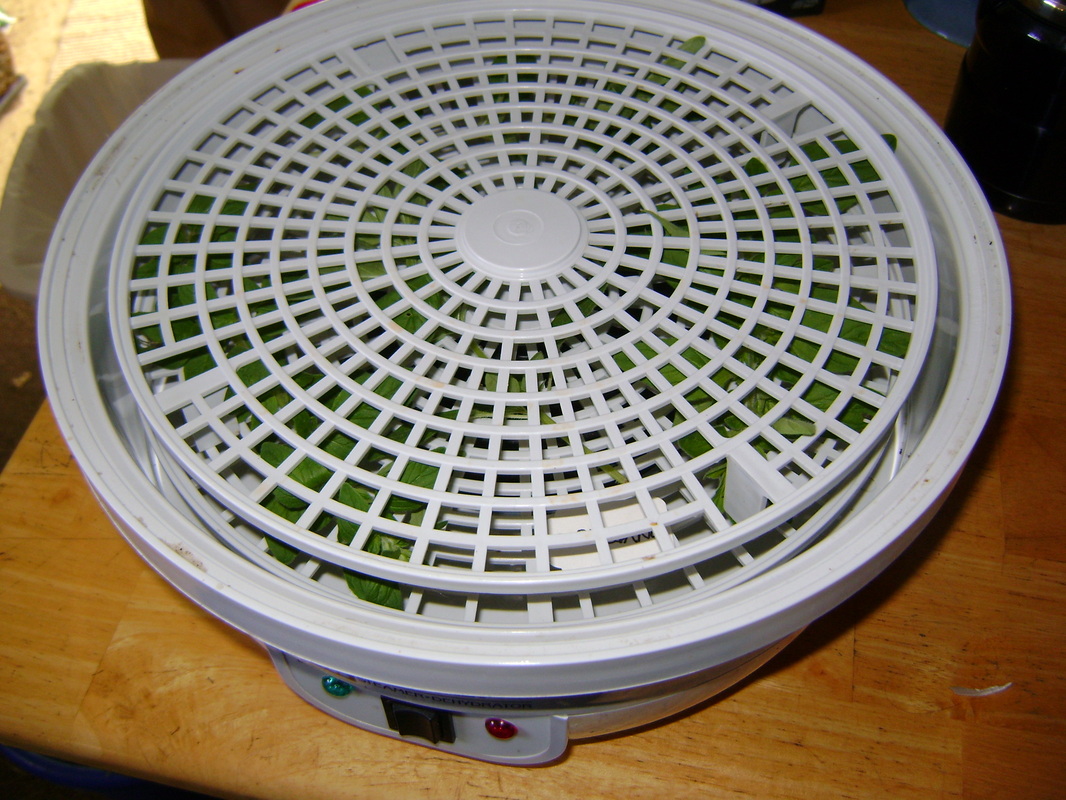
2. Place an empty tray above the first tray.
|
|
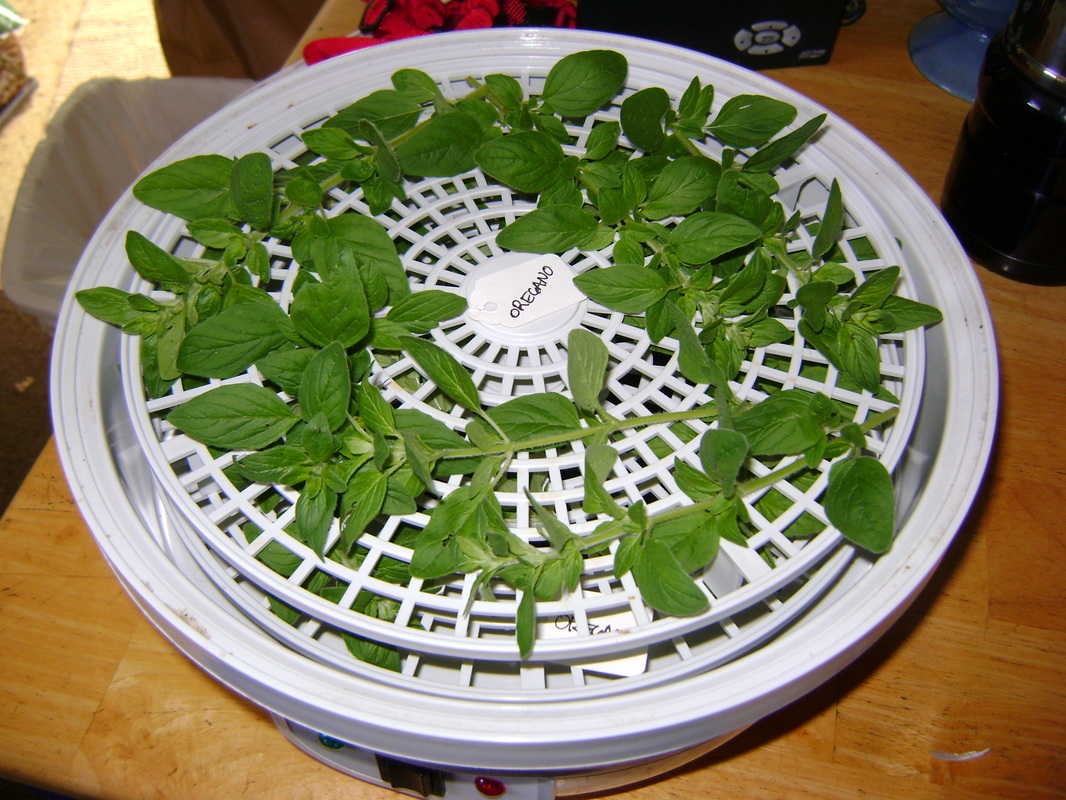
3. Fill the second tray. This one is a bit overfilled, because I harvested too many herbs at once. Keep the herbs apart from each other if possible so that everything gets equal air circulation.
|
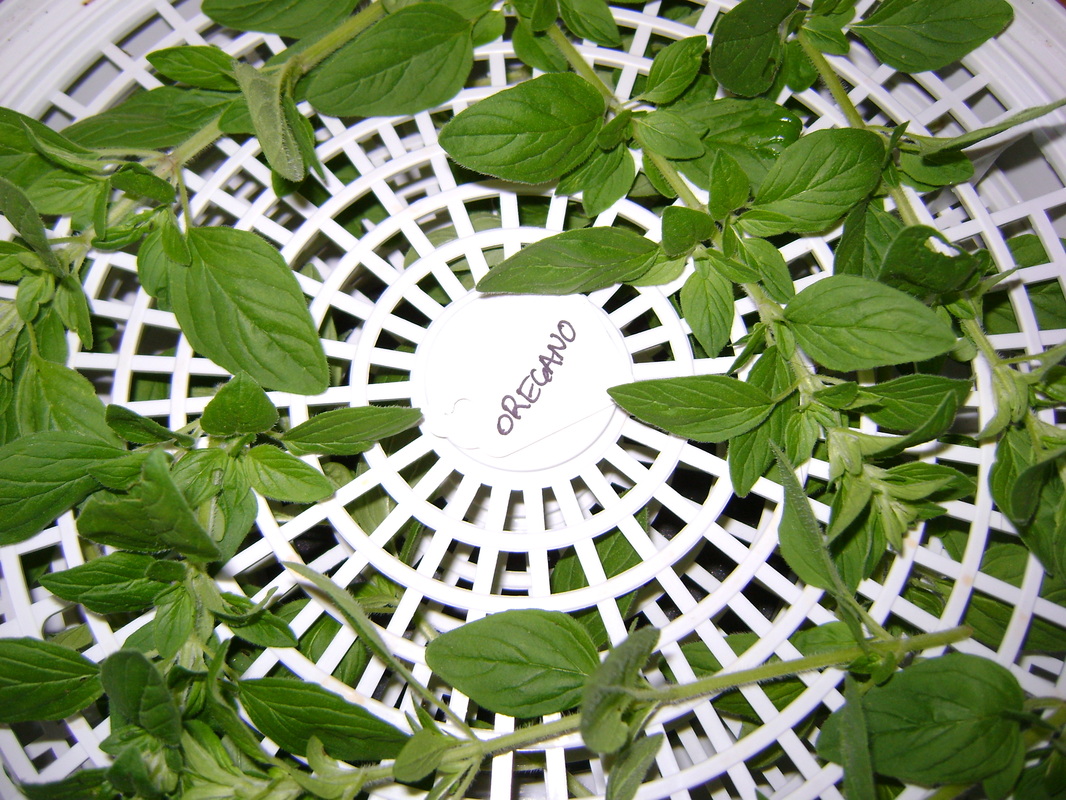
4. I also use the paper tags I mention above to label each tray.
|
|
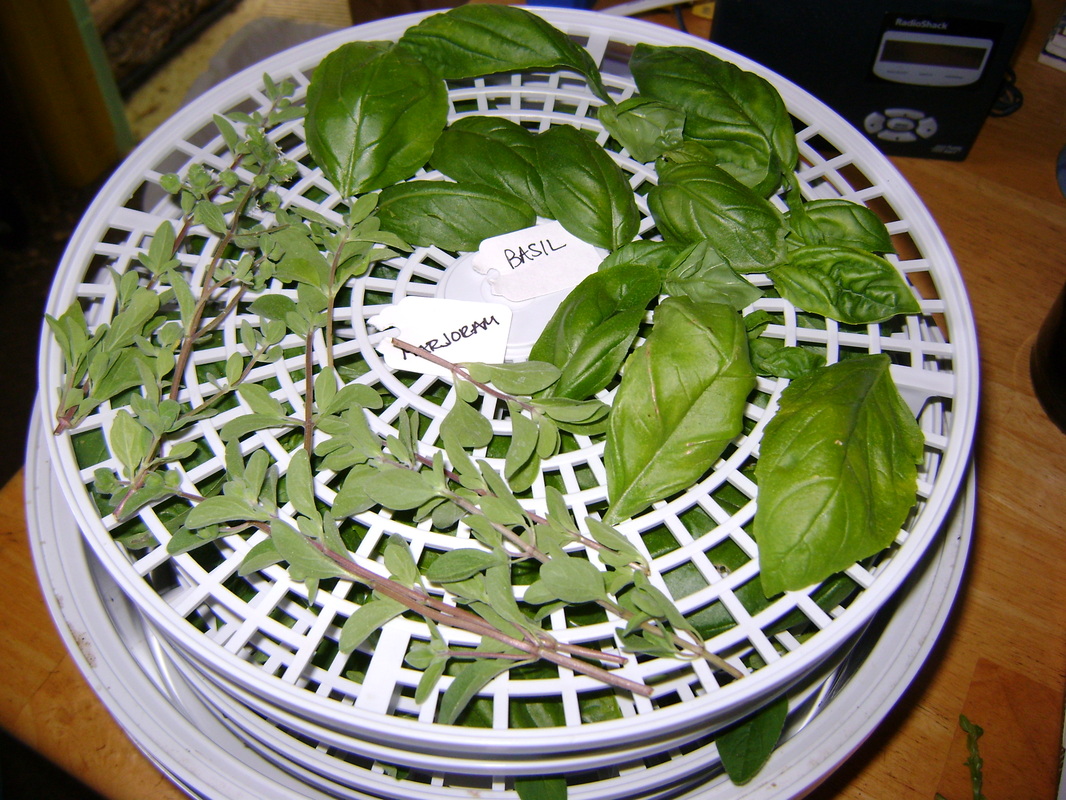
5. Keep adding more trays, herbs, and labels until the dehydrator is full. This tray has marjoram on the left, which is wonderful with chicken, and basil on the right. I'm still learning about basil. It seems to turns a bit black when I dry it, but it still smells more like fresh basil than what I buy in the store.
|
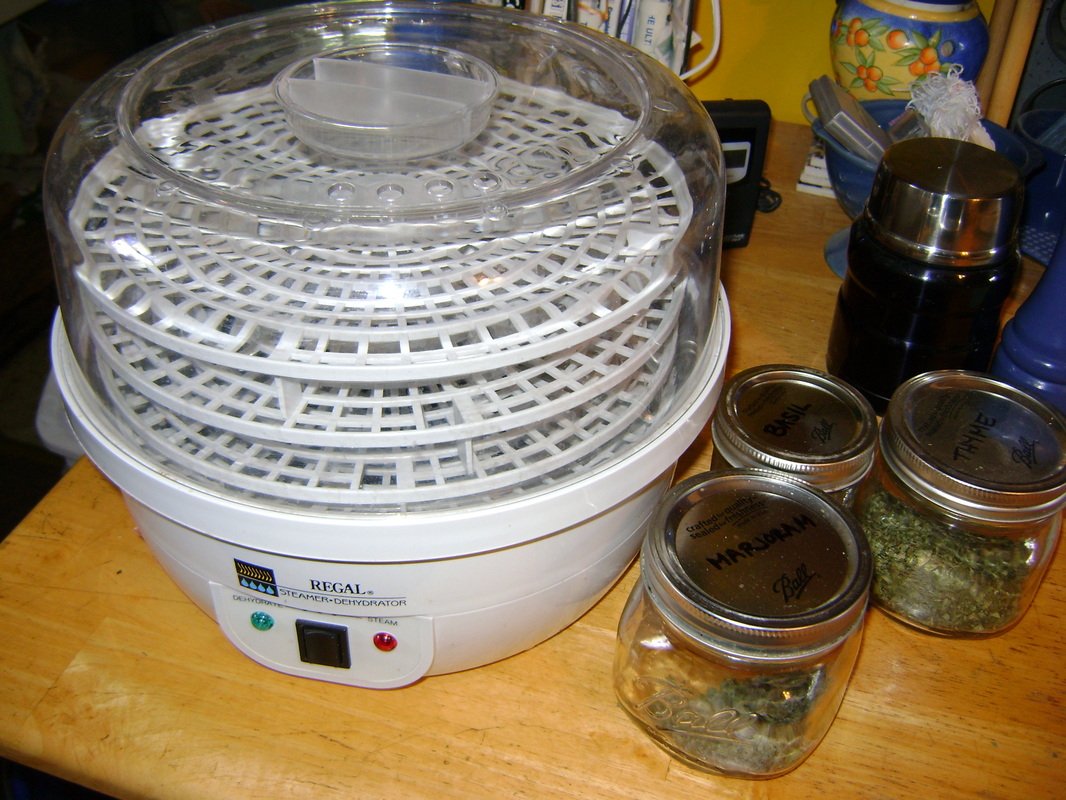
6. Put the lid over the trays and turn on the dehydrator (the one in this photo is empty). Hot air will be pushed into the dome. Spices like these with such tiny leaves dry in a couple hours. Test them periodically. They are done when they are dry and crunchy.
|
|
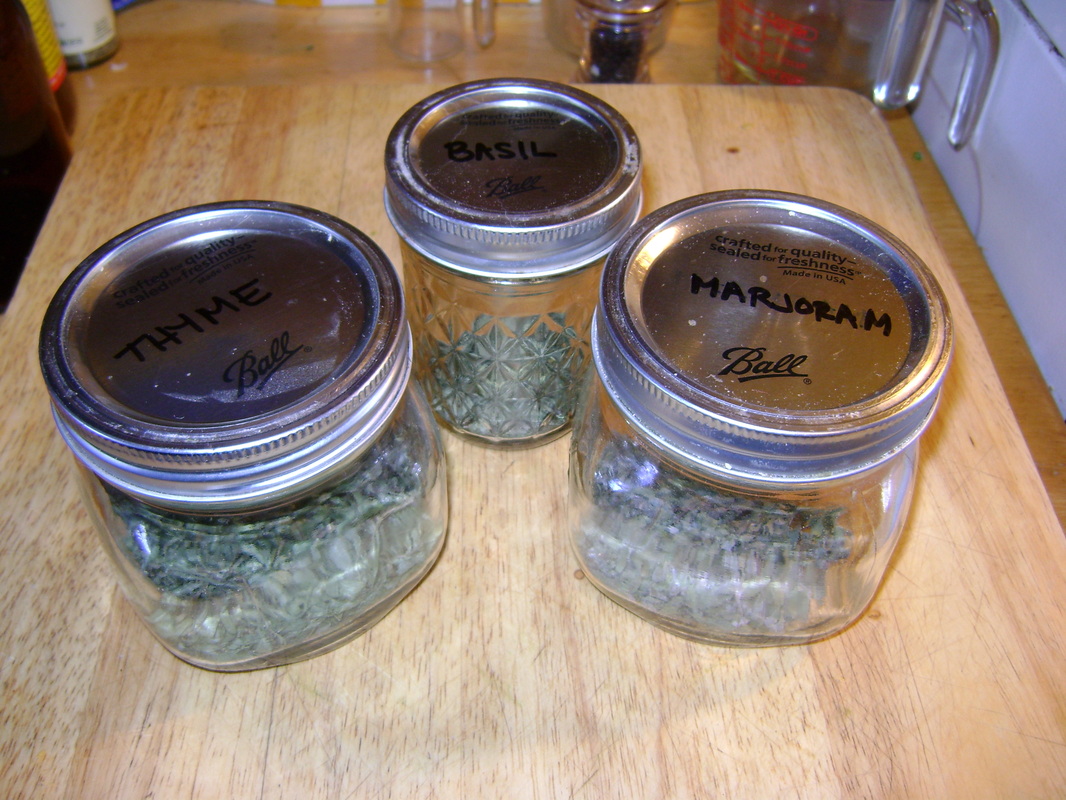
7. I store my culinary spices in smaller canning jars in my pantry.
|
Using Plastic? Other Dehydrating Options
This dehydrator is plastic, which I don't like using since heating food in plastic isn't safe for us, but I haven't yet gotten around to building myself a solar dehydrator and can't afford to buy one. Another option is to dehydrate herbs in the oven on the lowest setting- about 150 degrees F. Or some books say you can just turn on the oven light and that is enough to dry the herbs. I haven't experimented with this yet. For more on dehydrating by these methods, see the book I recommend at the end of the dehydrating apples using our wood stove section. You might also like the instructions for making flavored herbal vinegars. |
May you enjoy all the fruits of your garden!