Our electric dehydrator.
|
Dehydrating
|

Bear enjoys dehydrated peppers.
|
|
Dehydrating may be the best way to preserve food:
|
This pint jar is actually storing 4 lbs of green beans:
|
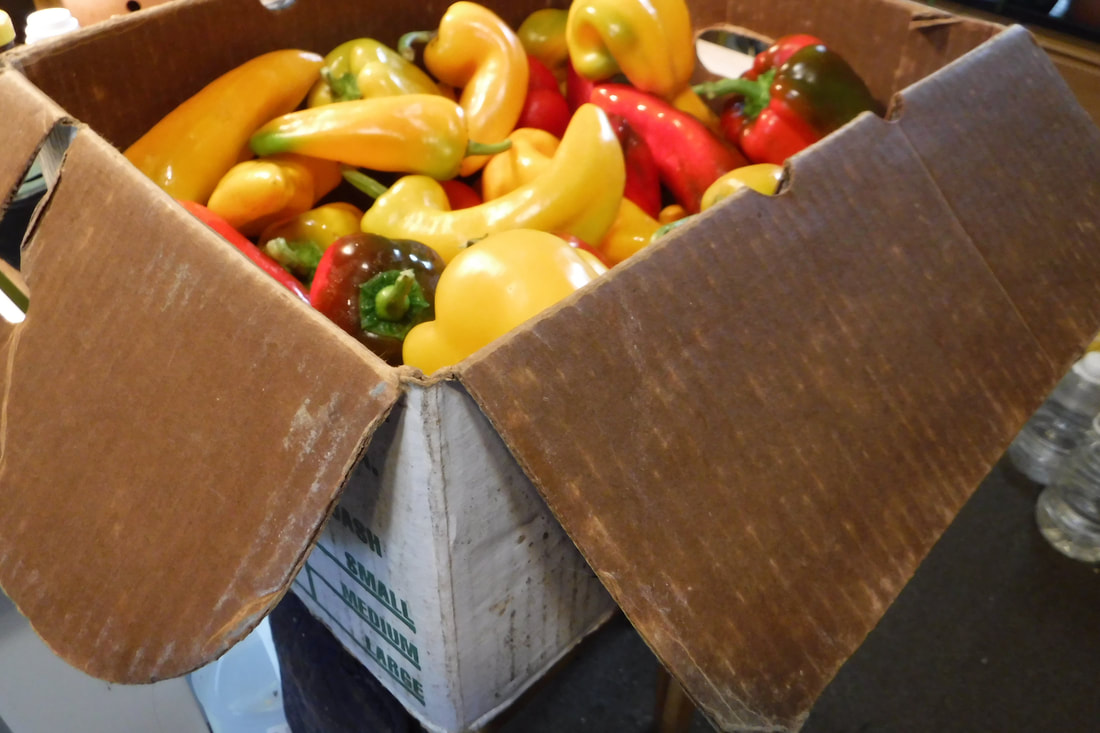
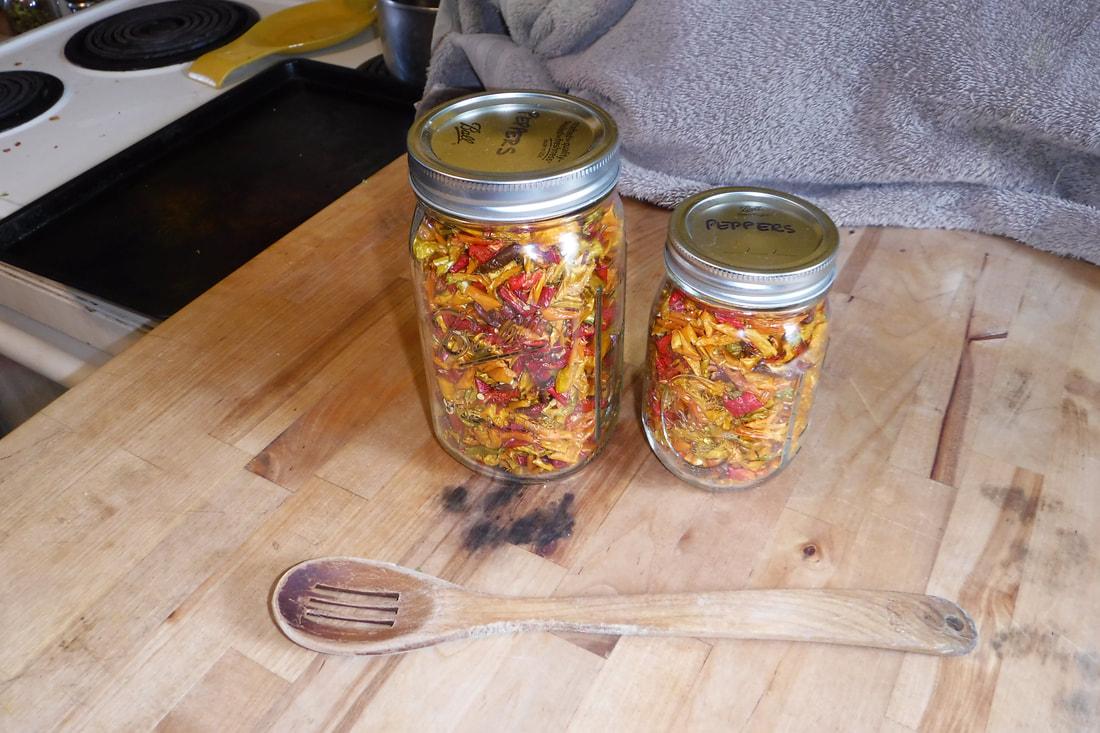
This 10 lb box of red and yellow peppers fit into this quart and pint jar after it was dehydrated:
|
|
|
Ways to dehydrate:
|
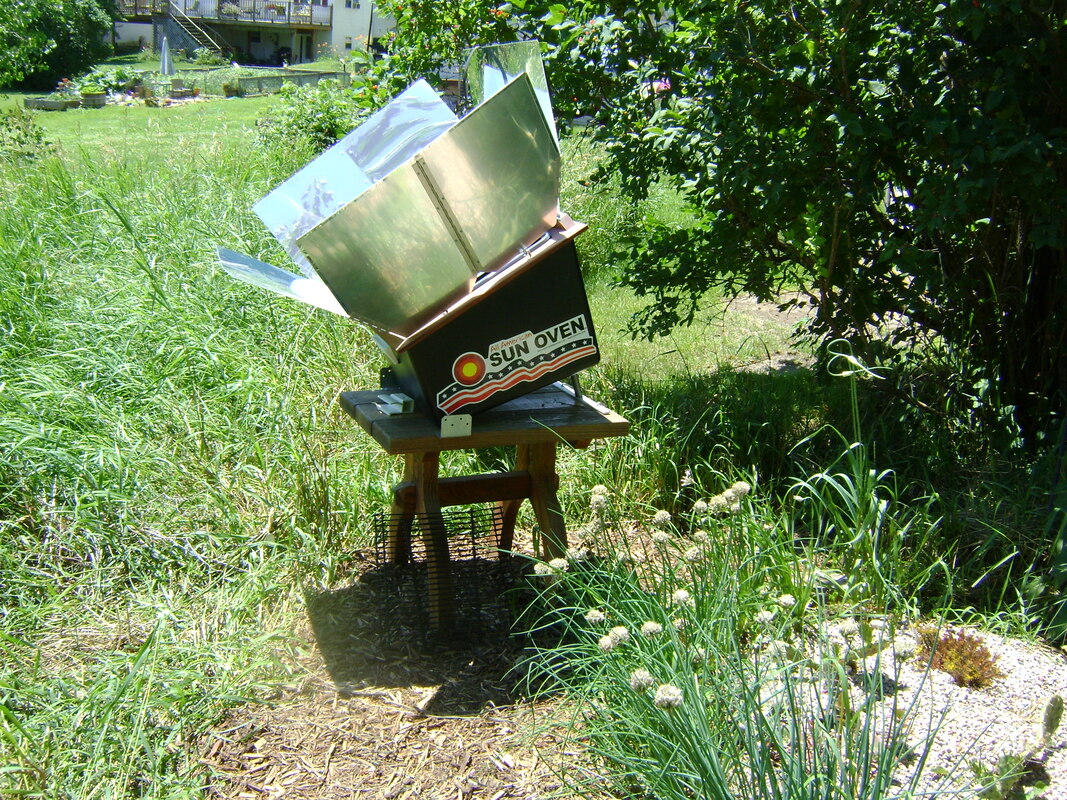
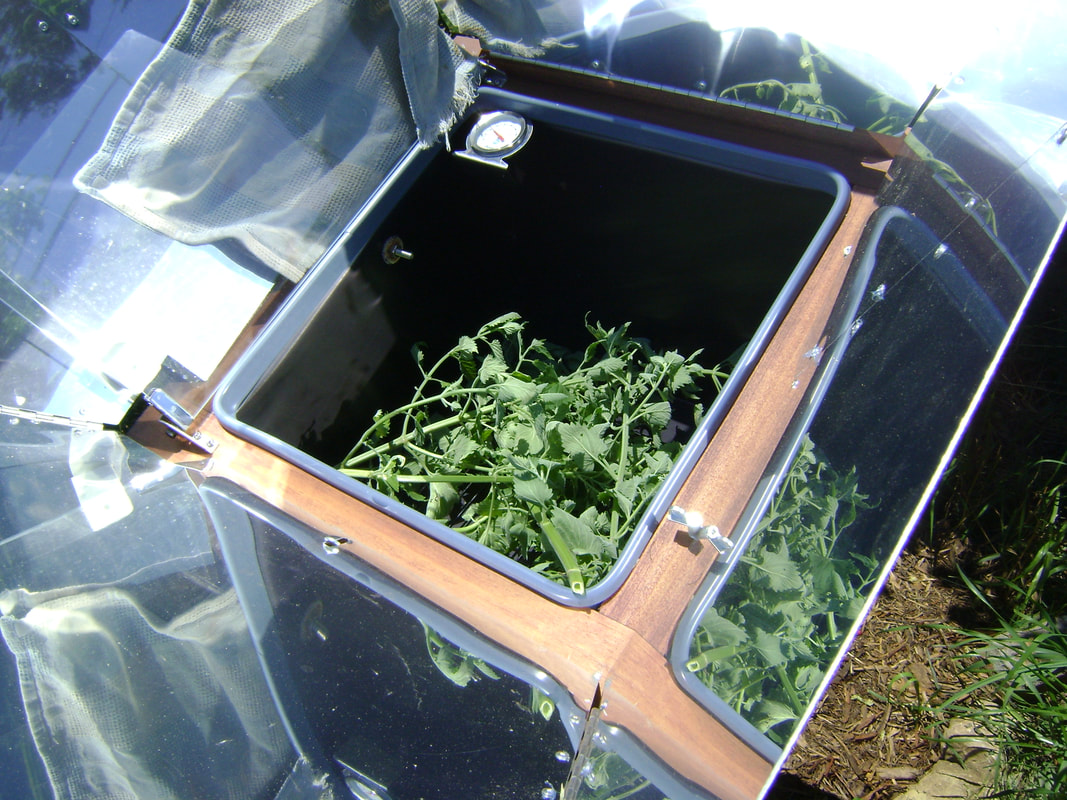
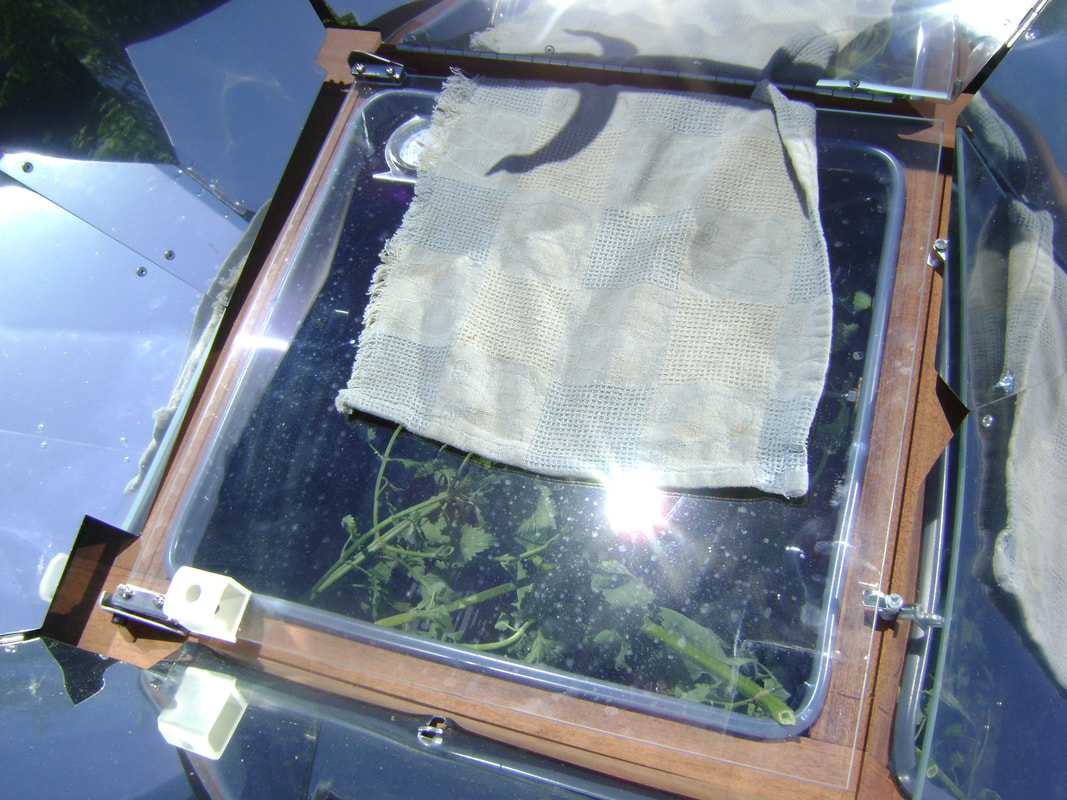
Sometimes a solar oven (above) can be used as a dehydrator, as long as you can keep it from getting too hot. Below I have the glass top partially covered with a towel so the catnip I'm drying inside doesn't burn, plus, I have the lid cracked open a bit to let out heat.
|
Notes on how to dehydrate:
- My previous dehydrator only worked at one temperature, so all I did was put the food in, and check it periodically, and rotate the trays until it was dried.
- My newer dehydrator can be programmed for temperature and time, so I use a reference book (see Resources below) to determine at what temperature and for how long to dehydrate each type of food.
- My reference book also helps me tell when the food is done. Some dried foods will be totally brittle (green beans), while others can remain pliable and leathery (apples) even when they're completely dried.
- A good reference book will also tell you whether or not your food needs any pre-treatment. For example, green beans should be blanched to kill germs before they are put in the dehydrator.
- Try to chop the food you want to dehydrate into pieces that are as close to the same size as possible, so they will take the same amount of time to dry and you won't have to pick through them to remove the smaller pieces early. It's not possible to cut everything exactly the same, but do the best you can. Bear likes to use a mandolin to slice apples for dehydrating, because it will help you get the same thickness.
- When you lay the food out on the trays, some sources will tell you no pieces should be touching each other. However, I've found that all that is really important is that the food be on a single layer- it should not be in a pile- so you do need to spend some time spreading it out on the tray.
- Depending on your dehydrator, you may need to rotate the trays during the drying period, so that everything dries evenly.
- Pay attention to when you put the food into the dehydrator, so that it doesn't get done in the middle of the night while you're asleep. I find it's best to fill the dehydrator very early in the morning if it can get done before I go to bed, or late in the afternoon so that it can dry overnight.
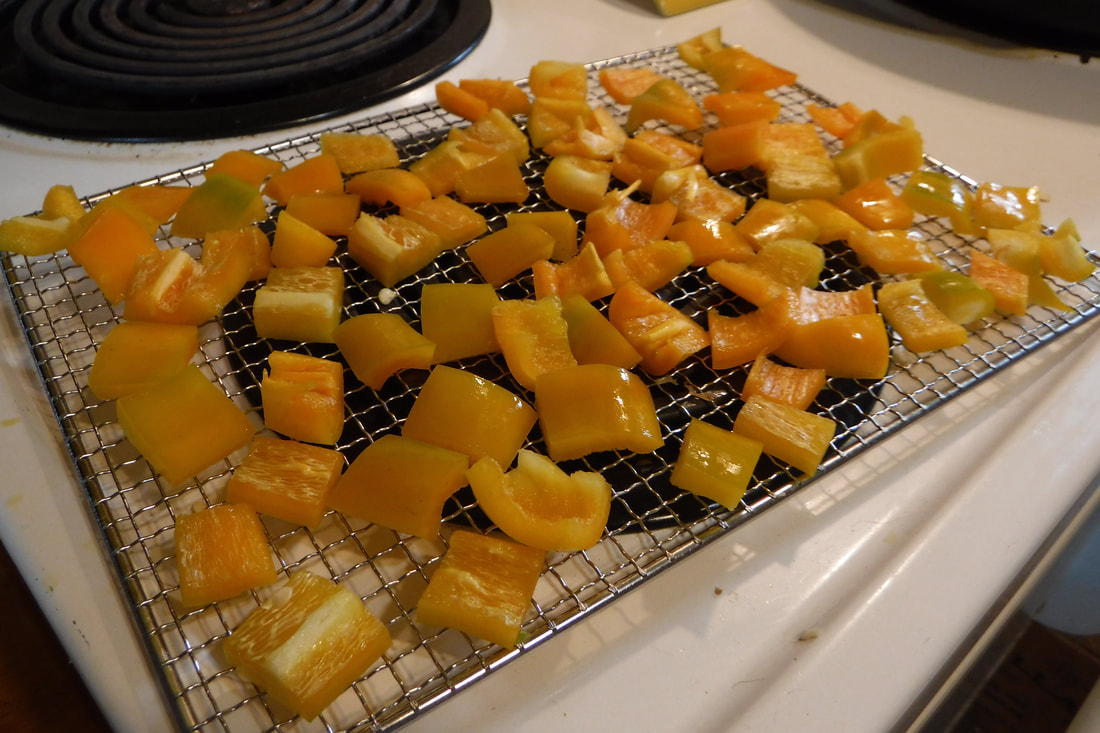
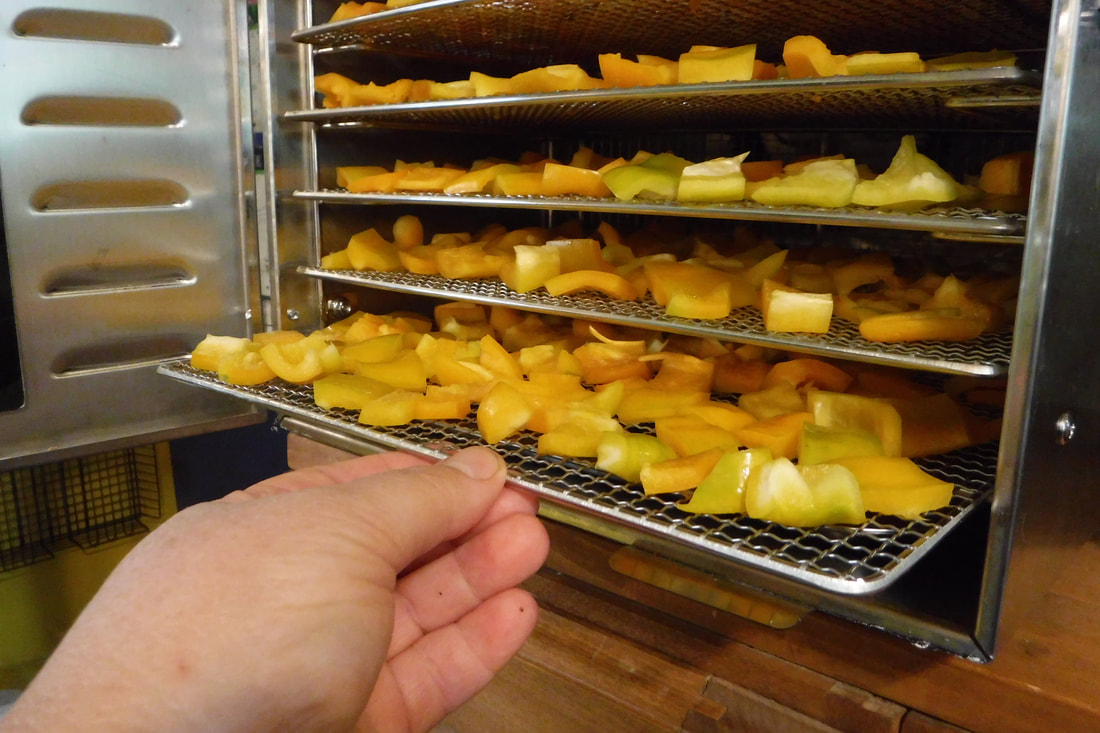
These chopped yellow peppers are spread in a single layer on the trays then inserted into the dehydrator:
|
|
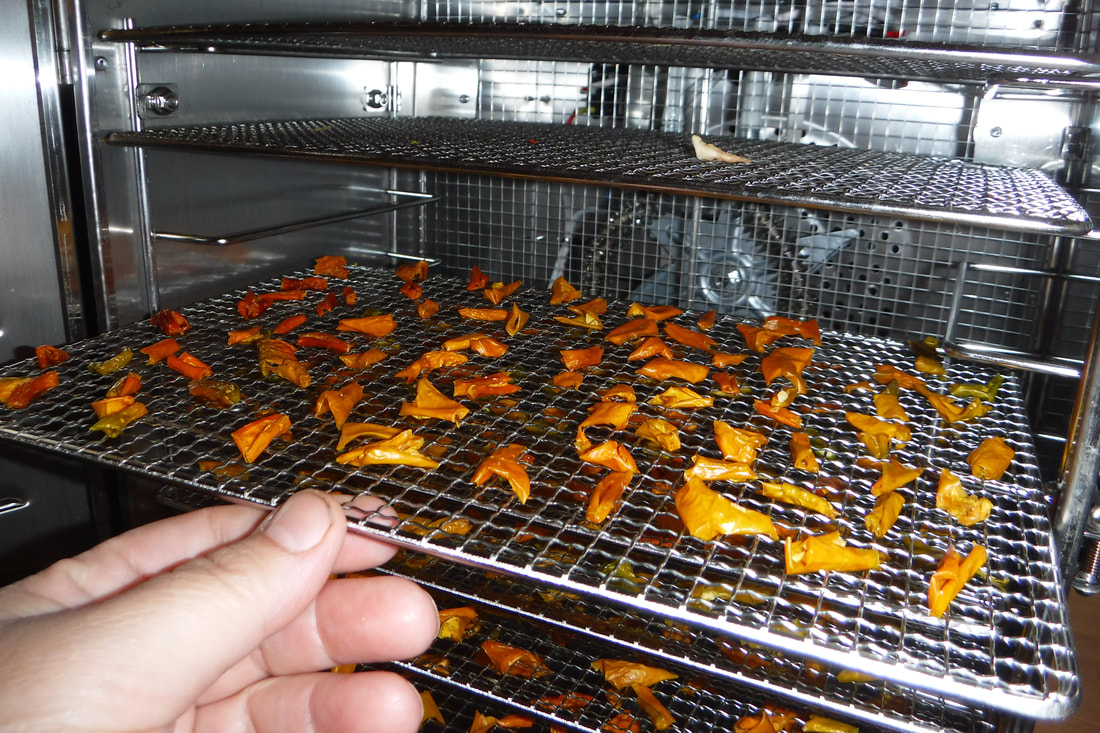
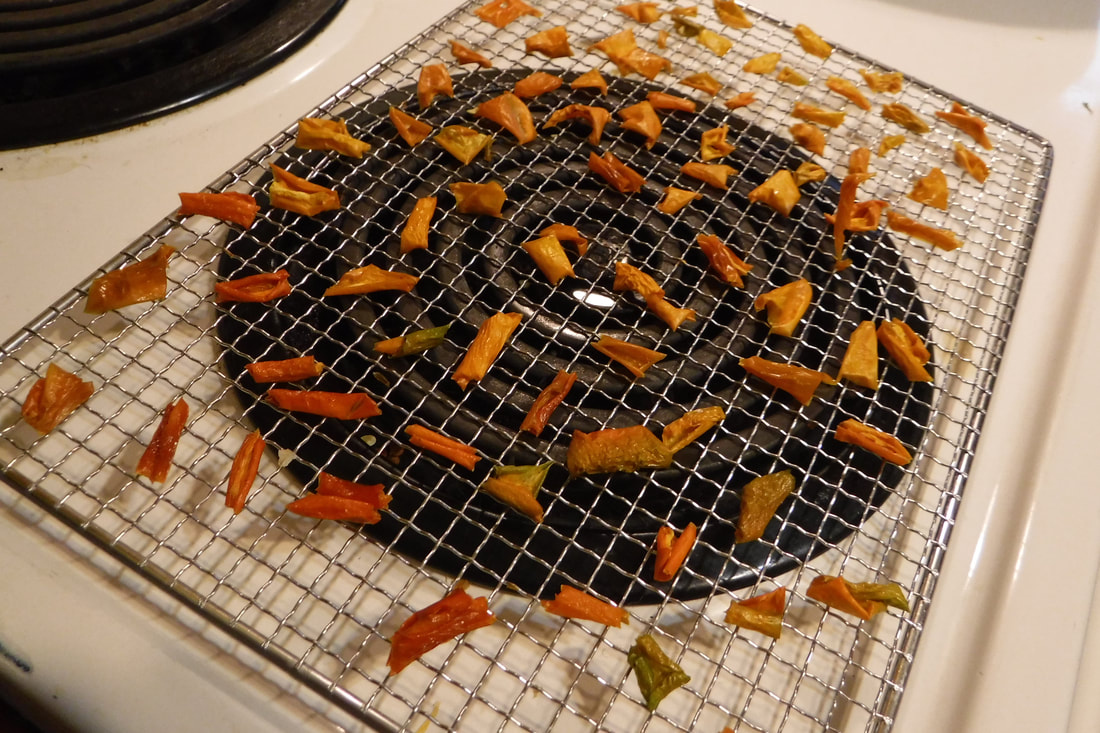
Here's what the same yellow peppers look like when they're finished:
|
|
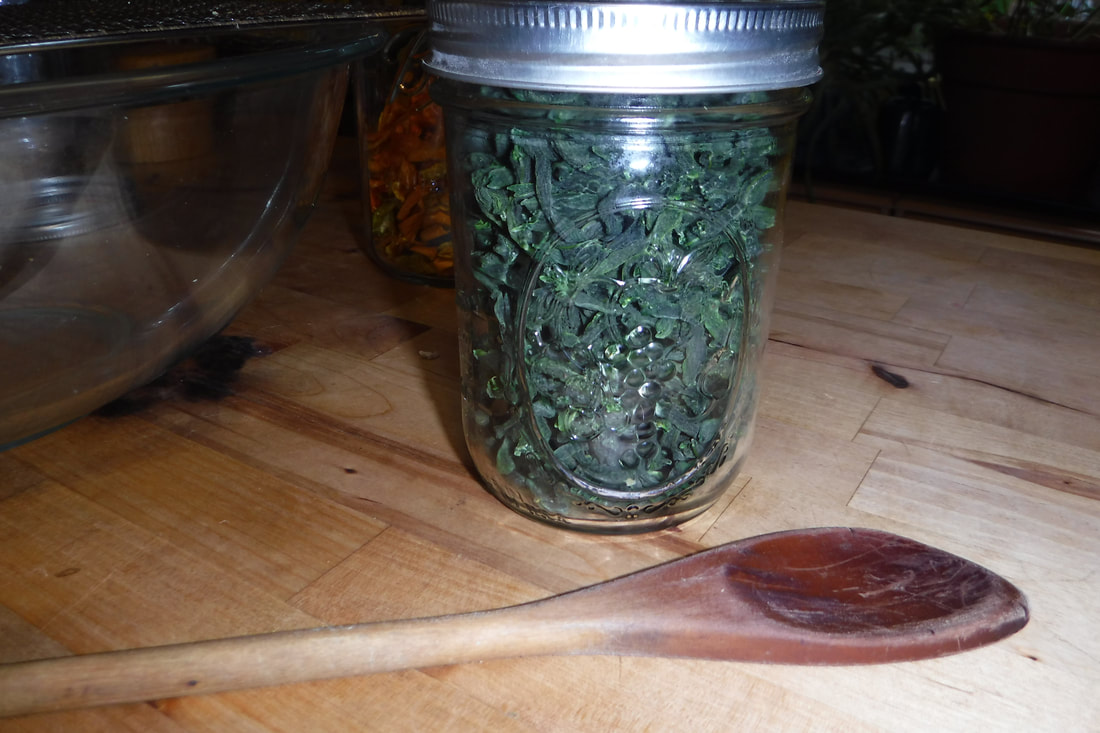
- Once the food is completely dry, I remove it from the trays by tipping the trays into a large bowl. Be careful, or the small pieces of food can fly all over.
- I let the food cool off, which usually only takes a few minutes. Then I transfer it to a clean and sterilized mason jar, and screw on the lid. I leave the jar on the counter, out of the Sun but where I will see it, for a few days so I can check to see if any condensation collects in the jar. If it does, that's a sure indication that it was not sufficiently dried and should be returned to the dehydrator. I also gently shake the jar each day, to make sure that any trace of moisture gets distributed evenly and there aren't any clumps that have gone moldy hiding in the middle.
- Put your dried food into jars right away after it cools. Whenever it is exposed to air, it will start to rehydrate, which will encourage mold.
- It's best to use small jars to store dried food, so as little air as possible is left in the jar after you remove some of the food. Exposure to air in the jar will also start to rehydrate the food.
- Store the jars in a cupboard out of direct sunlight. If the food stays dry, it will definitely last through the Winter and longer.
|
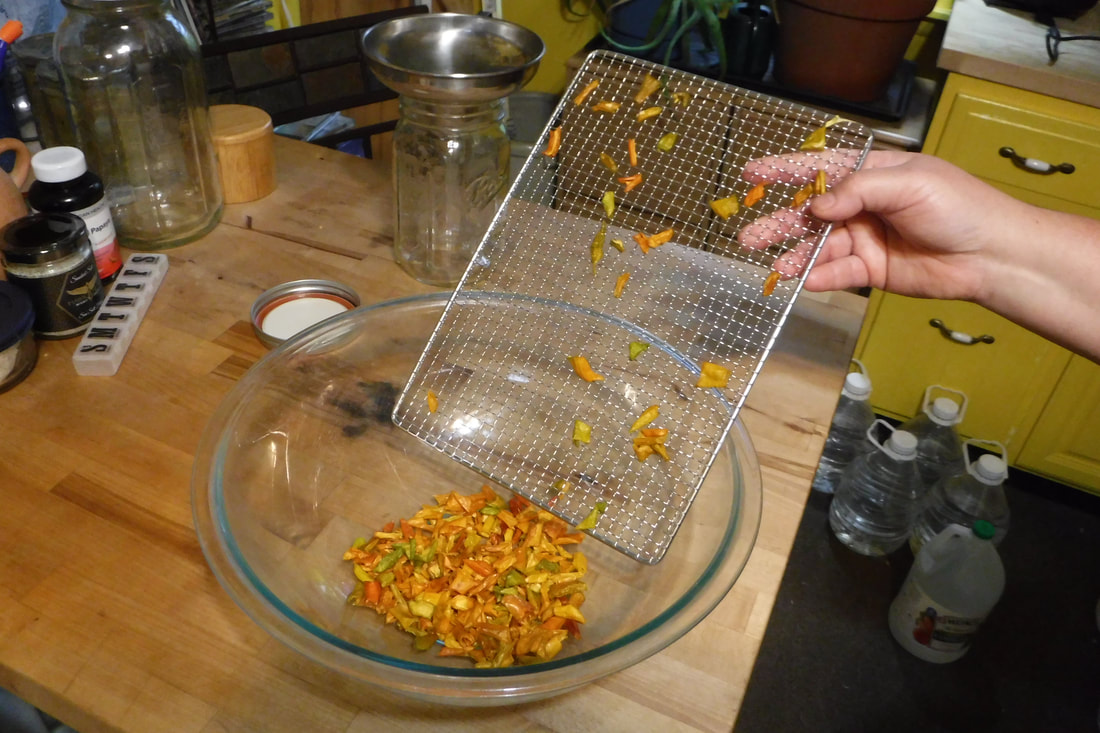
Remove the dried peppers by tipping the tray into a large bowl:
|
Use a funnel to transfer the peppers to storage jars:

|
|
Using dehydrated food:
|

Some dehydrated foods, like sweet peppers, taste so good you'll want to eat them straight from the jar as a snack.
|
Our Electric Dehydrator
I was very happy to buy this all stainless steel dehydrator and get rid of my smaller plastic one because:
- I don't need to worry about the harmful effects of heated plastic.
- It has twice the dehydrating space as my previous dehydrator.
- It has a fan in the back that circulates the heated air evenly, so I don't need to rotate the trays.
- Bear here... Ooo, she did lots of pictures. I would be bragging about making meat jerky, if I did it right. I tried twice with OK results but not good enough to put the pictures in this section. I have the distinct feeling it's going to be a while and Theresa was eager to share this page with all of you, so hopefully before the year is out I will know what I am doing and be able to share meat dehydrating tips also.
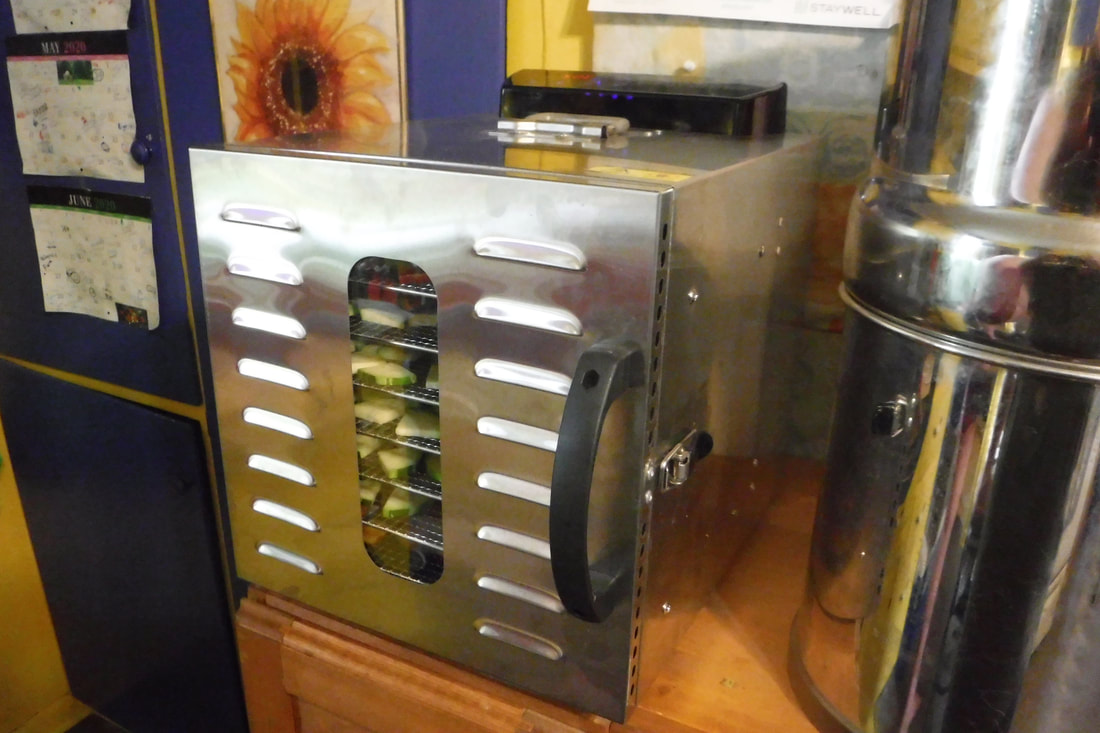
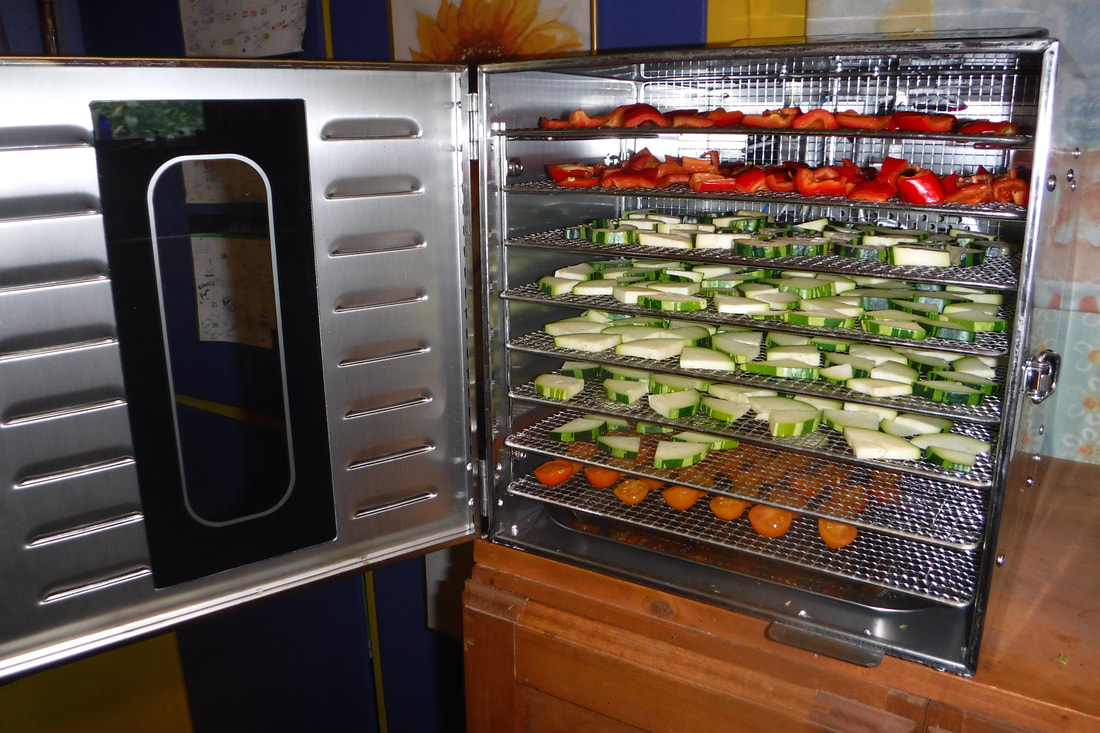
This is the all stainless steel dehydrator we bought for $150 in 2020.
|
It has 8 shelves inside and a catch try on the bottom. Here I'm dehydrating (from top to bottom) red peppers, zuchinni, and cherry tomatoes.
|
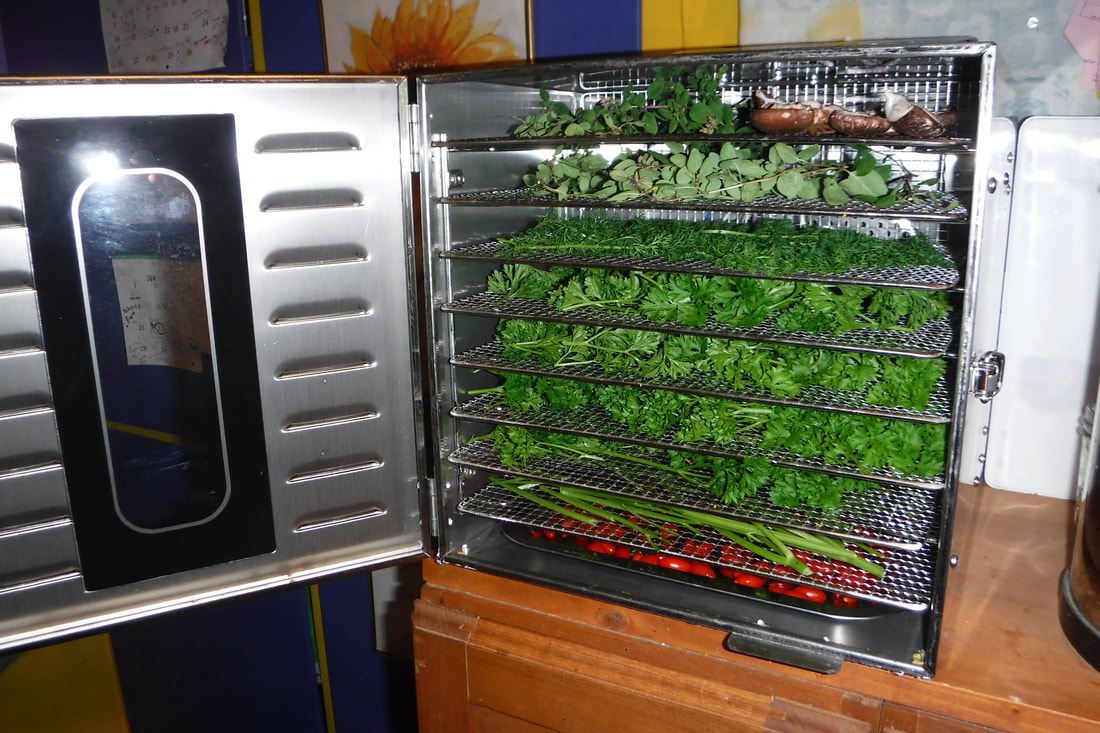
Here we're dehydrating, from top to bottom, oregano, shitake mushrooms, parsley, and goji berries.
|
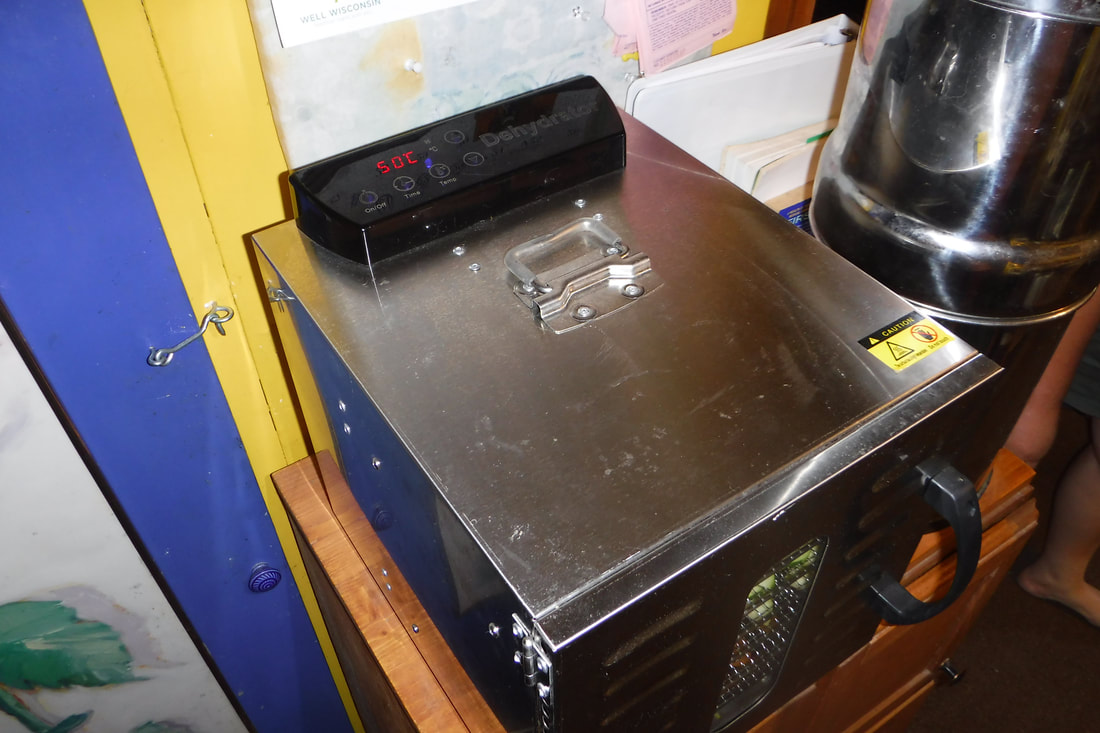
The instrument panel at the top lets you set the dehydrating time, up to 24 hours. It also lets you set the temperature, but it only comes in degrees Celcius, there's no Farenheit option.
|
Advice on Buying a Dehydrator
- I bought my 8 tray dehydrator from Amazon in 2020 for $150. At the time of this writing, the 8 tray version is no longer available.
- Below are some (paid) links to a smaller and larger version of what I bought, as well as a link to the general search for all stainless steel machines, so you can see if the 8 tray version is available again.
- Be careful when choosing which machine to buy if you want all stainless steel. The first one I ordered turned out to have stainless steel trays, but the rest of the machine was plastic, so I had to return it. In retrospect, it was pretty obvious from the photos that the walls were plastic (they were brown, not silver), but I wasn't paying attention.
- Also, be careful of what size you buy. I was disappointed when I opened my current machine to see how small the trays were. Even though I clearly read they were 8x11 inches, the photos of the entire machine looked quite large. I underestimated how much space the fan and heating element would take up behind the trays. However, it still has twice as much space for drying as my old machine, and I find it is entirely big enough for what I'm trying to do.
- What was most important to me in regards to size is that I bought a machine that would fit where I wanted it to on the kitchen counter. My kitchen doesn't really have a space where the larger 10 tray version would have fit.
- I am also very happy to have a dehydrator with a fan in the rear that circulates the heat evenly throughout the machine so that I no longer need to rotate the trays. My previous dehydrator didn't have a good fan. It was mostly only a heating element on the bottom that just let the heat rise on it's own, so the top most tray did not dry as fast as the lowest one, and I had to continually move the trays around for even drying.


Here are some of the jars of food we dehydrated in Summer 2020:
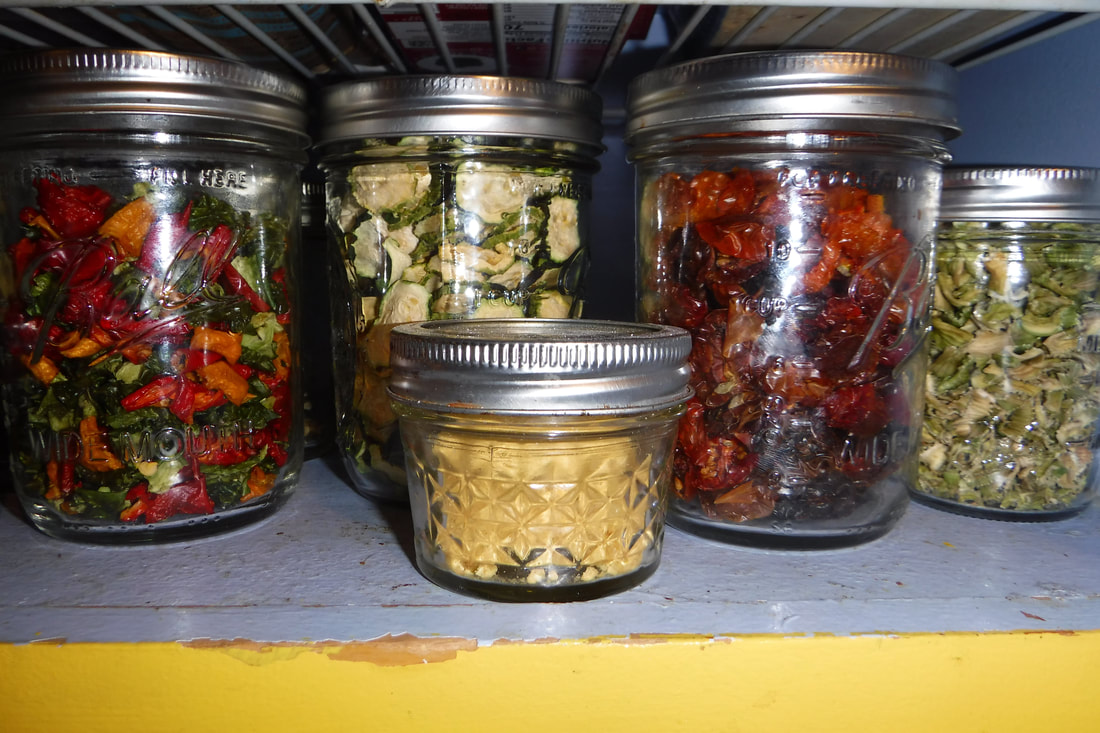
From left to right: peppers, zuchinni, tomatoes, celery.
Small jar in front is lemon peel. |
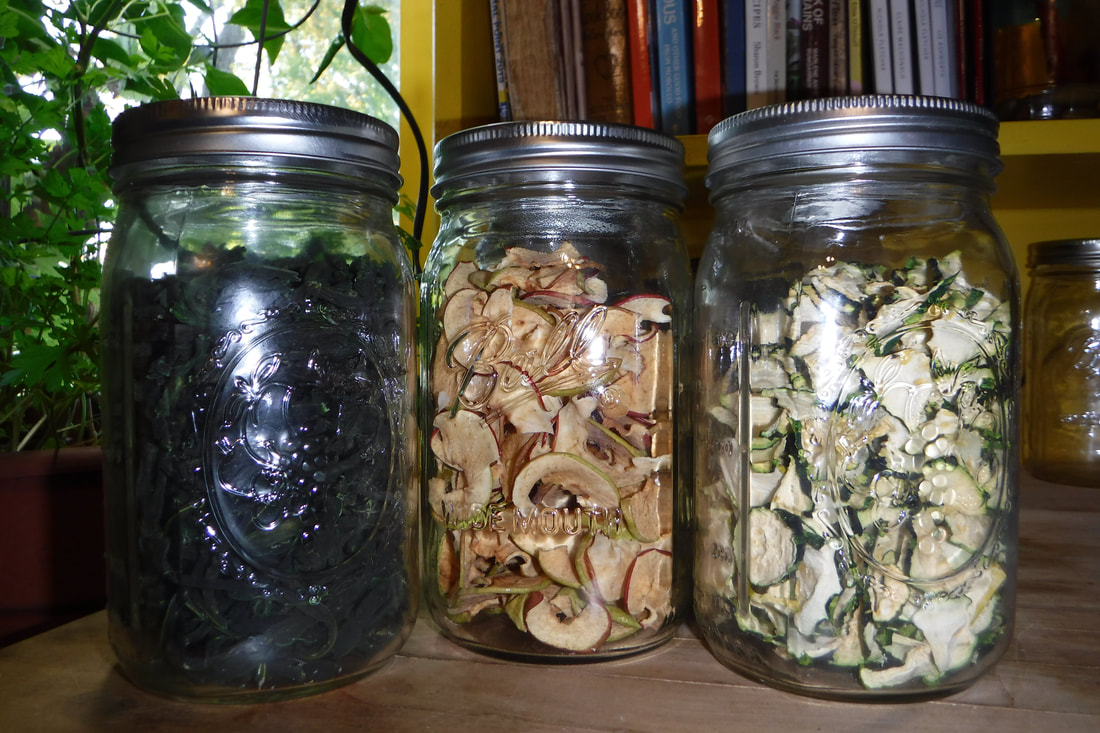
From left to right: green beans, apples, zuchinni.
|
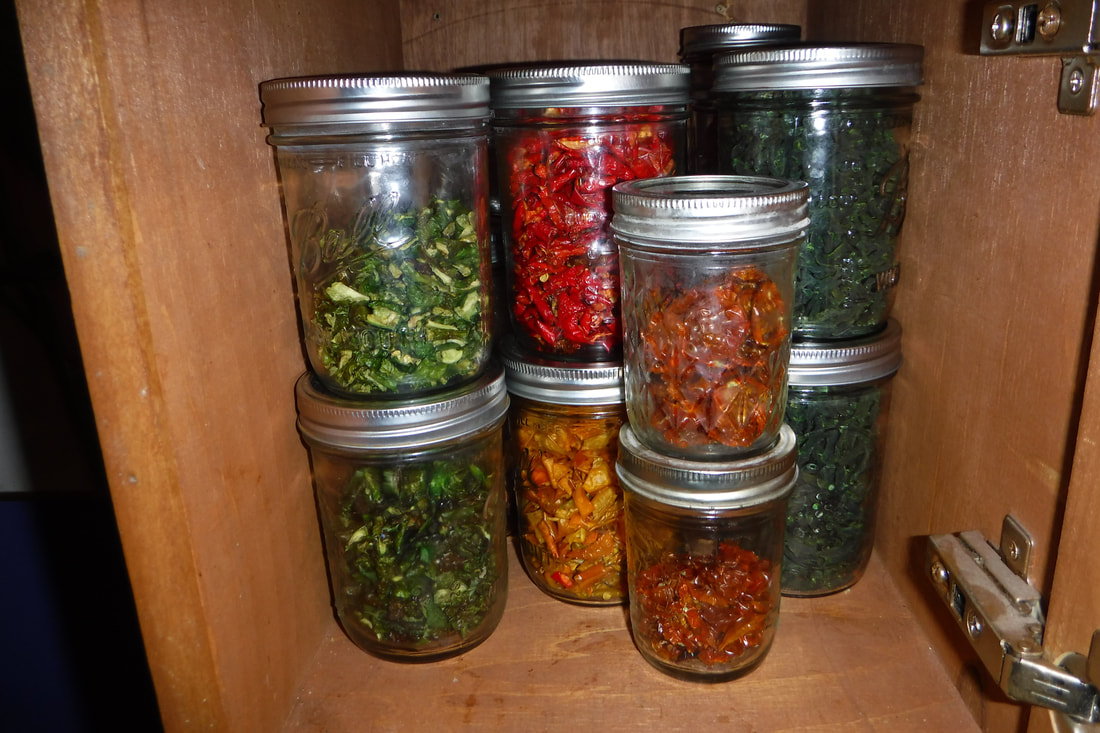
Store dried food in a cupboard out of direct sunlight. Here in our spice cabinet we have:
- four pint jars on the left and middle in the back row are peppers
- the two pint jars on the right in the back are green beans
- the two small jars in front are cherry tomatoes.
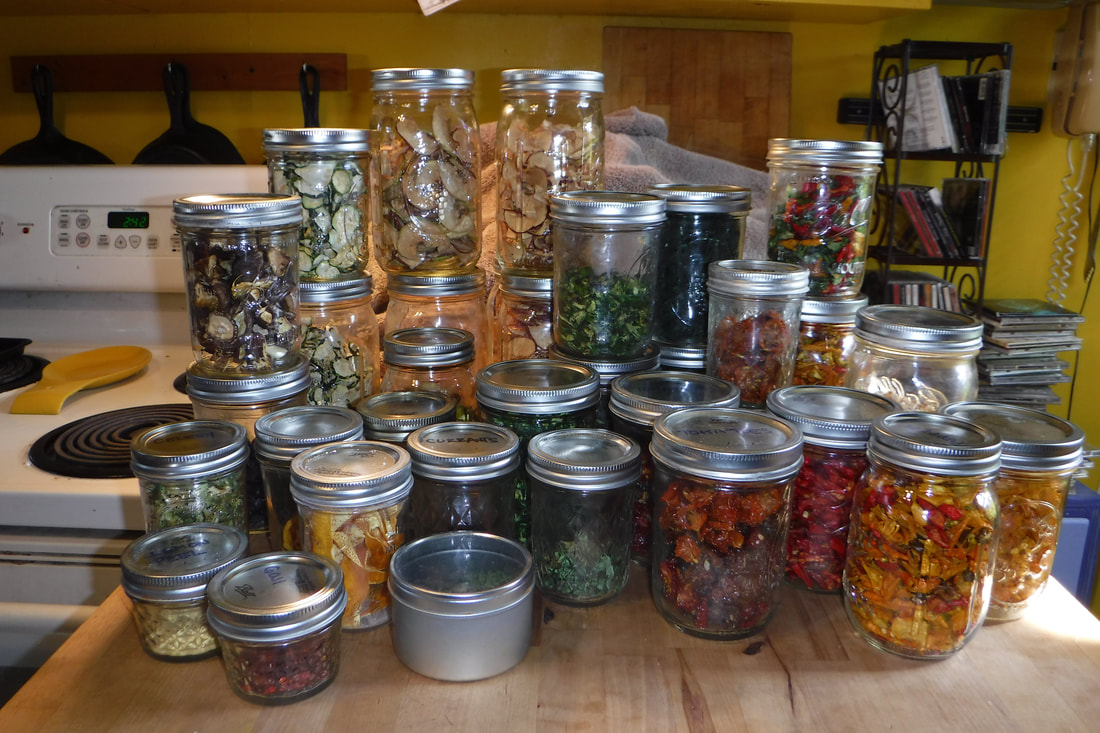
These are all the jars of food we have dehydrated for the Winter.
Resources:
|
Here's a (paid) link to a great book that is teaching me all about dehydrating:
Why I like this book:
|
 Making & Using Dried Foods
by Phyllis Hobson, 1994 From Storey Publishing |
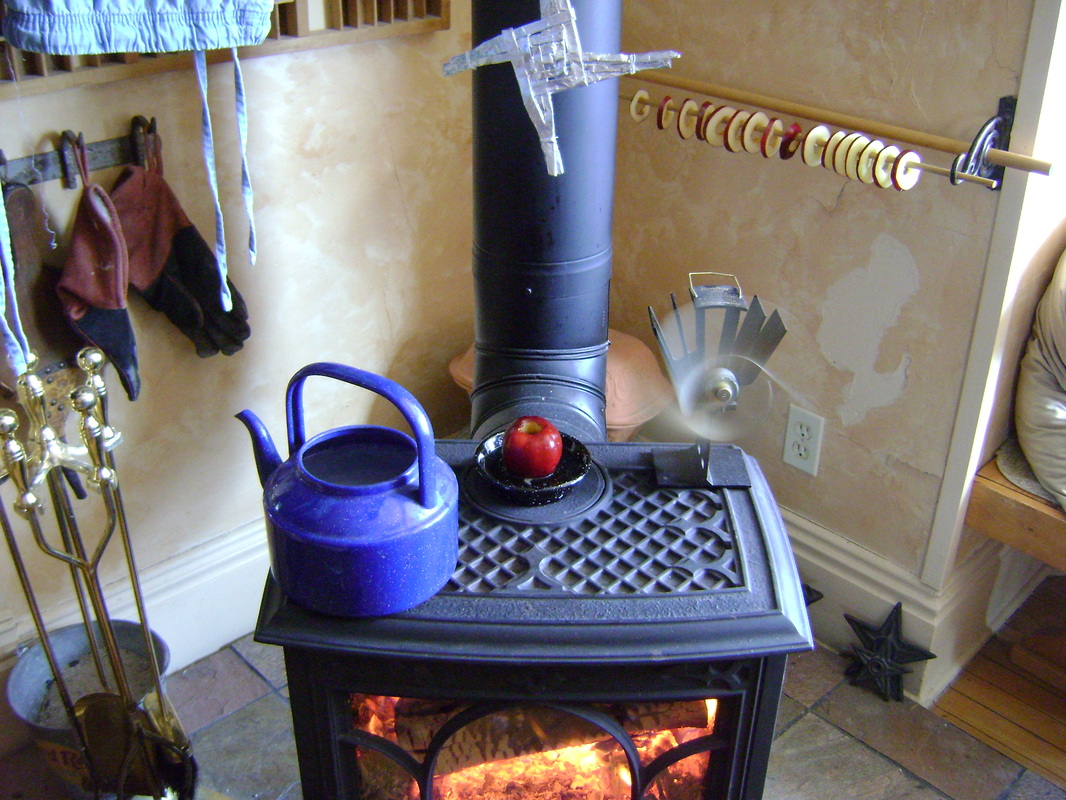
Dehydrating with Our Wood Stove
|
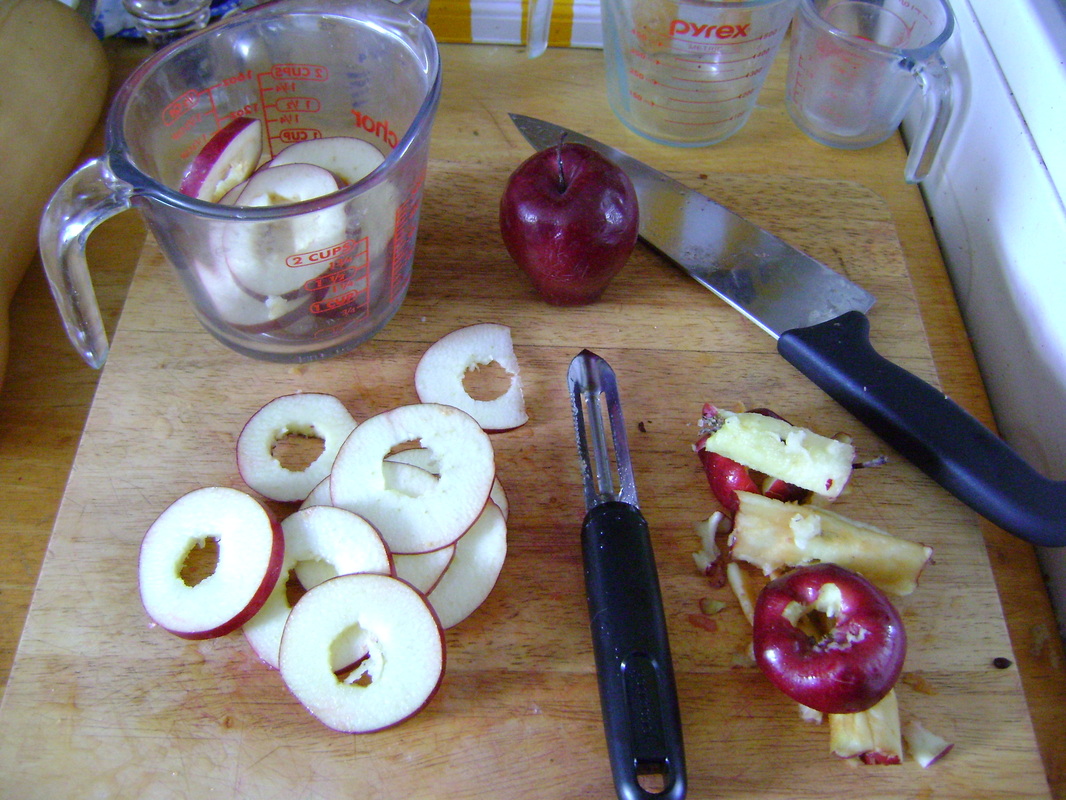
1. We had some apples in the refrigerator that were past their prime, so I decided to experiment with dehydrating a couple of them. I cored two apples (the corer is the tool in the bottom middle of the photo). You could peel the apples, but since the peel is good for you I wanted to see how it tasted dried. I sliced the apples into a variety of thicknesses, all less than 1/4", to see what would dry well. I did not pretreat the rings in any way to discourage browning.
|
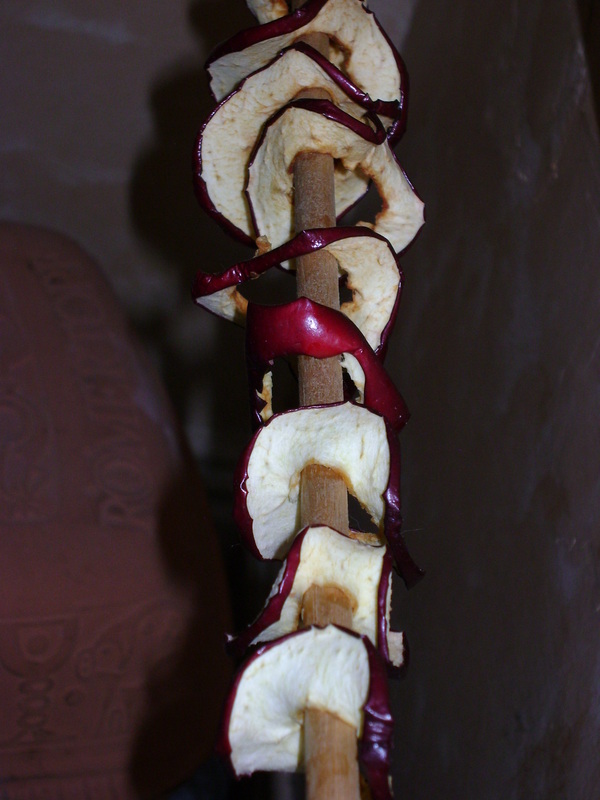
2. I hung the apple slices on the dowel we recently built behind our wood stove for drying socks (see the Laundry section). Note I used a dowel that had not been stained, because it seems like the wet apples could soak up the probably toxic stain. If you don't have a dowel to use, it's traditional to just hang the apple rings on a string above the stove.
|
|
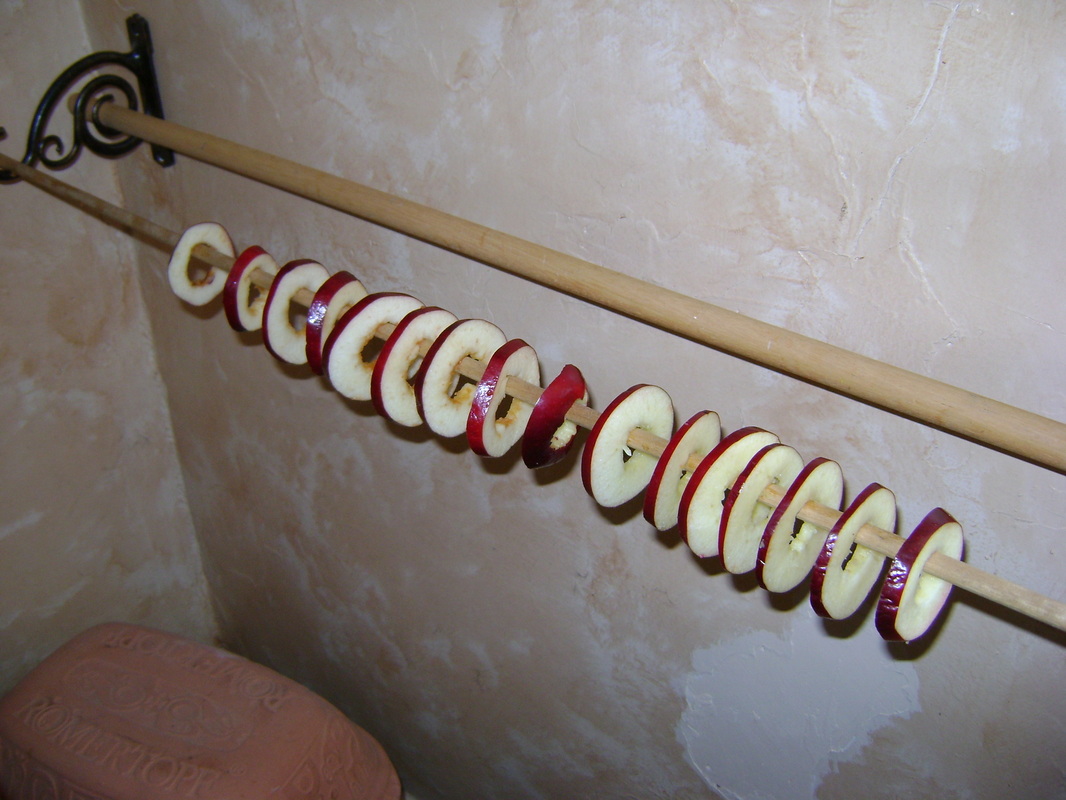
3. Apple slices when first hung up.
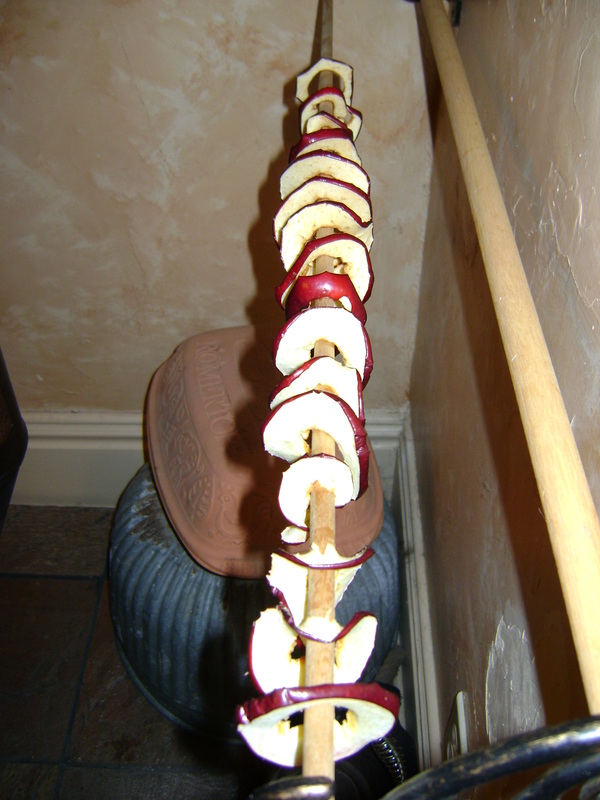
5. All the slices are beginning to dry. I left them hanging for about a day and a half (note that our small stove wasn't burning during the night when we weren't awake to add fuel).
7. I stored the rings in a mason jar, and kept an eye on it for a day or two to see if any condensation collected in the jar, which would be a sure indication that they were not sufficiently dried. I don't know how long they would have lasted in storage because they were such a wonderful snack (including the peel) that I ate them all the next day at work.
|
4. The thinnest slices started to dry first- they are curling.
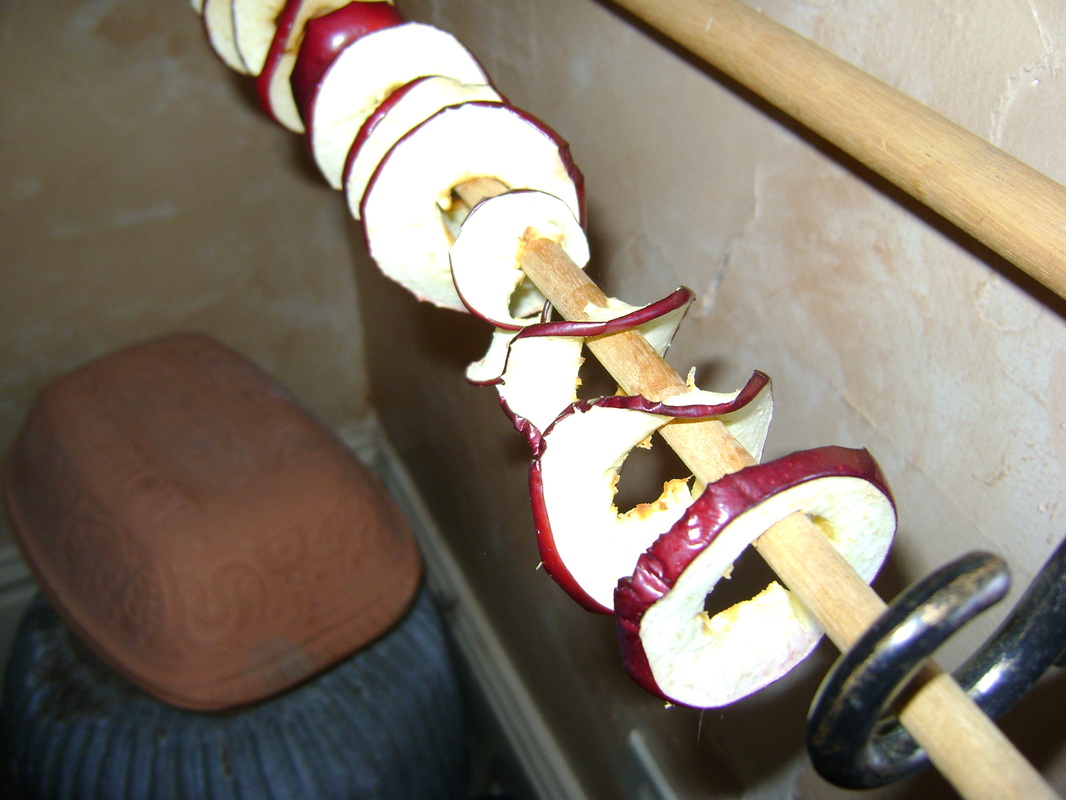
6. Close up of dried apple rings. They do not get crispy. There shouldn't be any moisture inside when you rip one open, but they'll still be a bit supple and leathery.
This was a very successful experiment. This method is great for late Fall apples. However, I realized that unlike our ancestors, we aren't normally using our wood stove during the Summer, when most of the food I want to dehydrate is fresh (like peppers and tomatoes), so I use my electric dehydrator during the Summer.
|
Also see our page on harvesting and drying herbs and spices.