TOOLS WE USE WITH OUR WOOD STOVE
Here are the accessories that we use with our wood stove, some of which you might also want or need.
With the exception of the fan, we were lucky enough to obtain them all inexpensively, mostly from garage sales.
With the exception of the fan, we were lucky enough to obtain them all inexpensively, mostly from garage sales.
|
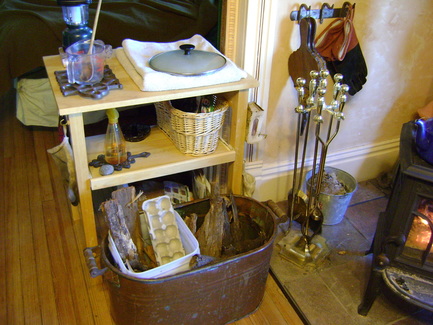
Supply Table: We use this to hold cooking utensils and to store fire building supplies. It is a small computer table we bought at a garage sale and modified for use next to the wood stove (we moved the keyboard tray down farther to make a pull out shelf). The top shelf has trivets on which we can set hot lids while we’re checking food and space for stirring spoons and other equipment. The pull out shelf holds vinegar water for cleaning the glass on the stove, as well as fire starting supplies in the basket. We added hooks to the side to hold oven mitts. On the floor underneath the pull-out shelf we have a box that holds kindling (in addition to the copper tub in front that does the same).
|
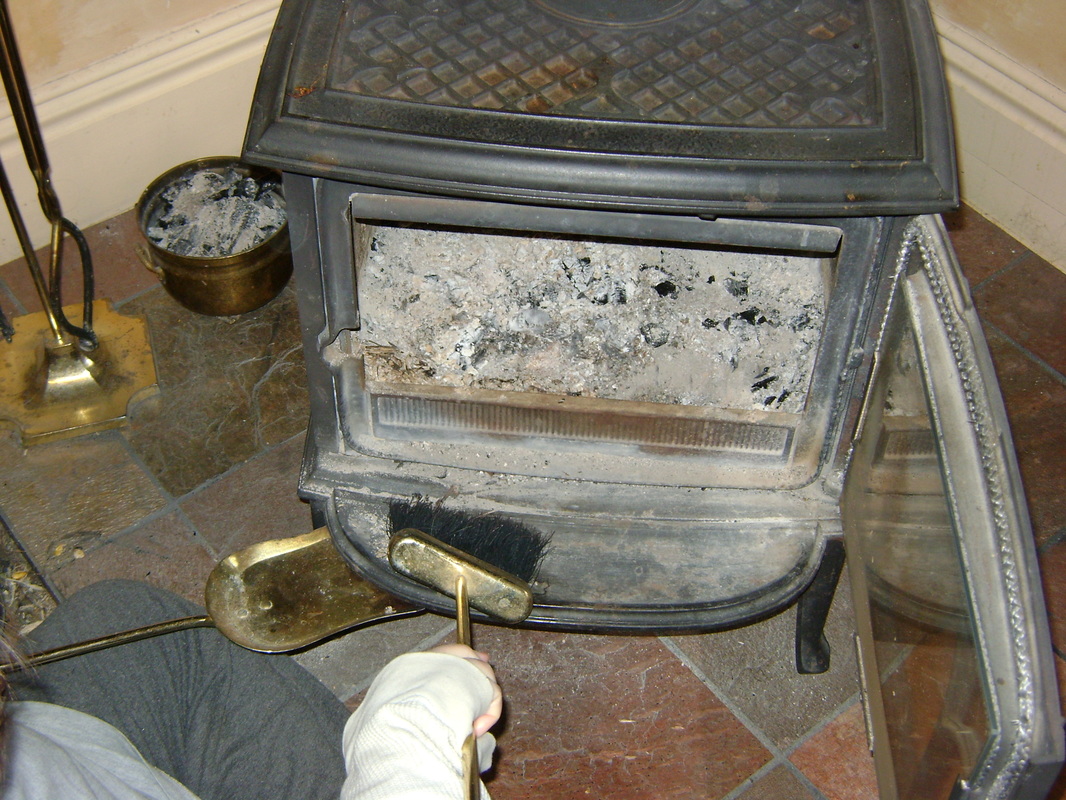
Fireplace Tools: You'll likely want a set of these, which usually includes a broom and shovel (shown above being used to sweep ashes off the front of our stove), as well as a poker and large "tongs," both of which are used to move logs around in the fire. You'll find all kinds of decorative and extremely expensive ones available. Theresa finds them hard to resist, but our faux metal ones work great and we got them at a garage sale for $10. They were still in great shape, except that Bear glued the handles on so they wouldn't keep twisting around. (He just filled the hole with some Elmers glue and screwed the handles back on.) They've served us well for several years.
|
|
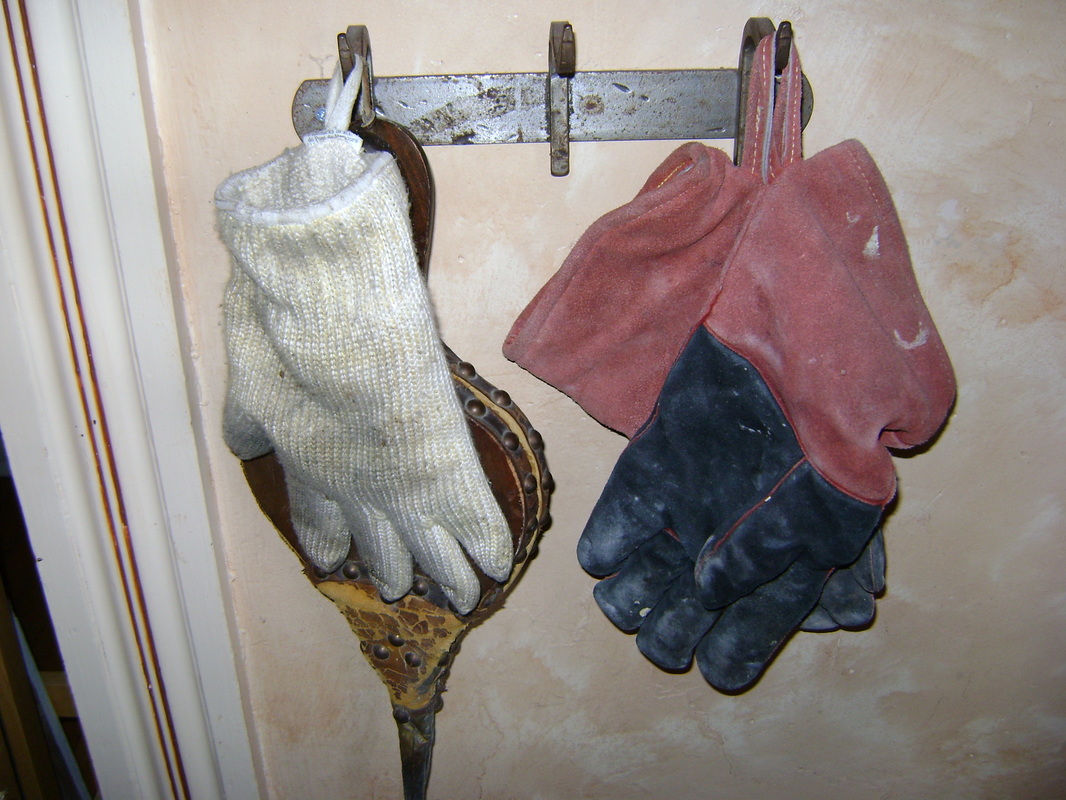
Hand Protection: It's good to use appropriate protection for your hands. We have a pair of leather gloves that came with the wood stove that are meant to protect your hands when putting logs on the fire (the red ones on the right). We also have a pair of ‘Ove’ Gloves that we purchased, which withstand heat to 540 degrees F. The later fit my small hands better, and are less stiff, so I use them more often for cooking. Gloves are needed because sometimes the fire is so hot that you can't put your hand in the fire box even long enough to toss in a log. It's also easy to bump your hand against the stove or the door while you're putting in a long, which will result in a flesh burn.
|
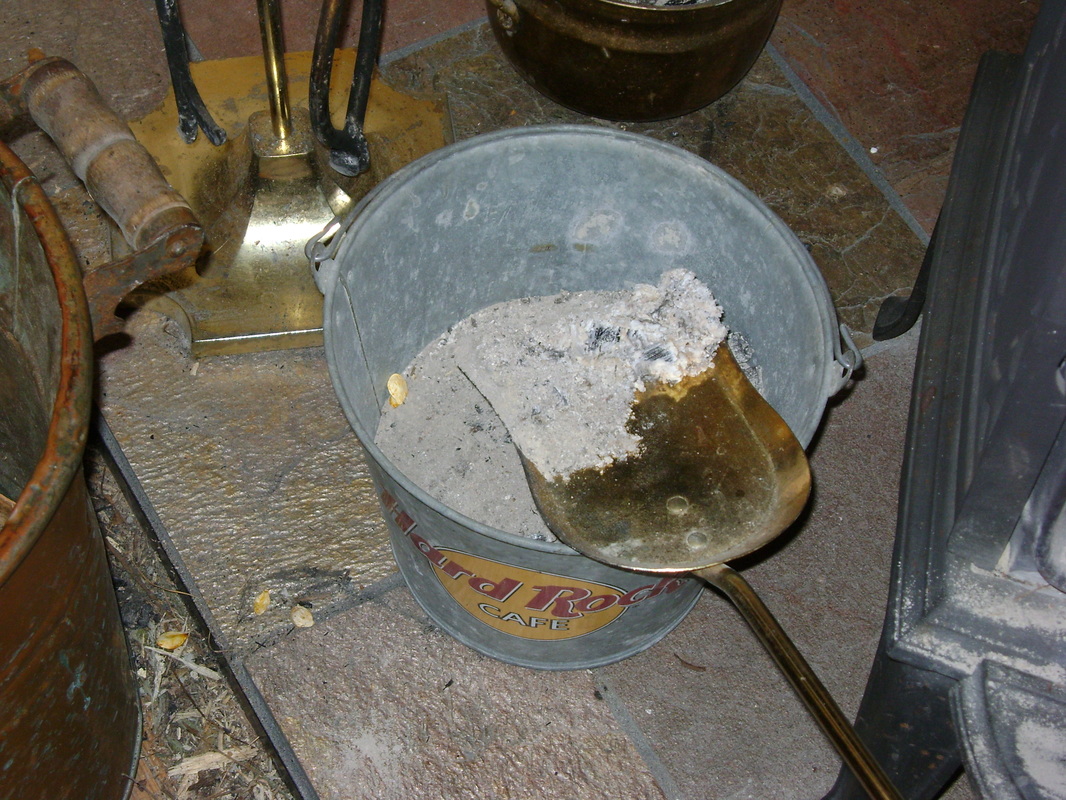
An Ash Can: Our wood stove is so efficient at burning wood that we don't need a big ash can. We use this old metal Hard Rock Cafe bucket that Bear had. Behind it you can see the bottom of a smaller brass bowl, in which we put chunks of charcoal-like wood left over in the fire. These, as well as ashes, are good when added to the soil in the garden. We have a small metal trash can that we keep outside in which we dump the ashes.
|
|
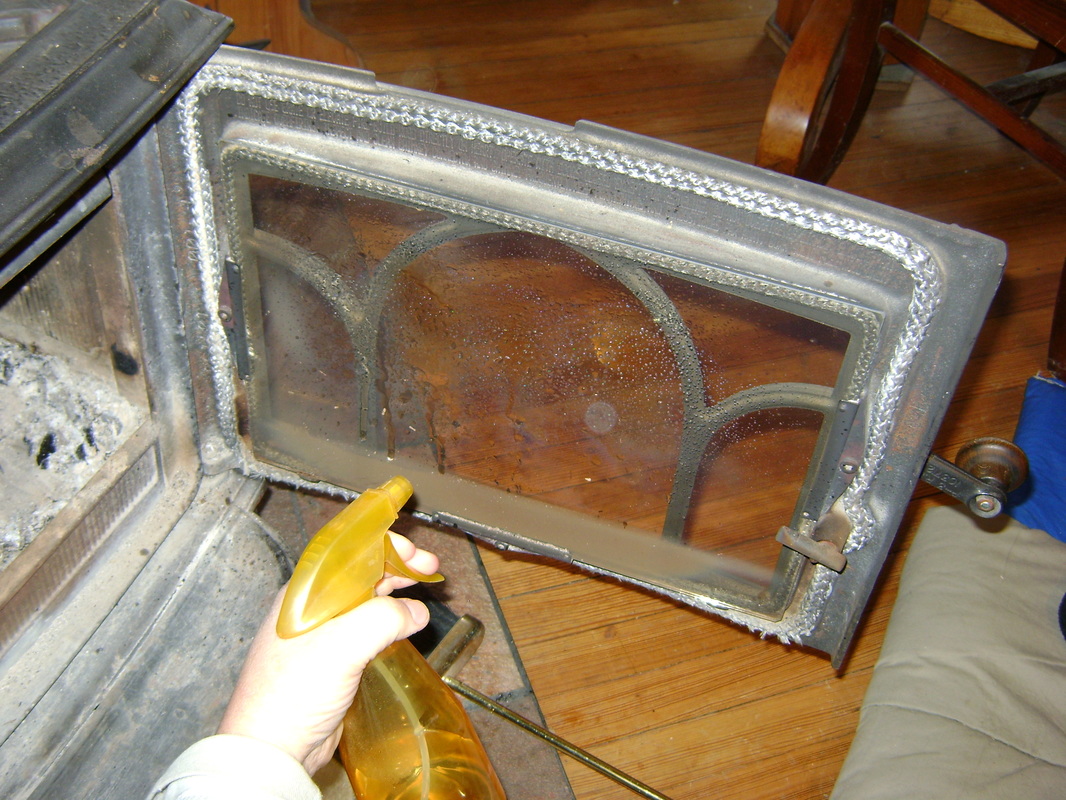
A Spray Bottle with Vinegar Water: You don't need to buy special products to clean the class on your wood stove door, just fill a spray bottle with water and add a couple tablespoons of any type of vinegar. Spray and wipe with a rag or newspaper to clean the glass door.
|
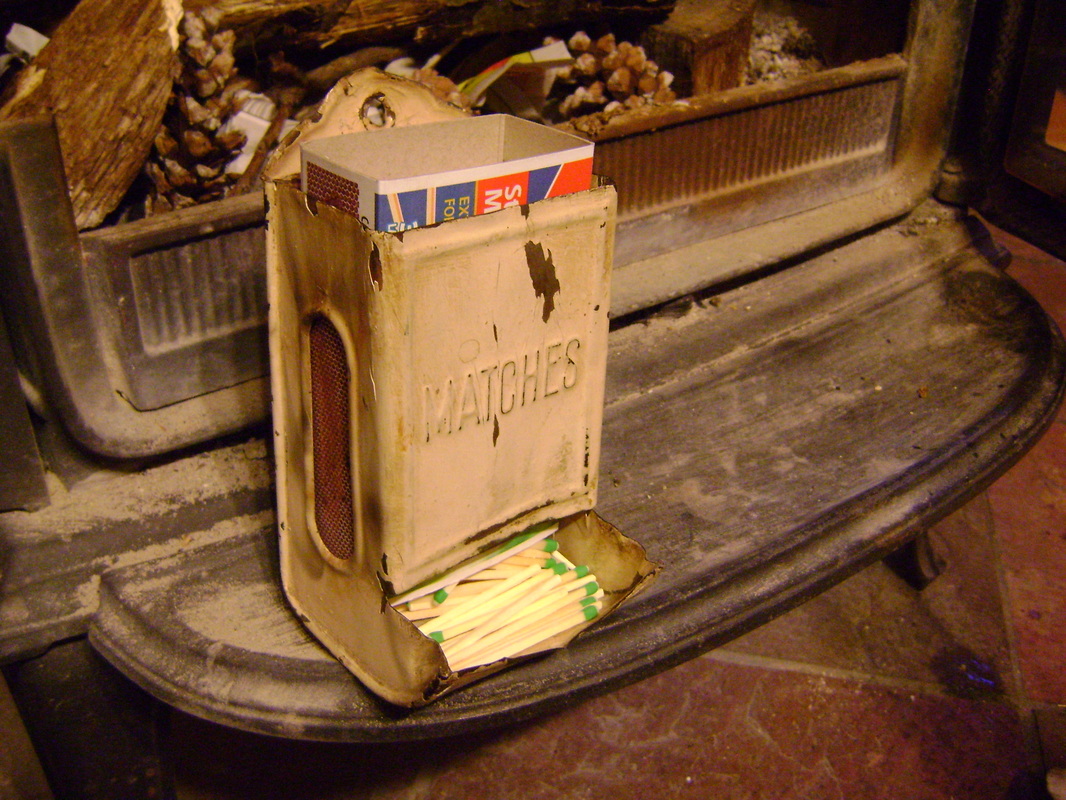
A Match Dispenser: These metal boxes hold a box of matches, which can be left open to let the matches tumble out at the bottom. This one has holes on the side that expose the striking surface of the match box so you can light the match. They also usually have a hole at top that you can hang them from- we hang ours on one side of our supply table. I've also seen dispensers in antique stores without these holes, but I'm not sure how they were used. I thought maybe they were for the green matches that are labeled "Strike Anywhere," but I find these matches really hard to light. You can usually strike a match on any nearby abrasive surface, such as the side of your stove, but it does leave a black smudge. We have also been learning to light a fire without matches, with a flint (see How to Start a Fire).
|
|
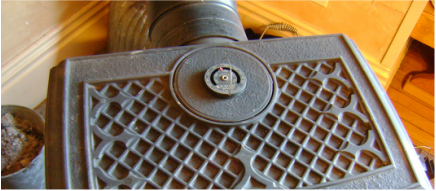
A Thermometer: You might want to be able to monitor the temperature of your stove, because you want it to burn at at least 500 degrees F to burn efficiently. This means that dangerous creosote won't build up in your chimney and you'll be releasing the least amount of pollutants into the air. We got a free thermometer with our wood stove. It's shown in the middle of the circular area on the top of our stove above. It's magnetic, so you can attach it to any part of your stove, but realize that different parts will heat to different temperatures. You'll want to keep it on the hottest part of your stove to see if you're burning hot enough.
|
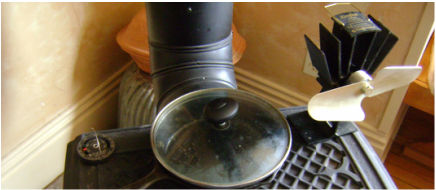
A Fan: Heat rises, so a lot of the heat from your wood stove ends up at the ceiling where it doesn't do much to warm you. We bought the fan shown at the right on top of our stove above. When the fire gets hot enough, it will start to turn automatically, and will blow some of the hot air into the room, no electricity required. We also like this fan because it lets us tell at a glance how hot the fire is. If the blades are a blur, the stove is hot. If they are turning slowly, we better add some wood. We bought this fan for $100 from Lehman's. It's the "Small Heat Powered Stove Fan."
|
|
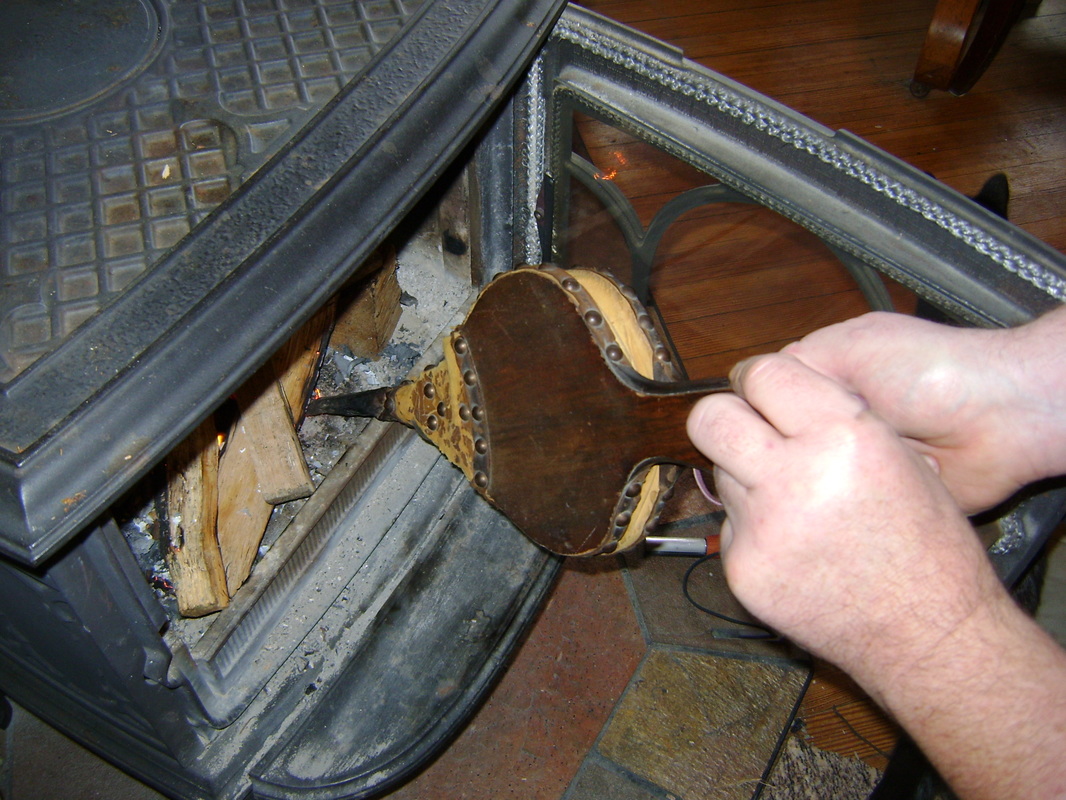
Bellows: These are used by opening and closing them quickly, which pushes air into the fire. This can help get a fire going when you first build it, or bring red coals back into flames if you've let the fire go out. Blowing on the fire can sometimes do the same thing, although the bellows can probably keep going longer than your lungs can. We were lucky and got our bellows cheap at a garage sale.
|
Return to the main Wood Stove page.
