HOW TO START A FIRE
|
From Theresa:
The best way to learn how to start a fire is, of course, to have someone show you, several times. But not all of us are fortunate enough to have a teacher, so we've collected here some basic "how to"s, along with step-by-step photos of both Bear and I making example fires. Bear usually builds fires on weekdays because he gets home hours before I do, then I build them on the weekends because I usually get up first. Since we make fires separately, we've developed very different ways of building them, and have a bit of an unhealthy rivalry about who can do it better. I think I know better because I've watched hundreds of fires being built in my childhood when I was camping, both with my family and with the Girl Scouts. Bear has just picked it up through experience and he's currently ahead, because he has mastered the art of starting a fire without matches. The truth is, there are different ways to start a good fire, and we should both be proud of being good at it. |
Fire Making Theory:
|
Fire needs two things to burn: FUEL AND AIR
FUEL: To build a fire, stack progressively larger kindling and logs:
|
Different types of kindling that ignite easily for starting a fire.
|
|
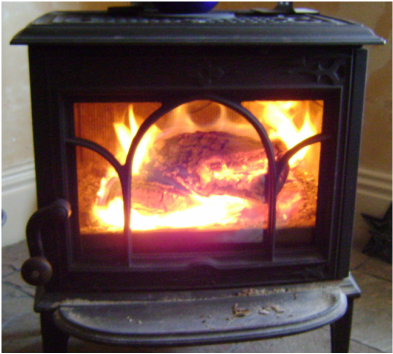
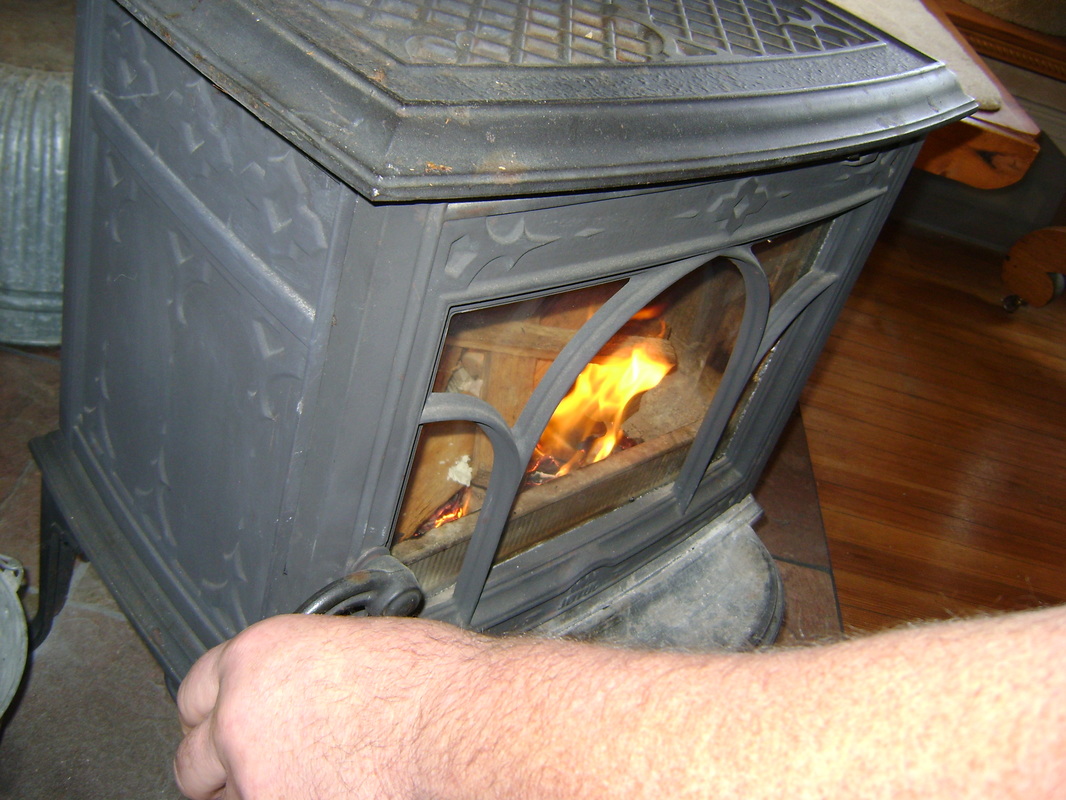
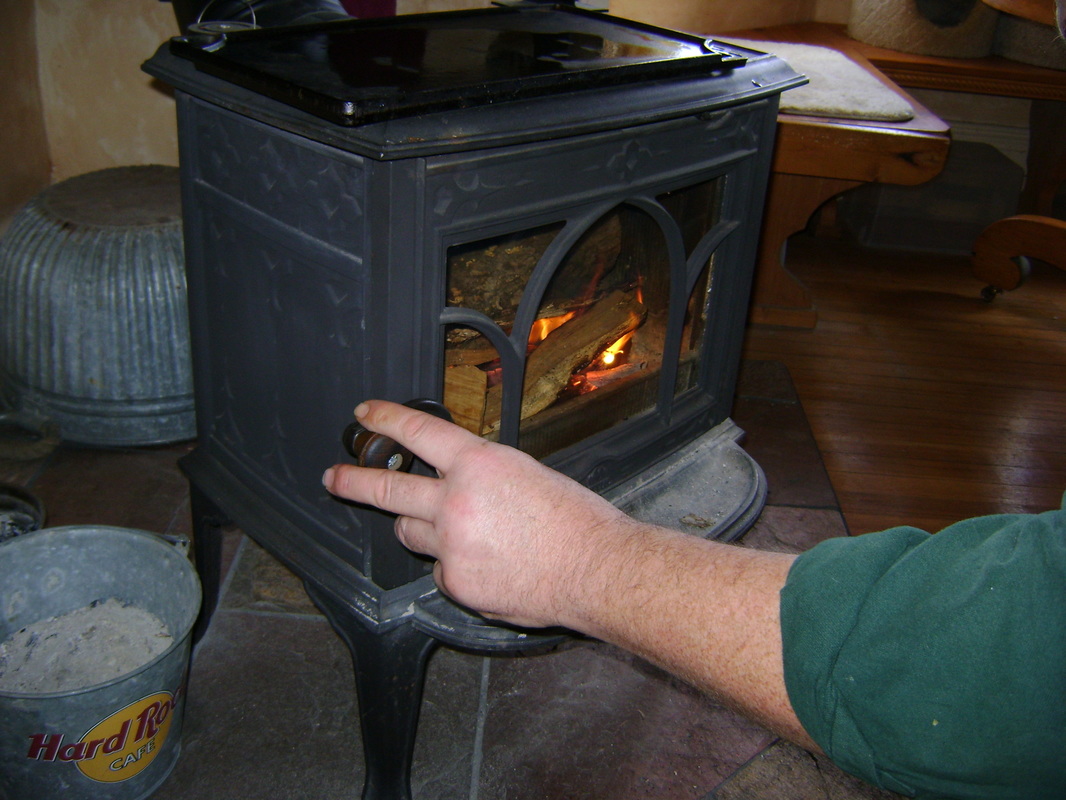
AIR:
|

Our air vent is the dark strip just under the top of the wood stove, shown in the middle of the above photo. There's a small lever sticking out of it which we move to the left when we want less air to get to the fire. The air in our stove moves in through this hole and washes down the glass door.
|
Other Basic Instructions:
|
|
- Read the manual for your wood stove if you have it. It may have instructions on the best way to build a fire in your stove, which can vary depending on how the air flows through your fire box. It should explain where your air vent it. Our vent is on the top of the door, so that air flows down over the glass (helping to keep it clean so that the fire is viewable), so our manual says we could build fires "upside down," with the largest logs on the bottom and the smallest kindling on top. However, this seems so foreign that we have never tried it.
Example 1: Theresa's Fire
|
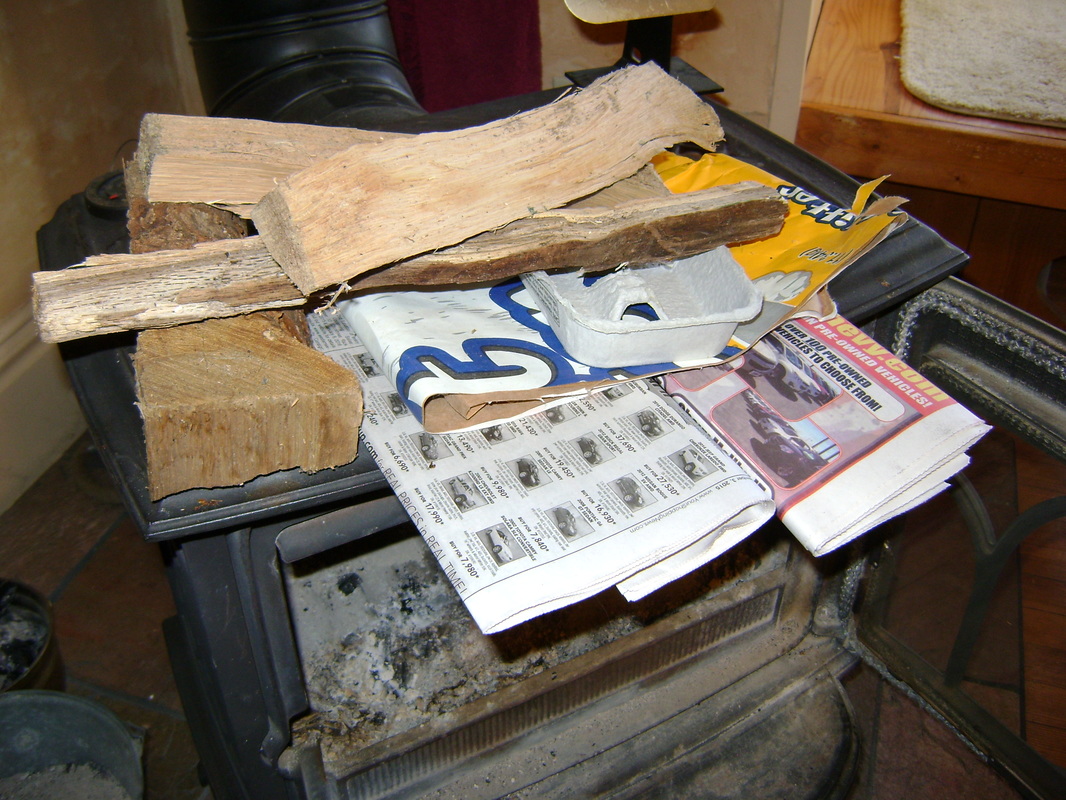
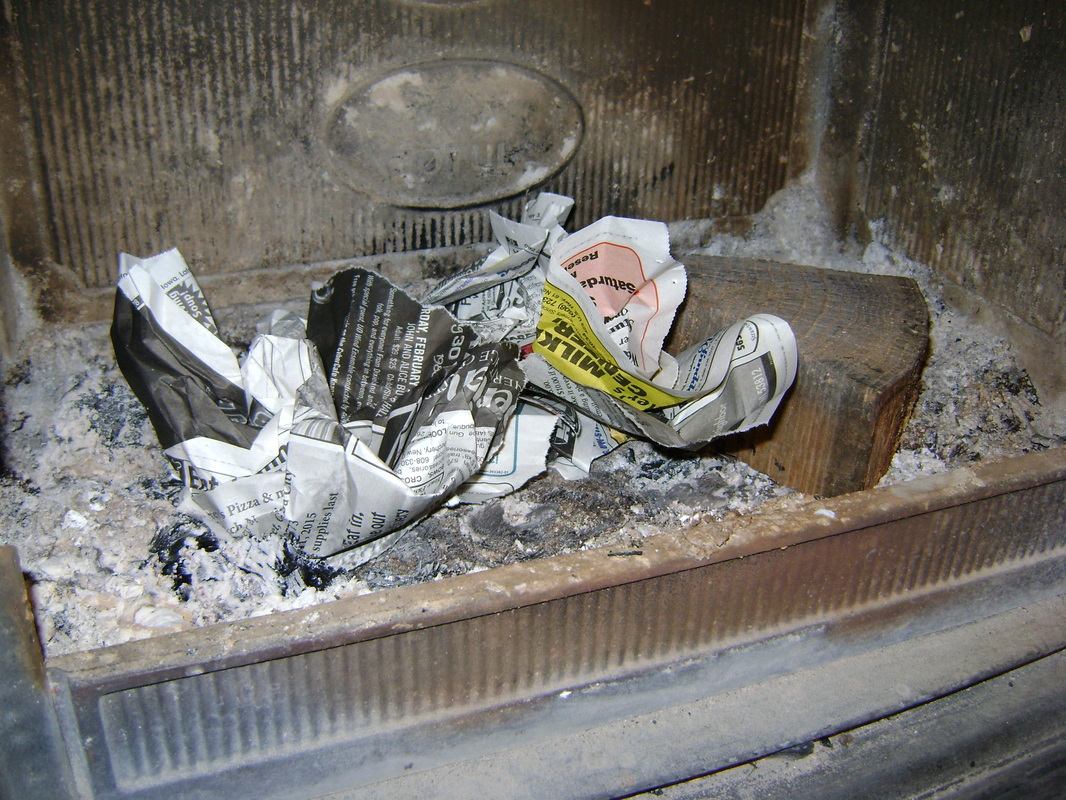
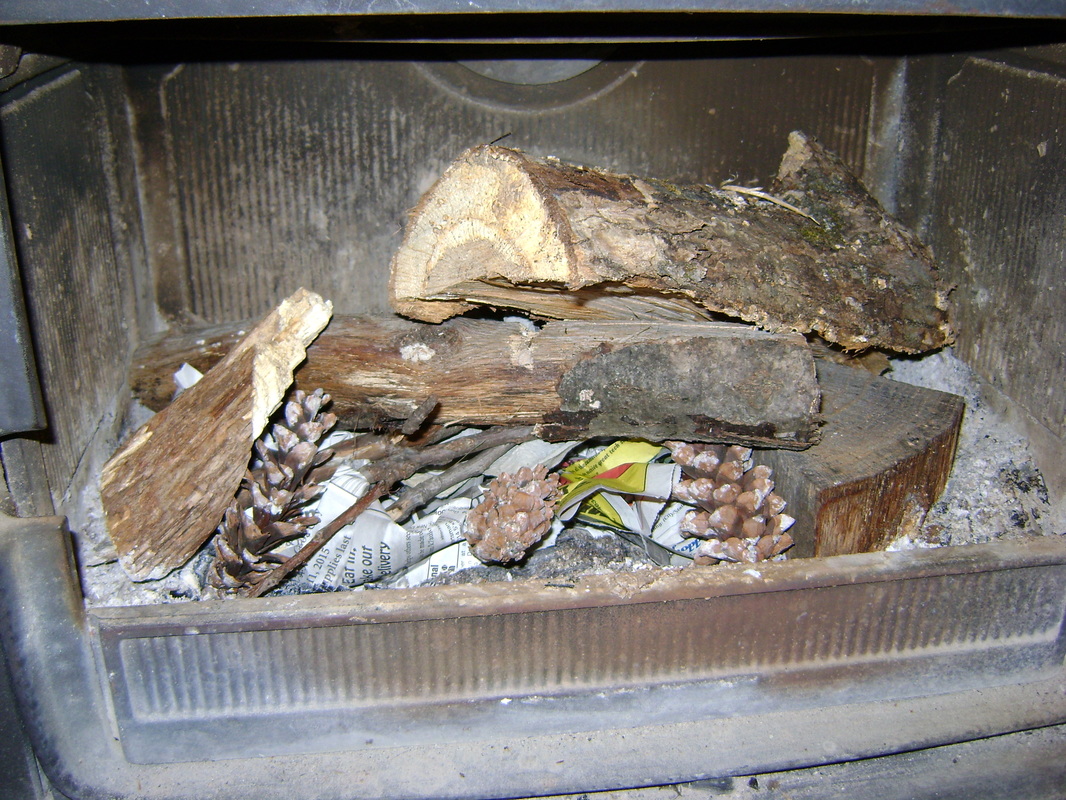
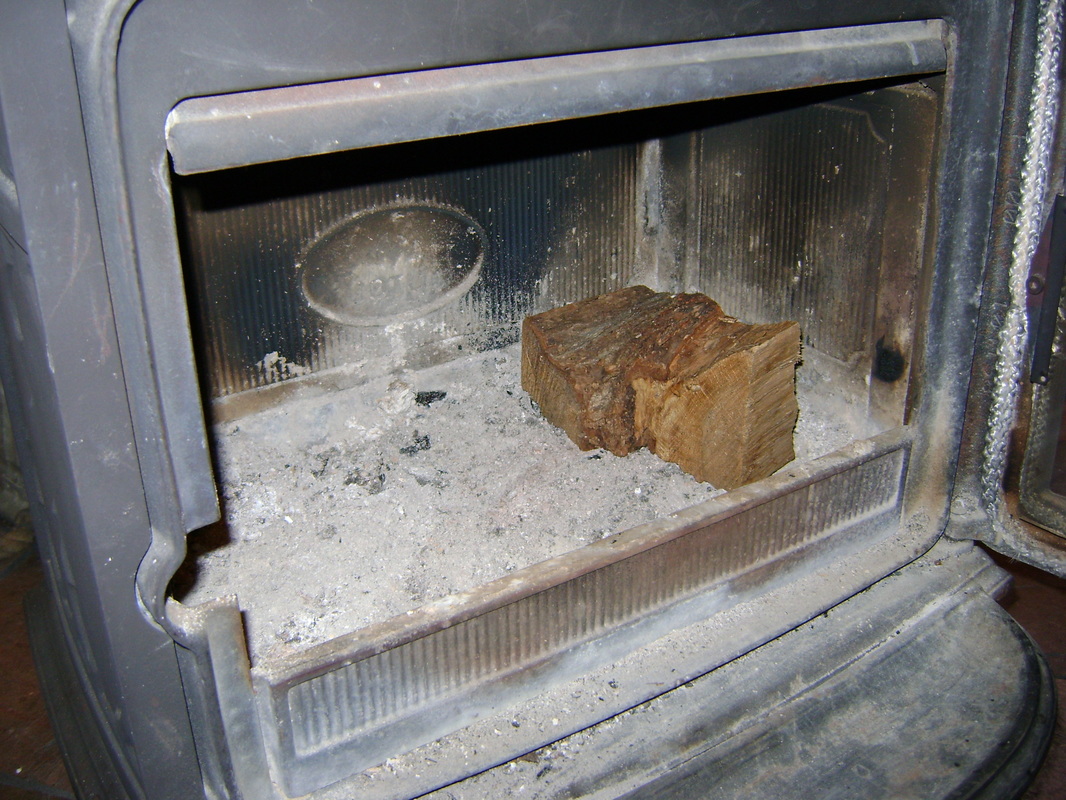
1. We use a chunk of wood at one end of the stove to help prop up the sticks and logs. These chunks are a by-product of having to buy logs that are too long for our wood stove- Bear cuts them to about 15" in length, leaving us with these chunks.
|
2. Add a couple crumpled pages of newspaper, as they will light quickly and burn fast.
|
|
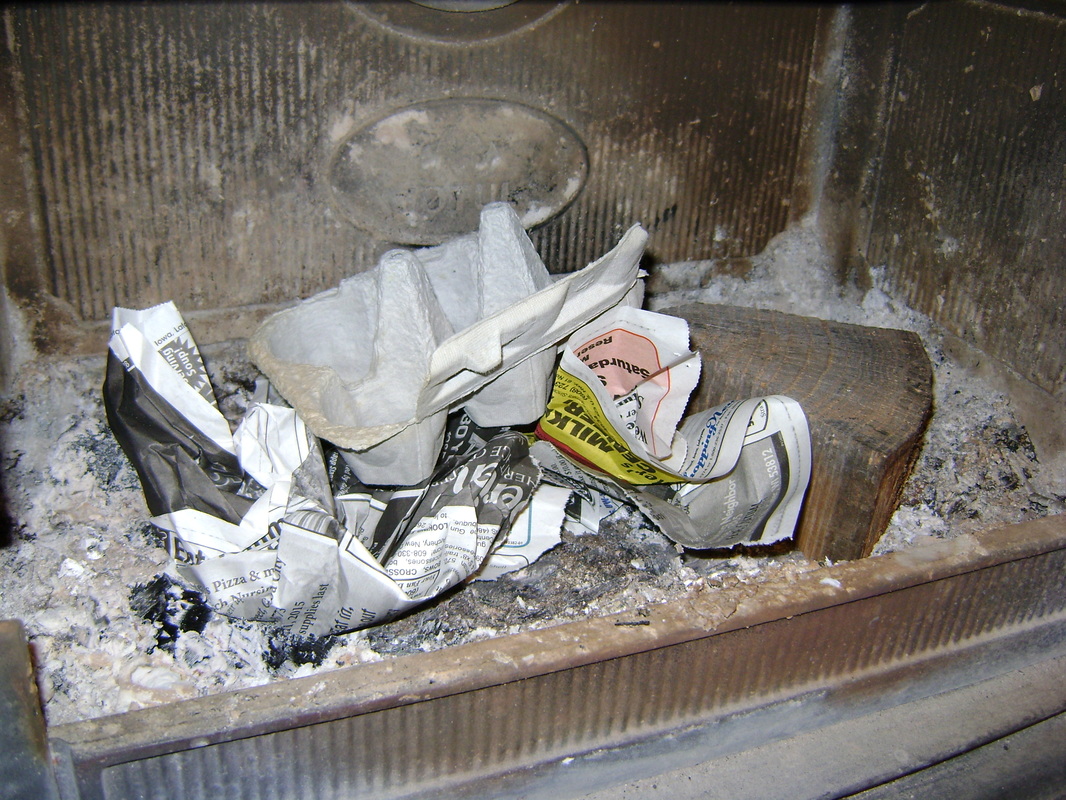
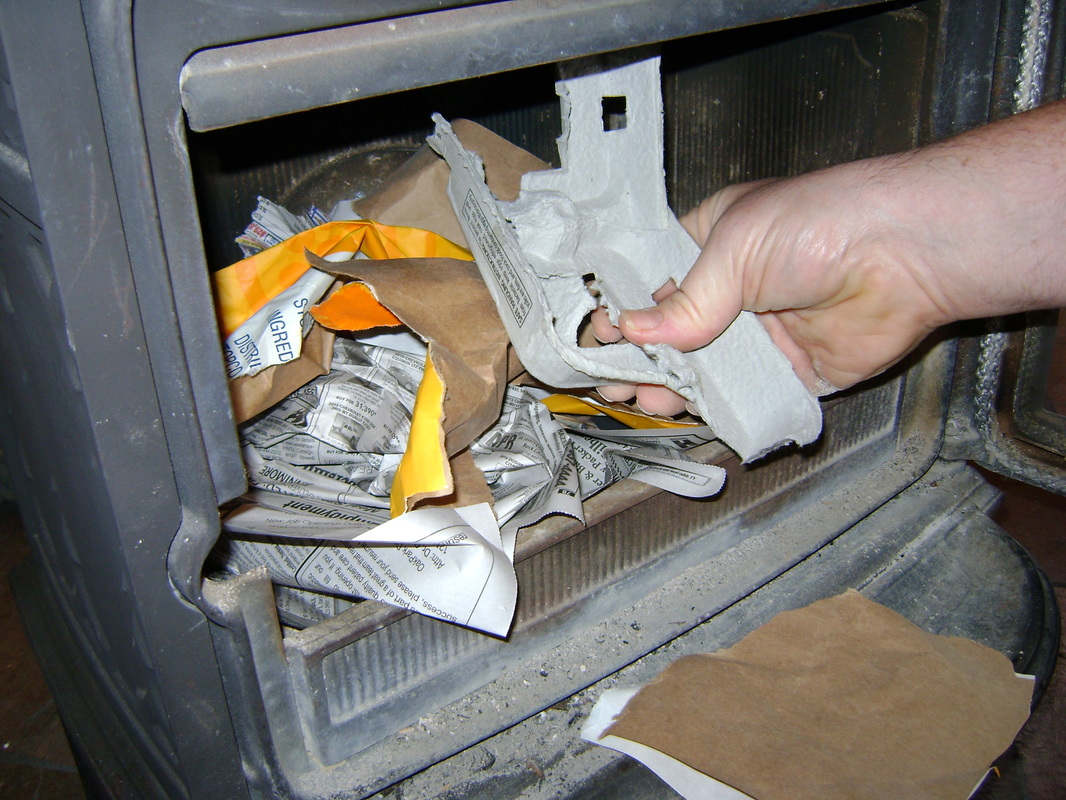
3. Add something a bit larger that won't burn quite as fast. We often use parts of egg cartons or cat liter bags.
|
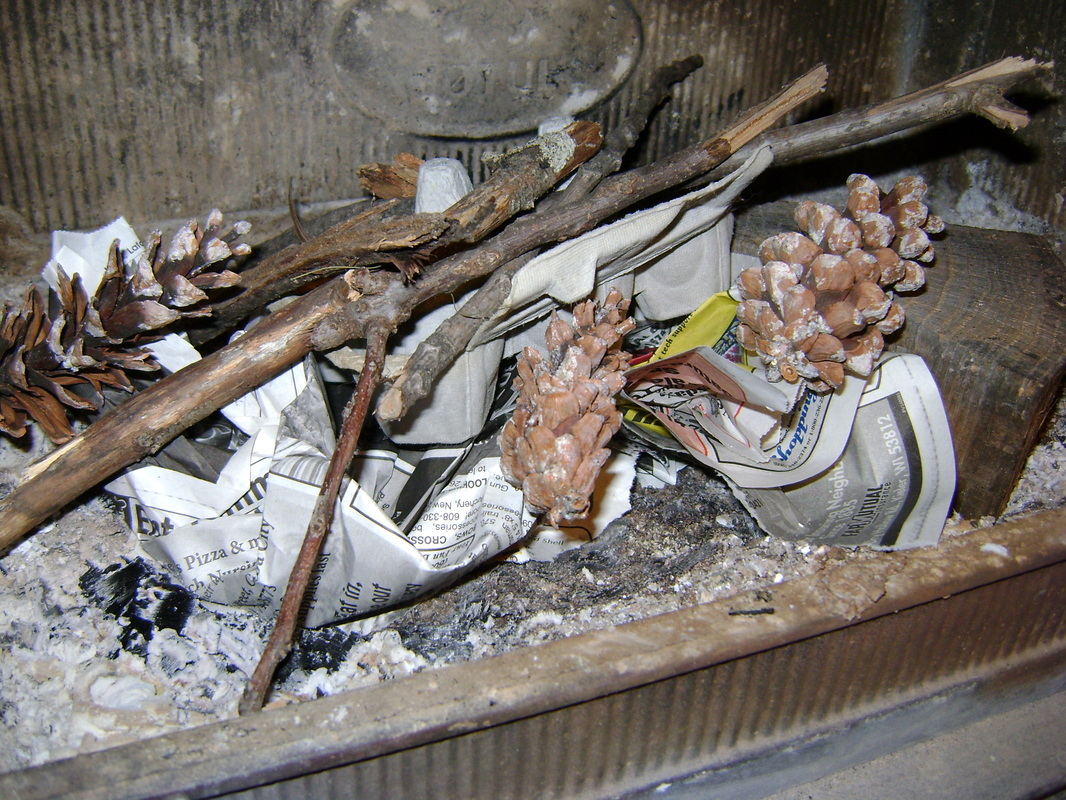
4. Add fuel that will light relatively easy, but stay burning longer. Here I'm using twigs and pine cones.
|
|
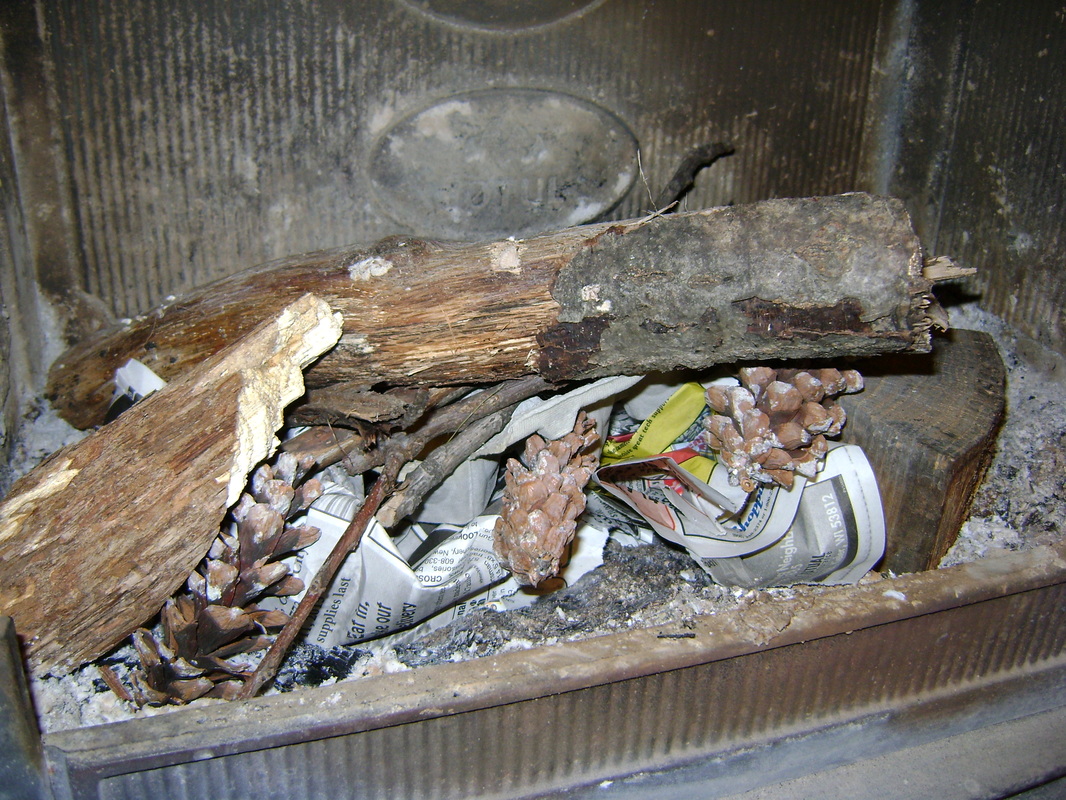
5. Add bigger fuel- some small logs.
|
6. I like to add one larger log on top of the other fuel. As the smaller stuff burns, it will heat up the one large log and help it catch fire eventually.
|
|
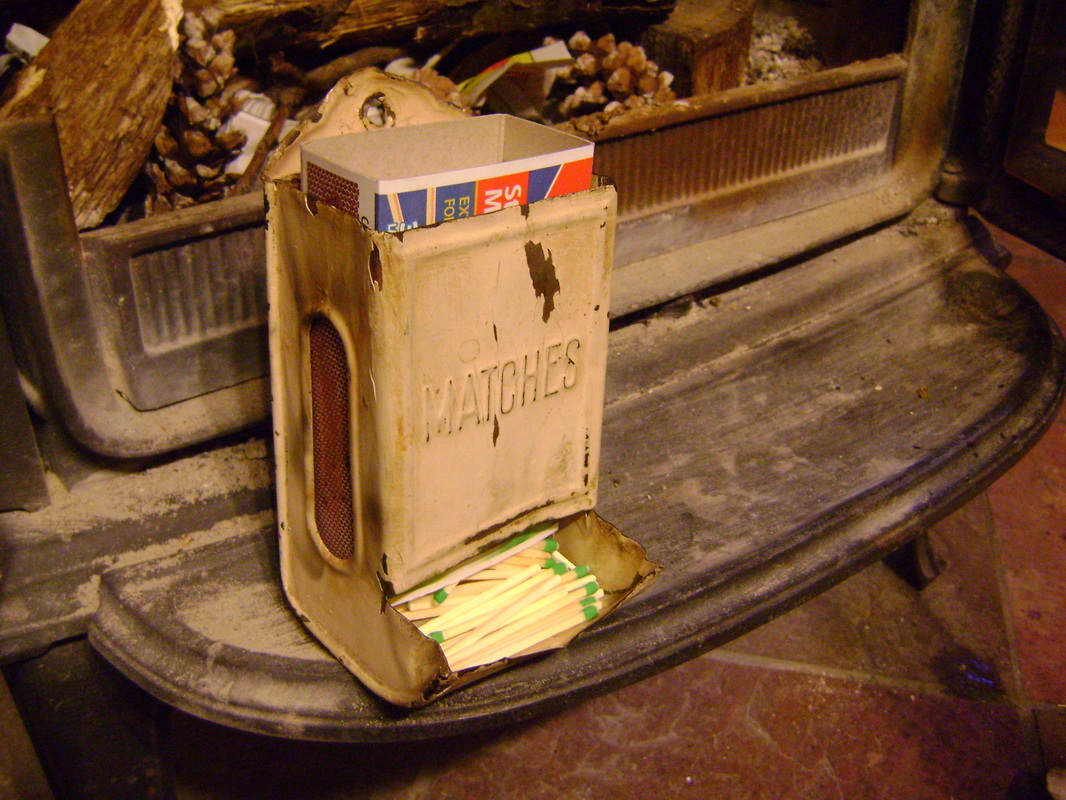
7. Get your matches. This is an old fashioned match holder that belonged to Bear's dad's family farm. You can slide a box of matches from the store down into it so that matches roll out the bottom. The sides of the holder have long holes that expose the side of the match box, which you can use to strike the matches.
|
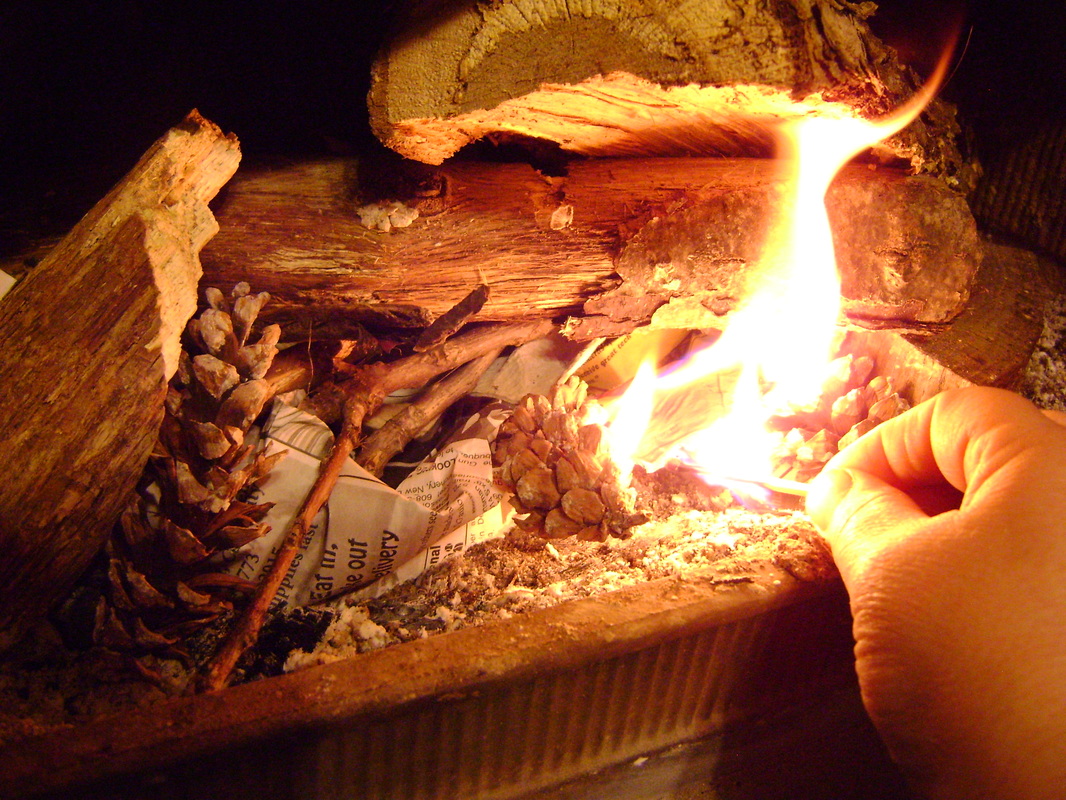
8. Make sure your air vent is open all the way so that air can get to the fire. Then light the newspaper at the bottom of your pile of fuel in as many places as you can before the match burns too close to your fingers.
|
|
9. The fire will spread to the fuel that is most easy to burn. Leaving the door open or cracked will feed more air to the fire so that it keeps going.
|
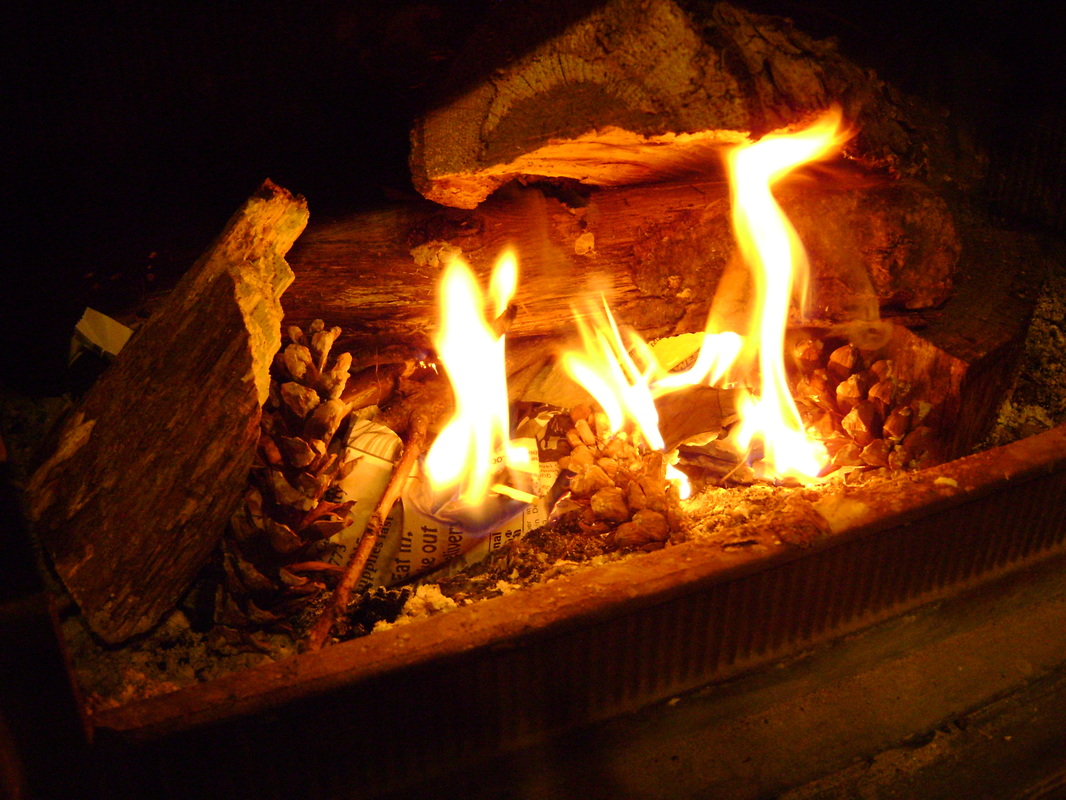
10. If you've built things right, the flame from the smaller fuel will spread to the larger fuel as the fire box heats up...
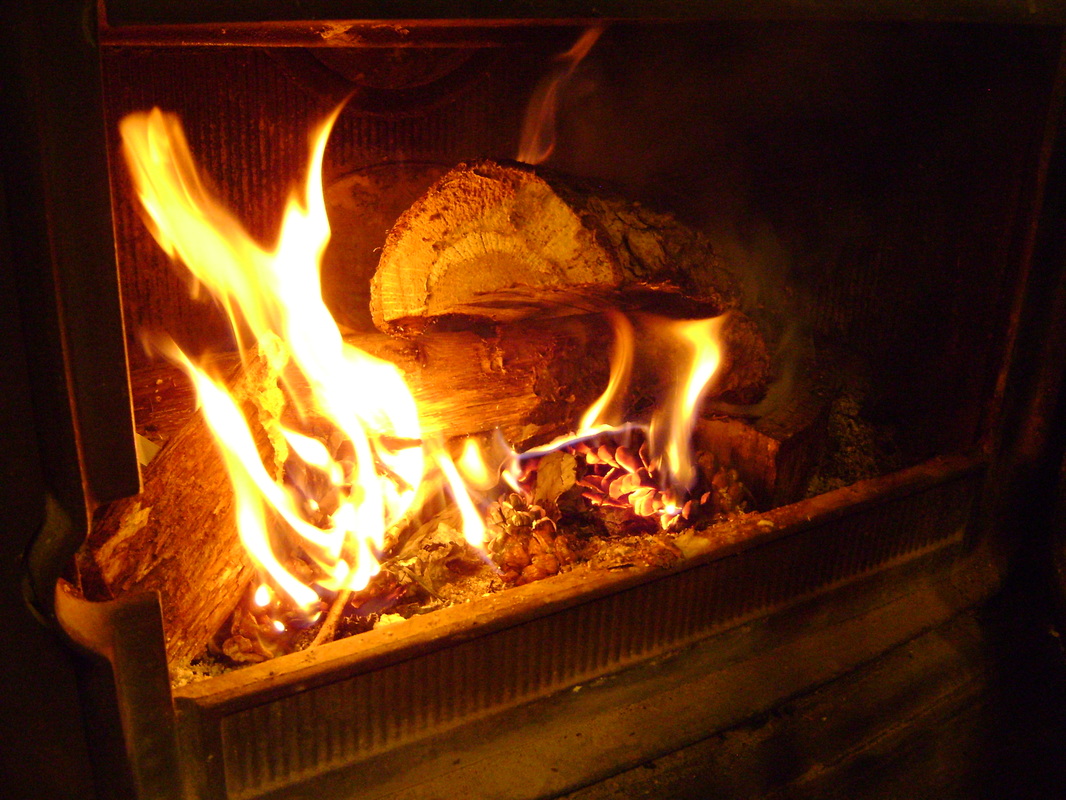
|
|
11. ... until it's burning enough that you can close the door.
|
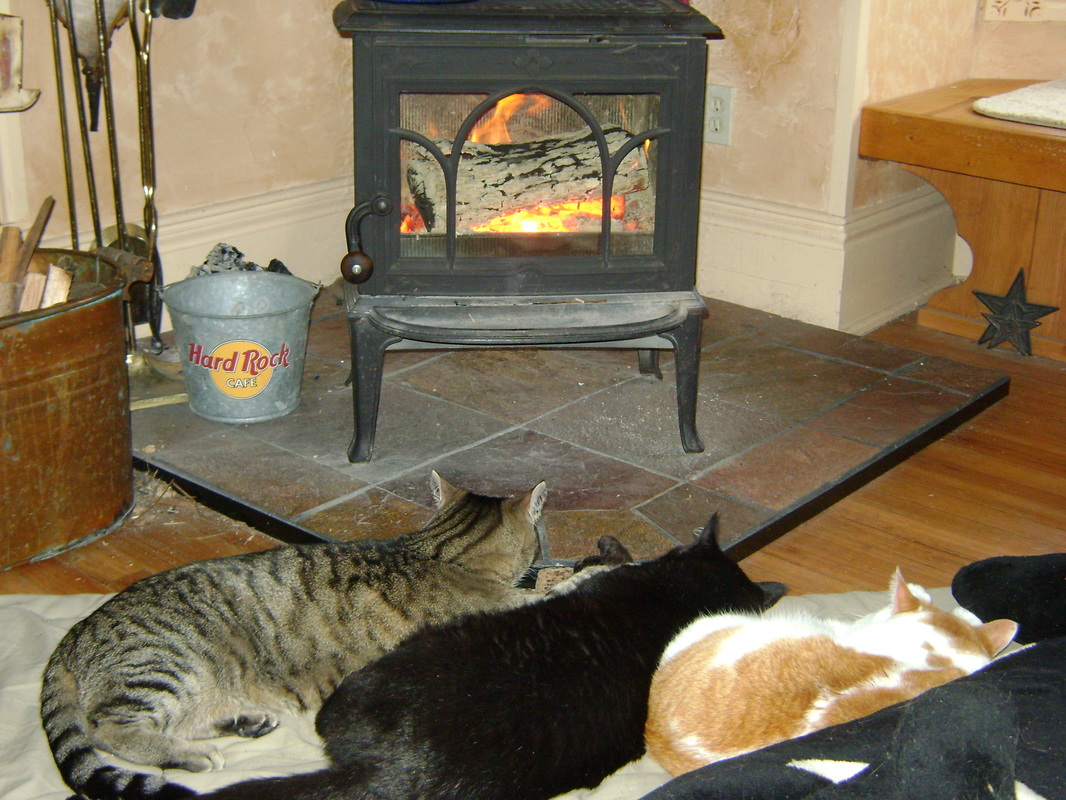
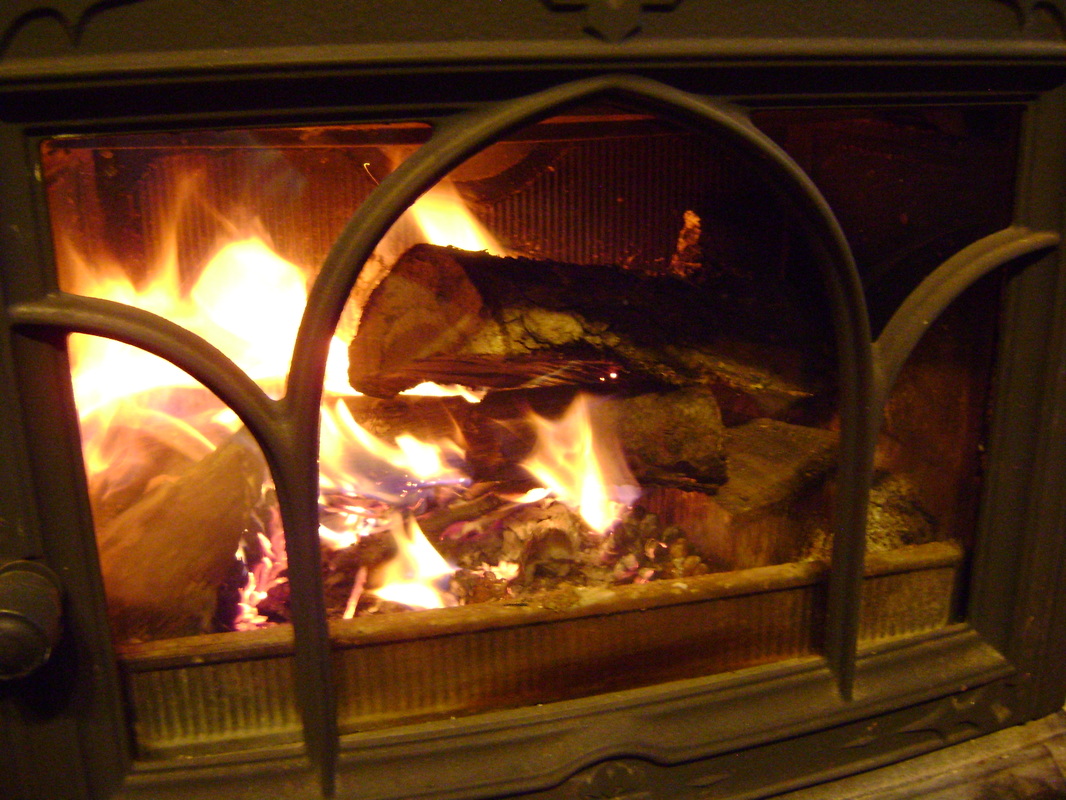
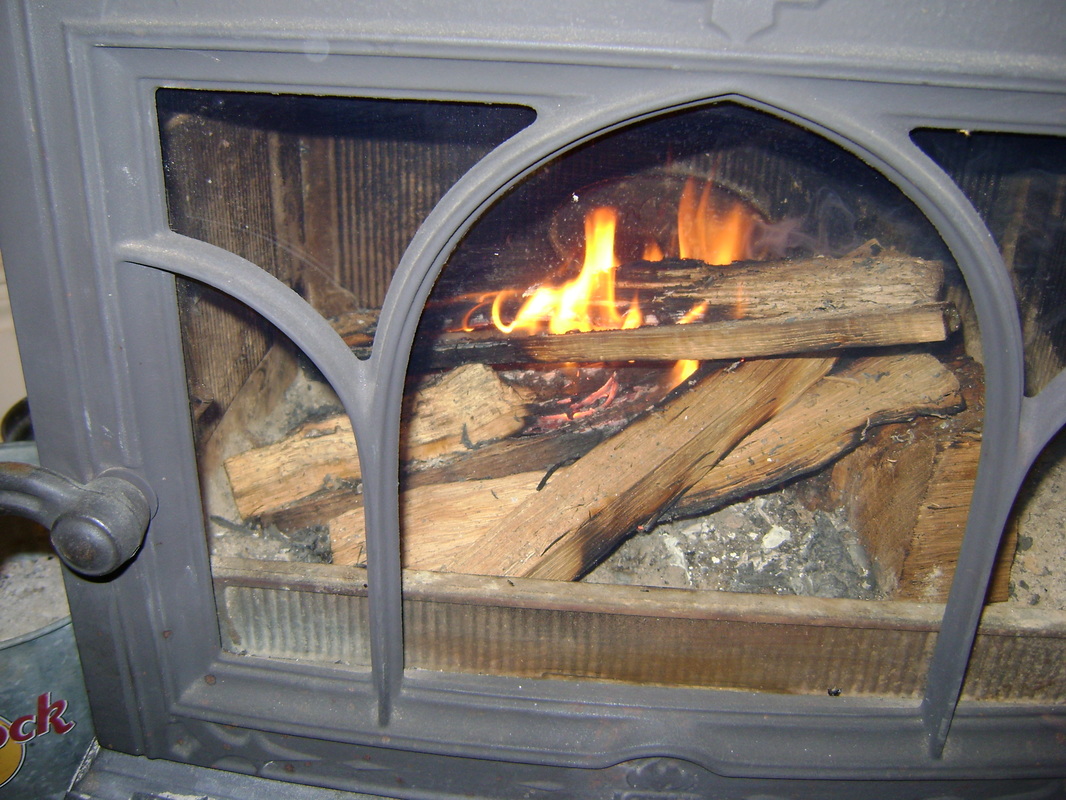
12. Once you have a good fire going, there will be red hot coals, and you'll just need to add large logs periodically. You likely won't need any kindling anymore. A large log will ignite after a few minutes of being placed inside the firebox if the stove is hot enough. Periodically, you may want to turn the logs so that they burn on all sides.

|
Example 2: Bear's Fire
|
1. Collect your burnables (below): a small chunk of wood, some twigs or long thin pieces of wood, and enough newspaper, cat liter bags, egg cartons, etc. to burn long enough to catch the larger pieces.

|
2. Collect your fire starter, usually matches or a lighter. We've bought some "flint and steel" tools to get back to old school fire starting. The one below works best for us, from:
www.easyfirestarting.com 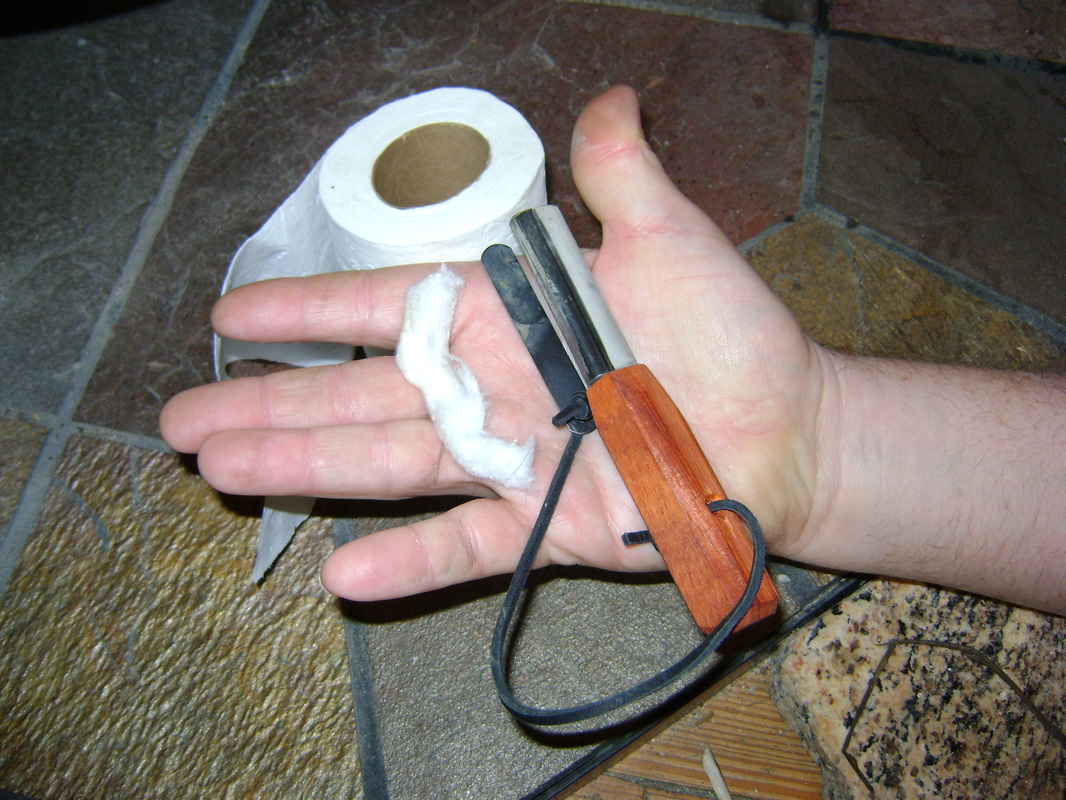
|
|
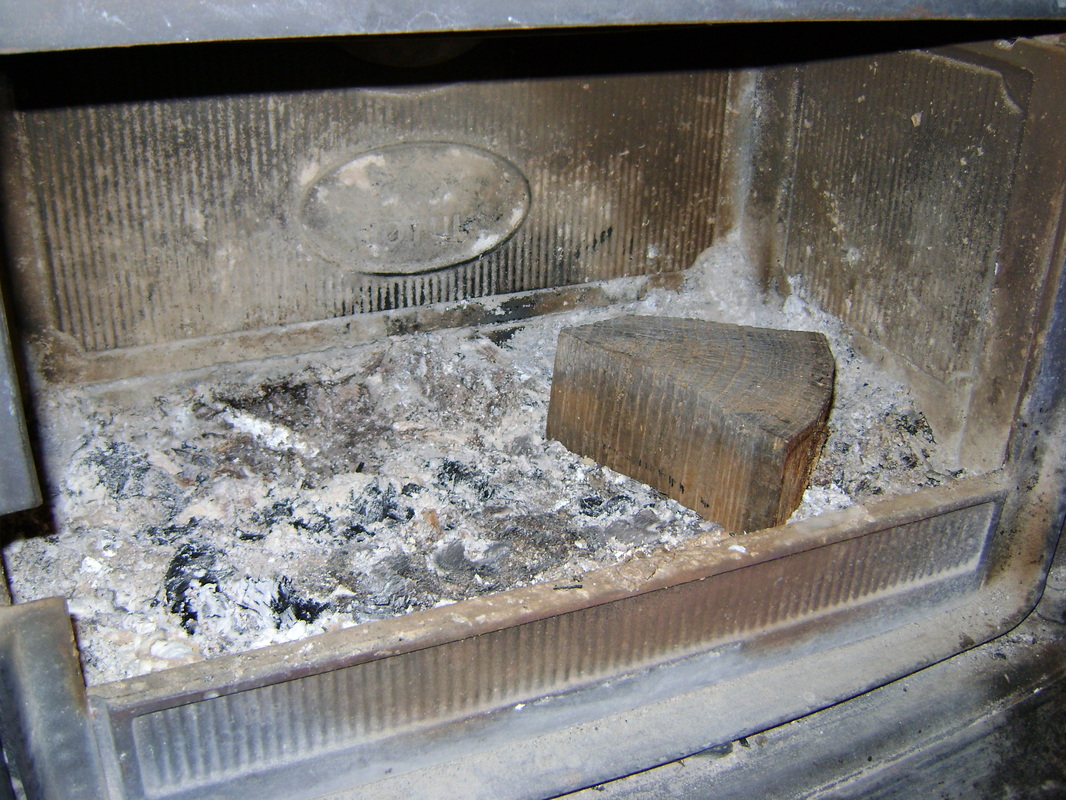
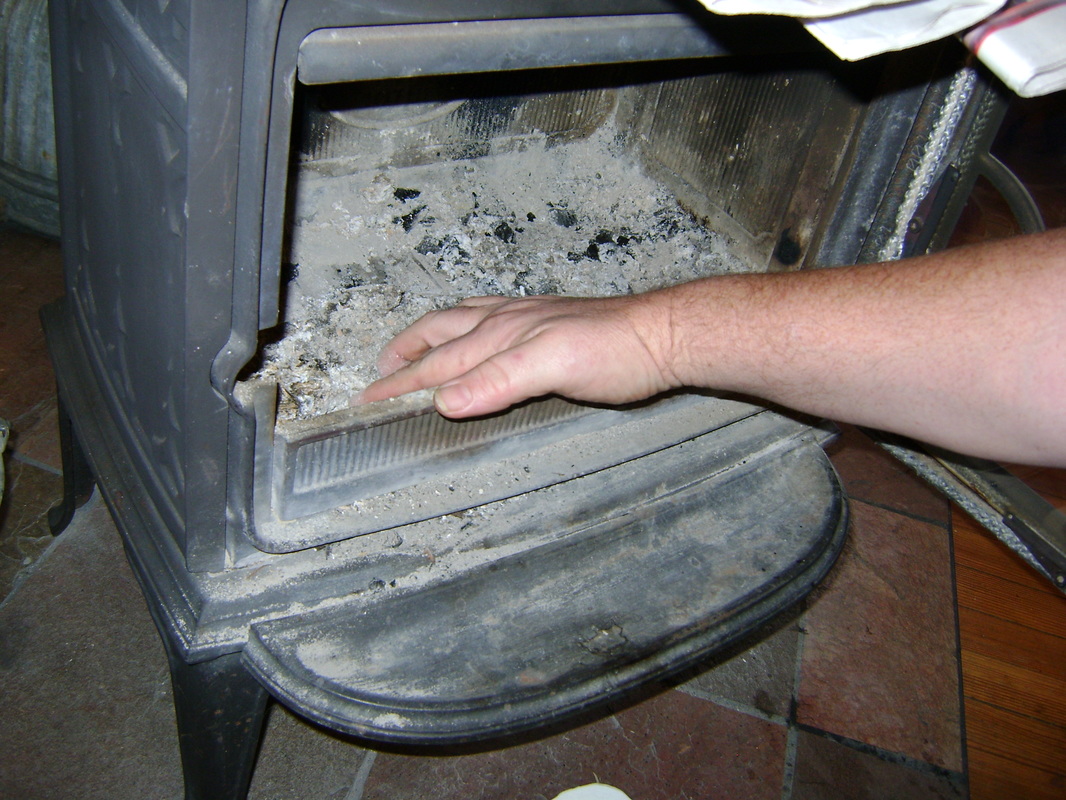
3. Clear the ash from the front fire wall. This helps create a better air flow for starting the fire.
|
4. The wood chunk on the right provides a place on which you can lean bigger pieces of wood without setting them on, and possibly smothering, the coals. It helps get air beneath the fire. Put the chunk in either the far left or right of the fire box.
|
|
5. Put most of your paper products in, but keep some aside in case the fire isn't going well and you need to make more flame. (Helpful hint: Crumple the paper and tear larger paper in half or quarters. Crumpling the paper adds more air space and edges catch better.)
|
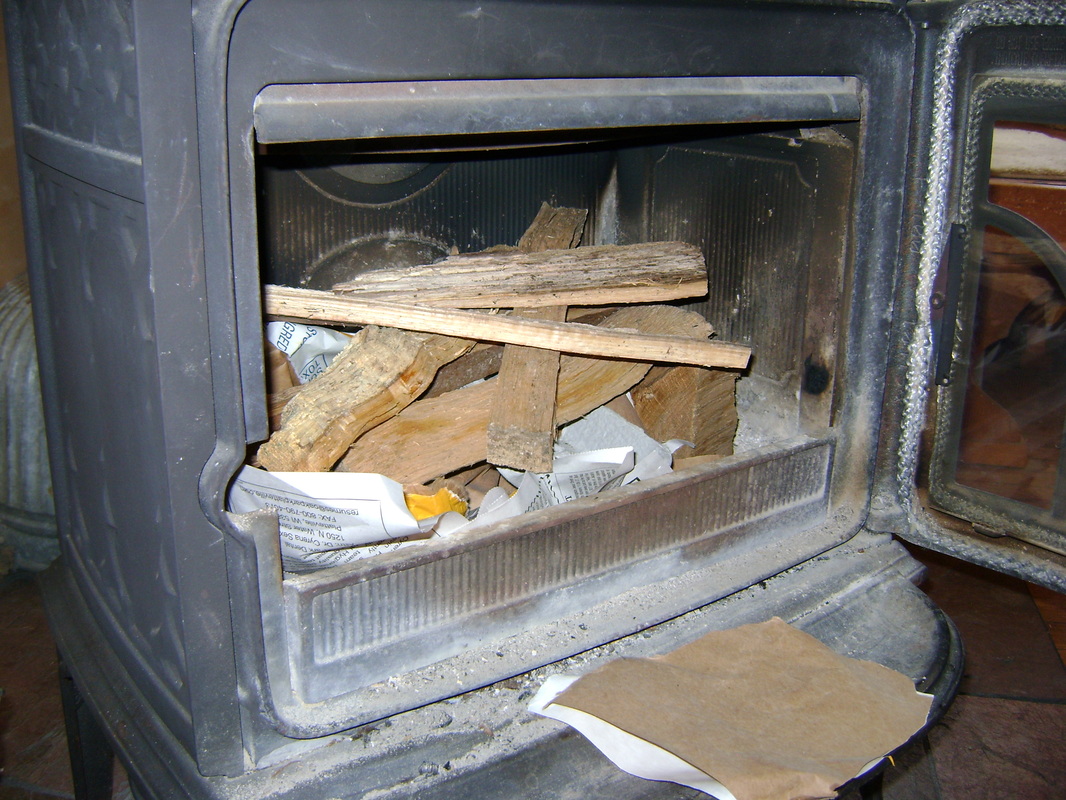
6. Set your sticks in over the paper and on the chunk so there is space for air and flames to come up through the sticks.
|
|
7. I also like to put 1 or 2 pieces of news paper on top. (I heard it helps heat the air more, so that smoke goes up the chimney faster instead of staying in the box.)

|
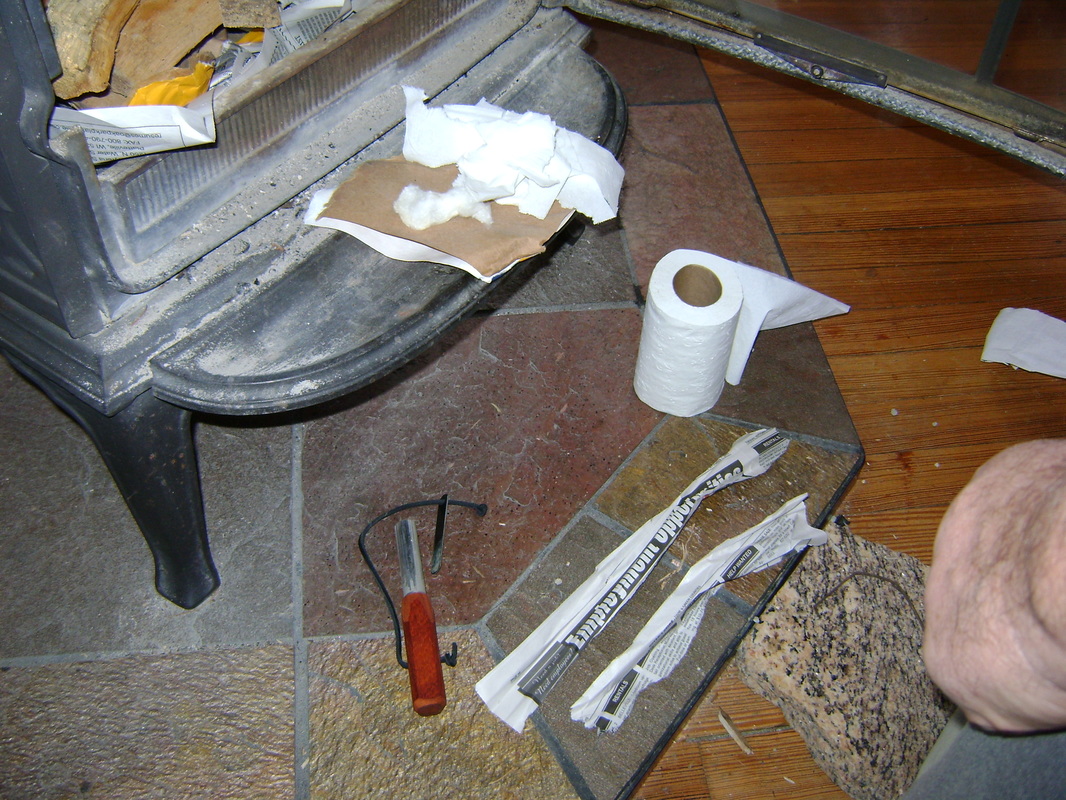
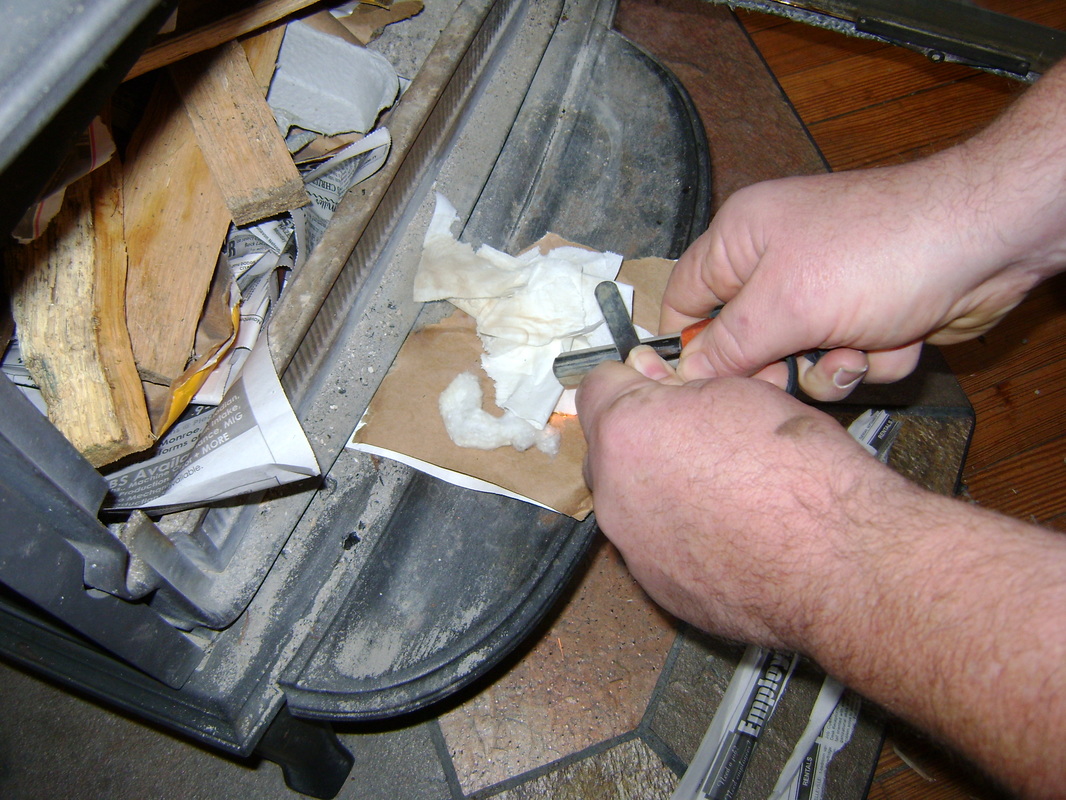
8. Lighting the fire happens fast, so have your tools ready. Below, on the lip in front of the fire box I have a brown piece of heavy paper (which is the inside of a cat liter bag). On top of it is some cotton and some toilet paper, either of which will light with a spark from the fire starter, which is on the hearth. Next to it are two long strips of newspaper, which I will use as "matches" to spread the fire around the fire box. Be sure and clear out unneeded burnables and pay attention to what you are doing.
|
|
9. To use the "flint & steel": Scrape the thin, flat steel at a 45 degree angle away from you, along the flint. Below is a close up. Push with medium pressure to create sparks. (The harder you push the bigger the sparks but the faster you use up your flint. I have noticed my flint is getting kinda flat already, so I am letting up on the pressure unless the cotton doesn't catch.)
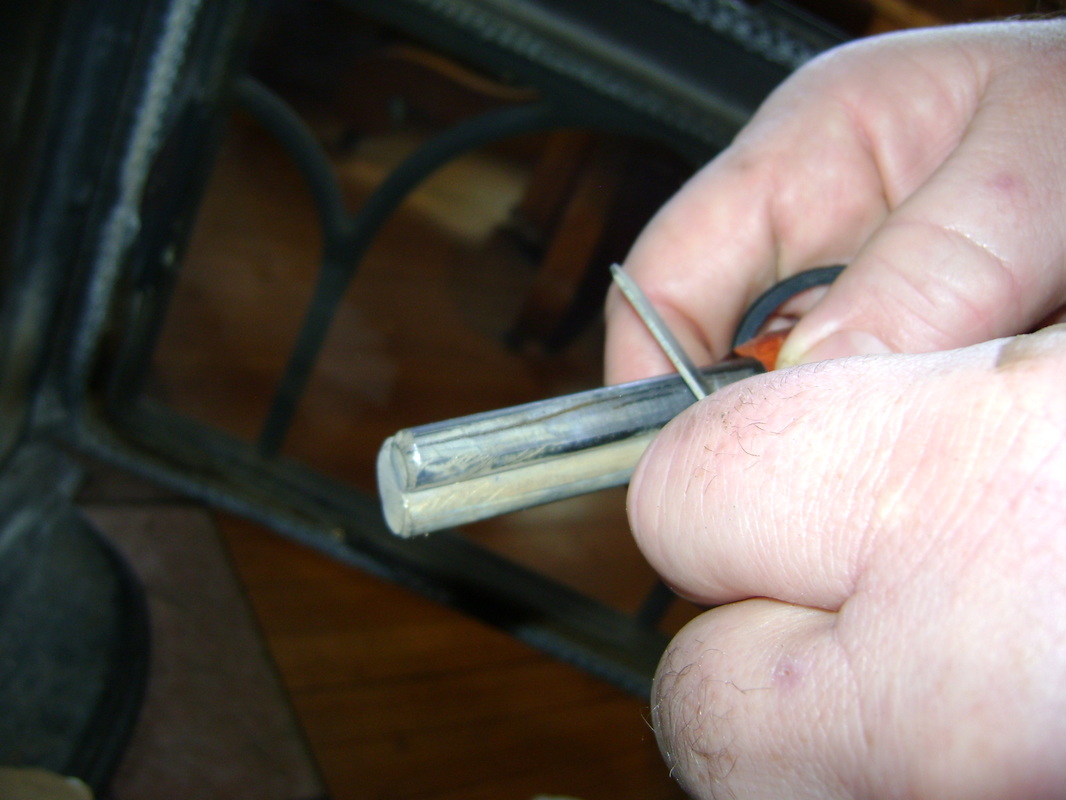
|
10. Put the tip of the flint on the paper, then make sparks. Cotton balls catch the easiest, but two or three squares of torn up toilet paper also does well (edges catch easier than flat parts).
|
|
11. WE GOT FIRE!
Light one of your paper "matches" from the fire you just created and use it light the fire in the wood stove. 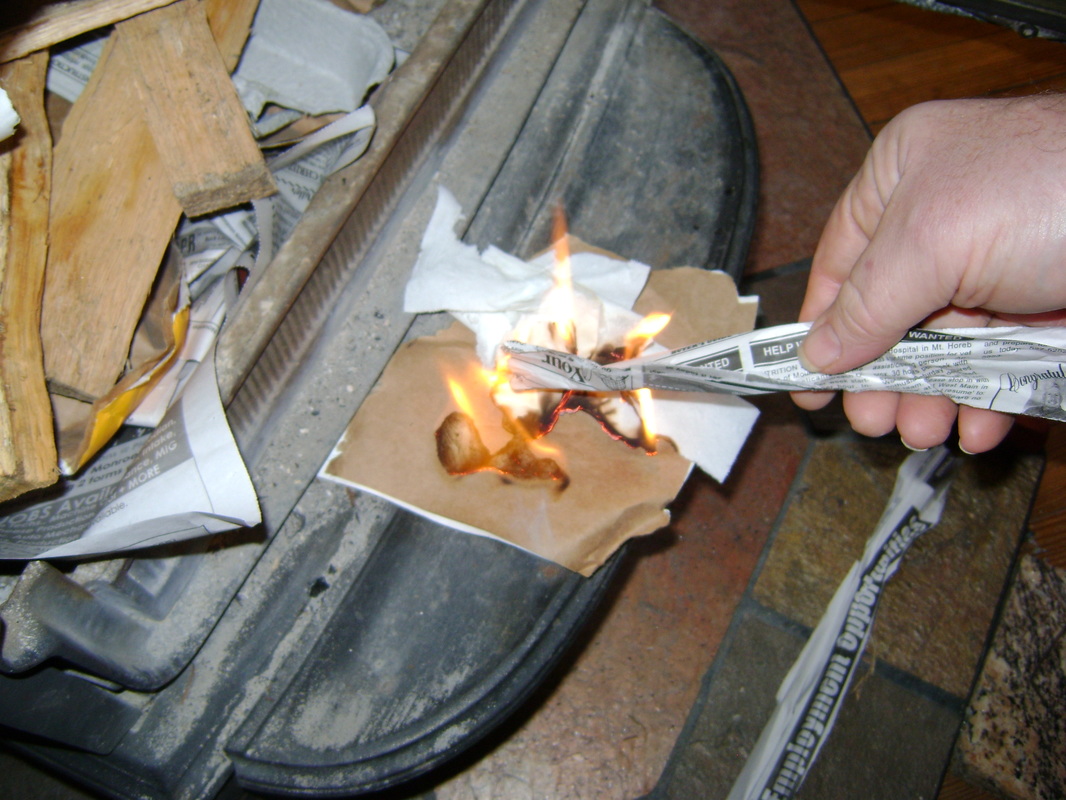
|
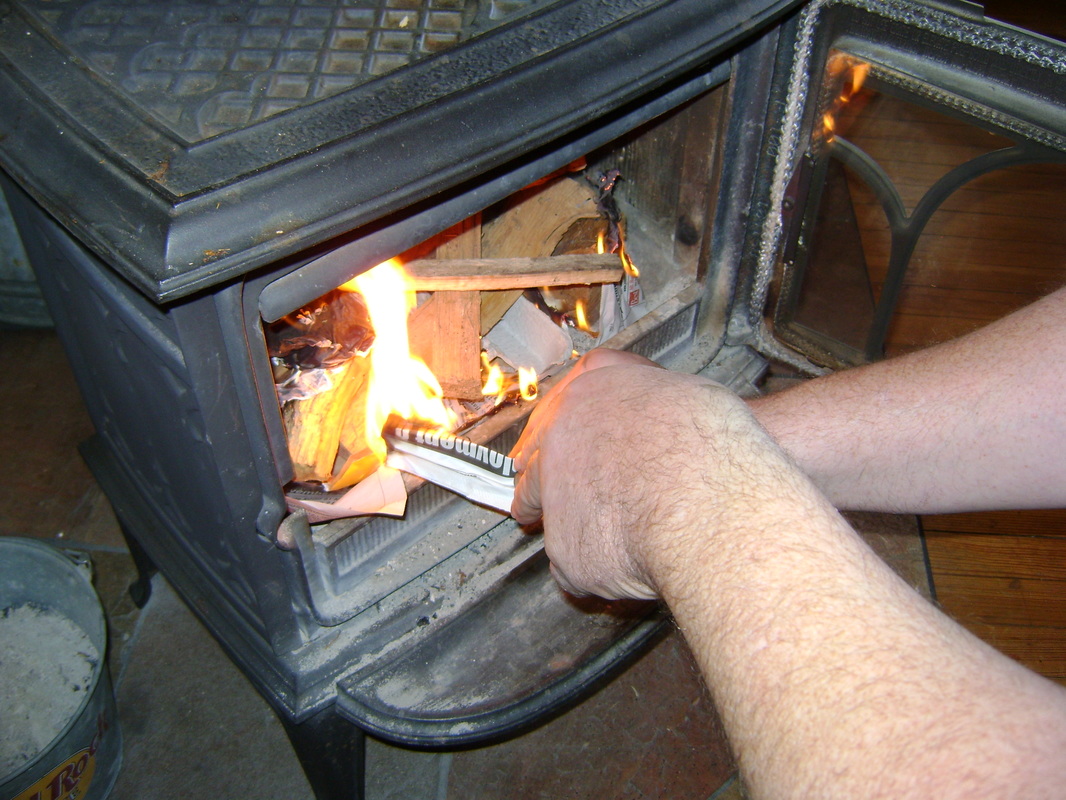
12. Put the "match" under the wood if you can. Use your second paper "match" if needed, and move the cat liter bag and cotton into the fire to light more areas of the kindling.
|
|
13. Air feeds fire, too much air cools the fire box. At a certain point when you are closing the door there is a sweet spot where the air is getting sucked in and is able to create more heat than the open or shut door. I leave the door cracked at that sweet spot.
|
14. You will know if you are good in about five minutes. If the fire is going well, leave it alone for about ten minutes. If the wood isn't burning, put some paper under it to create flame. Or use the bellows (if you have one) to pump air onto the sparks until the smoldering kindling flames up again.
|
|
15. 10 to 15 minutes later you'll have some hot coals and you can add more wood. I would suggest cross stacking 3 to 6 pieces of thin sticks. They make more flame and create more coals that will catch the larger pieces of wood.
|
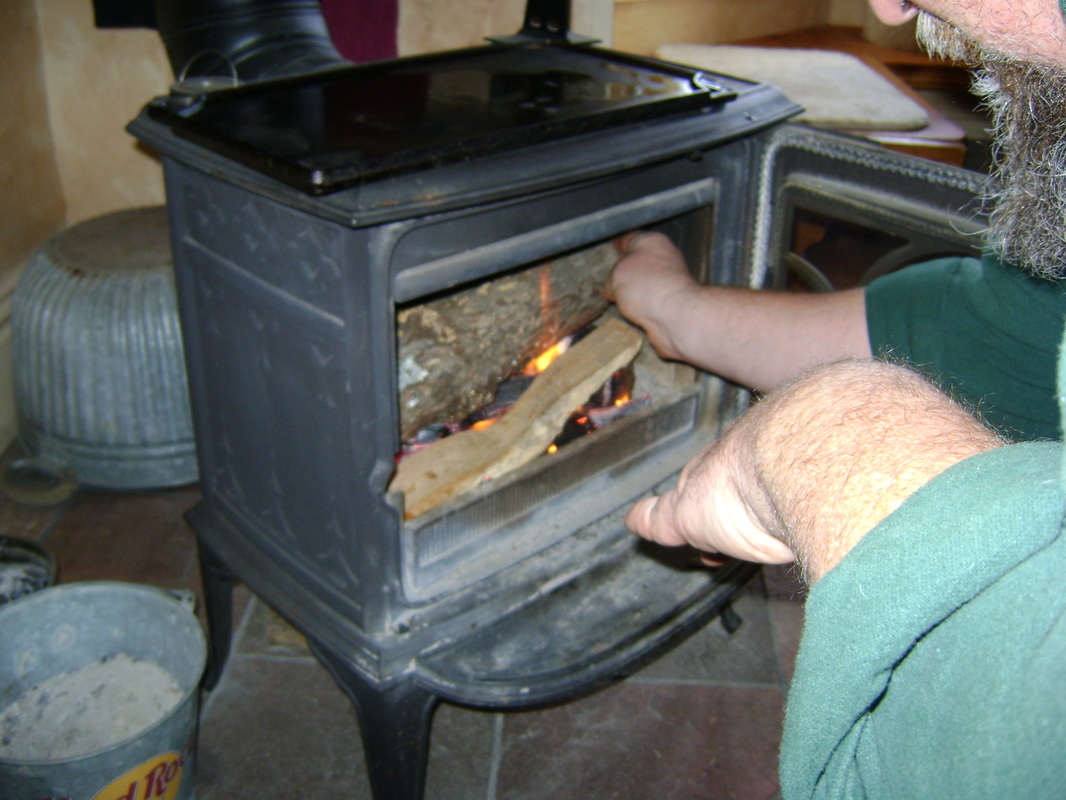
16. I add one or two thin sticks with the first large log, just in case.
|
|
17. Trying to find the sweet spot...
|
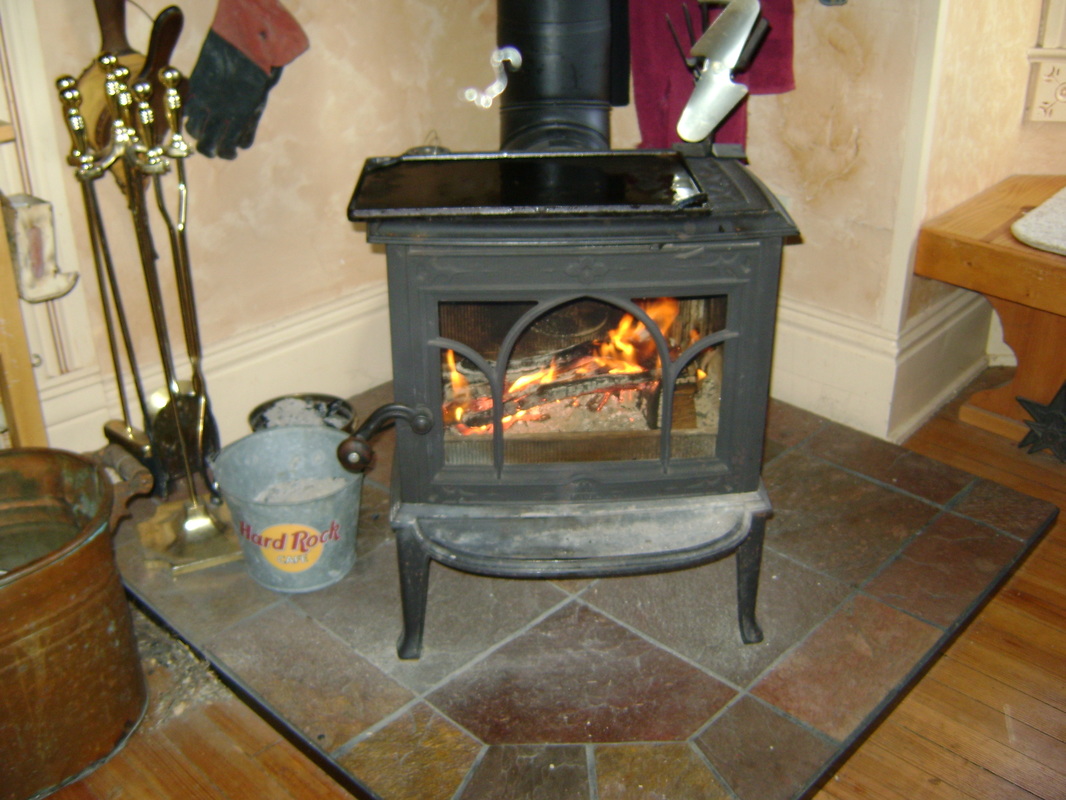
18. Found it- and I let the flames get bigger for a minute before closing the door. The fire is good to go.
|
Happy Fire Making!
Return to the main Wood Stove page.