EAT YOUR YARD - NETTLE
|
Growing & Eating Nettles
Nettle is my favorite herb. I've been benefiting from its nutrition for almost 30 years now, and would hate being without it. Fortunately, since it's a "weed," it's not likely to go away. When we bought this house and I was finally able to start gardening, nettle was quick to move itself in and I was happy to welcome it. Yes, it has a sting that can hurt if you aren't paying attention, but if you are paying attention, nettle can be a great ally. It's a natural multi-vitamin full of good things that your body will learn to crave. We eat nettle fresh in the Spring (after boiling briefly to remove the sting), then dry it in mid-summer to make into infusions the rest of the year (recipe below).
Nettle, a Natural Multi-Vitamin:
Nettle is an incredibly nutritious tonic. My body craves nettle because it is full of vitamins and minerals, including:
Nettle is an incredibly nutritious tonic. My body craves nettle because it is full of vitamins and minerals, including:
|
|
Harvesting Stinging Nettle:
Nettle plants have fine hairs that can sting you, so you need to pay attention when you're harvesting them. People who work with nettle a lot and have a good relationship with them don't usually have much trouble with the sting. Some people even purposely sting themselves to help relieve arthritis in their joints. If you don't want to get stung, though, avoid touching the plant. To harvest you can either:
Nettle plants have fine hairs that can sting you, so you need to pay attention when you're harvesting them. People who work with nettle a lot and have a good relationship with them don't usually have much trouble with the sting. Some people even purposely sting themselves to help relieve arthritis in their joints. If you don't want to get stung, though, avoid touching the plant. To harvest you can either:
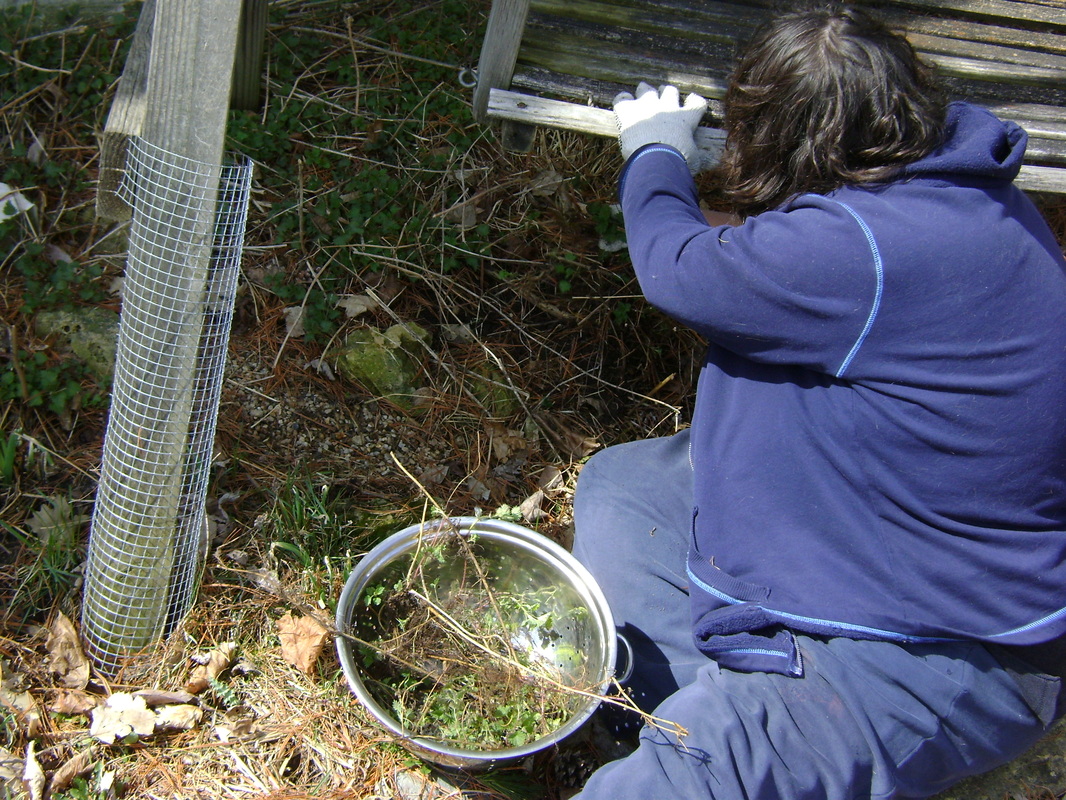
- Wear gloves, which will protect you from the sting,
- Or cut the leaves with a pair of scissors and let them drop into a bowl you're holding underneath (this works when harvesting taller nettle). For shorter nettle, I've also found you can cut them then pick them up off the ground with the scissors.
Growing Nettle:
|
To Start Growing Nettle:
Nettle seeds can be bought from some seed catalogs, such as Horizon Herbs and Richter's Herbs. It's a pioneer plant, though (aka a weed), that will colonize bare ground, so it might just show up in your yard if you have some disturbed soil. Just don't kill it like most people would. It tends to follow me around, and has started growing by itself in many of the places that I've frequented. In our yard, nettle has seeded itself in both sunny and partly sunny locations. It's best at the back of a bed, because it will grow to around 5 feet tall, and people passing by are less likely to get stung. It hasn't needed any supplemental watering or any special care in our yard. It's a very accommodating perennial food plant. |
Nettle Spreads through Runners & Seeds:
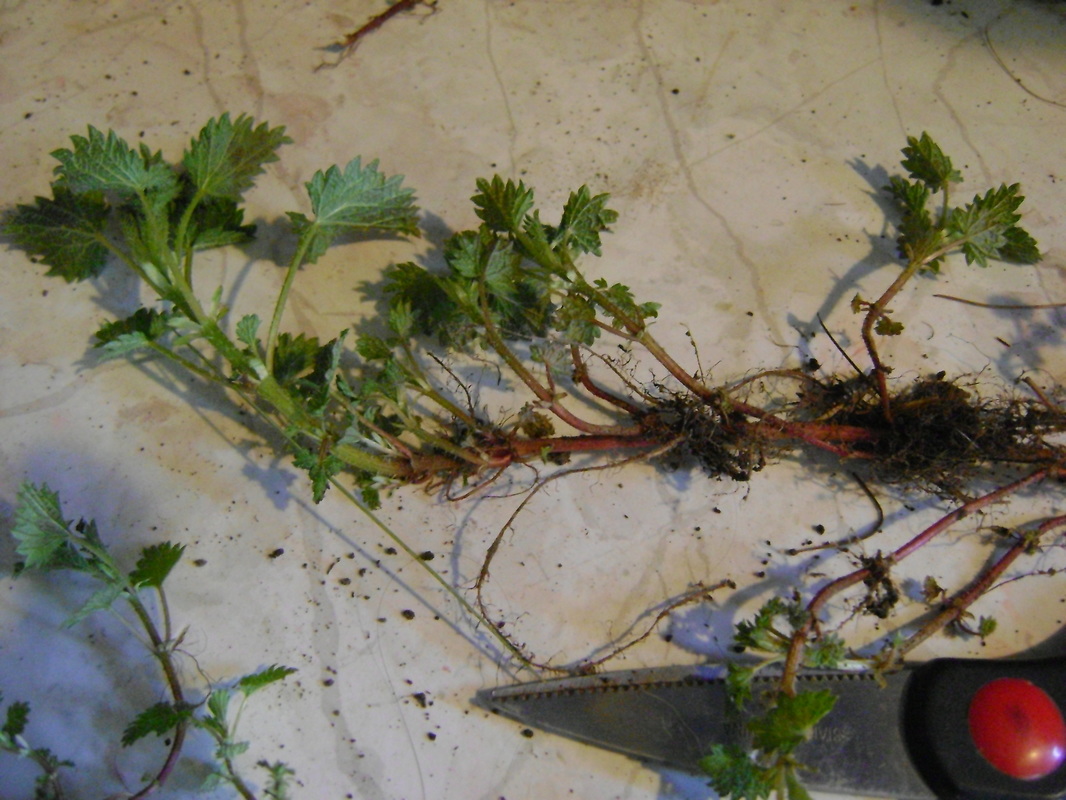
Nettle is a perennial that spreads through runners (see the photo below). Keep this in mind if it's growing somewhere you don't want it to- you need to remove the runners, not just the plants. Now that my nettle has been growing for several years, I am planning to install some short metal barriers (that are made to keep back grass) in the ground around my nettle patches to see if it keeps them out of the other food plants. Nettle also spreads through seeds, so you might want to remove some of the seeds heads in the Fall. I don't do this, I pull up and eat any plants that are growing where I don't want them in the Spring. |
Nettle Photos
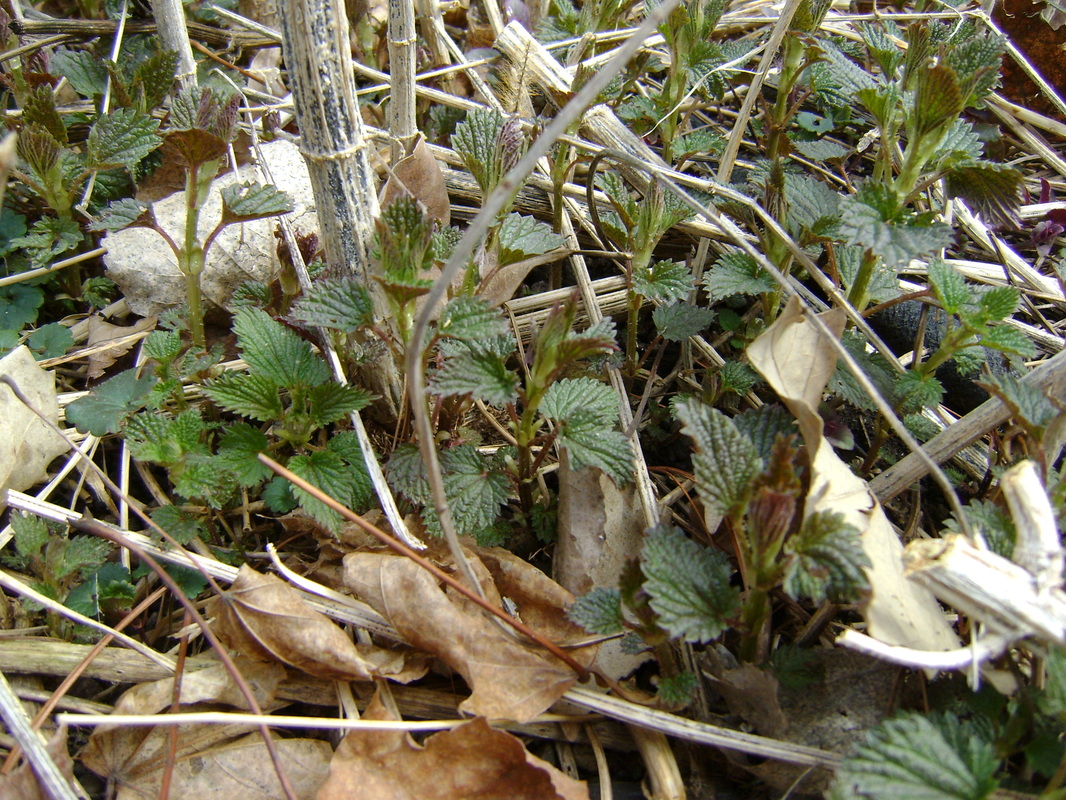
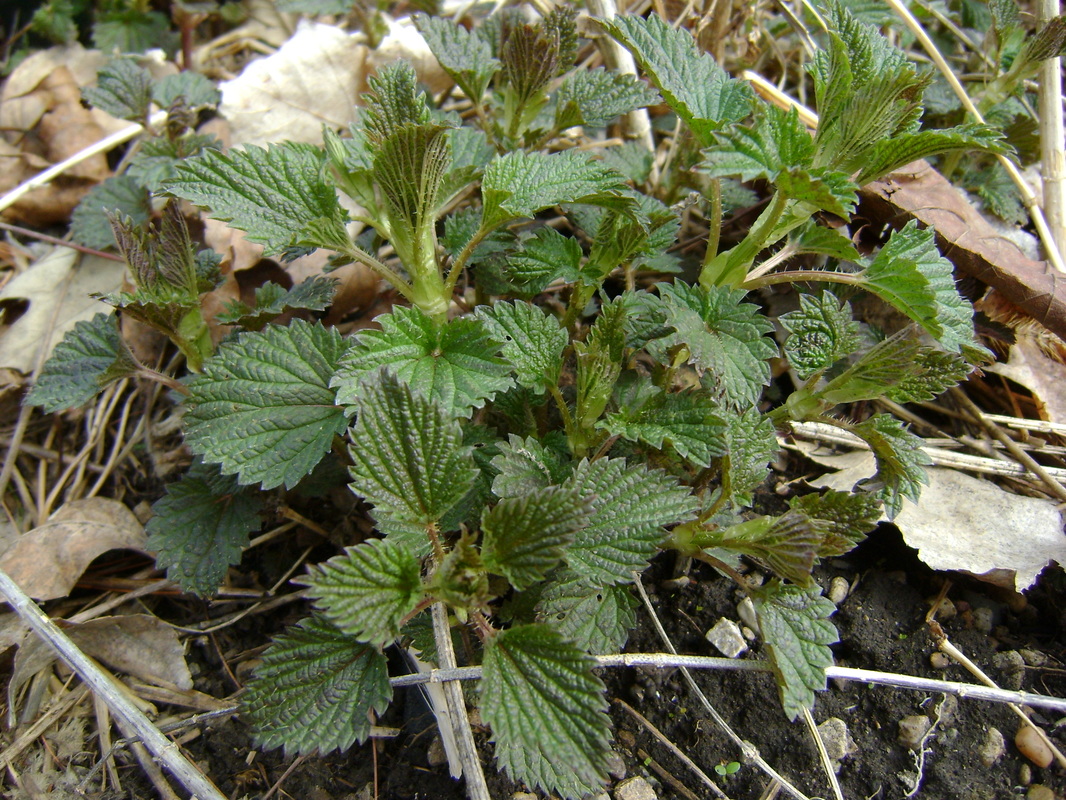
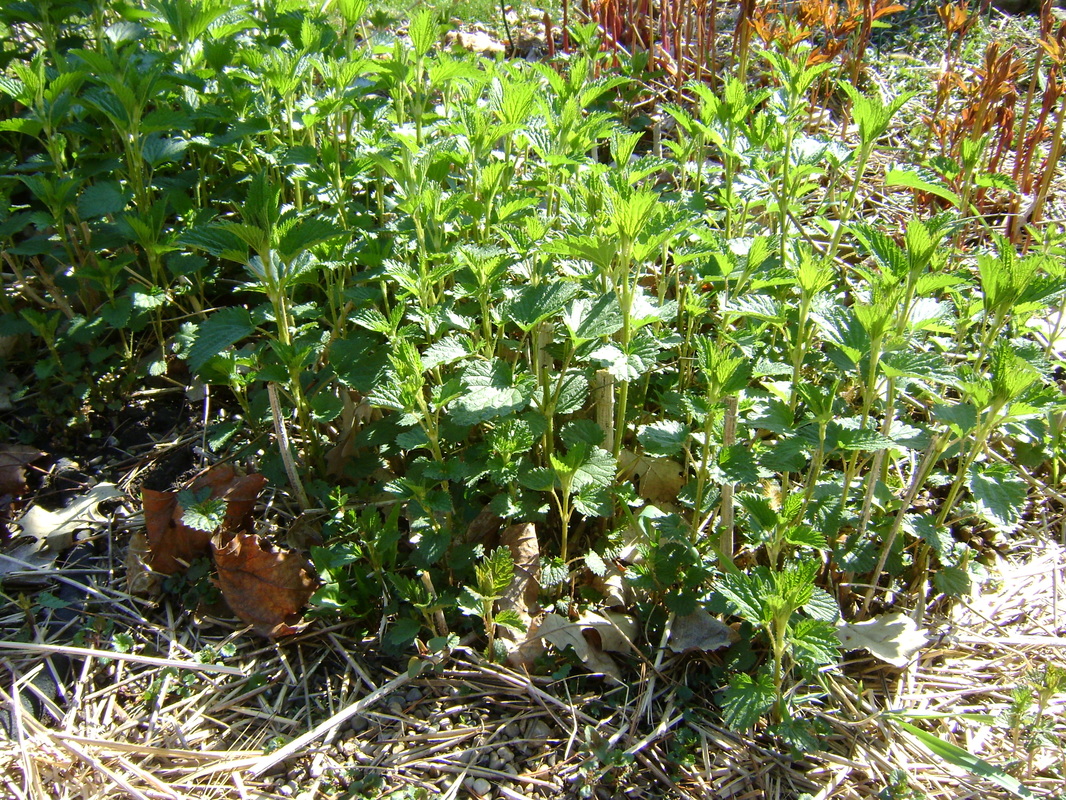
Here's a photo of nettle in the first weeks of Spring, when it is just coming out of the ground (around early April where we live).
This is when they are best eaten fresh, when the plant is short and you can eat the tasty growing tips (after boiling to remove the sting):
This is when they are best eaten fresh, when the plant is short and you can eat the tasty growing tips (after boiling to remove the sting):
Can you see the tiny stinging hairs on the stems and leaves?
Here's one of our nettle patches that is few weeks old, when the tops are still good for eating, at the end of April:
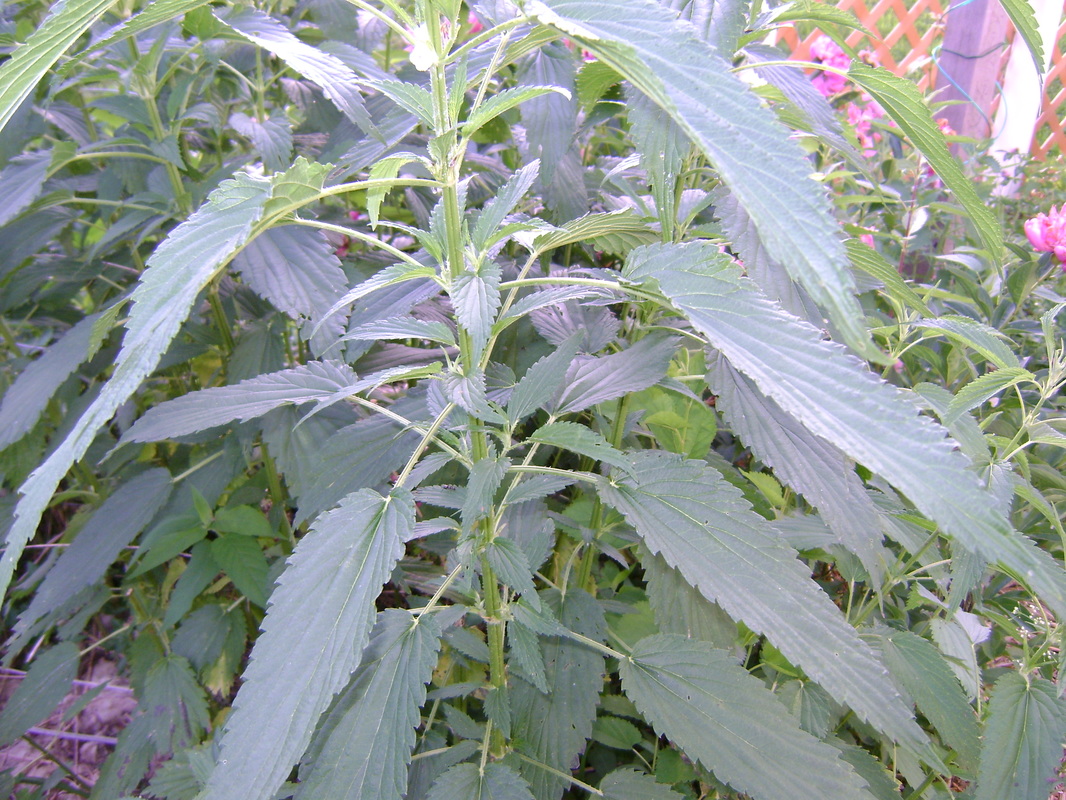
Nettle in mid-June, when it reaches about 5 feet tall and is ready to harvest for drying:
Eating Nettle:
- The simplest way to eat nettle is to dunk it in boiling water. Remove the water from the heat and immerse the nettle leaves (and stems if they're too hard to remove). Leave the nettle in the water for just a couple minutes to remove their sting. The nettle should wilt a bit, but should still be bright green. Eat immediately. They taste wonderful.
- Below are several other nettle recipes:
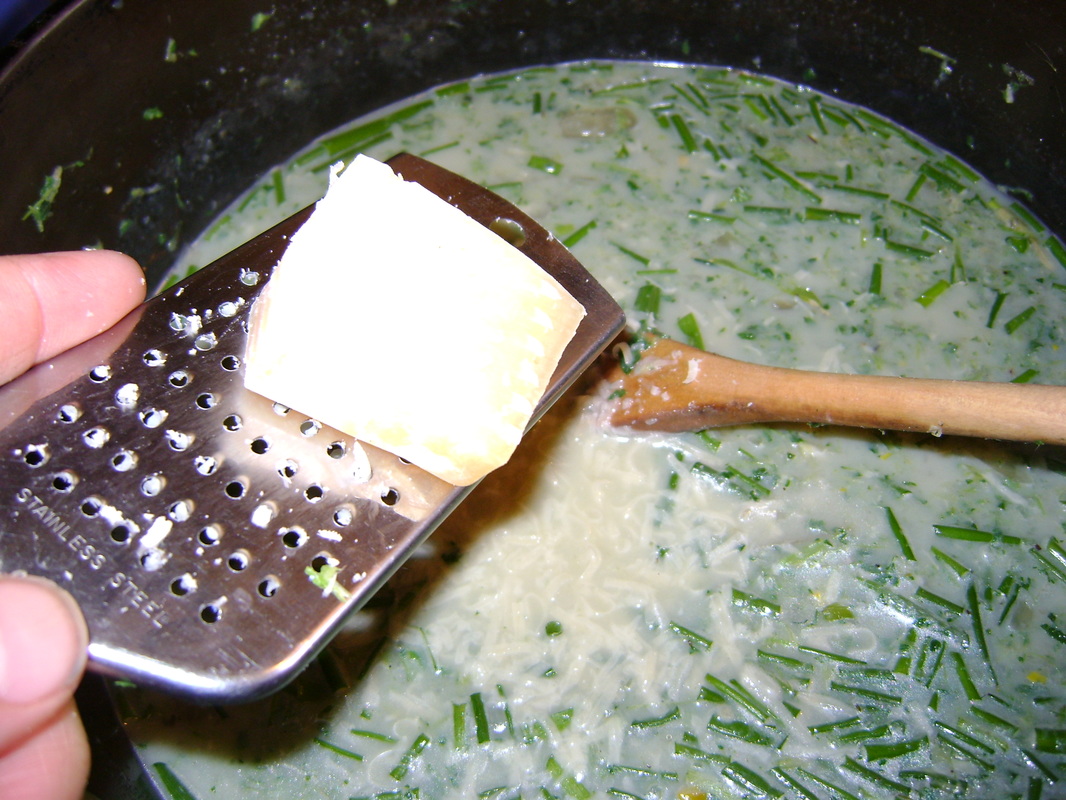
NETTLE SOUP aka Spring Forager's Soup
|
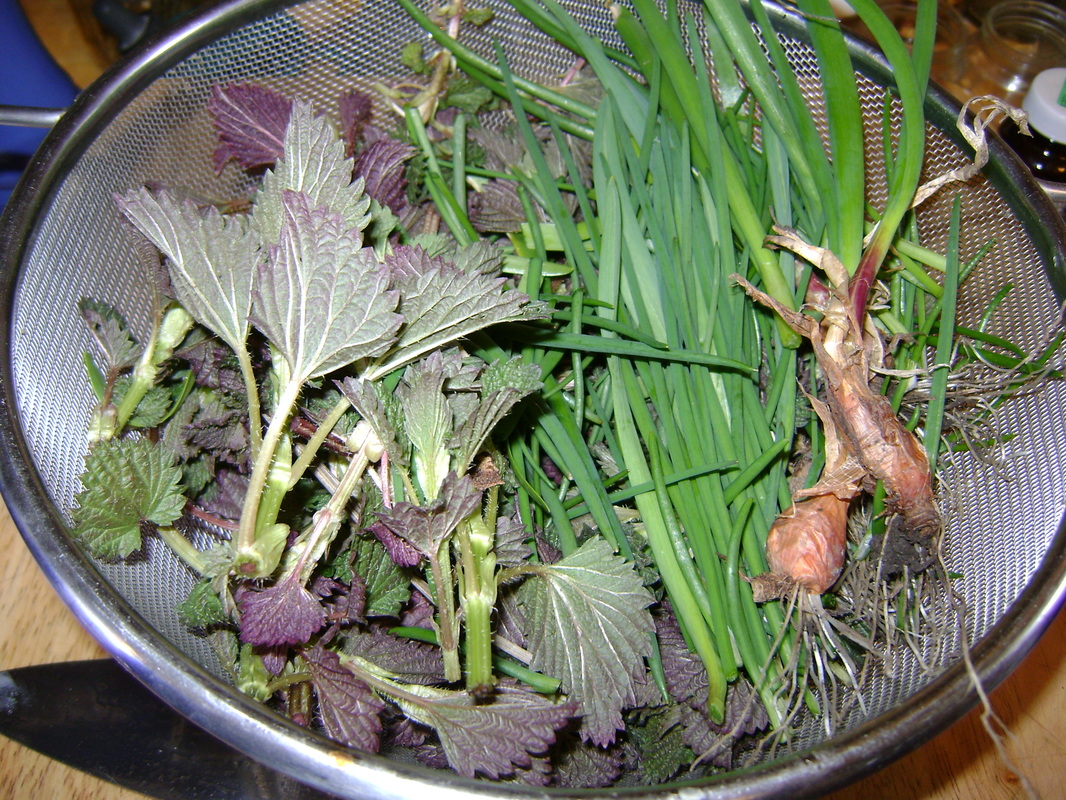
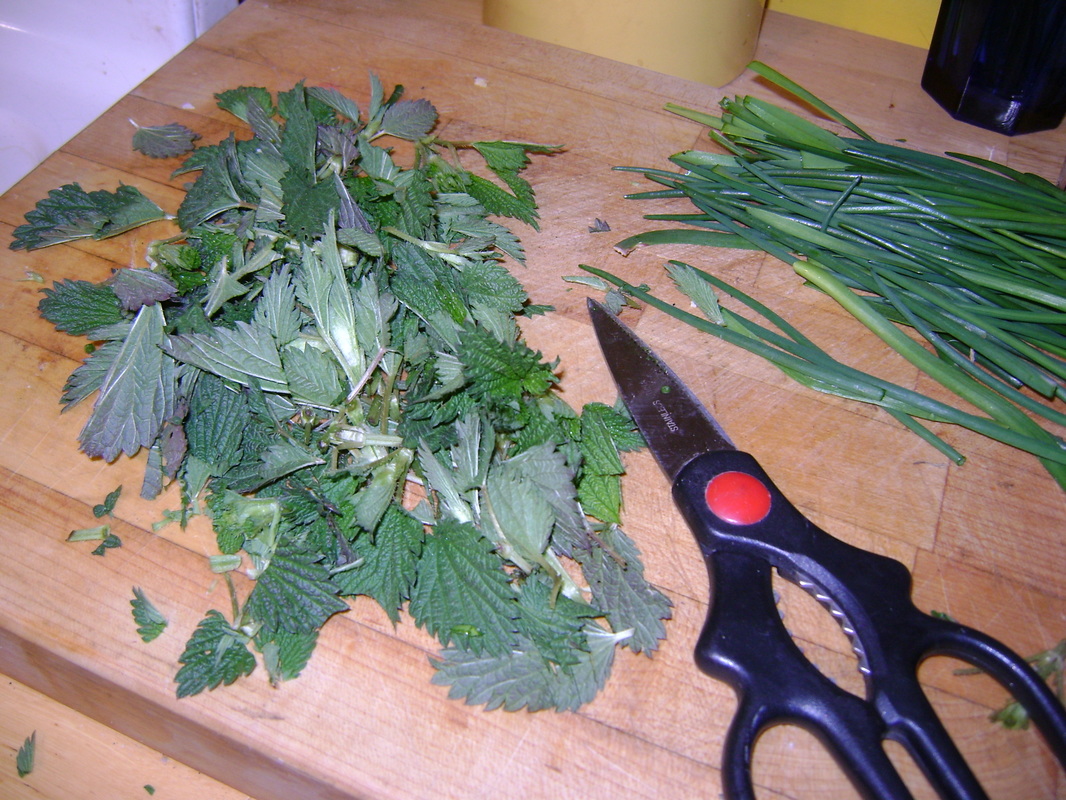
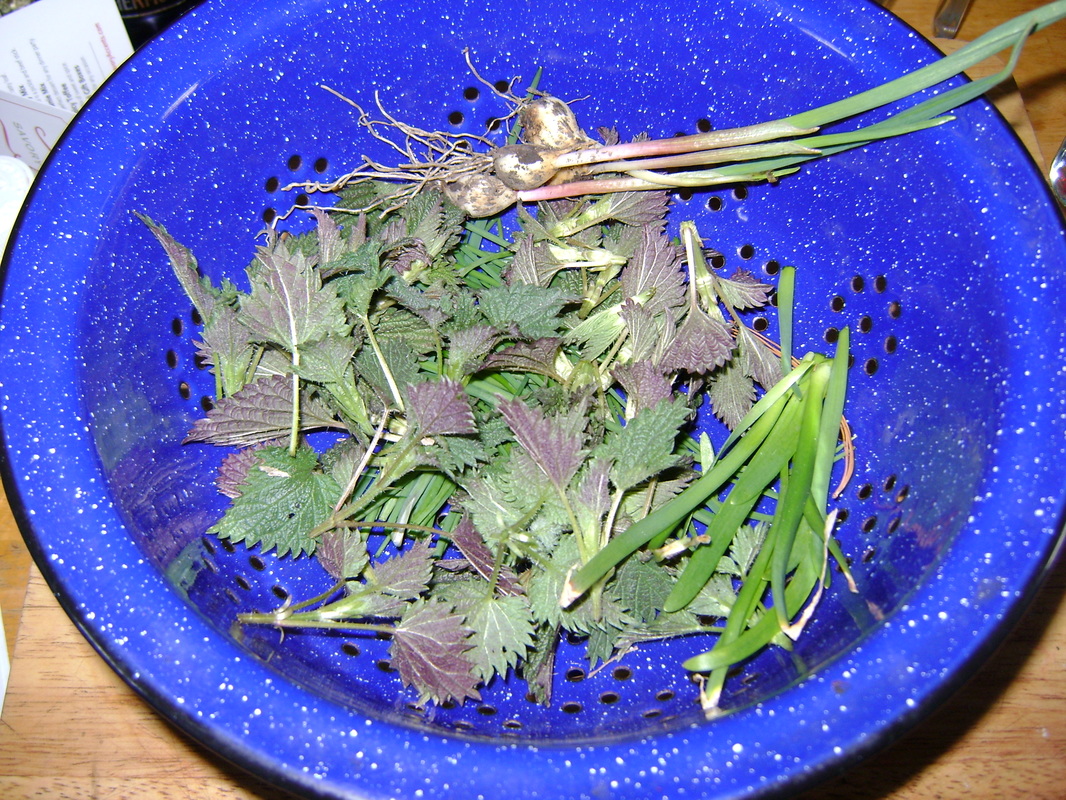
1. In early Spring, harvest what is available in the yard. Below we have, from left to right, the tops of nettle plants, with leaves and stems, chives (regular and garlic), and some Spring garlic (they have the brown onion like bulbs at the bottom).
Variation: Chickweed is also wonderful in this soup if you have it. |
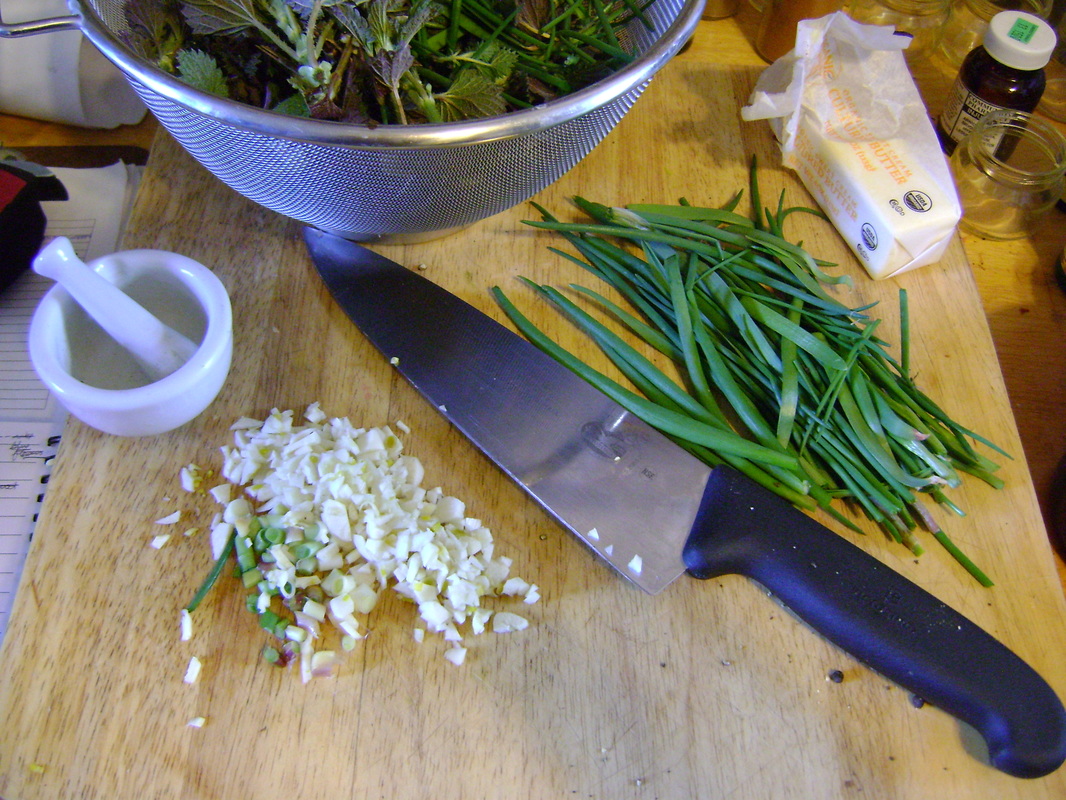
2. You can also supplement with stored garlic, chopped (lower left). We like a lot.
|
|
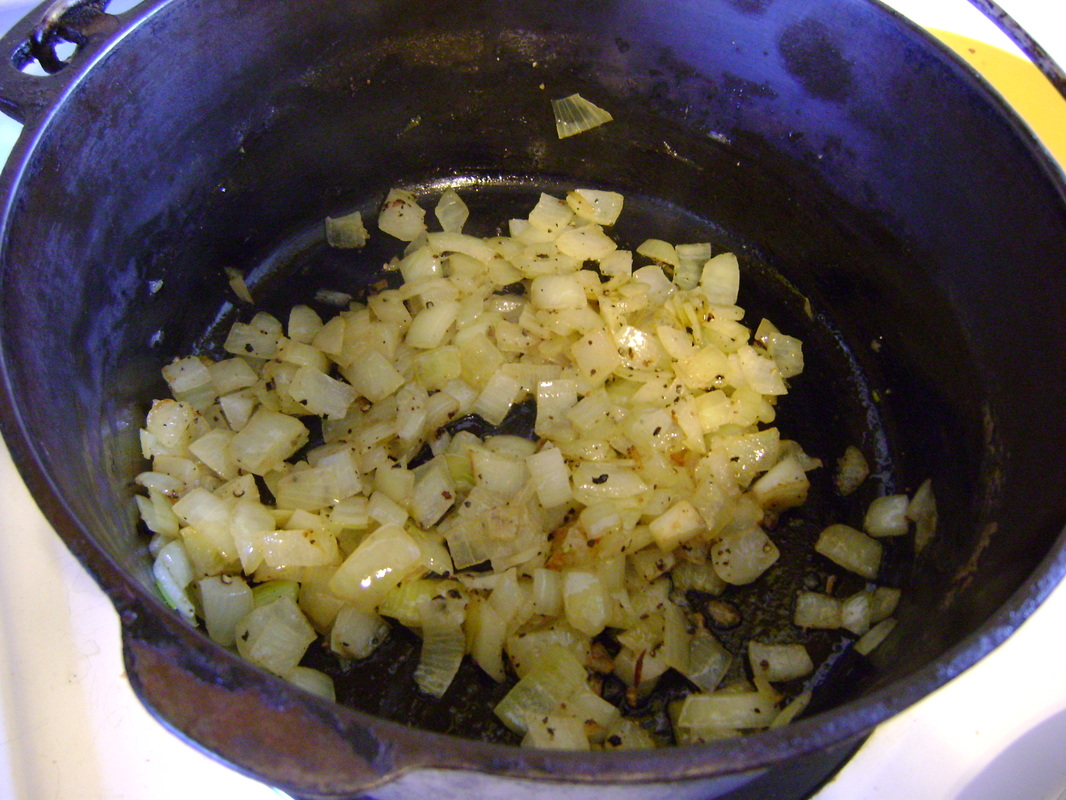
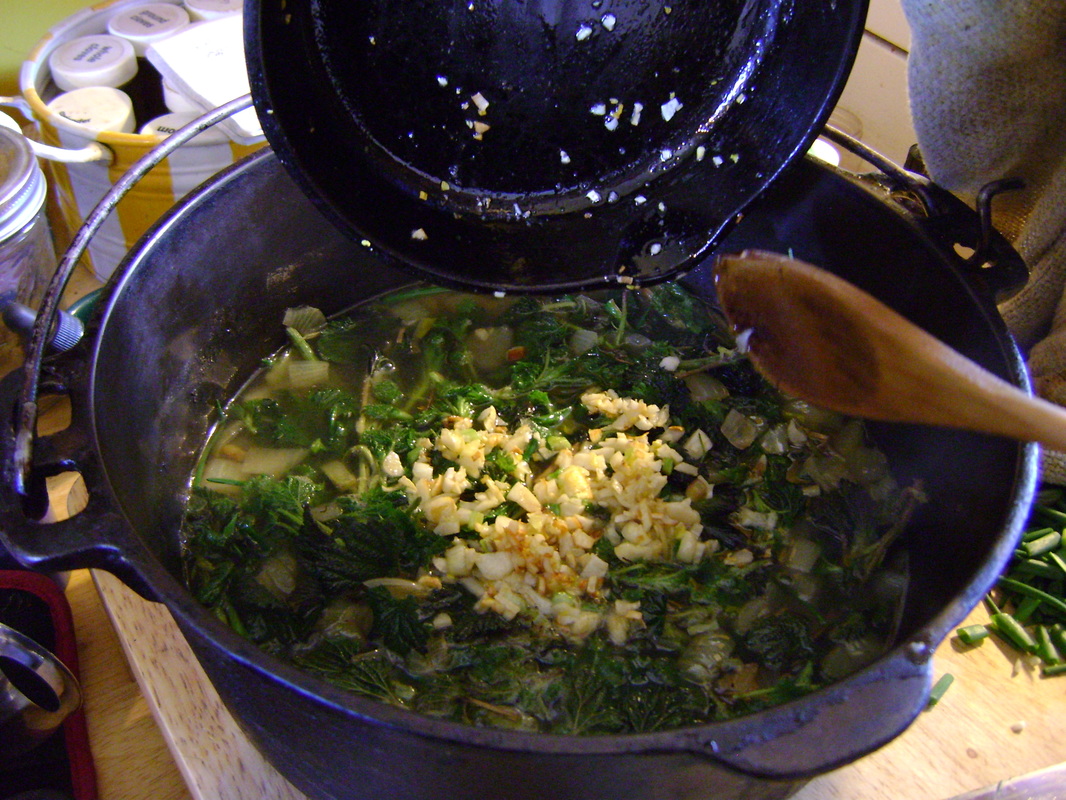
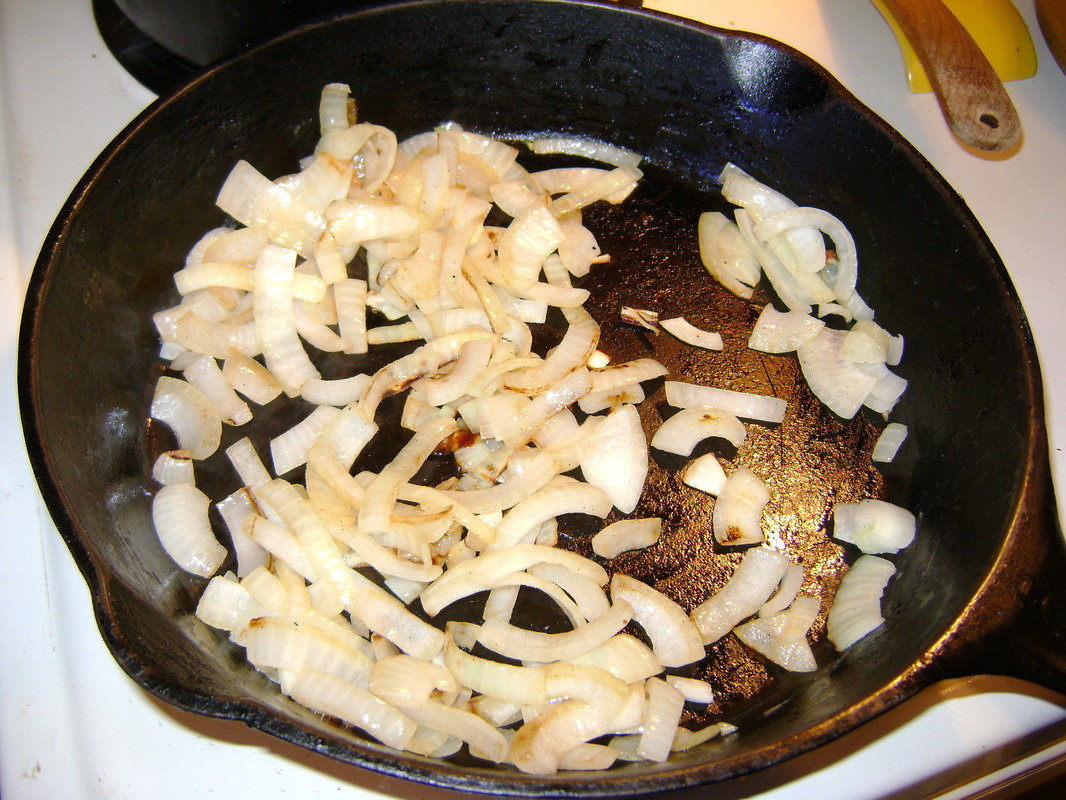
3. Chop and saute an onion in oil. If you cook onions on a low heat for 20-30 minutes, they will carmelize, turning carmel-colored (not pictured) and developing a wonderful, sweet flavor. When the onions are ready, add the chopped garlic and saute for a few minutes until you can take a deep breath and enjoy its wonderful aroma.
|
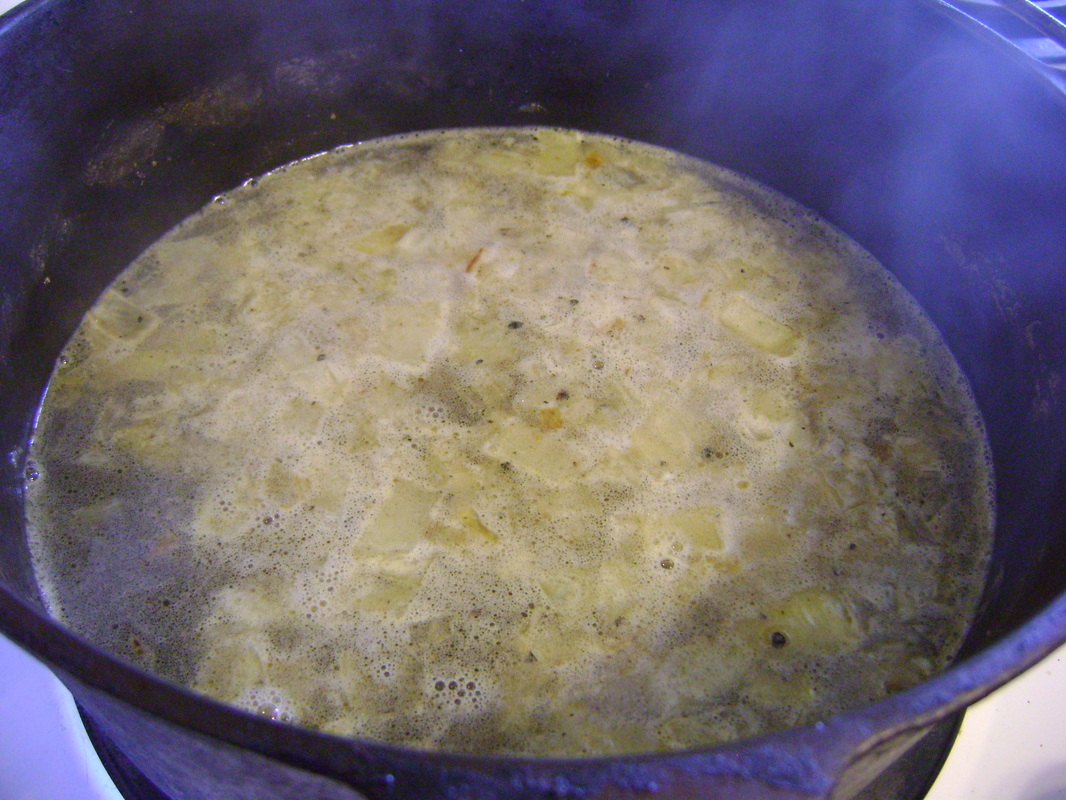
4. Add a quart jar of homemade stock or water to the onions & garlic. Turn up the heat and bring the water to a boil.
Variation: You could also add a small quantity of potatoes at this point, chopped small, and boil until tender. |
|
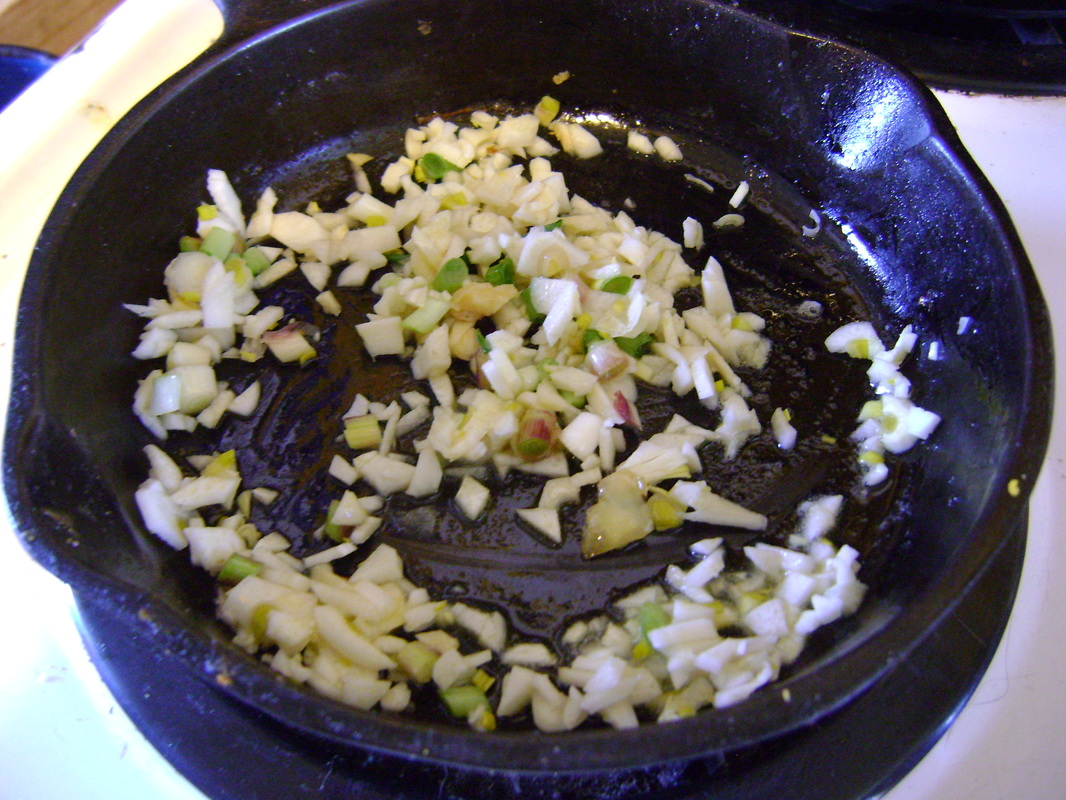
5. If, like me, you forgot to add the garlic to the onions before adding the stock, you can saute it separately.
|
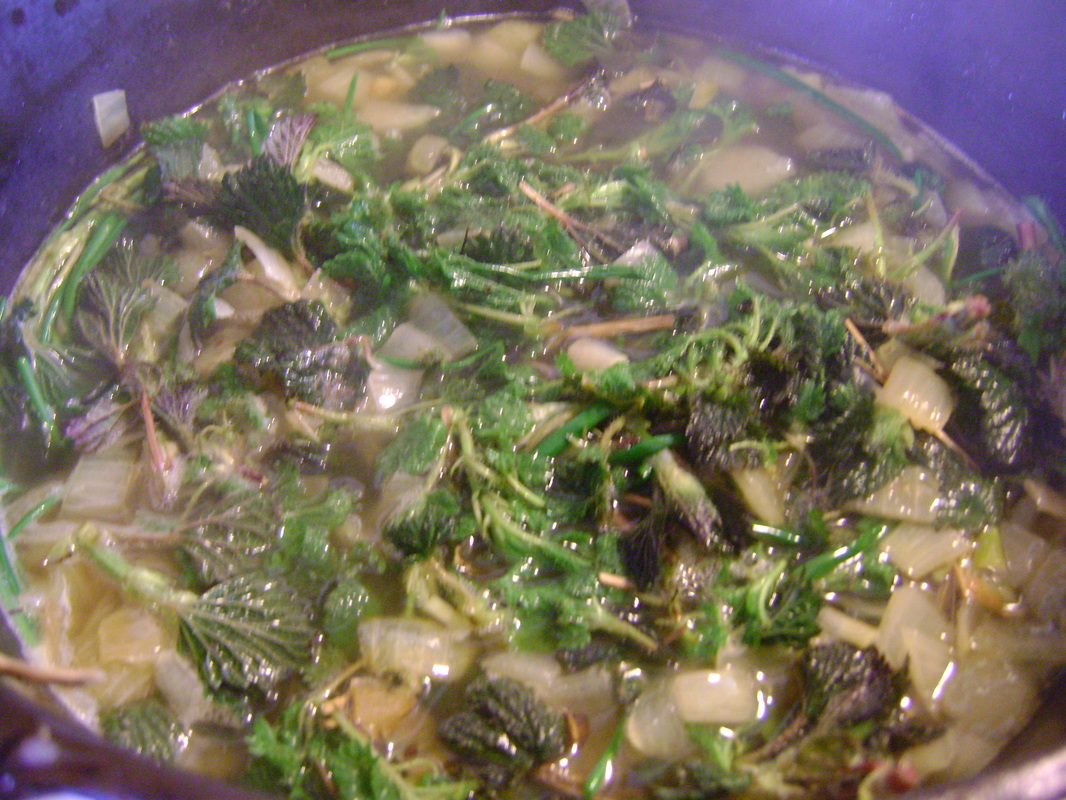
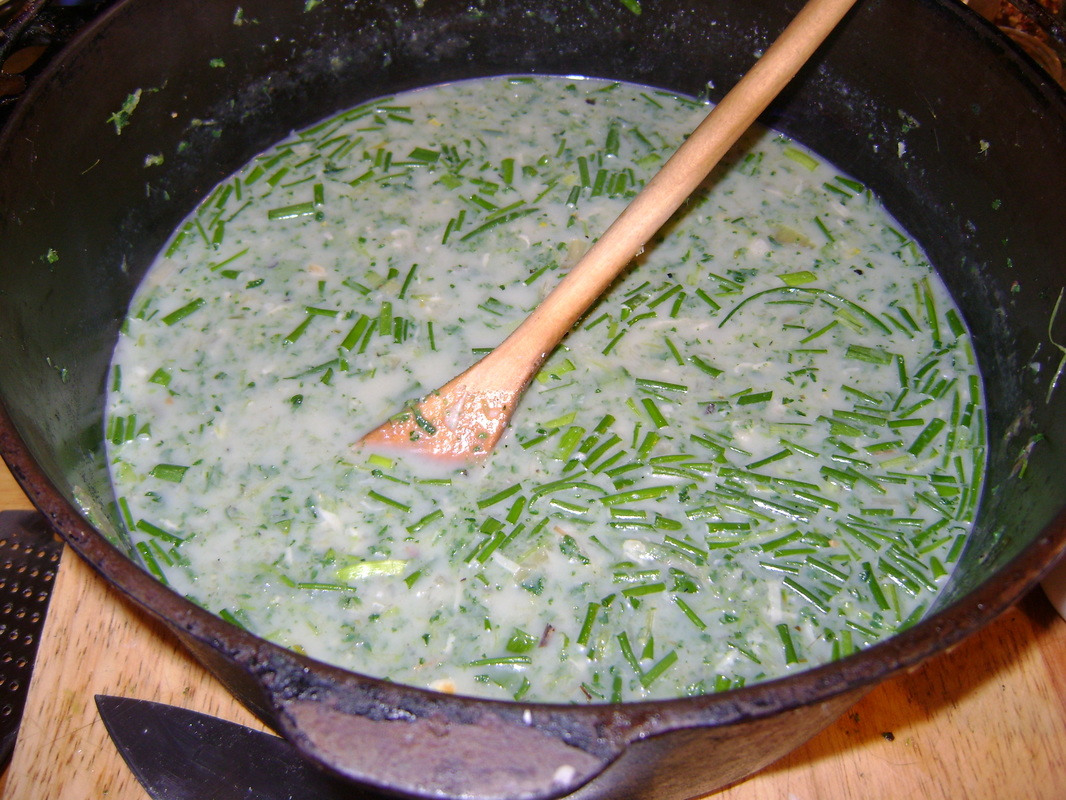
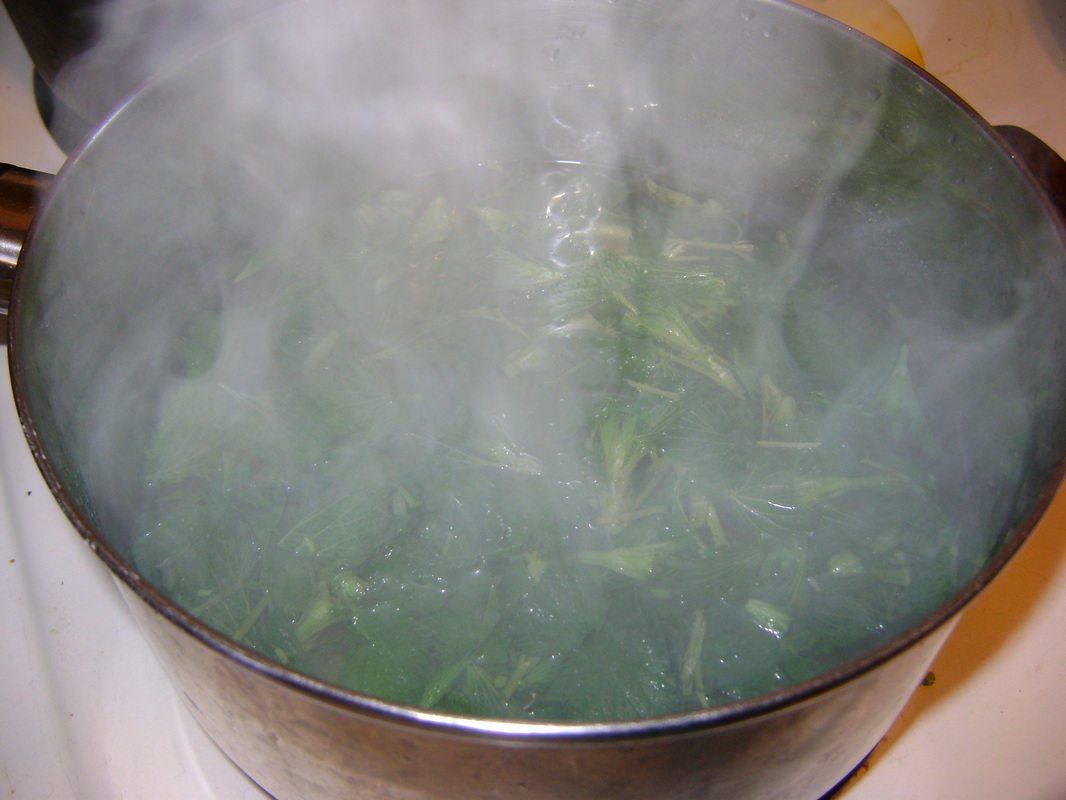
6. When the water or stock has come to a boil, add the nettle (be careful not to get stung) and boil for just a couple minutes until the nettle has wilted, but is still a bright green. Remove from heat so the nettle doesn't overcook. At this point, it will no longer sting you.
|
|
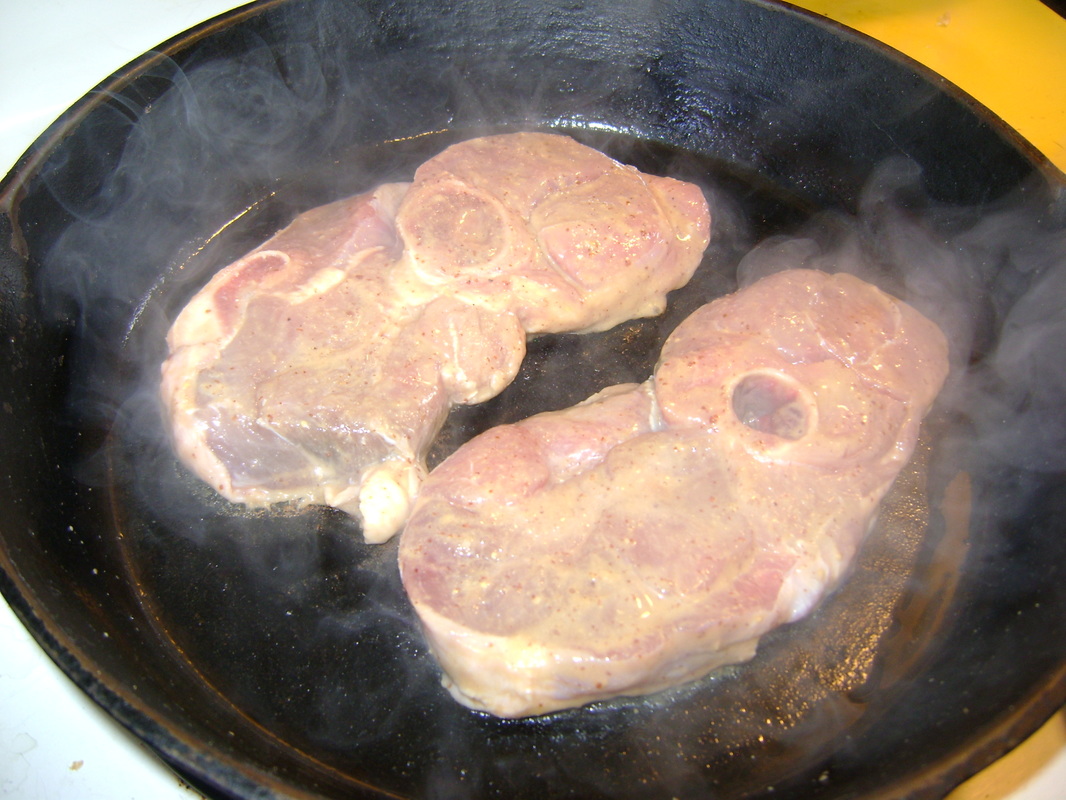
13. On the first night, we ate the soup with some lamb steaks that Bear seared in the skillet.
|
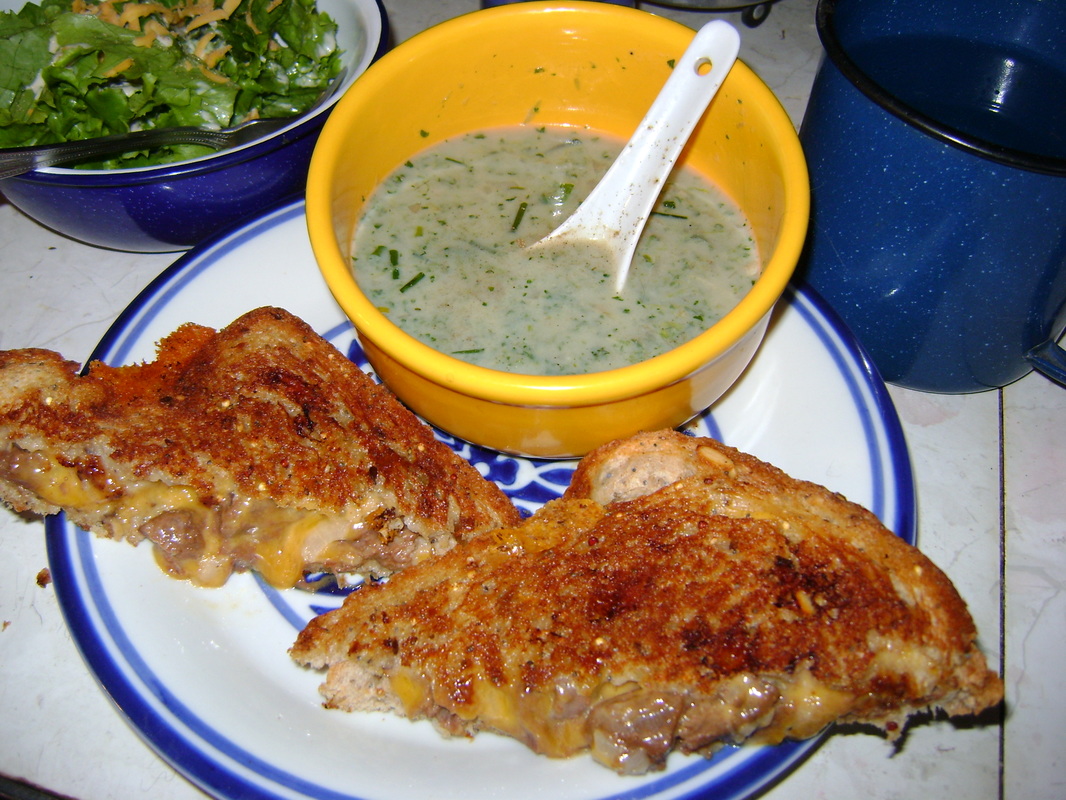
14. Soup is always better on the second day. It was so good that for the next two nights we had it with Bear's cheese sandwiches and a side salad with homemade ranch dressing. This cheese sandwich was made with our canned venison and cheddar cheese. Yum.
|
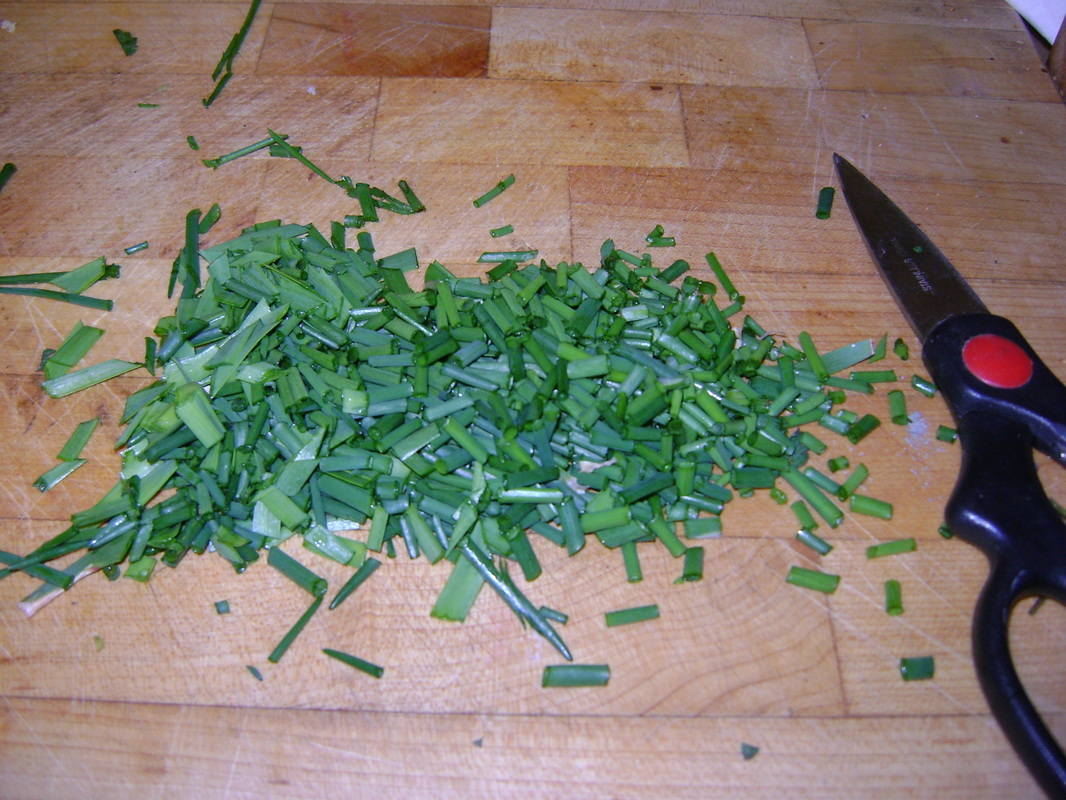
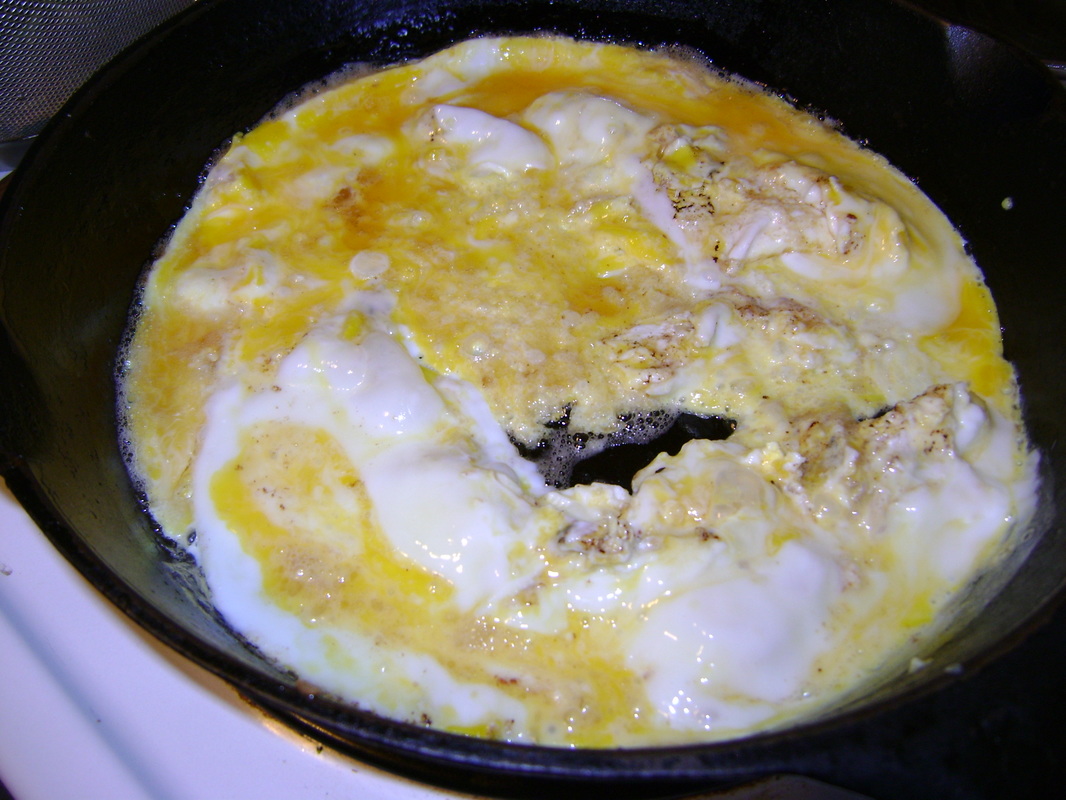
NETTLE EGG "SALAD" BREAKFAST
|
3. Bring a pot of water to a boil and immerse the chopped nettle into the boiling water, being careful not to get stung. Boil for just a couple minutes until the nettle has wilted, but it still a bright green.
|
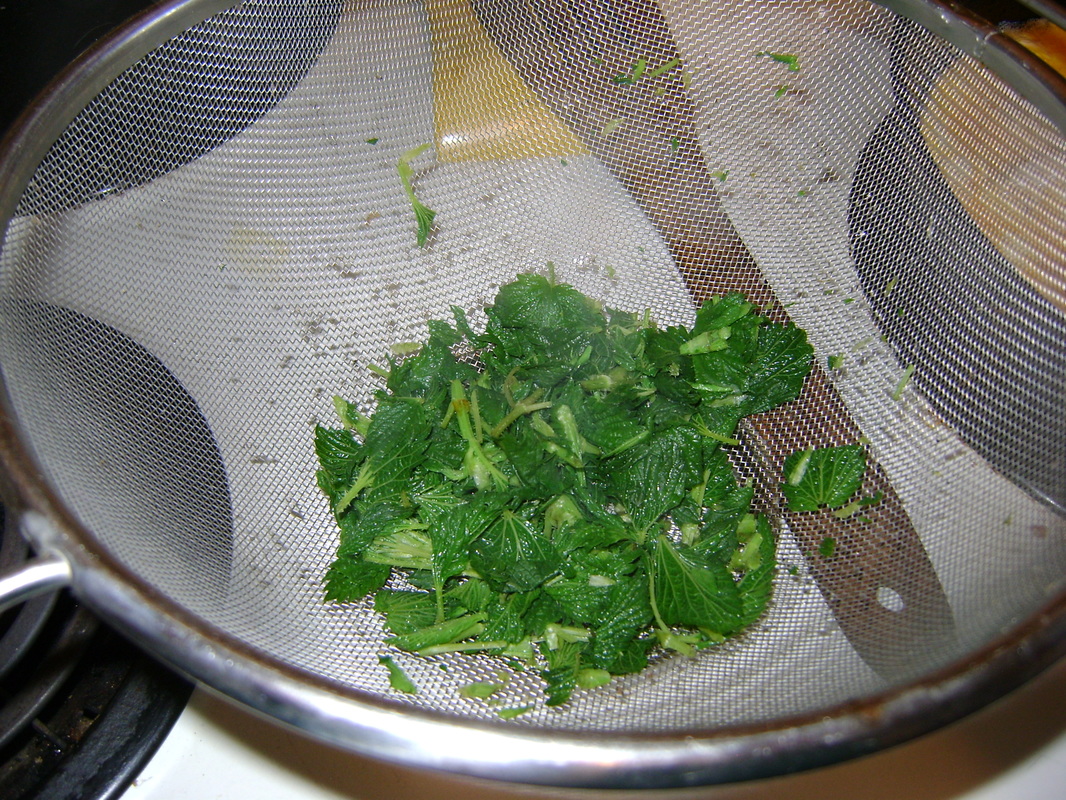
4. Drain off the water right away (I poured everything into a colander) so that the nettle doesn't overcook. Notice how colorful the leaves still are.
|
|
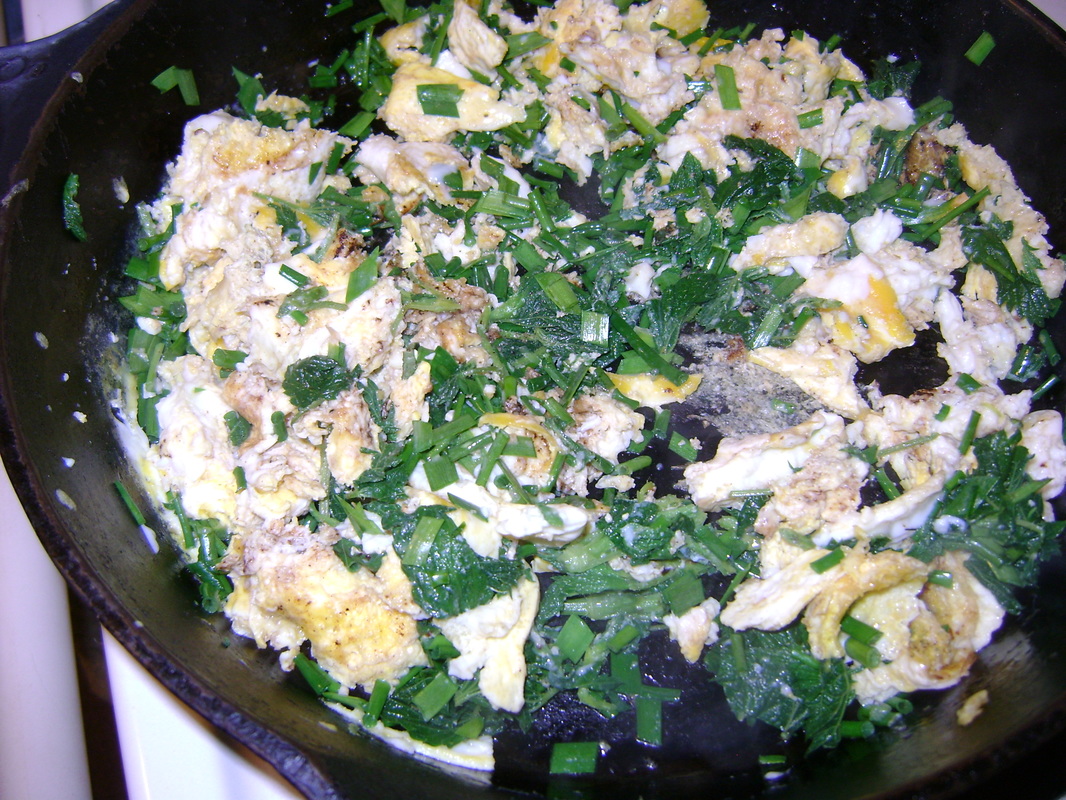
7. Add the nettle and chives to the runny eggs.
|
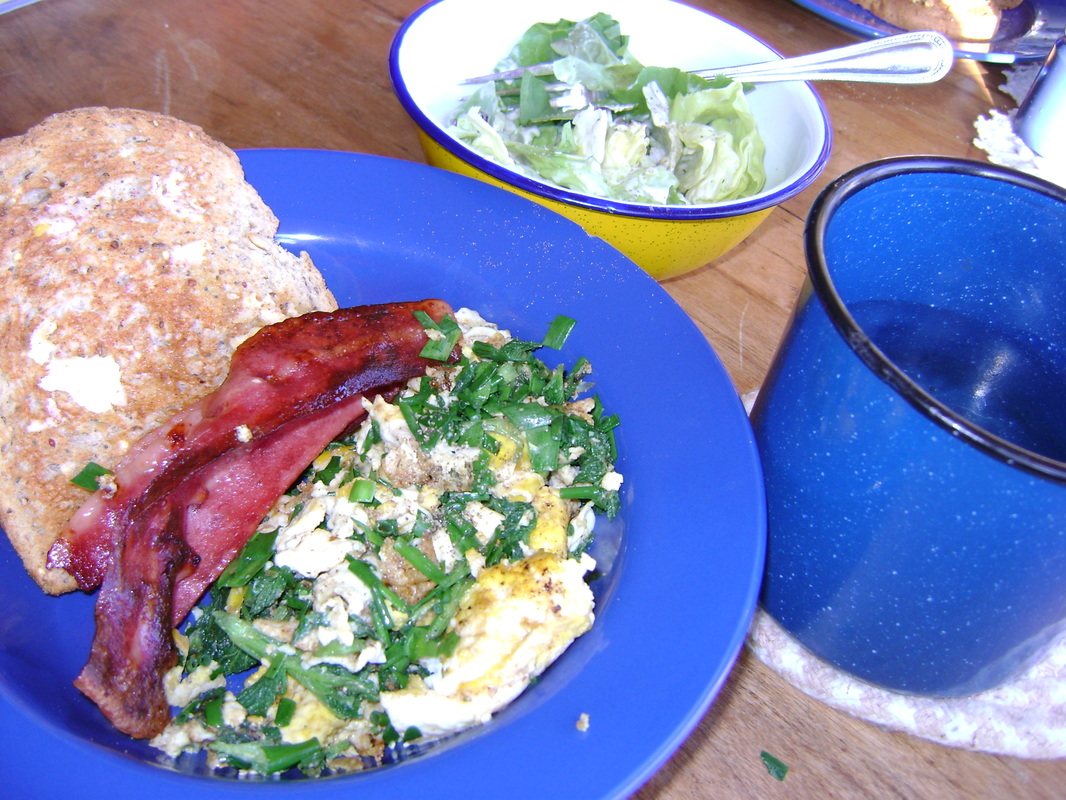
8. We served the egg "salad" with turkey bacon, whole grain toast & butter, a butter lettuce salad with homemade ranch dressing, and a big glass of water. I love eating salad at breakfast.
|
NETTLE QUICHE
|
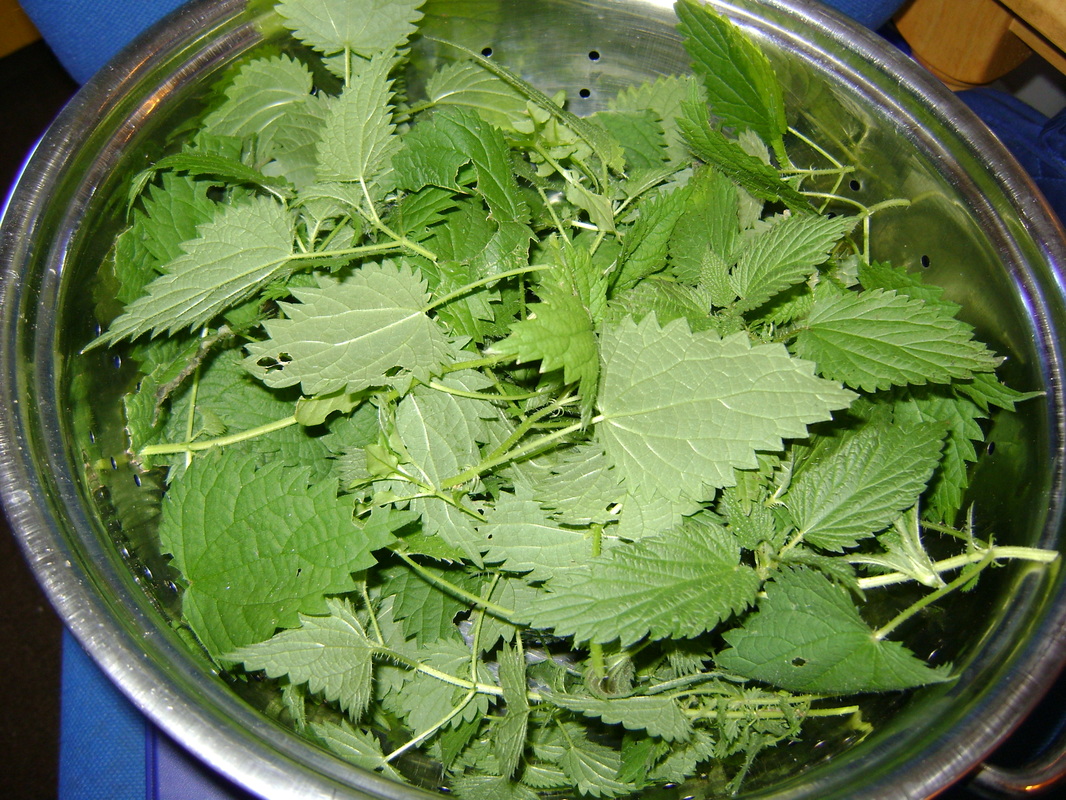
1. These nettle leaves were harvested later in the season. They included the growing tops, but I also cut off some of the smaller side leaves.
|
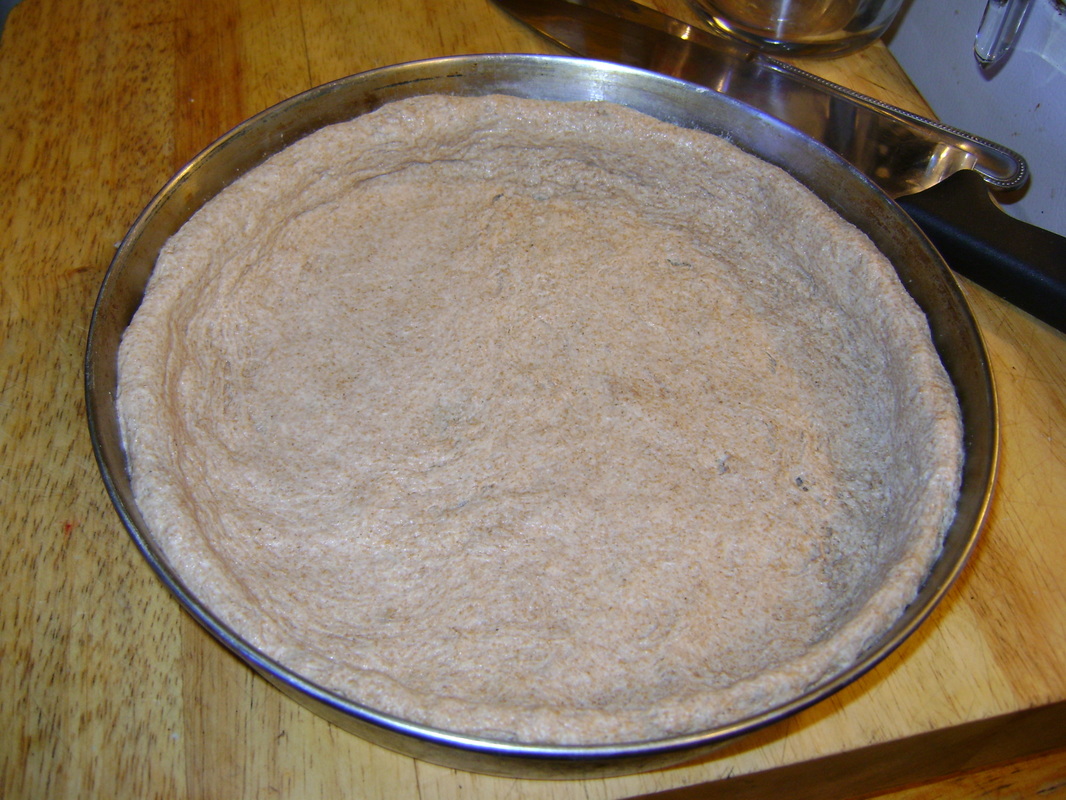
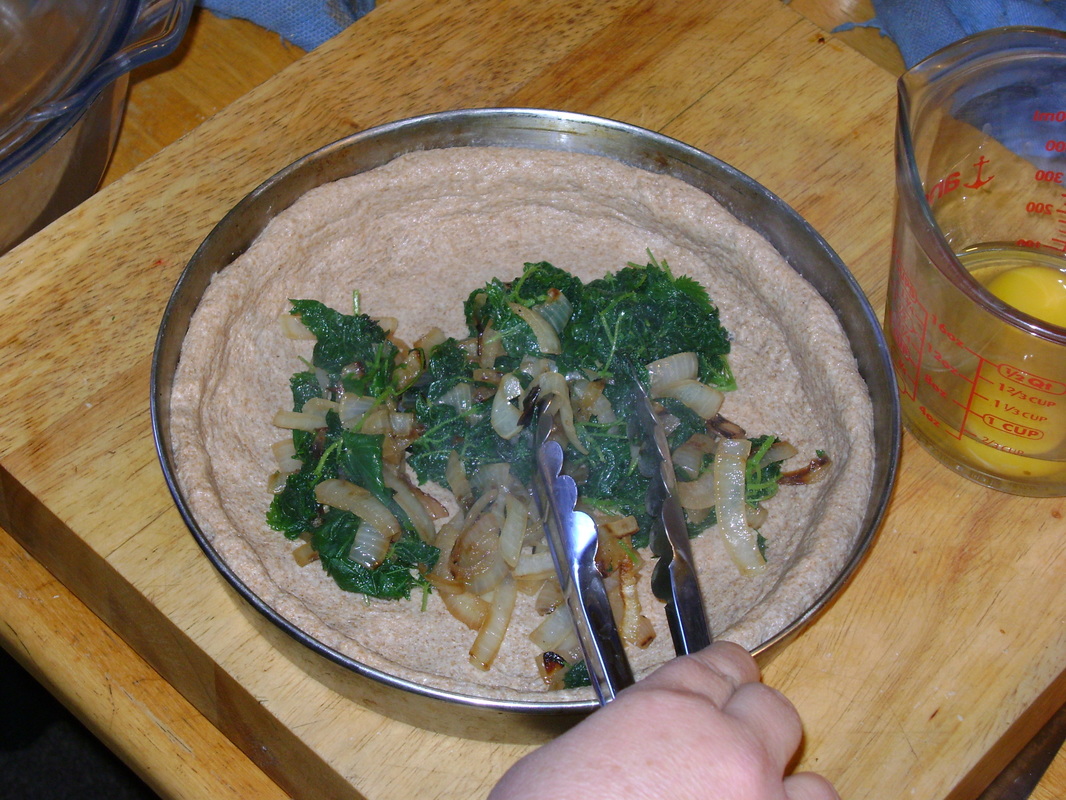
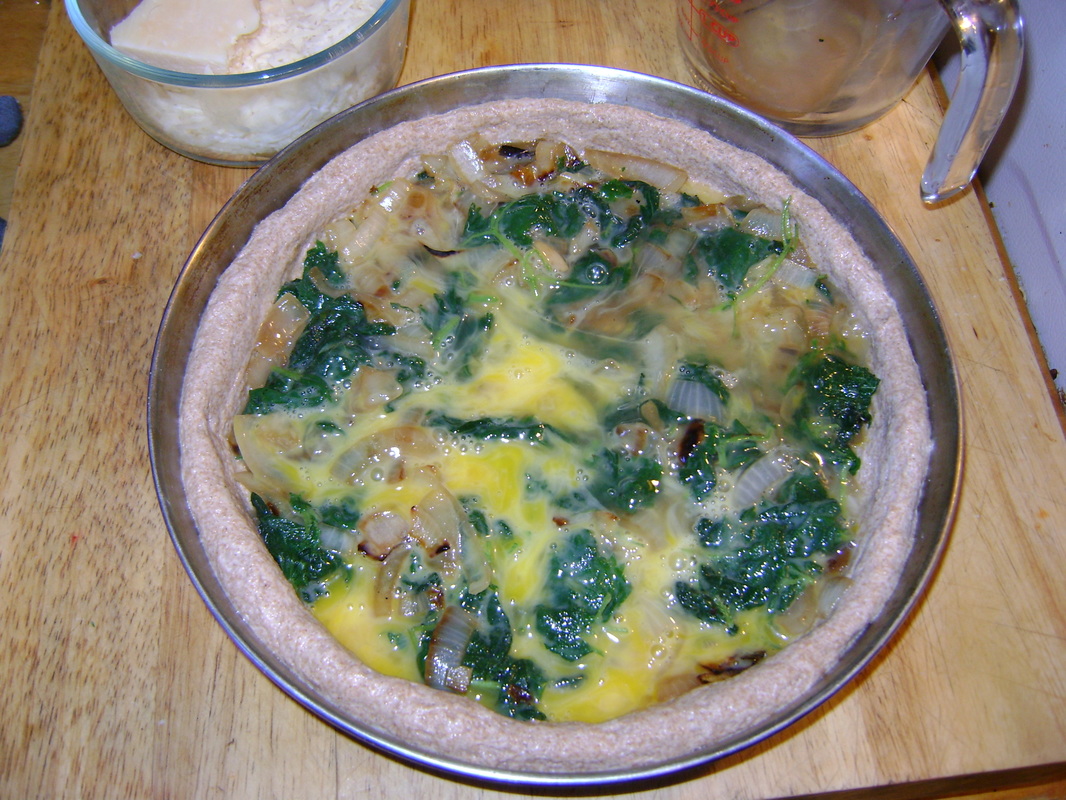
2. Make or buy a pie crust of your choice. This crust is the whole wheat dough I make that can sit in the refrigerator for up to two weeks and be used as needed. This dough technique and recipe comes from Healthy Bread in Five Minutes a Day by Jeff Hertzberg and Zoe Francois.
|
|
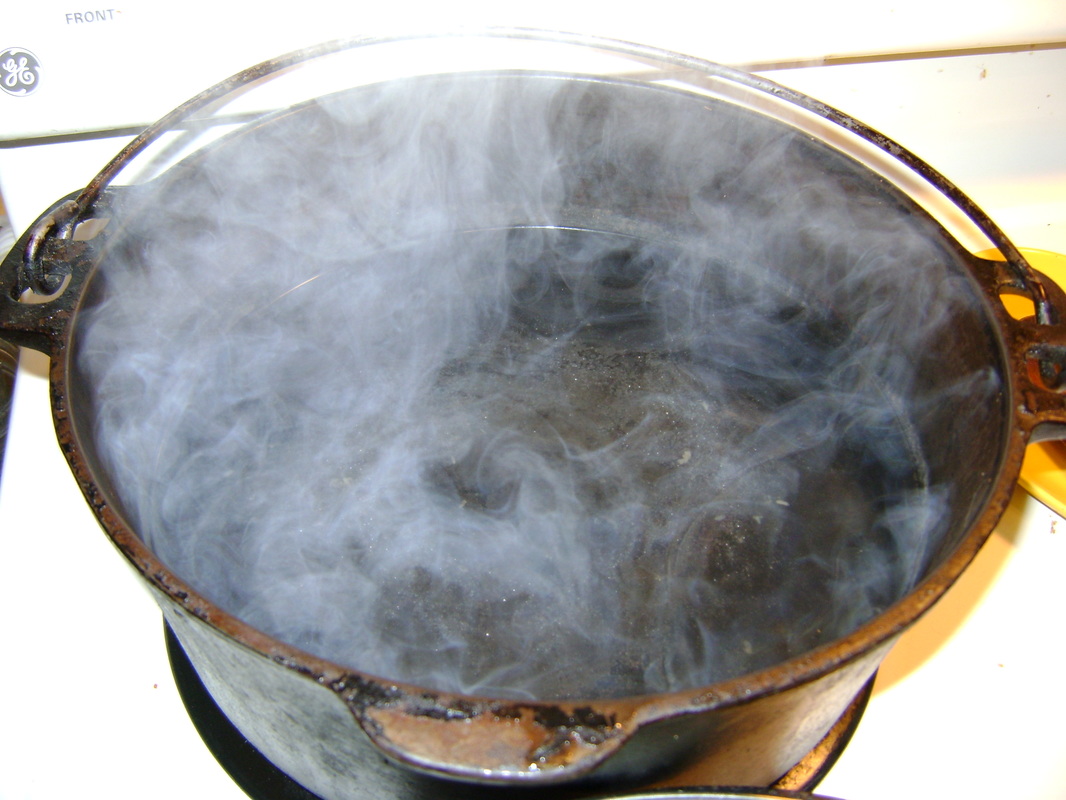
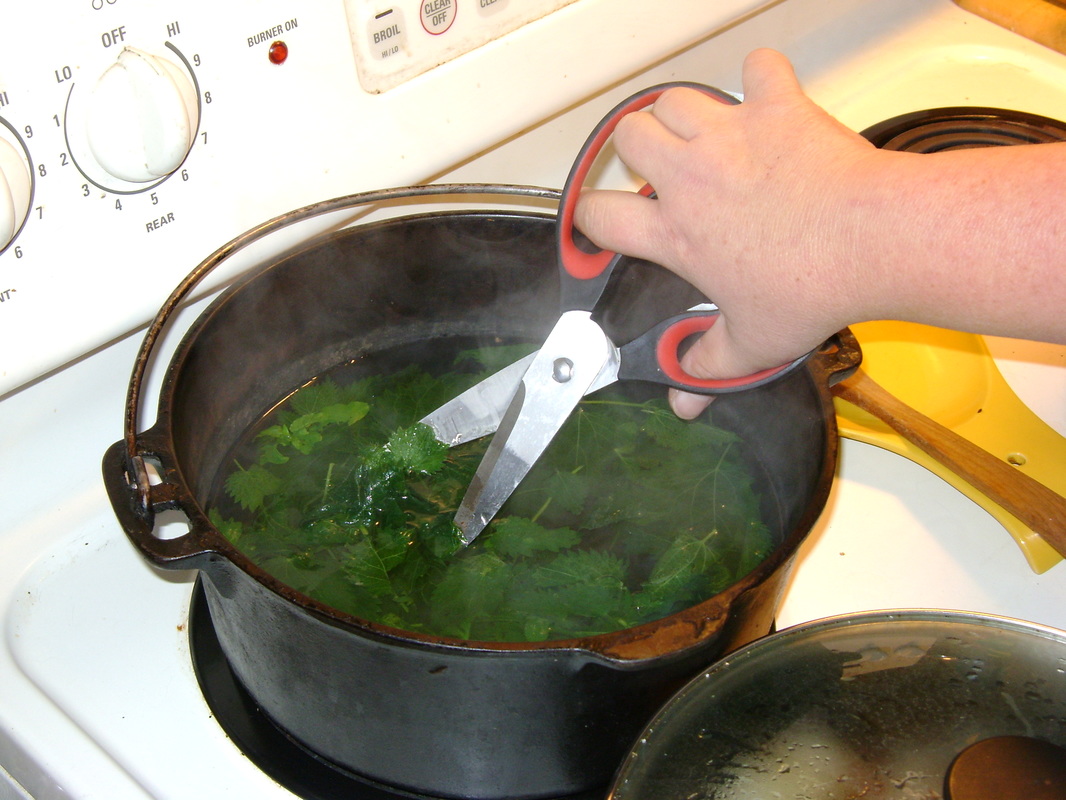
5. Immerse the nettle leaves in the boiling water. Here's another chopping method- cut them with scissors while they boil. Boil for a couple minutes, just until they wilt but are still green. Drain the nettles.
|
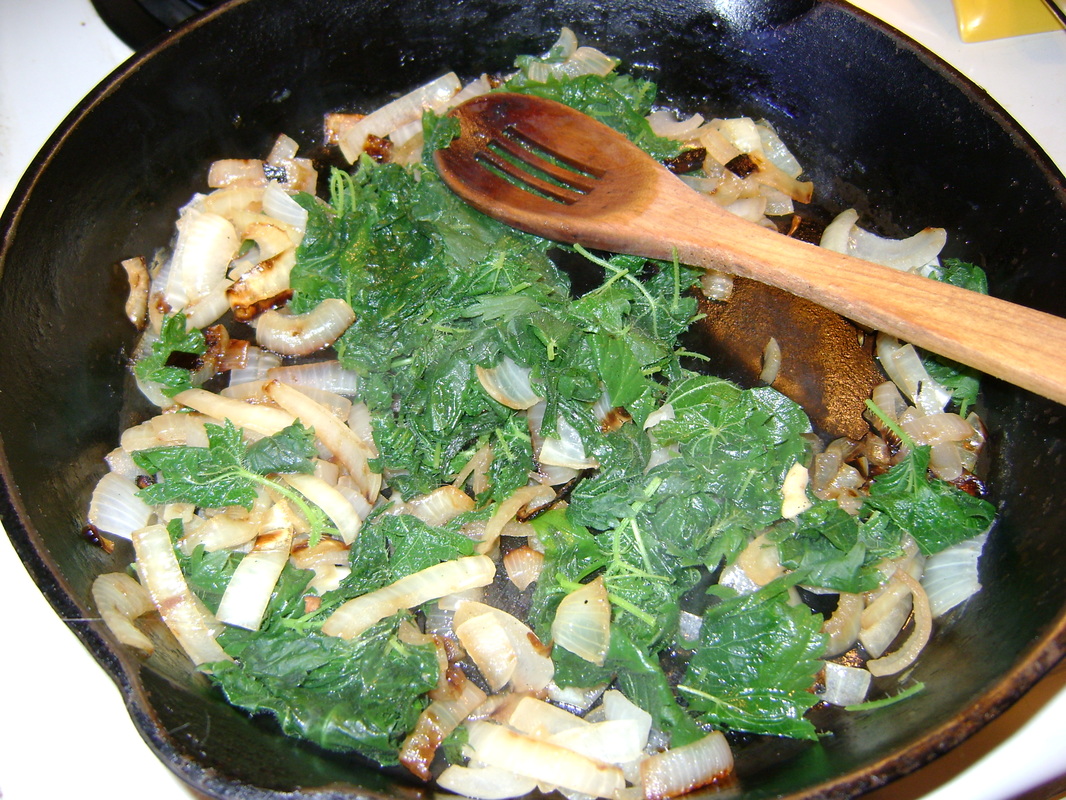
6. After the onions are done cooking, remove from the heat and stir in the wilted nettles.
|
NETTLE PASTA
Here's another versatile recipe that can be used with nettle and/or chickweed, and is also great with wild ramps (wild garlic):
|
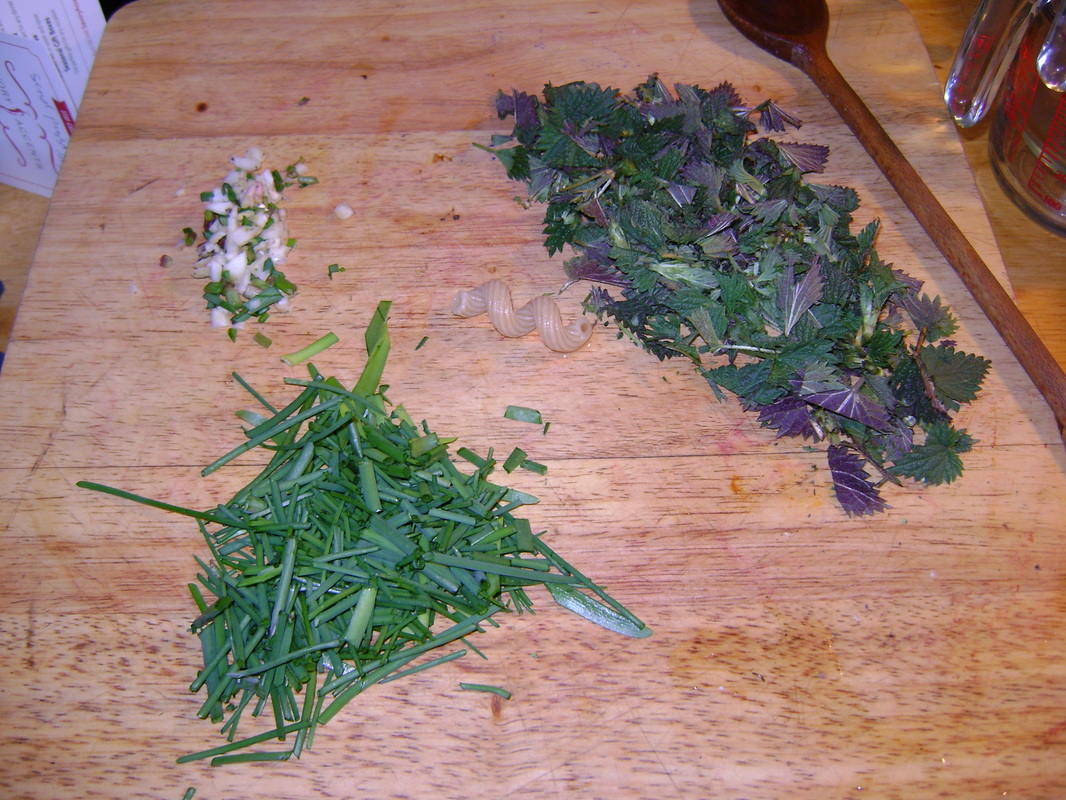
Clockwise from left: Harvest of nettle, Spring garlic, and garlic chives.
Top: Clockwise from top left- chopped Spring garlic,
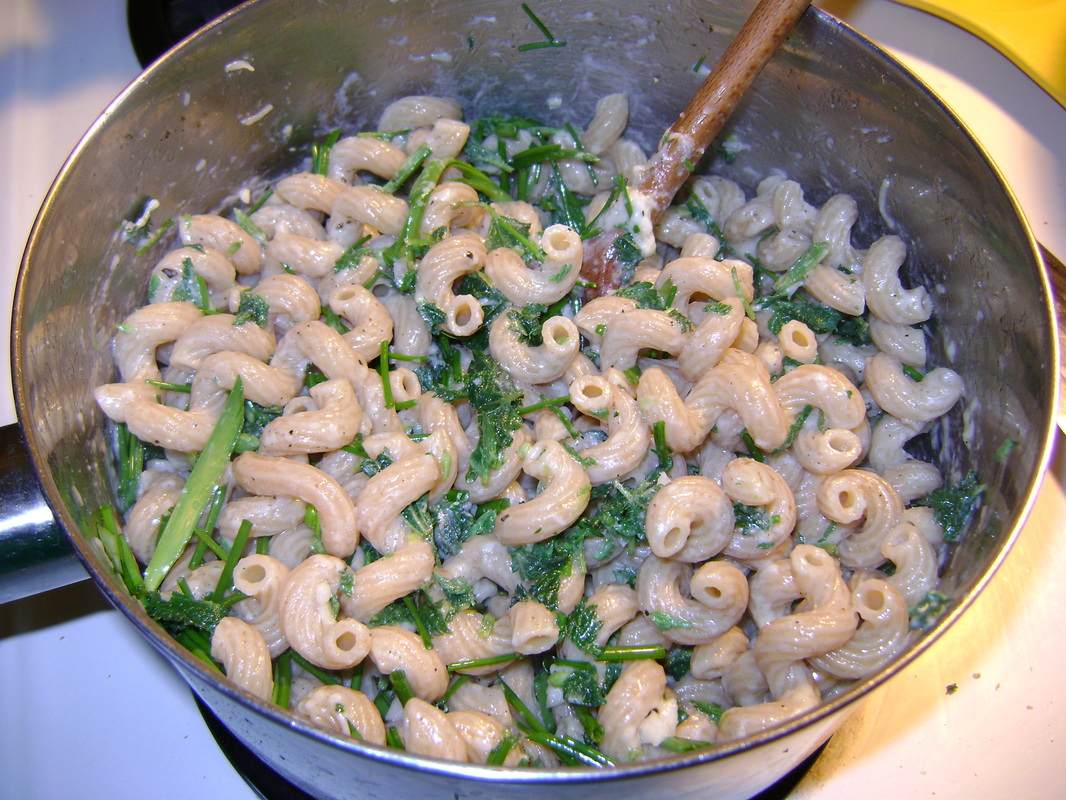
chopped nettle leaves, chopped chives. Right: Finished pasta with Spring greens, butter, and parmesan cheese ready to enjoy with some homemade bread and a good salad. |
|
NETTLE RAMEN
|
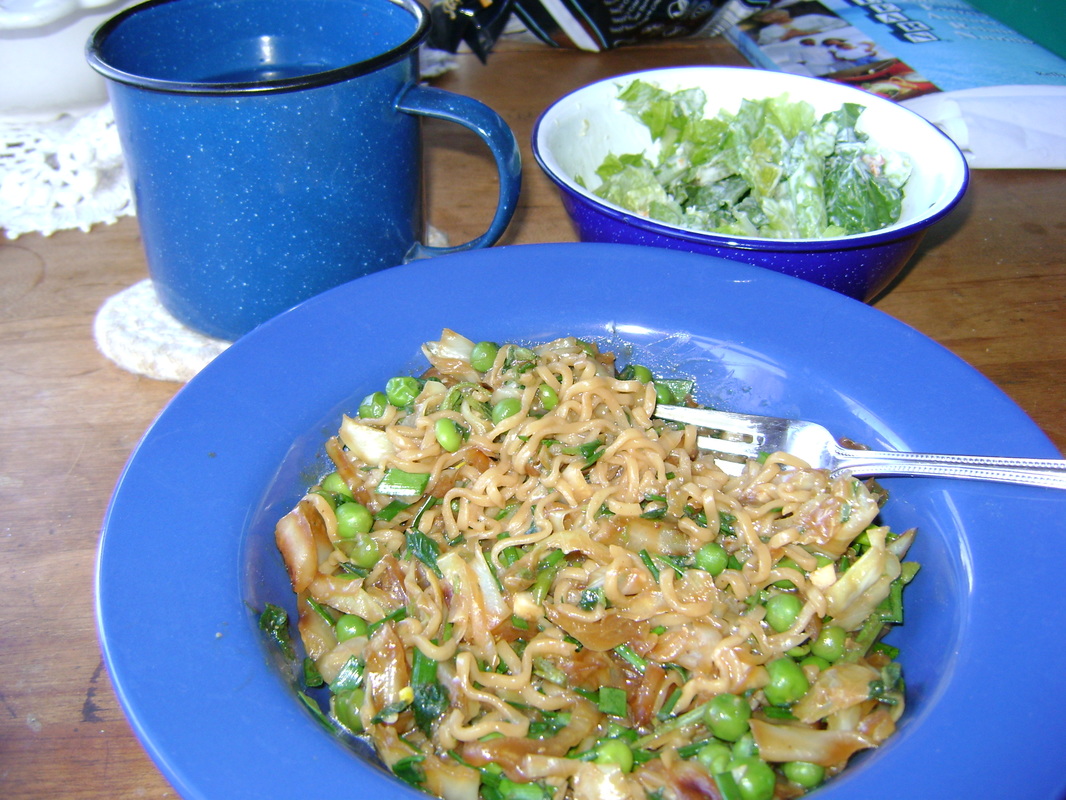
Here's a quick Asian-style dish I concocted one night with items I scrounged from the cupboard, refrigerator, and garden. I used nettle to add a healthy green. I wonder if nettles grow in Asia?
|
NETTLE INFUSIONS
|
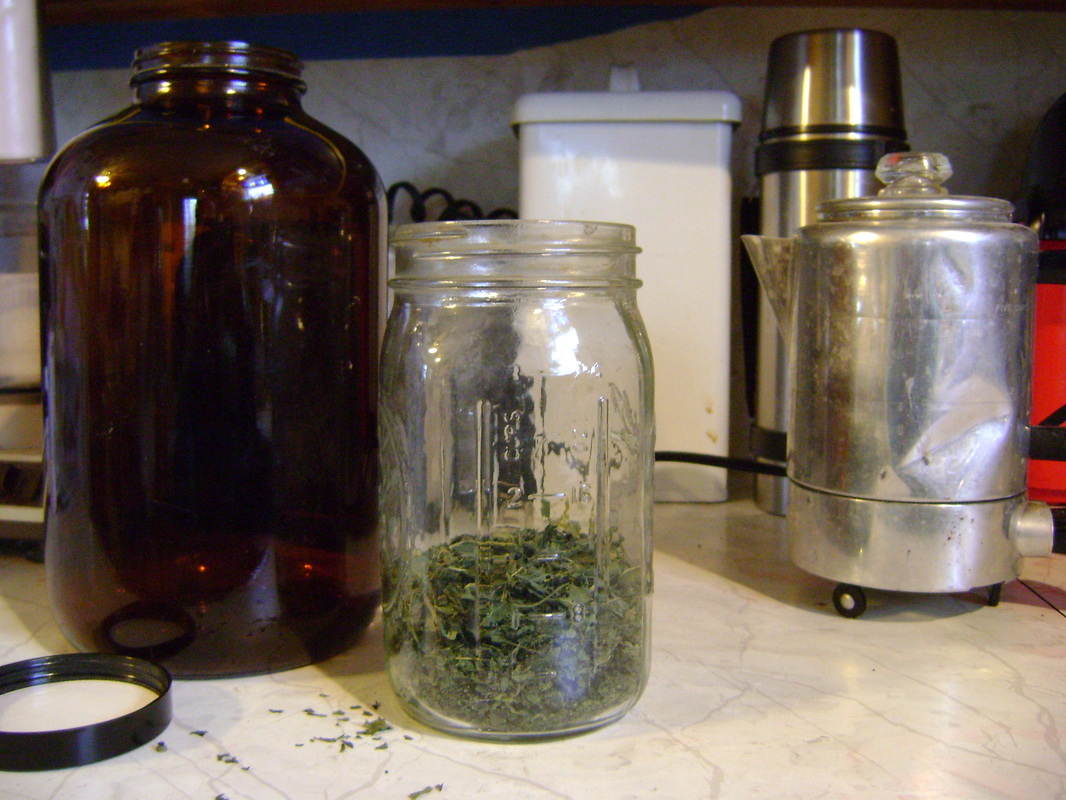
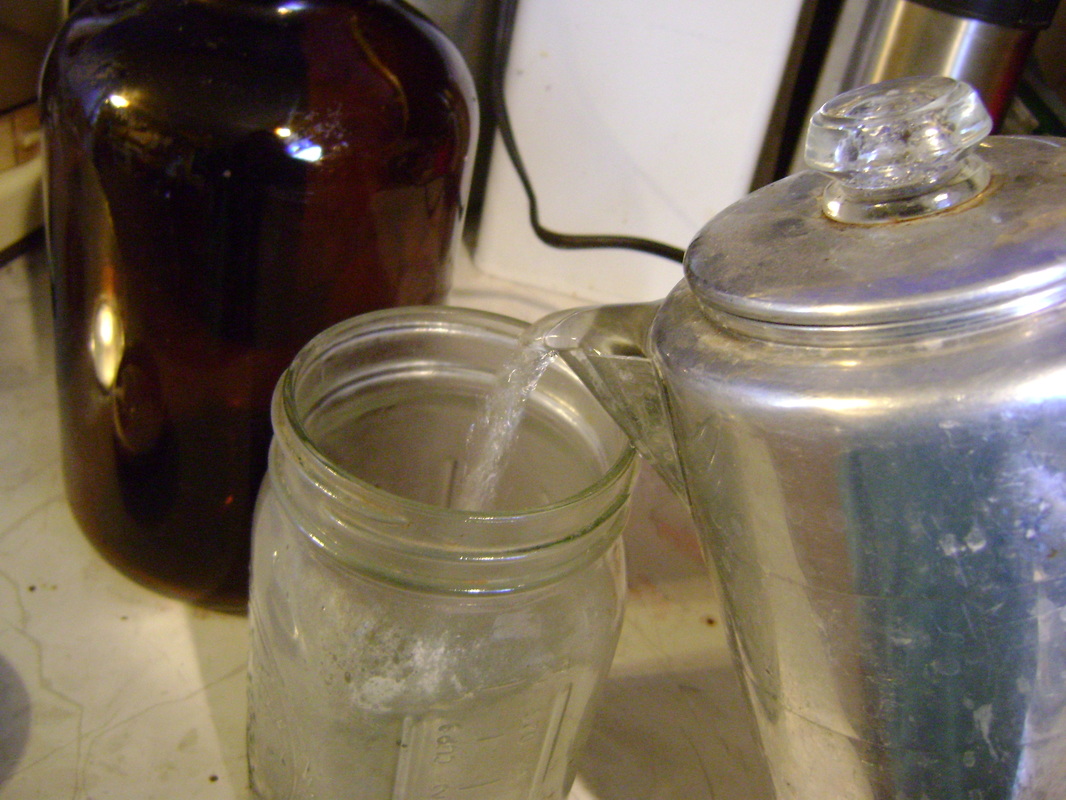
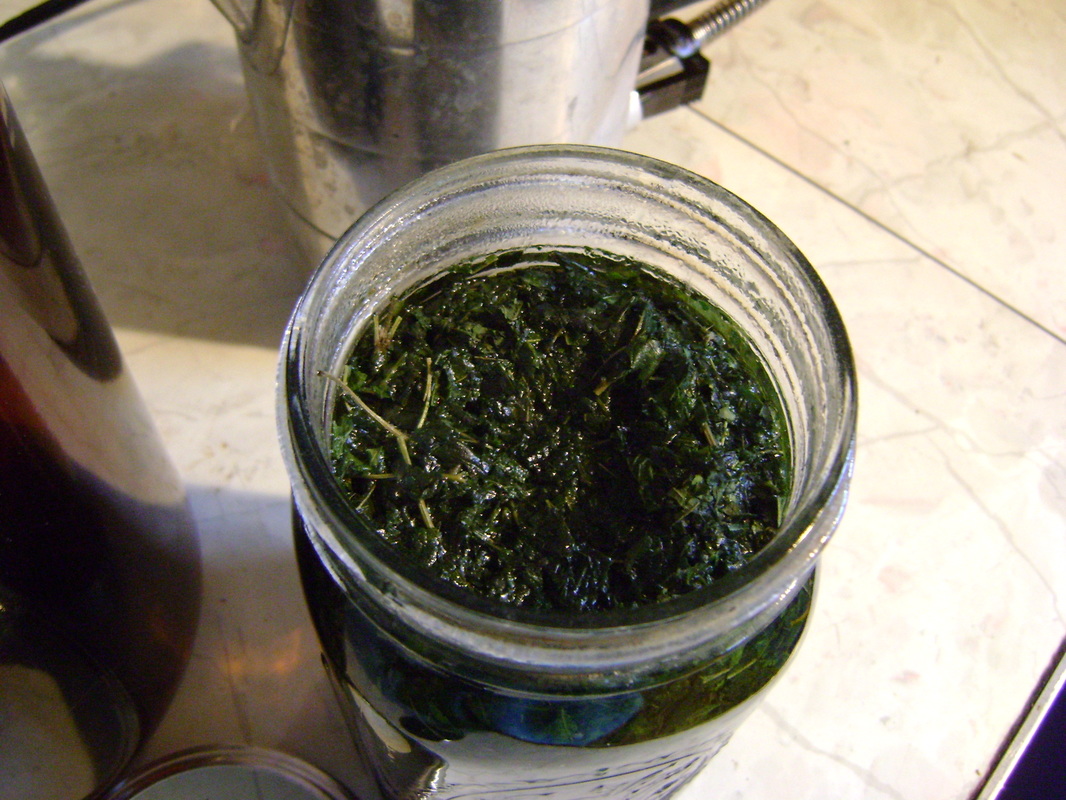
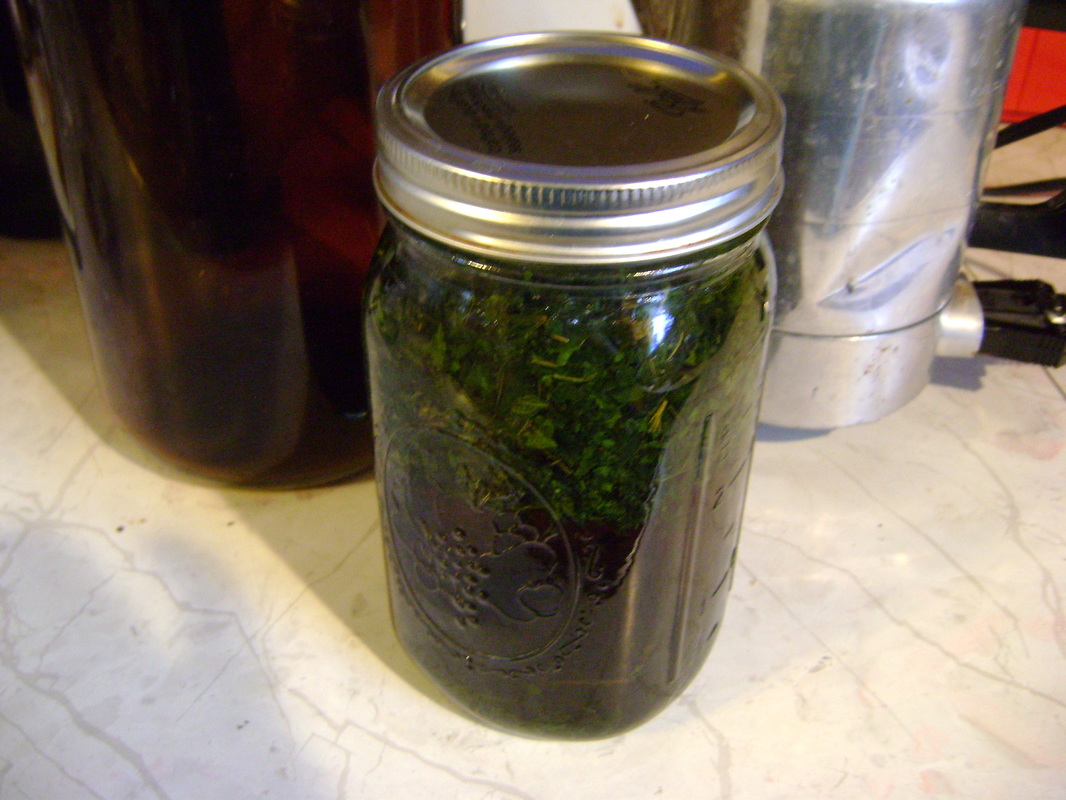
We mostly eat fresh nettle in the Spring, before other fresh vegetables are available, and enjoy it the rest of the year by making it into an infusion, which is a very strong tea that steeps for 4-8 hours. This extended steeping time allows all the healthy vitamins and minerals to be extracted from the leaves so you can drink them. This is really my favorite way to have nettle, and my body craves the dark liquid because it is so good for me.
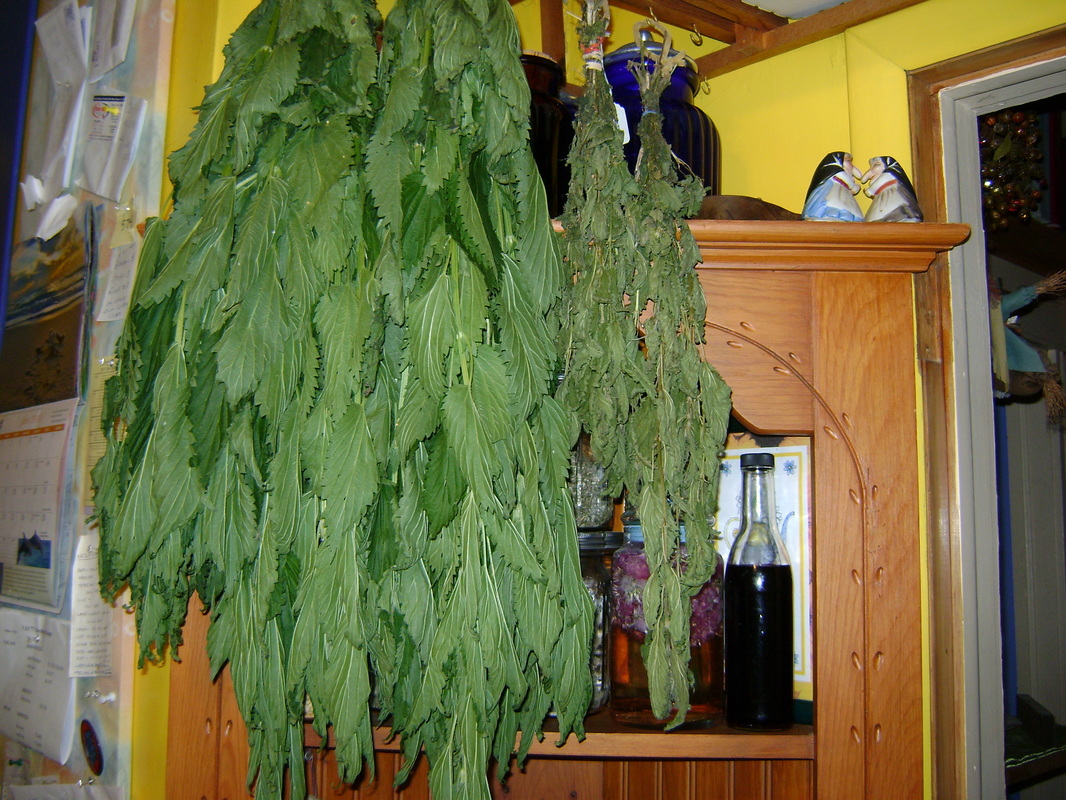
Nettle infusions are made from dried nettle leaves. The photo to the left shows some tall nettle stalks I've harvested from our yard hanging upside down to dry in our kitchen (on the left). I harvest them at the Summer Solstice (June 21st). For instructions on how to do this, see our page on harvesting and storing herbs. How to make the infusion: |
|
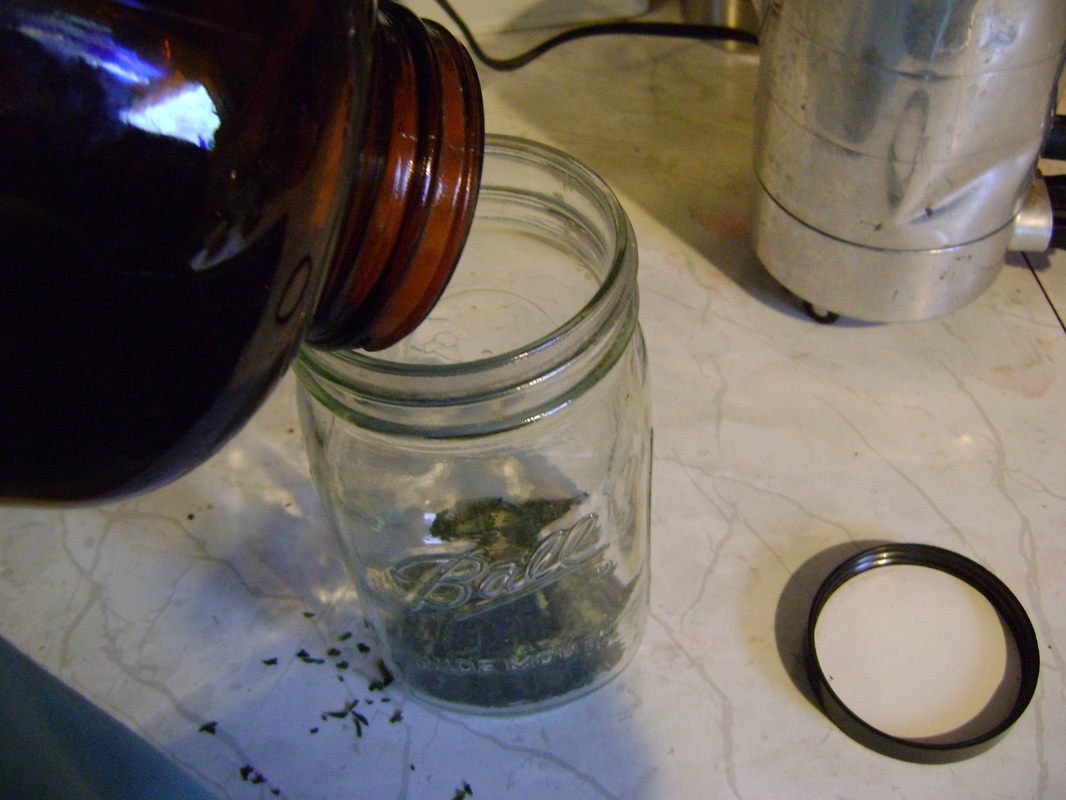
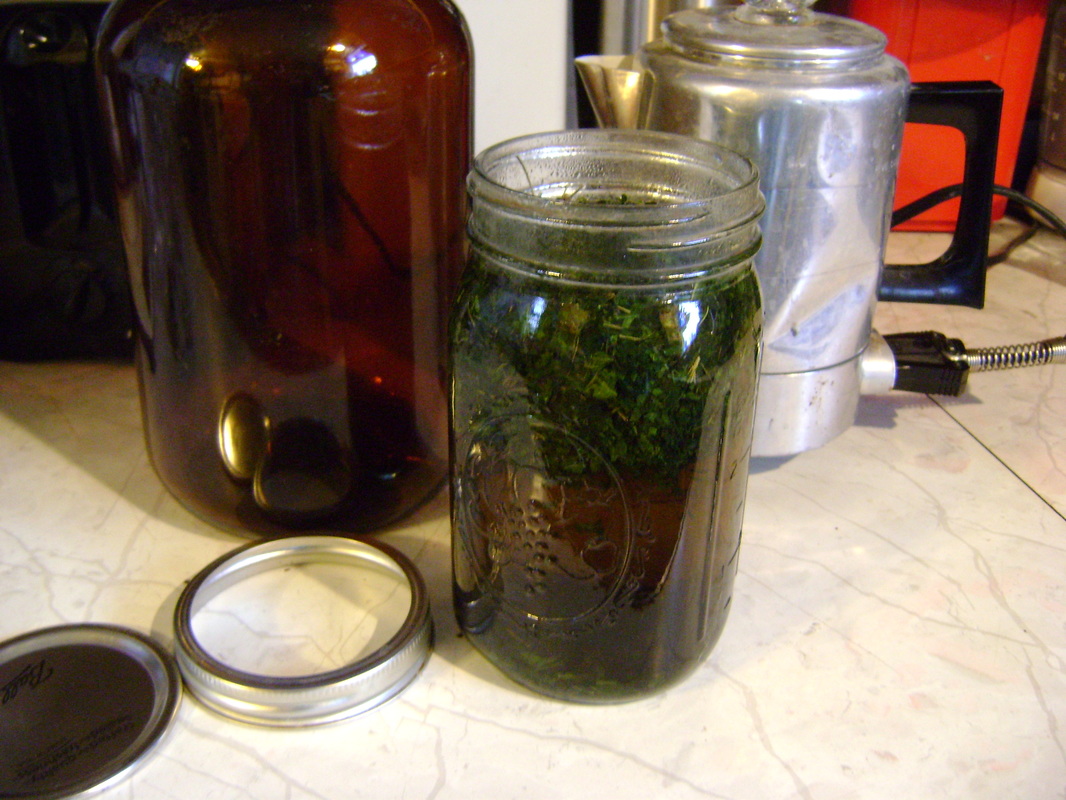
7. Screw on the lid and let the jar sit on the counter for 4 to 8 hours, or overnight. I like to make my infusions in the morning, letting them steep all day, so I can strain and drink them when I come home at night.
|
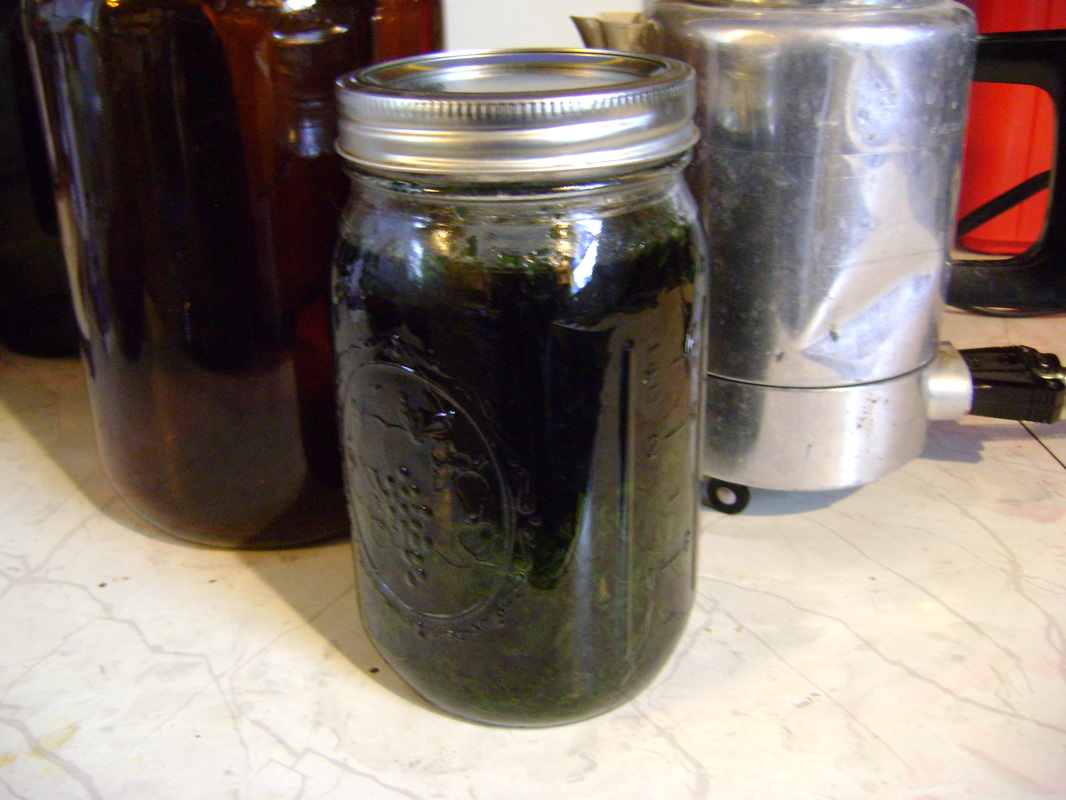
8. After steeping for many hours, the infusion will turn a very dark green color that is so dark it looks black in the jar and you won't be able to see through it.
|
|
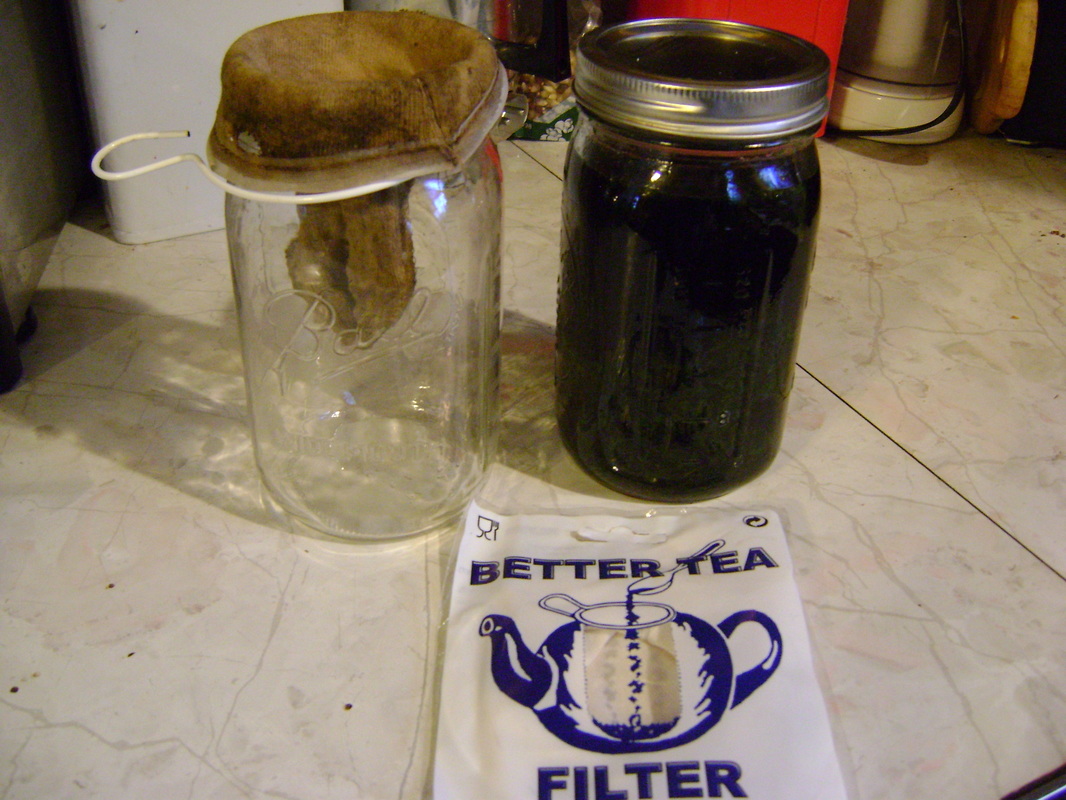
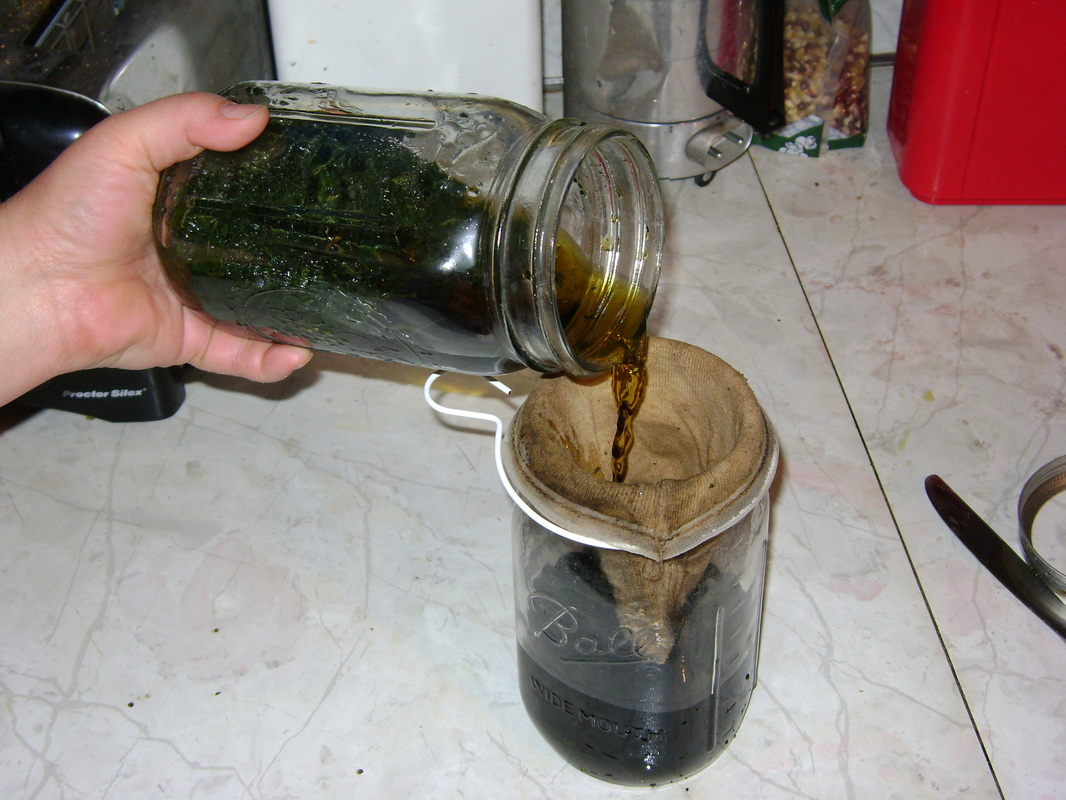
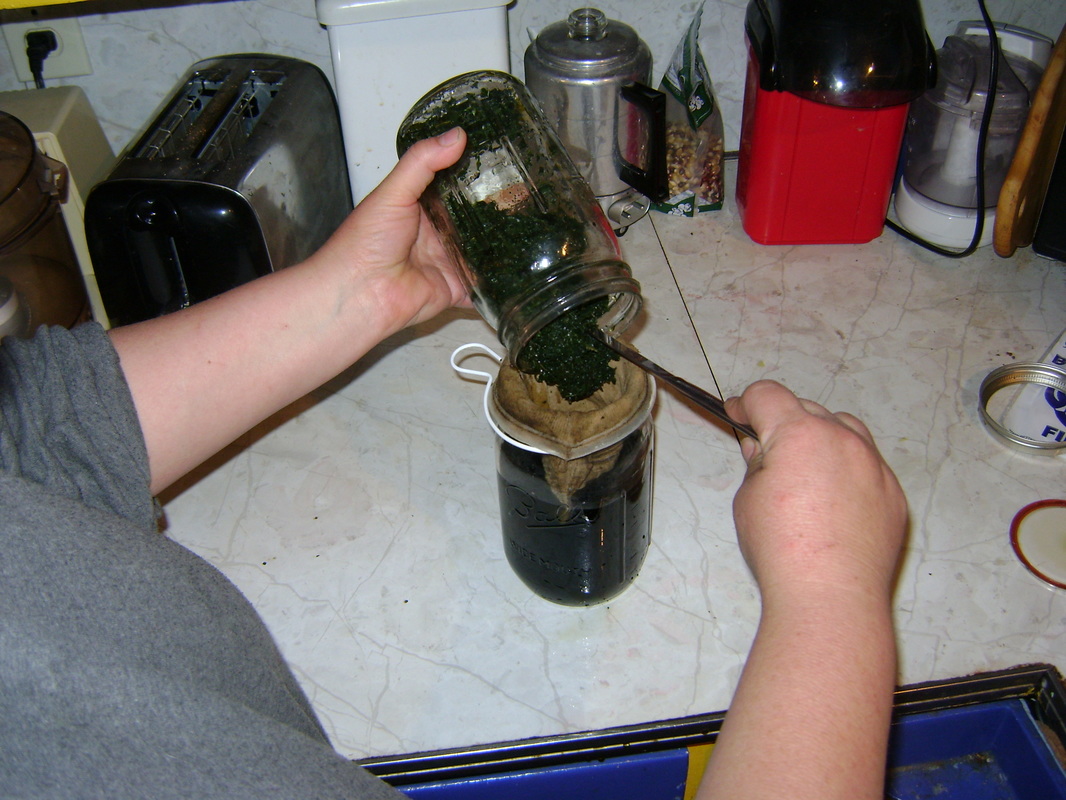
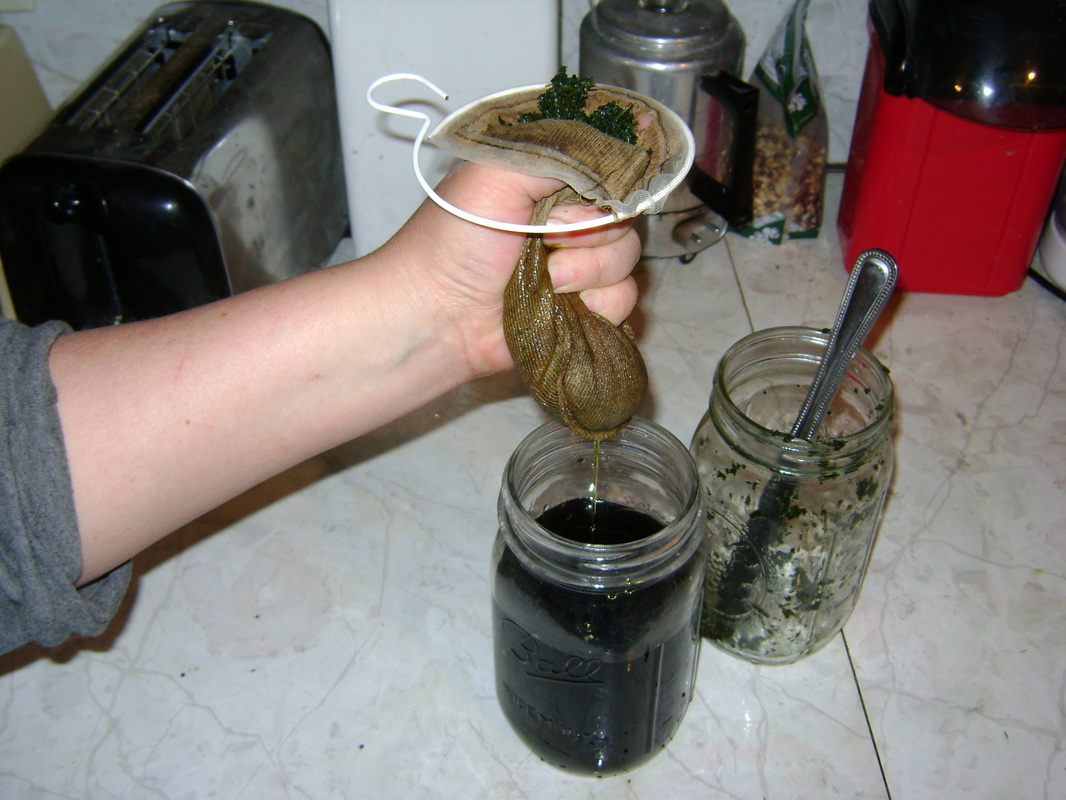
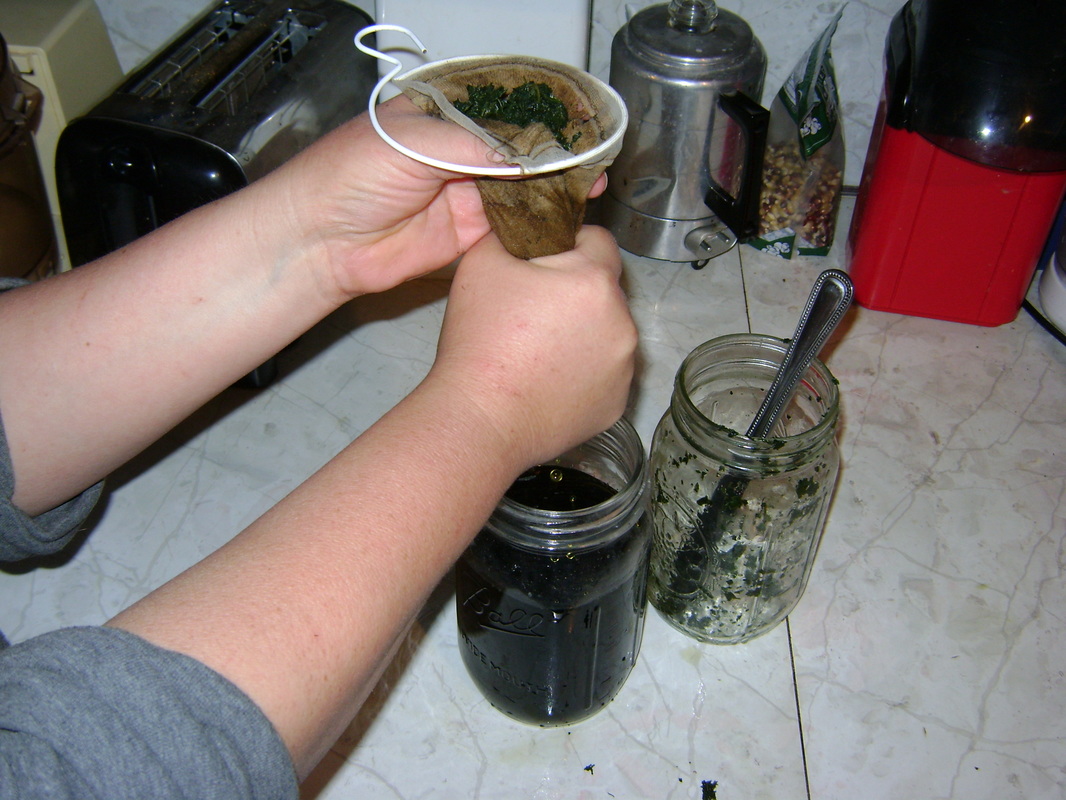
9. Next you need to strain the liquid out of the nettle leaves. I use these cotton tea nets from Mountain Rose Herbs (see their tea accessories section). You can see one of my old, tea stained nets hanging in the jar on the left, and a new one in the package laying on the counter.
|
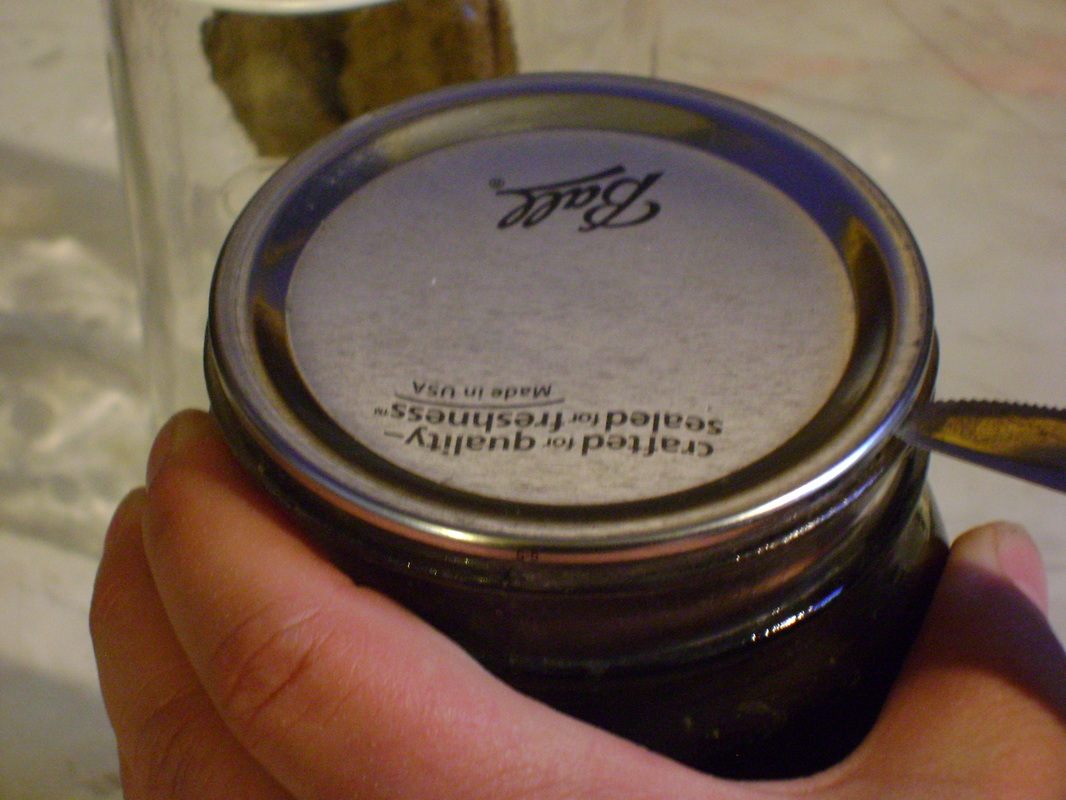
10. If your canning lid sealed while it was steeping (you may hear the pop), remove the band, then slide a butter knife between the top groove for the screw on band and the sealed lid, and twist the knife to release the lid. If you try to unseal it by just pulling with your fingers, it works, but it hurts.
|
Your incredibly nutritious nettle infusion is now ready to drink.
Some may find the taste strange at first. I liked it right away, and after I had it a few times,
my body liked the vitamins & minerals so much that I have craved it every since.
Even Bear likes to drink it now.
Some may find the taste strange at first. I liked it right away, and after I had it a few times,
my body liked the vitamins & minerals so much that I have craved it every since.
Even Bear likes to drink it now.
