Our Tiny Homestead
  • Home
  • Inside
    • Buy Nothing Challenge >
      • 2014
      • 2015
      • 2018
      • 2019 & Debt-Free
    • Our Wood Stove
    • Laundry
    • Prepare for a Power Outage
    • Renovations
  • Outside
    • Theresa's Gardening Goals
    • Permaculture 101
    • Perennial Vegetables
    • Eat Your Wild Yard
    • Seed Starting
    • Walnut Syrup
    • Gardening for Wildlife
    • Wildlife Pond
    • Save Our Bees
    • Our Gardens >
      • Celtic Cross Garden
      • Catio Construction
  • Cooking
    • Wood Stove Cooking
    • Shelf Chefing >
      • Bear's Shelf Chefing
      • In Shape Shelfchefing
      • Wild Raspberries
      • Grilled pizza
      • Celebrate Seasonal Eatin >
        • Samhain - Late Fall
      • Cook of Anarchy grilled cheese
    • Haybox Cooking
    • Heat wave solar cooking
    • Division of Labor
    • Recipes
  • Pantry
    • Pantry Intro
    • Pantry Cooking
    • Yearly Harvest List
    • Preserving
    • Making Staples
    • Growing Sprouts
    • Building Our Pantry
  • Celebrate
    • After the Pandemic
    • Winter Solstice
    • Mid-Winter & Imbolc
    • Spring Equinox
    • Late Spring & Beltane
    • Summer Solstice
    • Fall Equinox
    • Late Fall & Samhain
    • Nature's Magic Altar
  • Our Books
  • Our Videos
  • Our Art
  • Blog
  • About
  • Contact
  • Resources
Picture
Picture

HOW TO MAKE YOUR OWN FIRESTARTERS

From Theresa:
  • I usually make a couple cartons of these wax fire starters at the beginning of the Winter heating season.  
  • I don't use them often, but on those days when I'm tired, they make fire starting easier.
  • They are much cheaper than the commercially available fire starters.
  • I also keep a couple cartons in our emergency supplies. I think they would be very good to have around under emergency situations, when you might be too stressed to build a fire from scratch, or may not have the necessary kindling.
  • I read about how to do this in a letter sent to a homesteading magazine. It is apparently an old Boy Scout trick.
Here are the supplies I use:
  • wax (I use old candles)
  • empty cardboard egg cartons
  • combustible materials with which to fill the egg cartons (dryer lint, sawdust, shredded paper, etc.)
  • a double boiler and a stove to heat it on

MAKING FIRE STARTERS in EGG CARTONS

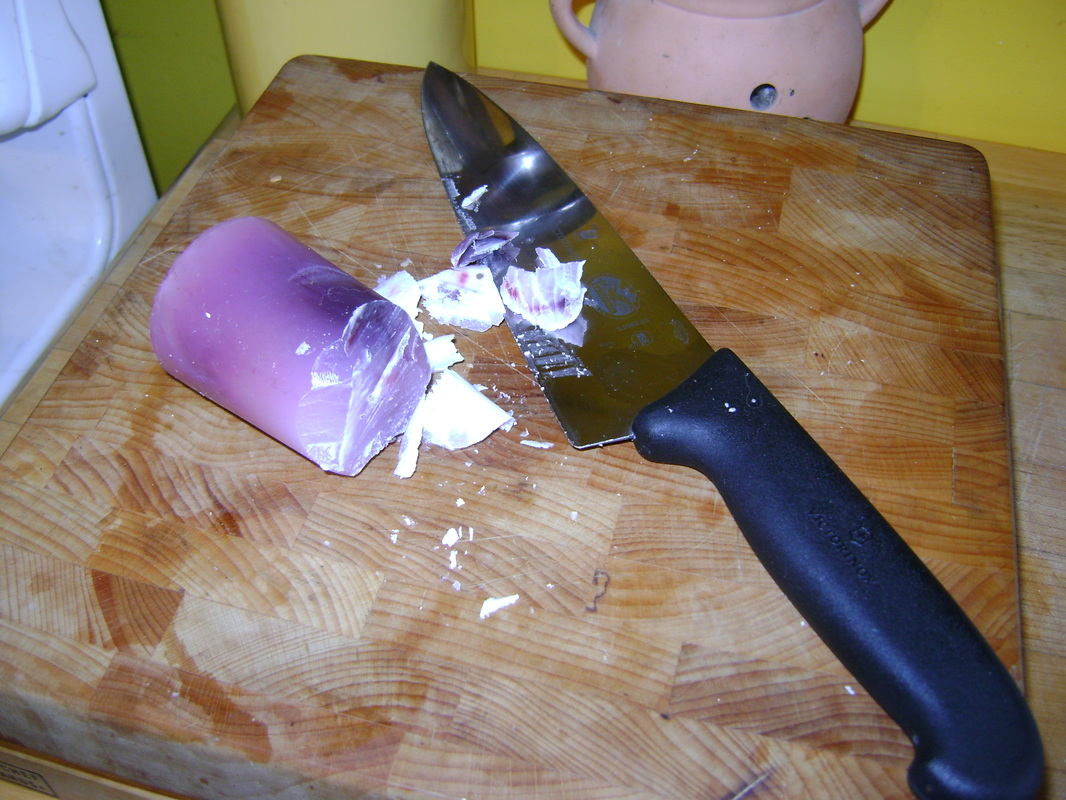
1.  I start by cutting up candles I've bought cheaply at garage sales. You can use any wax you have on hand.
Picture
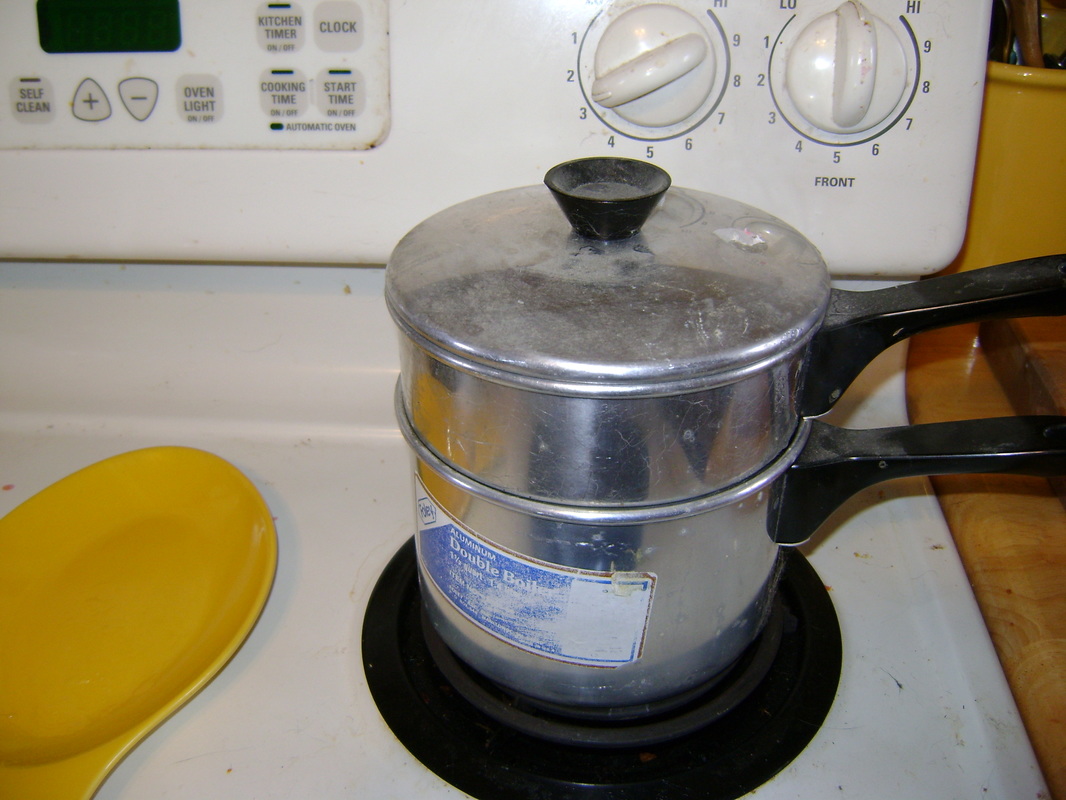
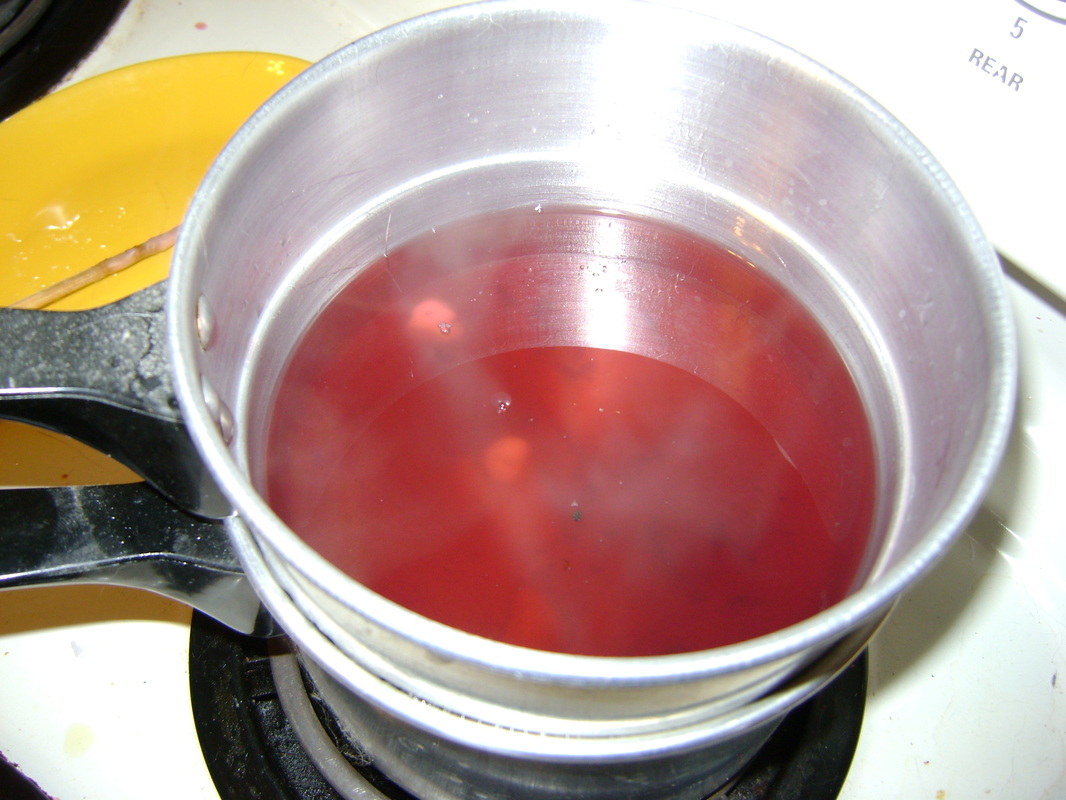
2. To melt the wax, you'll need a double boiler like the one shown below.
Picture
3.  Double boilers are essentially two stacked pots. You put water in the bottom pot, turn the stove on a low to medium heat, and the rising steam from the heating water warms the upper pot without burning whatever is in it. You want the was to melt slowly. It if boils, it could splash all over your kitchen. You don't want to clean up that mess.​​
Picture
4.  If you don't have a double boiler, you can improvise one by resting a bowl on top of a pot, as shown below. Either metal or glass bowls will work. Since melting wax can make a mess that is hard to get off, don't use your favorite pot or bowl. I found my double boiler cheap at a garage sale, and now use it only for melting wax, so I don't have to worry too much about clean up.
Picture
5.  While the wax is melting, get the egg cartons ready. I fill each egg pocket with dryer lint.
Picture
6. You can also use sawdust (below), or anything that is burnable, like shredded paper.
Picture
7.  Continue melting the wax until the solids are mostly gone.
​
Picture
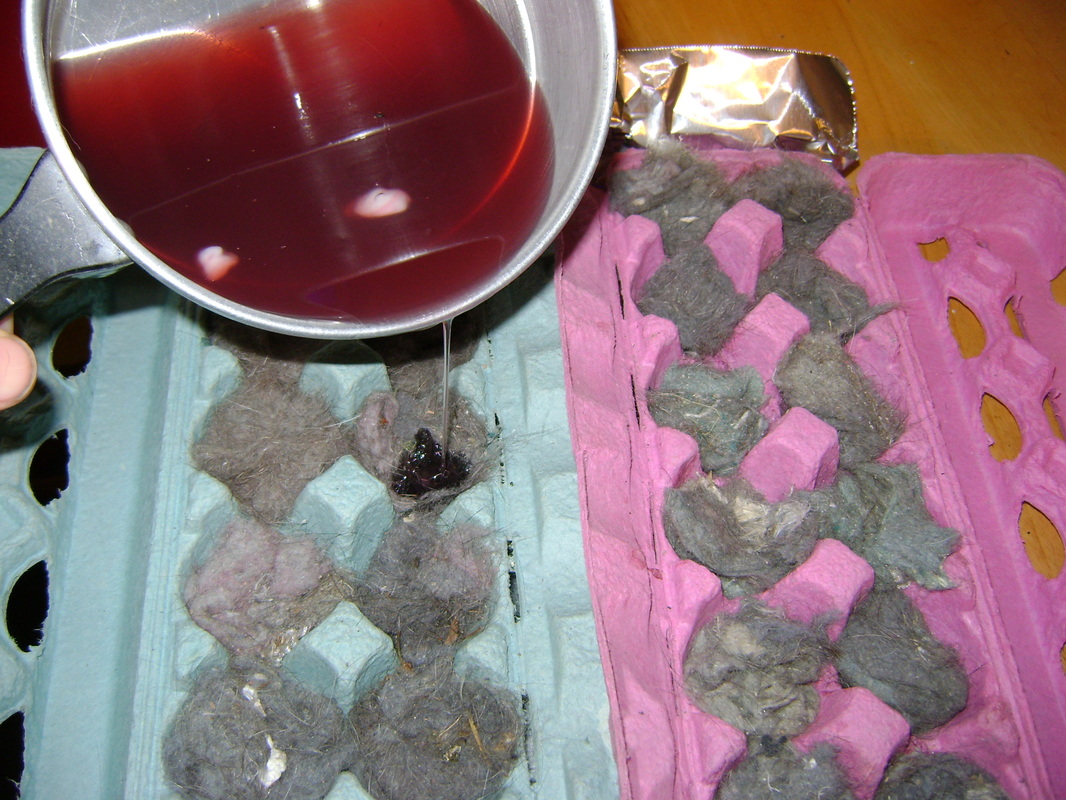
8.  Carefully pour the hot wax onto the egg cartons. I have these cartons sitting on cookie sheets covered with aluminum foil, in case of spills.
Picture
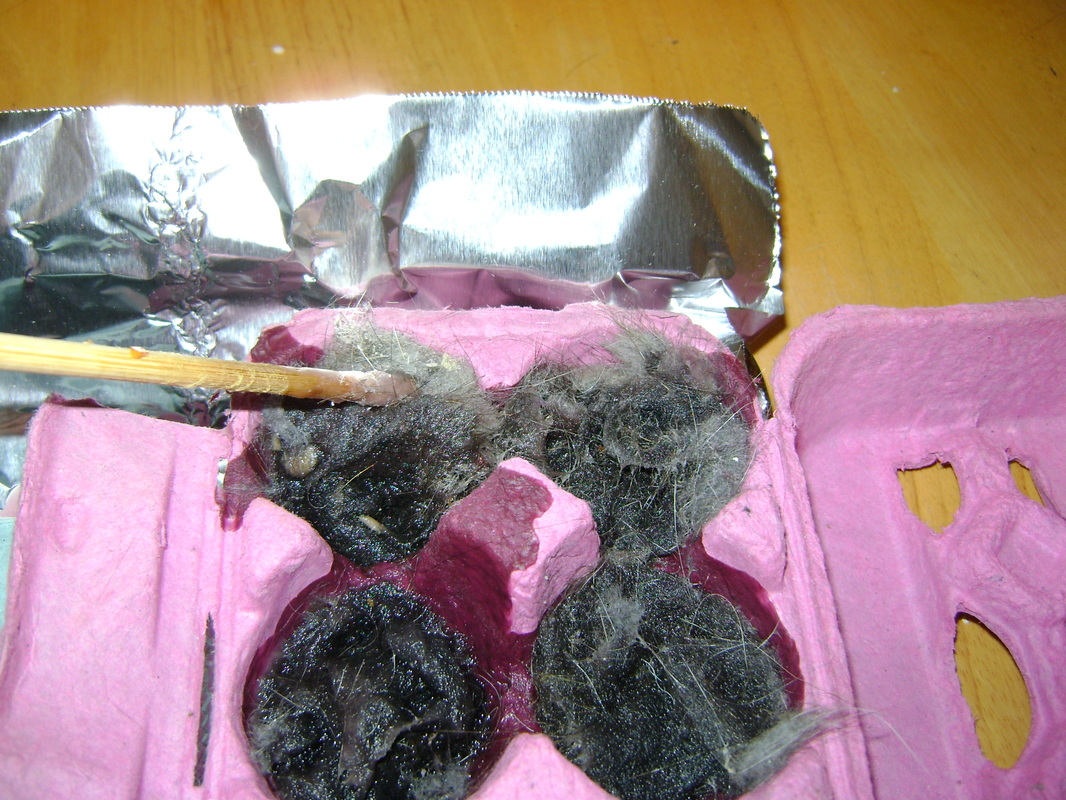
9. You might want to push any loose lint down into the wax.
​
Picture
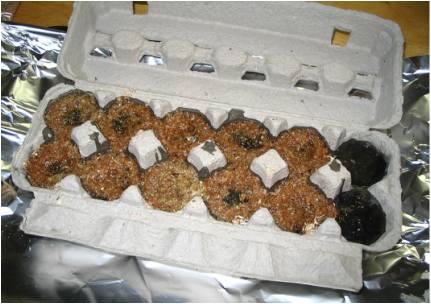
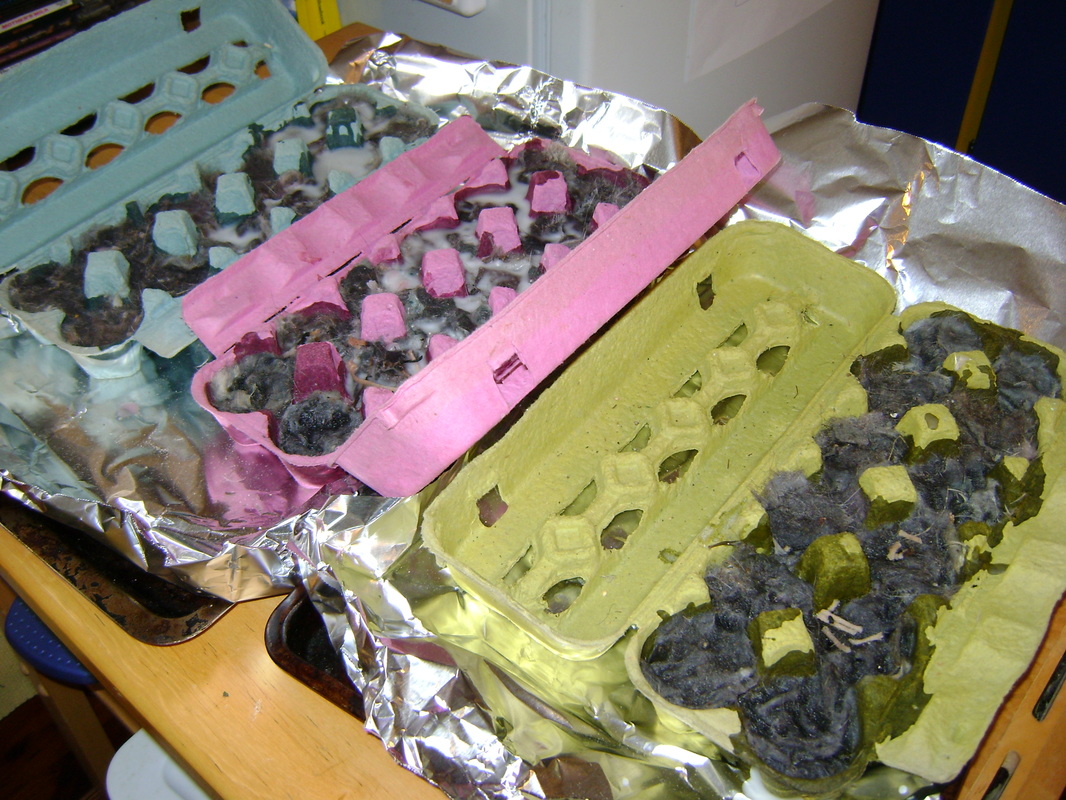
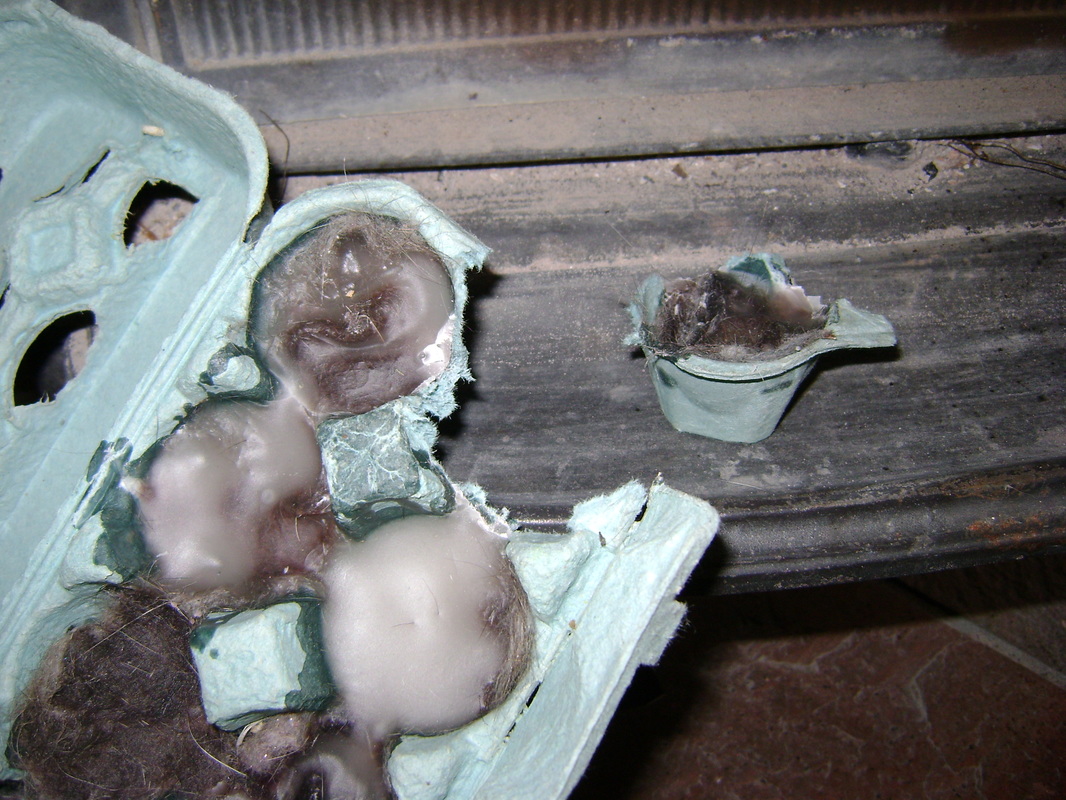
10.  This is what the finished product looks like. Let them sit overnight or until the wax cools and solidifies.
Picture

USING THE FIRE STARTERS

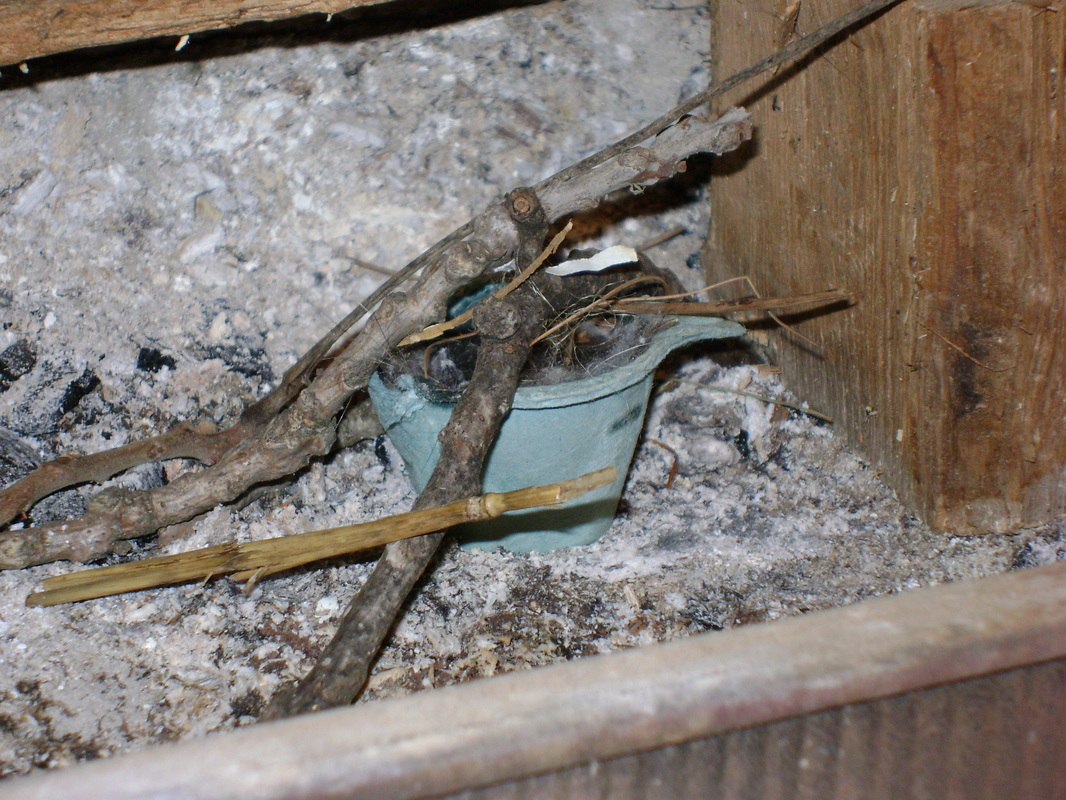
1.  Tear off one egg cup from the carton.
Picture
2.  Put it in your wood stove.
Picture
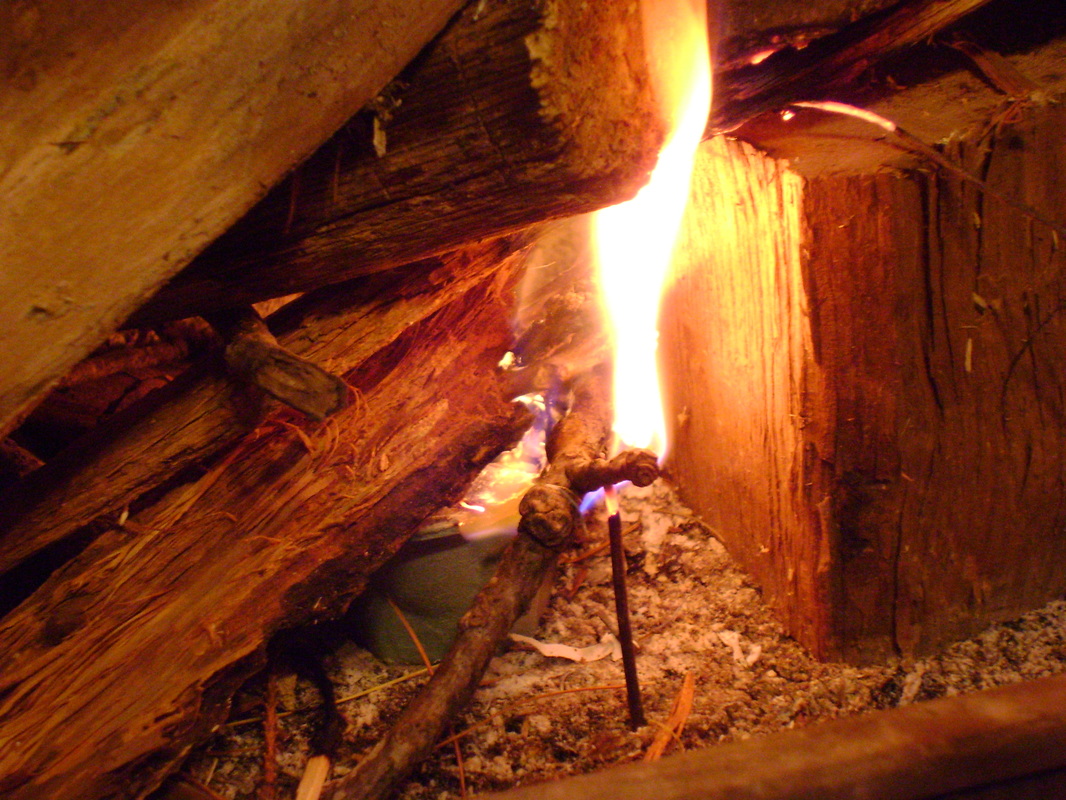
3.  Build your fire over the fire starter...
Picture
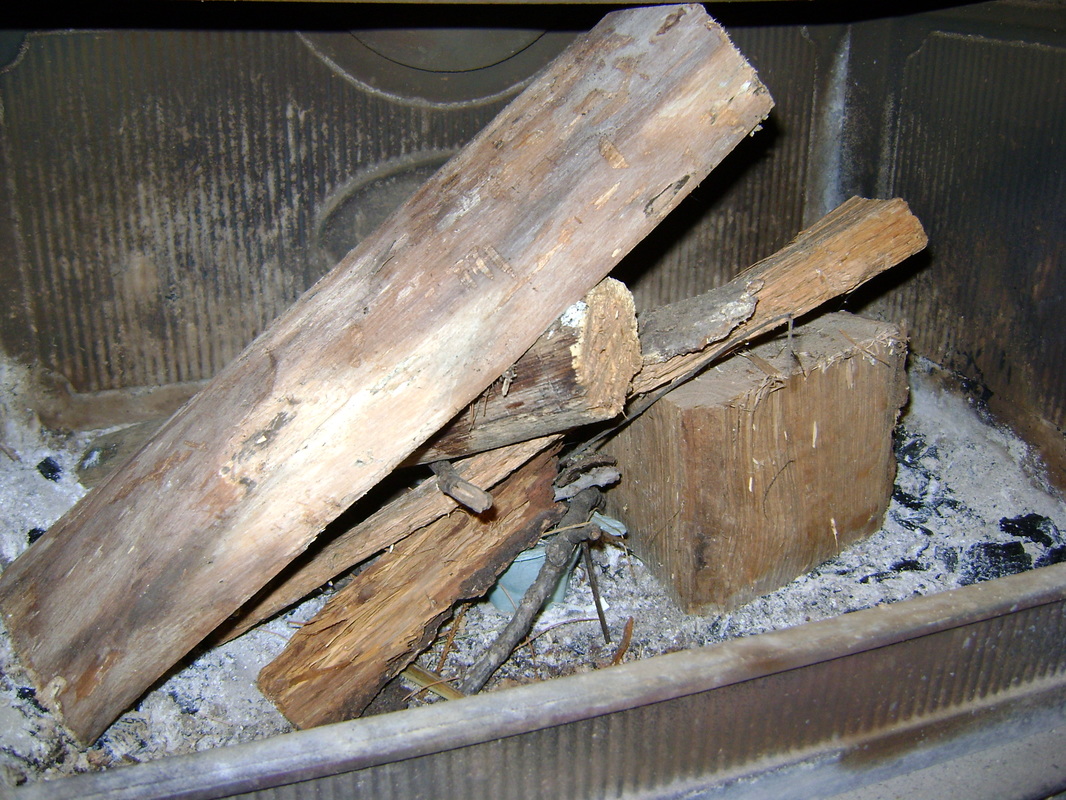
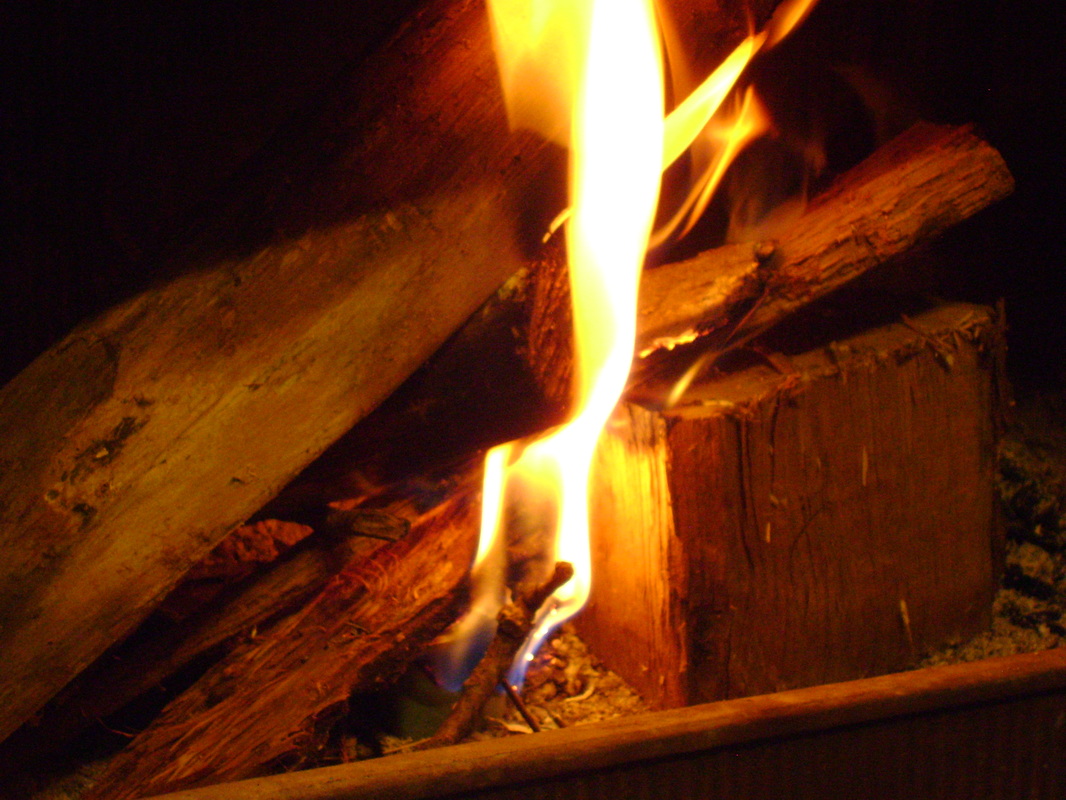
4.  ... adding larger and larger logs.
Picture
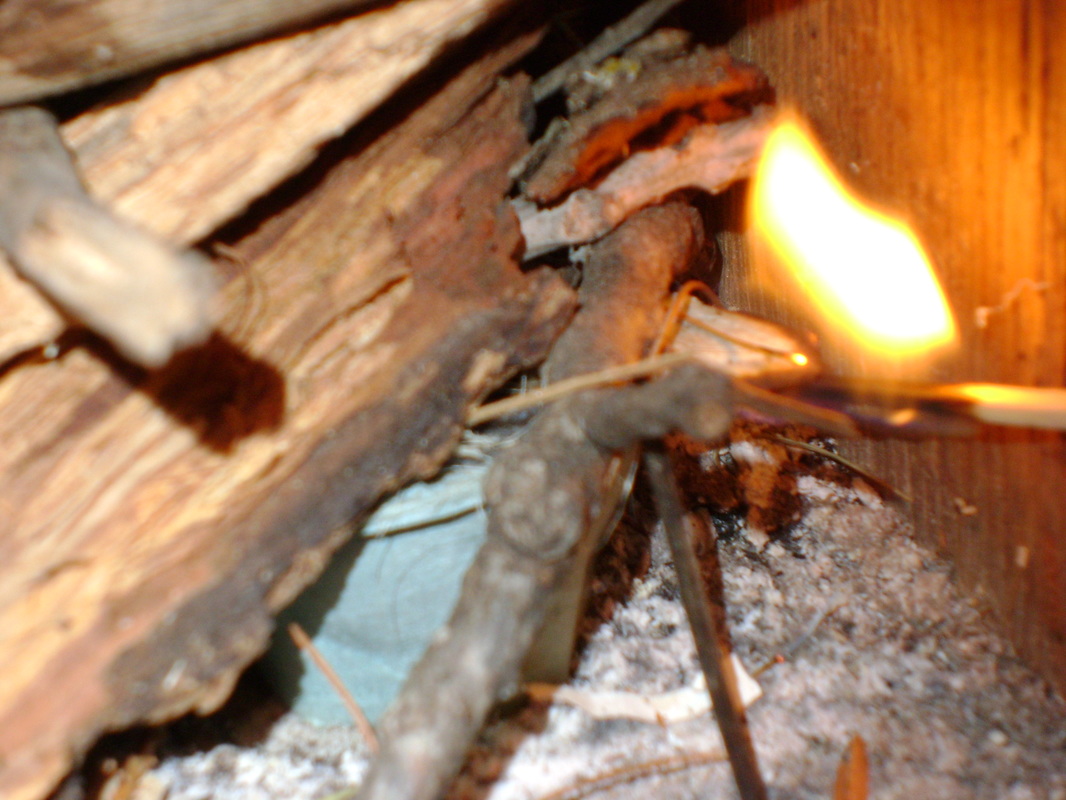
5.  Use a match to light the fire starter. There's usually a bit of edge left at the top of the egg cup after tearing it off. This part lights easily.
Picture
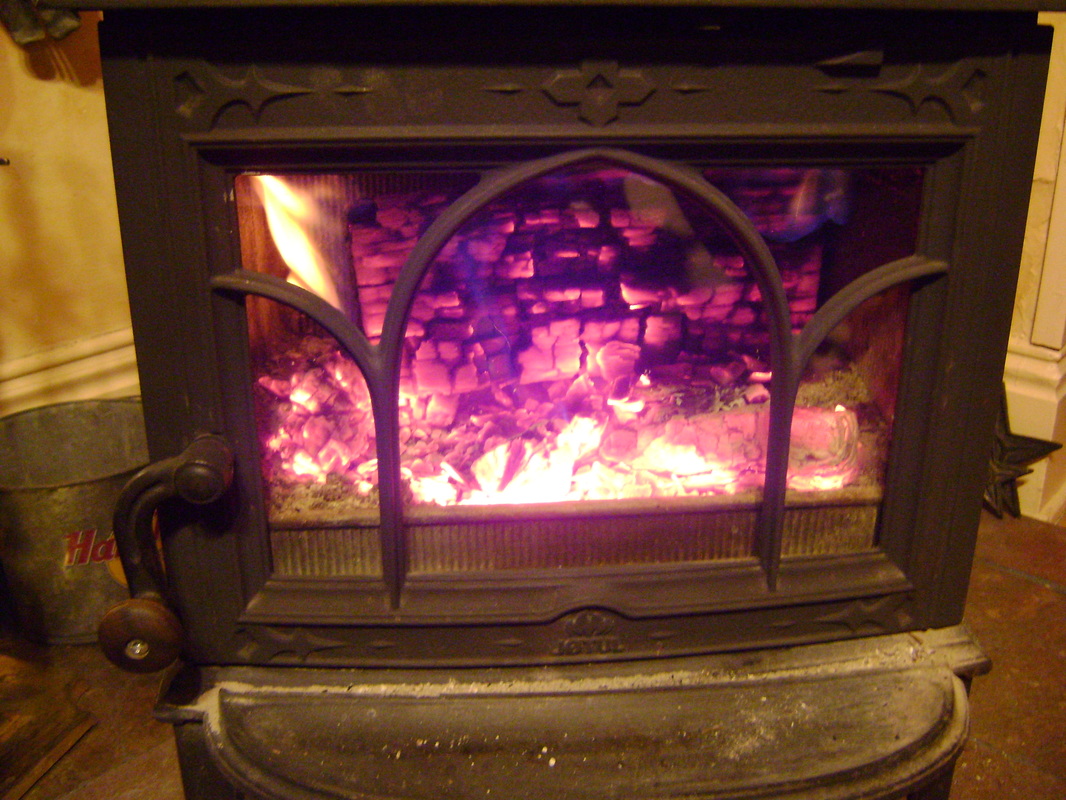
6.  Once the wax in the fire starter catches, it will burn for around 10-15 minutes, which is usually long enough for your larger wood to catch.
Picture
And later you'll have a roaring fire...
Picture
Return to the main Wood Stove page.
Home    Inside   Outside   Shelf Chefing   Cooking   Pantry   Celebrate   Our Books  Our Videos  Our Art  Blog   About   Resources   Contact
Be the change you wish to see in the world.  ~Gandhi
Copyright 2025 by Theresa & Rob Berrie