|
How to Bake on a Wood Heat Stove:
|
1. Making Pizza on the Wood Stove:
|
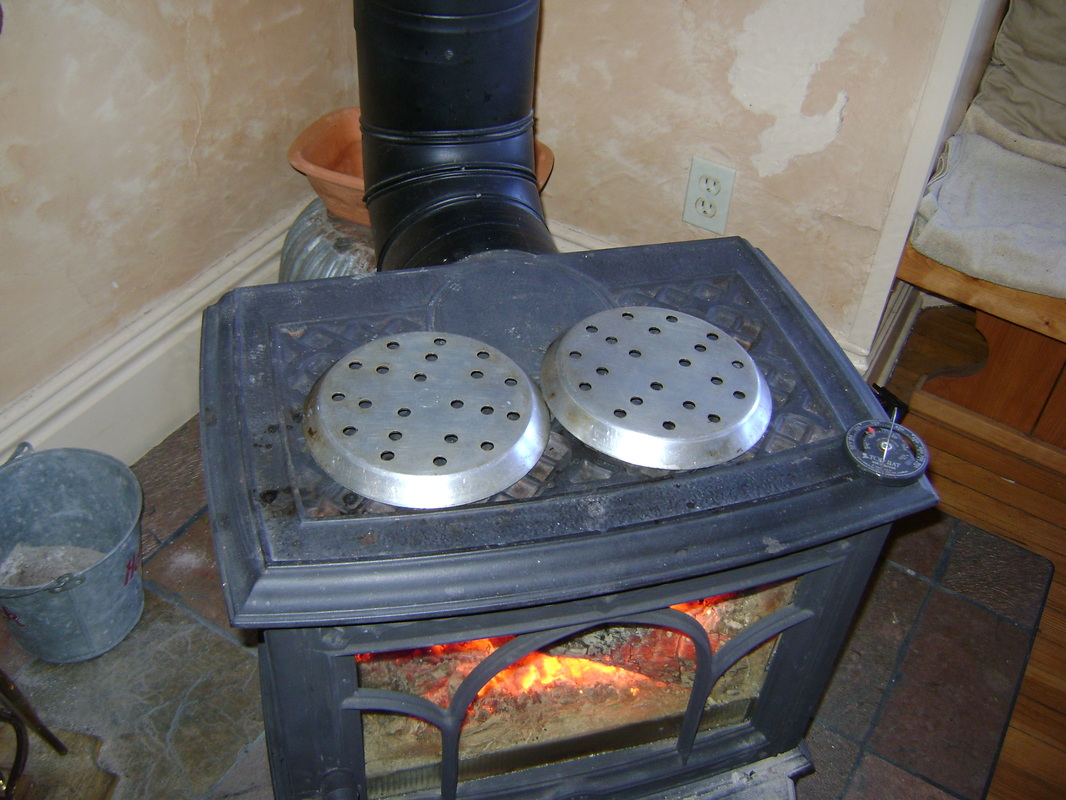
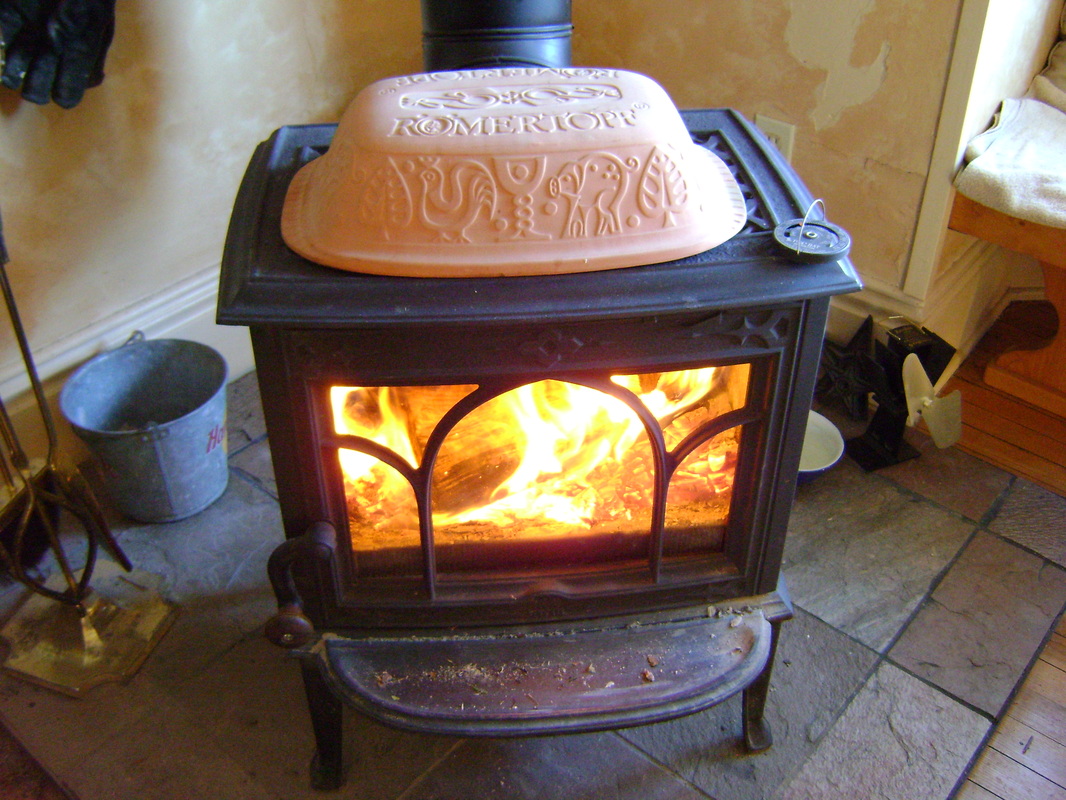
A. Position trivets to raise food away from the surface of the wood stove. These are some pizza pans turned upside down that were being thrown away at Bear's work place.
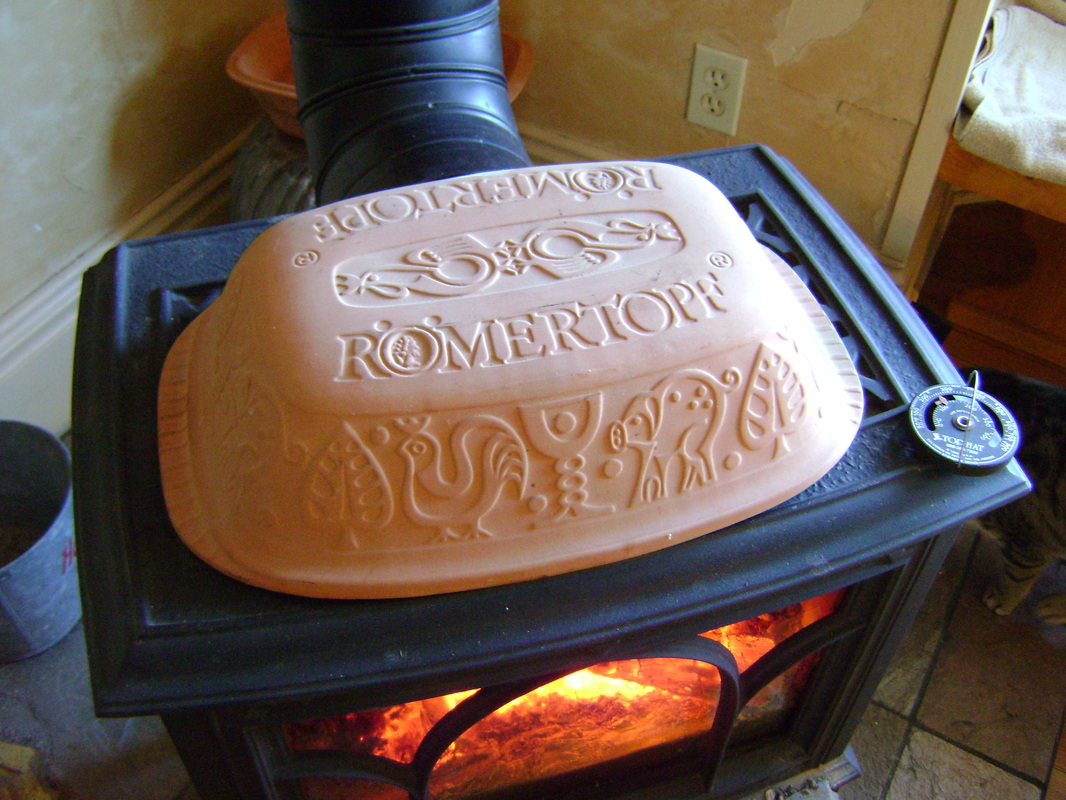
C. Place something over the pizzas to create the walls of the oven. For these pizzas, we used the top of a clay roasting dish (part of the bottom can be seen behind the stove). The top of a traditional enamel roasting pan would also work well.
|
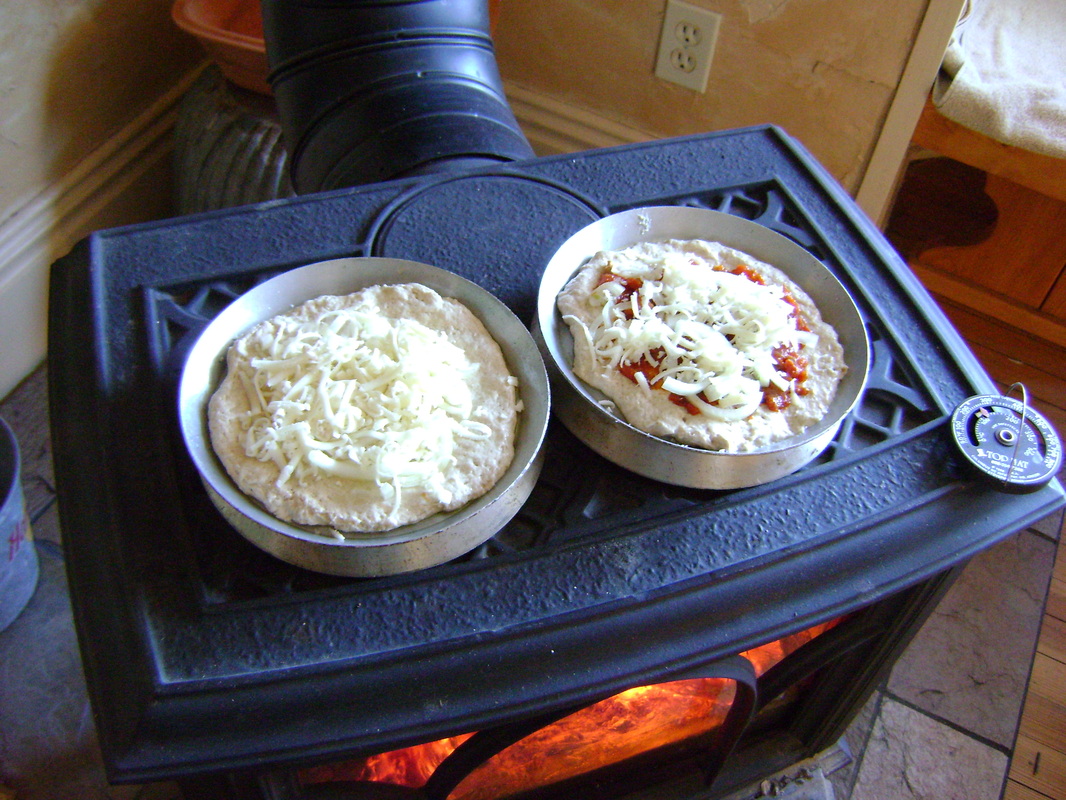
B. Place individual pizzas on top of the trivets. The left pizza has only onions and shredded mozzarella cheese. The right pizza has a homemade tomato paste, with onions and cheese on top. The bare dough on the edges of the pizza is brushed with olive oil. We use homemade dough, but you can also buy it already made in various forms at the grocery store.
D. Keep the fire hot and check the pizza periodically until the cheese is melted. When we cook pizza in our regular oven, we do it at 550 degrees F and the cheese and crust is browned within 10 minutes. The wood stove takes a lot longer and doesn't get as browned.
|
Bear has another recommendation for making better pizza: Do it like he does on the outdoor grill. Partially cook the dough, turning once to get both sides crusty, then add the toppings and finish cooking until the cheese has melted.
2. Baking Chocolate Muffins on the Wood Stove:
|
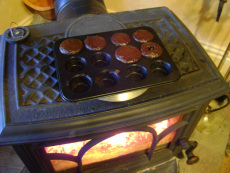
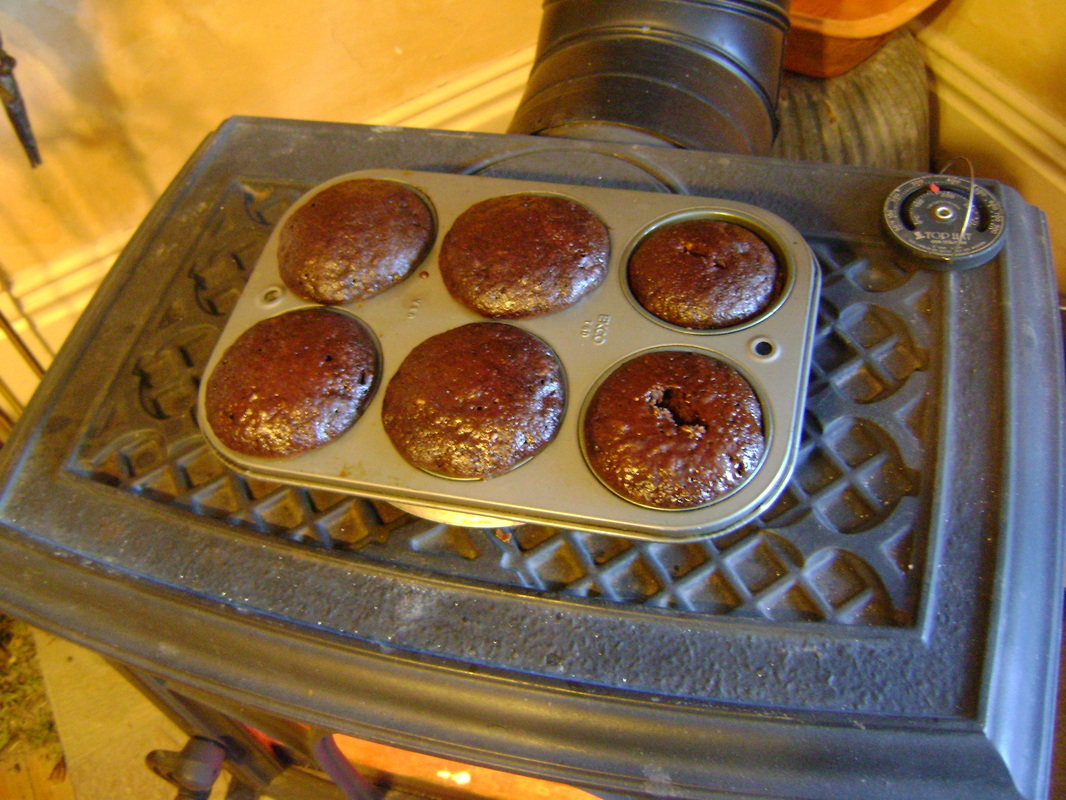
A. Position a trivet to raise food away from the surface of the wood stove. If your stove is bigger than ours, keep all of the trivet away from the hottest spot, so the muffins closet to the hot spot are less likely to burn.
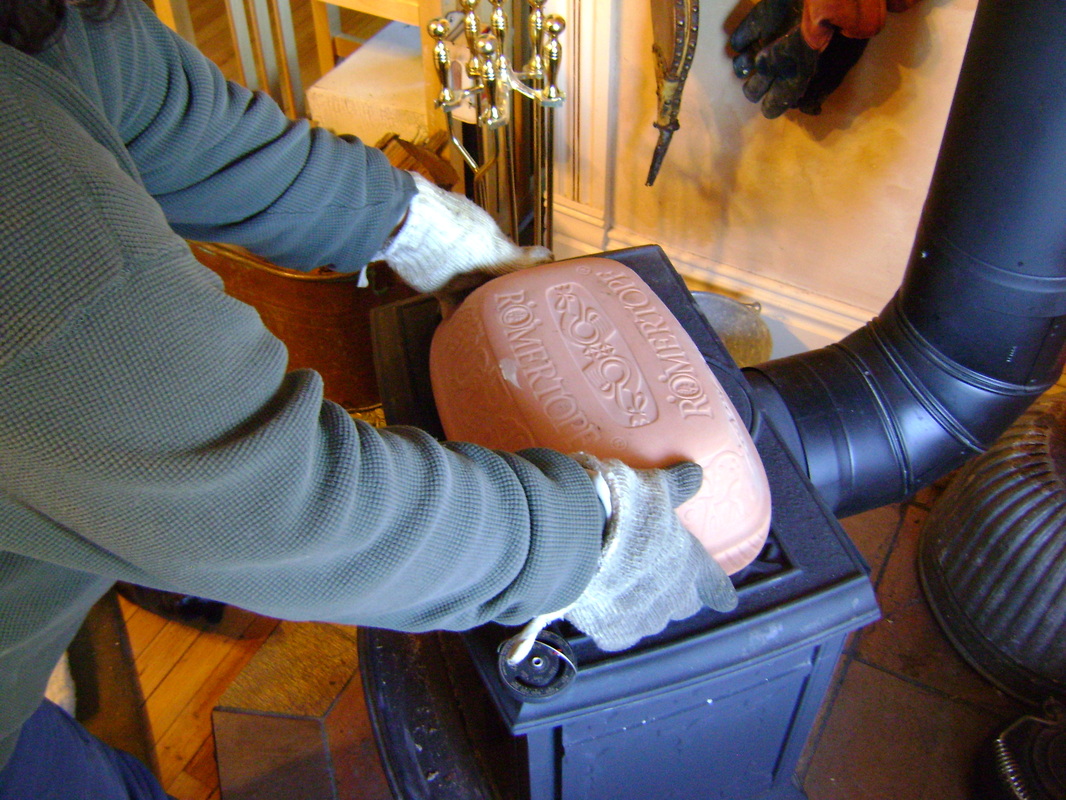
C. Place a lid over the muffins and trivet to create the oven. Be sure and use gloves when you place or remove the lid. It's hard to do it without touching the hot surface of the stove.
|
B. Place filled muffin tin on top of trivet. These are Cocoa Muffins from the Farmstead Chef cookbook by John Ivanko & Lisa Kivirist (p. 40).
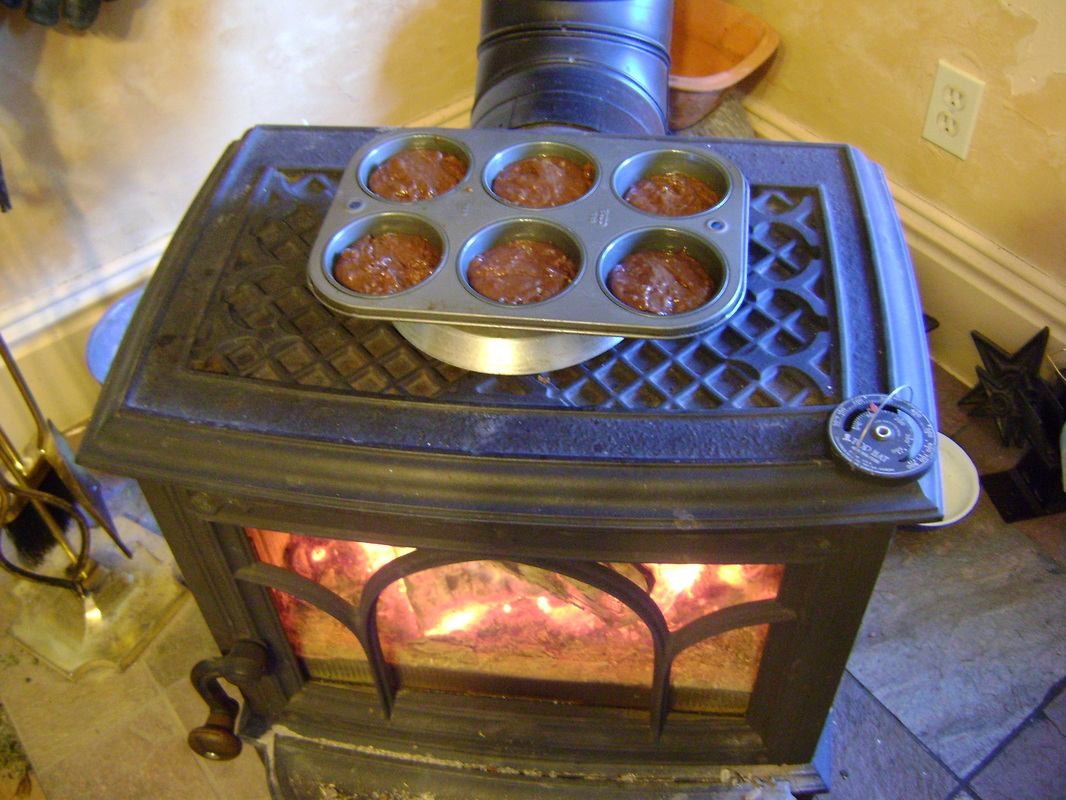
D. Check muffins and rotate periodically until done. Don't rely on the time in the recipe- time needed to cook on a wood stove will vary with the heat of the fire. We didn't rotate our pan, so the muffins in the back, closest to the sweet spot, were burnt on the bottom. We still ate them.
|
3. Baking Potatoes on Top of the Wood Stove
|
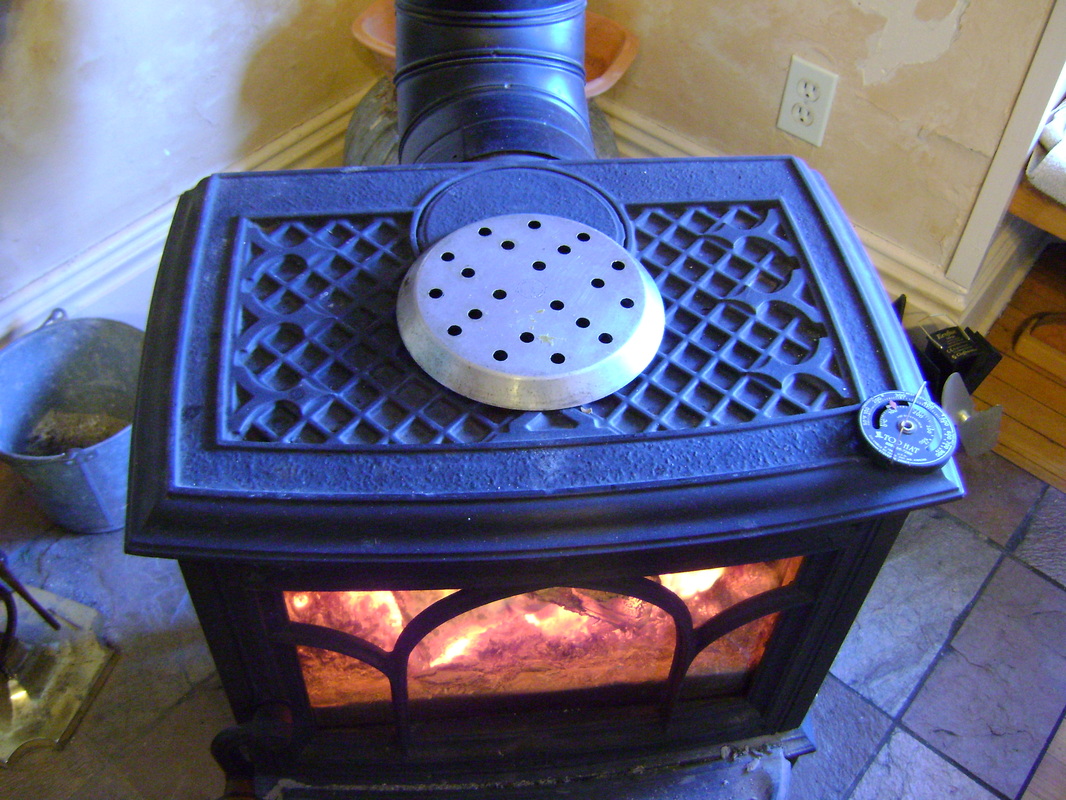
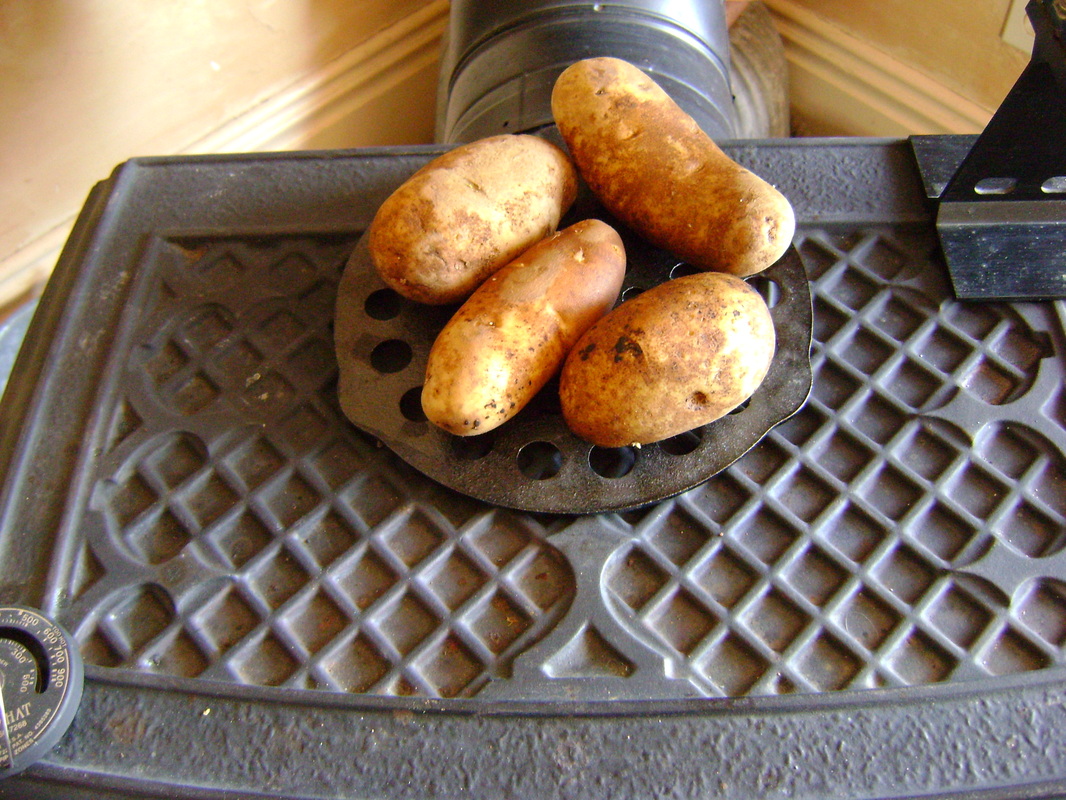
A. Place potatoes on top of a trivet that is resting on the hottest spot on the top of the wood stove. Be sure and poke some holes in the potatoes so they can release steam without exploding (yes, this has happened to me more than once).
|
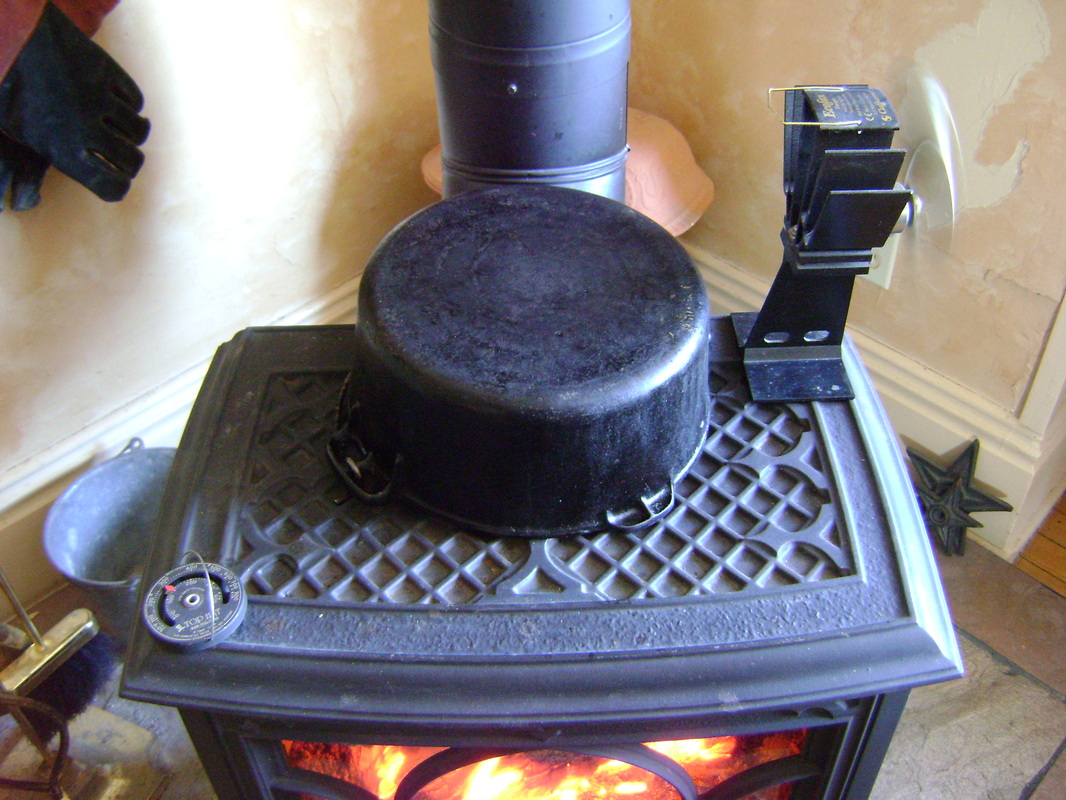
B. This time I turned a cast iron pot upside down over the potatoes to create the oven. It didn't work as well because the hanging handle of the pot got in the way. With this arrangement, I did need to turn the potatoes a couple times to keep them from burning on one side. Poke with a fork to tell if they're done.
|
Click to return to How to Cook on a Wood Heat Stove.