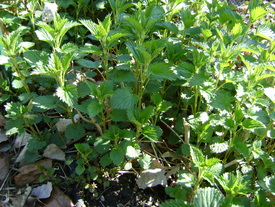
 One of our nettle patches in early Spring- ready to eat! | Nettle, not just for stinging. We've added a "Eat Your Yard" section (so dubbed by Bear), in which we'll be sharing recipes for eating the wild foods (and weeds) we're growing (on purpose) in our yard. Nettle is one of the first plants to emerge in the Spring in our yard. It's a natural multi-vitamin. We eat the fresh leaves in Spring and make a nettle infusion drink the rest of the year (which even Bear says he likes better than mint tea). Our bodies have learned to crave the plant's amazing nutrition. Our Nettle page includes information on growing nettle, and recipes for: Nettle Soup, Nettle Pasta, Nettle Quiche, Ramen Nettle, and how to make a Nettle Infusion. Yummm... |
 Bear likes his nettle like he likes dark beer- he drinks it for the flavor. | 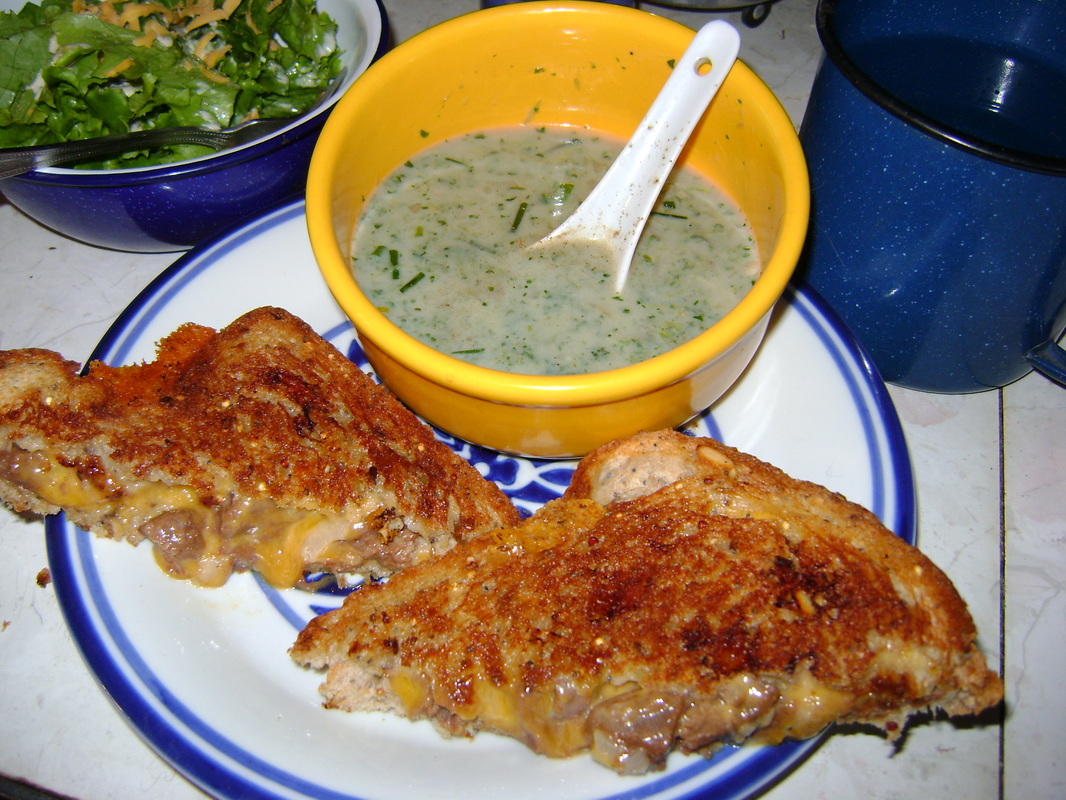 Theresa's favorite recipe is nettle soup, with a side of Bear's cheese sandwiches. |

 RSS Feed